London:
Nationwide:
25,000+
Floors Restored
27 Years Experience
Wood Flooring Association Certified
Importance of Buffing After Floor Sanding
Posted on October 4, 2023
Buffing
Let’s Delve Into the Integral Role of Buffing in Floor Restoration.
Floor sanding is a critical procedure in the realm of home improvement and flooring restoration. Not only does it bring back the shine and glory of old, worn-out floors, but it also prepares new ones to look their best. However, floor sanding is not a stand-alone procedure; it’s merely one of the crucial stages in the entire flooring refinishing process. Buffing, the step that follows sanding, often doesn’t get as much attention, but it plays an indispensable role in achieving that perfect finish. Buffing after sanding is the unsung hero of the flooring world. It smooths any imperfections left behind from sanding, blends the sanded areas for a seamless look, and creates the ideal base for the subsequent application of stains, sealers, or finishes. Without buffing, you’re essentially leaving the job half-done, with potential scratches and inconsistencies marring the beauty of your floor. With this understanding, let’s dive deeper into why buffing holds such paramount importance in the entire floor restoration process.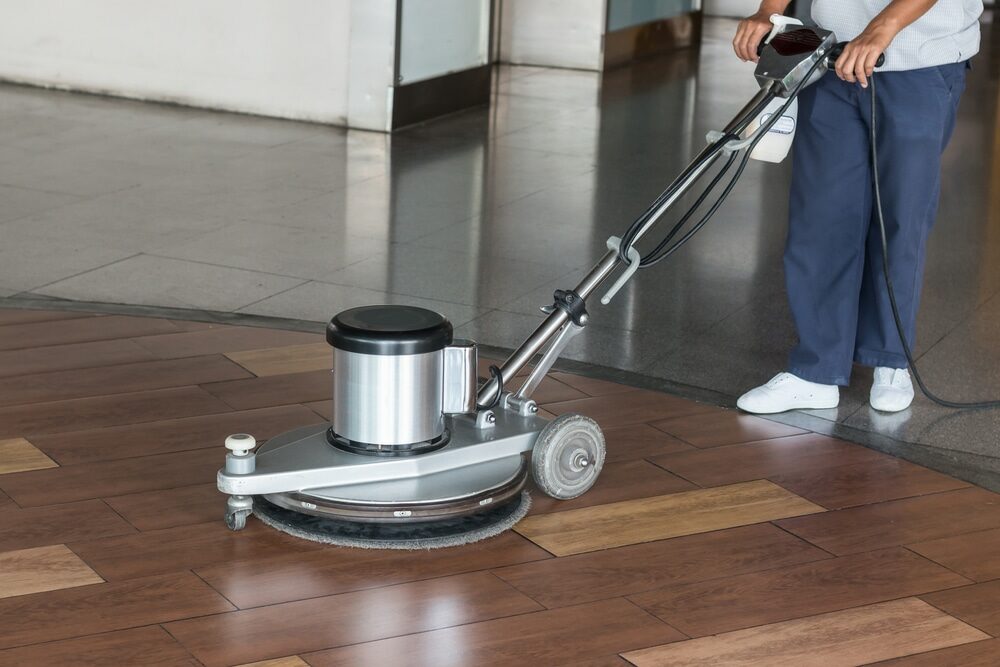
Understanding wood floor sanding
Wood flooring, a classic and elegant choice for homes and commercial spaces, requires periodic maintenance to retain its sheen, smoothness, and durability. One essential maintenance process is wood floor sanding. This guide provides a comprehensive look at wood floor sanding, helping you understand its purpose, process, and benefits.What is wood floor sanding?
Wood floor sanding is the process of removing the top surfaces of a wooden floor by sanding it with abrasive materials. It’s often done to remove old finishes, repair surface imperfections, or prepare the floor for refinishing.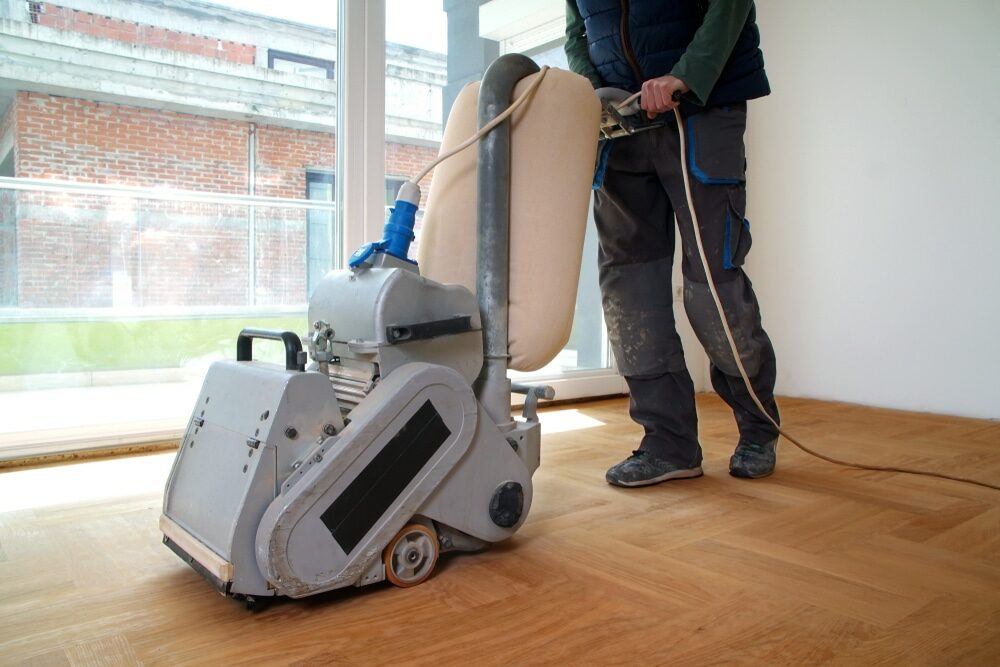
Why sand a wood floor?
- Restoration: Over time, wooden floors can get scratched, dented, or stained. Sanding removes these imperfections and revives the floor’s original beauty.
- Refinishing: Before applying a new finish or stain, the floor needs to be sanded to ensure proper adhesion and a smooth result.
- Levelling: If boards are uneven or if there are height discrepancies between them, sanding can help achieve a level surface.
 What is wood floor buffing?
Wood floor buffing is a process that aims to restore the shine and smoothness of wooden floors that have become dull, scratched, or worn out over time. Utilising specialised machines equipped with buffing pads, this technique works by gently abrading the surface of the wood, removing a very thin layer of the finish. This action not only eliminates minor imperfections but also preps the surface for further treatment, such as the application of a fresh coat of finish or polish.
The machines used for wood floor buffing are often rotary floor buffers or oscillating machines. They operate at various speeds and can be adjusted based on the type and condition of the wood floor being treated. The buffing pads themselves come in various levels of abrasiveness, allowing for customization of the buffing process depending on the specific needs of the floor. It’s essential to choose the right pad and speed to prevent any damage to the wood.
Apart from the aesthetic benefits, wood floor buffing offers several practical advantages. By regularly buffing wood floors, homeowners can extend the lifespan of their floor finish, reducing the need for complete refinishing. It also provides a cleaner surface by removing dirt and grime that regular cleaning might miss. Buffed floors are less likely to harbour dust and allergens, contributing to a healthier living environment.
What is wood floor buffing?
Wood floor buffing is a process that aims to restore the shine and smoothness of wooden floors that have become dull, scratched, or worn out over time. Utilising specialised machines equipped with buffing pads, this technique works by gently abrading the surface of the wood, removing a very thin layer of the finish. This action not only eliminates minor imperfections but also preps the surface for further treatment, such as the application of a fresh coat of finish or polish.
The machines used for wood floor buffing are often rotary floor buffers or oscillating machines. They operate at various speeds and can be adjusted based on the type and condition of the wood floor being treated. The buffing pads themselves come in various levels of abrasiveness, allowing for customization of the buffing process depending on the specific needs of the floor. It’s essential to choose the right pad and speed to prevent any damage to the wood.
Apart from the aesthetic benefits, wood floor buffing offers several practical advantages. By regularly buffing wood floors, homeowners can extend the lifespan of their floor finish, reducing the need for complete refinishing. It also provides a cleaner surface by removing dirt and grime that regular cleaning might miss. Buffed floors are less likely to harbour dust and allergens, contributing to a healthier living environment.
The Advantages of Buffing After Sanding
Buffing after sanding is an essential step in various woodworking, automotive, and finishing projects. The process might require a little more effort, but the results are often worth it. Here are the advantages of buffing after sanding:- Smoother Finish: Buffing can remove any small imperfections left behind after sanding, leading to a much smoother surface. This is particularly important for projects where the final appearance is crucial.
- Enhanced Shine and Lustre: Especially true for automotive and some woodworking projects, buffing can give a glossy, mirror-like finish that’s hard to achieve through sanding alone.
- Reduced Scratch Visibility: Sanding, especially with coarser grits, can leave tiny scratches on the surface. Buffing helps minimise or eliminate these marks, making them less visible or even imperceptible.
- Improved Adhesion: A buffed surface can sometimes allow for better adhesion of paints, stains, or other finishes. This is because the buffing process can create micro-scratches that provide additional surface area for the finish to grip onto.
- Enhanced Colour Depth: When working with certain woods or finishes, buffing can enhance the depth and richness of the colour, making it more vibrant and appealing.
- Dust Removal: Buffing can help remove any residual dust or debris left behind after sanding. This ensures that subsequent layers of finish or paint adhere properly without contaminants.
- Increased Longevity: A well-buffed surface can make finishes more durable, as it promotes even application and adhesion. This means your finish might last longer and look better over time.
- Consistency: Buffing ensures a consistent look and feel across the entire project. This is particularly important for large surfaces or when working on multiple pieces that need to match.
- Professional Results: For those looking to achieve a professional-grade finish on their projects, buffing is often an indispensable step. It adds that extra touch of quality that distinguishes expert work.
- Tactile Benefits: A buffed surface is not just visually appealing but also pleasant to touch. It can give a silky-smooth feel, which can be particularly satisfying for items like furniture.
- Highlighting Features: Buffing can accentuate and bring out the natural patterns in materials, such as the grain in wood or the metallic sparkle in automotive paint.
- Cost-effective: While it might seem like an additional step, buffing can actually save costs in the long run. A well-prepared and buffed surface might require less finish material, and the end product often requires less maintenance and fewer touch-ups.
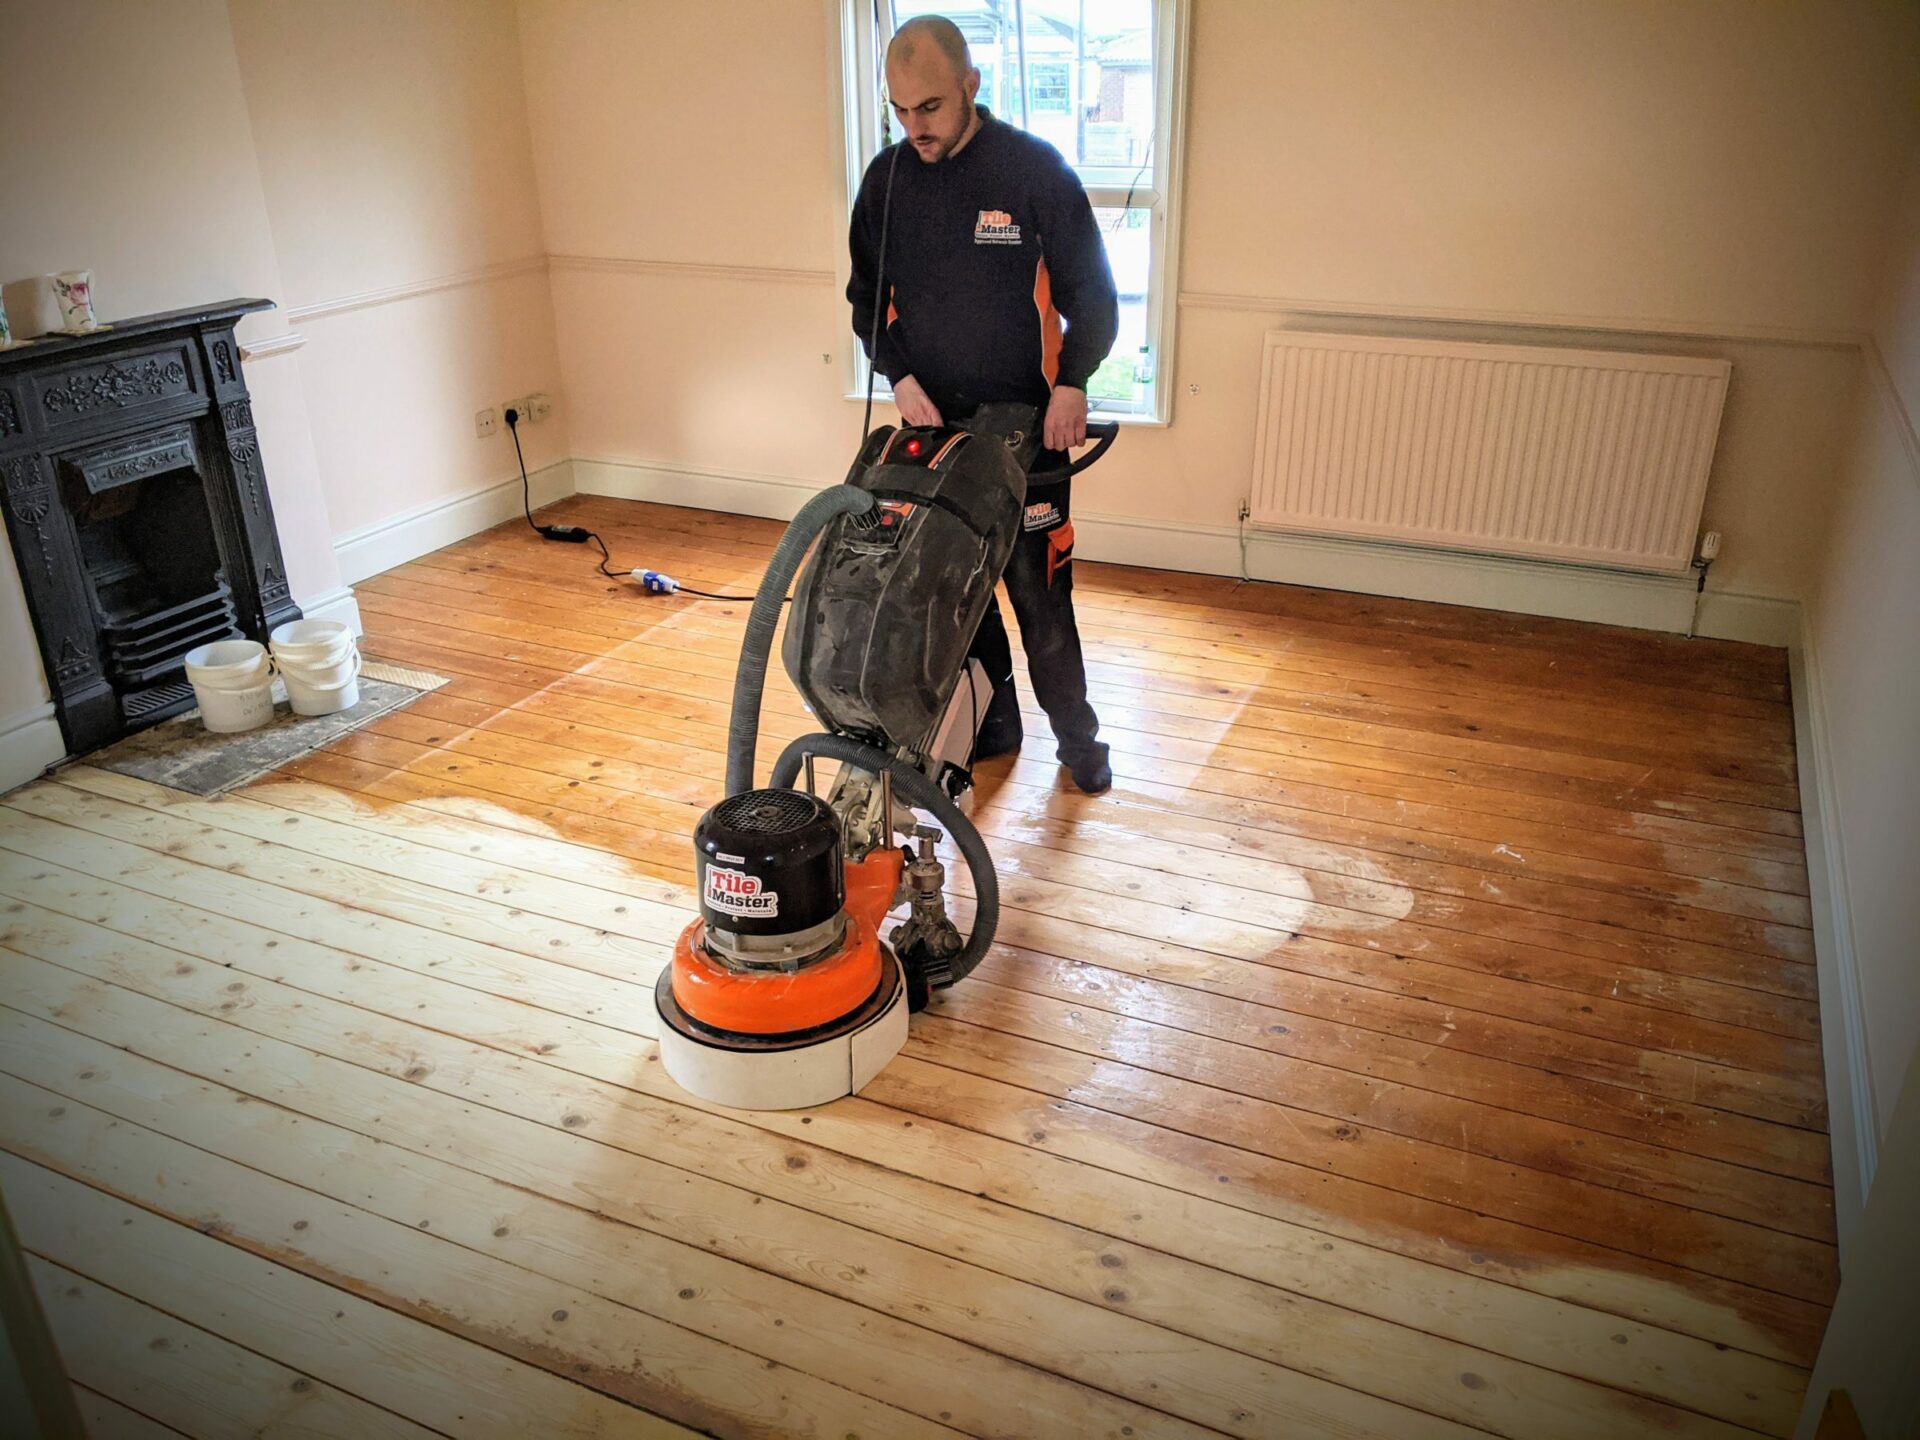
Tools Used in Wood Floor Buffing
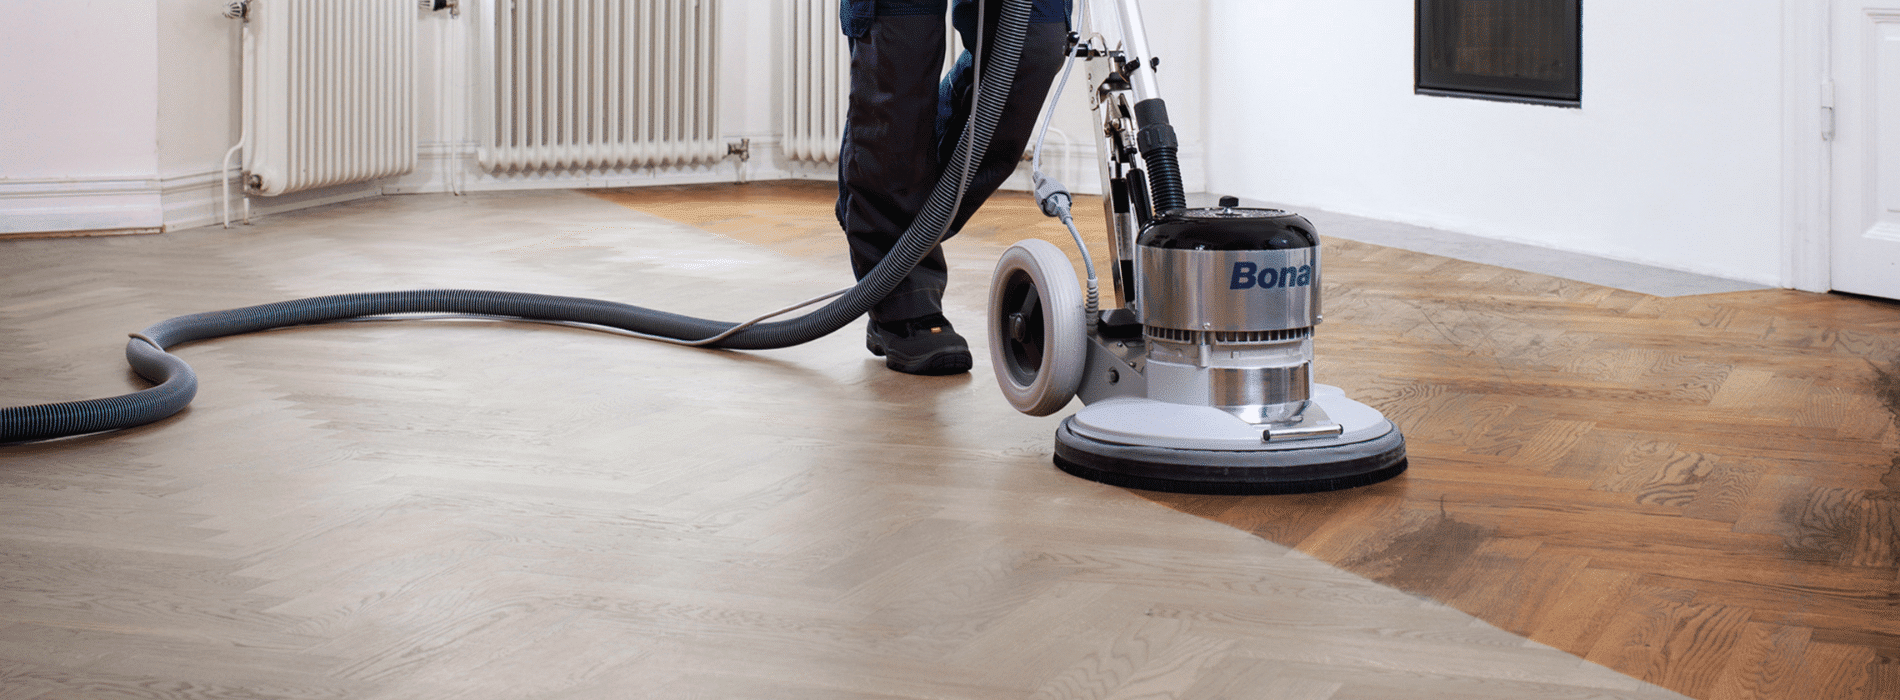
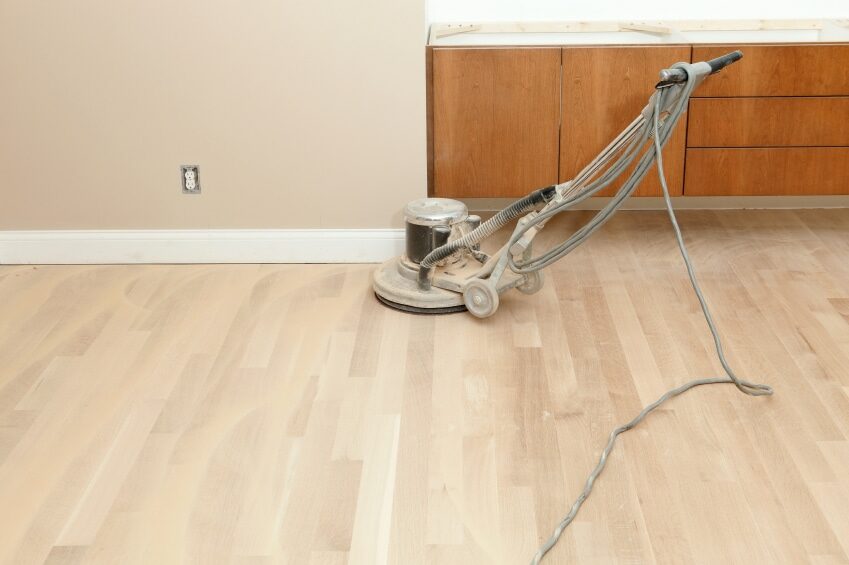
Buffing wood floors helps to restore their shine and smoothness, enhancing their natural beauty. Here’s a list of the essential tools and materials you’ll need if you’re planning on buffing a wood floor:- Buffing Machine: This is the primary tool used for the job. Also known as a floor buffer or floor polisher, it’s a large, electrically powered machine with a rotating base.
- Buffing Pads: These come in various grits, similar to sandpaper. The grit you choose will depend on the condition of your floor and the finish you’re hoping to achieve. Coarser pads are for floors with deeper scratches, and finer pads are for a smoother finish.
- Pad Holder: This is attached to the buffing machine to hold the buffing pads in place.
- Dust Mask: It is always important to protect yourself from any dust or particulates that might be kicked up during the buffing process.
- Safety Goggles: Protect your eyes from any flying debris.
- Ear Protection: Buffing machines can be loud. Always protect your hearing.
- Broom and Dustpan: Before you begin buffing, you’ll need to thoroughly sweep the floor to ensure there’s no debris that could scratch the floor during the buffing process.
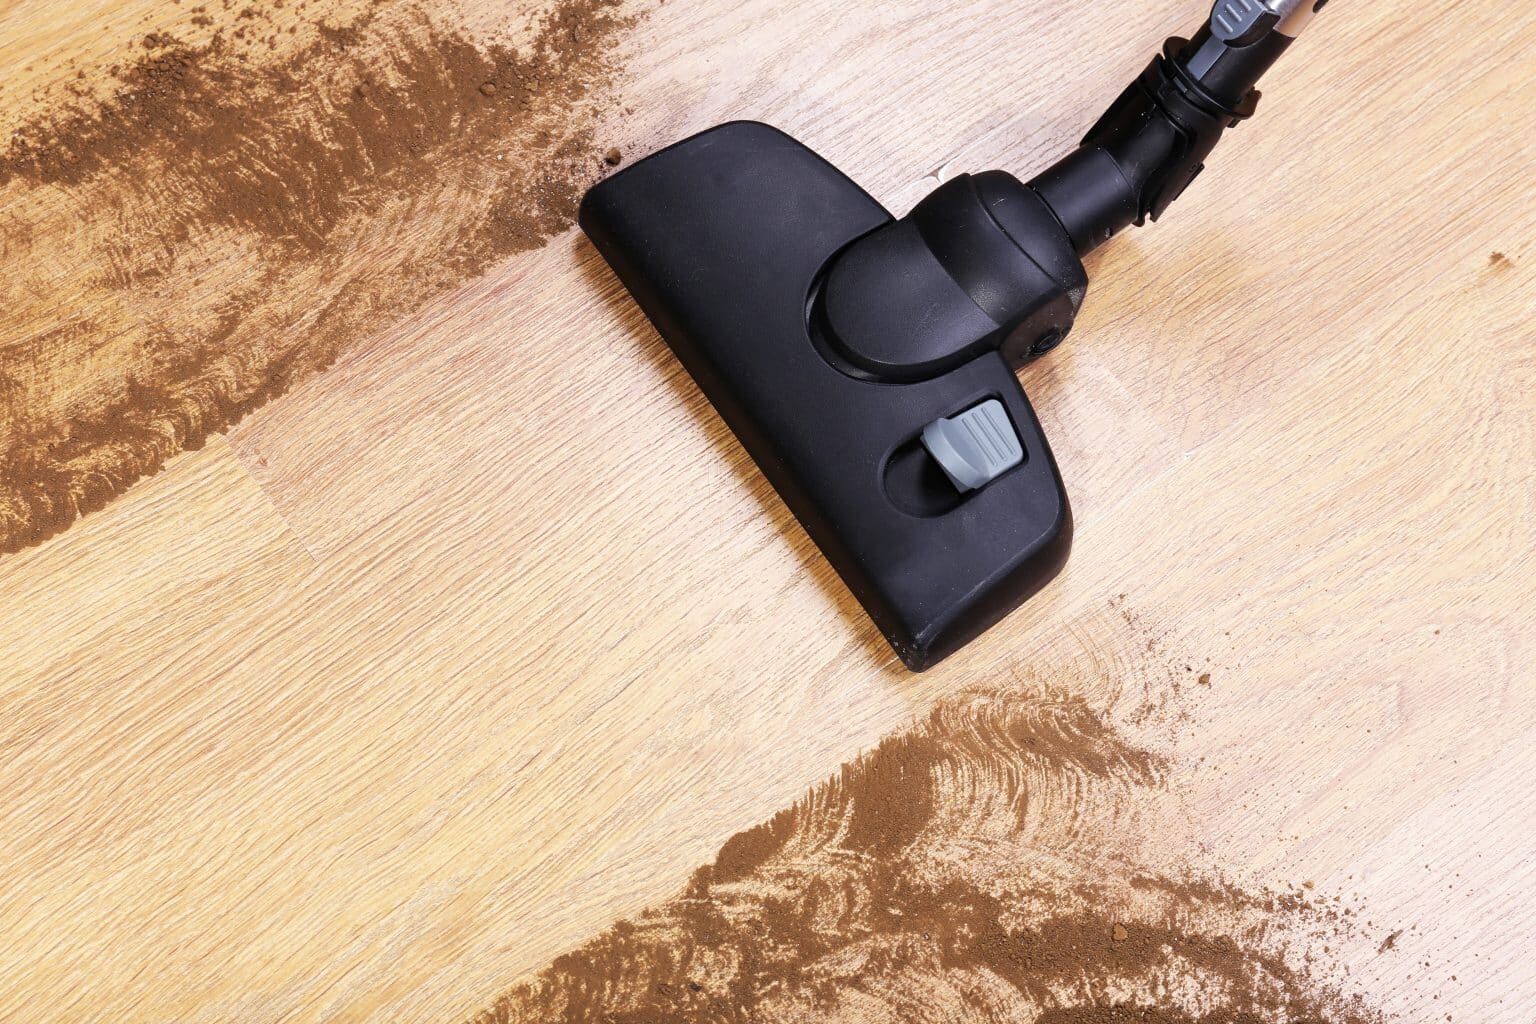
- Vacuum Cleaner: Used to ensure all dust and particles are removed from the floor before and after buffing.
- Wood Floor Cleaner: This might be required to clean the floor before buffing, especially if there are any sticky spots or residues.
- Wood Floor Polish or Wax: After buffing, you’ll want to apply a wood floor polish or wax to protect the floor and give it a glossy finish.
- Microfiber Cloth or Mop: Used for applying the polish or wax and for general cleaning after the buffing process.
- Extension Cord: Depending on where your electrical outlets are, you might need an extension cord to ensure your buffing machine can reach all areas of the floor.
- Painter’s Tape: If you need to protect baseboards or any other area from the buffing process, painter’s tape can be useful.
- Buffer Weights (optional): Some machines have optional weights that can be added to increase the pressure for more aggressive buffing.
- Knee Pads: If you need to work closely with the floor or handle detailed areas by hand, knee pads can be beneficial.
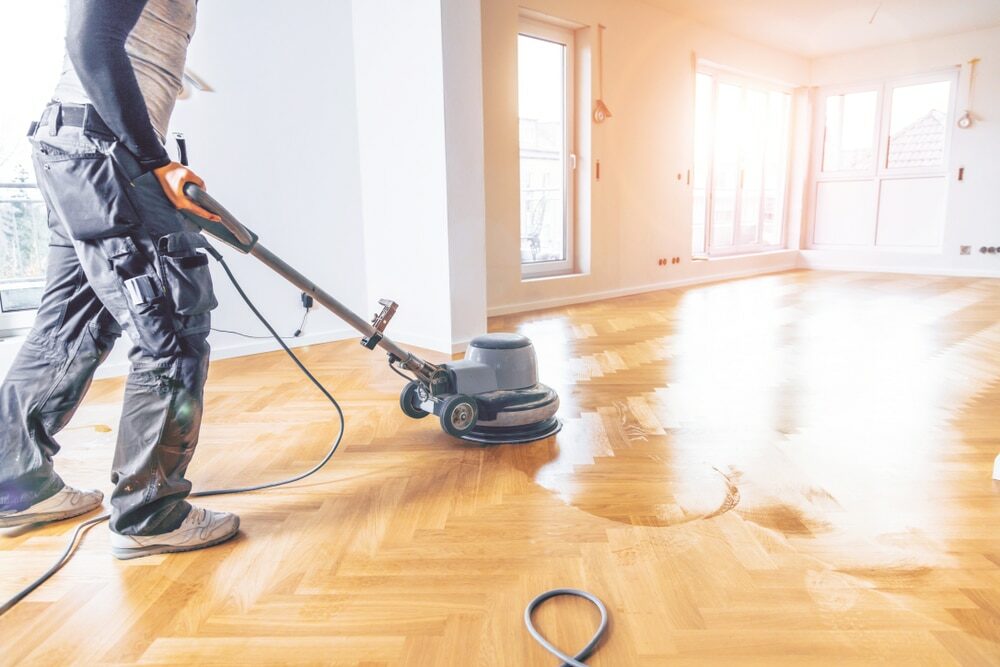
Step-by-Step Guide to Buffing After Sanding
Buffing after sanding is an essential process to bring out the shine and lustre of surfaces, especially wood and automotive finishes. The process involves using a buffer (a machine or hand tool) and a polishing compound to create a smooth and glossy surface. Here’s a step-by-step guide to buffing after sanding:Steps:
- Preparation:
- Clear your workspace to ensure no debris interferes with your buffing.
- Put on your safety goggles, dust mask, and gloves.
- Sanding (if not done):
- Start with coarse-grit sandpaper and sand the surface thoroughly.
- Progress to finer grits, sanding until the surface is smooth and even.
- Wipe away any dust or debris from the surface.
- Choose the Right Buffing Pad:
- For initial buffing, use a coarser pad, like a wool pad.
- For final polishing, a softer foam pad is ideal.
- Applying the polishing compound:
- Apply a moderate amount of the polishing compound to the buffing pad or directly to the surface.
- Do not use too much; a little goes a long way. It’s easier to add more if needed.
- Begin Buffing:
- Start the buffer at a low speed to spread the compound evenly.
- Gradually increase the speed of the buffer. Move the buffer in circular motions, applying even pressure throughout.
- Make sure to keep the buffer moving. Staying in one spot too long can cause burns or marks on the surface.
- Inspect the surface:
- After buffing, turn off the machine and inspect the surface for any swirl marks or areas that need more attention.
- If necessary, reapply a small amount of compound and rebuff those areas.
- Final Polishing:
- Switch to a softer buffing pad.
- Apply a finer polishing compound or swirl remover.
- Buff the surface again at a higher speed to bring out a high-gloss shine.
- Clean Up:
- Wipe the surface with a clean microfiber or soft cloth to remove any residual compound.
- Clean your buffing pads by washing them with warm water and a mild detergent. Allow them to dry completely before storing.
- Maintenance:
- To maintain the shine, consider applying a protective coating or wax after buffing. This will provide protection against scratches, UV rays, and other environmental factors.
Tips:
- Always start with a test spot to ensure the polishing compound and buffing pad combination work well for your specific surface.
- Keep the buffer flat on the surface to avoid creating uneven spots.
- Over-buffing can result in burns or marks. It’s crucial to keep an eye on the surface and keep the buffer moving.
- If working on a car, avoid buffing on edges or sharp curves with high pressure, as these areas are more susceptible to burns.
Conclusion
The conclusion, in any written discourse, stands as the capstone of the argument or the discussion. It provides readers with a sense of closure, reinforcing the main points and underscoring the significance of the topic. This final section isn’t merely a reiteration of what has been stated but rather an insightful synthesis of the presented ideas, pulling together various threads of the narrative or argument into a cohesive summary. Furthermore, a well-crafted conclusion serves to leave a lasting impression, ensuring that the core message resonates with the readers long after they’ve finished reading. It’s an opportunity for the writer to make their stance clear, to appeal to the readers’ emotions, or to project forward, suggesting future implications or areas of exploration. Without this crucial section, a piece may feel incomplete or its message may be less impactful. In essence, while introductions draw readers into the world of the text, conclusions ensure they leave with a full understanding and appreciation of its significance. It’s a final handshake with the reader, a moment to reaffirm the value of the journey they’ve just undertaken with the writer. The conclusion’s weight, therefore, should never be underestimated in the realm of effective communication.Some Useful Links:
- Stairs Sanding & Refinishing
- Floor Sanding Services
- School Floor Sanding
- Wood Floor Restorations
- Wood Floor Repairs
- Wood Floor Polishing
More from our Blog:
The Role of Buffing in Achieving a Smooth Finish How to Choose the Right Buffer for Floor Sanding How to Repair Damaged Floors with Belt Sanding Step-by-Step Guide to Belt Sanding Your Floors Innovative Techniques for Using Belt Sanders in Floor Refinishing How to Achieve a Perfectly Flat Surface with Belt Sanding for Floor Refinishing Common Belt Sanding Tools and Accessories for Floor Refinishing The Role of Belt Sanding in Achieving a Professional Finish on Your Floors
Sanding
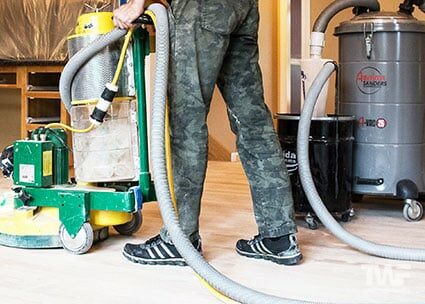
We provide virtually dust-free sanding with our continuous belt machinery with mobile extraction units, giving you a safer environment for your family.
Oiling
This organic finish not only adds beauty to your home but also has exceptional water-repellent characteristics, making it easier to clean and maintain.
Waxing
This natural floor finish offers the softest and most mellow appearance – and leaves your floor able to breath.
Buffing
Using soft buffing machines (and hand-polishing where required) will bring a wonderful sheen to your newly-finished floor.
Repairs
We offer a full assessment of your wooden floors to determine what repairs are needed to provide the perfect working surface for the later stages of sanding, staining and sealing.
Restoration
We offer a comprehensive restoration process designed to address floors that are improperly fitted or damaged over time through wear and tear.
Request a fixed price quote for your wood floor restoration now
Simply enter your postcode below to get started.
Services
Wood Floor Sanding Wood Floor Restoration Wood Floor Scratch Repair Squeaky Wood Floor Repair Parquet Floor Sanding Parquet Floor Restoration Commercial Floor Sanding Church Floor Sanding Community Centre Floor Sanding School Floor Sanding Gap Filling Gap Filling with ResinCopyright © Mr Sander®
Privacy & Cookies Terms & Conditions Complaints Procedure Cancellation Rights Sitemap

Get An Instant Price Estimate Before You Go…
Simply enter the rooms you need sanded and we’ll provide you with a price estimate instantly! Try our price calculator now.
Get a Price Estimate NowLocal Floor Sanding Experts
Over 500 5-Star Reviews
Safe, Dust Free Sanding
Operating Since 1994