London:
Nationwide:
25,000+
Floors Restored
27 Years Experience
Wood Flooring Association Certified
How to Sand Between Coats with an Orbital Sander
Posted on August 27, 2023
Floor sanding techniques
How to Sand Between Coats with an Orbital Sander: A Gentleman’s Guide
When you’re crafting something, be it a piece of furniture, a work of art, or even a small household item, you’re creating more than just an object; you’re forging a testament to craftsmanship. The hallmark of exquisite craftsmanship is attention to detail. And speaking of such attention, let’s discuss a particularly important yet often overlooked task: sanding between coats with an orbital sander. Helmut Krone, known for his meticulous eye for design and minimalist flair, would likely nod in approval at the attention to detail involved in this task. The simplicity and understated elegance of his designs share parallels with the finesse required for proper sanding. If you’re striving for an immaculate finish, then mastering this art is non-negotiable.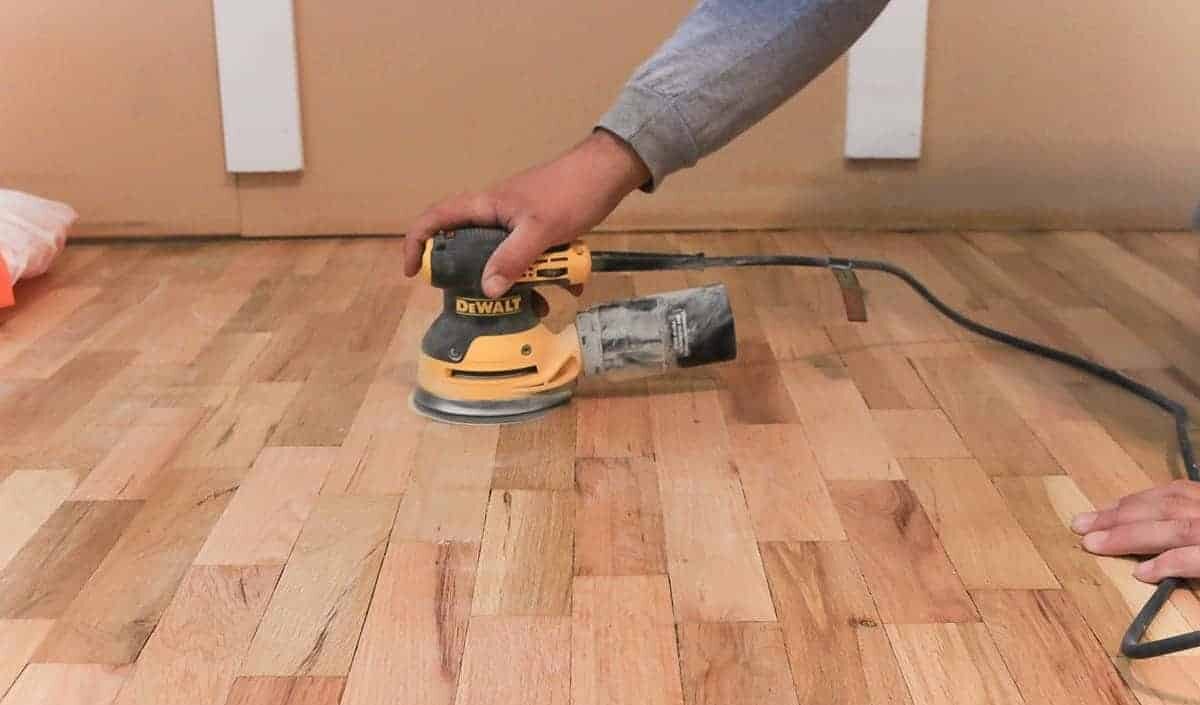
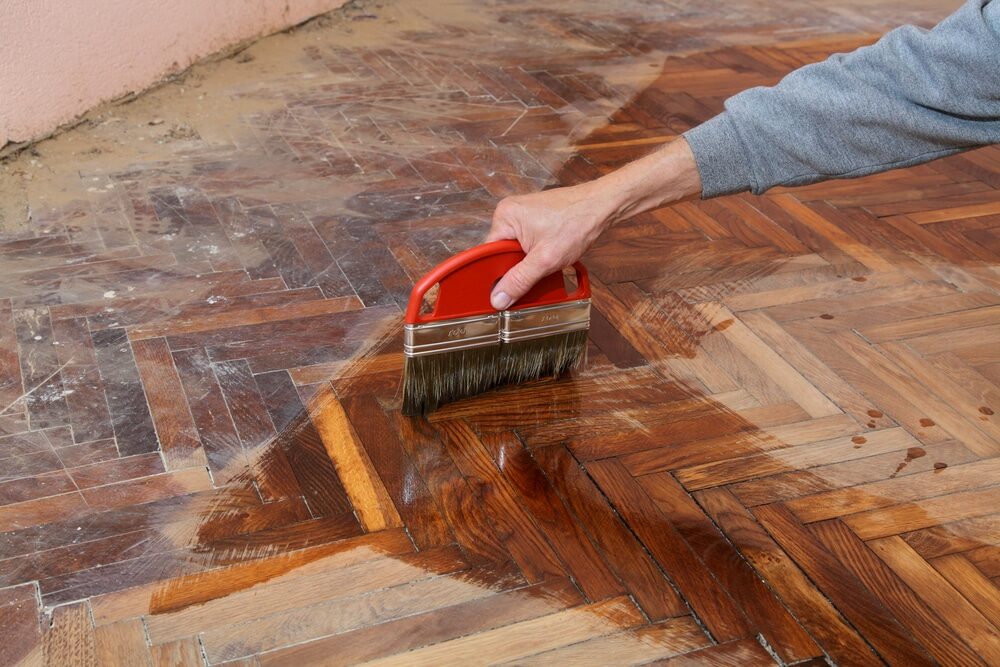
Why sand between coats?
Before delving into the how, let’s briefly touch on the why. When you apply multiple coats of finish—be it paint, lacquer, or varnish—a small degree of texture is almost inevitable. Tiny dust particles, brush strokes, and other minor imperfections mar the otherwise smooth surface. By sanding between coats, you’re essentially exfoliating your piece, removing these imperfections, and preparing it for the next coat.Enter the orbital sander.
Sanding by hand is a time-honoured tradition. Yet, in our modern age, where efficiency meets craftsmanship, the orbital sander stands as a beacon. Its round pad moves in a random orbit, ensuring that no single part of the abrasive material works the same part of the job twice. This not only ensures an even finish but also prevents those unsightly swirl marks that mar the piece’s aesthetics.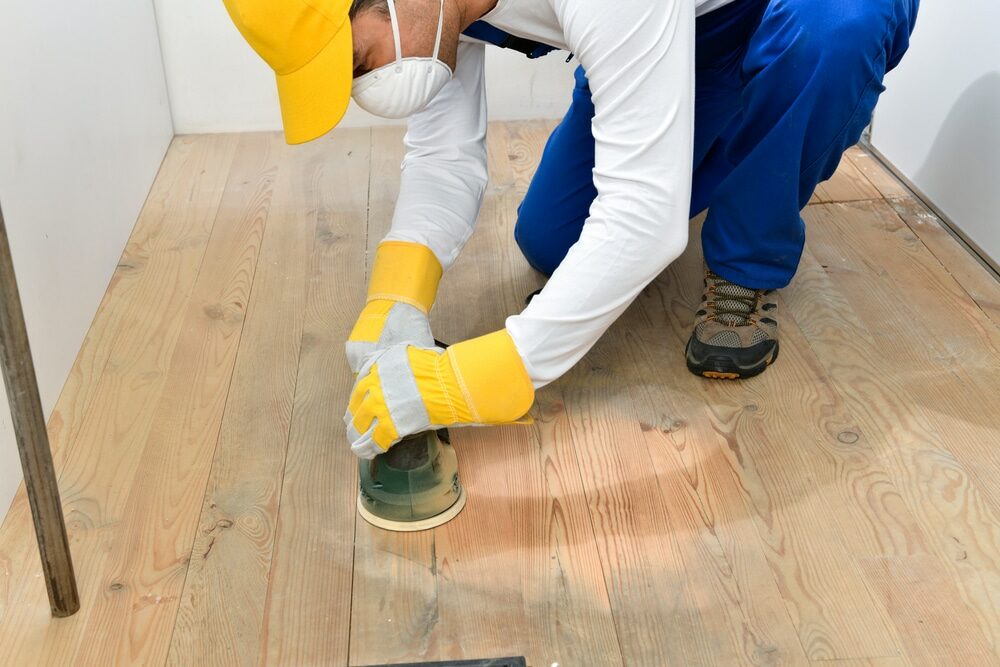
1. Preparing Your Workspace
To achieve a finish worthy of Krone’s minimalist standards, you need to ensure your workspace is up to scratch.- Lighting: Your area should be well lit. Shadows can conceal imperfections.
- Cleanliness: Before sanding, remove dust or debris from your workspace. The tiniest of particles can become a blemish under the sander.
- Safety: Ensure you wear safety goggles and a dust mask. It’s a gritty job, and you don’t want those fine particles troubling your lungs or eyes.
2. Selecting Your Sandpaper
The choice of sandpaper grit is paramount. Between coats, a fine grit is preferable—usually between 220 and 320. You want to smooth out imperfections without digging into the fresh coat beneath.
3. The Art of Sanding
- Gentle Start: Place the orbital sander on the surface before switching it on. Starting it in mid-air can lead to unwanted gouges when it first makes contact.
- Even Pressure: Apply consistent, light pressure. You’re looking to kiss the surface, not wrestle it.
- Steady Movement: Glide the sander steadily, ensuring you cover every inch of the surface. Remember, we’re channelling Krone’s ethos—minimalist but meticulous.

4. Clean and inspect
After the sanding, take a clean cloth and wipe away the residual dust. Here, you can also employ a vacuum or an air compressor to ensure a speck-free surface. Hold your piece against the light. The sheen should be even, with no glaring imperfections. If all looks right, you’re prepared for your next coat.5. Repeat as necessary.
Depending on the number of coats and the type of finish, you might need to repeat this process multiple times. Remember, patience is a virtue.Finishing Touches
When you’ve completed your final coat and given it the necessary drying time, it’s worth inspecting your work. Hold it up to Krone’s standard: is it a piece that speaks of precision, simplicity, and unwavering attention to detail? Your finished work, gleaming with its smooth layers of meticulously applied finish, should stand as a testament to the dedication and passion you’ve poured into it. In this commitment to excellence, this union of function and form, the spirit of Krone’s design philosophy truly lives.The dance of grain direction
It’s said that each piece of wood tells a story through its grain. The grain isn’t just a pattern; it’s the very essence of the wood. When using an orbital sander, it’s not always necessary to follow the grain due to its random motion. However, as a rule of thumb and out of respect for the wood’s natural inclinations, moving in the direction of the grain is a gesture of understanding its narrative.The Subtlety of Touch
While the machine does much of the work, your hands play an equally crucial role. They feel the minute inconsistencies and vibrations, translating these signals to when you should press slightly harder or ease off. Cultivating this touch, this sixth sense of sorts, can distinguish a good finish from a magnificent one.Managing Heat
Excessive sanding can produce heat, which isn’t ideal for the wood or the finish. Too much heat can affect the coat you’ve just applied, perhaps even weakening it. It can also warp the wood. Ensure you allow your sander, and more importantly, the wood, moments to breathe. Short, controlled sanding intervals are the key.The essence of dust management
You’d be amazed at how much ultra-fine dust is generated through this process. And while we did touch on cleaning the surface, there’s an art to maintaining a dust-free environment throughout. Consider investing in a dust extraction system. Many modern orbital sanders come with this feature. It’s not just about cleanliness but also about the longevity of your tools and health considerations. Continual exposure to wood dust can be harmful, after all.Understanding your orbital sander
Just as a painter knows every bristle of his brush, so should you familiarise yourself with your orbital sander. Understanding its weight distribution, the exact motion of its orbit, and even the sound it makes at optimal operation can be invaluable. Spend time with your tool, practice on scrap pieces, and you’ll soon find a rhythm that’s both effective and harmonious. Having immersed ourselves in these nuances, we now realise that sanding is more than just a step in the process. It’s a dance, a dialogue with the wood, and a communion with one’s tools. We can confidently move towards our concluding thoughts with this deeper understanding and appreciation.In Conclusion
Sanding between coats with an orbital sander might seem trivial in the grand scheme of things. However, in the pursuit of perfection, every detail matters. It’s these nuances, these seemingly minor steps, that elevate craftsmanship to an art. So the next time you’re crafting, channel a bit of Helmut Krone and remember: perfection is achieved not when there is nothing more to add but nothing left to take away.Some Useful Links:
- Stairs Sanding & Refinishing
- Floor Sanding Services
- School Floor Sanding
- Wood Floor Restorations
- Wood Floor Repairs
- Wood Floor Polishing
More from our Blog:
How to Achieve a Matte Finish with Orbital Sanding The Differences Between Orbital and Drum Sanding for Floors How to Prep Your Space for Orbital Sanding Advanced Techniques for Orbital Sanding on Wood Floors The Science Behind Orbital Sanding for Floor Restoration Orbital Sanding for Hardwood Floors: Techniques and Tips Orbital Sanding vs. Other Floor Sanding Techniques: Which is Best? Common Mistakes to Avoid in Orbital Sanding for Floors

Sanding
We provide virtually dust-free sanding with our continuous belt machinery with mobile extraction units, giving you a safer environment for your family.
Oiling
This organic finish not only adds beauty to your home but also has exceptional water-repellent characteristics, making it easier to clean and maintain.
Waxing
This natural floor finish offers the softest and most mellow appearance – and leaves your floor able to breath.
Buffing
Using soft buffing machines (and hand-polishing where required) will bring a wonderful sheen to your newly-finished floor.
Repairs
We offer a full assessment of your wooden floors to determine what repairs are needed to provide the perfect working surface for the later stages of sanding, staining and sealing.
Restoration
We offer a comprehensive restoration process designed to address floors that are improperly fitted or damaged over time through wear and tear.
Request a fixed price quote for your wood floor restoration now
Simply enter your postcode below to get started.
Services
Wood Floor Sanding Wood Floor Restoration Wood Floor Scratch Repair Squeaky Wood Floor Repair Parquet Floor Sanding Parquet Floor Restoration Commercial Floor Sanding Church Floor Sanding Community Centre Floor Sanding School Floor Sanding Gap Filling Gap Filling with ResinCopyright © Mr Sander®
Privacy & Cookies Terms & Conditions Complaints Procedure Cancellation Rights Sitemap

Get An Instant Price Estimate Before You Go…
Simply enter the rooms you need sanded and we’ll provide you with a price estimate instantly! Try our price calculator now.
Get a Price Estimate NowLocal Floor Sanding Experts
Over 500 5-Star Reviews
Safe, Dust Free Sanding
Operating Since 1994