London:
Nationwide:
25,000+
Floors Restored
27 Years Experience
Wood Flooring Association Certified
How to Properly Prepare Floors for Screening
Posted on January 20, 2024
Floor sanding techniques
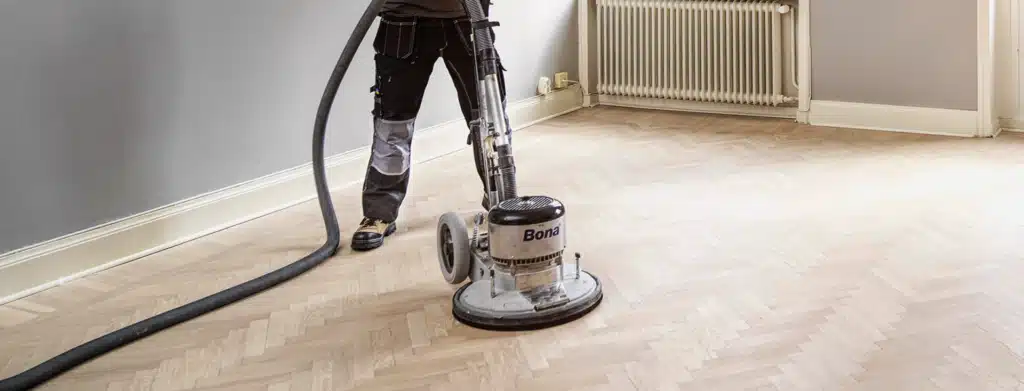
Complete Guide to Preparing Floors for Screening: Master the Process
Welcome to our comprehensive guide on “How to Properly Prepare Floors for Screening.” This process, often overlooked, is crucial for achieving a smooth, durable finish on your flooring, whether in a residential or commercial setting. Floor Screening, essentially a light sanding process, is integral to maintaining and refreshing your floors, especially for hardwood surfaces.
In this blog post, we will delve into the specifics of preparing your floors for screening. This preparation stage is critical as it directly influences the quality and longevity of the screening results. From identifying your floor type to gathering the right tools and materials, we’ll guide you through every step of the process.
Whether you’re a DIY enthusiast looking to give your floors a new lease of life or a professional seeking to refine your technique, this post is designed to provide you with the knowledge and confidence to prepare your floors effectively for screening. So, let’s embark on this journey to ensure your floors get the attention they deserve and come out looking their best.
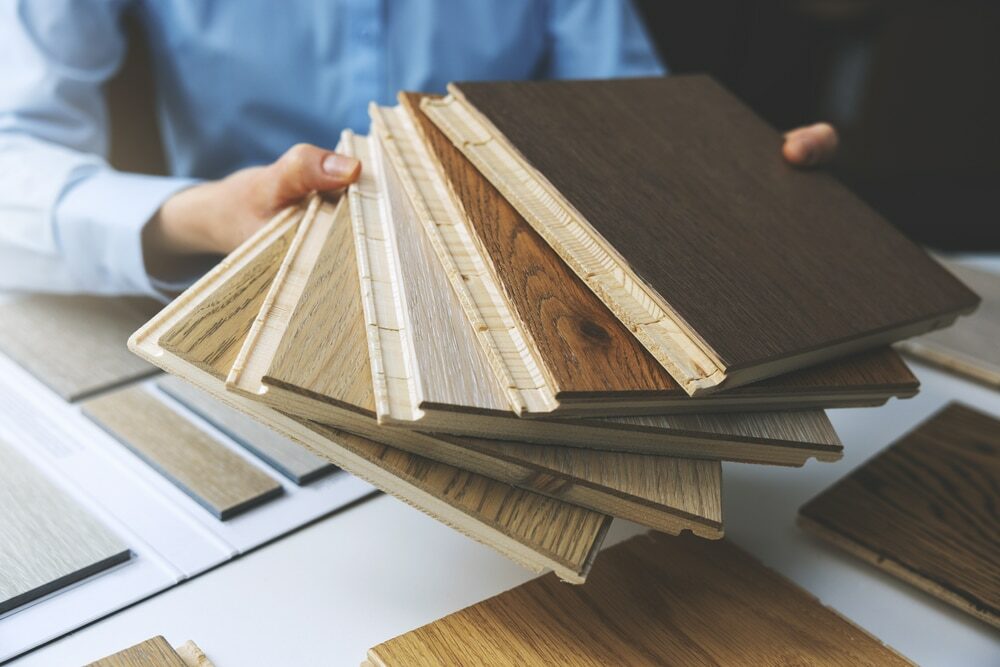
Understanding Your Floor Type
Before you embark on the journey of floor screening, it’s essential to understand the type of flooring you are dealing with. Each floor type has its own unique characteristics and requirements for screening, and knowing these nuances is key to a successful outcome.
Hardwood Floors
- Characteristics: Hardwood floors are known for their durability and natural beauty. They can be solid wood or engineered wood.
- Screening Considerations: Hardwood is generally well-suited for screening. The process helps to revitalise the wood and can remove minor scratches and wear.

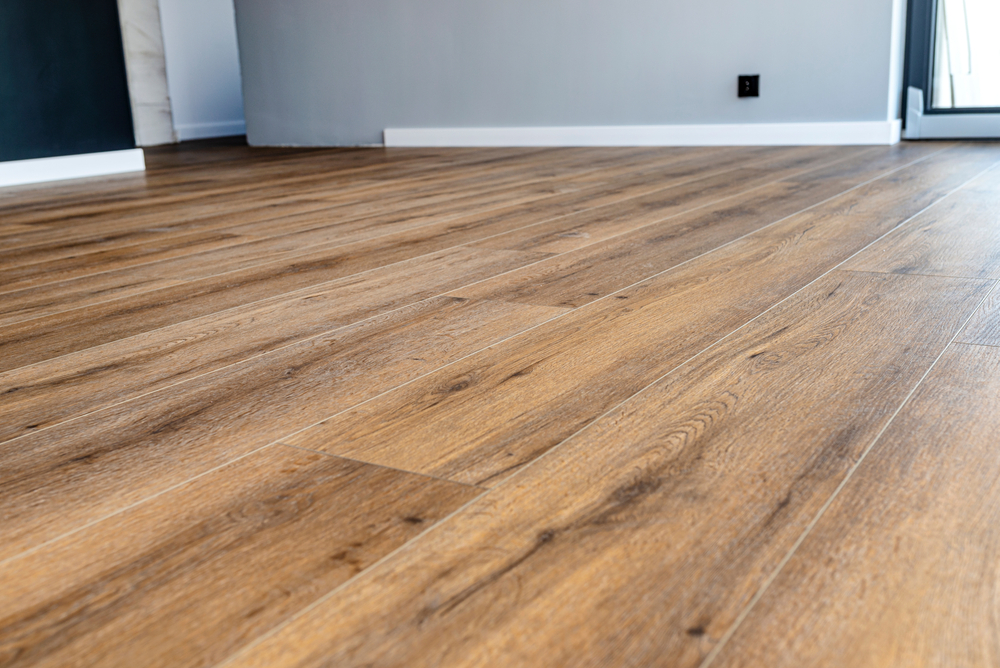
Laminate Floors
- Characteristics: Laminate flooring is a multi-layer synthetic product designed to mimic the appearance of wood or stone.
- Screening Considerations: Screening laminate floors is not recommended as it can damage the photographic layer on the surface.

Vinyl and linoleum floors
- Characteristics: These synthetic flooring types are durable and come in various patterns and styles.
- Screening Considerations: Similar to laminate, vinyl and linoleum should not be screened. These materials do not have a refinishing layer like wood.
Cork Floors
- Characteristics: Cork is a softer, sustainable flooring material with a unique texture.
- Screening Considerations: Cork can be screened, but it requires a gentle approach due to its softer nature compared to hardwood.

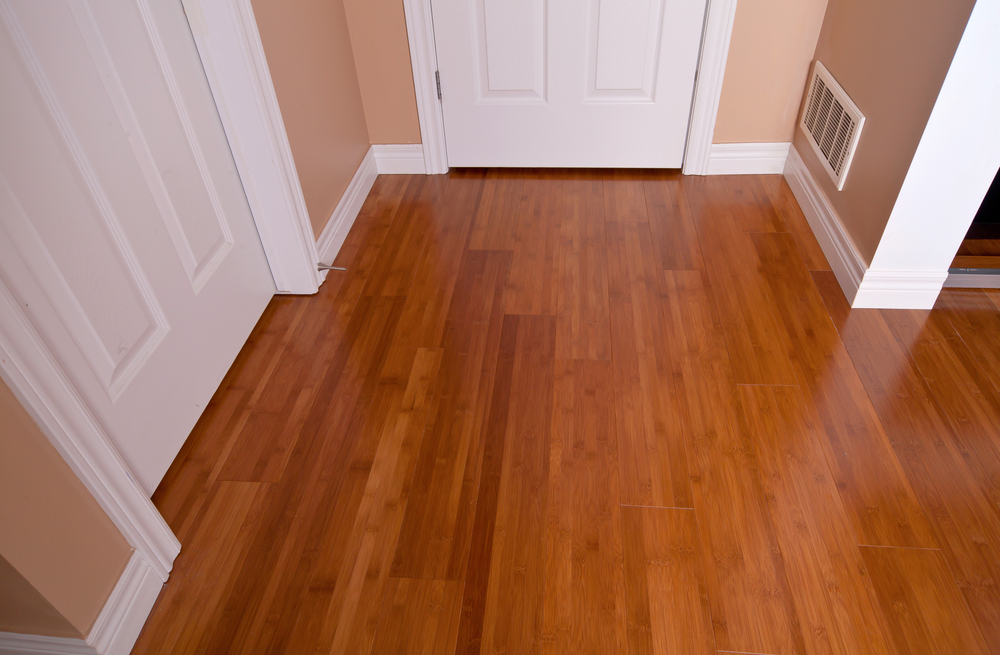
Bamboo Floors
- Characteristics: Bamboo flooring is known for its eco-friendliness and similar appearance to hardwood.
- Screening Considerations: It can be screened, but care must be taken due to its tendency to splinter.
By identifying your floor type and understanding its specific needs, you can ensure that the screening process is both effective and safe for your flooring. Remember, the goal of screening is to enhance and protect your floor, not to cause unintended damage. In the following sections, we will dive into the tools and materials you will need for a successful screening project.
Tools and Materials Needed
Having the right tools and materials is crucial for effectively preparing your floors for screening. Here’s a comprehensive list to ensure you are well-equipped for the task:
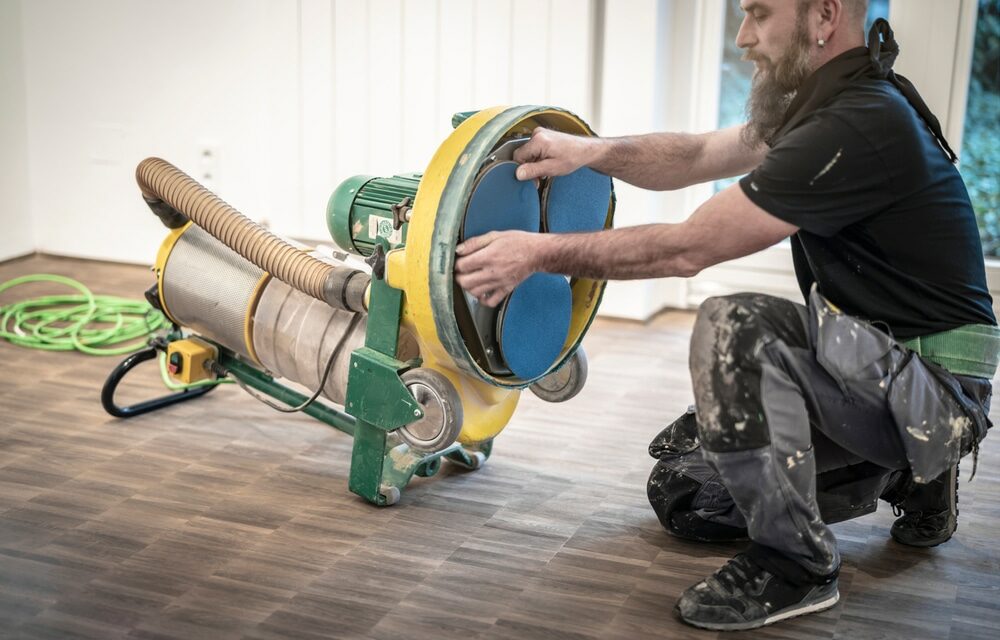
Floor buffer and screening discs
- A floor buffer is essential for the screening process. Make sure to select one that’s appropriate for your floor size and type.
- Screening discs come in various grits. Start with a coarser grit and move to finer grits for a smooth finish.

Vacuum Cleaner and Broom
- A high-quality vacuum cleaner is necessary to remove all dust and debris after screening.
- Use a broom for initial cleaning and to sweep up larger debris before vacuuming.
Safety Gear
- Safety glasses and a dust mask are a must to protect yourself from dust and particles.
- Ear protection is recommended due to the noise generated by the buffer.

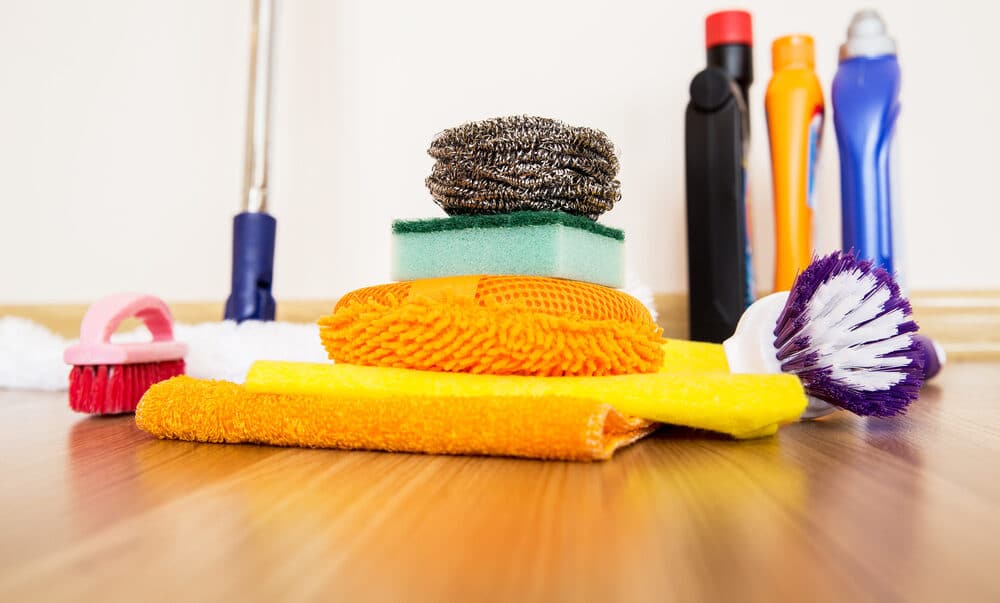
Cleaning Supplies
- A mop and a bucket, along with a mild floor cleaner, are needed for cleaning the floor before and after the screening process.
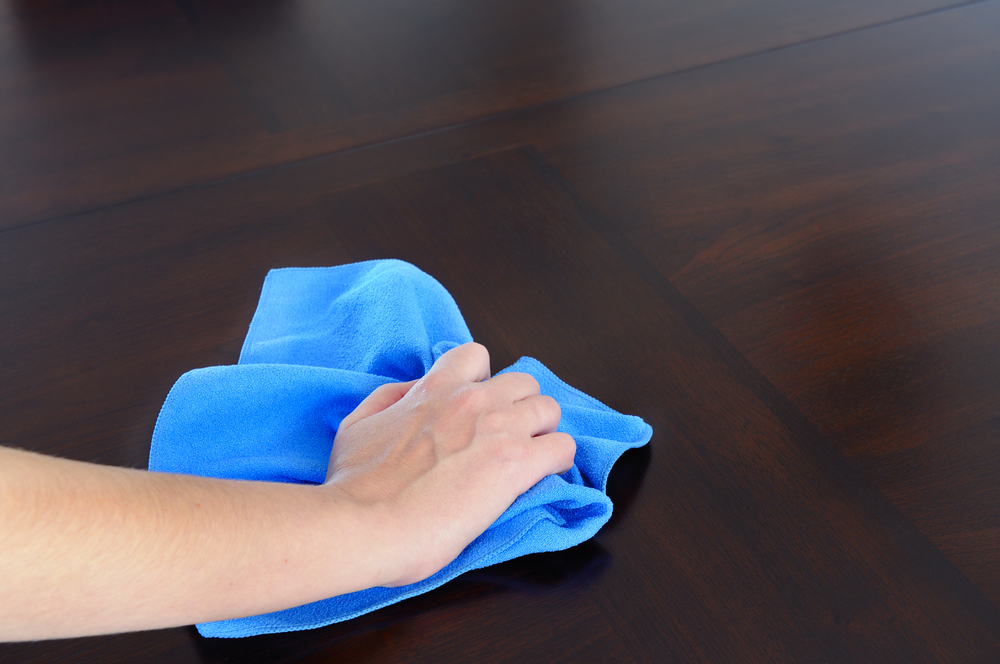
- Microfiber cloths or towels are useful for wiping away any residual dust.
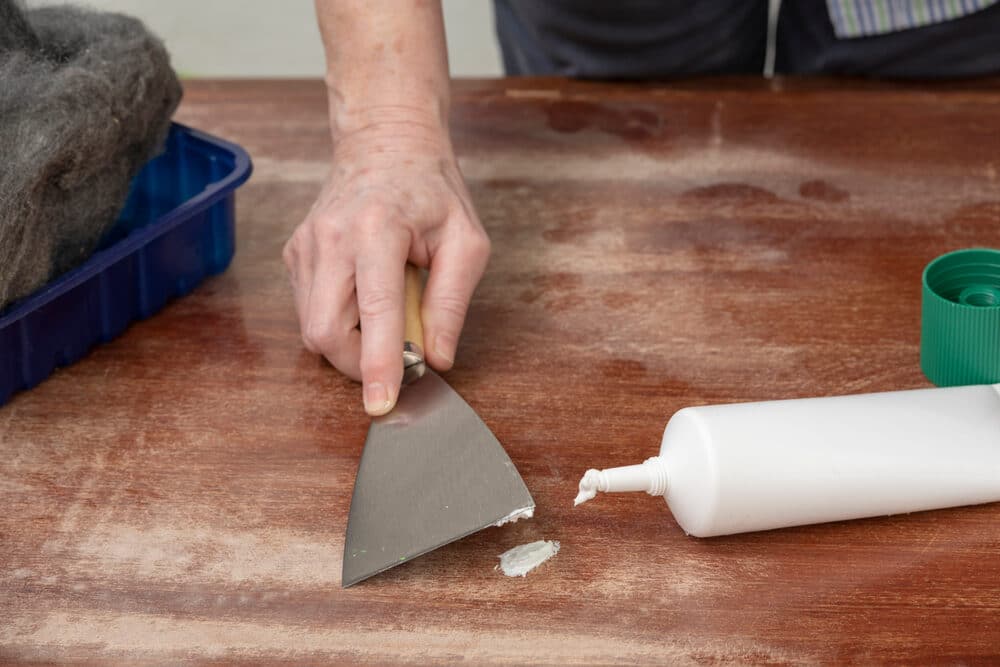
Putty Knife and Wood Filler
- For hardwood floors, a putty knife and wood filler can be used to repair any small cracks or holes before screening.
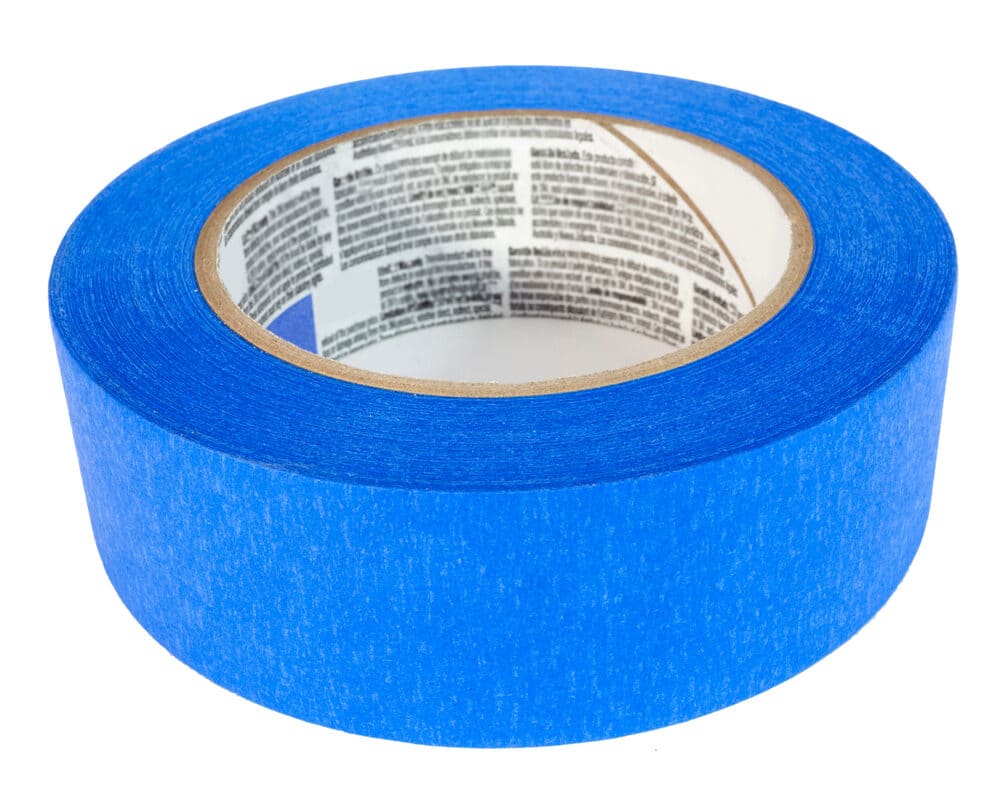
Painter’s tape and plastic sheeting
- Use painter’s tape to protect baseboards and trim.
- Plastic sheeting helps in covering and protecting furniture and other areas from dust.
Edge Sander (Optional)
- For getting into corners and edges that the buffer can’t reach, an edge sander can be very useful.

Tack Cloth
- This sticky cloth is handy for picking up the finest dust particles that the vacuum might miss.
Having all these tools and materials at hand before starting will streamline your floor screening process, making it more efficient and effective. In the next section, we will discuss the steps you need to take to prepare your floor for screening.
Preparation Steps
Proper preparation is crucial for a successful floor screening project. These steps will ensure your floor is ready for the process, minimising potential issues and maximising the quality of the finished surface.
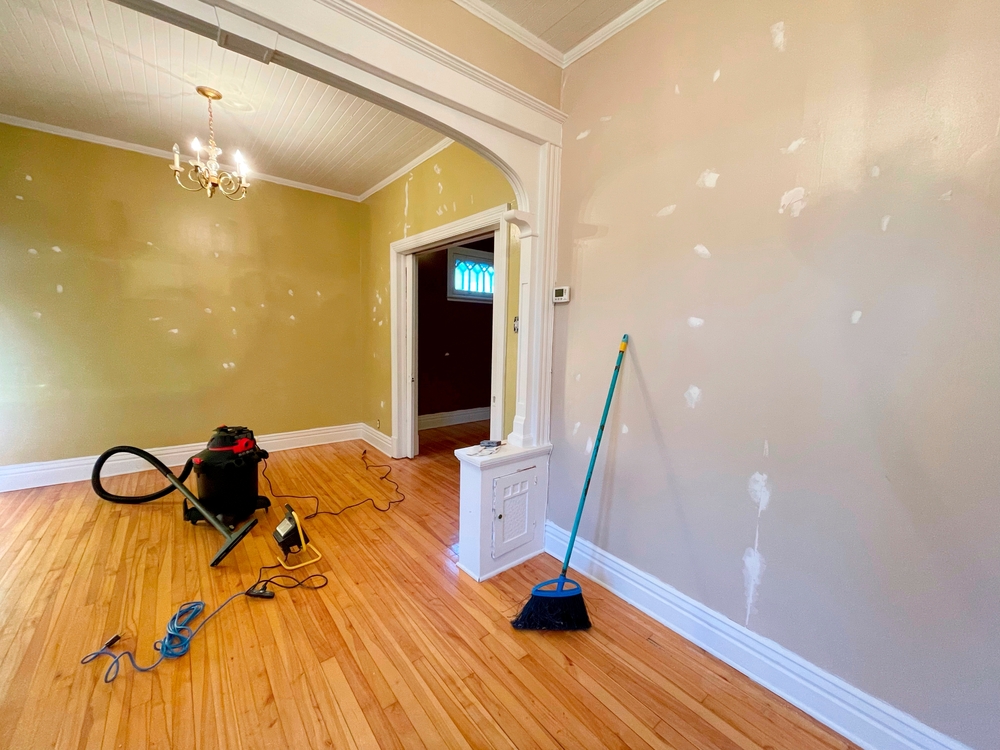
Clear the area
- Remove furniture, rugs, and any movable objects from the room.
- If you cannot remove large furniture, cover it with plastic sheeting to protect it from dust.
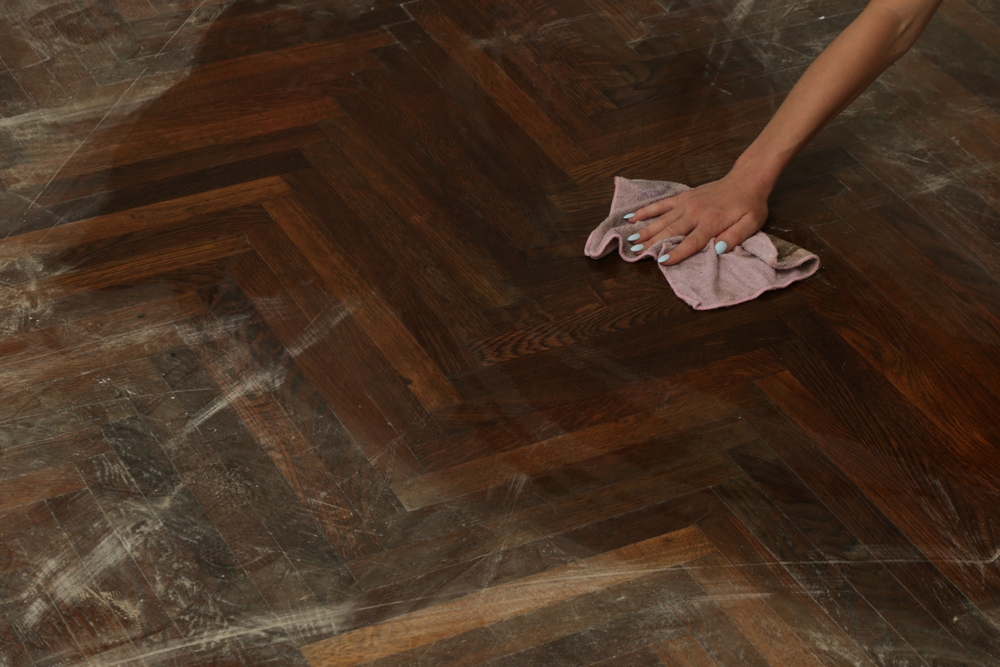
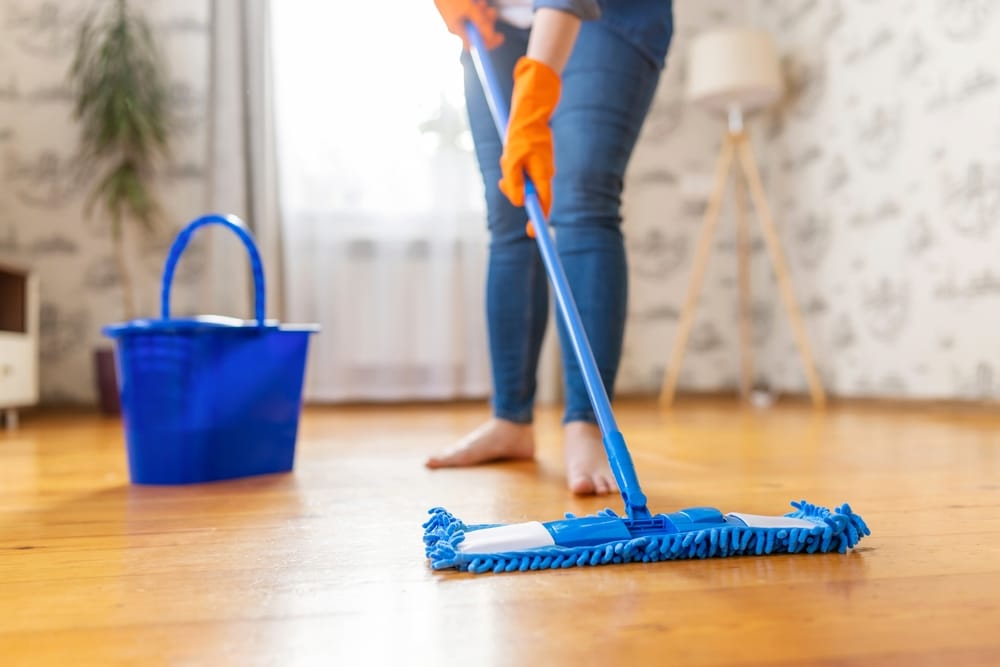
Clean the floor
- Sweep or vacuum the floor thoroughly to remove all dirt, dust, and debris.
- Mop the floor with a mild cleaner to remove any residue or spots. Ensure the floor is completely dry before proceeding.
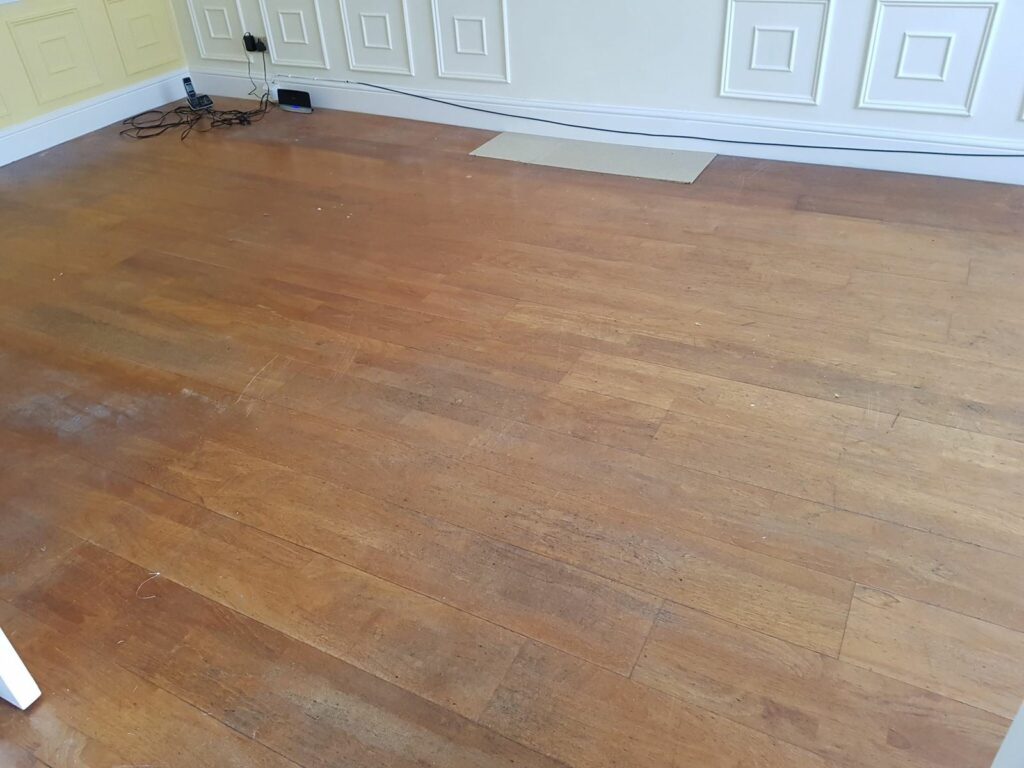
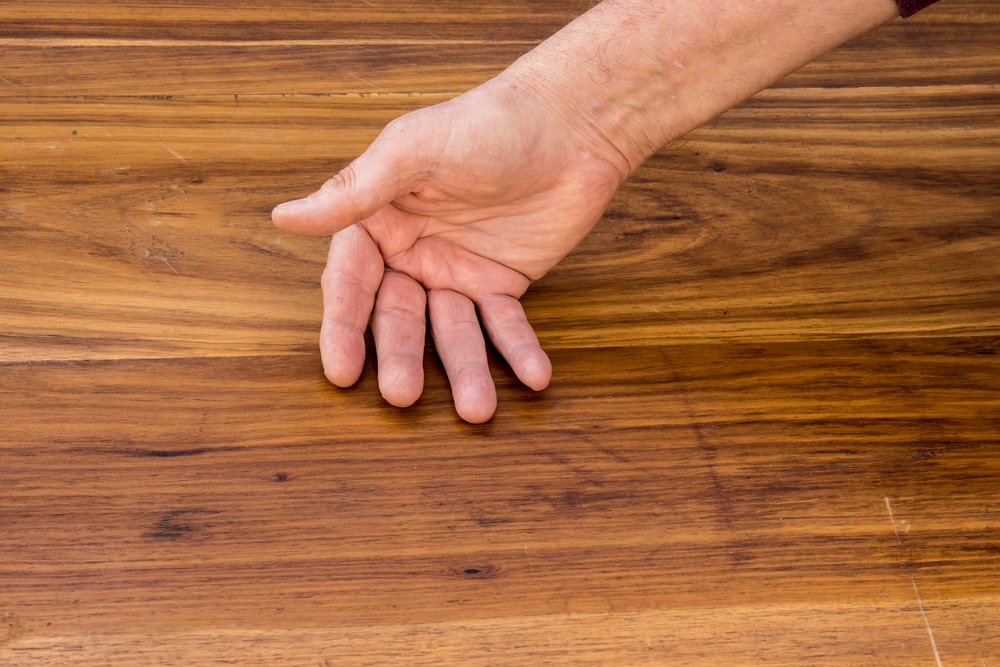
Inspect the floor
- Check for any nails, staples, or metal objects that might be protruding from the floor. Remove or hammer them in to avoid damaging the screening discs.
- Look for cracks, chips, or significant wear. Use a putty knife and wood filler to repair minor damage to hardwood floors.
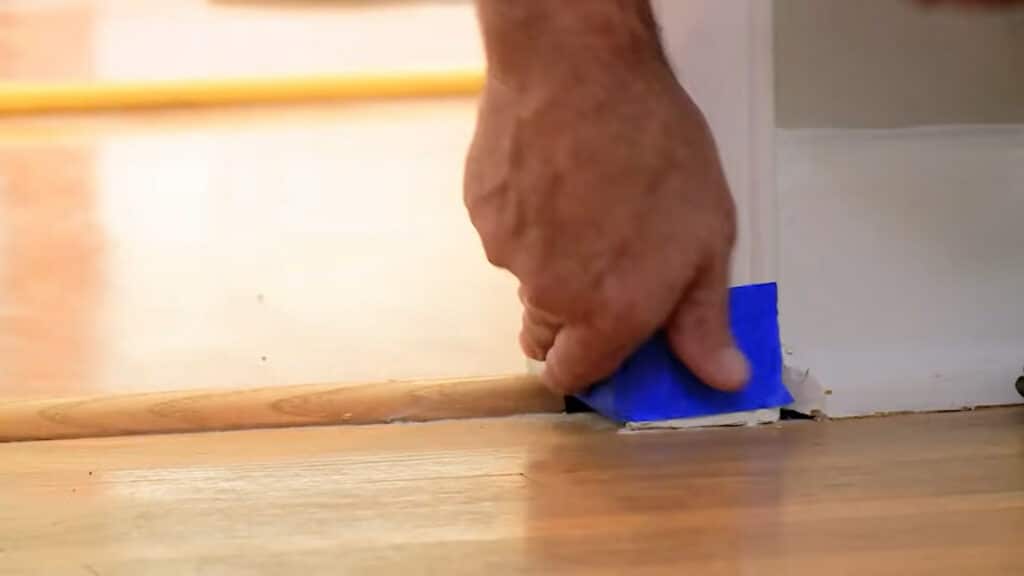
Tape and protect edges and baseboards
- Apply painter’s tape along the edges of baseboards to protect them from the buffer.
- Cover doorways with plastic sheeting to prevent dust from spreading to other areas of the house.
Prepare your tools
- Assemble your floor buffer and attach the initial screening disc.
- Ensure all your cleaning supplies and safety gear are readily accessible.
Safety First
- Put on your dust mask, safety glasses, and ear protection.
- Ensure the area is well-ventilated.

By meticulously following these preparation steps, you create the ideal environment for screening your floors. Not only does this preparation protect your property, but it also sets the stage for an efficient and effective screening process. In the next section, we will guide you through the screening process itself.
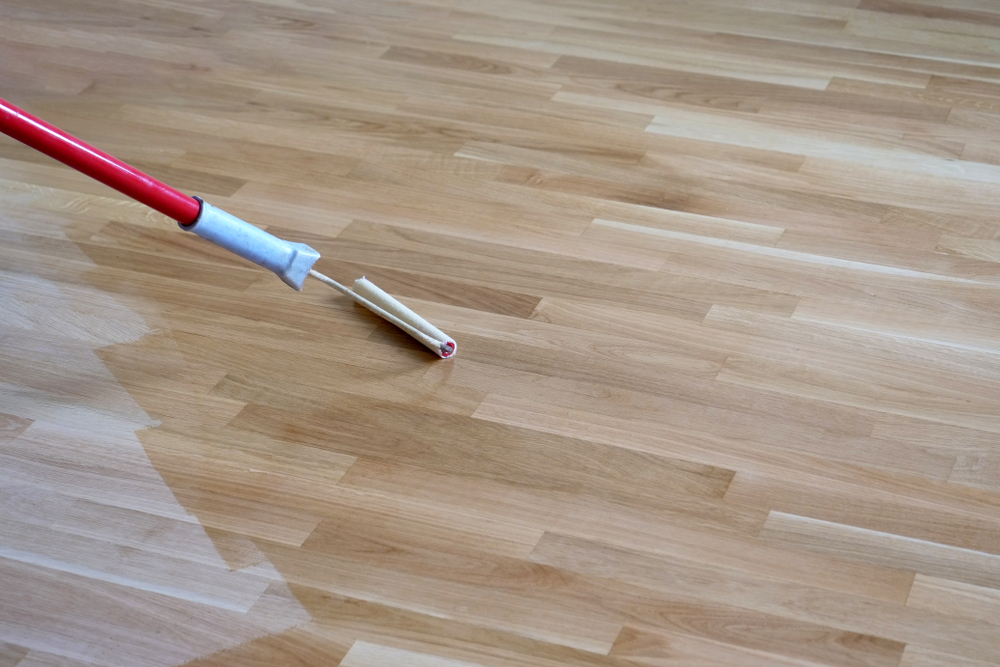
The screening process
Once your floor is prepped and ready, you can begin the actual screening process. This involves lightly sanding the floor to smooth out imperfections and prepare it for refinishing. Here’s a step-by-step guide:
Begin with the right grit
- Start with a coarser-grit screening disc (around 60–80 grit) for the initial pass. This helps to remove the old finish and smooth out minor imperfections.
- Gradually move to finer grits (100–120 grit) for subsequent passes to create a smooth base for refinishing.
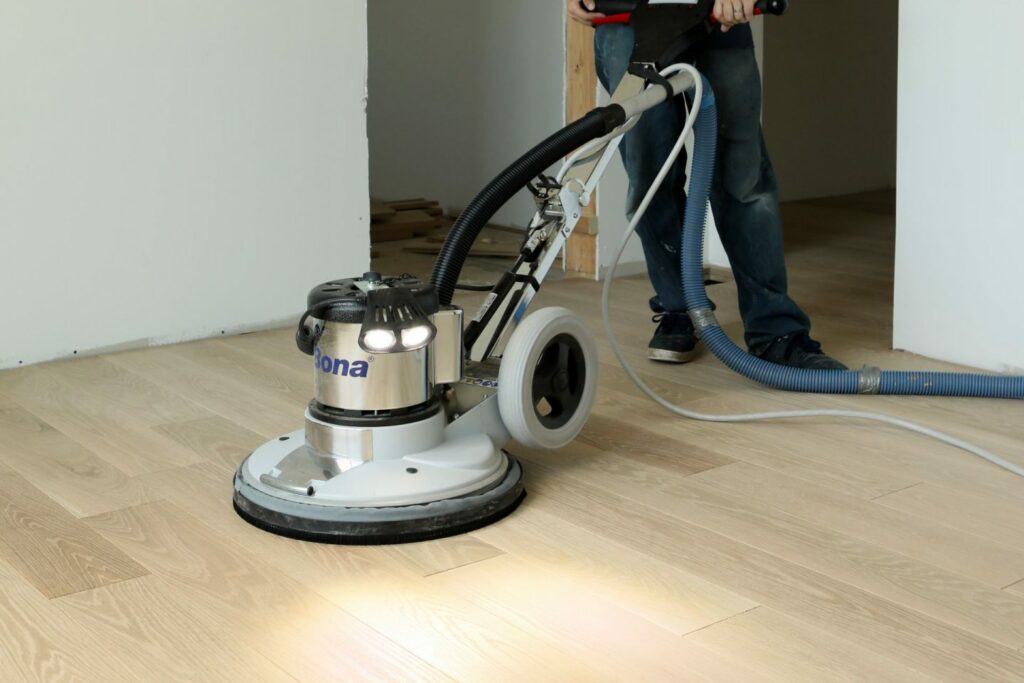
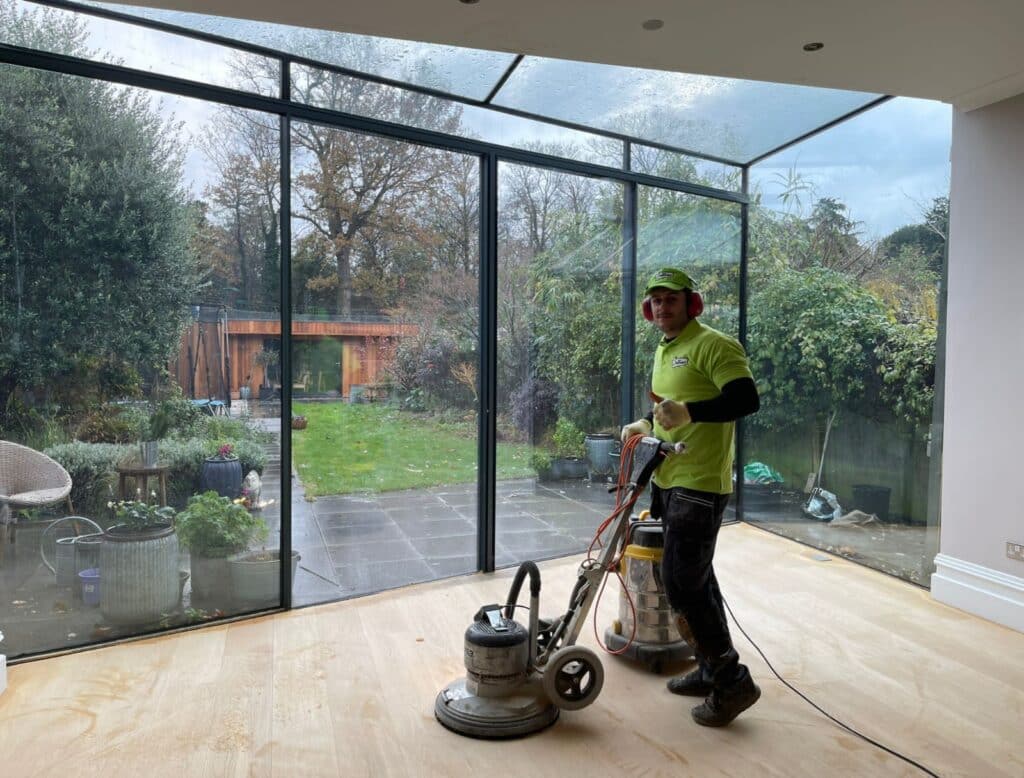
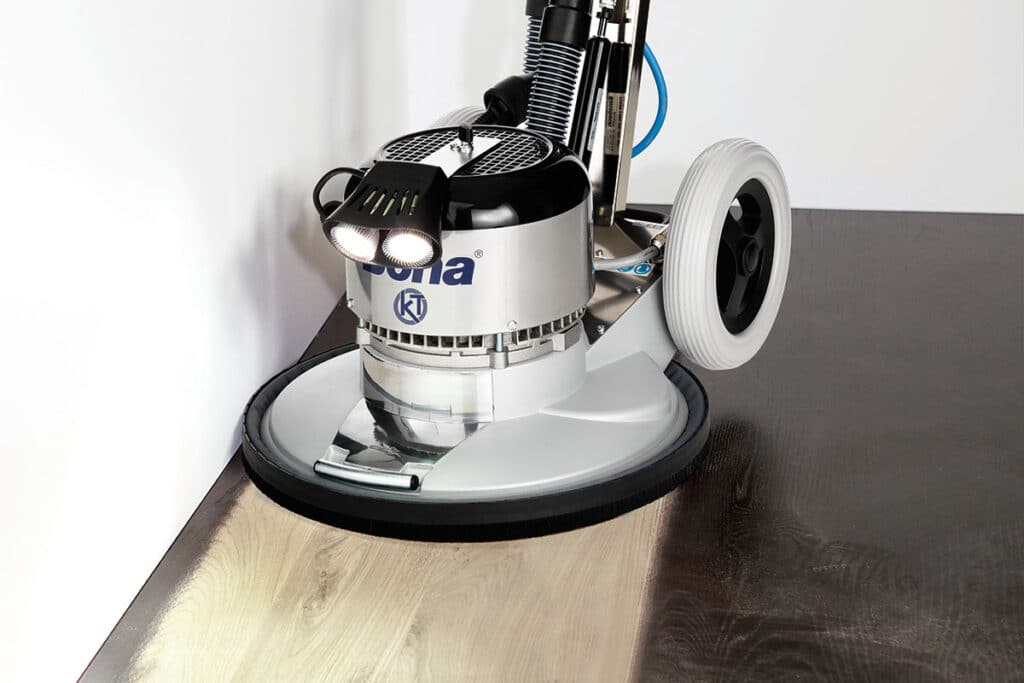
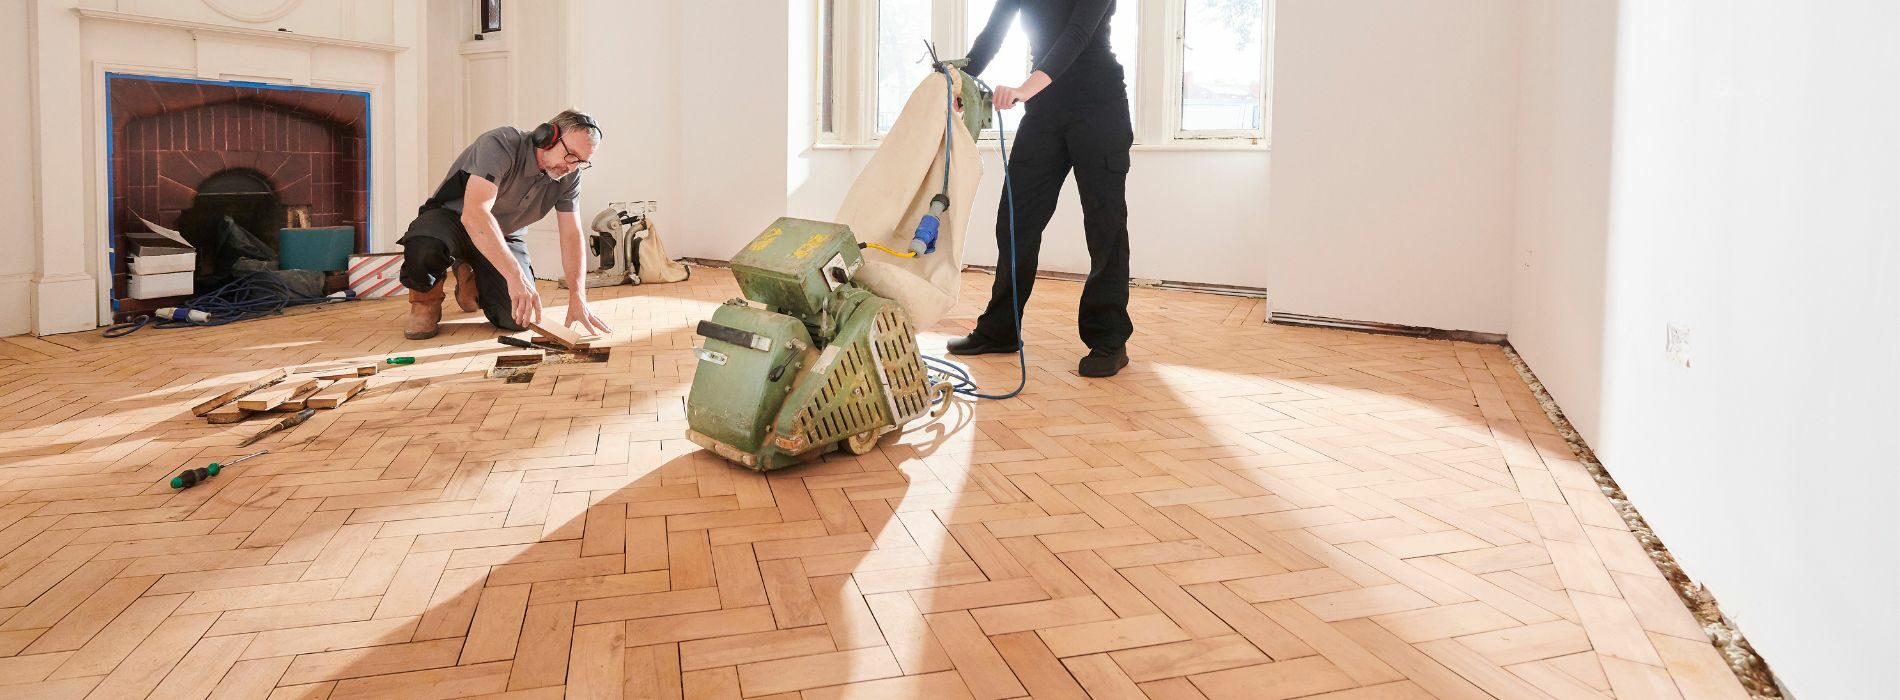
Using the floor buffer
- Turn on the buffer and gently lower the screening disc onto the floor.
- Move the buffer at a smooth, even pace across the floor. Work in small sections to ensure consistent coverage.
- Keep the buffer moving to avoid sanding down one area too much.
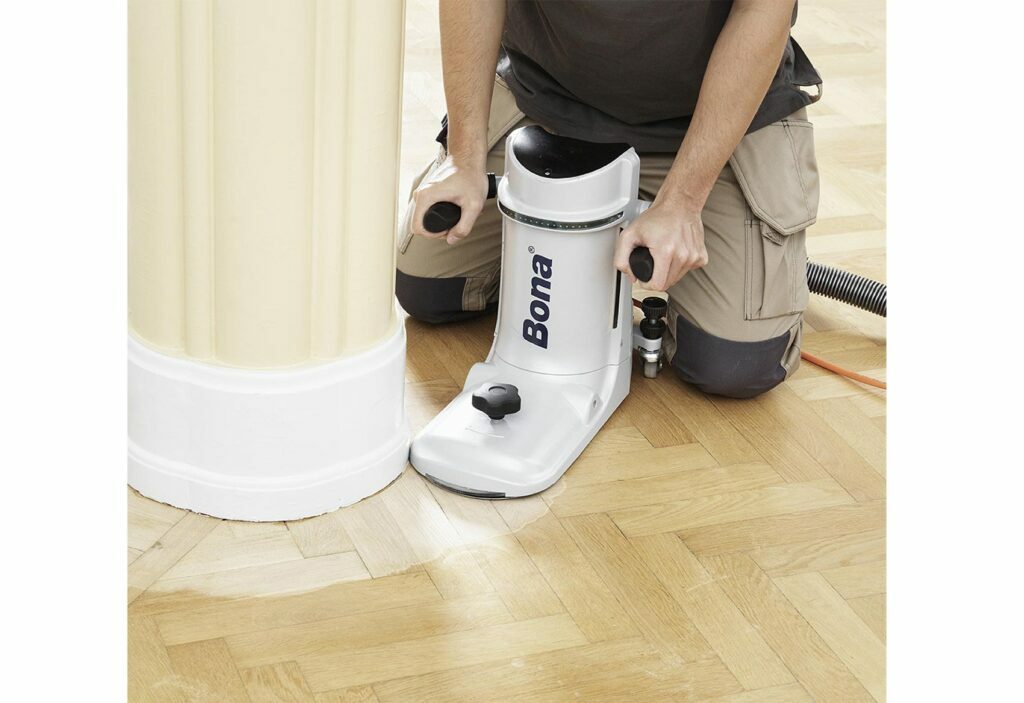
Edge Work
- For areas where the buffer can’t reach, like corners and along baseboards, use an edge sander or hand sand with a fine-grit sandpaper.
- Ensure these areas are as smooth as the rest of the floor for a uniform finish.
Dust Removal
- After screening, thoroughly vacuum the floor to remove all the sanding dust.
- Use a tack cloth to wipe down the floor to pick up finer dust particles.
Inspect and touch-up
- Carefully inspect the floor for any missed spots or uneven areas.
- If necessary, perform touch-up screening on these spots.
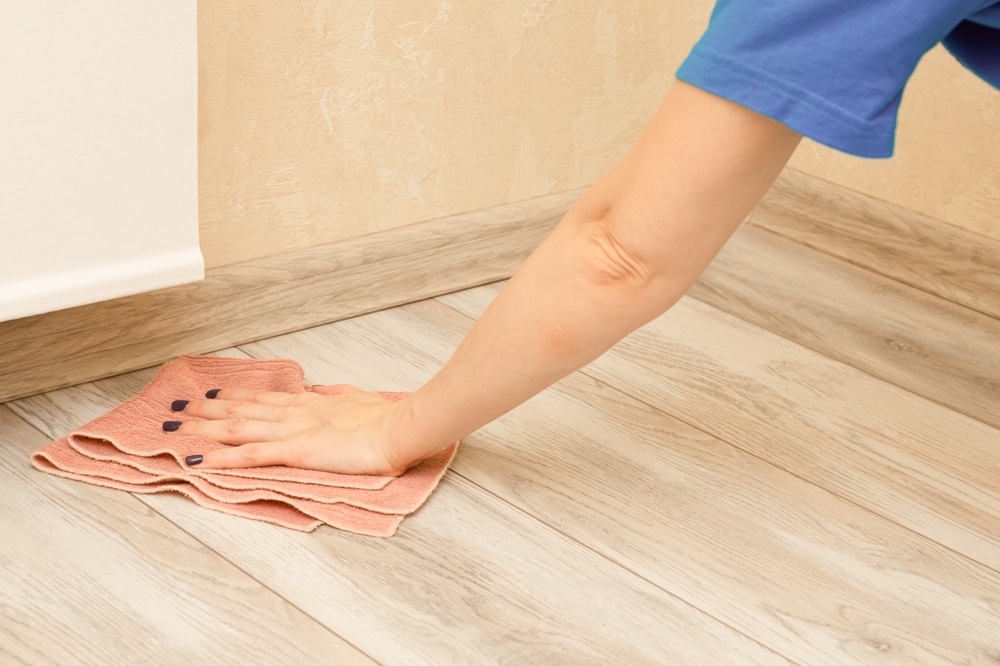
Final Cleaning
- Once satisfied with the screening, do a final clean with a microfiber mop or cloth.
- Ensure the floor is completely clean and dust-free before proceeding to any refinishing steps.
Maintenance Tips Post-Screening
After successfully screening your floors, maintaining wood floors properly is crucial to prolonging their beauty and durability. Here are some tips to help you keep your floors in top condition:
Regular Cleaning
- Sweep or vacuum regularly to remove dirt and grit that can scratch the floor.
- Use a microfiber mop with a gentle, pH-neutral cleaner for regular mopping. Avoid using excessive water.
Immediate Spill Cleanup
- Clean up spills immediately to prevent water damage or staining.
- Use a soft cloth or paper towel to blot spills gently.
Avoid harmful chemicals
- Refrain from using harsh chemicals or abrasive cleaners that can damage the floor finish.
- Opt for manufacturer-recommended cleaning products specifically designed for your floor type.
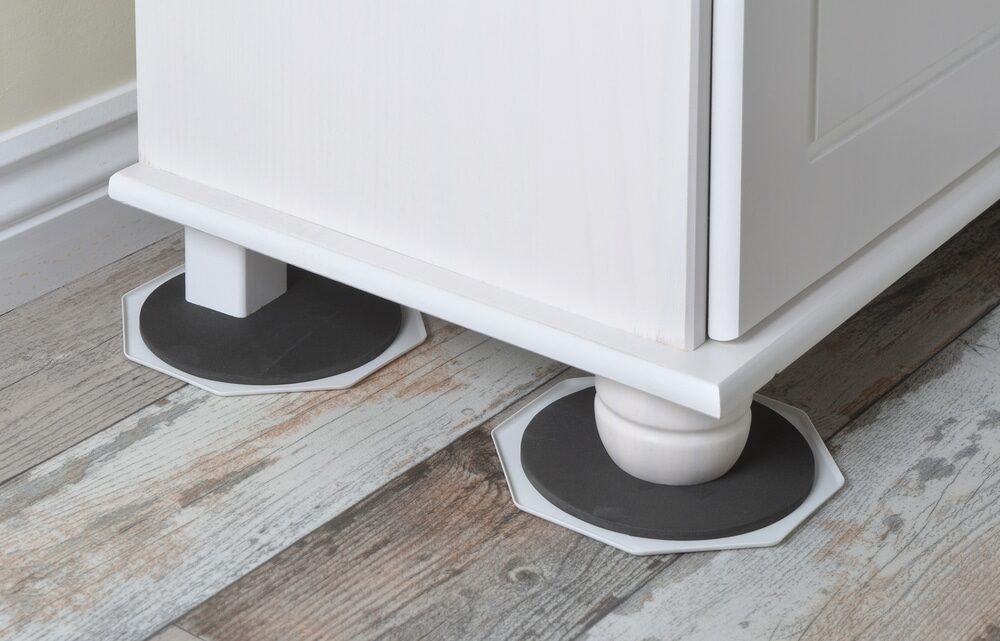
Use protective pads
- Place felt pads under furniture legs to prevent scratches and dents.
- Replace these pads regularly, as they can collect grit over time.
Rug Placement
- Use rugs or mats in high-traffic areas to reduce wear. Make sure they are non-staining and have a breathable backing.
Monitor humidity levels
- Maintain a stable indoor humidity level (around 30–50%) to prevent wood floors from swelling or shrinking.
- Use a humidifier or dehumidifier as needed, depending on the climate.

Periodic Refinishing
- Depending on traffic and wear, plan for a complete refinishing every 5–10 years.
- Screening can be repeated as needed to refresh the top layer of the finish.
Conclusion
Congratulations on completing the journey of preparing and screening your floors! This process, though demanding, is incredibly rewarding, leaving you with a refreshed and revitalised floor that enhances the beauty of your space.
In this blog post, we’ve covered everything from understanding your floor type to the specific steps involved in screening and the essential maintenance tips post-screening. Remember, the key to a successful floor screening project lies in careful preparation, attention to detail during the screening process, and consistent maintenance afterwards.
Floor screening is not just about improving the appearance of your floors; it’s also about extending their lifespan and functionality. By following the guidance provided, you have taken a significant step towards preserving your investment and ensuring that your floors remain a source of pride and joy.
Whether you’re a DIY enthusiast or a professional, we hope this guide has been informative and empowering. As always, if you’re uncertain about any aspect of the process, don’t hesitate to consult with a professional. Happy screening, and enjoy your beautifully refreshed floors!


Sanding
We provide virtually dust-free sanding with our continuous belt machinery with mobile extraction units, giving you a safer environment for your family.
Oiling
This organic finish not only adds beauty to your home but also has exceptional water-repellent characteristics, making it easier to clean and maintain.
Waxing
This natural floor finish offers the softest and most mellow appearance – and leaves your floor able to breath.
Buffing
Using soft buffing machines (and hand-polishing where required) will bring a wonderful sheen to your newly-finished floor.
Repairs
We offer a full assessment of your wooden floors to determine what repairs are needed to provide the perfect working surface for the later stages of sanding, staining and sealing.
Restoration
We offer a comprehensive restoration process designed to address floors that are improperly fitted or damaged over time through wear and tear.
Request a fixed price quote for your wood floor restoration now
Simply enter your postcode below to get started.
Services
Wood Floor Sanding Wood Floor Restoration Wood Floor Scratch Repair Squeaky Wood Floor Repair Parquet Floor Sanding Parquet Floor Restoration Commercial Floor Sanding Church Floor Sanding Community Centre Floor Sanding School Floor Sanding Gap Filling Gap Filling with ResinCopyright © Mr Sander®
Privacy & Cookies Terms & Conditions Complaints Procedure Cancellation Rights Sitemap

Get An Instant Price Estimate Before You Go…
Simply enter the rooms you need sanded and we’ll provide you with a price estimate instantly! Try our price calculator now.
Get a Price Estimate NowLocal Floor Sanding Experts
Over 500 5-Star Reviews
Safe, Dust Free Sanding
Operating Since 1994