London:
Nationwide:
25,000+
Floors Restored
27 Years Experience
Wood Flooring Association Certified
How to Prepare Hardwood Floors for Drum Sanding
Posted on August 22, 2023
Drum sanding
Mastering Drum Sanding: Preparing Your Hardwood Floors the Right Way
In the glorious heart of many a British home lies the charm of hardwood flooring. With its rich patina, borne from years of footsteps, gatherings, and generations, a wooden floor is not just a surface—it is a veritable tableau of memories. However, like the countenance of an aging statesman, these floors can manifest the wear and tear of the years, necessitating some skilled refinishing. Enter the majestic process of drum sanding. It’s a delicate art, a dance that takes the raw, weathered grain of timber and transforms it into a canvas smooth and ready for a new chapter. Yet, the performance of the drum sander is only as good as the stage it is set upon. And to put that stage, preparation, my dear reader, is paramount.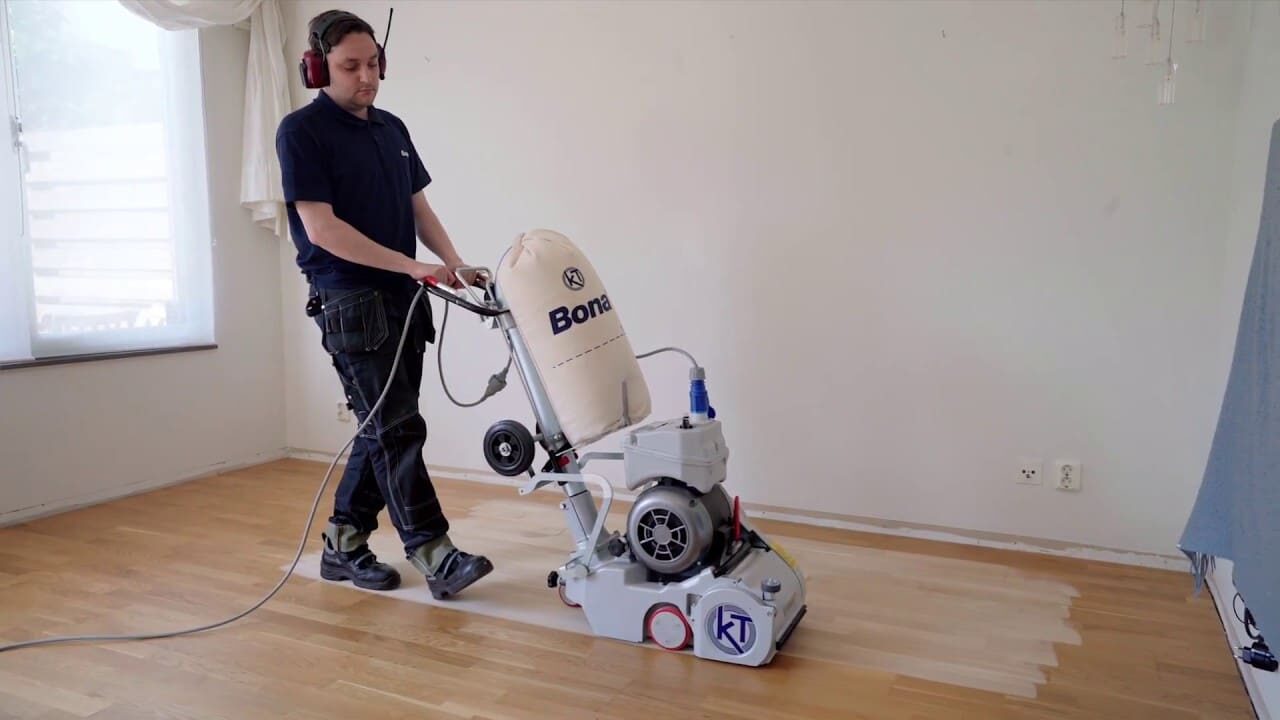
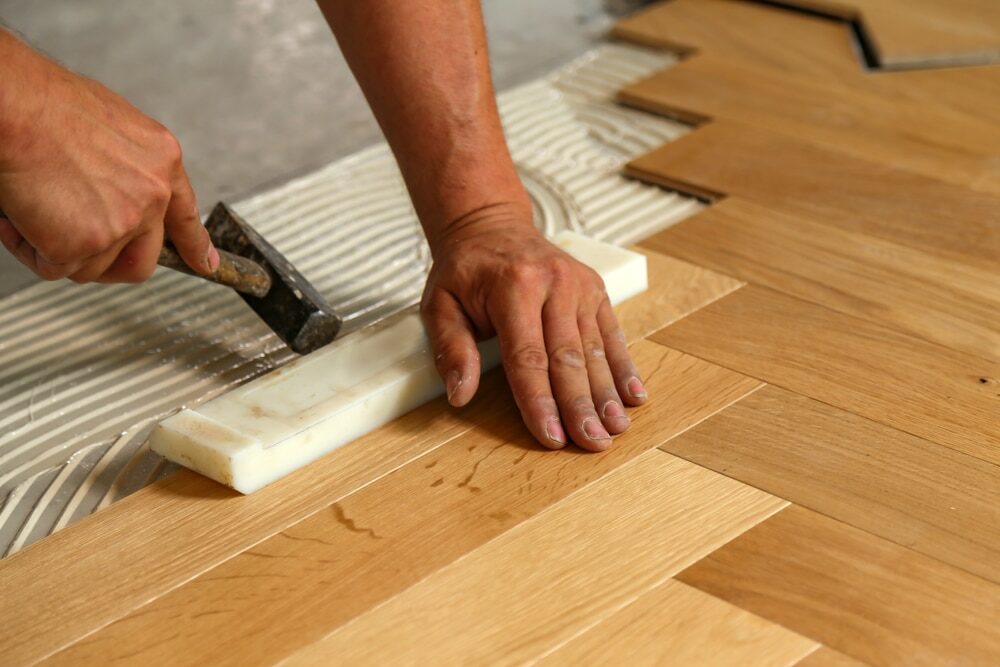
1. Survey Your Stage
Before diving into the sanding mechanics, you must understand the wood beneath. Hardwood has its intricacies, knots, and patterns. Inspecting the floor for protruding nails, staples, or any other remnants from its installation or prior refurbishments is prudent. These can damage your sander and mar the result. Using a nail set, push these intruders below the surface.
2. Declutter and clean
Clear the room of furniture, rugs, and all décor. In the simple act of emptying, you’re not just making space for machinery; you are mentally preparing to rejuvenate an integral aspect of your dwelling. Follow up with a thorough cleaning—sweep, then vacuum. Any debris left behind becomes an adversary to your sanding endeavor.3. Repair and fill
Dents, gouges, and cracks are inevitable in the life of a floor. They tell stories. But for our purposes, they need addressing. Use a wood filler that matches your floor’s species. The smoother the canvas, the more impeccable the outcome.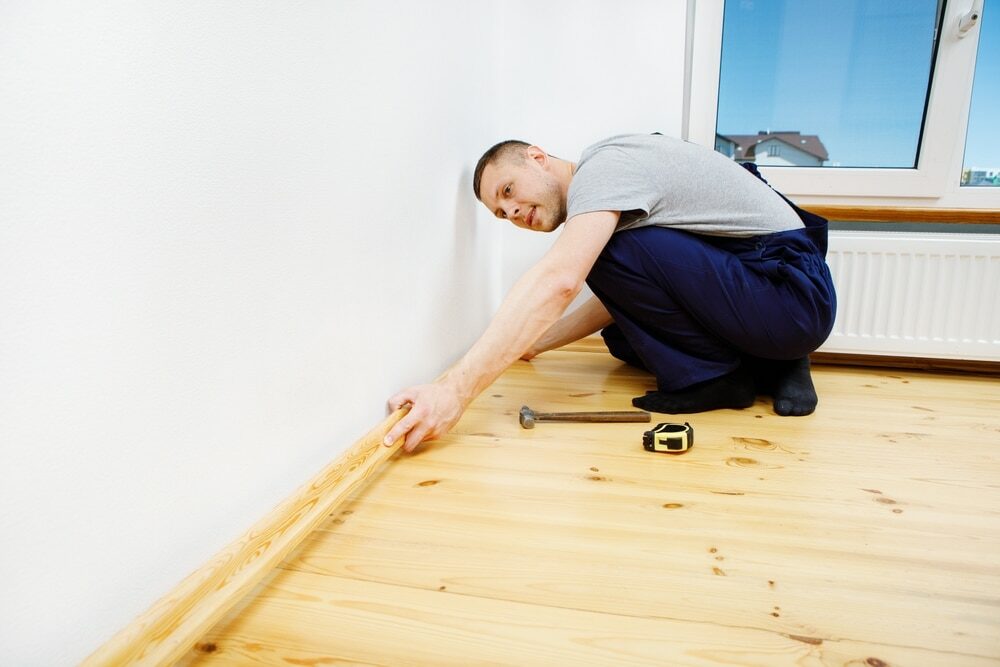
4. Mask the adjacent
Dust is an eager traveler. It seeks out every crevice and every nook. Seal off adjacent rooms to ensure it doesn’t settle in places you’d instead it didn’t. Use plastic sheeting and painter’s tape. Likewise, cover any vents to prevent your HVAC system from becoming a dust distributor.5. Safety is not just a word.
It is a responsibility. Wear protective goggles. Don a mask, ensuring your lungs aren’t subjected to the timber dust. Earmuffs will guard against the machine’s roar. The “Better safe than sorry” adage never sounded more accurate.6. Choose Your Grit
Sandpaper isn’t merely sandpaper. It’s a spectrum. Start with a coarser grit to remove the old finish and significant blemishes. Progressively move to finer grits for that perfect smoothness. Commonly, a three-tier approach—using 36, 60, and 100-grit paper—suffices.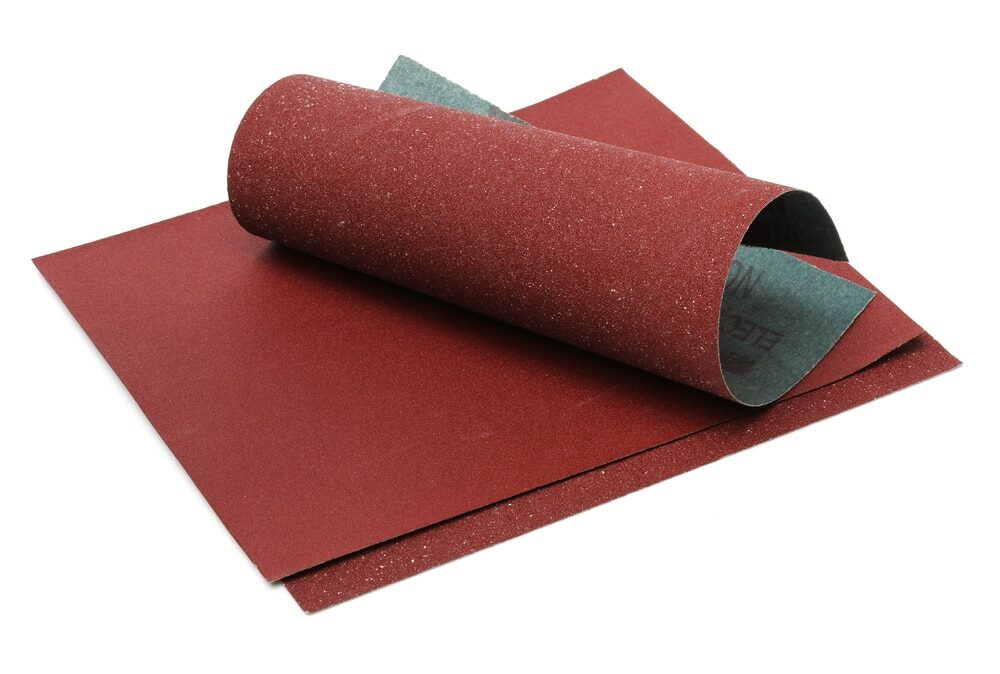
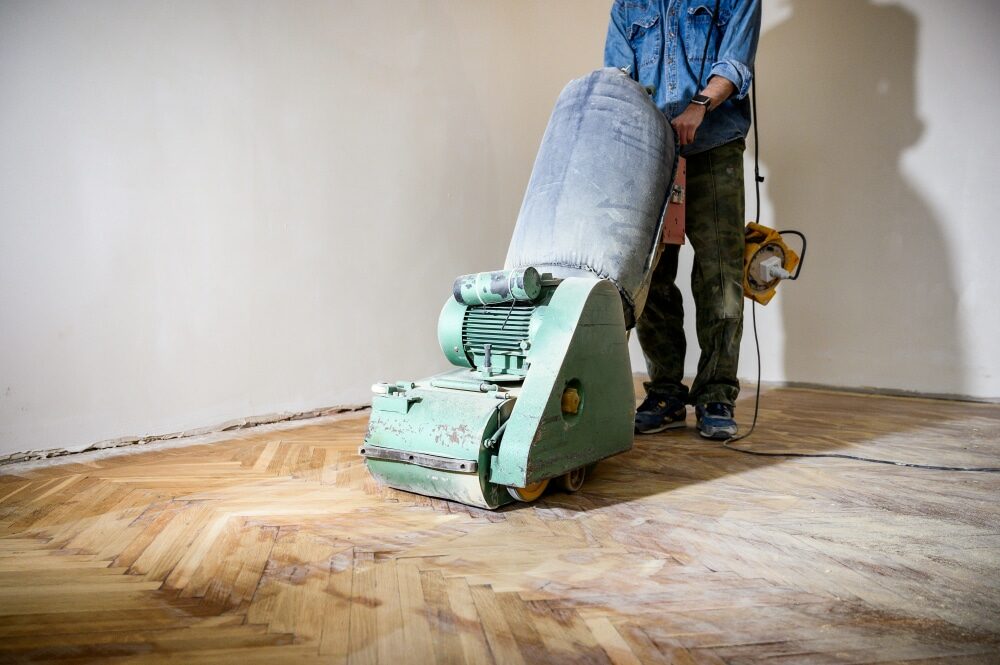
7. Ready the Sander
Familiarise yourself with the drum sander. Renting a machine? Consult the attendant, absorbing their insights like a sponge. They’ve seen novices and experts alike, and they can offer wisdom. Place the sandpaper on the drum, ensuring it’s taut and devoid of creases.8. The Dance Begins
Start from the room’s center, moving to its edges. Push the sander forward, ensuring the drum touches the floor gently, and pull it back over the same path. Overlapping each pass by a few inches assures uniformity.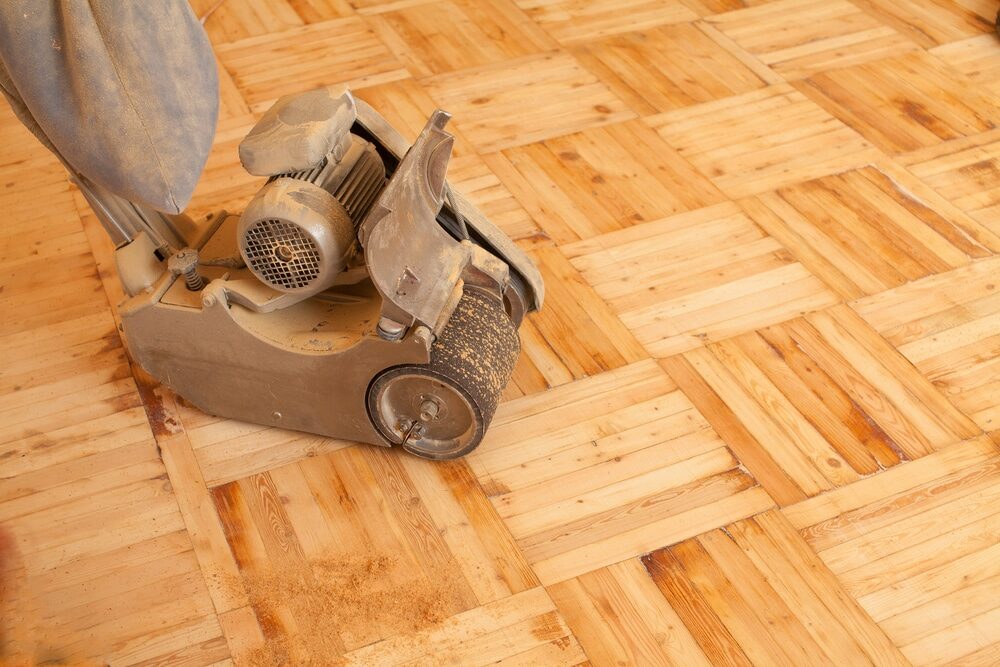
9. Address the edges
A drum sander is great but won’t reach the tight corners and edges. Here, the edge sander—a smaller counterpart—takes the lead. The same grit progression applies.10. The Finer Touch
Once the initial sanding is done, employ a buffer with a fine-grit sanding screen. This final flourish enhances the floor’s smoothness, preparing it for future finishes.11. Clean Once More
You’ve unmasked the beauty of your hardwood, but the aftermath of dust surrounds it. Clean meticulously. Vacuum, then wipe with a damp cloth. This ensures the finishes adhere seamlessly.
12. Reflect and Proceed
Stand back. Marvel at the rebirth of your floor. It’s almost poetic. Yet, remember, this is just the preparation. The staining and sealing await. But with an impeccable foundation, the subsequent steps are bound to shine.13. Know Your Wood’s History
Every hardwood has its chronicle. Oak, pine, and mahogany each respond to sanding in their unique manner. A well-seasoned craftsman knows the value of understanding the hardwood’s lineage. Was it waxed or oiled in its past life? Knowing this can alter the approach, ensuring the wood isn’t subjected to undue stress or incompatible treatments.14. Humidity: The Silent Player
Ah, the British weather! A conversation starter, a muse for poets, and a crucial factor in sanding. Too much moisture in the wood can hinder the sanding process. Utilize a moisture meter, available at most hardware shops. Ensuring the wood’s moisture content is appropriate can save you from many future problems.
15. Testing: The Unsung Hero
Before embarking on the complete floor, test a concealed patch, perhaps under a large piece of furniture or in a corner. This simple act can reveal how the wood reacts to the sanding and the grit’s efficiency and even highlight any potential errors in technique. A small test can prevent enormous regrets.16. Pace and Pressure: The Ballet of Balance
The art of sanding, much like life itself, is about rhythm. A hurried pace can lead to uneven results, while going too slow can over sand certain areas. Similarly, excessive pressure can wear down the wood unnecessarily, while too little can leave patches unsanded. It’s a dance—a waltz of balance and finesse.17. Aftercare: A Glimpse into the Future
After sanding, your hardwood floor resembles a blank canvas—vulnerable yet full of potential. While sealing and staining are the next obvious steps, the immediate aftercare of the freshly sanded floor can dictate its longevity. Keep it free from foot traffic for at least a day, and if any spills occur, attend to them promptly. The more immaculate the sanded surface remains, the better the subsequent finishes.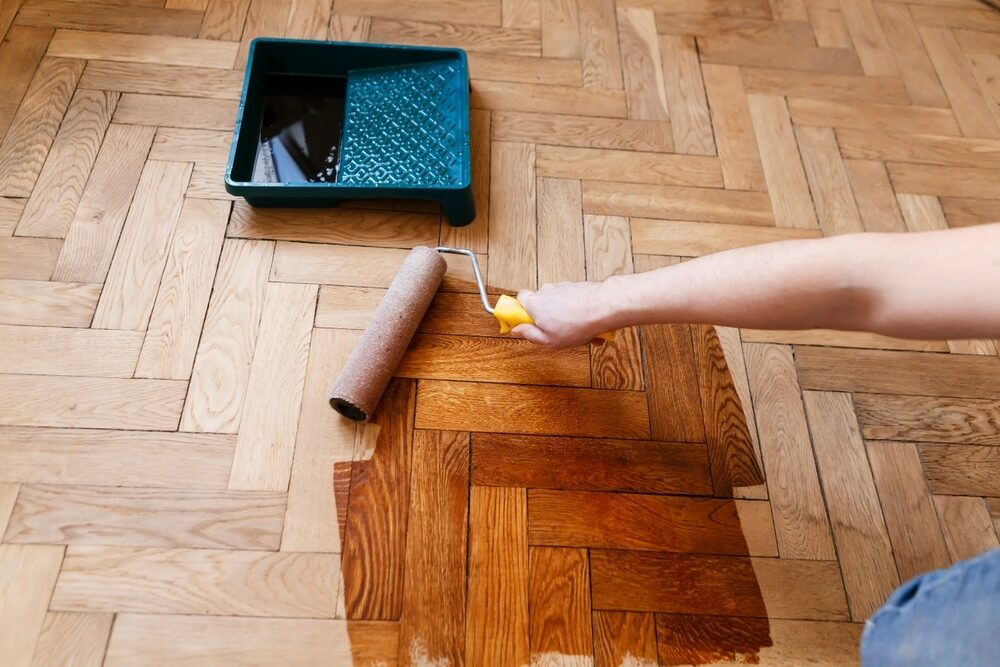
Conclusion
Stepping back and gazing upon a freshly prepared hardwood floor, one can’t help but be trapped by its simplistic allure. This isn’t merely about aesthetics but preserving the age-old bond between wood and humanity. The hardwood has silently borne witness to countless chapters of our lives, and it’s our solemn duty, nay, privilege, to offer it rejuvenation in return. The meticulous process of preparation for drum sanding, as elucidated, isn’t merely a series of technical steps. It is a rite of renewal, a gesture of gratitude to the timber that has steadfastly served beneath our feet. By respecting each phase, understanding the essence of the wood, and executing with patience and passion, we revitalize a physical space and rekindle the timeless tales interwoven in its grains. A hardwood floor is more than a foundation in the grand tapestry of a home and hearth. It is a keeper of stories, a silent chronicler. And as we tread upon its renewed surface, we don’t just walk; we waltz in tandem with history and hope. Through drum sanding preparation, we don’t just refurbish a floor; we breathe life into a legacy.Some Useful Links:
- Stairs Sanding & Refinishing
- Floor Sanding Services
- School Floor Sanding
- Wood Floor Restorations
- Wood Floor Repairs
- Wood Floor Polishing
More from our Blog:
The Best Drum Sander Brands for Professional Floor Sanding The Pros and Cons of Drum Sanding versus Orbital Sanding DIY Tips for Successful Drum Sanding of Wooden Floors How to Choose the Right Drum Sander for Floor Sanding The Advantages of Drum Sanding for Hardwood Floors Revamp Your Home with Professional Floor Sanding Services in London
Sanding
We provide virtually dust-free sanding with our continuous belt machinery with mobile extraction units, giving you a safer environment for your family.
Oiling
This organic finish not only adds beauty to your home but also has exceptional water-repellent characteristics, making it easier to clean and maintain.
Waxing
This natural floor finish offers the softest and most mellow appearance – and leaves your floor able to breath.
Buffing
Using soft buffing machines (and hand-polishing where required) will bring a wonderful sheen to your newly-finished floor.
Repairs
We offer a full assessment of your wooden floors to determine what repairs are needed to provide the perfect working surface for the later stages of sanding, staining and sealing.
Restoration
We offer a comprehensive restoration process designed to address floors that are improperly fitted or damaged over time through wear and tear.
Request a fixed price quote for your wood floor restoration now
Simply enter your postcode below to get started.
Services
Wood Floor Sanding Wood Floor Restoration Wood Floor Scratch Repair Squeaky Wood Floor Repair Parquet Floor Sanding Parquet Floor Restoration Commercial Floor Sanding Church Floor Sanding Community Centre Floor Sanding School Floor Sanding Gap Filling Gap Filling with ResinCopyright © Mr Sander®
Privacy & Cookies Terms & Conditions Complaints Procedure Cancellation Rights Sitemap

Get An Instant Price Estimate Before You Go…
Simply enter the rooms you need sanded and we’ll provide you with a price estimate instantly! Try our price calculator now.
Get a Price Estimate NowLocal Floor Sanding Experts
Over 500 5-Star Reviews
Safe, Dust Free Sanding
Operating Since 1994