London:
Nationwide:
25,000+
Floors Restored
27 Years Experience
Wood Flooring Association Certified
How to Hand Sand a Parquet Floor
Posted on January 9, 2024
Floor sanding techniques
How to Hand Sand a Parquet Floor: A Detailed Guide
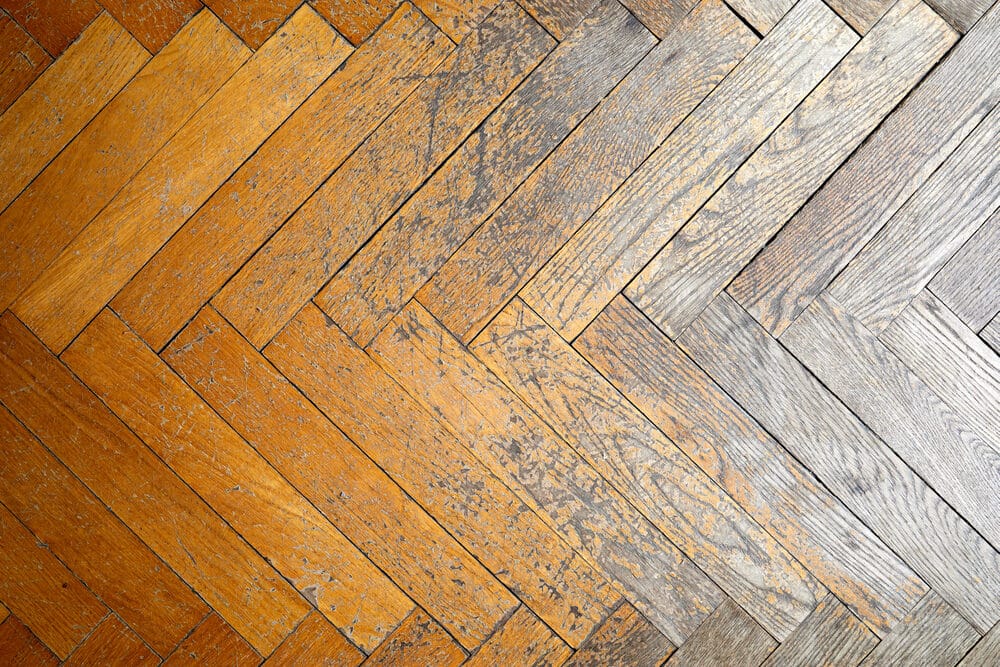
Parquet flooring, the mosaic of beauty underfoot, tells a tale of classic elegance and enduring design. This style of flooring, originating from the grand palaces of France in the 16th century, has graced the floors of historic homes and modern residences alike. Its unique charm lies in the geometric mosaic of wood pieces, meticulously arranged to showcase an array of patterns and designs.
Parquet flooring, with its intricate patterns and unmatched aesthetic, is more than just a flooring choice; it’s a statement of style and a nod to history. The process of hand-sanding such floors is not only a task of Parquet floor restoration but also an act of preserving a piece of art. Each stroke of sandpaper across the wood’s grain is a step towards bringing out the hidden beauty and depth of the wood, revealing the stories and craftsmanship embedded in each piece.
This guide aims to empower homeowners and DIY enthusiasts with the knowledge and techniques needed to hand-sand their parquet floors. Whether you’re dealing with a floor that has seen better days or simply wish to refresh its appearance, hand sanding provides a unique opportunity to connect with the material in a way that mechanical sanding cannot match. By understanding and respecting the wood’s natural patterns and characteristics, you can rejuvenate your parquet floor, ensuring it continues to grace your home with its elegance and charm.
Understanding Parquet
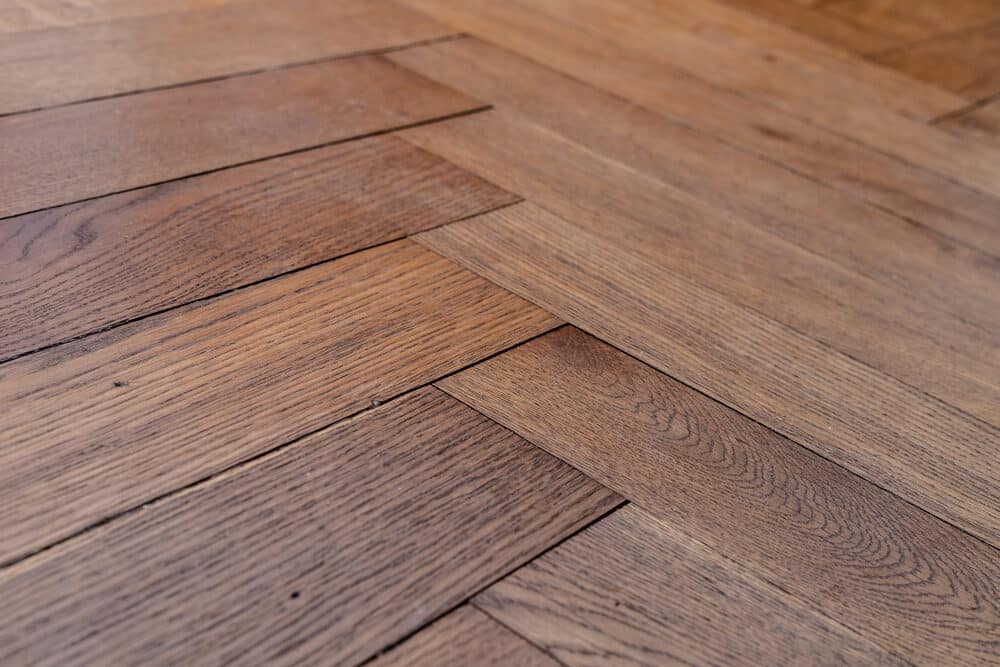
At its core, parquet is an artistic expression in woodwork. Individual pieces of wood, known as staves, are cut and laid in a variety of geometric patterns, the most popular being herringbone and chevron. The variety of wood types—oak, walnut, cherry, and others—provide a spectrum of colours and grains, each contributing to the floor’s character.
Parquet floors are not just visually appealing; they are a testament to skilled craftsmanship. Each piece is carefully selected and positioned, creating a floor that is as much a piece of art as it is a functional surface.
Benefits of Hand Sanding
When it comes to restoration, hand-sanding a parquet floor is a respectful nod to the traditional methods used in its creation. This process offers several benefits:
- Precision and Control: Hand sanding allows for a greater level of control, particularly important in dealing with the intricate patterns of parquet flooring.
- Preservation of Character: Unlike machine sanding, hand sanding is gentler on the wood, helping to preserve its original character and patina.
- Customisation: Each section of a parquet floor can respond differently to sanding, depending on the wood’s age and grain. Hand sanding accommodates these variations, ensuring a uniform finish.
- Mindful Restoration: This approach is about more than just refinishing; it’s about connecting with the material, understanding its history, and mindfully restoring it to its former glory.
Preparing for the task
Before embarking on the journey of Hand-sanding your parquet floor, it’s crucial to prepare adequately. This preparation not only sets the stage for a smoother process but also ensures the safety and longevity of your floor.
Assessing Your Parquet Floor
- Initial Inspection: Begin with a thorough examination of your floor. Look for loose staves, protruding nails, or any damage that needs repair. This step is vital for ensuring a smooth sanding process.
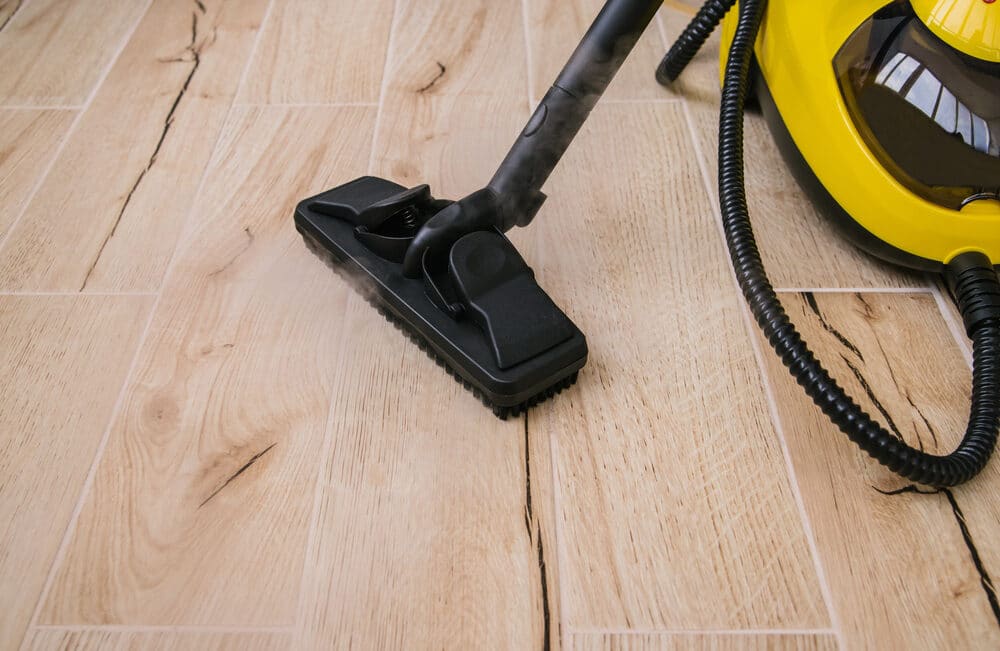
- Cleaning the Surface: Ensure the floor is free from dust, debris, and any coatings like wax or varnish. A clean surface allows you to see the true condition of the wood and sand effectively.
- Identifying Wood Type: Different wood types respond differently to sanding. Identify the type of wood your parquet floor is made from to tailor your approach accordingly.
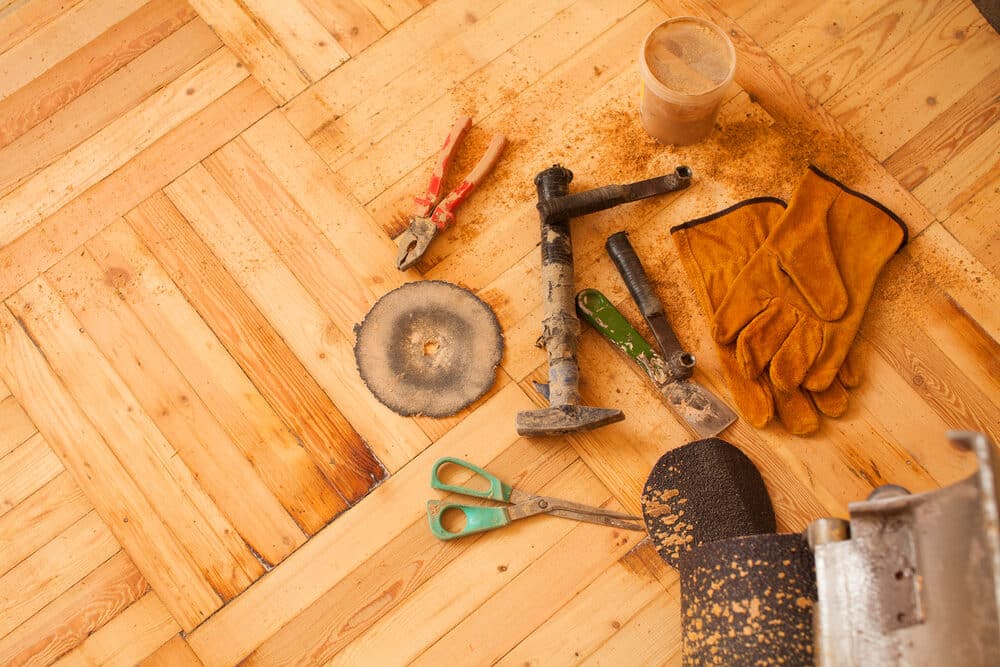
Gathering Necessary Tools and Materials
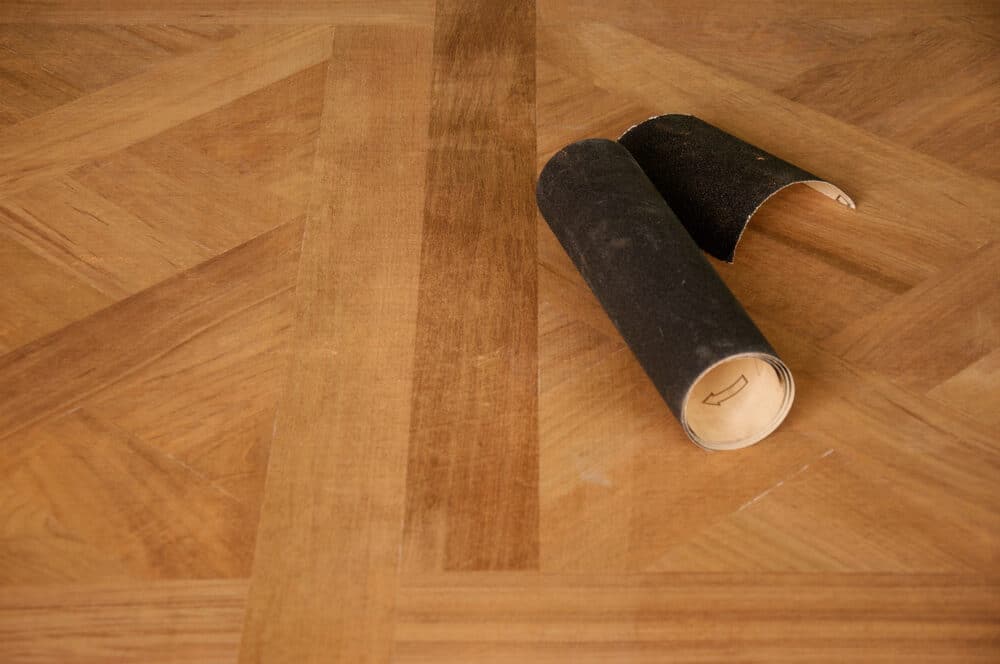
- Sanding Tools: While hand-sanding, you will need a range of sandpapers with different grits. Start with a coarser grit (around 60) for initial sanding and progress to finer grits (up to 120 or 150) for a smooth finish.
- Repair Kit: For any minor repairs, have wood filler and a few spare staves of the same wood type and size on hand.
- Safety Gear: Essential safety equipment includes a dust mask, safety goggles, and gloves. Protecting yourself from dust and splinters is paramount.
- Cleaning Supplies: After each sanding phase, you’ll need to clean the surface. A vacuum cleaner and a tack cloth will be helpful for removing dust.
- Marking Tools: Chalk or low-tack tape can be useful for marking areas that need special attention or repair.
The Hand Sanding Process
Hand-sanding a parquet floor is a meticulous process that requires patience and precision. By following these steps, you can achieve a beautifully restored floor that respects its original craftsmanship.
Step-by-Step Guide
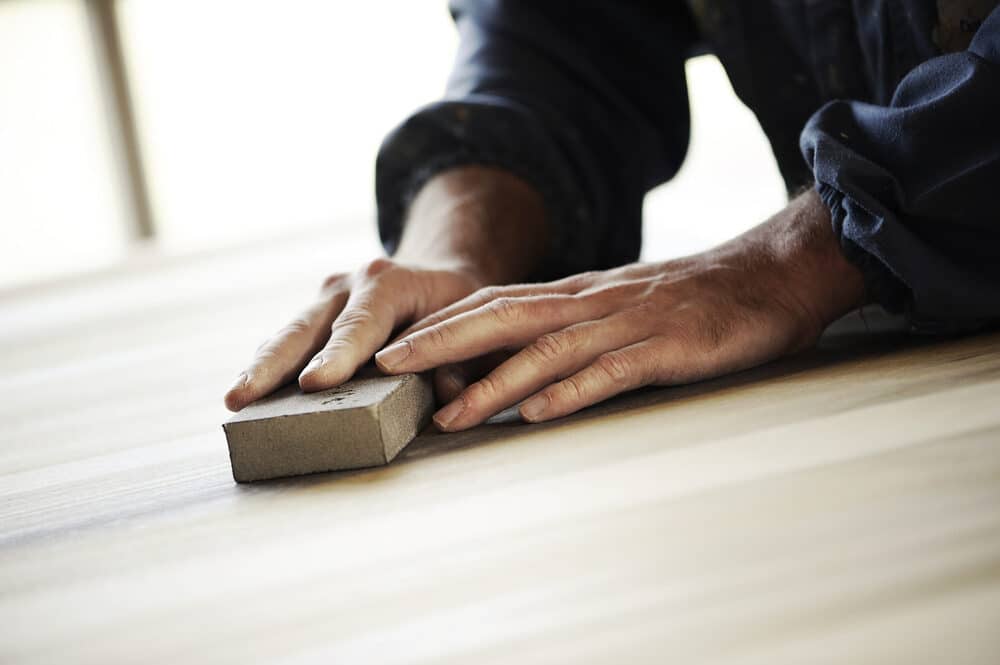
Starting with Coarse Grit Sandpaper:
Begin with a coarse grit, such as 60-grit sandpaper. This initial step helps remove the old finish, smooth out rough areas, and level any unevenness.
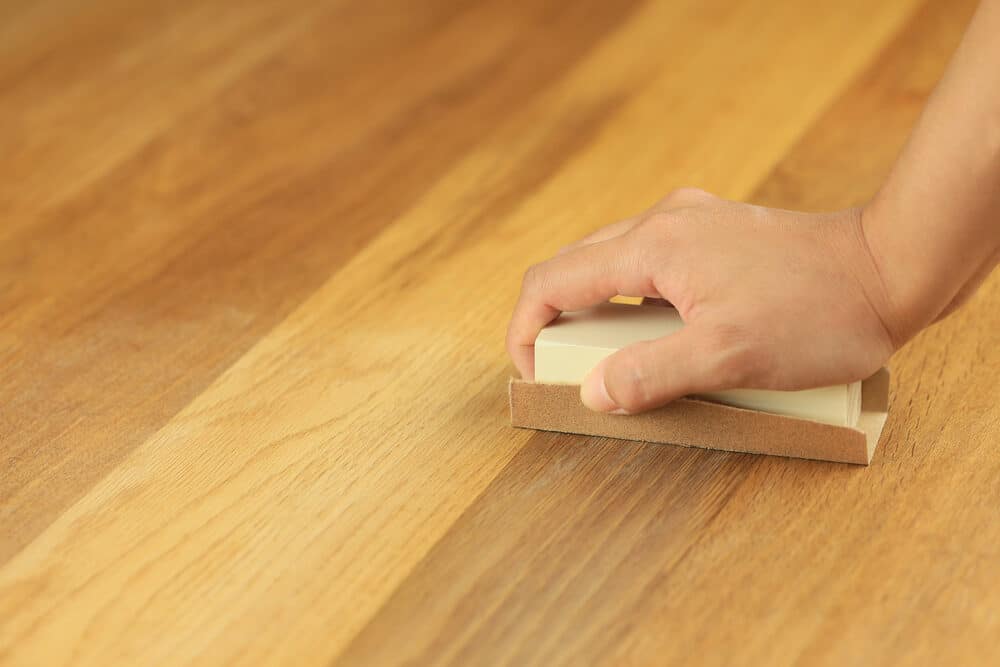
Sanding in the Right Direction:
For parquet floors, it’s essential to sand in the direction of the grain of each individual stave. This can be challenging due to the varying directions of the staves, but it’s crucial for avoiding damage to the wood.
Gradually Moving to Finer Grits:
After the initial sanding, switch to a medium grit, such as 80 or 100. This will start to smooth out the roughness left by the coarser sandpaper. Finish with a fine grit, like 120 or 150, to achieve a smooth surface.
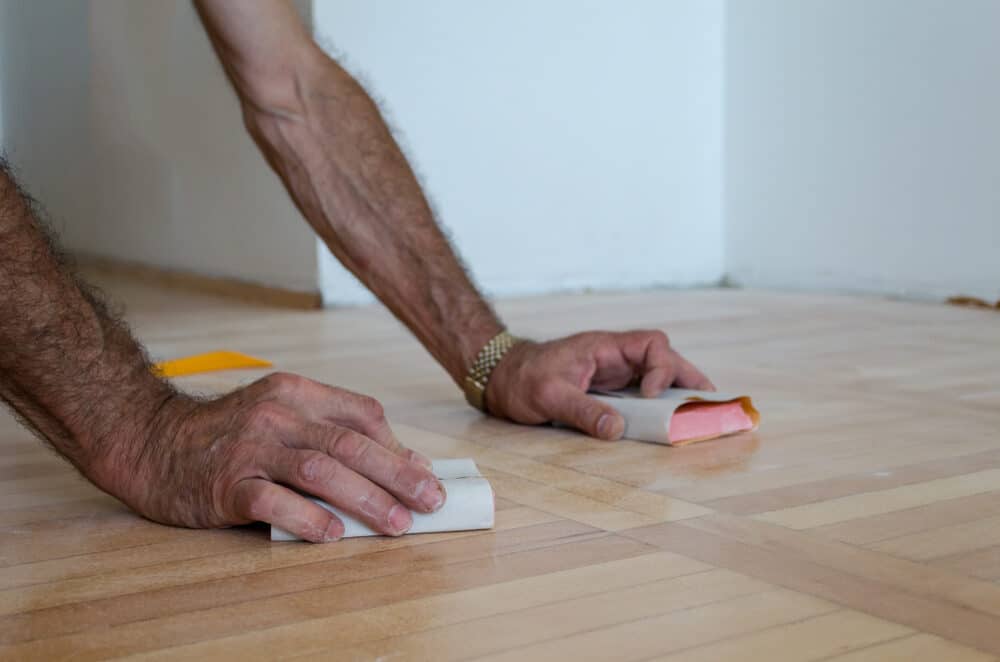
Detail Sanding:
Use a smaller sanding block or a hand-held sanding tool to get into the corners and edges where a larger block can’t reach.
Regular Cleaning:
Frequently clean the surface with a vacuum cleaner and a tack cloth to remove dust. This step is important for seeing your progress and ensuring a smooth finish.
Tips for Effective Sanding
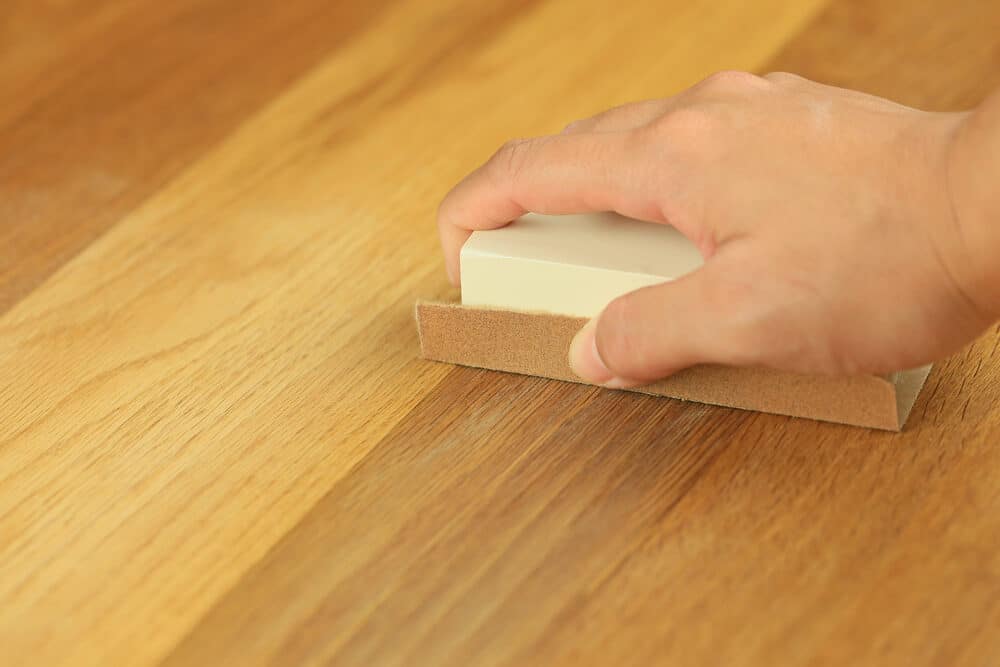
- Maintain Even Pressure: Apply consistent pressure while sanding to avoid creating depressions or uneven areas.
- Check Your Progress: Regularly check the surface to ensure you’re removing scratches and old finish evenly.
- Mind the Patterns: Be mindful of the parquet patterns. Each section may require a slightly different approach based on the direction of the grain.
- Patience is key. Hand-sanding is a slow process. Rushing can lead to mistakes, so take your time to achieve the best result.
- Use the Right Tools: Ensure your sanding blocks and other tools are in good condition. Worn-out tools can lead to ineffective sanding or damage to the wood.
Hand-sanding a parquet floor is not just about restoring it; it’s about renewing its story and character. Up next, we’ll explore how to handle difficult areas and achieve a flawless finish.
Handling difficult areas
Parquet flooring, with its intricate patterns and designs, often presents challenging areas that require special attention during the hand-sanding process. Here are strategies to effectively manage these tricky sections.
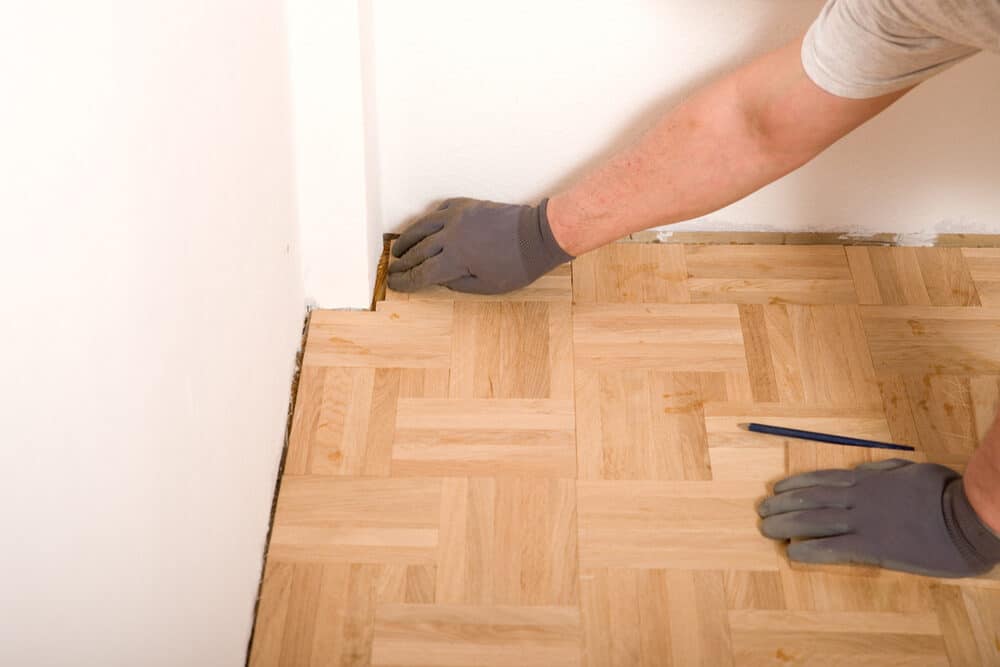
Working around edges and corners
- Using Smaller Tools: For edges and corners, switch to smaller sanding tools. Handheld sanding blocks, or even manual sandpaper, can provide the control needed to reach these tight spaces.
- Gentle Sanding: Apply gentle pressure in these areas. The edges and corners are more prone to damage, so a lighter touch is essential.
- Consistent with the Grain: Always sand in the direction of the wood grain, even in tight spaces. This approach minimises the risk of scratching or damaging the wood.
- Frequent Inspection: Regularly check your progress in these areas. Due to their complexity, it’s easy to miss spots or over-sand.
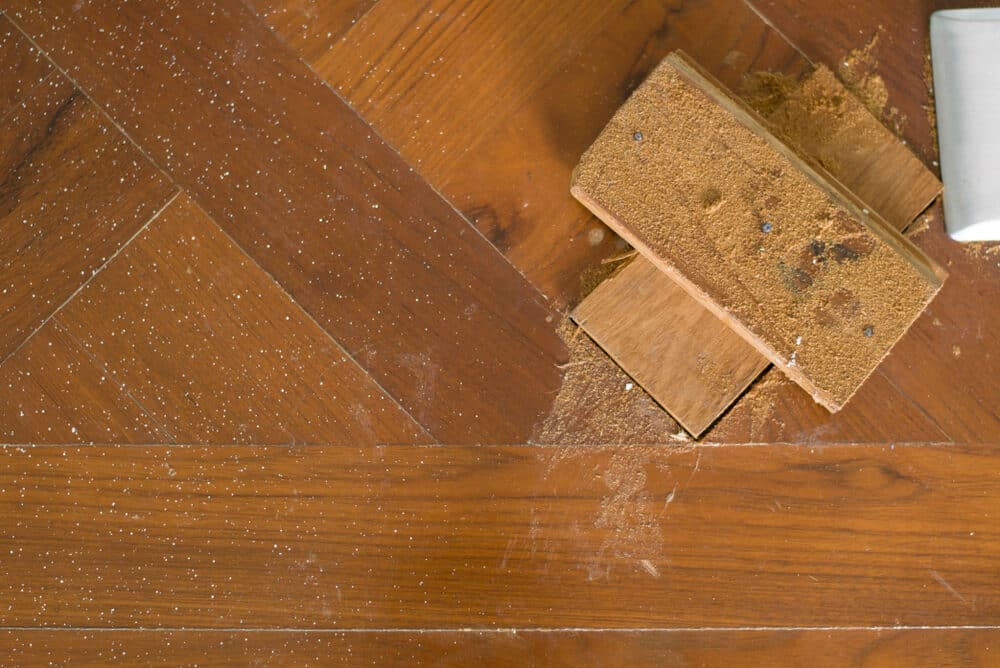
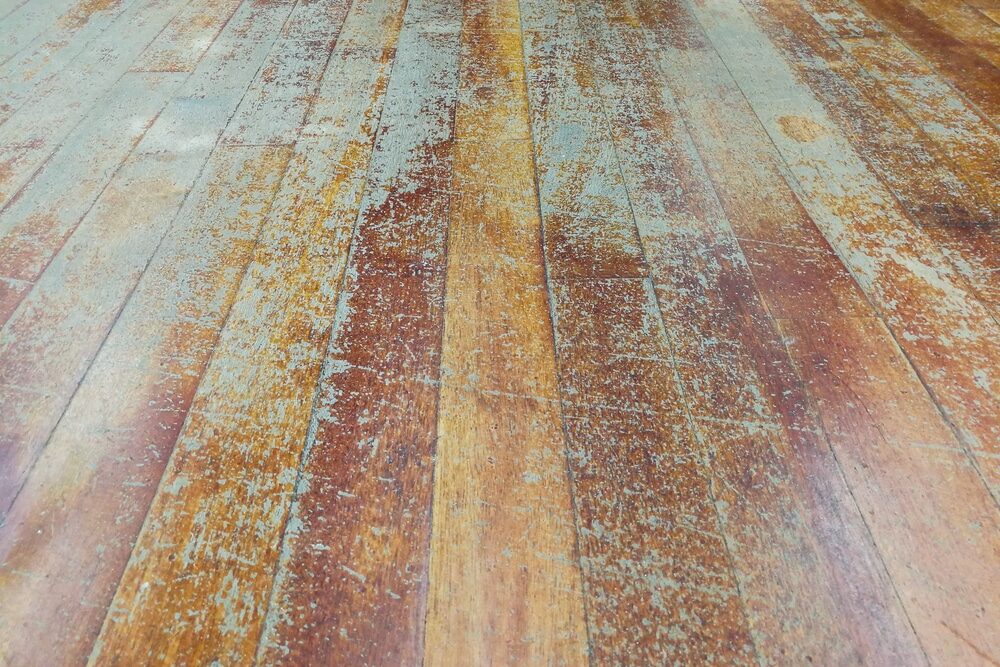
Dealing with Stains and Damages
- Identifying the Type of Stain: Water stains, oil stains, and deep scratches need different approaches. Determine the type of stain or damage to apply the right technique.
- Localised Sanding: Focus on the stained or damaged area first. Sand these areas separately before sanding the entire floor to ensure an even finish.
- Using Wood Filler: For deeper scratches or gouges, use a wood filler that matches the colour of your parquet. Apply the filler, let it dry, and then sand it down to level with the floor.
- Test Spots: If you’re unsure about how to handle a particular stain or damage, test your approach on a small, inconspicuous area first.
By giving special attention to edges, corners, and damaged areas, you ensure a uniformly sanded surface that highlights the beauty of your parquet floor. Coming up next, we will discuss the finishing touches that seal and protect your hand-sanded masterpiece.
Finishing Touches
After the diligent work of hand-sanding your parquet floor, the final steps are crucial in sealing and protecting your efforts. Here’s how to add the finishing touches that will enhance and preserve the beauty of your floor.
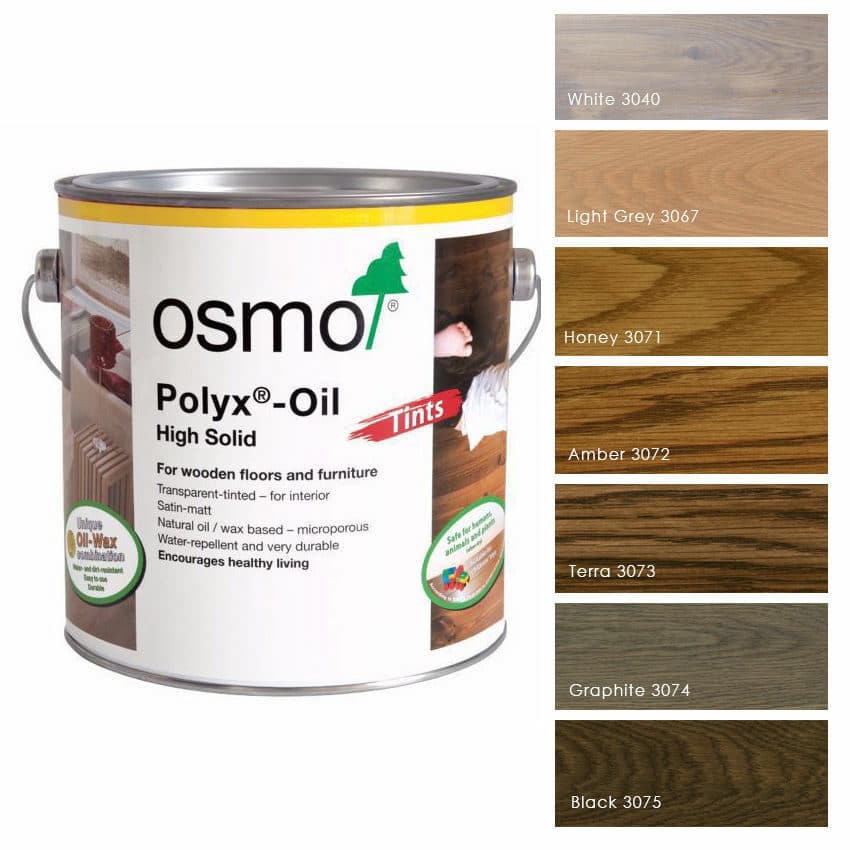
Choosing the Right Finish
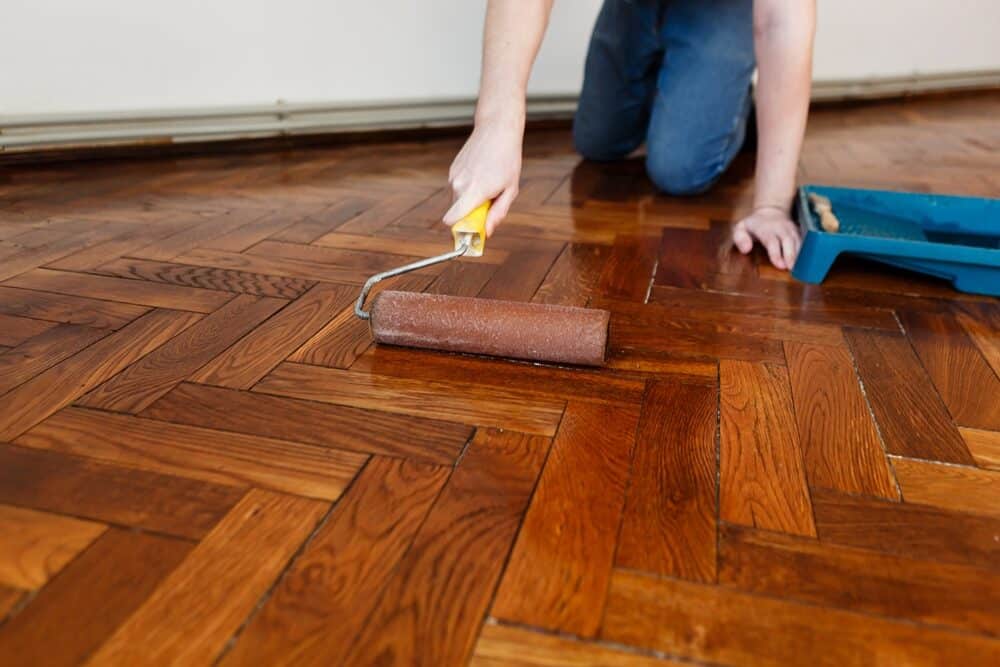
- Type of Finish: Select a finish that complements the wood and your personal preference. Options include oil-based finishes for a natural look, water-based polyurethane for durability, or lacquers for a high-gloss finish.
- Colour Matching: Consider the original colour of the wood or the desired final appearance. Some finishes can add a tint or enhance the natural colour of the wood.
- Finish Application Tools: Prepare the appropriate tools for your chosen finish, such as brushes, rollers, or pads, depending on the product’s requirements.
Application Techniques
- Test the Finish: Before applying the finish to the entire floor, test it on a small, inconspicuous area to ensure it gives the desired effect.
- Even Application: Apply the finish evenly across the floor, working in manageable sections. Follow the manufacturer’s instructions for the best results.
- Allow drying time: Allow sufficient drying time between coats. Rushing this process can lead to a finish that isn’t durable or evenly applied.
- Apply Multiple Coats: Depending on the chosen finish, apply multiple thin coats rather than a single thick coat. This approach leads to a more durable and attractive finish.
- Final Inspection: Once the final coat is dry, inspect the floor for any missed spots or imperfections.
Maintenance Tips
- Proper Curing Time: Allow the finish to cure fully before moving furniture back into the room or walking on the floor. This could take a few days to a week, depending on the finish.
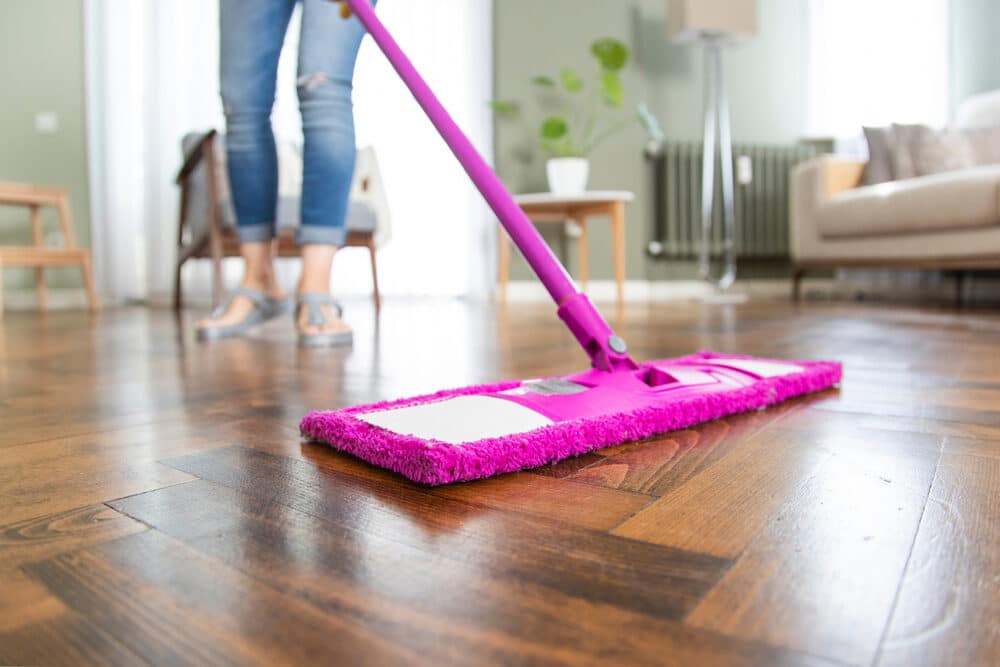
- Regular Cleaning: Maintain the floor with regular cleaning using products suitable for your specific finish. Avoid harsh chemicals or abrasive cleaning tools.
- Protect from Furniture: Use felt pads under furniture legs to prevent scratches and dents on your newly finished floor.
With these finishing touches, your hand-sanded parquet floor will not only look revitalised but will also be well protected for years to come. Enjoy the satisfaction of a job well done and the renewed beauty of your classic parquet flooring.
Conclusion
The art of hand-sanding a parquet floor is a journey that combines skill, patience, and a deep appreciation for craftsmanship. This process not only revives the floor but also pays homage to the traditional methods of woodwork. As you stand back and admire the renewed lustre of your parquet flooring, it’s a testament to the time and effort invested in preserving its beauty and heritage.
Parquet Floor Hand-sanding has allowed you to intimately connect with each piece of wood, understanding its unique grain and character. The result is a floor that not only looks refreshed but also carries the story of your personal touch and attention to detail.
Remember, the true beauty of a parquet floor lies in its history and the stories it holds. By choosing to hand-sand, you’ve not only restored its physical appearance but also honoured its legacy. May your parquet floor continue to be a centrepiece of your home, admired for its elegance and cherished for the memories it embodies.
As you move forward, take pride in the knowledge and skills you’ve gained through this process. Your hand-sanded parquet floor is not just a part of your home; it’s a reflection of your dedication to preserving the beauty of the past for the future.

Sanding
We provide virtually dust-free sanding with our continuous belt machinery with mobile extraction units, giving you a safer environment for your family.
Oiling
This organic finish not only adds beauty to your home but also has exceptional water-repellent characteristics, making it easier to clean and maintain.
Waxing
This natural floor finish offers the softest and most mellow appearance – and leaves your floor able to breath.
Buffing
Using soft buffing machines (and hand-polishing where required) will bring a wonderful sheen to your newly-finished floor.
Repairs
We offer a full assessment of your wooden floors to determine what repairs are needed to provide the perfect working surface for the later stages of sanding, staining and sealing.
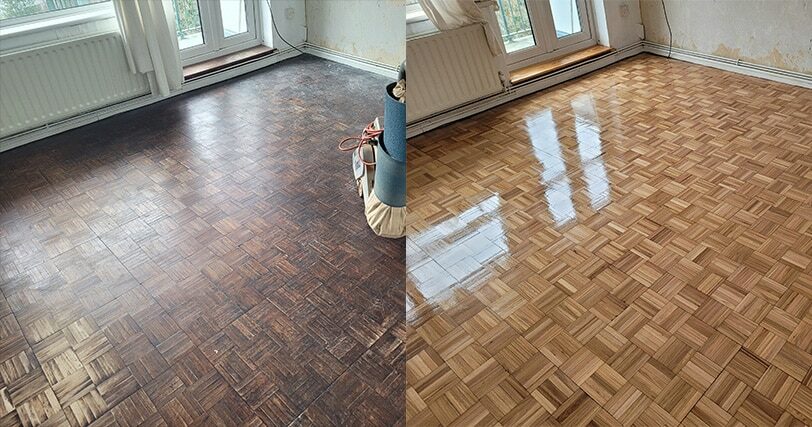
Restoration
We offer a comprehensive restoration process designed to address floors that are improperly fitted or damaged over time through wear and tear.
Request a fixed price quote for your wood floor restoration now
Simply enter your postcode below to get started.
Services
Wood Floor Sanding Wood Floor Restoration Wood Floor Scratch Repair Squeaky Wood Floor Repair Parquet Floor Sanding Parquet Floor Restoration Commercial Floor Sanding Church Floor Sanding Community Centre Floor Sanding School Floor Sanding Gap Filling Gap Filling with ResinCopyright © Mr Sander®
Privacy & Cookies Terms & Conditions Complaints Procedure Cancellation Rights Sitemap

Get An Instant Price Estimate Before You Go…
Simply enter the rooms you need sanded and we’ll provide you with a price estimate instantly! Try our price calculator now.
Get a Price Estimate NowLocal Floor Sanding Experts
Over 500 5-Star Reviews
Safe, Dust Free Sanding
Operating Since 1994