London:
Nationwide:
25,000+
Floors Restored
27 Years Experience
Wood Flooring Association Certified
How to Choose the Right Orbital Sander for Floor Sanding
Posted on August 25, 2023
Floor sanding techniques
Mastering Floor Sanding: Choosing the Best Orbital Sander
Greetings to all you enthusiastic DIYers and professional floor fitters out there! Sanding a wooden floor can be a daunting task, and like a true Brit, you’ll want your tools to be as reliable as your morning cuppa. So, let’s dive deep into the world of orbital sanders and determine how to select the ideal one for your floor sanding project.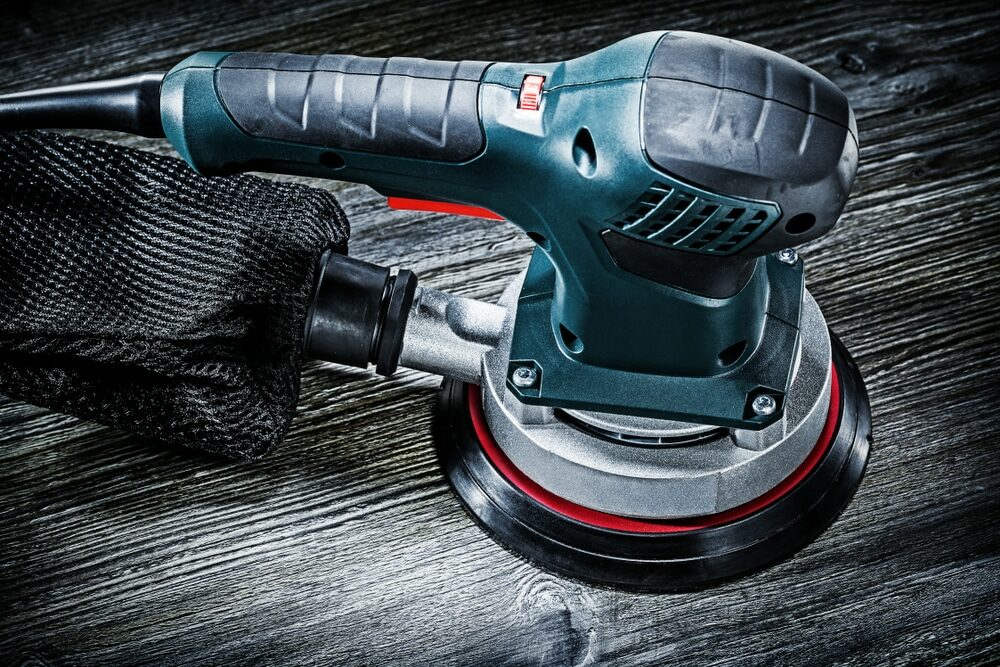
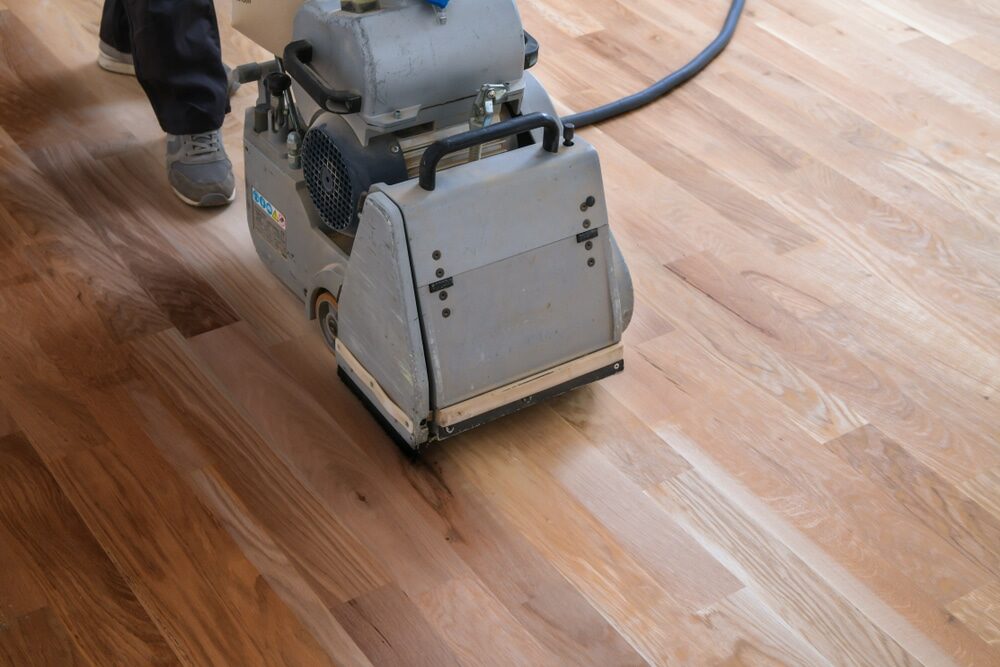
A Brief Introduction to the Orbital Sander
Before we hit the high notes, it’s crucial to get a firm grasp of what an orbital sander is. This nifty tool, typically shaped like a square or rectangle, uses sanding discs that move in a circular manner, ensuring a smooth and swirl-free finish. And because of its unique motion, the orbital sander won’t leave any marks, even if you move against the wood grain—a lifesaver for those of us less accustomed to meticulous sanding methods.Step 1: Consider the size of your project.
Are you just giving a little facelift to a vintage coffee table? Or is it the grand expanse of your living room floor that requires attention? The size of your project will help dictate the size and power of the sander you should choose.- Small Projects: A simple handheld orbital sander would suffice. It’s compact, and although it takes a bit longer, it offers greater precision.
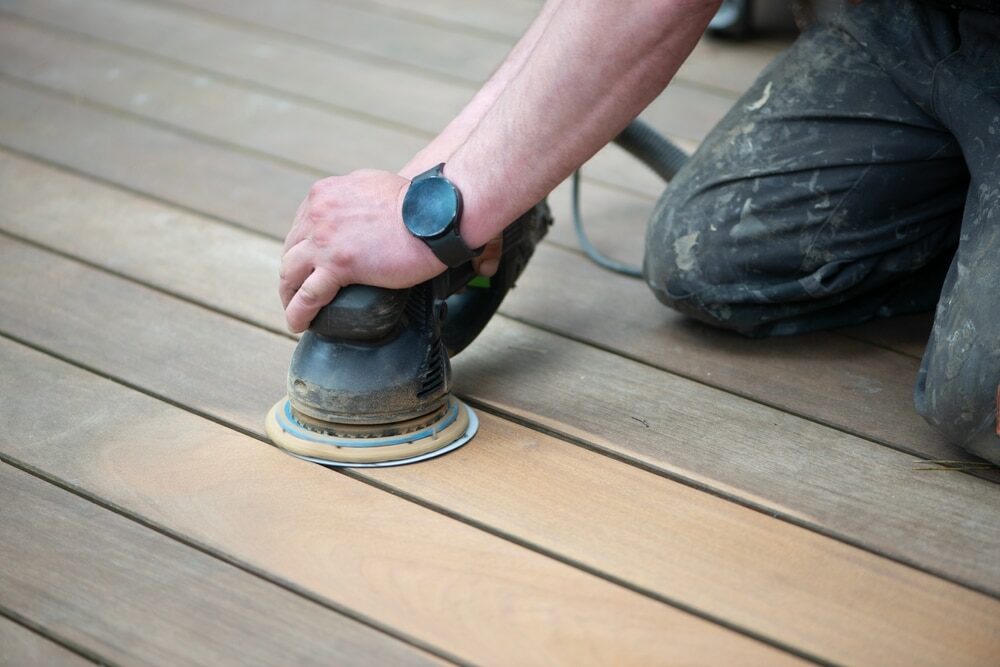
- Large Projects: For bigger spaces, like floors, you’d ideally want a larger, more powerful sander. Something like a random orbital floor sander would be fitting.
Step 2: Power and Speed
Speed is not just a matter for Formula 1 races. When it comes to sanding, a machine’s speed (measured in orbits per minute, or OPM) determines the finish quality and the duration of the job.- Adjustable Speed: Some orbital sanders come with adjustable speed settings. It’s a tad more expensive, but the flexibility is worth every penny.
- Power Source: While corded versions offer consistent power, cordless ones offer more manoeuvrability. Weigh the pros and cons according to your workspace.
Step 3: Dust Collection System
If you’ve ever sanded a floor, you know the mess I’m talking about. Dust is everywhere—in places you didn’t even know existed. A good orbital sander should have an efficient dust collection system. Not only does this keep your workspace clean, but it also offers a clearer view of your progress and is better for your lungs.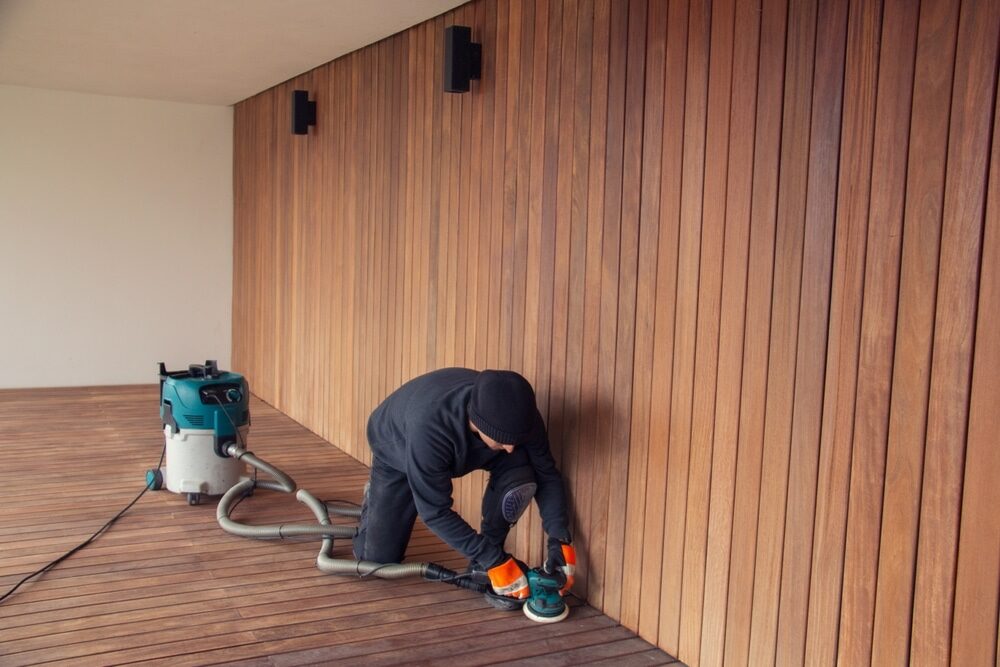
Step 4: Comfort and Ergonomics
You might spend hours sanding, especially if you’re covering an expansive area. An ergonomic design reduces hand and arm fatigue. Look for:- Soft-grip handles
- Low-vibration design
- Lightweight build
Step 5: Durability and Brand Reputation
As with all tools, the reliability of an orbital sander is paramount. The old saying “You get what you pay for” rings true here. Investing a bit more initially can save you money and frustration down the line. Do your research, read reviews, and trust reputable brands with a track record of durability.Step 6: The Grit Game
Choosing the right sandpaper grit is as vital as choosing the sander itself. Start with a coarser grit to remove the old finish and imperfections, and gradually move to a finer grit for that immaculate, silky finish. Ensure the sander you select has easily available and interchangeable sanding pads.
Step 7: Additional Features and Attachments
Modern orbital sanders come with an array of features that cater to various needs. It’s like finding the extra goodies in your biscuit tin—always a pleasant surprise.- Variable Head Tips: Some models allow users to switch between square and round sanding heads. While the square one is excellent for edges, the round tip ensures better movement on open surfaces.
- Hook and Loop System: This is essentially the system that helps you change sandpaper discs quickly. If you anticipate needing to switch grits frequently, consider a model that employs an efficient hook-and-loop system for easy sandpaper changes.
Step 8: Consider noise levels
For those of us who enjoy a peaceful afternoon or have neighbours close by, the noise level of your orbital sander can be a significant factor. Some models are designed to operate more quietly. It’s always a good idea to check the decibel (dB) ratings. Anything below 85 dB is generally considered acceptable for extended use.Step 9: Think About Maintenance
Like any piece of machinery, orbital sanders require regular maintenance to keep them in top shape. Look for models that are easy to clean and have readily available spare parts. It’s a bit like tending to our gardens; a little care goes a long way.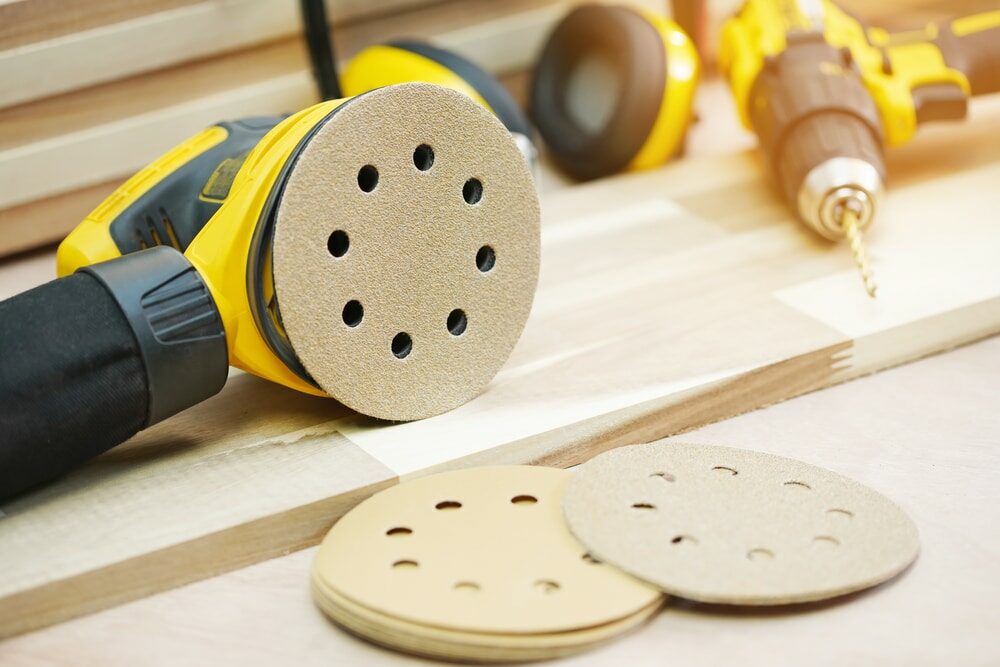
Step 10: Budget and Value
Lastly, but by no means least, is the matter of cost. While it’s essential to invest in quality, that doesn’t necessarily mean the most expensive model is the best for your needs. Set a reasonable budget, but allow some flexibility. Sometimes, spending a tad more can bring in features that offer great value in the long run.Conclusion
Whether you’re an amateur DIY enthusiast or a seasoned floor fitting professional, the right orbital sander can make or break your floor sanding project. It’s not just about power but also about precision, comfort, and efficiency. As with all craftwork, taking the time to choose the right tools ensures not only the beauty of the final product but also the satisfaction of the process. Remember, every wooden floor has its own unique character, just like us Brits. And with the right care, attention, and tools, it can shine in all its glory, reflecting the very essence of a job well done. Cheers to a floor that’s as smooth as our wit and as resilient as our spirit!Some Useful Links:
- Stairs Sanding & Refinishing
- Floor Sanding Services
- School Floor Sanding
- Wood Floor Restorations
- Wood Floor Repairs
- Wood Floor Polishing
More from our Blog:
The Pros and Cons of Orbital Sanding for Floor Restoration Understanding the Mechanics of Orbital Sanding How to Choose Between Drum Sanding and Hand Sanding of Wooden Floors The Most Effective Drum Sanding Techniques for Removing Scratches The Safety Precautions to Take When Using a Drum Sander for Floors How to Achieve a Smooth and Even Finish with a Drum Sander How to Choose the Right Abrasive Grit for Drum Sanding Floors The Benefits of Using a Professional Drum Sander for Floor Sanding
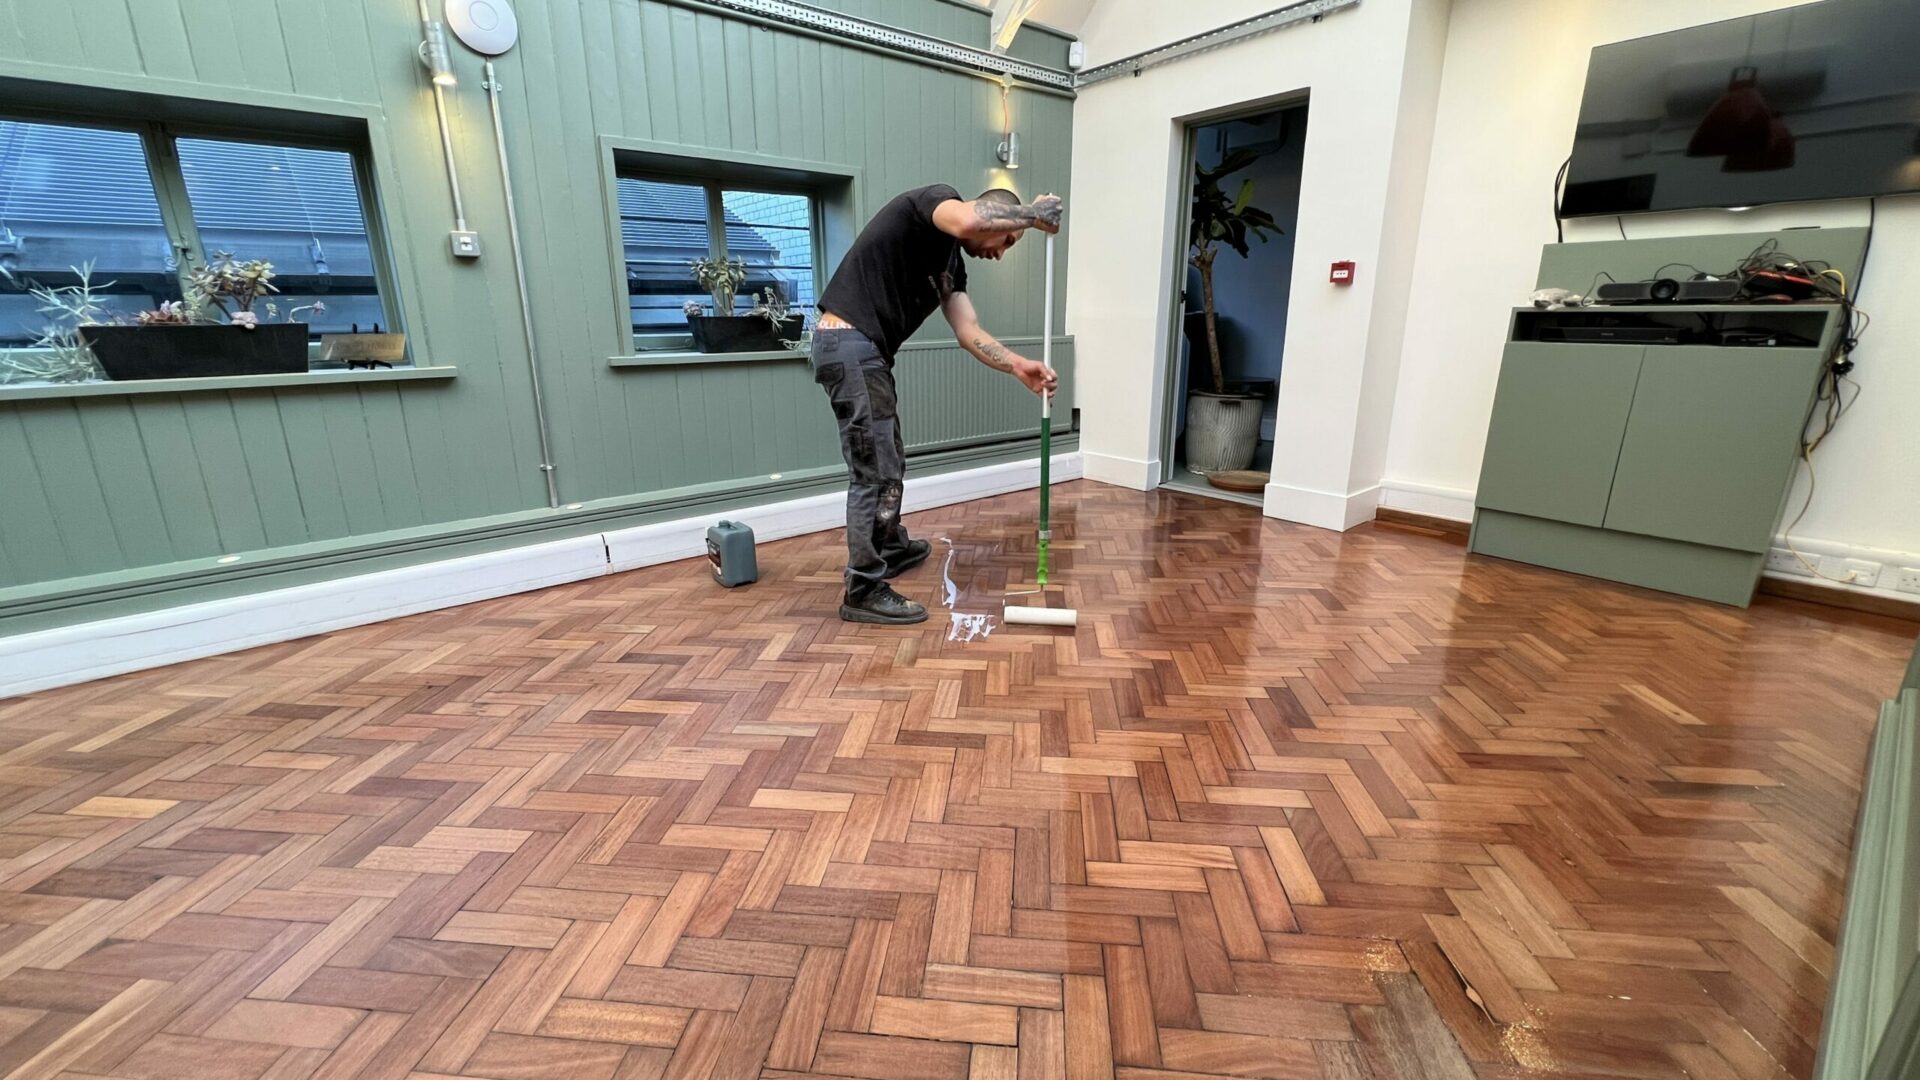
Sanding
We provide virtually dust-free sanding with our continuous belt machinery with mobile extraction units, giving you a safer environment for your family.
Oiling
This organic finish not only adds beauty to your home but also has exceptional water-repellent characteristics, making it easier to clean and maintain.
Waxing
This natural floor finish offers the softest and most mellow appearance – and leaves your floor able to breath.
Buffing
Using soft buffing machines (and hand-polishing where required) will bring a wonderful sheen to your newly-finished floor.
Repairs
We offer a full assessment of your wooden floors to determine what repairs are needed to provide the perfect working surface for the later stages of sanding, staining and sealing.
Restoration
We offer a comprehensive restoration process designed to address floors that are improperly fitted or damaged over time through wear and tear.
Request a fixed price quote for your wood floor restoration now
Simply enter your postcode below to get started.
Services
Wood Floor Sanding Wood Floor Restoration Wood Floor Scratch Repair Squeaky Wood Floor Repair Parquet Floor Sanding Parquet Floor Restoration Commercial Floor Sanding Church Floor Sanding Community Centre Floor Sanding School Floor Sanding Gap Filling Gap Filling with ResinCopyright © Mr Sander®
Privacy & Cookies Terms & Conditions Complaints Procedure Cancellation Rights Sitemap

Get An Instant Price Estimate Before You Go…
Simply enter the rooms you need sanded and we’ll provide you with a price estimate instantly! Try our price calculator now.
Get a Price Estimate NowLocal Floor Sanding Experts
Over 500 5-Star Reviews
Safe, Dust Free Sanding
Operating Since 1994