London:
Nationwide:
25,000+
Floors Restored
27 Years Experience
Wood Flooring Association Certified
How to Choose the Right Abrasive Grit for Drum Sanding Floors
Posted on August 23, 2023
Drum sanding
How to Choose the Right Abrasive Grit for Drum Sanding Floors: A Guide for the Perceptive Craftsman
By the inimitable standards set by Sir Leo Burnett, the details of one’s craft speak much louder than words ever could. Therefore, when we discuss the art of floor restoration, particularly in the realm of drum sanding, we’re not just talking about a technical process. We’re delving into the realm of perfection, attentiveness, and an unparalleled commitment to craftsmanship. Indeed, the choice of abrasive grit for drum sanding is not just about selecting a granular substance; it is about ensuring the very spirit of the room shines brightly, reflecting both its historic past and a promising future.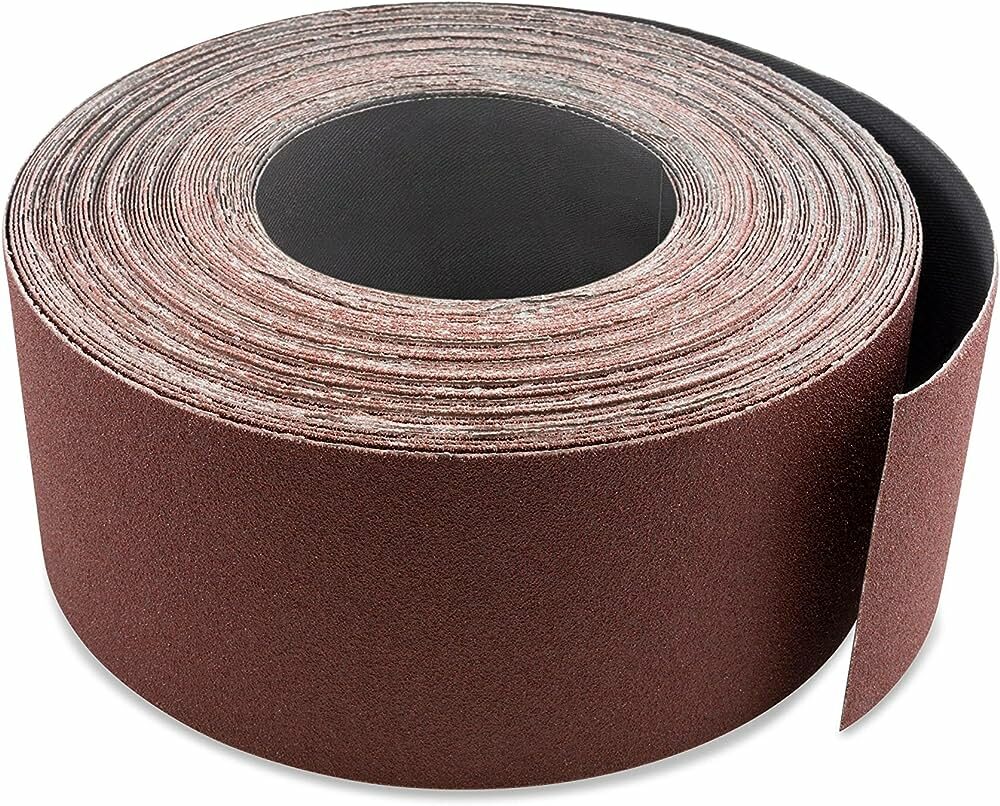
The essence of drum sanding
Before one immerses oneself in the nuances of grit choice, a basic understanding of drum sanding is crucial. The robust and powerful drum sander spins sandpaper at high speeds, allowing craftsmen to remove old finishes and surface irregularities. The objective is a smooth, unblemished surface, ready to accept a new finish or treatment. But the soul of this process lies in the abrasive grit chosen.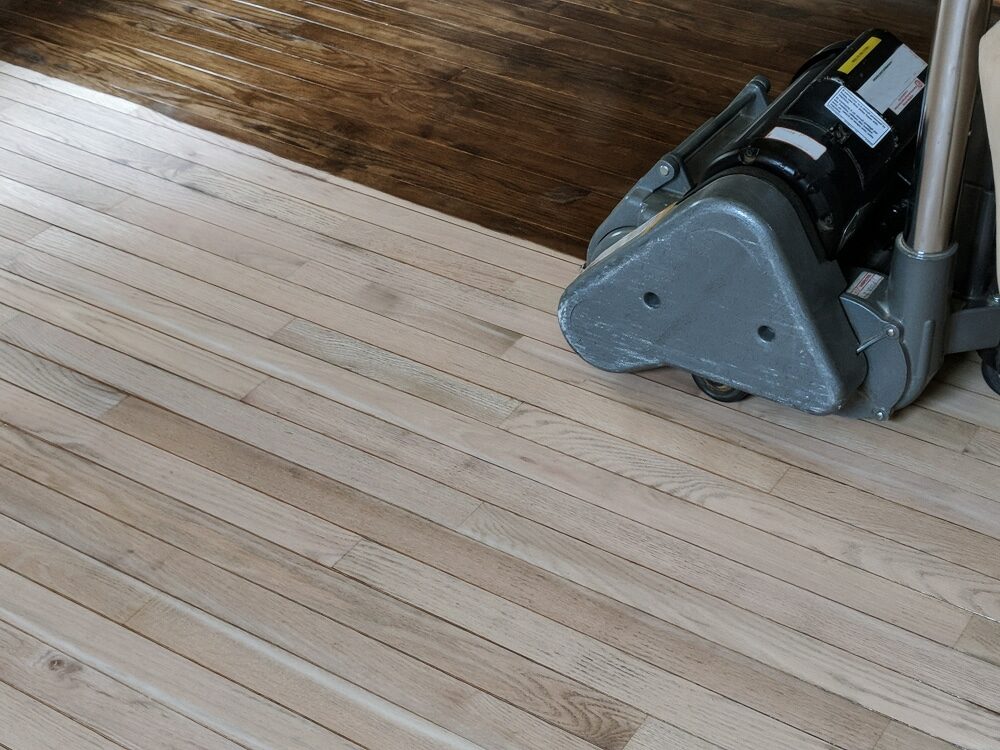
Understanding grit numbers and their significance
Grit numbers signify the coarseness or fineness of the sandpaper. Lower numbers are coarser, suitable for removing thick layers and addressing pronounced imperfections. Conversely, higher grit numbers offer a finer sanding experience, perfect for finishing touches.1. Coarse Grit (20-40)
Suited for floors that have withstood years of footfalls, bearing deep scratches, dents, and stubborn finishes, these grits dive deep. They strip away the glaring imperfections, acting as the frontline warriors in the journey of restoration.2. Medium Grit (50-80)
Once the coarse grit has accomplished its mission, enter the medium grit. It refines the process, softening the marks left by its predecessor. Floors that have minor blemishes or softer finishes might only require this grit.3. Fine Grit (100–120)
This is the artist’s brush that brings out the details. It preps the floor for finishing, rendering a smoothness that is almost silky to the touch. This is the grit that lets the wood’s true character shine forth, ready for the world to see.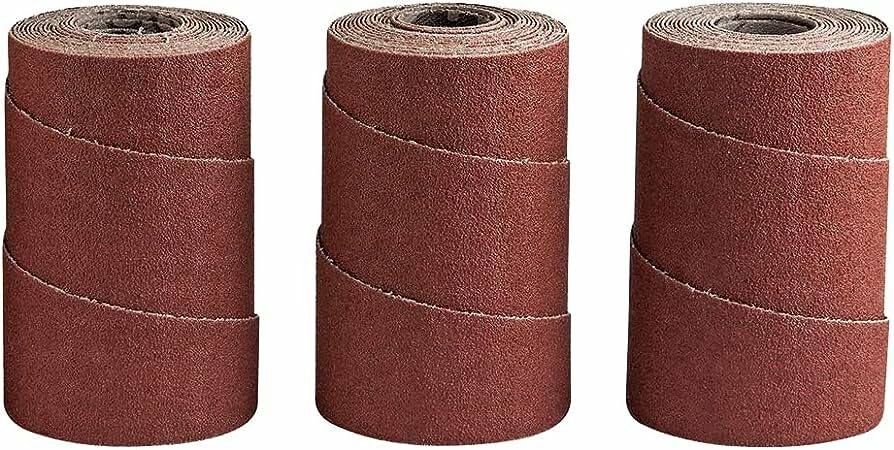
Factors to Consider in Grit Selection
1. Wood Species: Hardwoods like oak and mahogany stand up well to coarse grits, while softer woods such as pine might require a gentler touch. 2. Floor Age and Condition: Aged floors with multiple layers of paint or finish would lean towards a coarser grit to start, transitioning to finer grits as the process continues. 3. Desired Finish: If you’re aiming for a rustic, textured appearance, you might not proceed to the finest grits. But for a glossy, refined finish, the progression from coarse to fine is indispensable. 4. Previous Treatments: Be aware of any treatments or finishes the wood may have received in the past. Some finishes might necessitate starting with a more aggressive grit than you initially presume.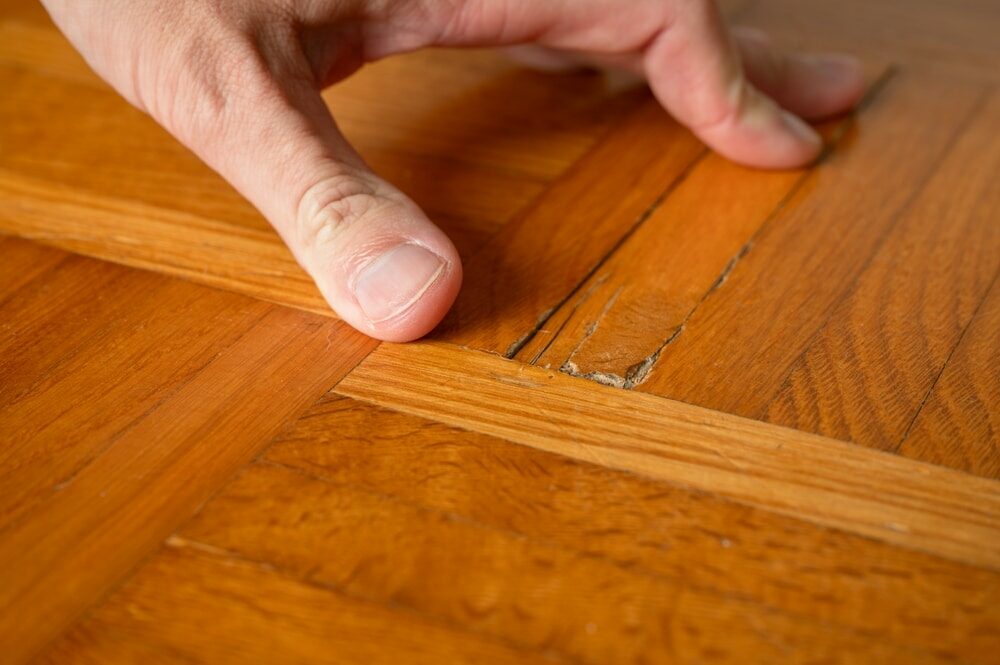
Proceeding with Purpose
Remember, as you graduate from coarse to fine grits, always ensure that you sand uniformly. Skipping a grit can result in scratches that the finer grit can’t remedy. And yet, as Burnett would tell us, this isn’t just about the wood or even the sandpaper. It’s about the hands that guide the drum sander, the eyes that seek out imperfections, and the heart that desires nothing less than perfection.The Nuances of Drum Sanding
1. Direction Matters: Always sand in the direction of the wood grain. This reduces the chance of introducing cross-grain scratches that can be challenging to remove and may mar the final appearance. 2. Consistent Pressure: Keeping a uniform pressure is essential to achieving an even sanding result. Too much pressure might gouge the wood, while too little may not give the desired level of abrasion. 3. Overlapping Passes: It’s important to slightly overlap each pass with the drum sander to avoid uneven spots. This ensures that the entire floor receives equal attention and treatment. 4. Dust Management: A cleaner workspace results in a clearer mind and a better finish. Regularly removing dust can provide a better view of your progress and prevent the abrasive from clogging, which can hamper its efficiency.Adapting to the Unexpected
Every seasoned craftsman knows that no two floors are the same. Sometimes, the wood can throw challenges that weren’t anticipated. Perhaps an unexpected knot in the wood or an area that’s been unevenly exposed to sunlight over the years In such cases, adaptability becomes paramount. 1. Spot Sanding: For particularly stubborn or deep marks, consider spot sanding by hand or with a smaller tool. This allows for targeted attention without oversanding the surrounding areas. 2. Blend and Transition: If you do spot sand, ensure you blend the sanded area seamlessly with the rest of the floor. This might involve using transitional grits to ensure there’s no discernible difference between the spot-sanded area and its surroundings. 3. Stay patient. Especially when faced with challenges, patience is a virtue. Taking your time, reassessing, and then proceeding with care can make all the difference between a job well done and a job well done.Remember the edges?
While the drum sander is magnificent for the vast expanses of your floor, the edges and corners require special attention. Edge sanders or hand sanding might be necessary to ensure these areas match the rest of the floor in smoothness and finish.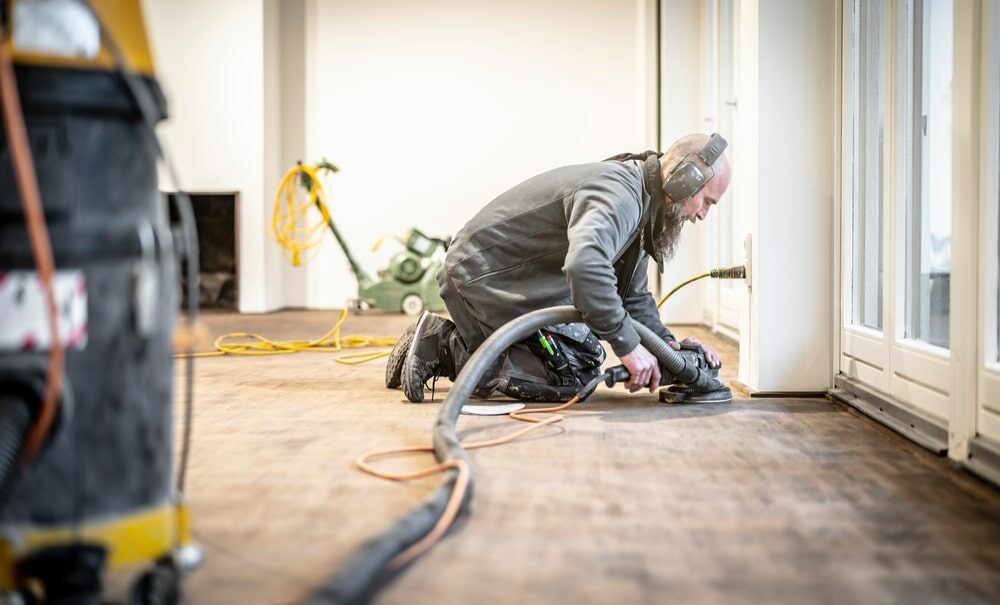
The subtleties of sandpaper
Sandpaper itself is a universe to explore. Quality matters. Investing in high-grade sandpaper can provide not just longevity but a better finish. Furthermore, ensure the sandpaper is appropriately secured to the drum sander, as any loose ends can result in inadvertent scratches or an uneven finish. With these additional layers of insight, the process of drum sanding becomes even more intricate, blending the tactile with the cerebral. It’s a testament to the craftsman’s commitment to excellence, a journey of understanding, adapting, and refining. And as we approach the finish line of this transformative process, one realises that choosing the right abrasive grit for drum sanding isn’t just about technique; it’s a profound dialogue between the craftsman and the floor.In Conclusion
Choosing the right abrasive grit for drum sanding floors is a dance between art and science. It is understanding the narrative of the room, interpreting the stories that the wood wishes to tell, and then selecting the appropriate medium to relay that story. The next time you find yourself standing on the precipice of a floor restoration project, remember that each grain of sand on that abrasive paper has a purpose. And in that purpose, executed with passion, lies the unparalleled beauty of a well-restored floor. A floor that does not merely echo the footfalls of the present but reverberates with the stories of yesteryear and the promises of tomorrow.Some Useful Links:
- Stairs Sanding & Refinishing
- Floor Sanding Services
- School Floor Sanding
- Wood Floor Restorations
- Wood Floor Repairs
- Wood Floor Polishing
More from our Blog:
The Benefits of Using a Professional Drum Sander for Floor Sanding How to Handle Drum Sanding of Softwood Floors The Cost of Professional Drum Sanding Services for Wooden Floors Tips for Effective Drum Sanding of Narrow and Hard-to-Reach Areas The Differences Between Drum Sanding and Belt Sanding How to Sand and Refinish Wooden Floors with a Drum Sander
Sanding
We provide virtually dust-free sanding with our continuous belt machinery with mobile extraction units, giving you a safer environment for your family.
Oiling
This organic finish not only adds beauty to your home but also has exceptional water-repellent characteristics, making it easier to clean and maintain.
Waxing
This natural floor finish offers the softest and most mellow appearance – and leaves your floor able to breath.
Buffing
Using soft buffing machines (and hand-polishing where required) will bring a wonderful sheen to your newly-finished floor.
Repairs
We offer a full assessment of your wooden floors to determine what repairs are needed to provide the perfect working surface for the later stages of sanding, staining and sealing.
Restoration
We offer a comprehensive restoration process designed to address floors that are improperly fitted or damaged over time through wear and tear.
Request a fixed price quote for your wood floor restoration now
Simply enter your postcode below to get started.
Services
Wood Floor Sanding Wood Floor Restoration Wood Floor Scratch Repair Squeaky Wood Floor Repair Parquet Floor Sanding Parquet Floor Restoration Commercial Floor Sanding Church Floor Sanding Community Centre Floor Sanding School Floor Sanding Gap Filling Gap Filling with ResinCopyright © Mr Sander®
Privacy & Cookies Terms & Conditions Complaints Procedure Cancellation Rights Sitemap

Get An Instant Price Estimate Before You Go…
Simply enter the rooms you need sanded and we’ll provide you with a price estimate instantly! Try our price calculator now.
Get a Price Estimate NowLocal Floor Sanding Experts
Over 500 5-Star Reviews
Safe, Dust Free Sanding
Operating Since 1994