London:
Nationwide:
25,000+
Floors Restored
27 Years Experience
Wood Flooring Association Certified
How to Achieve Professional Floor Sanding Results with Belt Sanding
Posted on September 12, 2023
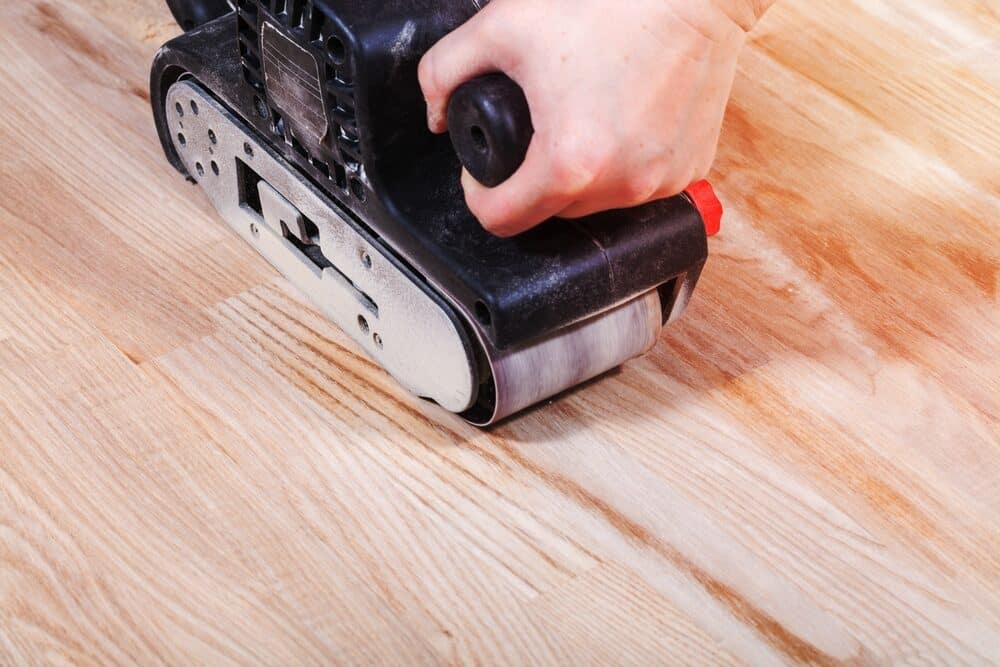
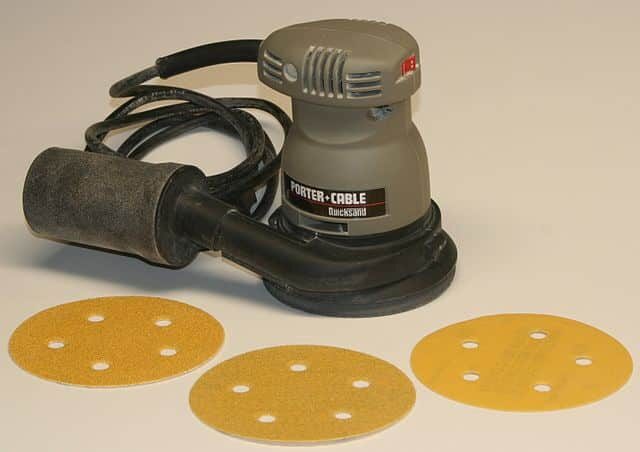
Belt sanding
Mastering the Craft: Your Comprehensive Guide to Achieving Professional Floor Sanding Results with a Belt Sander
In the bustling sphere of home renovations and DIY projects, the art of floor sanding stands as a testament to the painstaking efforts one channels to rejuvenate cherished wooden floors. A process steeped in precision, dedication, and a touch of finesse, floor sanding with a belt sander manifests as a craft that transforms worn-out floors to pristine perfection. In this comprehensive guide, we venture deep into the realms of belt sanding, offering a quintessential British narrative on how to achieve results akin to those of professional craftsmen. So, grab a cuppa, settle in, and let’s unravel the steps and techniques that promise a floor with revitalised charm and a splendid finish.
Embarking on the Journey: The Preliminary Preparations
Before we immerse ourselves in the dynamic world of belt sanding, it is prudent to take a few preparatory steps to ensure a smooth and successful journey.
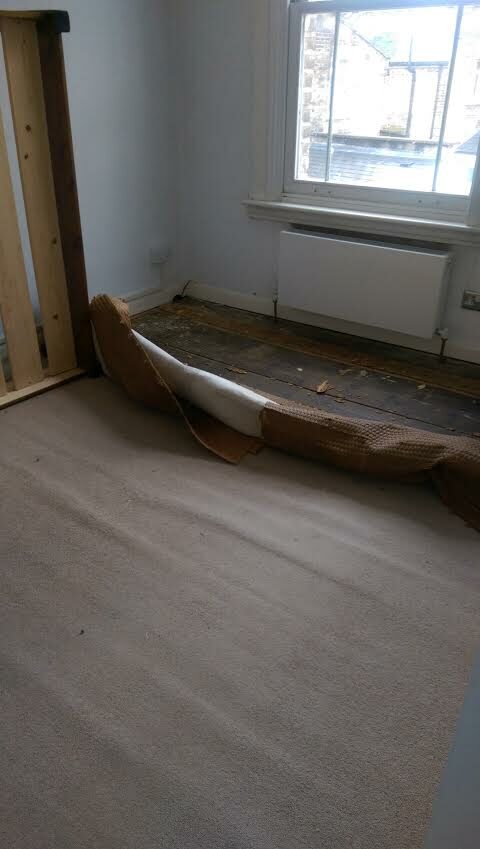
Step 1: Clear the Deck
First things first, clear the room of furniture, rugs, and any other accessories. An unobstructed space not only facilitates easy manoeuvring of the sander but also prevents any potential damage to your belongings.
Step 2: A Clean Canvas
Thoroughly clean the floor to remove any dust, debris, or lingering particles. This stage is crucial to preventing any impediments during the sanding process.
Step 3: Inspecting and Repairing
Before you unleash the power of the belt sander, inspect the floor for any visible damages, protruding nails, or irregularities that might need fixing. A well-prepared floor is the cornerstone of achieving professional results.
Understanding Your Comrade: The Belt Sander
As you stand at the threshold of your floor sanding project, it is vital to understand the tool that will be your closest ally in this endeavour: the belt sander. Characterised by its powerful motor and continuous sanding belt, this tool is capable of removing old finishes and levelling the wood surface with an efficiency that is nothing short of remarkable. However, as any seasoned craftsman would tell you, mastering the belt sander demands patience and a keen eye for detail.
The Anatomy of the Belt Sander
- The motor is the powerhouse that drives the sanding belt, offering the necessary torque to remove layers from the floor efficiently.
- The Sanding Belt: A continuous loop of abrasive material that is responsible for the sanding action These belts are available in various grit sizes, catering to different stages of the sanding process.
- The handle is where you, the craftsman, take control. It is designed to offer a firm grip, allowing you to manoeuvre the sander with precision and ease.
- The Dust Bag: A rather nifty feature that collects the majority of the dust generated during the sanding process, helping maintain a relatively clean workspace.
The Art of Belt Sanding: A Step-by-Step Process
Now that we are acquainted with the belt sander, it is time to delve into the meticulous process of achieving that coveted professional finish on your wooden floor.
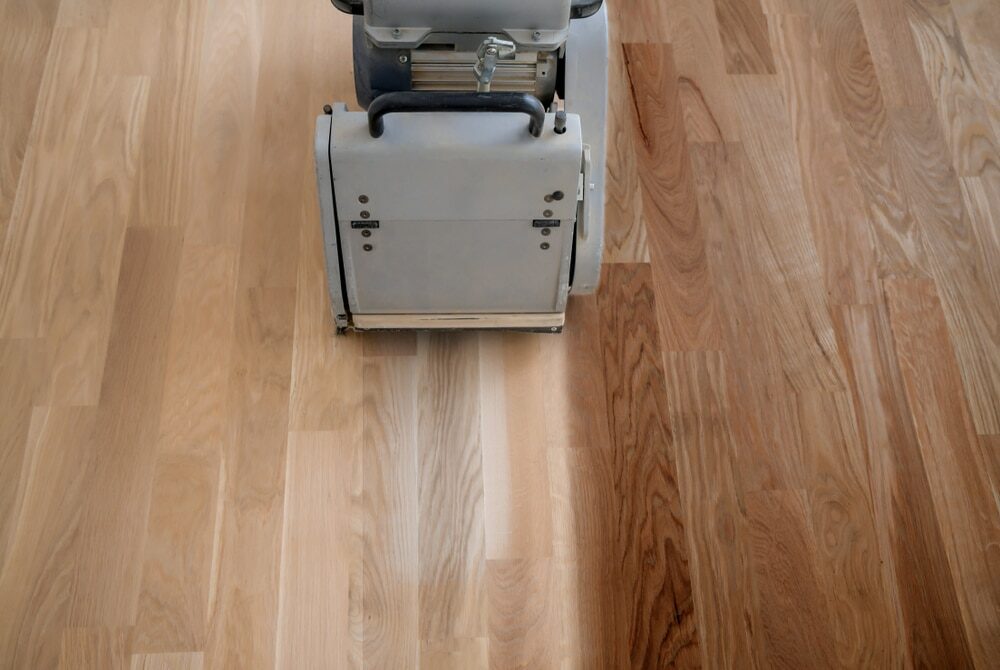
Step 1: Choosing the Right Grit
Selecting the appropriate grit size is the first step towards a successful sanding project. Typically, one would start with a coarser grit (around 36 or 40) to remove old finishes and level the floor. As you progress, you will gradually move to finer grits to achieve a smoother finish.
Step 2: Donning the protective gear
Safety first, always. Equip yourself with protective gear, including dust masks, safety goggles, and ear protection. A well-protected craftsman is a successful one!
Step 3: The Maiden Voyage
As you embark on your first pass, start at one end of the room and move the sander forward along the grain of the wood, maintaining a steady pace. It’s essential not to linger too long in one spot to prevent uneven sanding.
Step 4: Progressing to Finer Grits
After the initial pass, vacuum the floor to remove the accumulated dust and inspect your work. Following this, proceed with the next finer grit and repeat the process, gradually moving to finer grits with each pass until you achieve a smooth surface.
Step 5: The Finishing Touches
Once the main expanse of the floor is sanded to satisfaction, it’s time to focus on the corners and edges. Using a handheld sander or sanding block, meticulously smooth out these areas to match the rest of the floor.
Step 6: The Grand Finale: Sealing the Wood
With the sanding completed, you stand before a floor reborn, ready to be sealed to protect its newfound beauty. Depending on your preference, you might opt for a varnish, oil, or wax to give your floor a protective layer and enhance its natural beauty.
Tips to Achieve a Sterling Finish
To ensure a result that mirrors professional expertise, here are a few tips that might serve you well:
- Maintain the Sander: Regularly check the condition of the sanding belt and replace it as necessary to maintain optimum performance.
- Gentle yet firm: When handling the sander, adopt a firm yet gentle grip. Let the sander do the work, guiding it smoothly across the surface without applying excessive pressure.
- Consistency is key. Maintain a consistent speed and movement pattern to achieve an even finish across the floor.
- The Virtue of Patience: As with any craft, patience is a virtue. Take your time and do not rush the process. A meticulous approach will yield results that are truly rewarding.
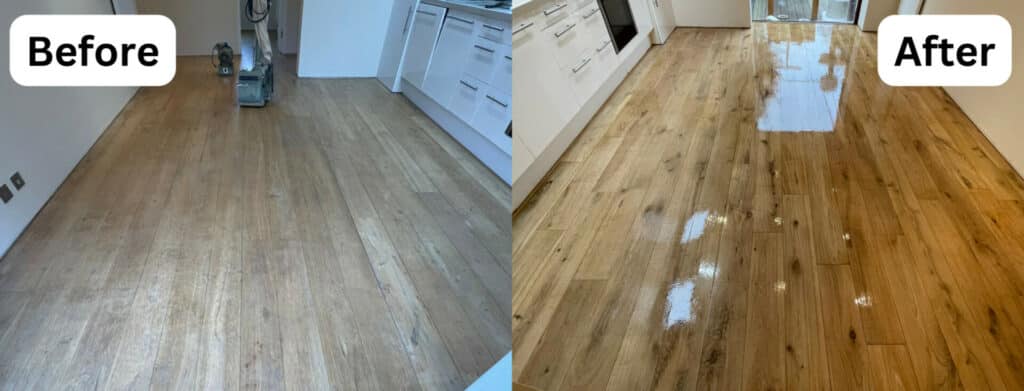
Celebrating Your Craftsmanship: The Final Reveal
As you step back and gaze upon the transformed floor, a sense of accomplishment and pride envelops you. Through your efforts, the floor has undergone a metamorphosis, revealing a surface that radiates warmth, elegance, and timeless beauty.
You’ve not just refurbished a floor; you’ve breathed new life into a space that holds memories and echoes tales from days past. In this moment, you realise that the journey was not just about achieving professional results but also about embracing the artistry and craftsmanship that come with them.
As you admire your work, perhaps with a well-deserved cup of tea in hand, you realise that the floor, with its revitalised charm, stands as a testament to the skills and dedication you’ve nurtured. It reflects professionalism that is borne from knowledge, practice, and an unyielding commitment to quality.
Wrapping Up: The Journey and Beyond
Embarking on a floor sanding project with a belt sander is indeed a journey filled with challenges, learning, and ultimate gratification. As we wrap up this comprehensive guide, we hope that you feel well-equipped and inspired to undertake this rewarding endeavour.
Remember, achieving professional results is not just about the technique but also about immersing yourself in the process, understanding the nuances of the craft, and developing a keen eye for detail. It’s about fostering a connection with the material, understanding its grains and quirks, and working harmoniously to unveil a masterpiece that lies beneath the worn-out surface.

Sanding
We provide virtually dust-free sanding with our continuous belt machinery with mobile extraction units, giving you a safer environment for your family.
Oiling
This organic finish not only adds beauty to your home but also has exceptional water-repellent characteristics, making it easier to clean and maintain.
Waxing
This natural floor finish offers the softest and most mellow appearance – and leaves your floor able to breath.
Buffing
Using soft buffing machines (and hand-polishing where required) will bring a wonderful sheen to your newly-finished floor.
Repairs
We offer a full assessment of your wooden floors to determine what repairs are needed to provide the perfect working surface for the later stages of sanding, staining and sealing.
Restoration
We offer a comprehensive restoration process designed to address floors that are improperly fitted or damaged over time through wear and tear.
Request a fixed price quote for your wood floor restoration now
Simply enter your postcode below to get started.
Services
Wood Floor Sanding Wood Floor Restoration Wood Floor Scratch Repair Squeaky Wood Floor Repair Parquet Floor Sanding Parquet Floor Restoration Commercial Floor Sanding Church Floor Sanding Community Centre Floor Sanding School Floor Sanding Gap Filling Gap Filling with ResinCopyright © Mr Sander®
Privacy & Cookies Terms & Conditions Complaints Procedure Cancellation Rights Sitemap

Get An Instant Price Estimate Before You Go…
Simply enter the rooms you need sanded and we’ll provide you with a price estimate instantly! Try our price calculator now.
Get a Price Estimate NowLocal Floor Sanding Experts
Over 500 5-Star Reviews
Safe, Dust Free Sanding
Operating Since 1994