London:
Nationwide:
25,000+
Floors Restored
27 Years Experience
Wood Flooring Association Certified
Hand Sanding Techniques for Removing Stains on Floors
Posted on January 10, 2024
Floor sanding techniques
Mastering Hand Sanding for Stain Removal on Floors
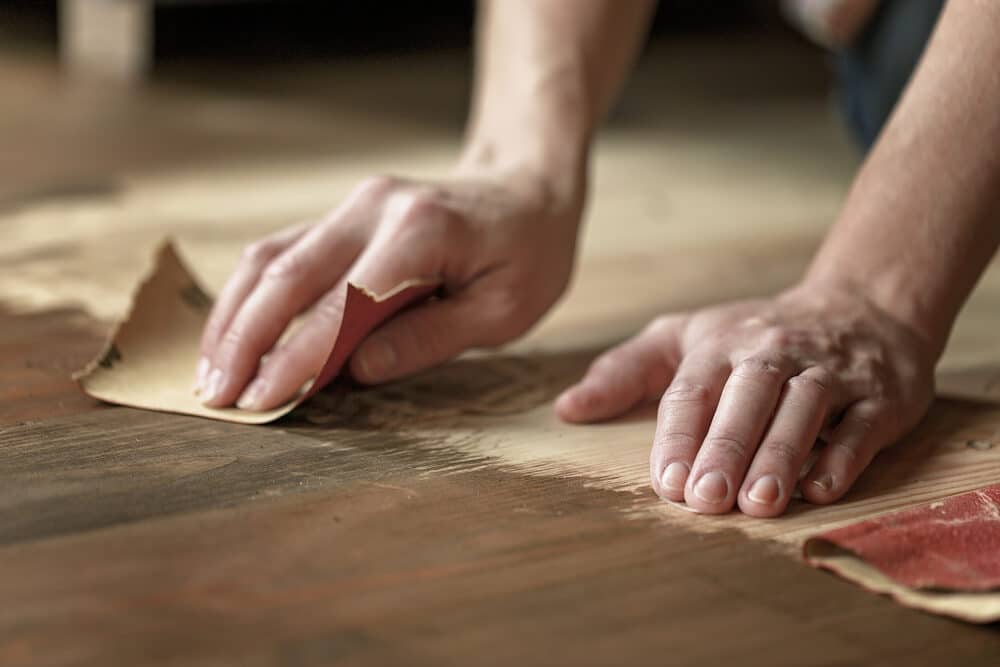
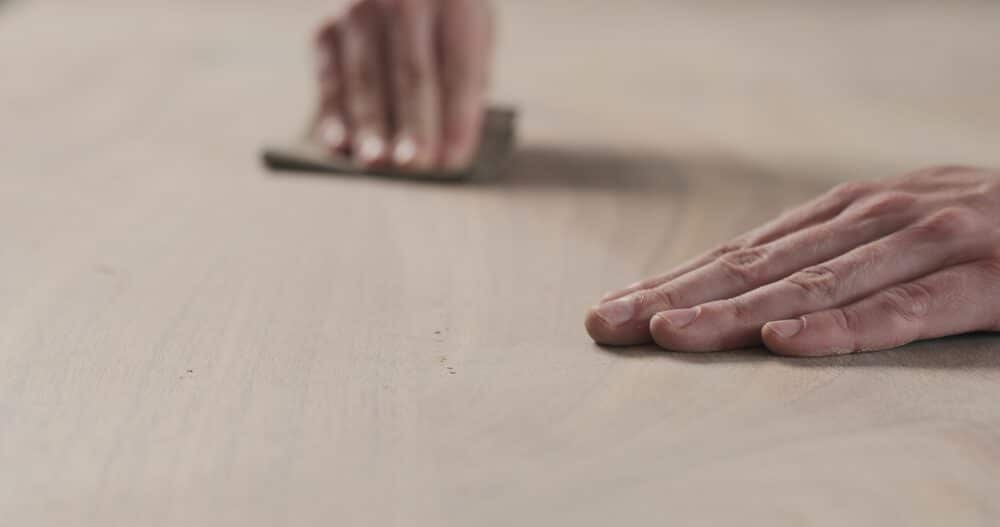
In the world of wood floor restoration, hand-sanding is often regarded as a meticulous and rewarding process. Unlike power sanding, wood floor hand sanding offers a level of control and precision unparalleled in the world of woodworking. This technique is particularly effective for targeting and removing stubborn stains that blemish the beauty of wooden floors. It requires patience, attention to detail, and a gentle touch, making it a preferred method for preserving the integrity and character of the wood.
Wood floor Hand sanding is not just about removing the unwanted; it’s an art that allows for a deeper connection with the material. As one engages in the rhythmic motion of sanding by hand, there’s an opportunity to understand the wood’s grain, texture, and response to treatment. This understanding is crucial to achieving a flawless finish that celebrates the wood’s natural beauty.
In this comprehensive guide, we will delve into the nuances of hand-sanding techniques specifically tailored for removing stains from floors. From selecting the right sandpaper to mastering the technique, we will cover all aspects to ensure your floor restoration project is successful and satisfying.
As we embark on this journey, remember that wood floor hand sanding is more than just a task; it’s a craft that, when mastered, can transform an ordinary wooden floor into a masterpiece of your home. Let’s begin by exploring the nature of floor stains and how hand sanding can be effectively used to tackle them.
Understanding floor stains
Before diving into the intricacies of hand sanding, it is imperative to understand the nature of floor stains and how they impact your wooden surfaces. Stains on floors are not merely superficial blemishes; they are often indicative of deeper issues that need addressing. The type of stain, its cause, and its age play significant roles in determining the approach for removal.
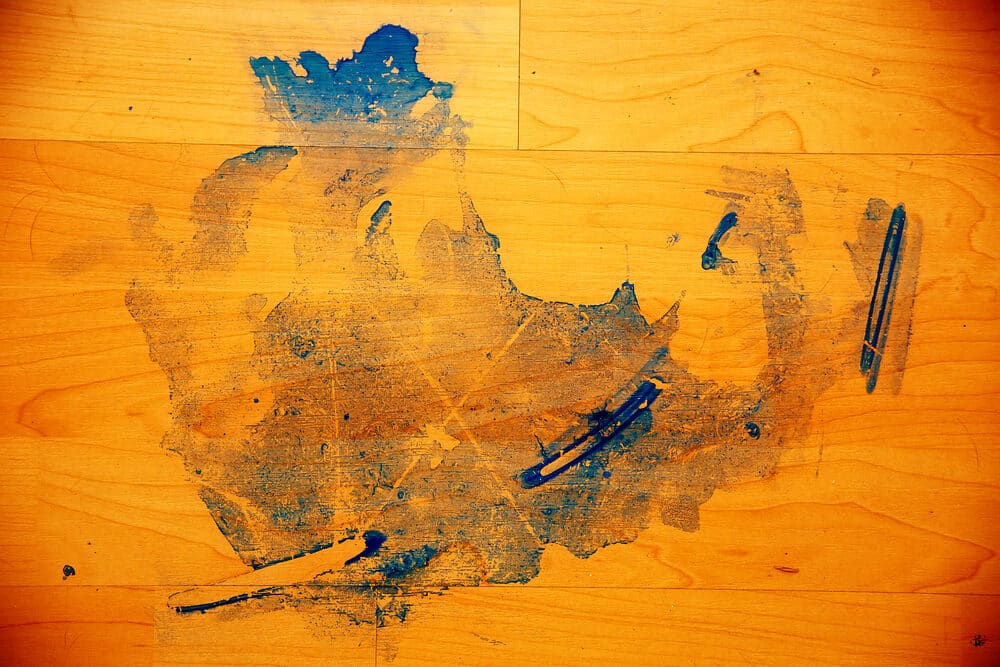
Types of stains
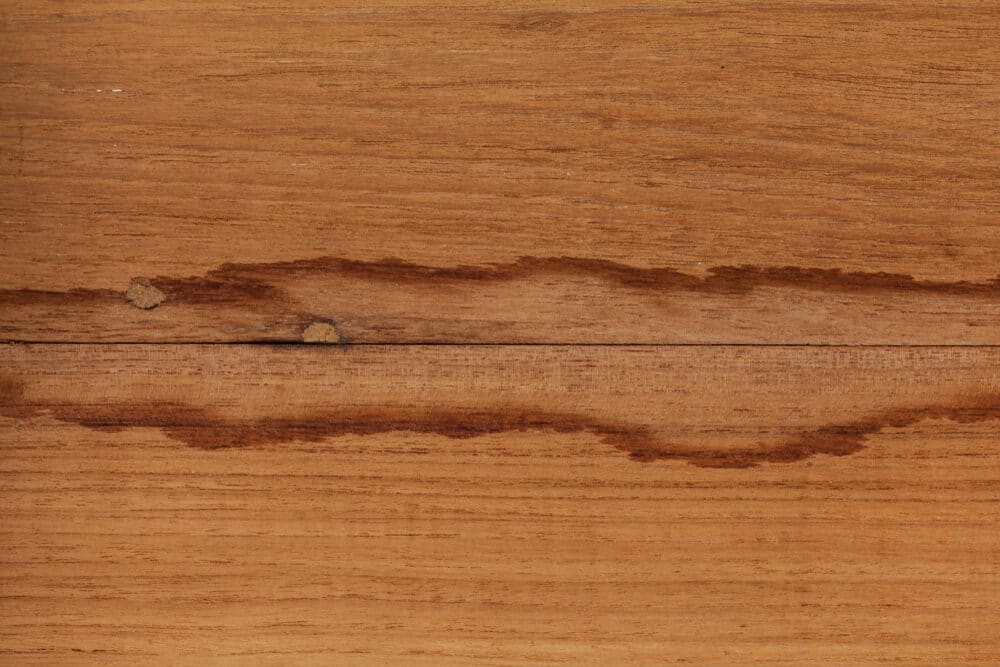
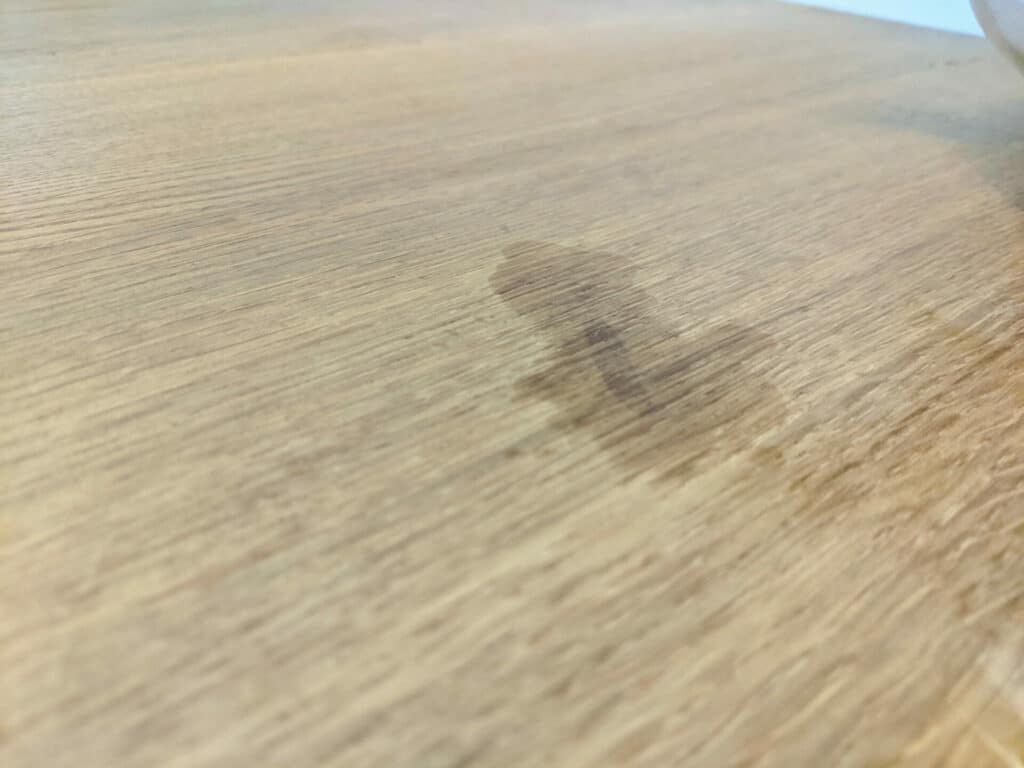
Water Stains:
These are common on wooden floors and often appear as dark spots or rings. They typically result from prolonged exposure to moisture and can go very deep into the wood.
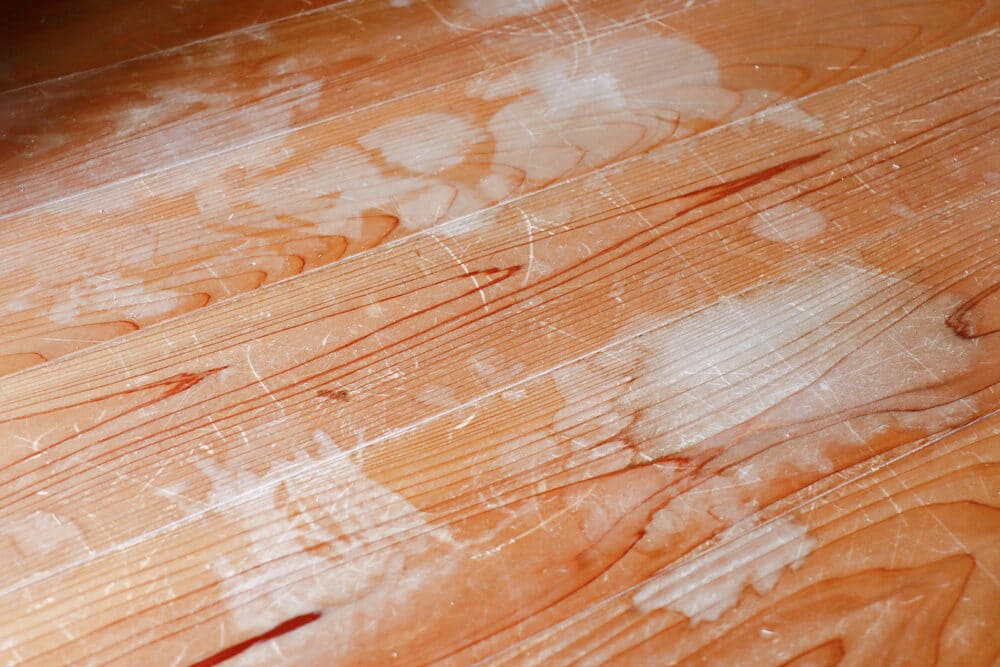
Oil-Based Stains:
These stains result from spills of cooking oils, lotions, or other greasy substances. They tend to leave a darker, sometimes sticky residue that can attract further dirt if not promptly addressed.
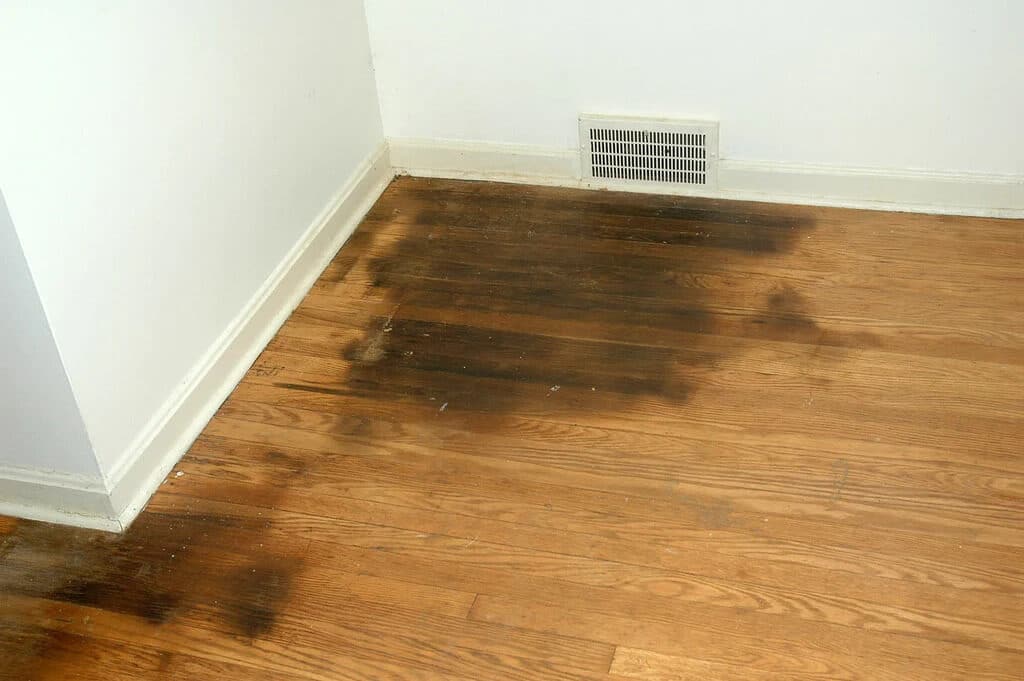
Urine Stains:
Common in homes with pets, these stains can be particularly challenging. They not only discolour the wood but can also cause an unpleasant odour.
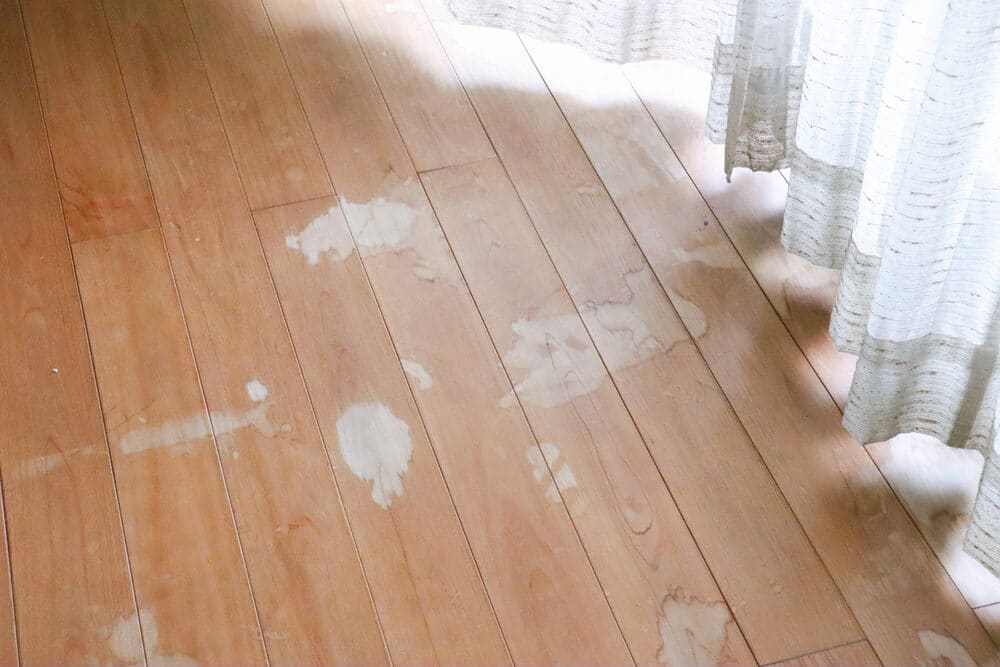
Chemical Stains:
Caused by spills from harsh chemicals, these can be the most damaging, leading to discoloration and even corrosion of the wood fibres.
Assessing the stain
The approach to removing a stain largely depends on its assessment. Consider the following:
- Depth: Is the stain on the surface, or has it penetrated into the wood?
- Age: Older stains are generally more difficult to remove.
- Wood Type: Different woods react differently to stains and sanding techniques.
Importance of Identifying Stain Types
Understanding the type of stain you are dealing with is crucial. It not only informs the choice of sanding materials and techniques but also helps in taking preventive measures to avoid similar issues in the future. For instance, water-based stains might require a different grit of sandpaper compared to oil-based ones, and some stains might need a treatment prior to sanding.
Materials and Tools Needed for Hand Sanding Floor Stains
Equipping oneself with the right materials and tools is a critical step in the wood floor hand-sanding process. The effectiveness of your efforts largely depends on the quality and suitability of the tools you choose. Here’s a comprehensive list of materials and tools you’ll need to tackle those stubborn floor stains:
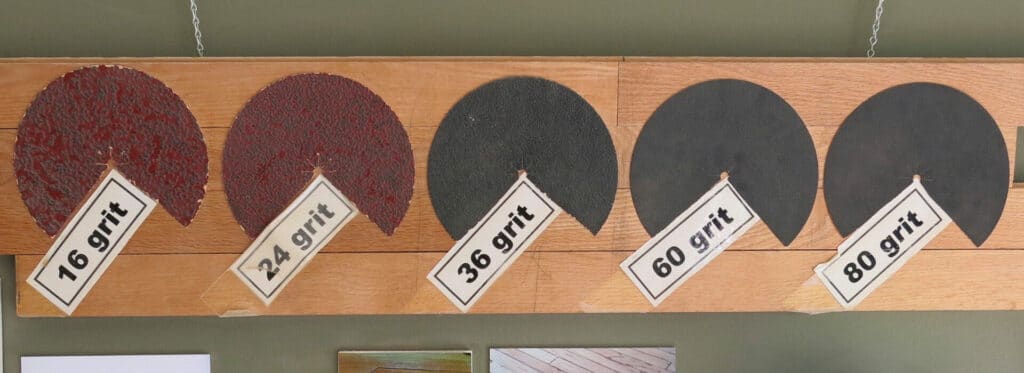
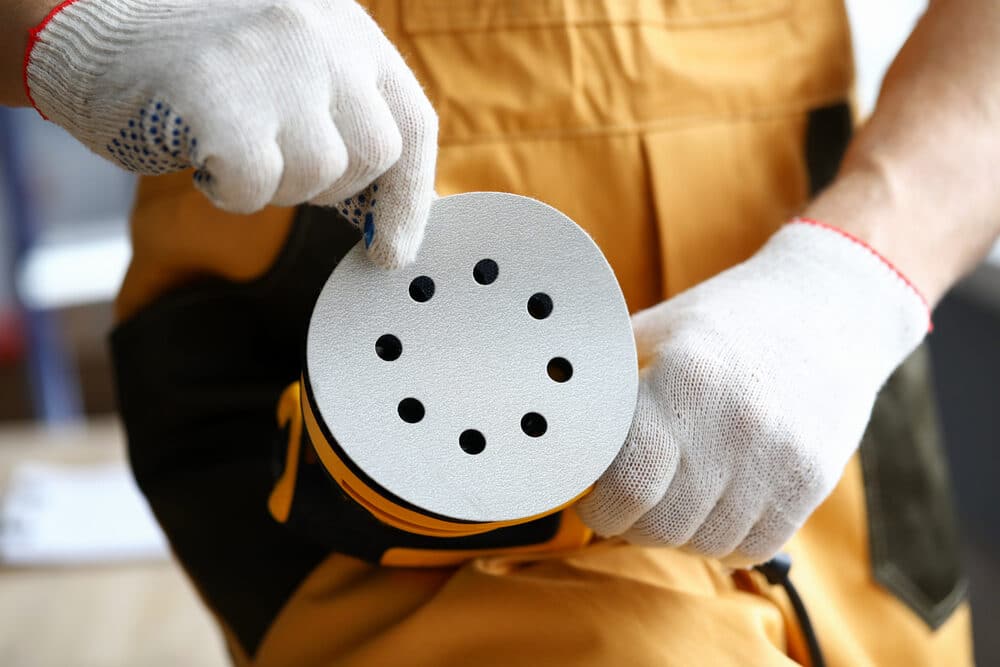
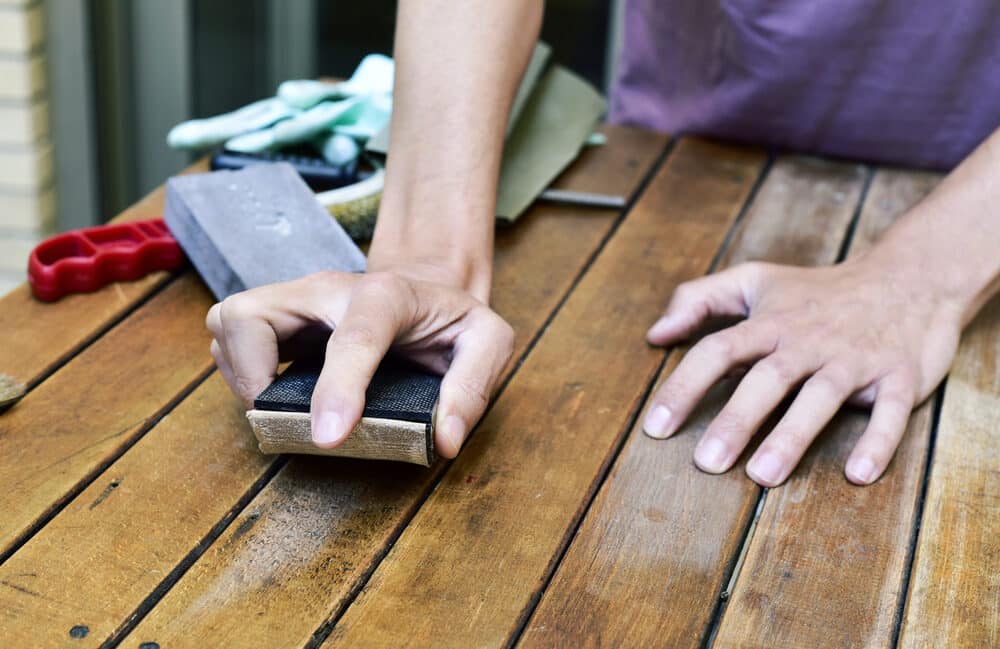
Sandpaper
- Coarse Grit Sandpaper (40–60 Grit): Ideal for initial sanding, especially for tough, deep-set stains.
- Medium Grit Sandpaper (80–120 Grit): Used for intermediate sanding, smoothing out the roughness left by the coarse grit.
- Fine Grit Sandpaper (150–220 Grit): For final sanding, to achieve a smooth finish.
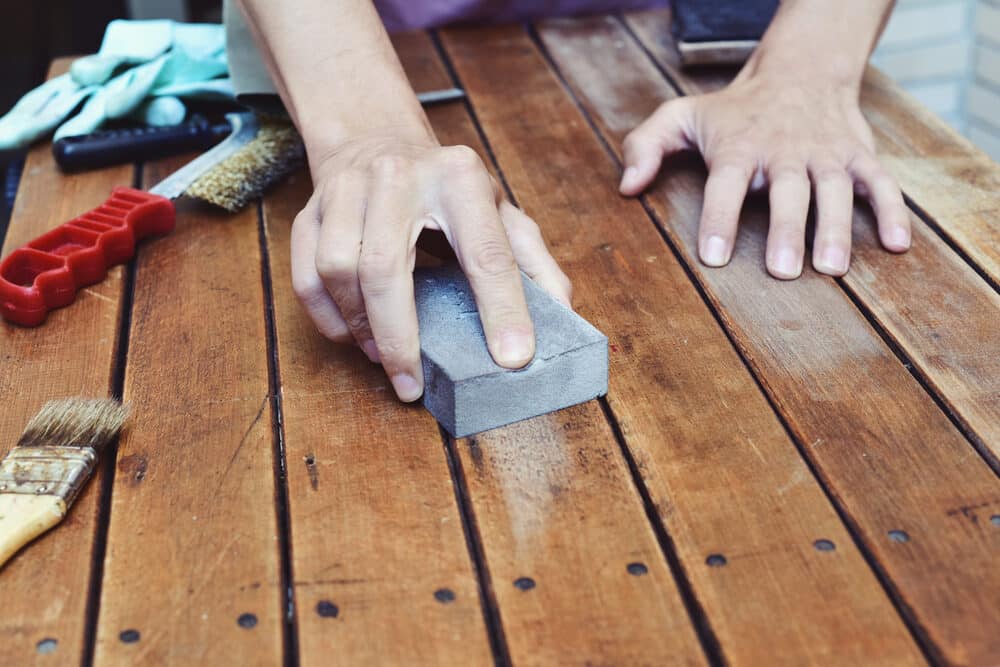
Sanding Blocks
- Rubber or Cork Sanding Block: Provides an even surface for the sandpaper and eases the hand sanding process, allowing for better pressure distribution.
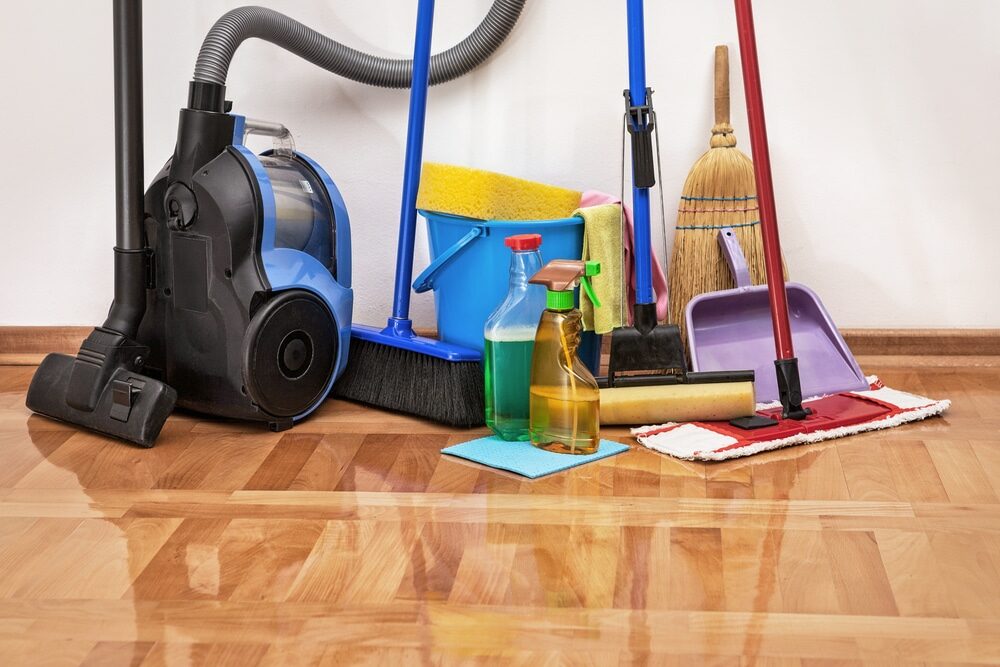
Other essential tools
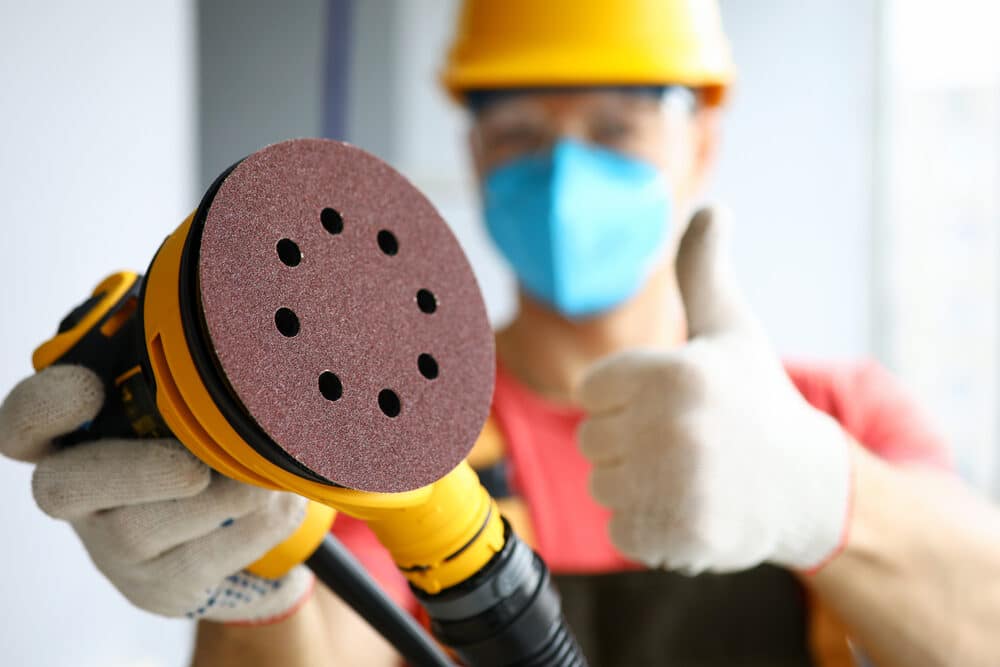
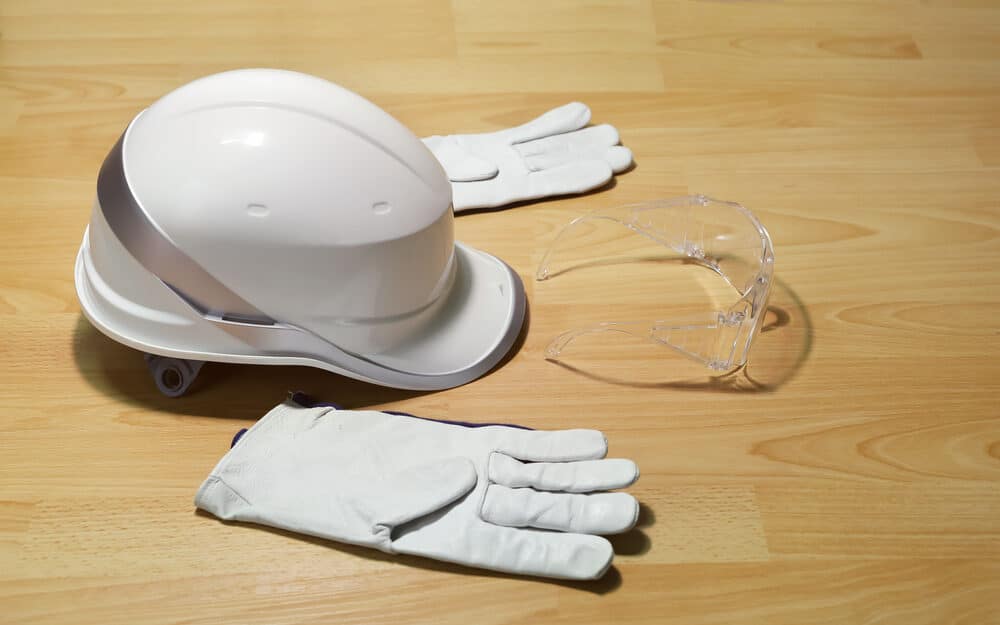
- Protective Gear: Safety glasses and a dust mask are essential to protect your eyes and lungs from dust particles.
- Cleaning Supplies: A vacuum cleaner and a tack cloth for removing dust after each sanding phase.
- Wood filler (if necessary): for filling any cracks or holes before sanding.
- Stain or sealant (for after sanding): To protect the wood and enhance its appearance post-sanding.

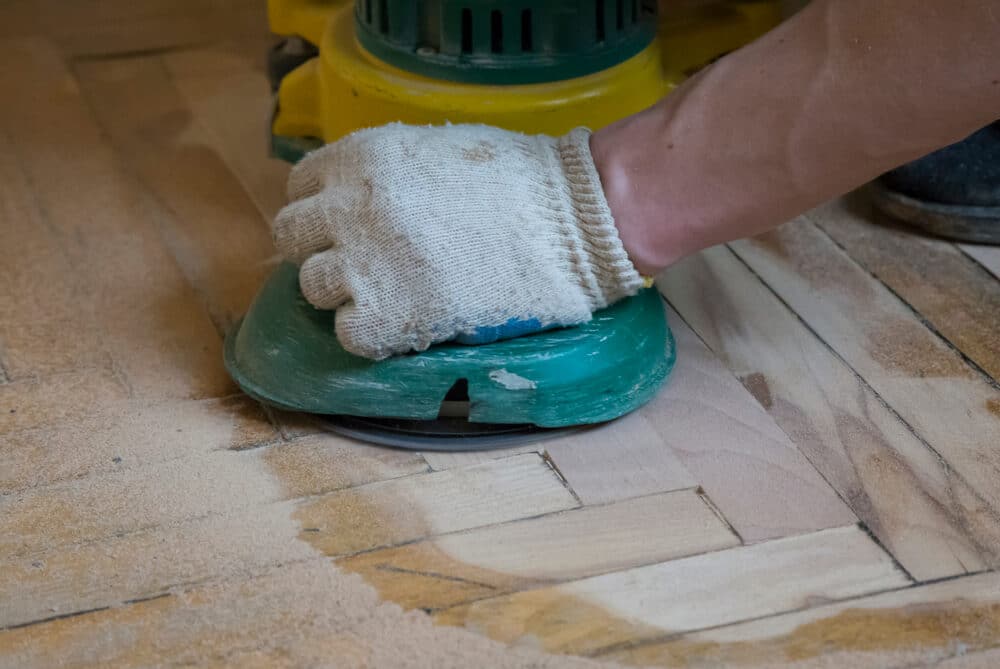
Optional Tools
- Orbital Sander: For initial sanding, especially in larger areas (optional but can save time).
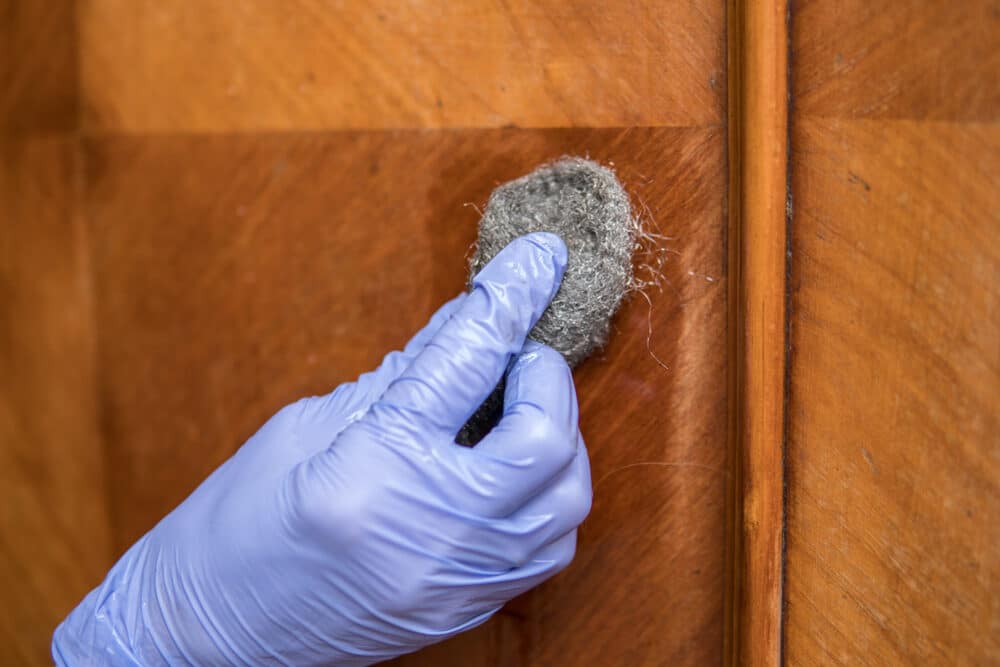
- Fine Steel Wool: For finishing touches on delicate areas or for surfaces that require a very fine finish.
Tips for Selecting Materials
- Match Sandpaper Grit to Stain Depth: The deeper the stain, the coarser the sandpaper you should start with.
- Quality Matters: Invest in high-quality sandpaper to avoid frequent replacements and to achieve a better finish.
- Ergonomics: Choose a sanding block that fits comfortably in your hand.
Having the right materials and tools at your disposal will significantly enhance the efficiency and outcome of your hand-sanding project. With these items ready, you’re well on your way to restoring the natural beauty of your wooden floors.
Preparation for Sanding
Proper preparation is the cornerstone of a successful wood floor hand-sanding project. Adequate preparation not only ensures safety but also enhances the efficiency and effectiveness of your sanding efforts. Here’s how you can prepare your floor and workspace for sanding:
1. Room Preparation
- Clear the Area: Remove furniture, rugs, and any other items from the room. This ensures unobstructed access to the entire floor.
- Ensure Adequate Ventilation: Open windows or use fans to keep the air circulating, reducing the buildup of dust.
- Cover Non-Removable Items: Use drop cloths or plastic sheets to cover and protect items that cannot be removed from the room.
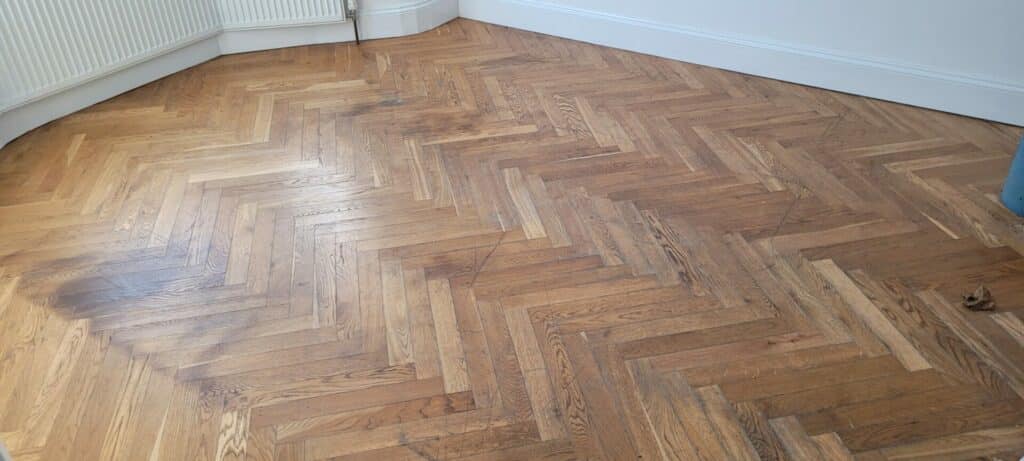
2. Floor inspection
- Identify Problem Areas: Closely examine the floor to identify all stains, scratches, or damages.
- Clean the Floor: Sweep or vacuum the floor to remove loose dirt, dust, and debris. A clean surface is crucial for effective sanding.

3. Safety Measures
- Personal Protective Equipment (PPE): Wear safety glasses to protect your eyes from dust and a dust mask or respirator to avoid inhaling fine particles.
- Keep a First Aid Kit Handy: It’s always prudent to have a first aid kit accessible in case of minor injuries.
4. Tool and Material Check
- Organise Your Tools and Materials: Arrange all your sanding tools, sandpaper, cleaning supplies, and protective gear within easy reach.
- Sandpaper Grit Selection: Based on your earlier assessment of the stains, choose the appropriate grit of sandpaper to start with.
5. Mindset and Approach
- Patience is key. Hand-sanding requires patience. Rushing the process can result in uneven sanding and damage to the wood.
- Plan Your Approach: Decide on the sequence of sanding—whether to tackle the entire floor or focus on stained areas first.
Taking the time to thoroughly prepare for your sanding project will pay dividends in the form of a smoother process and superior results. With your workspace and floor ready, you are now set to embark on the actual hand-sanding process.
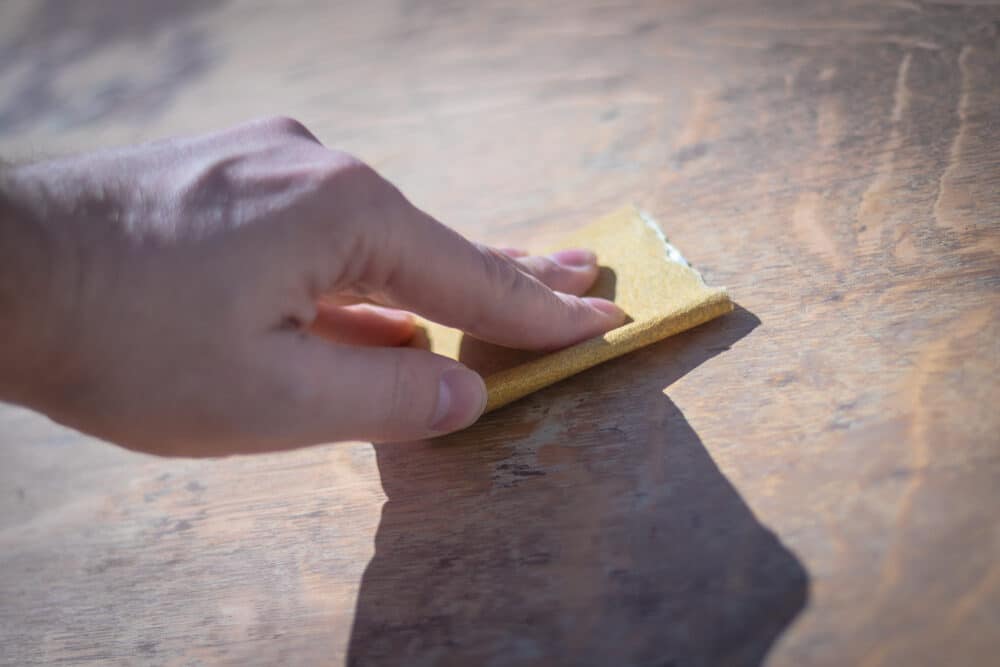
Step-by-Step Guide to Hand Sanding
Hand sanding is a process that demands precision and patience. By following this step-by-step guide, you can effectively remove stains and restore the natural beauty of your wooden floors.
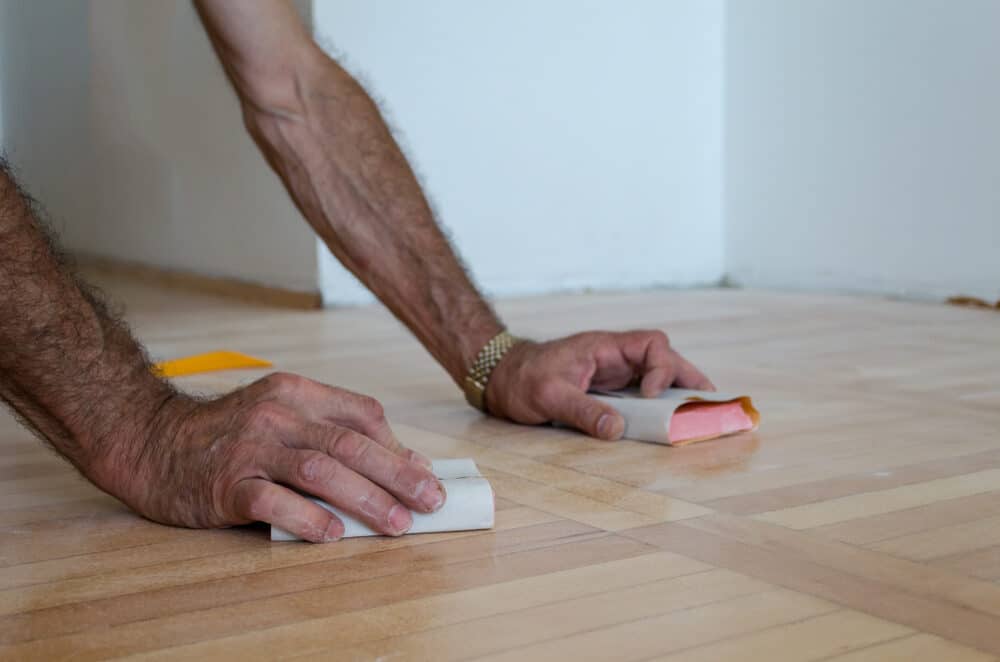
Step 1: Starting with Coarse Grit Sandpaper
- Begin with coarse grit (40–60 grit): Start sanding the stained area using coarse grit sandpaper. This helps in removing the uppermost layer of the stain.
- Technique: Use firm, even strokes following the grain of the wood. Avoid applying too much pressure to prevent gouging the wood.
- Area Coverage: Ensure you sand slightly beyond the stained area to blend the sanded section with the surrounding wood.
Step 2: Progressing to Medium-Grit Sandpaper
- Switch to Medium Grit (80–120 Grit): Once the majority of the stain is removed, switch to a medium-grit sandpaper. This eliminates the roughness that the coarse grit caused.
- Sanding Motion: Continue sanding in the direction of the wood grain. Consistency in stroke direction is the key to a uniform finish.
Step 3: Finishing with Fine Grit Sandpaper
- End with Fine Grit (150–220 Grit): For the final sanding phase, use fine-grit sandpaper. This will give the wood a smooth finish, preparing it for staining or sealing.
- Gentle Strokes: Use lighter, gentler strokes to avoid damaging the now-smooth wood surface.
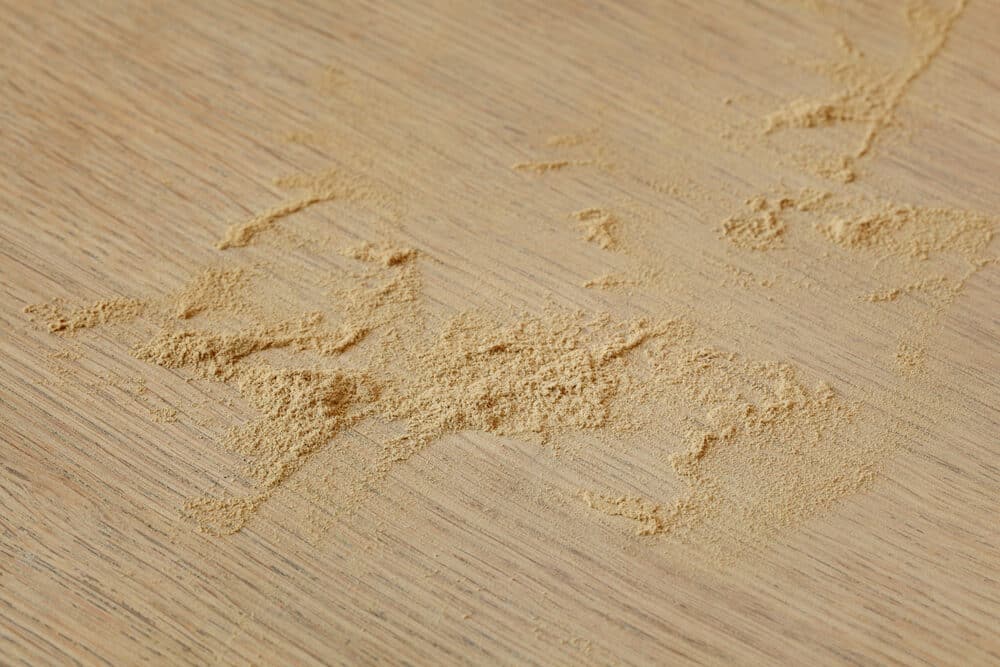
Step 4: Cleaning Up
- Dust removal: To remove all dust and debris after each sanding phase, clean the surface with a vacuum cleaner and a tack cloth.
- Inspection: Check the floor for any missed spots or uneven areas. Touch it up as necessary.
Step 5: Final Touches
- Using Steel Wool (Optional): For an extra-smooth finish, especially on delicate areas, lightly go over the wood with fine steel wool.
- Final Cleaning: Ensure all dust is thoroughly removed before moving on to staining or sealing.
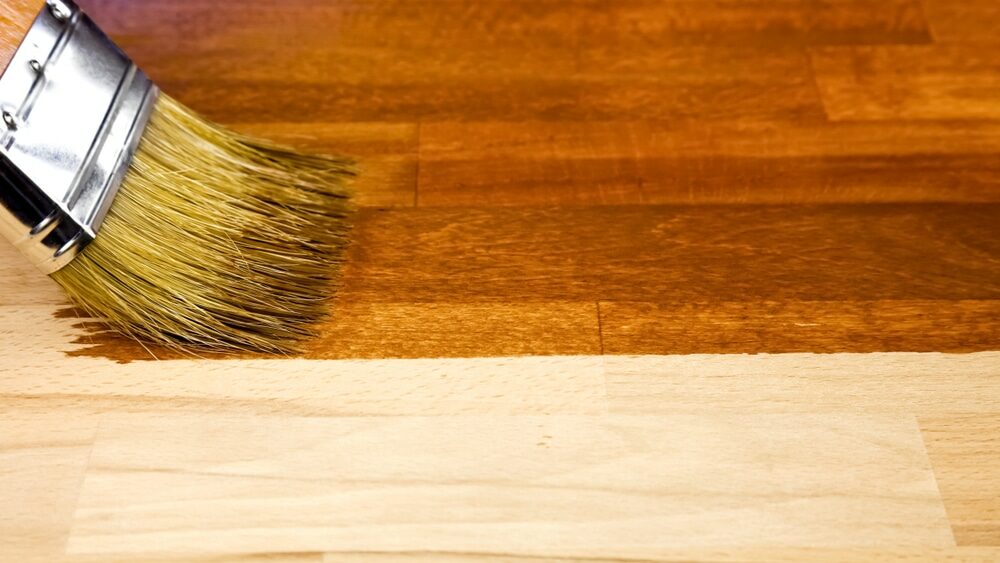
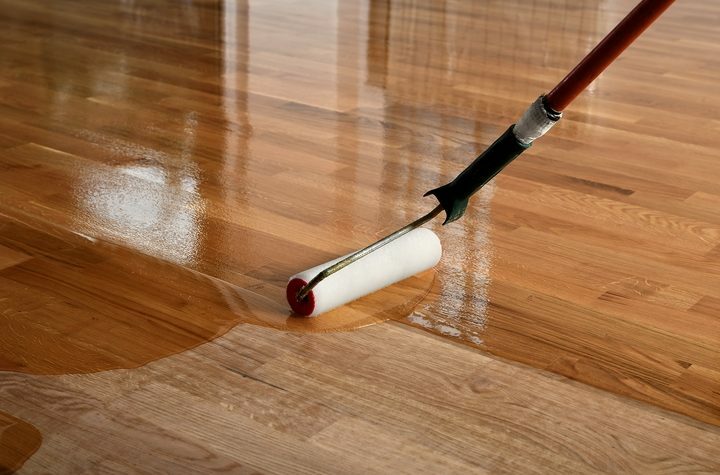
Step 6: Staining or Sealing (If Desired)
- Apply Stain or Sealant: Once you’re satisfied with the sanding, you can apply a stain or sealant to protect the wood and enhance its appearance.
Remember, hand sanding is a time-consuming process that should not be rushed. The quality of your work in this stage sets the foundation for the final appearance of your floor.
Finishing Touches
Having successfully completed the hand-sanding process, your wooden floors are now well on their way to being restored to their natural beauty. However, there are some essential finishing touches and post-sanding steps that can elevate the overall outcome and ensure the longevity of your efforts.
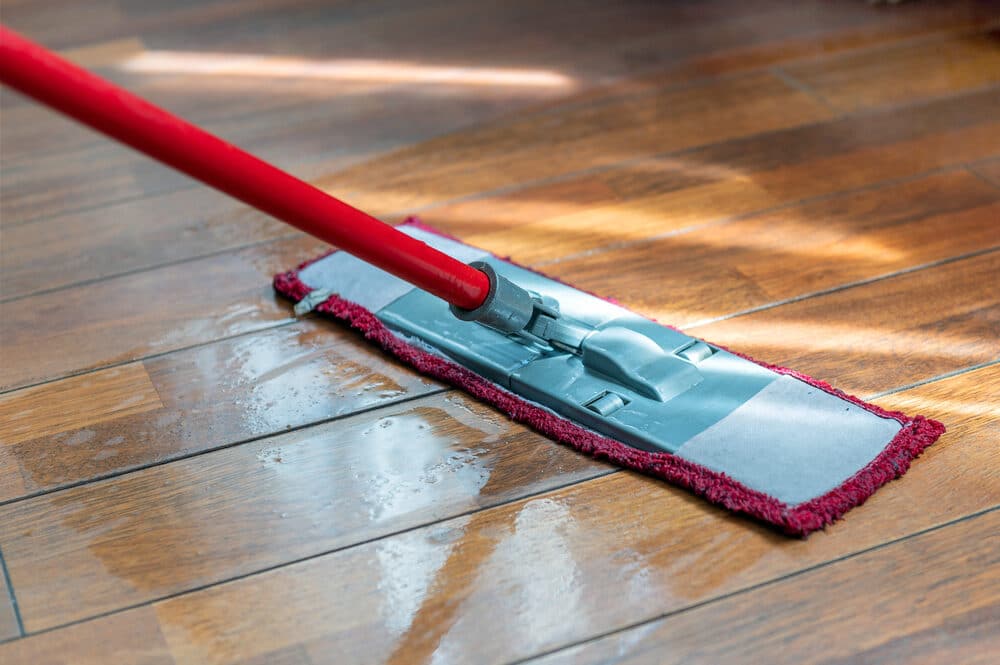
1. Final Dusting
Before proceeding with any finishing touches, it’s crucial to perform a final dusting of the entire floor. Any residual dust left behind can mar the final appearance and compromise the effectiveness of sealants or stains. Use a tack cloth or a microfiber mop to remove all traces of dust.
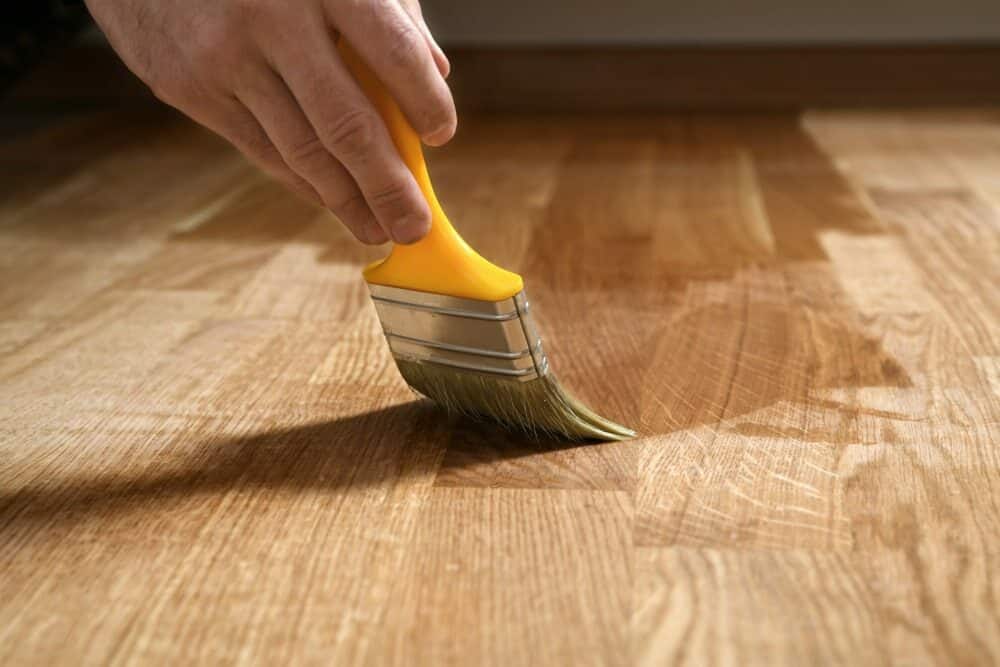
2. Staining (Optional)
If you wish to change the colour of your wooden floors or enhance their natural hue, staining is an option. Choose a high-quality wood stain that complements your interior decor. Follow the manufacturer’s instructions for application, ensuring even coverage.
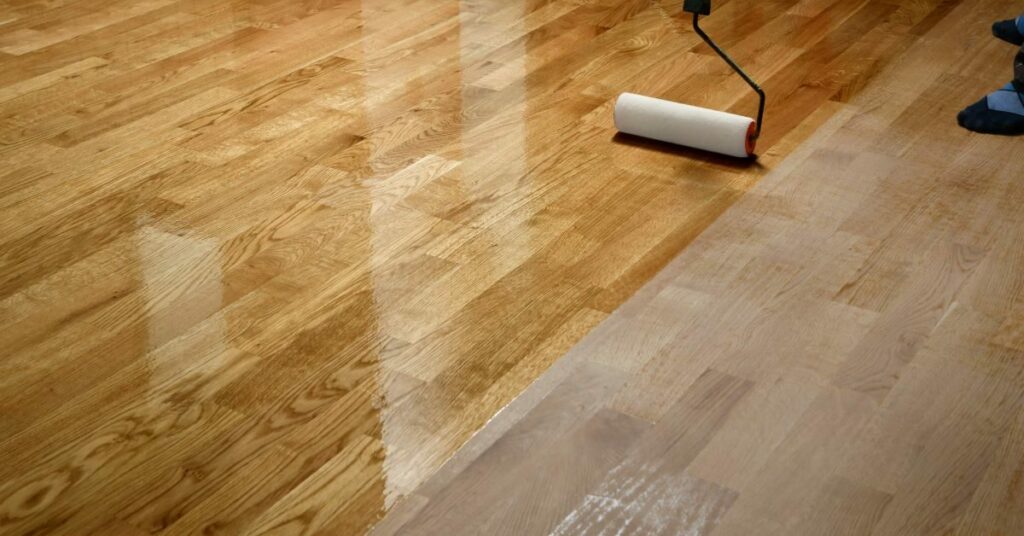
3. Sealing or varnishing
Sealing or varnishing your sanded floors is a critical step to protect them from future stains and damage. There are various options available, including water-based and oil-based sealants. Apply the sealant evenly and allow it to dry completely before using the floor.
4. Polishing
For an added layer of sheen and protection, consider polishing your wooden floors. There are wood floor polishes available that can enhance the lustre of the wood and provide an additional layer of protection.
5. Furniture pads
To prevent future scratches and stains, use furniture pads or coasters under heavy furniture legs. This simple step can greatly extend the life and beauty of your floors.
6. Regular cleaning and maintenance
To ensure your sanded floors remain beautiful for years to come, establish a regular cleaning and maintenance routine. Sweep or vacuum regularly to remove dirt and debris, and clean up spills promptly to prevent stains.
7. Periodic refinishing
Over time, even well-maintained wooden floors may require refinishing. This involves a lighter sanding and the reapplication of a stain or sealant. The frequency of refinishing depends on foot traffic and wear.
By paying attention to these finishing touches and adopting a proactive approach to maintenance, you can enjoy the timeless beauty of your wooden floors for generations to come.
Maintenance Tips Post-Sanding
Once you’ve undertaken the rewarding task of wood floor hand sanding to remove stains from your wooden floors, it’s essential to follow a maintenance routine that preserves the beauty and longevity of your hard work. Here are some valuable maintenance tips to keep in mind:
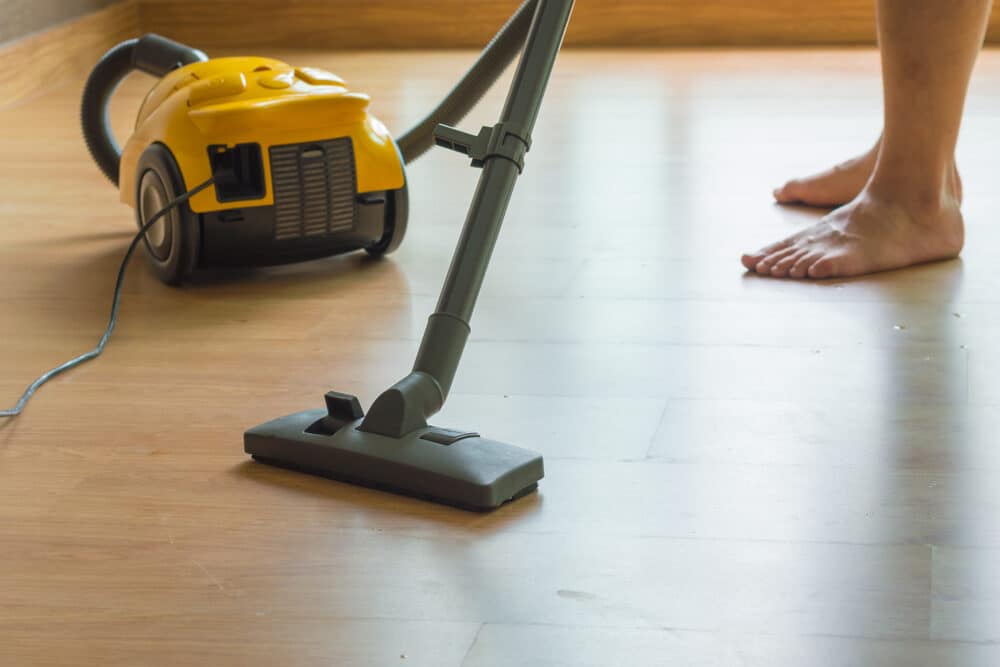
1. Regular cleaning
- Sweep or vacuum: Regularly remove dirt, dust, and debris from your floors using a soft-bristle broom or a vacuum cleaner with a hardwood floor attachment. This prevents scratches caused by abrasive particles.
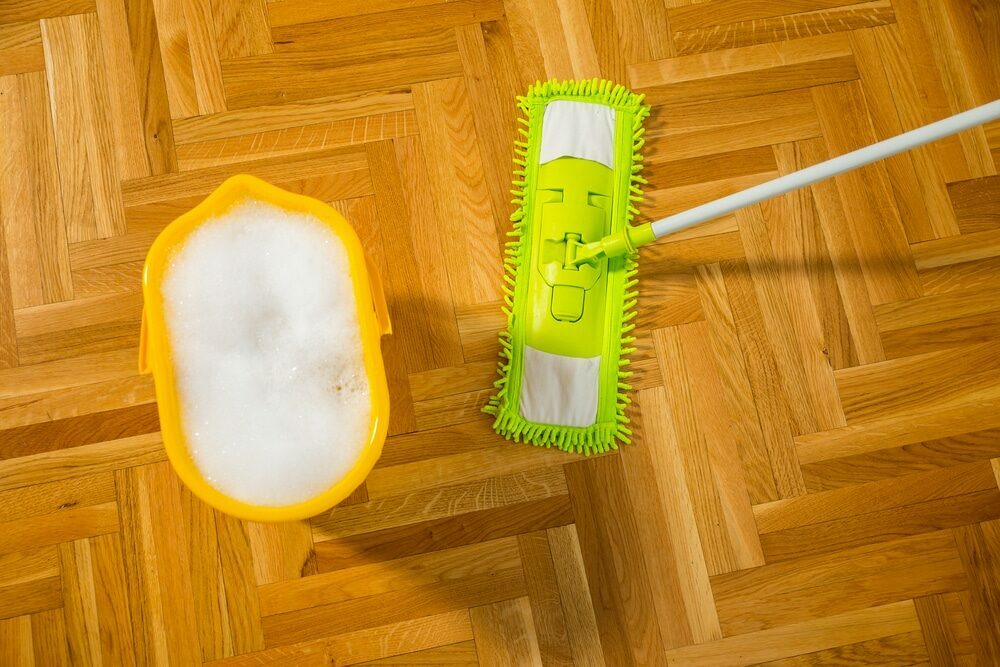
2. Damp Mopping
- Damp Mop with Care: Use a damp mop, well wrung out, to clean your floors. Excess water can seep into the wood and cause damage. Avoid harsh chemical cleaners and opt for a pH-neutral hardwood floor cleaner.
3. Prompt Spill Cleanup
- Act Quickly: Accidental spills can happen. When they do, blot them up immediately to prevent stains or water damage. Don’t allow liquids to sit on the floor.
4. Furniture Protection
- Furniture Pads: Place furniture pads or felt glides under the legs of your furniture. This prevents scratches and indentations when furniture is moved or shifted.
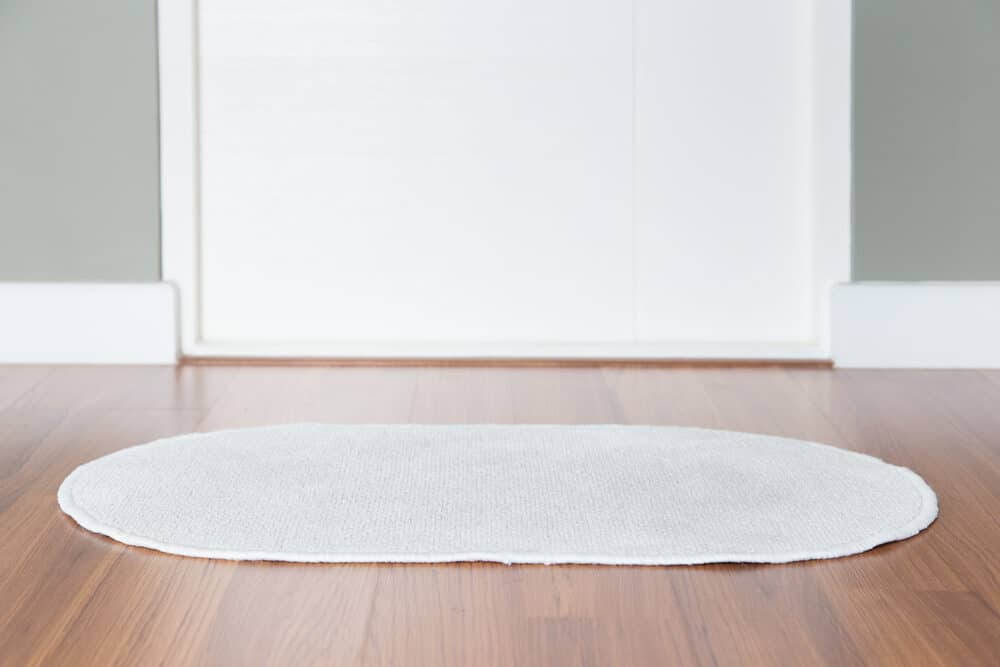
5. Area Rugs and Mats
- Use Area Rugs: Place area rugs or mats in high-traffic areas and entryways to protect the floor from wear. Ensure that the rugs have a non-slip backing to prevent slipping accidents.
6. Regular Inspection
- Keep an Eye Out: Periodically inspect your floors for any signs of wear, damage, or stains. Address any issues promptly to prevent further deterioration.
7. Recoating or refinishing
- Recoating: Depending on the wear and tear, you may need to recoat your floors every few years to refresh the protective layer.
- Refinishing: If your floors become heavily worn or develop deep stains, consider refinishing. This involves a light sanding and the application of a new finish.
8. Temperature and Humidity Control
- Maintain Stable Conditions: Extreme fluctuations in temperature and humidity can cause wood to expand or contract, leading to gaps or warping. Maintain stable indoor conditions with proper ventilation and humidity control.

By incorporating these maintenance tips into your routine, you’ll not only preserve the beauty of your sanded floors but also extend their lifespan. Wooden floors are an investment in your home’s aesthetic and value, and proper care ensures they remain a source of pride for years to come.
Conclusion
In the pursuit of restoring the elegance and charm of your wooden floors, the journey of wood floor hand sanding to remove stains is a labour of love and craftsmanship. With patience, precision, and the right techniques, you can transform blemished floors into showcases of natural beauty.
As we conclude this guide, let’s recap the essential steps and insights you’ve gained:
- Understanding Floor Stains: Identifying the type and nature of stains is the first step in effective stain removal.
- Materials and Tools Needed: Equipping yourself with the right materials and tools ensures a smooth sanding process.
- Preparation for Sanding: Adequate room preparation, floor inspection, and safety measures set the stage for successful sanding.
- Step-by-Step Guide to Hand Sanding: A methodical approach, starting with coarse grit and progressing to fine-grit sandpaper, is key to stain removal.
- Finishing Touches: Final dusting, staining, sealing, and polishing add the perfect finishing touches to your sanded floors.
- Maintenance Tips Post-Sanding: Regular cleaning, spill cleanup, furniture protection, and diligent care are essential for preserving the beauty of your floors.
Your wooden floors, once marred by stains, have now been revitalised through the art of hand sanding. By adhering to a maintenance routine and respecting your floors, you ensure their enduring allure.
Remember, the process of wood floor hand sanding is not just about removing stains; it’s a transformative journey that deepens your connection with the wood and the craftsmanship involved. Each stroke of the sandpaper reveals the hidden splendour of the grain, and each finished project tells a unique story of restoration.
So, take pride in your hand-sanded floors, and let them be a testament to your dedication to preserving the natural beauty of wood. Your home now boasts floors that are not just functional but also works of art.
Thank you for joining us on this journey, and may your hand-sanded floors continue to shine for generations to come.


Sanding
We provide virtually dust-free sanding with our continuous belt machinery with mobile extraction units, giving you a safer environment for your family.
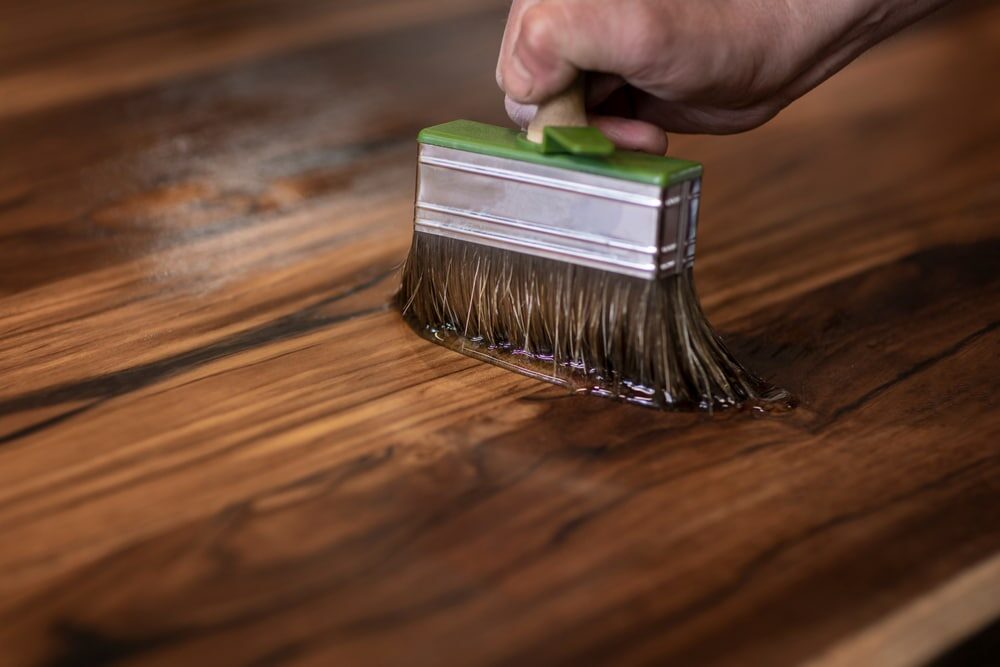
Oiling
This organic finish not only adds beauty to your home but also has exceptional water-repellent characteristics, making it easier to clean and maintain.
Waxing
This natural floor finish offers the softest and most mellow appearance – and leaves your floor able to breath.
Buffing
Using soft buffing machines (and hand-polishing where required) will bring a wonderful sheen to your newly-finished floor.
Repairs
We offer a full assessment of your wooden floors to determine what repairs are needed to provide the perfect working surface for the later stages of sanding, staining and sealing.
Restoration
We offer a comprehensive restoration process designed to address floors that are improperly fitted or damaged over time through wear and tear.
Request a fixed price quote for your wood floor restoration now
Simply enter your postcode below to get started.
Services
Wood Floor Sanding Wood Floor Restoration Wood Floor Scratch Repair Squeaky Wood Floor Repair Parquet Floor Sanding Parquet Floor Restoration Commercial Floor Sanding Church Floor Sanding Community Centre Floor Sanding School Floor Sanding Gap Filling Gap Filling with ResinCopyright © Mr Sander®
Privacy & Cookies Terms & Conditions Complaints Procedure Cancellation Rights Sitemap

Get An Instant Price Estimate Before You Go…
Simply enter the rooms you need sanded and we’ll provide you with a price estimate instantly! Try our price calculator now.
Get a Price Estimate NowLocal Floor Sanding Experts
Over 500 5-Star Reviews
Safe, Dust Free Sanding
Operating Since 1994