London:
Nationwide:
25,000+
Floors Restored
27 Years Experience
Wood Flooring Association Certified
Common Mistakes to Avoid When Screening Your Floors
Posted on January 23, 2024
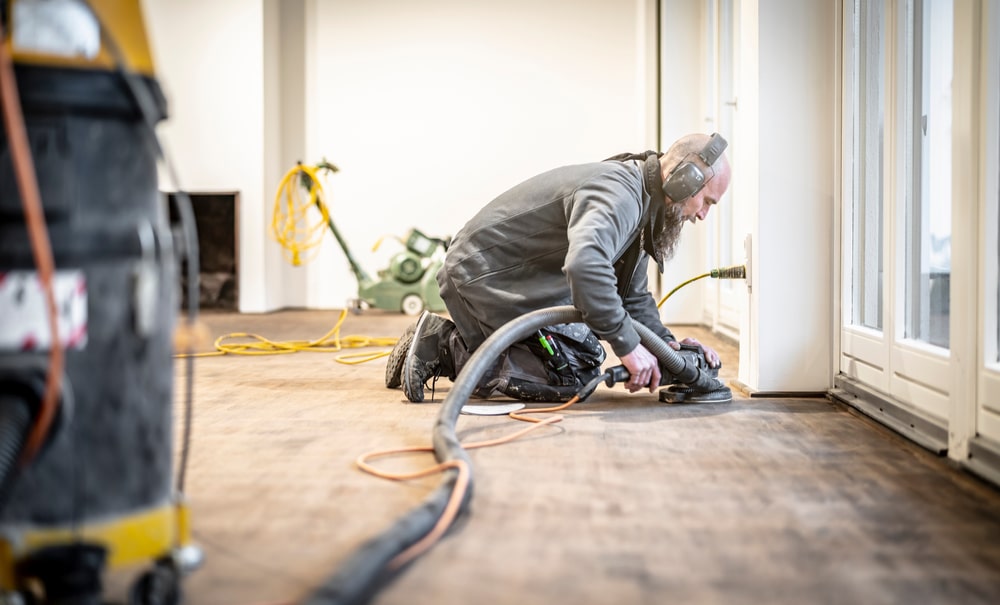
Floor sanding techniques
Essential Tips to Avoid Common Errors in Floor Screening
Welcome to our comprehensive guide on floor screening, a crucial step in maintaining and rejuvenating your hardwood floors. Floor screening, often confused with complete refinishing, is a less invasive process that involves lightly sanding the floor’s top layer before applying a new coat of finish. This process is essential for keeping floors looking fresh and extending their lifespan. However, as straightforward as it might sound, floor screening comes with its own set of challenges and pitfalls.
In this blog post, we delve into the common mistakes homeowners and DIY enthusiasts make when undertaking this task. The importance of avoiding these errors cannot be overstated; a well-executed floor screening can not only enhance the aesthetic appeal of your space but also save you from costly repairs in the long run. From preparation missteps to using the wrong equipment, we cover everything you need to know to ensure a smooth and successful floor screening experience.
Whether you are a seasoned DIYer or new to the world of floor care, this guide will equip you with the knowledge and tips to avoid common pitfalls and achieve the best possible results. So, let’s dive in and explore the world of floor screening, where attention to detail and the right approach can make all the difference!
Understanding floor screening
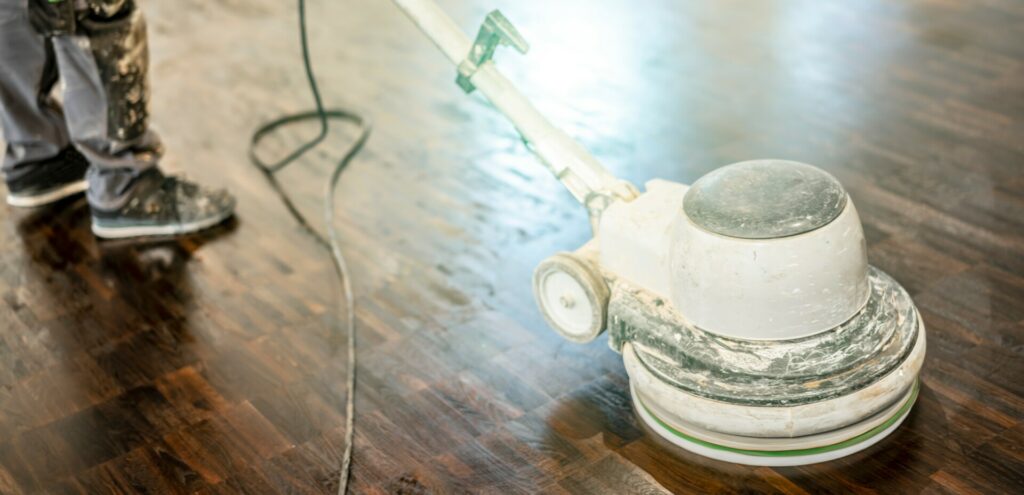
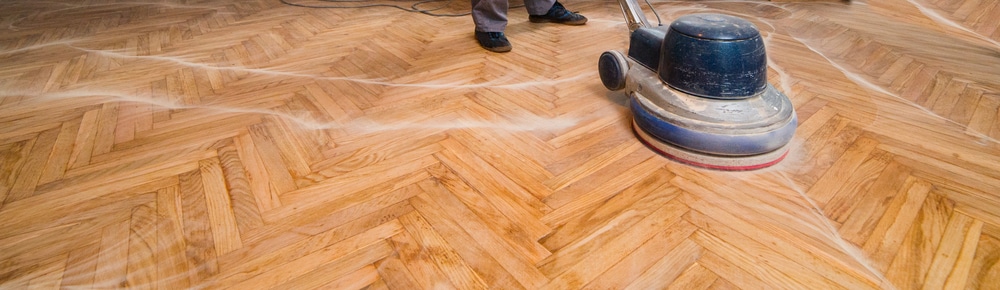
Floor screening, also known as buffing, is a less-invasive method of refreshing hardwood floors compared to full-scale refinishing. It involves lightly sanding or abrading the top coat of the floor finish, usually with a floor buffer and a screening pad. This process removes only the top layer of the finish, primarily aimed at eliminating superficial scratches, dullness, and other minor imperfections. The key purpose of screening is to prepare the floor for a new coat of finish, which can restore the floor’s shine and protect the wood underneath.
Different Types of Floors and Their Screening Needs
- Solid Hardwood: These floors are often the best candidates for screening, as they can handle the light abrasion without damaging the wood.
- Engineered Hardwood: Screening is possible but requires more care, as the top wood layer is thinner than in solid hardwood.
- Laminate and Vinyl: These materials cannot be screened as they do not have a refinishing layer like wood.
- Pre-finished floors: These come with a factory-applied finish that can be tricky to screen and might require professional assistance.
Understanding the specific needs of your floor type is crucial for effective screening. For instance, older or more delicate hardwood floors may require a gentler touch, while newer, more robust floors can withstand a more thorough screening process.
The benefits of screening floors are numerous. It extends the life of your floors by protecting the wood; it’s cost-effective compared to refinishing; and it’s a relatively quick process that doesn’t require the extensive drying times of refinishing. By understanding the basics of floor screening, you’re better equipped to avoid the mistakes that can arise during this process, which we will explore in the following sections.
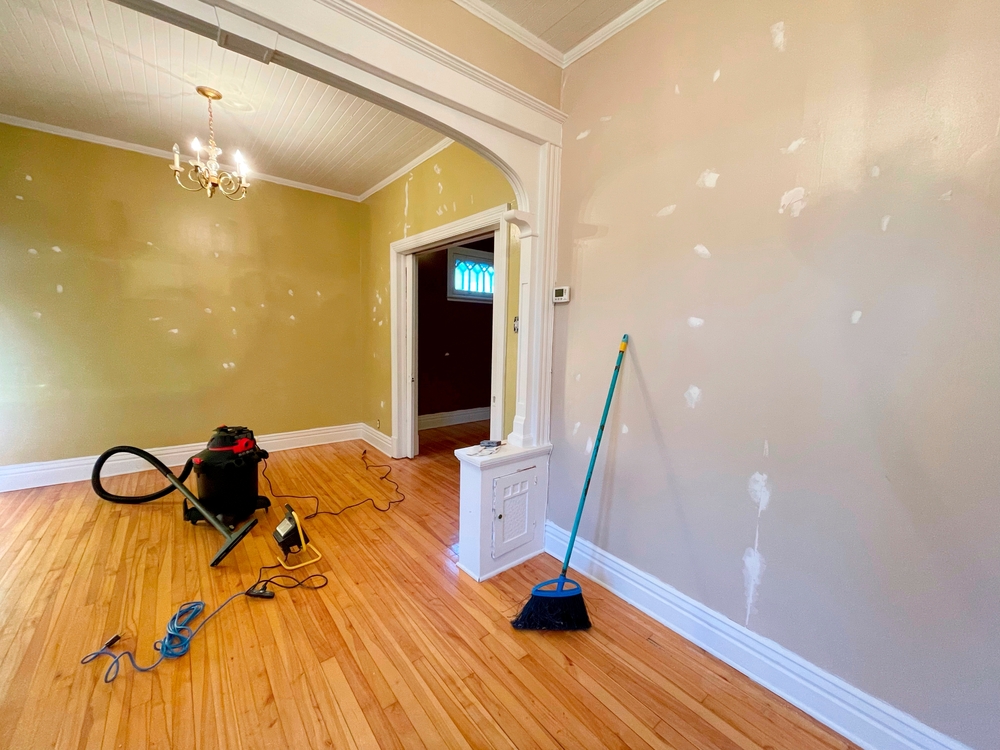
Inadequate surface preparation
One of the most critical steps in floor screening that is often overlooked or rushed is surface preparation. Proper preparation is the cornerstone of a successful screening process, and neglecting this step can lead to unsatisfactory results or even damage to your floors.
Importance of Surface Cleaning and Smoothing
- Dirt and Debris: Any dirt, dust, or debris left on the floor can get caught under the screening pad, leading to scratches and uneven finishes. It’s essential to thoroughly clean the floor before starting the screening process.
- Existing Finish and Imperfections: Old layers of wax, oils, or other finishes must be completely removed. If not, they can prevent the new finish from adhering correctly, resulting in a patchy or flaky finish. Additionally, any existing imperfections, like deep scratches, should be addressed, as screening will not remove them.
Tips for Effective Surface Preparation
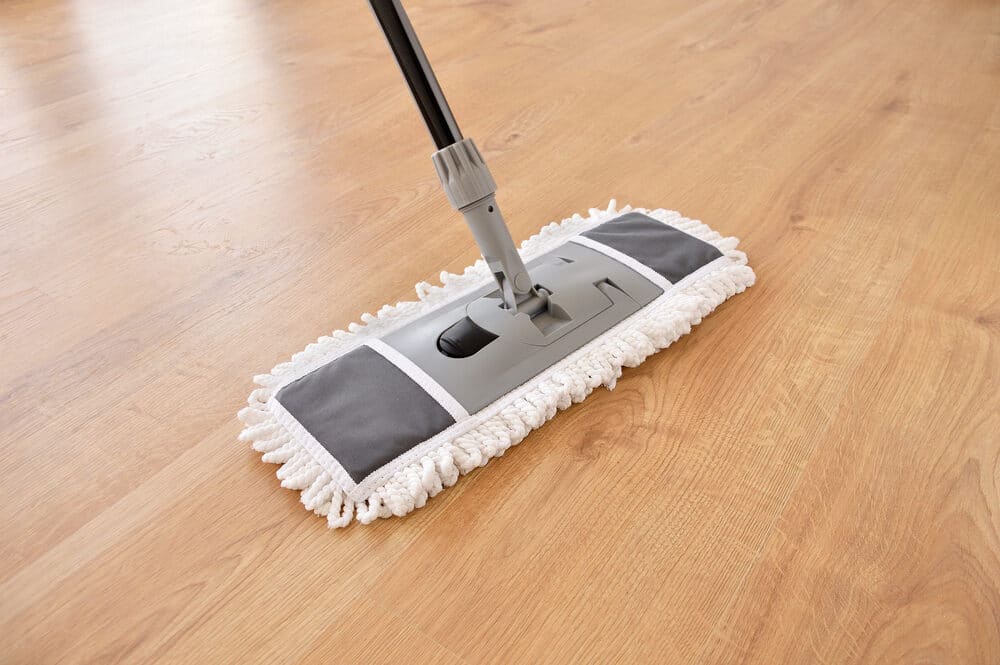
- Thorough Cleaning: Begin by sweeping or vacuuming the entire floor to remove loose debris. Follow this with a damp mop using a hardwood floor cleaner to ensure all dirt and grime are removed. Allow the floor to dry completely before screening.
- Removing Old Finishes: If your floor has a wax or oil-based finish, use a suitable stripping agent to remove it. Be sure to follow the manufacturer’s instructions for the best results and safety practices.
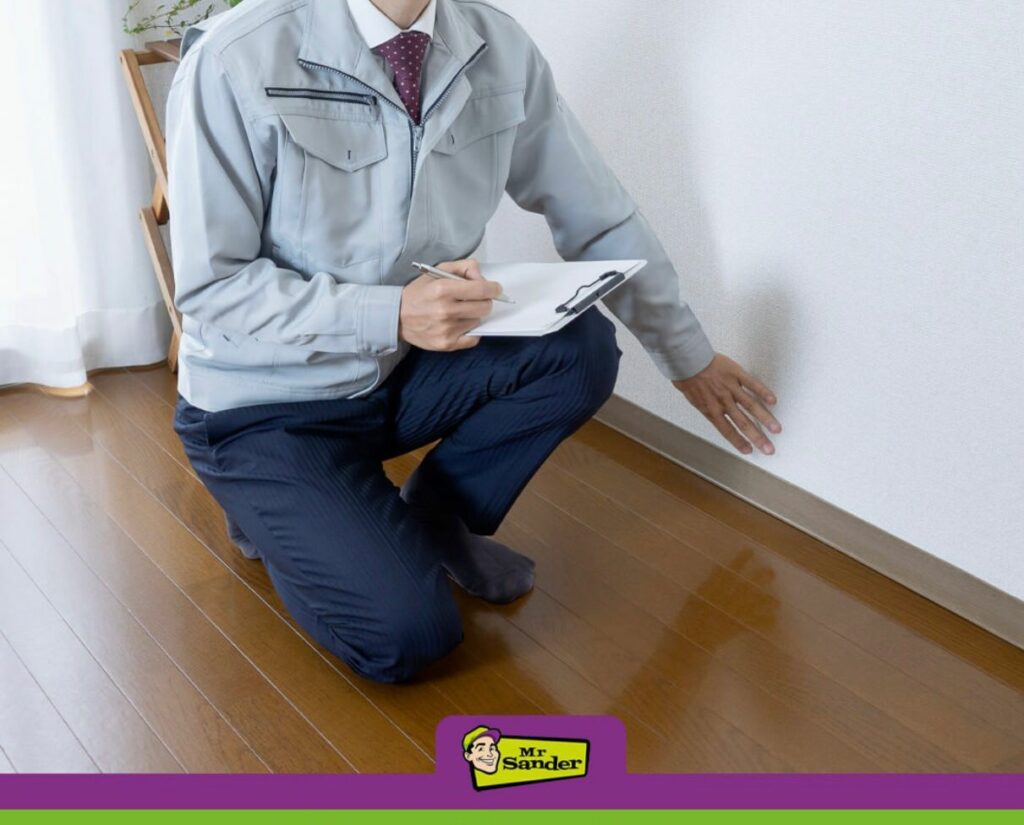
- Inspecting the Floor: Carefully inspect the floor for any signs of damage, such as deep scratches or warped boards. These issues should be addressed before screening, as the screening process is designed for cosmetic improvements, not major repairs.
- Testing a Small Area: Before proceeding with the entire floor, it’s wise to test the screening process on a small, inconspicuous area. This will give you an idea of how your floor will react to the screening and whether any adjustments are needed.
Neglecting surface preparation can result in a less effective screening process and may even necessitate a complete do-over. By taking the time to properly prepare your floors, you ensure a smoother screening process and a beautifully finished product.
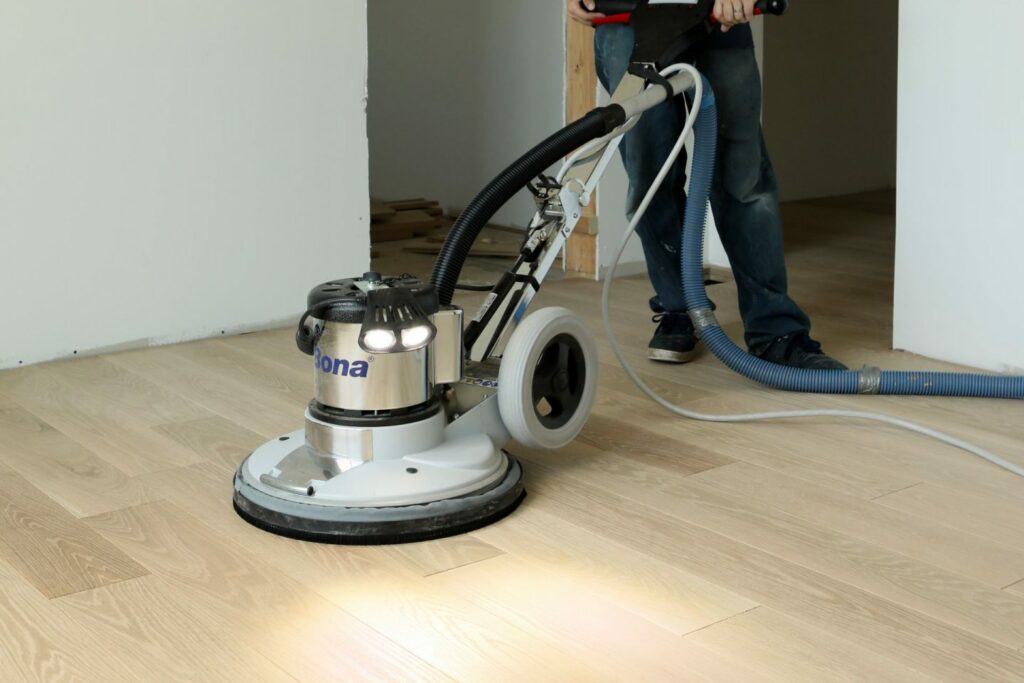
Using incorrect equipment
A common misstep in the floor screening process is the use of inappropriate or subpar equipment. The right tools are essential for a successful screening, and using the wrong ones can lead to poor results or even damage your floors.
Selecting the Right Screening Tools
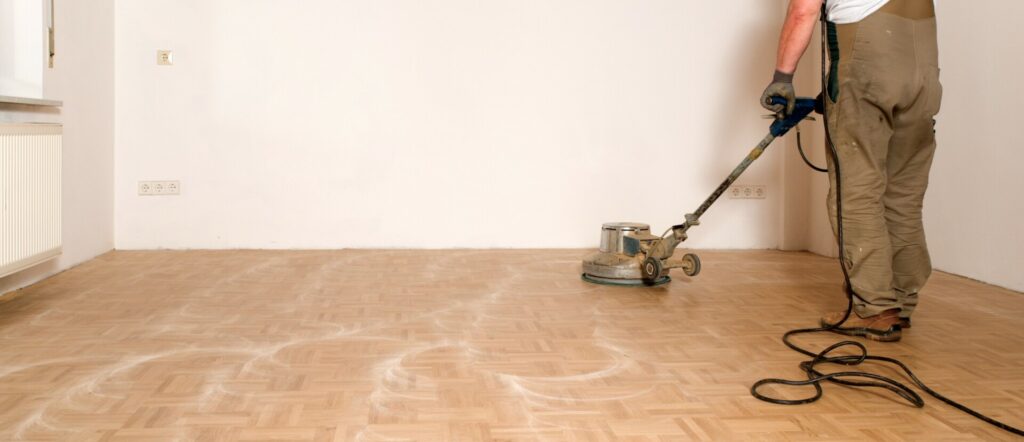
- Floor Buffer: The most critical tool for screening is a floor buffer or a rotary machine. It’s important to choose a buffer with the appropriate weight and power for your floor type. A heavy-duty buffer is suitable for solid hardwood floors, while engineered hardwood may require a lighter machine to avoid damage.
- Screening Pads: Screening pads are available in various grit sizes, and selecting the right grit is crucial. A too coarse pad can overly abrade the floor, while a too fine pad might not be effective in removing the old finish. Typically, a medium-grit pad is a good starting point.
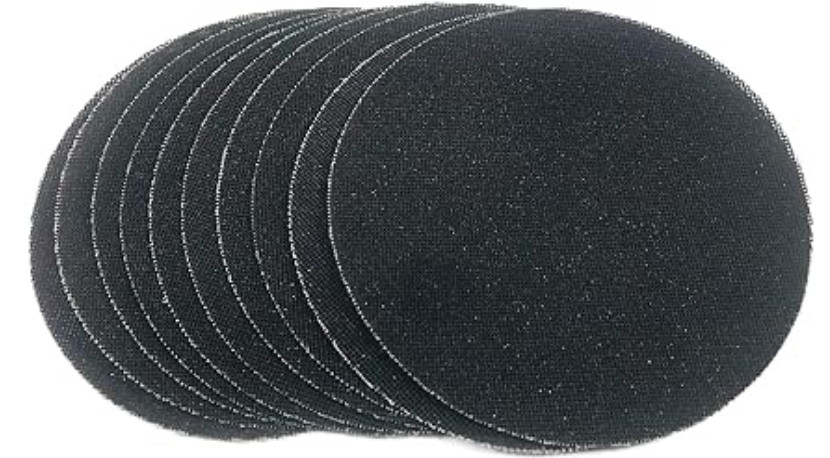
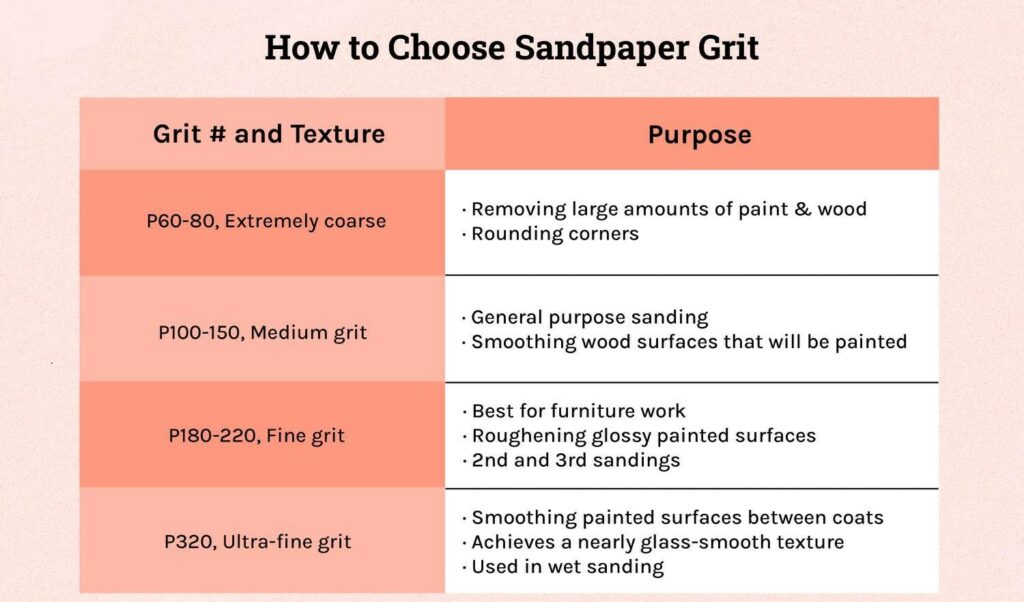
Understanding Sandpaper Grit Sizes
- Coarse Grit (e.g., 60–80 grit): Used for floors with a thicker layer of old finish or more significant imperfections. However, coarse grit can be too abrasive for many floors, especially if they are in relatively good condition.
- Medium Grit (e.g., 100–120 grit): Ideal for most floor screening projects. This grit size effectively smooths out minor imperfections without causing damage.
- Fine Grit (e.g., 150–180 grit): Best for the final pass or for floors that only need a light touch-up. Fine grit pads provide a smooth finish, preparing the floor for the new coat of varnish or sealant.
Additional Equipment Considerations
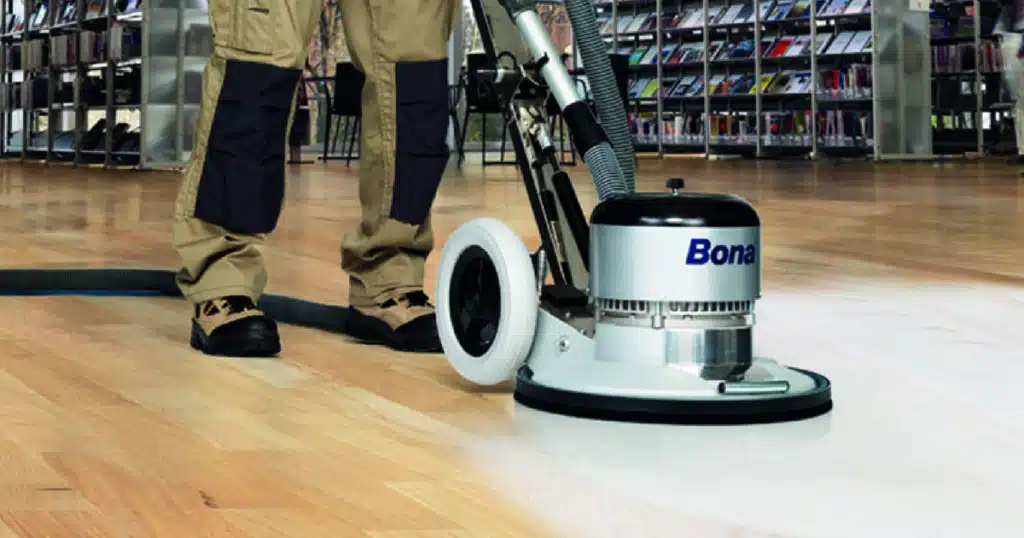
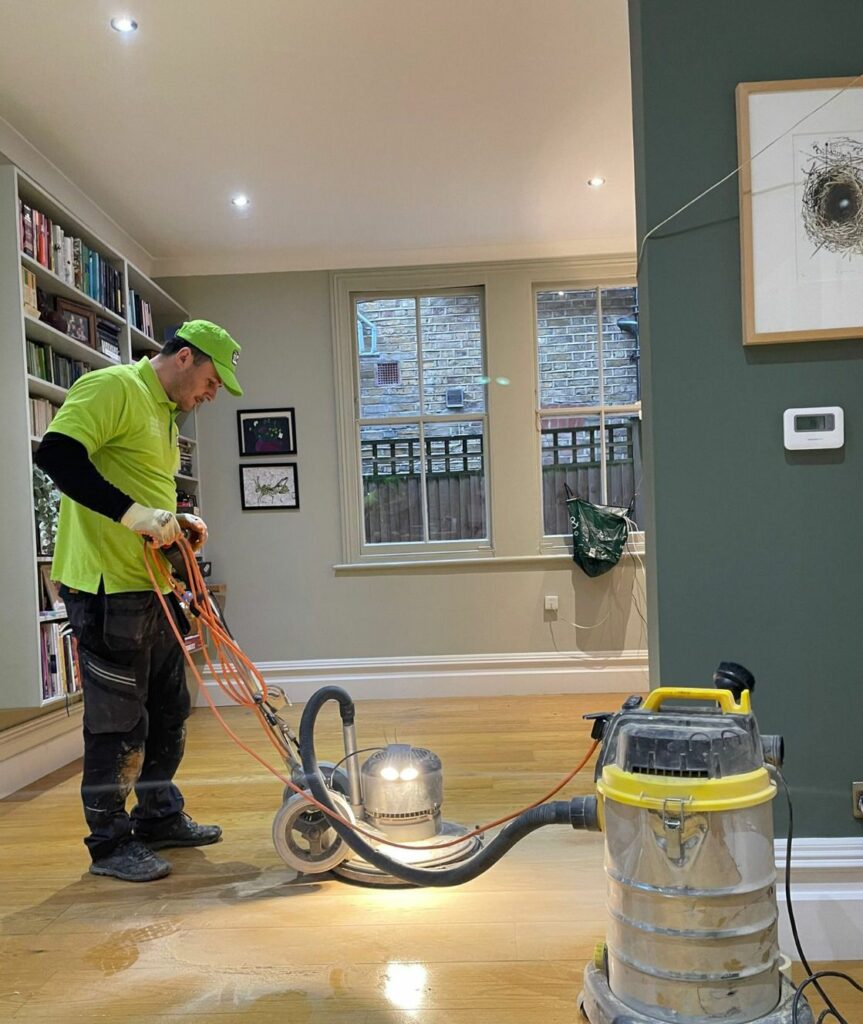
- Dust Containment System: Screening can produce a significant amount of dust. Using a buffer with a built-in dust containment system or attaching an external vacuum can help maintain a clean workspace and reduce cleanup time.
- Safety Gear: Always wear protective gear, including safety glasses, masks, and ear protection, to safeguard against dust and noise.

Using the incorrect equipment for floor screening can not only yield poor results but also prolong the process or necessitate a do-over. By investing in the right tools and understanding their proper usage, you can ensure a smoother, more efficient floor screening process and a more professional finish.
Ignoring environmental factors
Often underestimated, environmental factors play a significant role in the success of the floor screening process. Ignoring these can lead to prolonged drying times, poor finish adhesion, and uneven results.

The Impact of Temperature and Humidity
- Optimal Conditions: The ideal temperature for floor screening and applying finish is between 60°F and 75°F (15°C to 24°C), with a humidity level around 40–60%. These conditions help ensure that the finish dries evenly and adheres properly to the floor.
- High Humidity and Temperature: High humidity or temperature can cause the finish to dry too slowly, making it susceptible to dust and debris settling on the surface. It can also lead to a tacky or uneven finish.
- Low Humidity and Temperature: Conversely, low humidity or temperature can cause the finish to dry too quickly, preventing proper levelling and leading to a rough or streaky surface.
Ventilation and dust control
- Adequate Ventilation: Good ventilation is crucial during and after the screening process. It helps in controlling dust and fumes and aids in the drying process. However, direct airflow from fans or HVAC systems directly onto the wet finish should be avoided, as it can cause uneven drying.
- Dust Management: Even small amounts of dust can ruin a freshly screened floor. Ensuring a dust-free environment before applying the finish is critical. Using dust containment systems while screening and keeping the room sealed from external dust sources during drying are good practices.
Preparation Tips Based on the Environment
- Checking Weather Forecasts: Plan your floor screening project according to the local weather forecast. Avoid days with extreme humidity or temperature fluctuations.
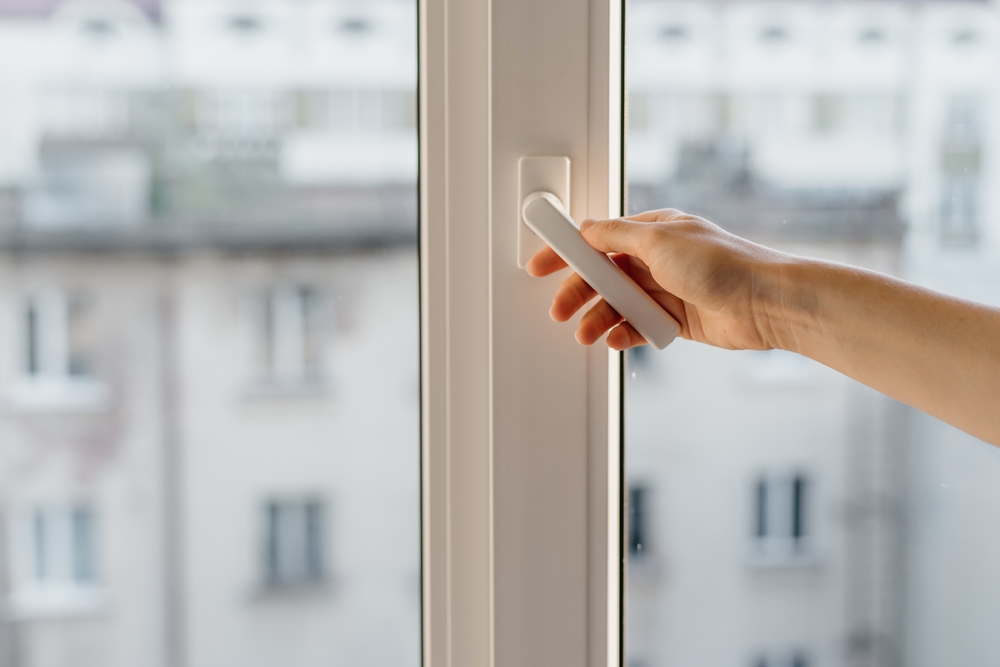
- Room Preparation: Close windows and doors to control temperature and humidity and to prevent dust from entering the room. At the same time, ensure the room is well ventilated to allow fumes and airborne dust to escape.
Ignoring environmental factors can easily sabotage your hard work in floor screening. By paying attention to these details, you can ensure a smoother, more controlled process, leading to a flawless finish on your floors.
Applying Uneven Pressure
Applying uneven pressure during the screening process is a common mistake that can lead to inconsistent results and potentially damage the floor. Even pressure is key to achieving a uniform finish and avoiding unsightly marks or depressions in the wood.

Techniques for Consistent Screening
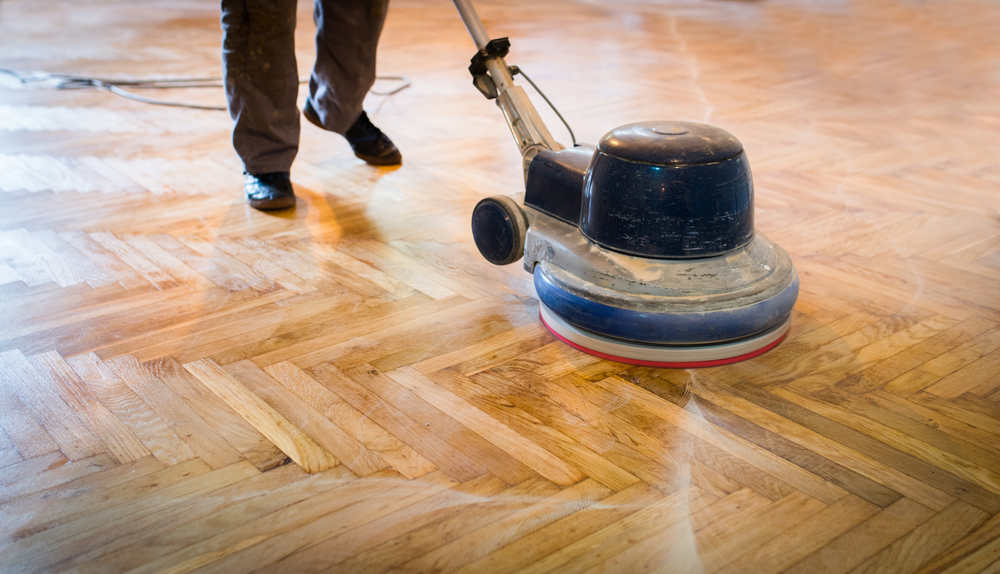
- Balanced Movement: Move the buffer in a steady, fluid motion across the floor. Avoid lingering too long in one spot or moving too quickly over another, as this can create uneven wear.
- Consistent Pressure: Maintain consistent downward pressure on the buffer. This doesn’t mean applying excessive force; rather, it’s about keeping the pressure steady and even throughout the process.
- Overlapping Passes: Each pass of the buffer should slightly overlap the previous one. This technique ensures that no areas are missed and that the entire floor receives an even amount of abrasion.
Avoiding Common Pitfalls
- Starting and Stopping: Abrupt starts and stops with the buffer can leave marks on the floor. Instead, ease the buffer into motion and gradually bring it to a stop.
- Edge Work: The edges of the room can be challenging. Use an edger or hand-held sander for these areas, and be extra careful to apply even pressure to avoid gouging the wood.
- Fatigue Factor: Screening floors can be physically demanding. Take regular breaks to avoid fatigue, which can lead to uneven pressure and inconsistent results.
Final Checks and Balancing
- Inspect as You Go: Regularly stop and check your work. Look for areas that might need more attention or spots where the finish might be too thin or thick.
- Evening Out Imperfections: If you find areas that are uneven, go over them again with the buffer, applying gentle, even pressure to smooth out the finish.
Applying uneven pressure during floor screening is a mistake that can compromise the aesthetics and integrity of your floors. By using proper techniques and being mindful of pressure and movement, you can ensure a smooth, even finish that enhances the beauty of your hardwood floors.
Rushing the Process
A common error in floor screening is rushing through the process, either in the preparation, the screening itself, or the finishing stages. Patience is vital in floor screening to ensure each step is completed thoroughly and effectively for the best results.
The Importance of Patience and Timing
- Preparation Phase: Rushing through the cleaning and preparation of the floor can leave behind debris and imperfections, which will affect the final outcome. Take your time to thoroughly clean and prep the floor.
- Screening Process: Quick screening can lead to uneven abrasions and missed spots. It’s important to methodically move across the floor, ensuring even and complete coverage.
- Drying Times: After applying the new finish, it needs adequate time to dry. Rushing this phase by walking on the floor too soon or applying furniture can ruin the finish.
Signs That Your Floor Is Ready for the Next Step
- After screening, the floor should feel uniformly smooth to the touch and appear consistently abraded before applying the finish.
- Drying Finish: Follow the manufacturer’s recommended drying times. The finish should be completely dry to the touch and not tacky before applying additional coats or allowing foot traffic.
Tips for a Patient Approach
- Plan Ahead: Allocate sufficient time for each step of the process. Don’t start the project if you’re on a tight schedule.
- Follow Instructions: Adhere to the guidelines provided for the equipment and finishing products. This includes mixing times, application methods, and drying times.
- Regular Checks: Periodically check the progress. Ensure the floor is uniformly screened and the finish is evenly applied and properly dried before moving on to the next step.
Rushing the floor screening process can lead to subpar results and may even necessitate redoing the entire job. By taking a patient and methodical approach, you can ensure a professional and durable finish for your floors.
Inadequate cleaning and finishing
Neglecting proper cleanup and finishing touches is a mistake that can significantly undermine the overall quality of a floor screening project. Adequate cleanup ensures a pristine base for the finished product, and a well-applied finish is crucial for both the appearance and durability of the floor.
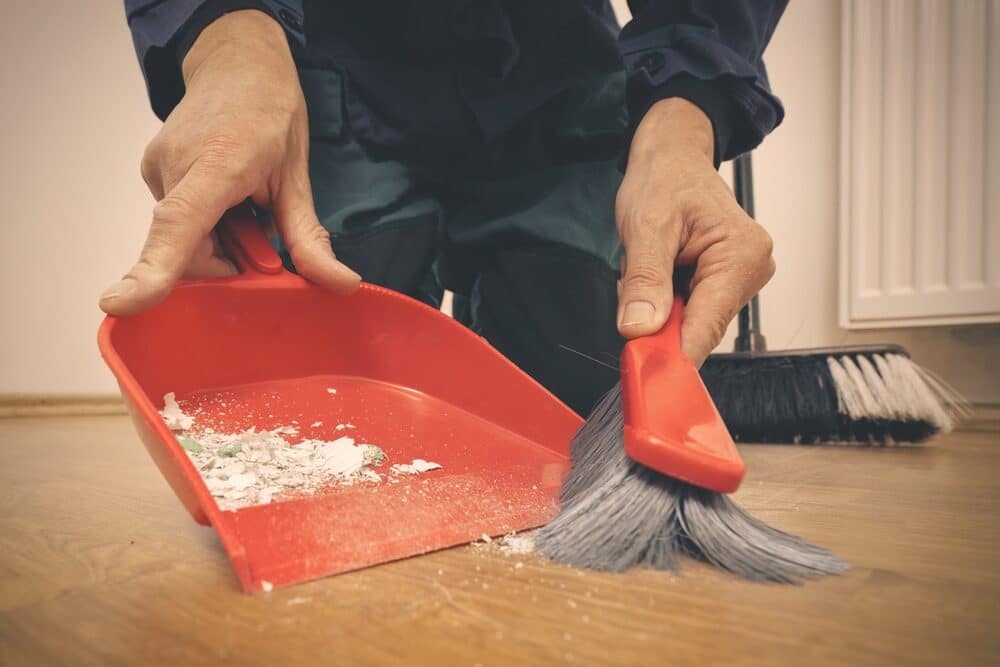
Proper Cleanup Methods
- Removing Dust and Debris: After screening, the floor will be covered in fine dust. Vacuum the floor thoroughly using a soft brush attachment to avoid scratching the wood. Follow up with a tack cloth or a slightly damp mop to pick up any remaining dust.
- Cleaning Equipment: Ensure that all equipment, especially the buffer and any edgers, are clean and free from debris before starting the finishing process. Residual dust can get into the finish, causing imperfections.
Choosing and Applying the Right Finish
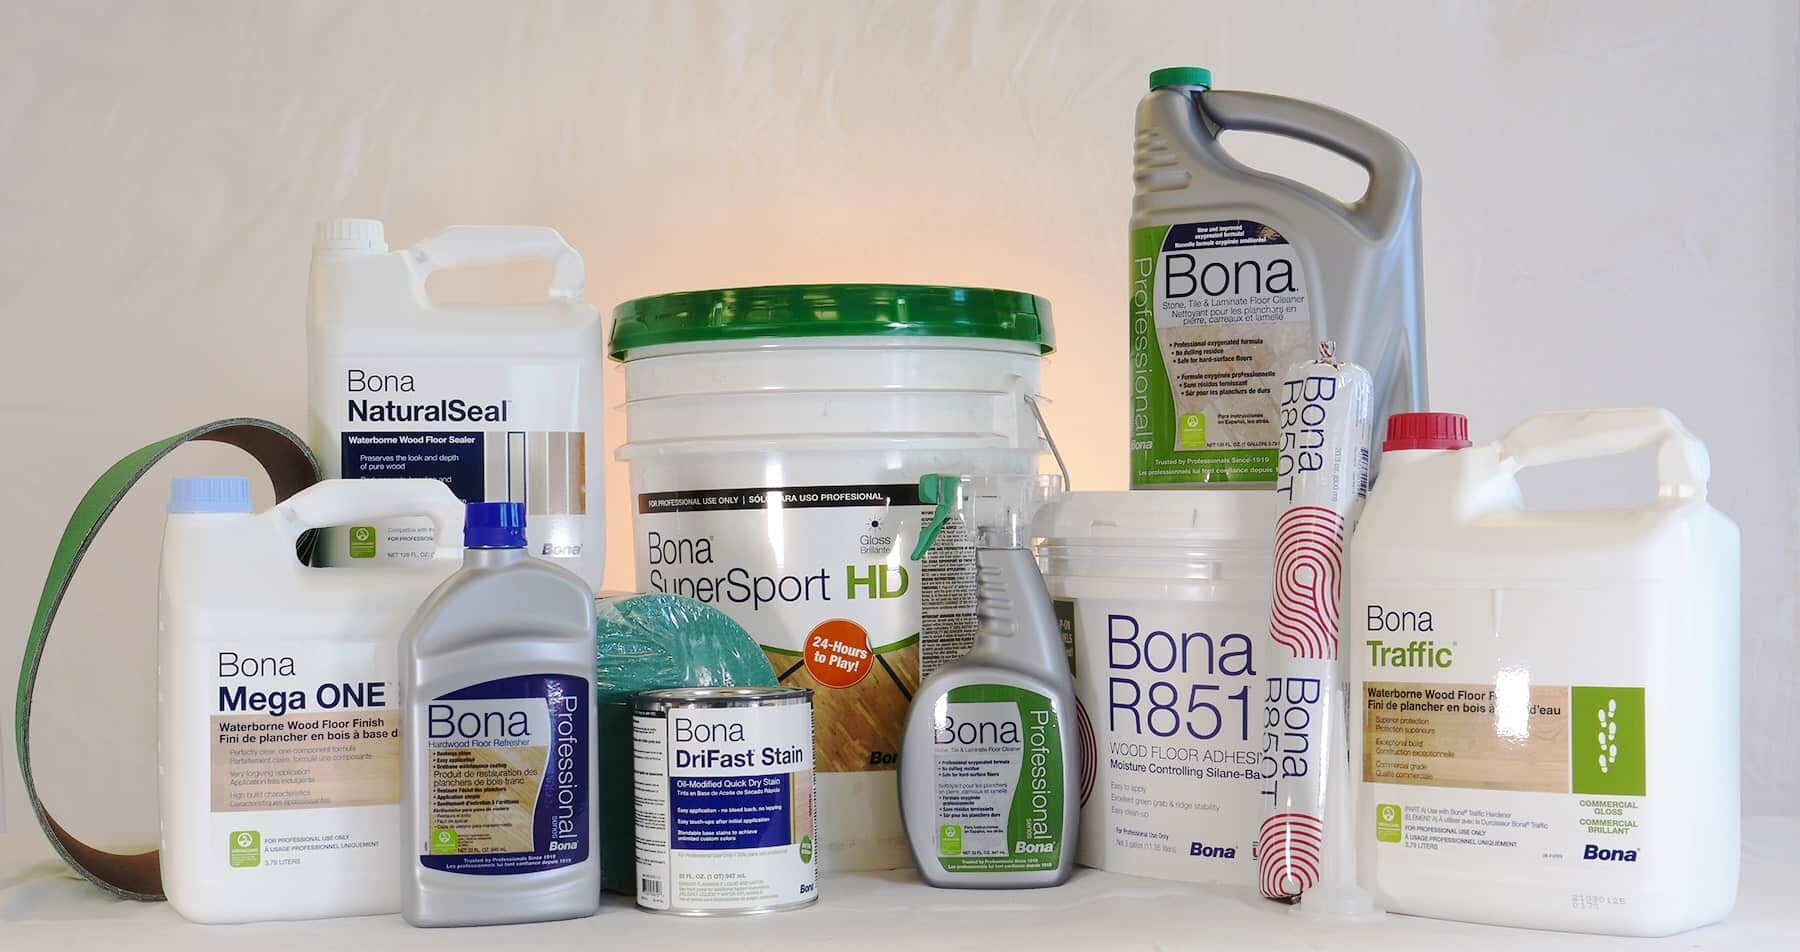
- Selecting the Finish: Choose a finish that is compatible with your wood type and the wear it will undergo. Options include water-based polyurethanes, oil-based polyurethanes, and natural oils. Each has its pros and cons regarding durability, drying time, and appearance.
- Applying the Finish: Follow the manufacturer’s instructions for application. Generally, it involves applying a thin, even coat using a brush, roller, or pad. Avoid over-application, which can lead to a tacky finish or uneven drying.
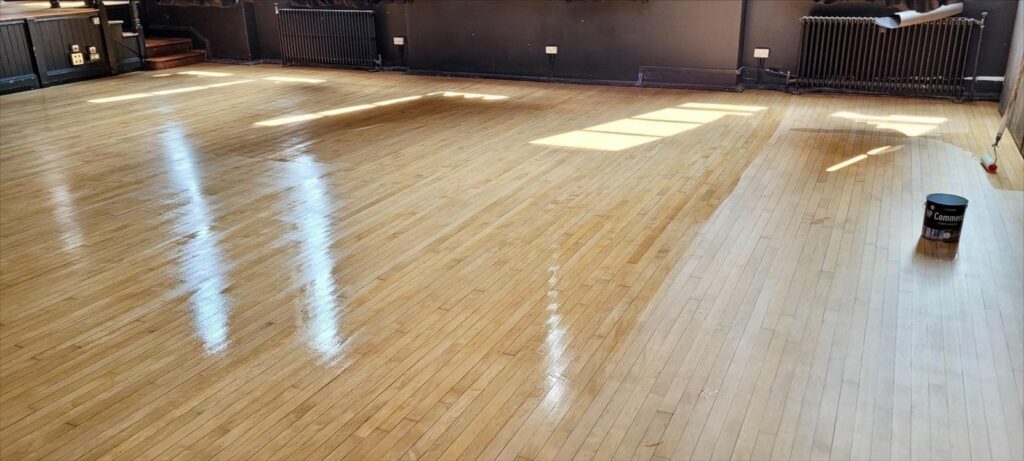
Finishing Touches for a Professional Look
- Multiple Coats: Most finishes require multiple coats for optimal durability and appearance. Allow each coat to dry thoroughly before applying the next.
- Sanding Between Coats: Lightly sanding the floor between coats with a fine-grit sandpaper can help achieve a smoother finish. Ensure to clean up all the dust before applying the next coat.
- Final Inspection: After the final coat, inspect the floor for any drips, streaks, or missed spots. Address these issues while the finish is still fresh.

Conclusion
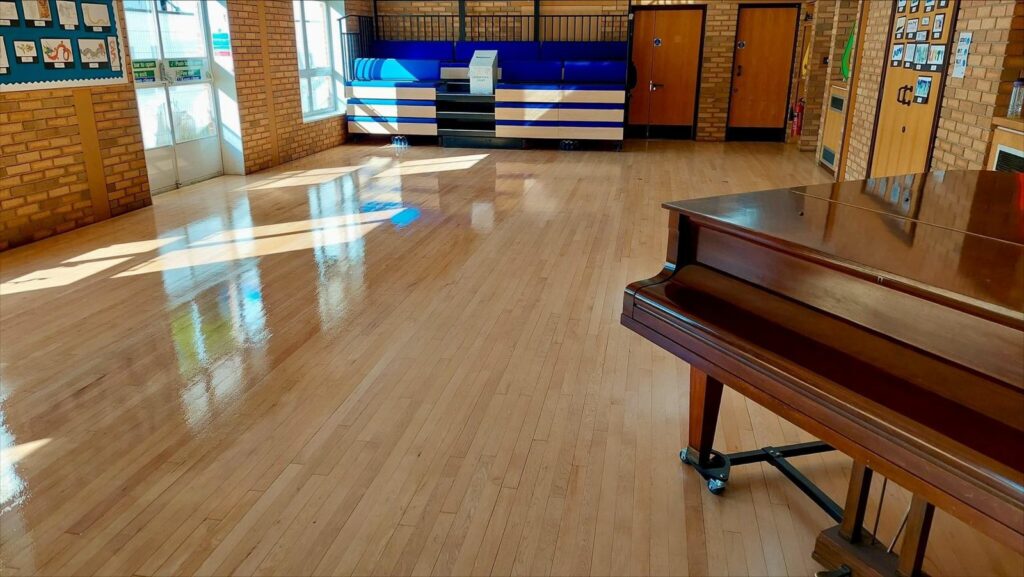
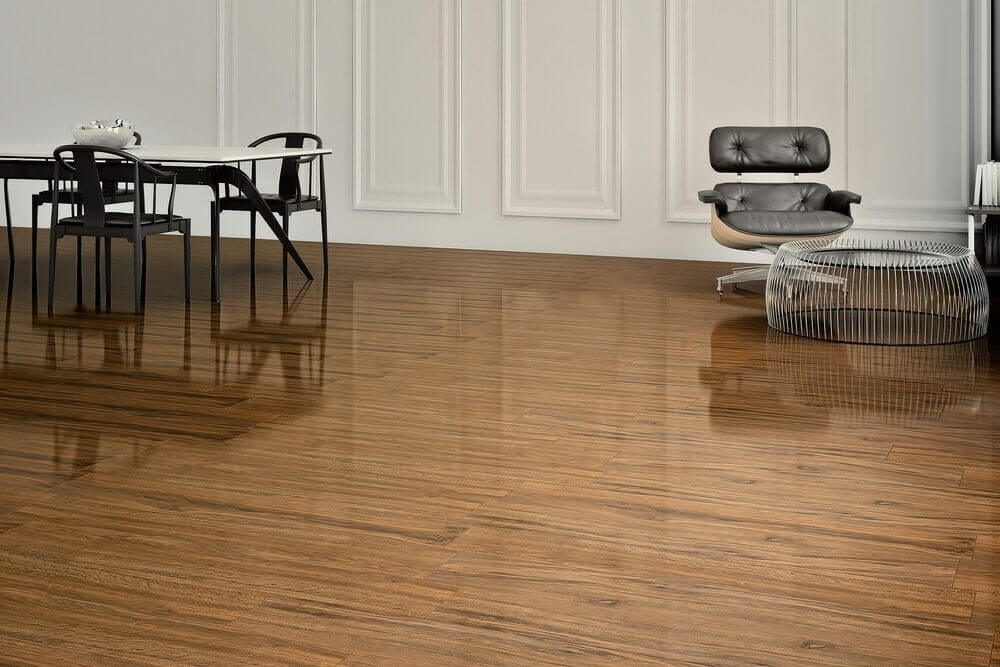
As we wrap up our discussion on the common mistakes to avoid when screening your floors, it’s clear that each step in this process is pivotal to achieving a beautiful, durable, and professionally finished hardwood floor. From the initial preparation to the final finishing touches, attentiveness and patience play vital roles in the success of your floor screening project.
Floor screening, while less intensive than full refinishing, still requires a methodical and careful approach. Mistakes such as inadequate surface preparation, using incorrect equipment, ignoring environmental factors, applying uneven pressure, rushing the process, and skimping on cleanup and finishing can all lead to unsatisfactory results. However, by understanding and avoiding these pitfalls, you can ensure a smoother, more efficient process and a more visually appealing and long-lasting finish.
Whether you’re a seasoned DIY enthusiast or a novice embarking on your first floor screening project, remember that the beauty lies in the details. Taking the time to properly prepare, execute, and finish your flooring project will not only enhance the aesthetic appeal of your space but also extend the life and durability of your floors.
We encourage you to use this guide as a reference throughout your floor-screening journey. With the right knowledge, tools, and approach, you can transform your hardwood floors into a stunning and functional aspect of your home. Happy screening!


Sanding
We provide virtually dust-free sanding with our continuous belt machinery with mobile extraction units, giving you a safer environment for your family.
Oiling
This organic finish not only adds beauty to your home but also has exceptional water-repellent characteristics, making it easier to clean and maintain.
Waxing
This natural floor finish offers the softest and most mellow appearance – and leaves your floor able to breath.
Buffing
Using soft buffing machines (and hand-polishing where required) will bring a wonderful sheen to your newly-finished floor.
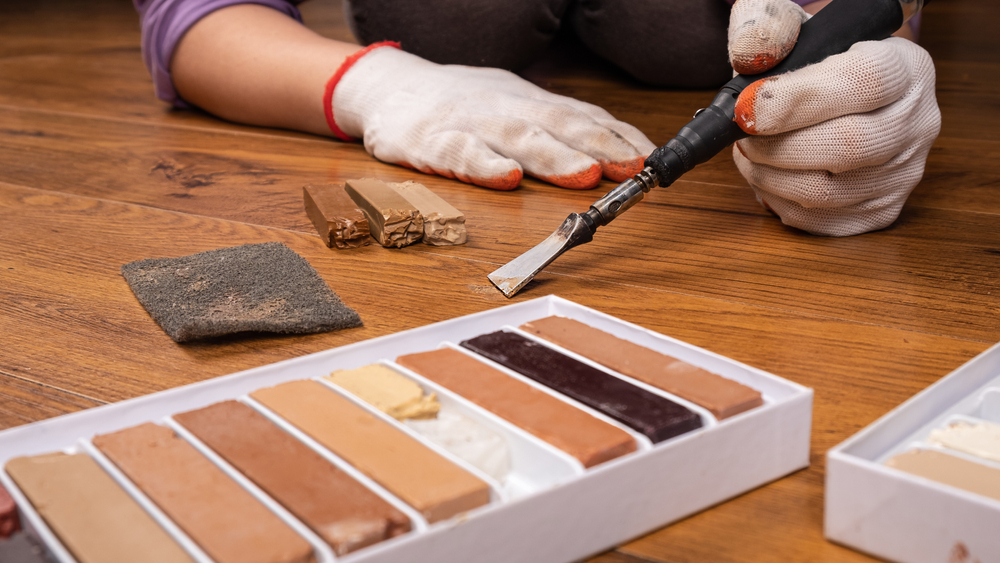
Repairs
We offer a full assessment of your wooden floors to determine what repairs are needed to provide the perfect working surface for the later stages of sanding, staining and sealing.
Restoration
We offer a comprehensive restoration process designed to address floors that are improperly fitted or damaged over time through wear and tear.
Request a fixed price quote for your wood floor restoration now
Simply enter your postcode below to get started.
Services
Wood Floor Sanding Wood Floor Restoration Wood Floor Scratch Repair Squeaky Wood Floor Repair Parquet Floor Sanding Parquet Floor Restoration Commercial Floor Sanding Church Floor Sanding Community Centre Floor Sanding School Floor Sanding Gap Filling Gap Filling with ResinCopyright © Mr Sander®
Privacy & Cookies Terms & Conditions Complaints Procedure Cancellation Rights Sitemap

Get An Instant Price Estimate Before You Go…
Simply enter the rooms you need sanded and we’ll provide you with a price estimate instantly! Try our price calculator now.
Get a Price Estimate NowLocal Floor Sanding Experts
Over 500 5-Star Reviews
Safe, Dust Free Sanding
Operating Since 1994