London:
Nationwide:
25,000+
Floors Restored
27 Years Experience
Wood Flooring Association Certified
Common Mistakes to Avoid When Buffing Your Floors
Posted on December 31, 2023
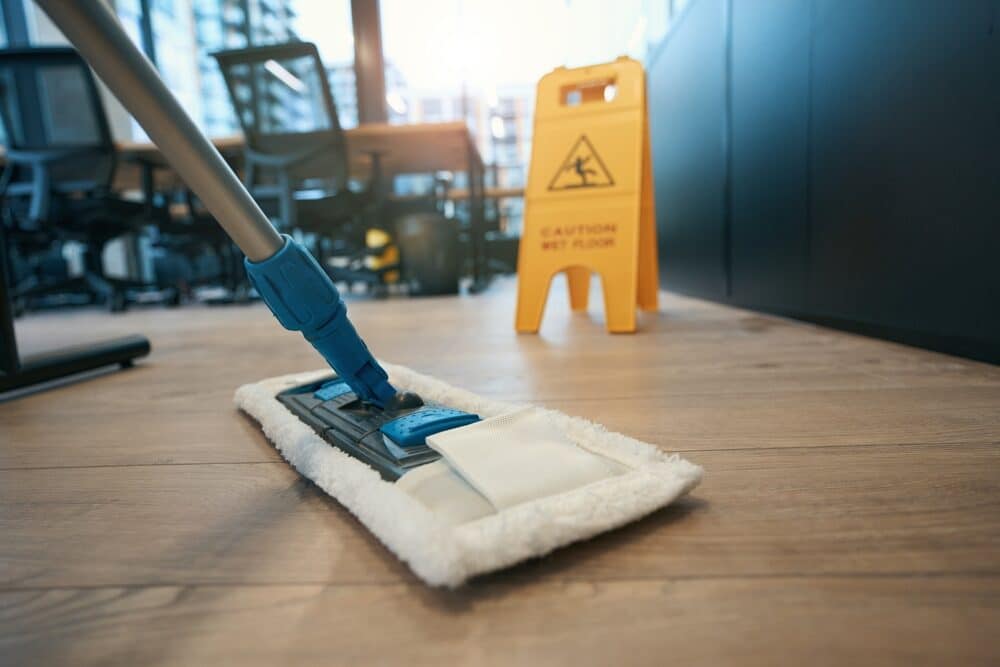
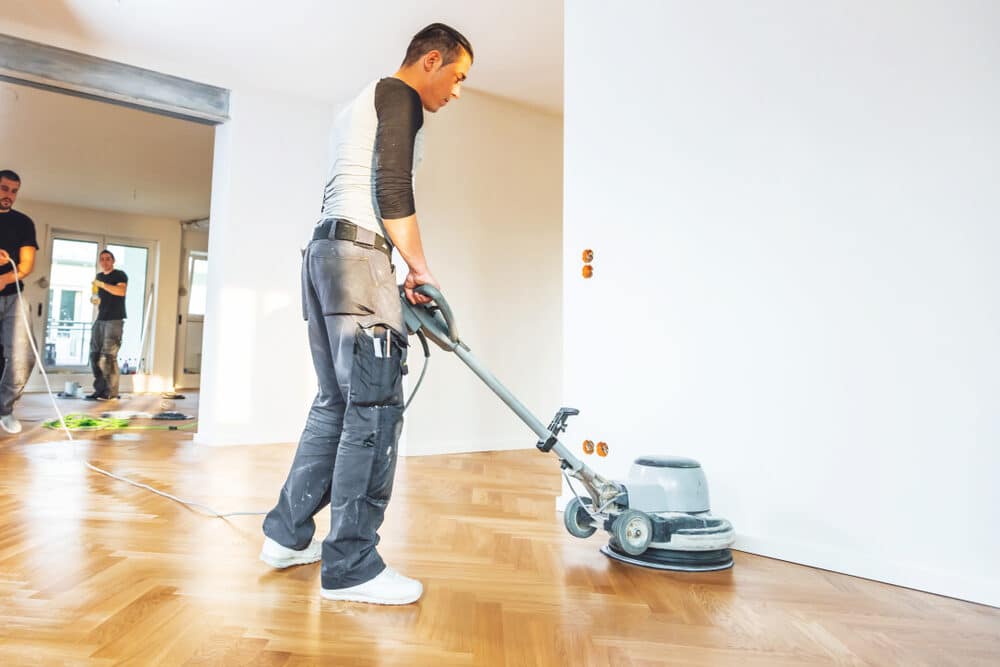
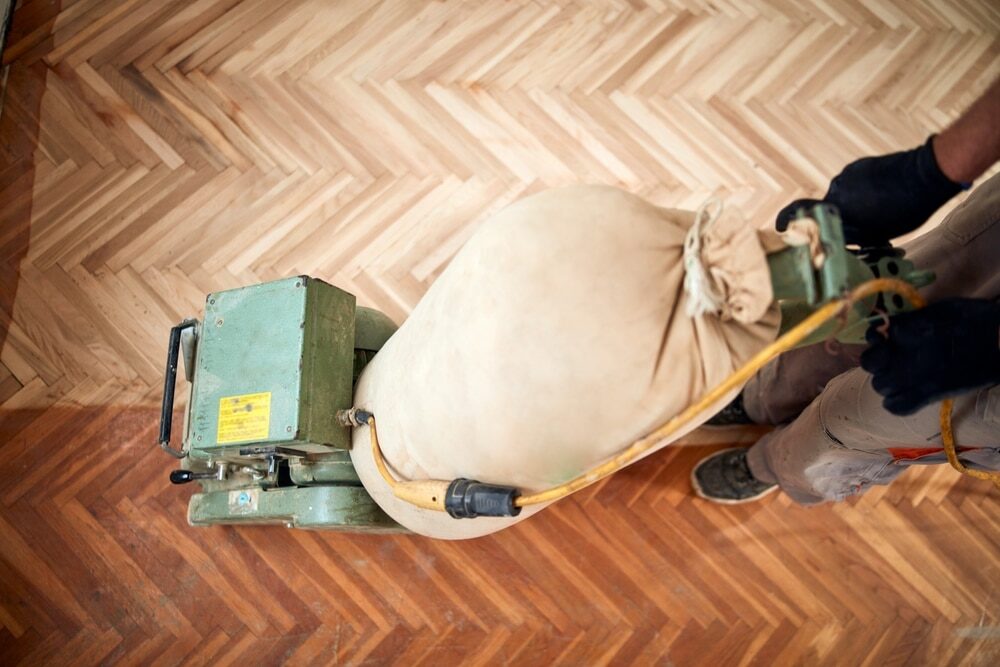
Buffing
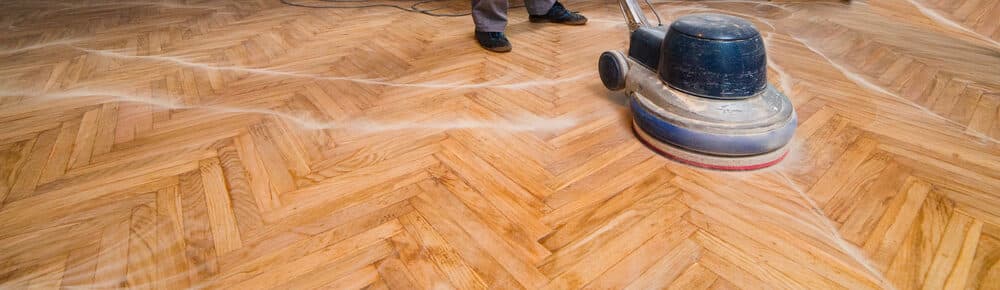
Critical Errors to Steer Clear of During Floor Buffing
Welcome to our comprehensive guide on floor buffing! This seemingly simple task can significantly enhance the appearance of your floors, bringing out a shine and cleanliness that truly transforms your space. However, as straightforward as it might seem, floor buffing is often riddled with potential pitfalls that can turn this task into a less-than-desirable experience.
In this post, we’ll delve into the common mistakes many individuals encounter when attempting to buff their floors. Whether you’re a seasoned professional or a first-timer eager to bring some shine to your home, understanding these pitfalls is crucial. We’ll explore why each mistake can be detrimental to your floors and how avoiding them not only preserves the beauty of your flooring but also ensures a longer lifespan and better overall results.
From recognising the nuances of different floor types to selecting the appropriate equipment and understanding the right techniques, every aspect matters. Our goal is to equip you with the knowledge and tips to avoid these common errors, ensuring your floor buffing experience is both effective and rewarding.
Stay tuned as we guide you through the essential steps and precautions to take, helping you achieve that perfect shine without the stress and complications. Let’s dive into the world of floor buffing and learn how to do it right!
Understanding Your Floor Type
Before you even start up your buffing machine, it’s crucial to understand that not all floors are created equal. The key to a successful buffing experience lies in recognising and respecting the unique characteristics of your floor type. In this section, we’ll explore the most common types of flooring materials and how to approach buffing for each one.
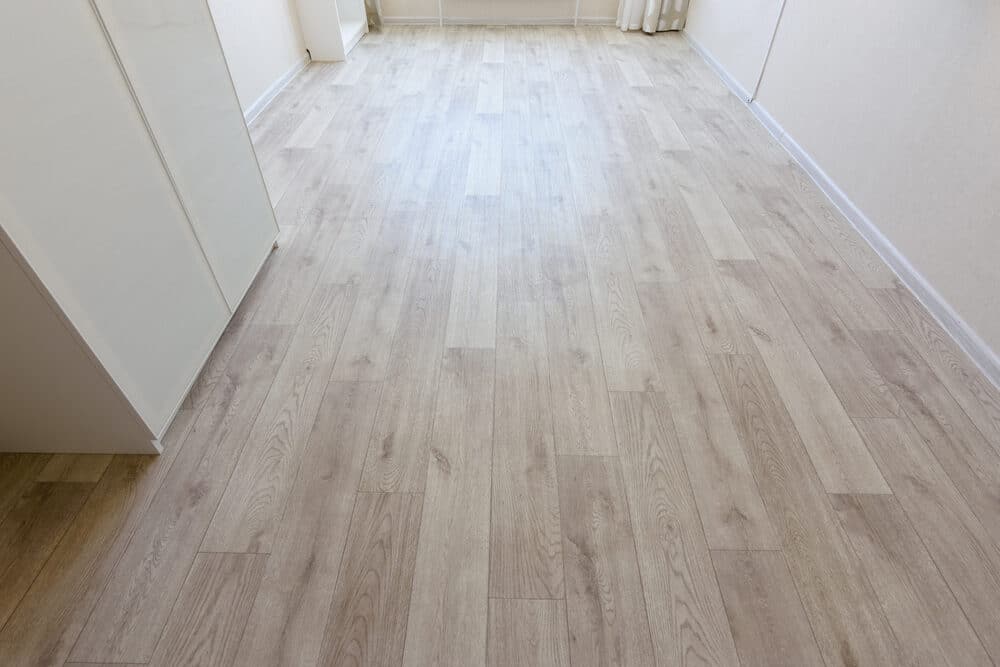
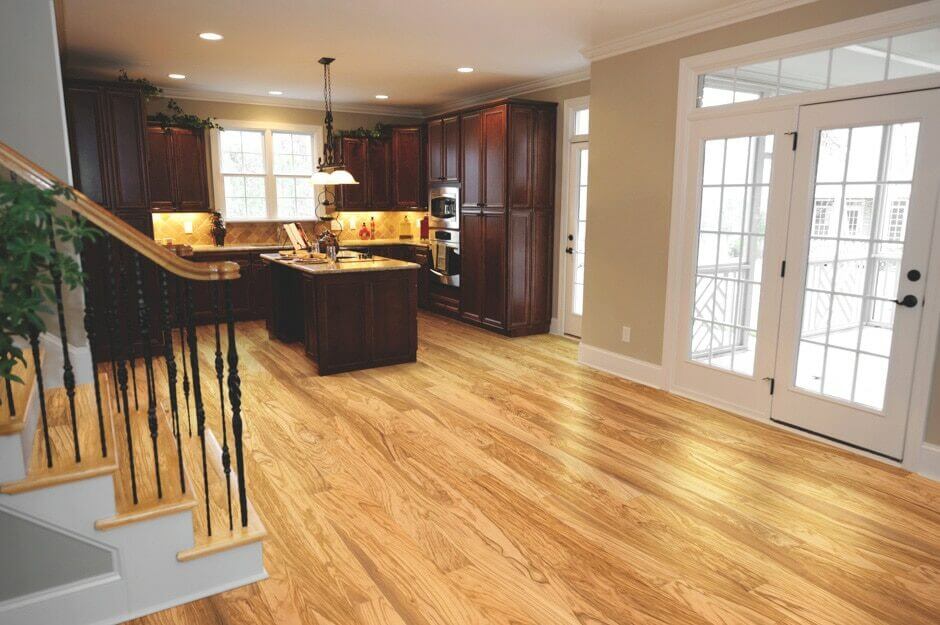
1. Hardwood Floors
Hardwood is a classic and popular choice for many homes. These floors are known for their warmth and elegance, but they require careful handling. When buffing hardwood floors, it’s important to avoid overly abrasive pads and harsh chemicals, as these can damage the wood’s natural finish.
2. Laminate floors
Laminate flooring, while durable and visually appealing, has its own set of rules for buffing. Due to its composition and finish, aggressive buffing techniques can lead to unsightly scratches and damage. Gentle, even strokes and the right cleaning solution are key.
3. Tile and stone floors
Tile and stone floors, such as marble or granite, can withstand more rigorous buffing methods. However, understanding the type of stone and its characteristics is crucial. Some stones are more porous and can be damaged by certain chemicals or too much water.
4. Vinyl and Linoleum Floors
Vinyl and linoleum are versatile and low-maintenance flooring options. Buffing these materials requires a balance between effective cleaning and preserving the surface’s integrity. Avoiding harsh chemicals and choosing the right pad will ensure a brilliant shine without damage.
By identifying the type of floor you have and understanding its specific needs, you can tailor your buffing process for optimal results. Each floor type has its own dos and don’ts, and knowing these will prevent damage and ensure a successful buffing session.
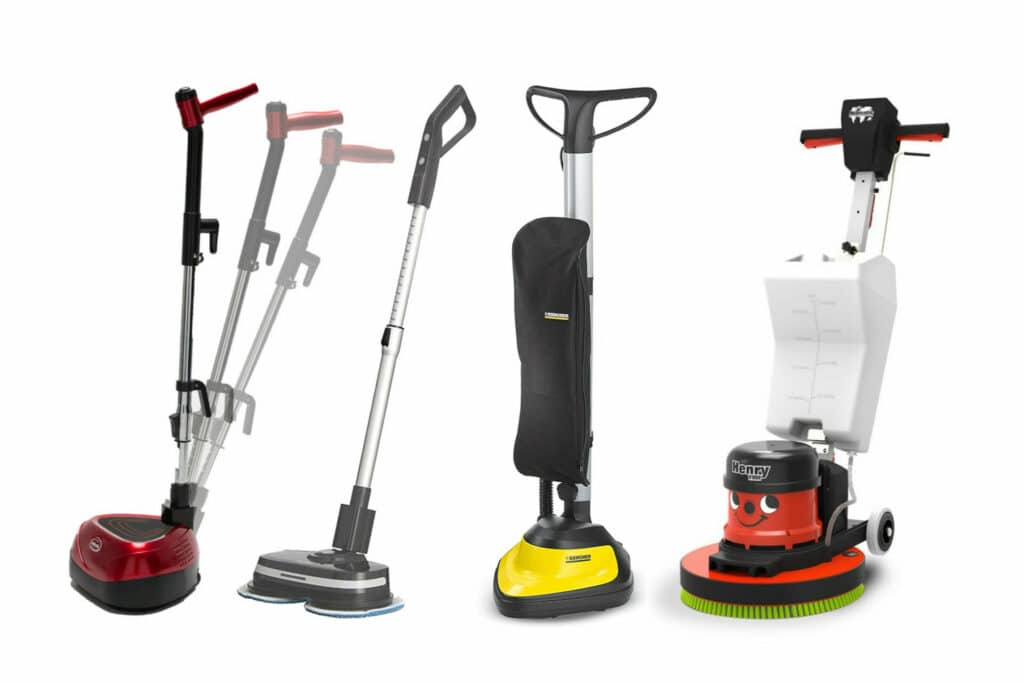
Selecting the right equipment
Having a clear understanding of your floor type is just the beginning. The next crucial step in ensuring a flawless buffing process is selecting the right equipment. The market is flooded with a myriad of buffing machines, pads, and cleaning solutions, each suited for different types of floors. In this section, we will guide you through the process of choosing the equipment that aligns perfectly with your floor’s specific needs.
Choosing the Correct Buffing Machine
- Weight and Power: The weight and power of the machine should be appropriate for your floor type. Heavier machines might be great for concrete, but they can damage softer surfaces like hardwood.
- Speed Settings: Look for a machine with adjustable speed settings. Different floors react better to different speeds—slower for delicate floors like hardwood, faster for resilient ones like concrete.
- Size and Manoeuvrability: Consider the size of your space. Smaller, more manoeuvrable machines are better for residential spaces with tight corners, while larger machines are efficient for spacious commercial areas.
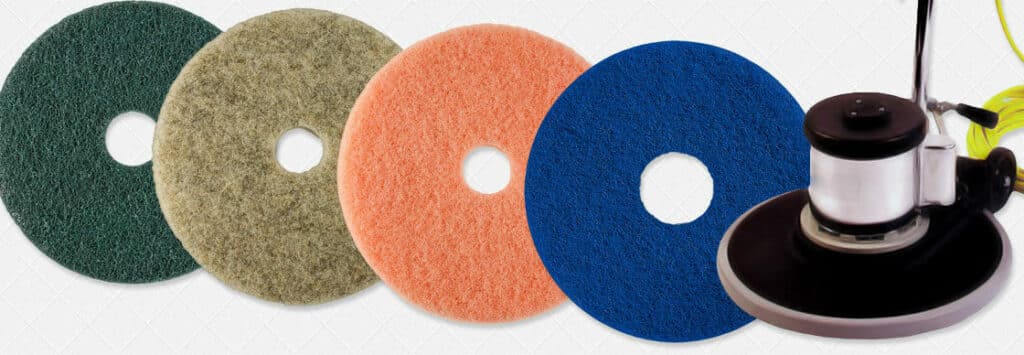
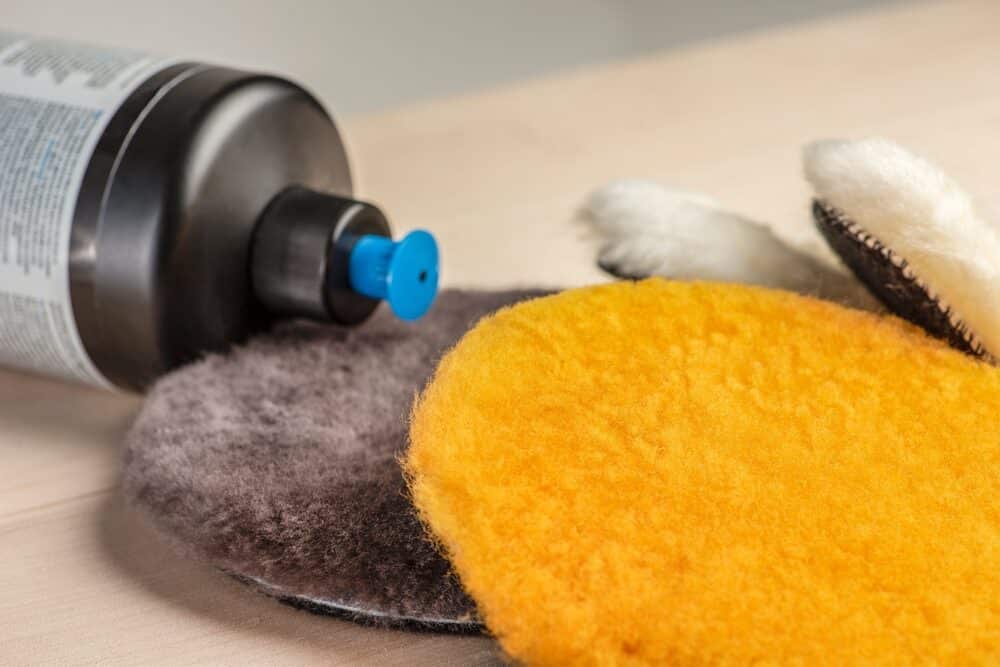
Selecting the Right Pads
- Pad Texture: The texture of the pad is critical. Softer pads are usually better for delicate surfaces, while harder pads are suited for tougher floors like stone or concrete.
- Colour Coding: Many pads come with a colour code that indicates their level of abrasiveness. Ensure you understand this coding to select the right pad for your floor type.
Appropriate cleaning solutions
- Chemical Composition: The chemical composition of the cleaning solution should be compatible with your floor. Harsh chemicals can strip away sealants or damage the floor’s natural texture.
- pH Level: The pH level of the cleaning solution is also essential. Neutral pH is generally safe for most floor types, while extreme pH levels are suited for specific cleaning requirements.
Additional Tools
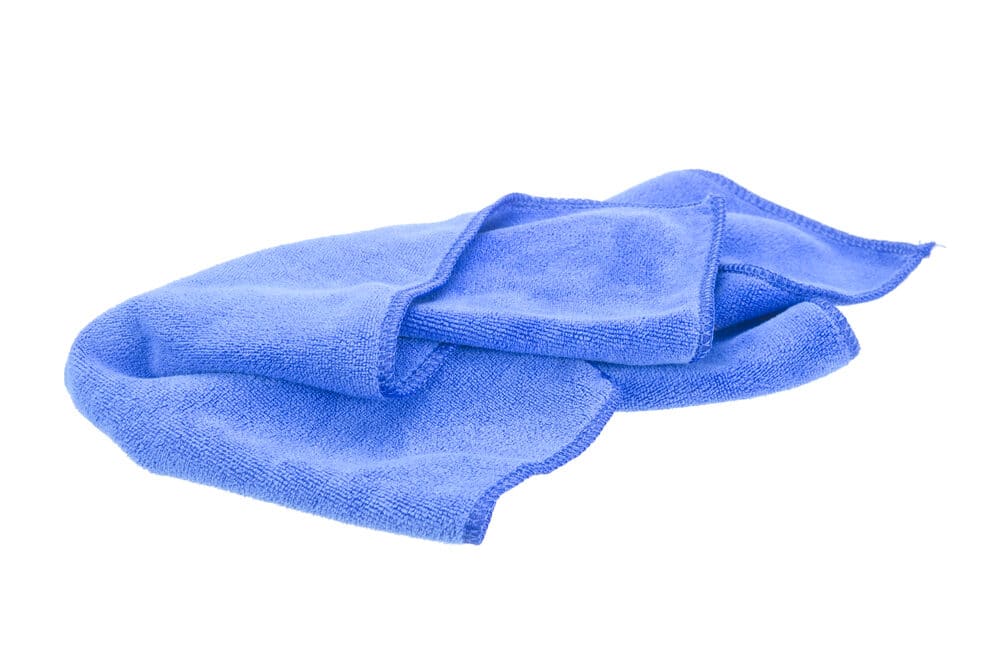
- Microfiber Cloths and Mops: These are great for preliminary cleaning and for wiping away any residue after buffing.
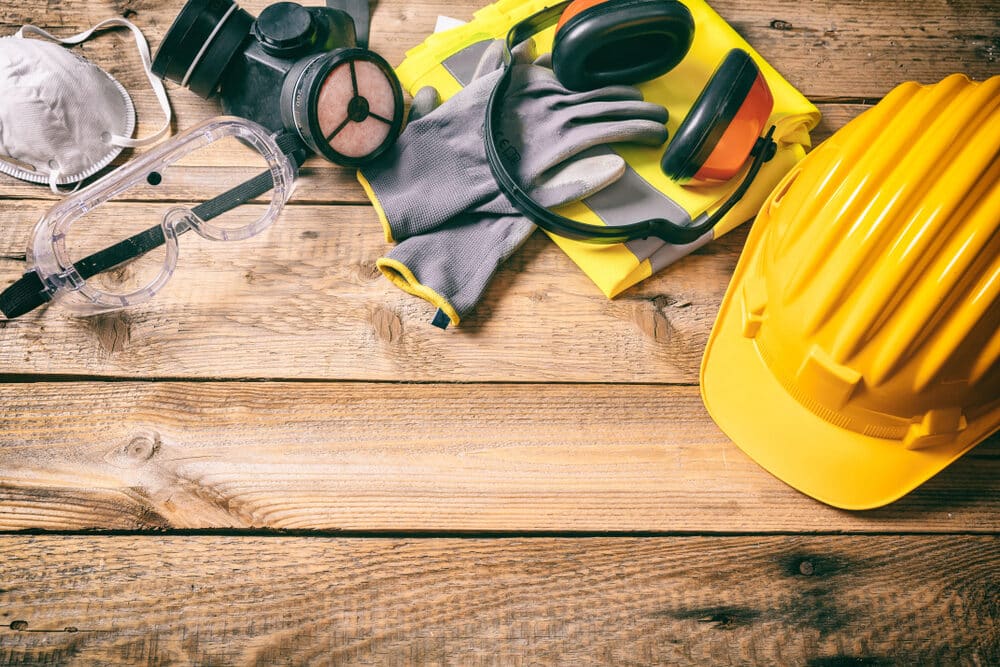
- Protective Gear: Safety should always be a priority. Ensure you have gloves, goggles, and appropriate footwear when operating a buffing machine.
By carefully selecting the right equipment, you not only ensure the safety of your floors but also enhance the efficiency and effectiveness of your buffing process. In our next section, we’ll delve into how to properly prepare your floor before buffing, setting the stage for a flawless finish.
Preparation: A Crucial Step
The success of your floor buffing project largely depends on the preparation steps you take. Proper preparation not only ensures a smoother buffing process but also significantly enhances the final results. Here’s a guide on how to effectively prepare your floors for buffing.
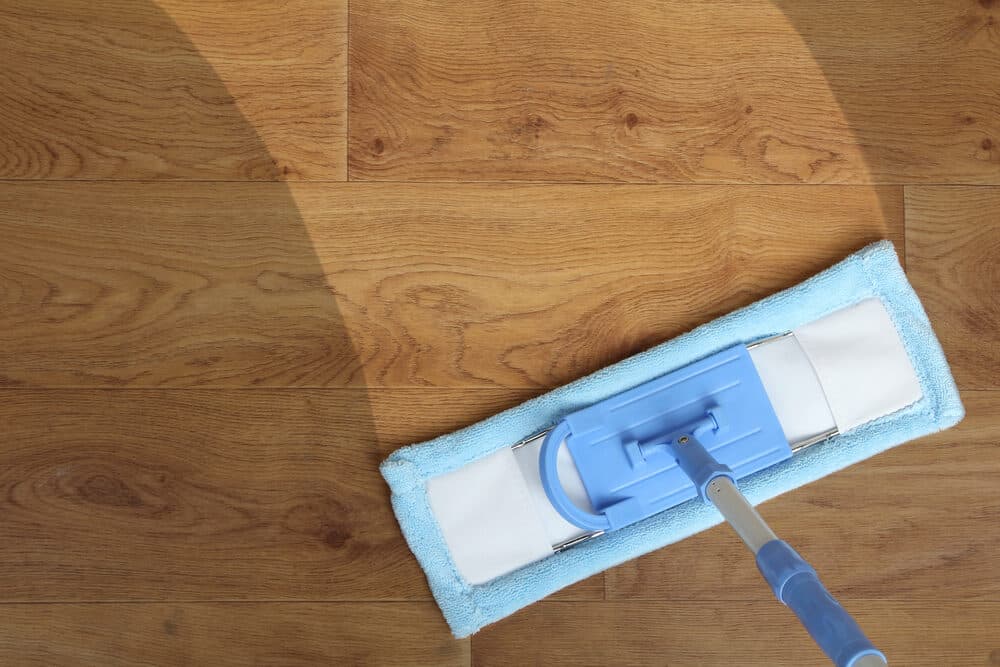
Thorough Cleaning
- Remove Dust and Debris: Start by sweeping or vacuuming the entire floor to remove any loose dust, dirt, and debris. This step prevents scratching during the buffing process.
- Mopping: Follow up with a damp mop, using a cleaner appropriate for your floor type. This removes any residual dirt and prepares the surface for buffing.
Furniture and Obstacle Removal
- Clear the Area: Remove furniture, rugs, and any movable objects from the room. This ensures an unobstructed area for buffing and prevents damage to your belongings.
- Protect Static Elements: For items that can’t be moved, like heavy cabinets or fixtures, cover them with drop cloths or protective plastic to avoid dust accumulation and possible damage.
Floor Inspection
- Check for damage: Before buffing, inspect the floor for any cracks, chips, or deep scratches. Addressing these issues beforehand prevents them from worsening during the buffing process.
- Repair Work: If you find any damage, such as loose floorboards or chipped tiles, repair them before proceeding. This ensures a uniform and smooth buffing process.
Testing the equipment
- Test in a Small Area: Before you start buffing the entire floor, test your machine, pad, and solution in a small, inconspicuous area. This helps ensure that the chosen materials are suitable for your floor without causing damage.
Safety Preparations
- Ensure Adequate Ventilation: Buffing can generate dust and fumes, so make sure the area is well-ventilated. Open windows and use fans if necessary.
- Personal Protective Equipment: Wear appropriate safety gear like masks, goggles, and gloves to protect yourself from dust and chemicals.

Setting realistic expectations
- Understand the Limits: It’s important to understand that buffing improves the floor’s appearance but won’t fix deep damage or wear. Set realistic expectations about the outcome.
By following these preparation steps, you’re not just priming your floors for buffing; you’re also setting the stage for a successful and satisfying floor maintenance session. Up next, we’ll dive into the common buffing mistakes you should avoid to ensure a perfect finish.
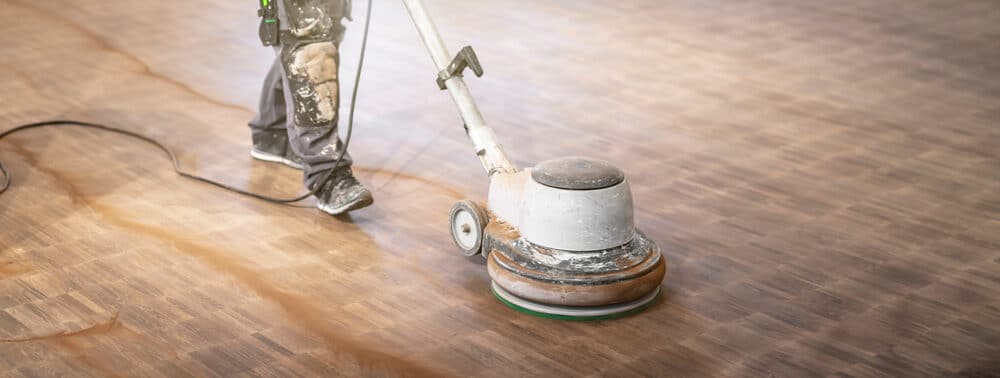
Common Buffing Mistakes
Buffing your floors can transform them from dull to dazzling, but common mistakes can turn this process into a flooring faux pas. Being aware of these pitfalls is essential to avoiding damage and achieving the best results. Let’s explore some of the most frequent errors people make when buffing floors and how to steer clear of them.
Using incorrect buffing pads
- Mistake: Choosing a pad that’s too abrasive for your floor type can cause scratches and damage.
- Avoidance: Refer to the pad’s colour coding and material to ensure it’s suitable for your floor’s hardness and finish.
Applying excessive pressure
- Mistake: Over-pressurising the buffing machine can lead to uneven finishes and even deep scratches.
- Avoidance: Let the weight of the machine do the work. Apply consistent, light pressure, and keep the machine moving steadily.
Overusing or Misusing Cleaning Solutions
- Mistake: Using too much cleaning solution or the wrong type can leave residue, cause streaking, or damage the floor.
- Avoidance: Use the recommended amount of a cleaner that’s appropriate for your floor type. Test it in a small area first.
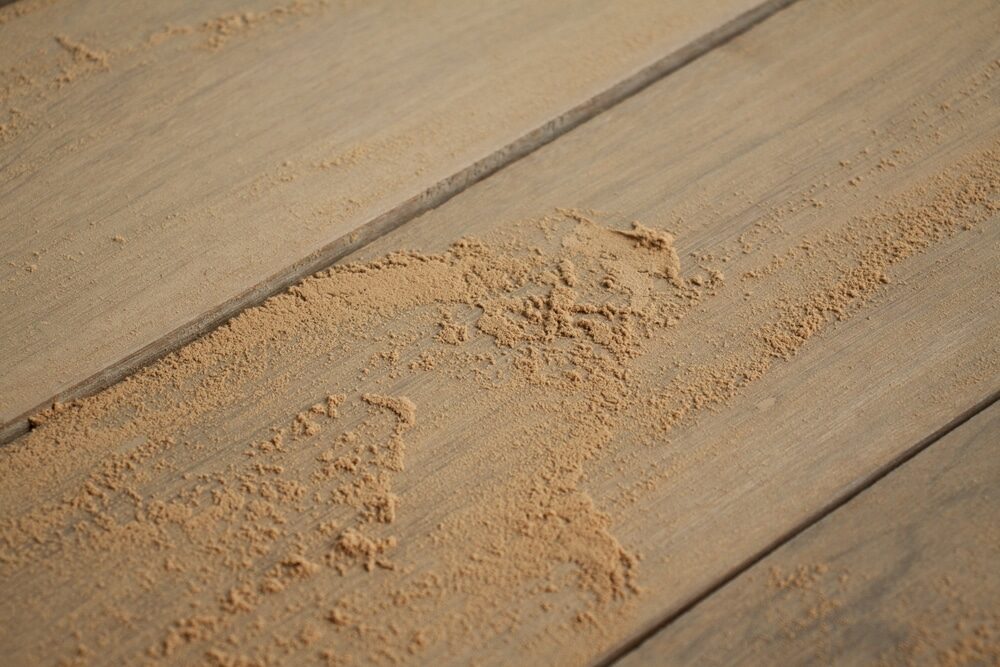
Buffing Dirty or Wet Floors
- Mistake: Attempting to buff over dirt, grit, or excessive moisture can lead to damage and poor results.
- Avoidance: Ensure the floor is thoroughly cleaned and dry before starting the buffing process.
Ignoring safety procedures
- Mistake: Overlooking safety precautions can lead to accidents and health hazards.
- Avoidance: Always wear protective gear and ensure proper ventilation. Read and follow the safety instructions for your equipment.
Neglecting Edge Work
- Mistake: Focusing only on the main area of the floor and ignoring the edges can result in an uneven shine and appearance.
- Avoidance: Pay attention to the edges and corners, using smaller pads or hand buffers if necessary to reach these areas.
Inconsistent Buffing Patterns
- Mistake: Random or inconsistent buffing patterns can create an uneven shine or missed spots.
- Avoidance: Use a systematic approach, working in sections and overlapping your paths to ensure even coverage.
Lack of regular maintenance
- Mistake: Expecting a one-time buffing session to be a long-term solution.
- Avoidance: Incorporate buffing into your regular floor maintenance schedule for sustained results.
By being mindful of these common mistakes, you can significantly enhance the effectiveness of your floor-buffing process. Next, we’ll guide you through the proper technique for effective buffing to help you achieve that perfect shine.
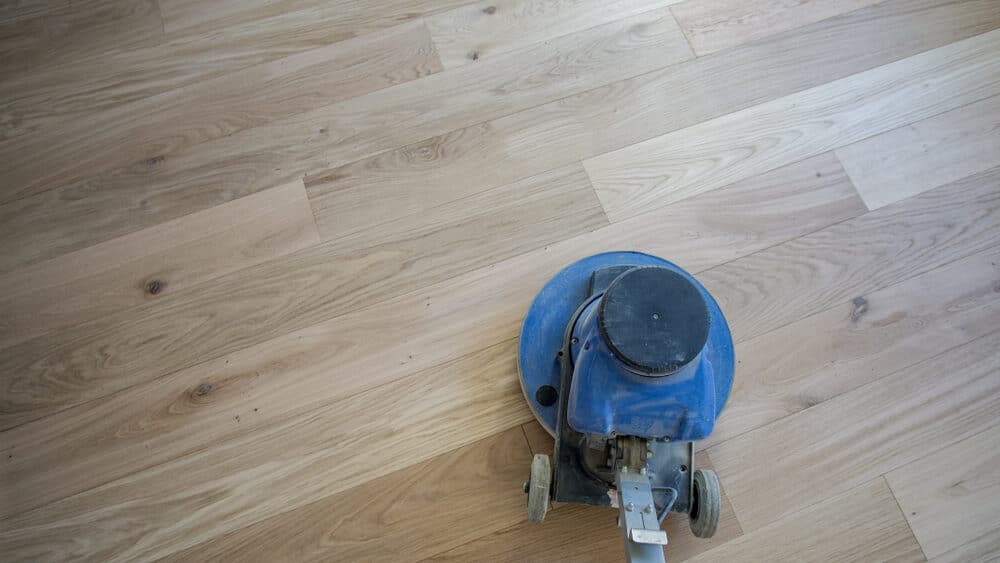
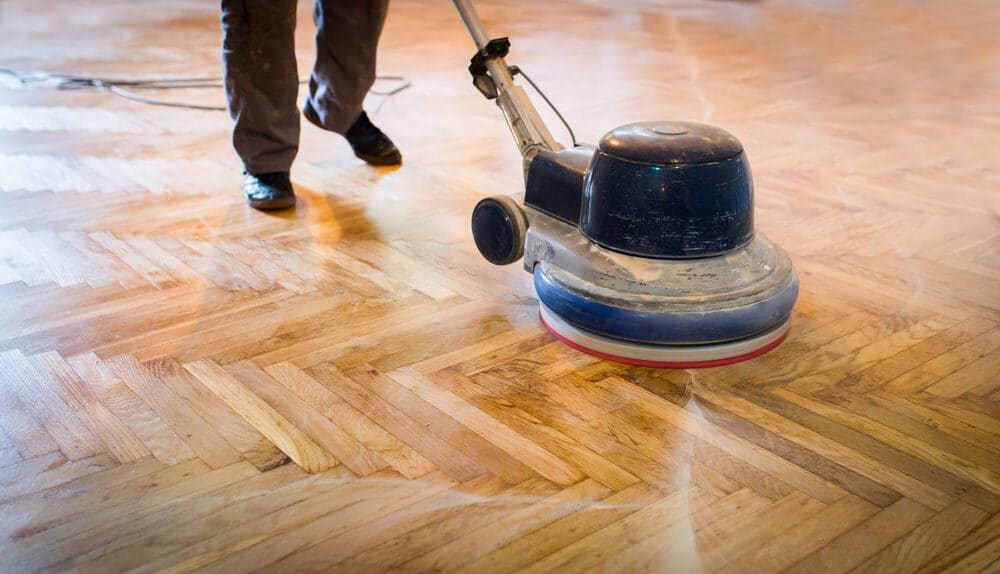
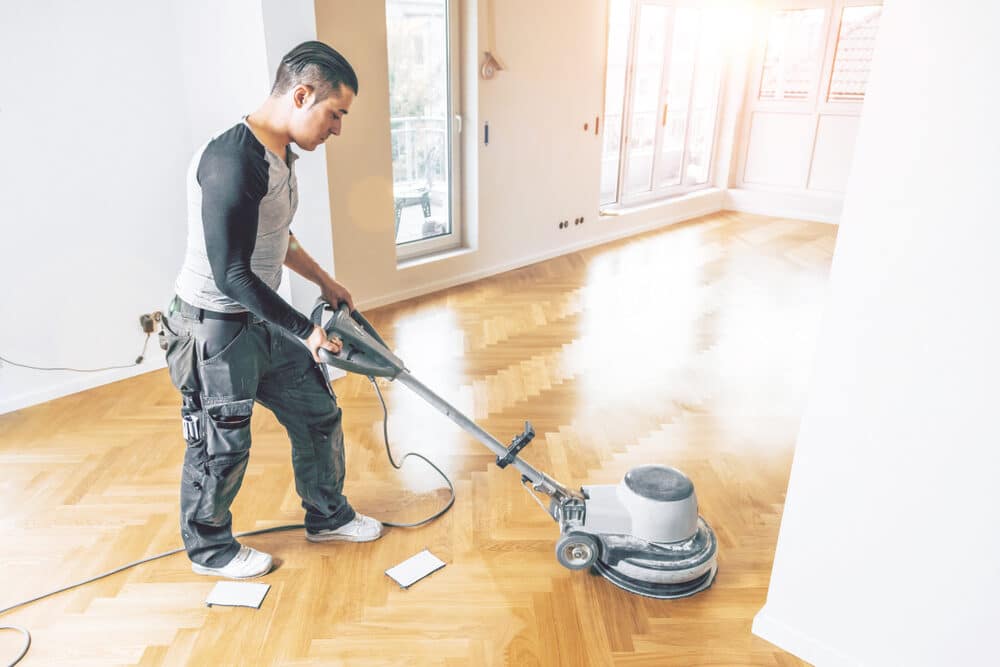
Proper Technique for Effective Buffing
Achieving a brilliant shine on your floors is more about technique than brute force. Proper buffing technique is crucial for avoiding common mistakes and ensuring a stunning, even finish. Here, we’ll guide you through the steps to mastering the art of effective floor buffing.
Starting with the Right Setup
- Machine Setup: Ensure your buffing machine is properly assembled with the correct pad attached.
- Solution Preparation: If using a cleaning solution, prepare it according to the manufacturer’s instructions and apply it sparingly.
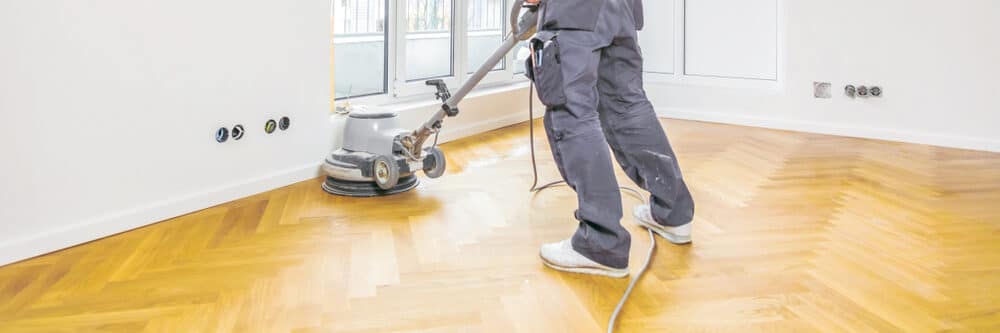
Systematic buffing approach
- Divide the Area: Break your floor into manageable sections. This helps maintain consistency and ensures you don’t miss spots.
- Overlap Strokes: Overlap each pass with the buffer by a few inches to avoid uneven spots and ensure complete coverage.
Maintaining Consistent Movement
- Steady Pace: Move the buffer at a consistent, moderate pace. Too fast, and you won’t effectively polish the floor; too slow, and you risk damaging it.
- Even Pressure: Apply even pressure throughout. Let the machine’s weight do most of the work without pushing down too hard.
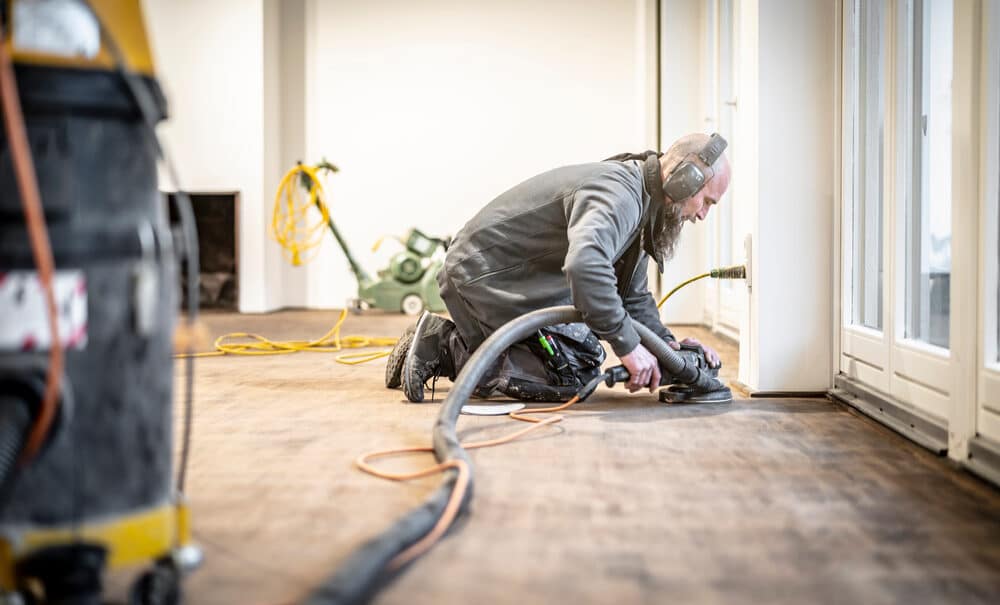
Edge and corner buffing
- Special Attention to Edges: Use smaller hand-held buffers or appropriate attachments for edges and corners to achieve uniformity with the rest of the floor.
- Avoid Over-Buffing: Be careful not to over-buff these areas, as they can be more prone to damage.
Monitoring Your Progress
- Frequent Checks: Regularly stop and check your progress. Look for evenness in shine and address any streaks or patches as you go.
- Adjust Technique as Needed: If you notice unevenness or streaking, adjust your technique, speed, or pressure accordingly.

Finishing Up
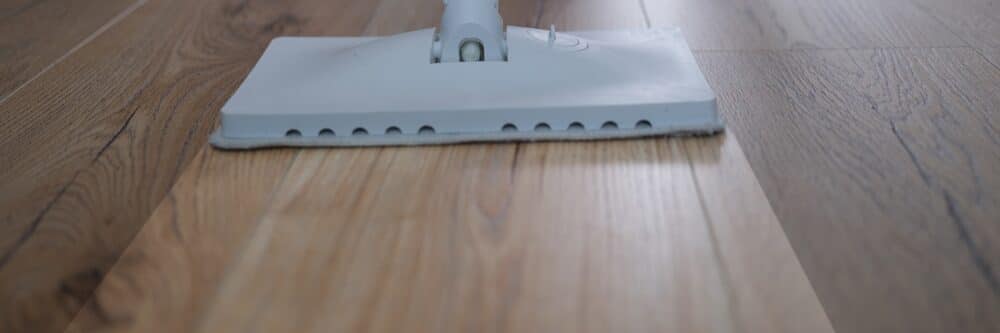
- Final Sweep or Vacuum: Once you’ve finished buffing, go over the floor with a sweep or vacuum to remove any dust or residue.
- Microfiber Mop: Use a microfiber mop for a final clean, especially if you used a cleaning solution during buffing.
Regular Maintenance
- Routine Cleaning: Keep up with regular sweeping and mopping to maintain the floor’s shine and prolong the time between buffing sessions.

Safety Precautions
While buffing your floors can be a rewarding DIY project, it’s important to prioritise safety to prevent accidents and health risks. Here’s a comprehensive guide on safety precautions to follow when buffing floors.
Personal Protective Equipment (PPE)
- Eye Protection: Wear safety goggles to protect your eyes from dust and debris.
- Respiratory Protection: Use a dust mask or respirator, especially in less ventilated areas, to avoid inhaling fine particles.
- Hearing Protection: If using a loud buffing machine, consider wearing earplugs or earmuffs to protect your hearing.
- Footwear: Wear non-slip, sturdy shoes to prevent slips and provide stability while operating the machine.
Handling equipment safely
- Read the Manual: Before starting, read the buffing machine’s manual thoroughly to understand its operation and safety features.
- Proper Handling: Ensure you know how to properly handle and operate the machine. Practice moving and controlling it before turning it on.
- Electrical Safety: Check cords for damage and ensure they are properly plugged in. Avoid water contact with electrical outlets to prevent shocks.
Safe Chemical Use
- Chemical Awareness: Be aware of the chemicals in your cleaning solutions. Use only those recommended for your floor type and in the advised quantities.
- Ventilation: Ensure the room is well-ventilated when using chemical cleaners to avoid inhaling fumes.
Room Preparation
- Clearing the Area: Remove or cover furniture and delicate items to prevent damage from dust and the machine.
- Warning Others: If you’re working in a shared space, put up signs or inform others to keep them safe and away from the work area.
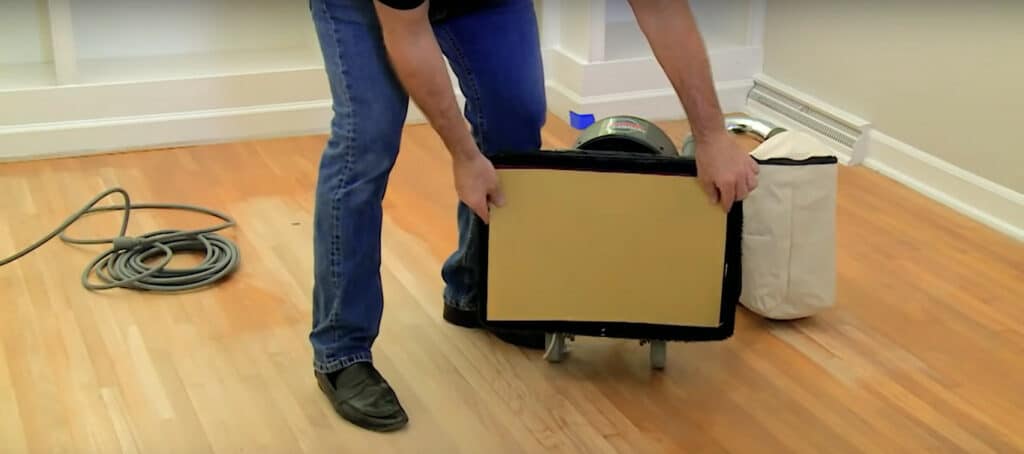
Machine Maintenance
- Regular Checks: Regularly inspect your buffing machine for any wear or damage, especially the pads and electrical cords.
- Proper Storage: After use, clean and store the machine and its accessories properly to ensure they remain safe and functional for future use.
Emergency Preparedness
- Know the Emergency Procedure: Be aware of how to quickly turn off the machine in case of an emergency.
- First Aid: Keep a first aid kit nearby in case of minor accidents.
By following these safety precautions, you can ensure a safe and efficient floor-buffing process. Safety should always come first, not only to protect yourself but also to maintain the condition of your floors and equipment.
Troubleshooting Common Issues
Even with meticulous preparation and careful technique, you might encounter some issues while buffing your floors. Knowing how to effectively troubleshoot these problems can save you time and ensure a flawless finish. Let’s discuss some common buffing issues and how to resolve them.
Uneven Shine
- Cause: This is often due to inconsistent buffing speed, uneven pressure, or missed spots.
- Solution: Rebuff the area with consistent, overlapping strokes. Ensure you maintain a steady speed and even pressure.
Residues and streaks
- Cause: Residue and streaks can be caused by using too much cleaning solution or buffing over a dirty floor.
- Solution: Clean the floor thoroughly and rebuff with less or no cleaning solution. Make sure the floor is completely dry before buffing.
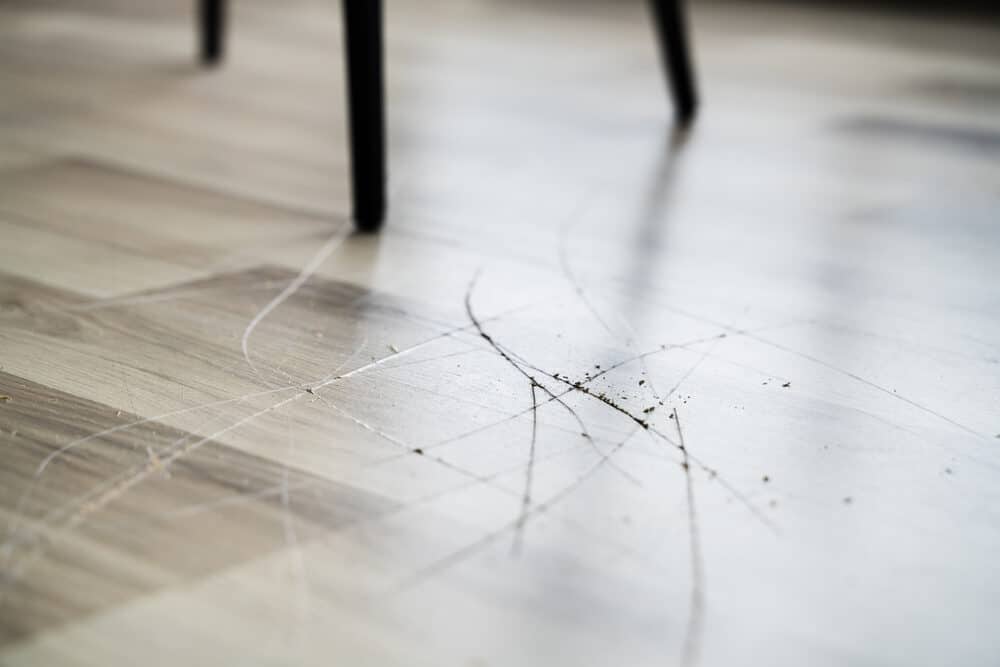
Scratches on the Floor
- Cause: Scratches can occur if you’re using a pad that’s too abrasive or if there’s debris on the floor.
- Solution: Switch to a softer pad and ensure the floor is free of debris before buffing. For existing scratches, you may need to refinish the affected area.
Buffing Machine Not Operating Smoothly
- Cause: This could be due to a malfunctioning machine, an incorrect setup, or a worn-out pad.
- Solution: Check the machine for any mechanical issues. Ensure it’s set up correctly and that the pad is not worn out or incorrectly attached.
Excessive dust generation
- Cause: Generating too much dust usually indicates that the floor wasn’t cleaned properly before buffing.
- Solution: Stop buffing, thoroughly clean the floor to remove dust and debris, and then resume buffing.
Machine leaving marks on the floor
- Cause: This can happen if the machine is left stationary while running or moved too slowly.
- Solution: Keep the machine in constant motion while it’s on and maintain a moderate speed to avoid marks.
Difficulty Handling the Machine
- Cause: This could be due to a lack of familiarity with the machine or using a machine that’s too large or powerful for your proficiency level.
- Solution: Spend time practicing with the machine turned off. Consider using a smaller or more user-friendly model if you’re a beginner.
By understanding these common issues and knowing how to resolve them, you can effectively troubleshoot problems during the buffing process, leading to better results and a more satisfying floor buffing experience.
Maintenance Tips Post-Buffing
After successfully buffing your floors, maintaining their shine and cleanliness is key to prolonging their beauty and reducing the need for frequent buffing. Here are some effective maintenance tips to keep your floors looking their best.
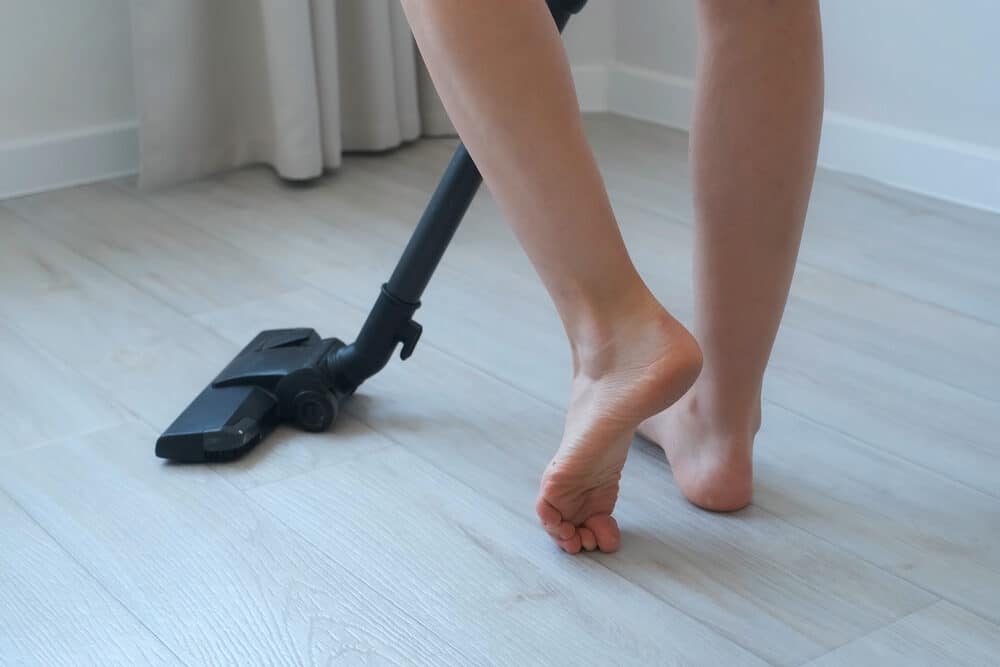
Regular Cleaning
- Routine Sweeping or Vacuuming: Regularly remove dust and debris with a soft broom or vacuum cleaner. This prevents the accumulation of grit that can scratch and dull the floor.
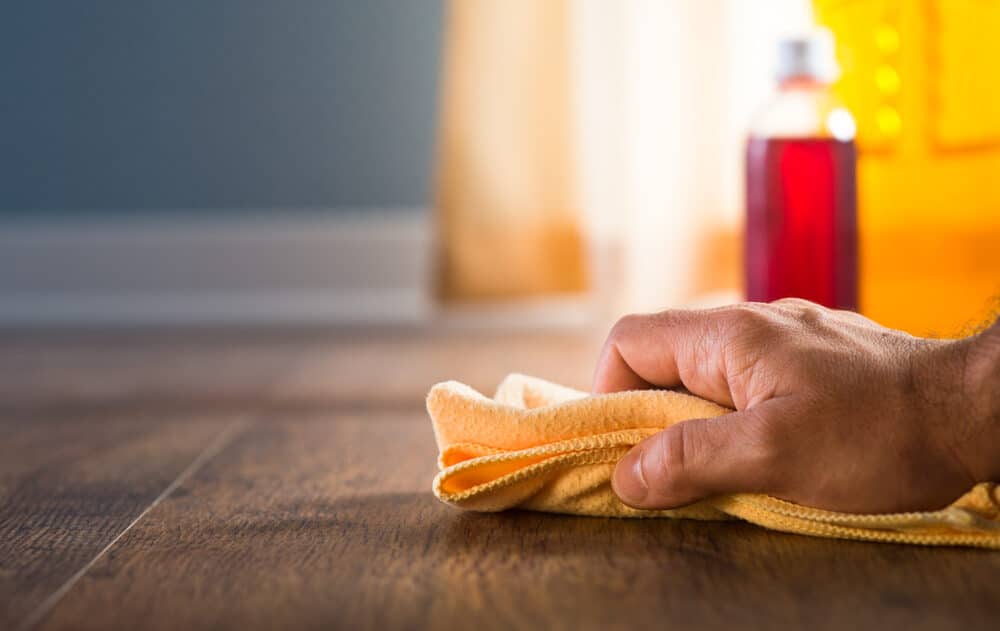
- Damp Mopping: Use a damp mop with a suitable cleaner for your floor type to remove spills and stains. Avoid excessive water, especially on wood floors.
Immediate Spill Cleanup
- Prompt Action: Quickly clean up spills to prevent stains and damage to the floor finish.
- Appropriate Cleaning Agents: Use the right cleaning agents for your floor type to avoid damaging the surface.
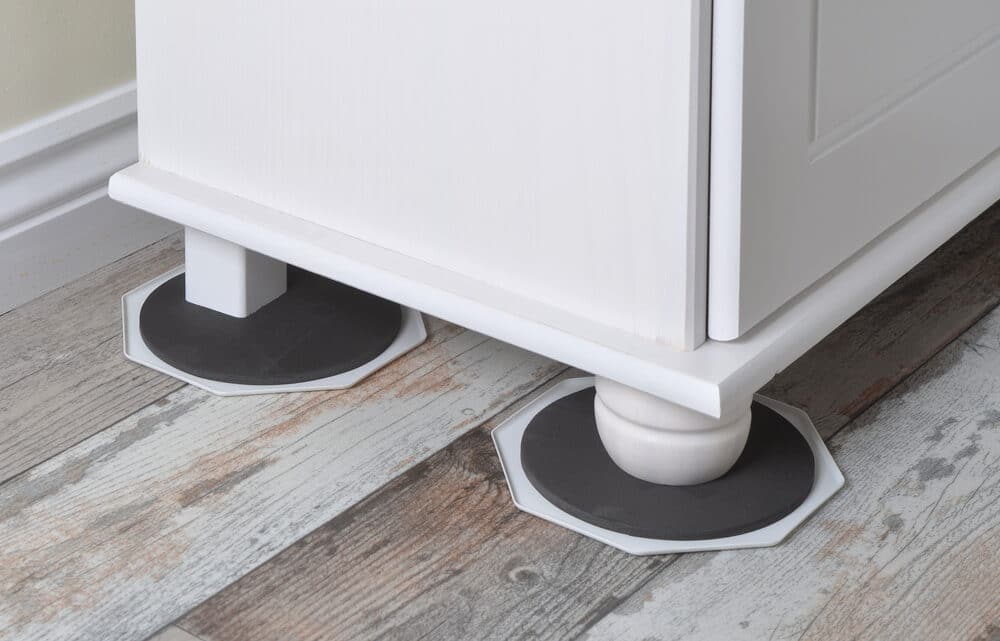
Use protective pads under furniture.
- Prevent Scratches: Place felt pads or protective coasters under furniture legs to prevent scratches and marks when moving furniture.
Avoid harmful chemicals.
- Gentle Cleaners: Stick to gentle, pH-neutral cleaners. Harsh chemicals can strip away finishes and dull the shine of your floors.
Regular Inspection
- Check for Wear and Tear: Regularly inspect your floors for signs of wear or damage. Address minor issues promptly to prevent them from worsening.
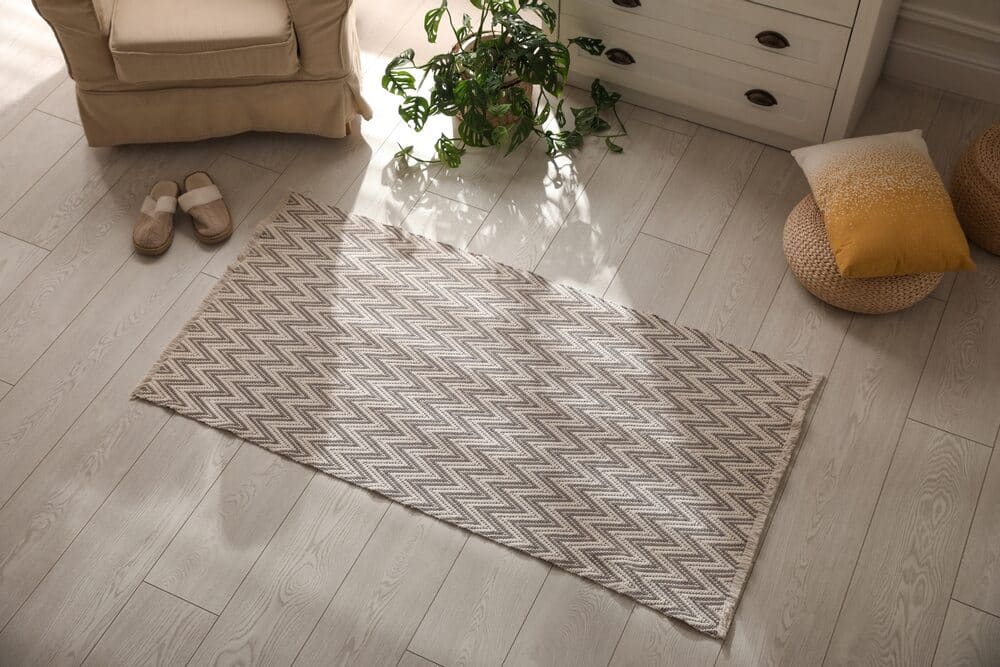
Use rugs and mats.
- Strategic Placement: Place rugs and mats in high-traffic areas to reduce wear. Ensure they have a non-skid backing to prevent slips.
Control foot traffic
- Implement Rules: Encourage the removal of shoes in high-traffic areas to minimise dirt and grit.
Avoid dragging heavy items.
- Lift instead of drag: When moving heavy furniture or items, lift rather than drag them across the floor to prevent scratches and gouges.
Periodic Professional Inspection
- Professional Advice: Consider having a professional inspect your floors periodically. They can provide expert advice on care and potential refinishing.
Conclusion
Buffing your floors is a fantastic way to rejuvenate and protect one of the most significant aspects of your home or business space. As we’ve explored in this comprehensive guide, the key to successful floor buffing lies in understanding your floor type, selecting the right equipment, thorough preparation, avoiding common mistakes, employing proper techniques, adhering to safety precautions, adeptly troubleshooting issues, and maintaining the floors post-buffing.
Remember, each step in this process is as crucial as the next. From recognising the nuances of different flooring materials to mastering the art of the buffing process and embracing regular maintenance routines, every action contributes to the overall success and longevity of your buffed floors.
Floor buffing, when done correctly, not only enhances the appearance of your space but also contributes to the preservation and longevity of your floors. It’s a worthwhile investment of time and effort that pays off in the form of a beautiful, durable, and long-lasting floor.
We hope this guide has provided you with valuable insights and practical advice to tackle your floor buffing project with confidence. Happy buffing, and enjoy the stunning transformation that awaits your floors!


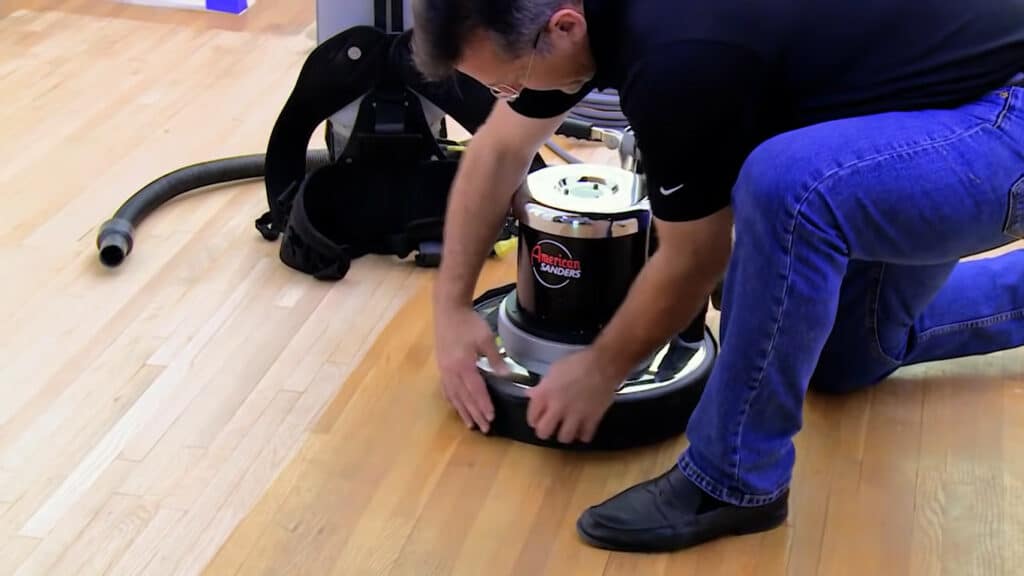
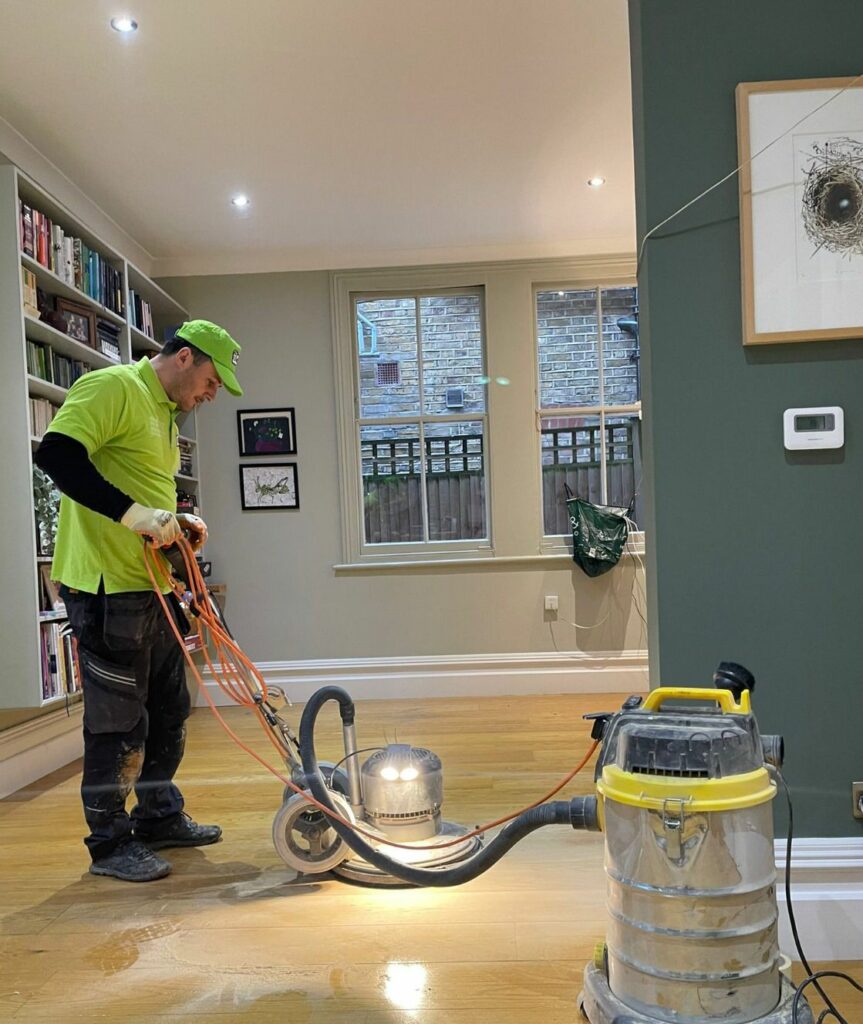
Sanding
We provide virtually dust-free sanding with our continuous belt machinery with mobile extraction units, giving you a safer environment for your family.
Oiling
This organic finish not only adds beauty to your home but also has exceptional water-repellent characteristics, making it easier to clean and maintain.
Waxing
This natural floor finish offers the softest and most mellow appearance – and leaves your floor able to breath.
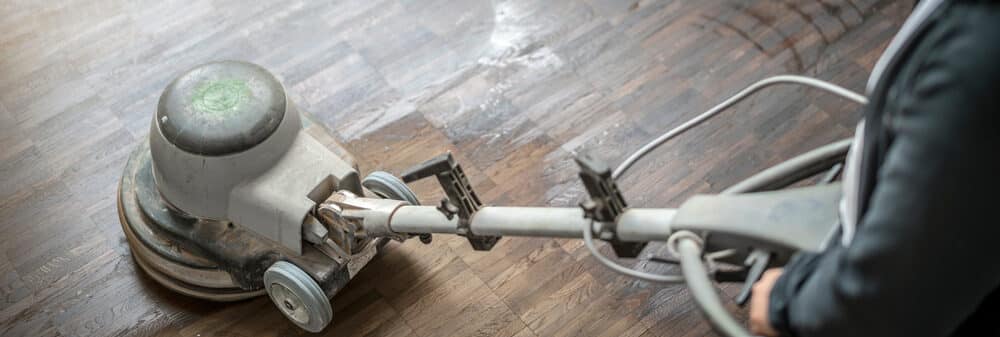
Buffing
Using soft buffing machines (and hand-polishing where required) will bring a wonderful sheen to your newly-finished floor.
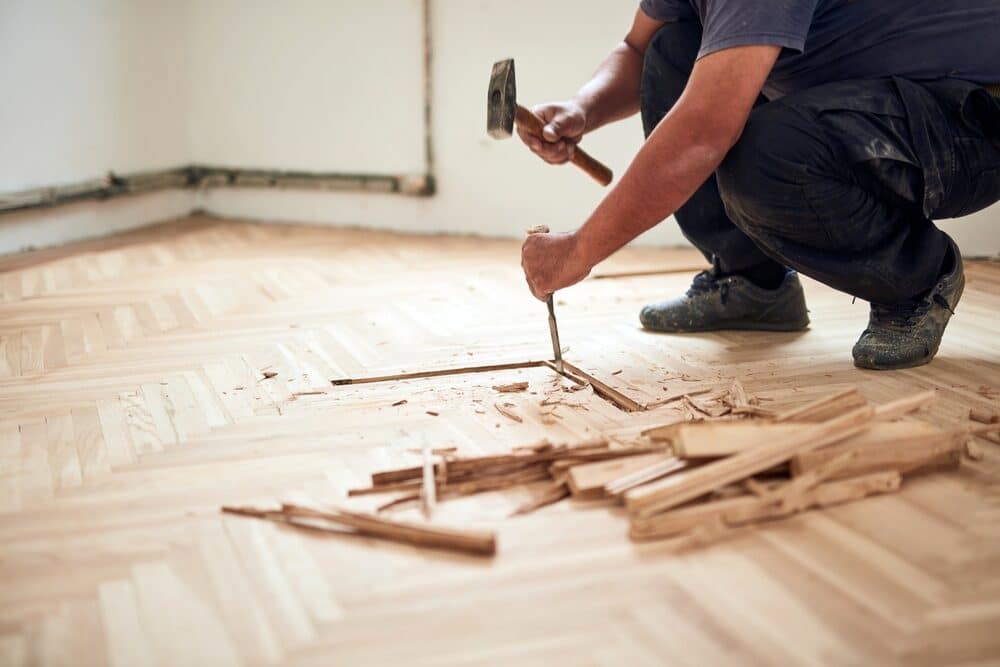
Repairs
We offer a full assessment of your wooden floors to determine what repairs are needed to provide the perfect working surface for the later stages of sanding, staining and sealing.
Restoration
We offer a comprehensive restoration process designed to address floors that are improperly fitted or damaged over time through wear and tear.
Request a fixed price quote for your wood floor restoration now
Simply enter your postcode below to get started.
Services
Wood Floor Sanding Wood Floor Restoration Wood Floor Scratch Repair Squeaky Wood Floor Repair Parquet Floor Sanding Parquet Floor Restoration Commercial Floor Sanding Church Floor Sanding Community Centre Floor Sanding School Floor Sanding Gap Filling Gap Filling with ResinCopyright © Mr Sander®
Privacy & Cookies Terms & Conditions Complaints Procedure Cancellation Rights Sitemap

Get An Instant Price Estimate Before You Go…
Simply enter the rooms you need sanded and we’ll provide you with a price estimate instantly! Try our price calculator now.
Get a Price Estimate NowLocal Floor Sanding Experts
Over 500 5-Star Reviews
Safe, Dust Free Sanding
Operating Since 1994