London:
Nationwide:
25,000+
Floors Restored
27 Years Experience
Wood Flooring Association Certified
Stripping Your Deck: The Best Products on the Market
Posted on December 23, 2023
Deck Sanding
Ultimate Guide to Stripping Your Deck: Discover the Best Products and Techniques
Welcome to our comprehensive guide on one of the most crucial yet often overlooked aspects of deck maintenance: deck stripping. A well-maintained deck not only enhances the aesthetic appeal of your outdoor space but also extends the life of the wood. Over time, decks are subjected to various forms of wear and tear, from harsh weather conditions to the regular trampling of feet. This can lead to the buildup of old stains, paints, or sealers that not only look unsightly but can also damage the wood itself.
The process of stripping your deck involves removing these old layers, revealing the raw beauty of the wood, and preparing it for a fresh coat of stain or sealer. However, with a plethora of products available on the market, each claiming to be the best, it can be quite overwhelming to choose the right one for your deck.
In this blog post, we aim to demystify the process of deck stripping. We’ll explore the importance of deck stripping, factors to consider before choosing a product, and provide a detailed comparison of some of the best products available on the market. Whether you’re a DIY enthusiast or a professional looking for the best deck stripping solutions, this guide is designed to help you make an informed decision and achieve the best results for your deck.
Stay tuned as we delve into the world of deck stripping, where we’ll not only guide you through the selection of the right product but also share application tips, common mistakes to avoid, and aftercare advice to ensure your deck remains in pristine condition for years to come.
Understanding Deck Stripping
Deck stripping is a vital process in deck maintenance, crucial for keeping your outdoor space not only aesthetically pleasing but also structurally sound. But what exactly is deck stripping, and why is it so important? Let’s dive into the details.
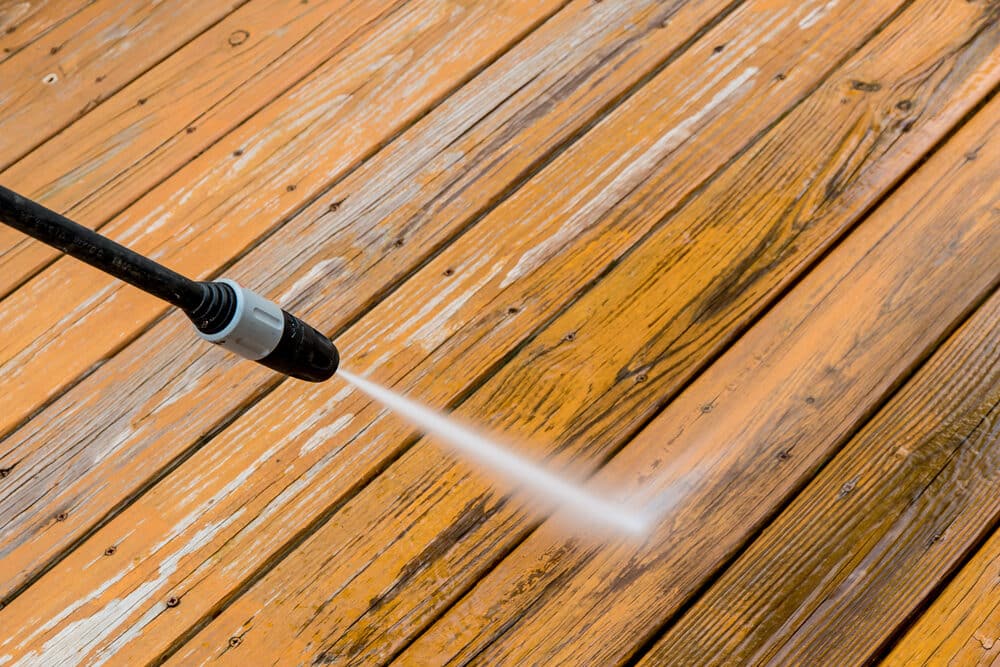
What is deck stripping?
Deck stripping refers to the process of removing old layers of paint, stain, or sealer from the decking material, usually wood. This is done to clear away the worn-out or peeling coatings that have accumulated over time due to exposure to elements like sunlight, rain, and snow. The primary goal is to strip these layers off to expose the bare wood, creating a clean and absorbent surface ready for new treatment.
Why is regular deck stripping necessary?
- Maintains Deck Health: Regular stripping removes layers that might trap moisture, leading to wood rot and decay. By stripping these layers, you allow the wood to breathe and reduce the risk of damage.
- Enhances Wood Longevity: Stripping off old coatings and reapplying fresh treatments helps protect the wood from environmental damage, extending its lifespan.
- Improves Aesthetic Appeal: Removing old, flaking, and faded finishes restores the natural beauty of the wood, enhancing your deck’s overall appearance.
- Prepares for New Coatings: Stripping ensures that new stains, paints, or sealers adhere properly to the wood, providing effective and long-lasting protection.
- Choosing the Right Stripping Method: The method of stripping you choose depends on several factors, such as the type of coating on your deck, the condition of the wood, and your personal preferences. Chemical strippers are popular for their effectiveness but require safety precautions. On the other hand, sanding is a more labour-intensive method but can be preferable in certain situations, especially when dealing with thinner coatings or more delicate wood types.
Factors to Consider Before Buying a Deck Stripper
Choosing the right deck stripper is crucial for effective and efficient deck maintenance. However, with the wide array of products available, making this choice can be daunting. To simplify this decision, here are some key factors you should consider before purchasing a deck stripper:
1. Type of wood
- Different woods react differently to stripping chemicals. Softwoods like pine may require a gentler stripper, whereas hardwoods like oak can withstand stronger formulas.
- Consider the age and condition of the wood. Older or more delicate wood may need a less abrasive product.
2. Previous Coatings and Their Condition
- Identify the type of existing coating (paint, stain, varnish, etc.) and its condition. Some strippers are formulated specifically for certain types of finishes.
- The number of layers and how long they’ve been on the deck will also influence your choice. Heavier or older coatings might need a more potent stripper.
3. Environmental and Health Considerations
- Opt for environmentally friendly strippers if possible. Some products are biodegradable and less harmful to plants and animals.
- Consider the health implications. Strippers with low VOC (volatile organic compounds) levels are better for indoor use and are less harmful to breathe in.
4. Ease of Application
- The method of application (brush, spray, or roll-on) can vary between products. Choose one that aligns with your preferred method.
- Also, consider the time it takes for the stripper to work. Some products act quickly, while others may need to sit for several hours.
5. Cleanup and Aftercare Requirements
- Some strippers may require a neutralising agent or a specific cleaning method after use. Understand these requirements to ensure proper deck care post-stripping.
6. Cost and coverage
- Evaluate the cost-effectiveness of the product. More expensive doesn’t always mean better.
- Check the coverage area mentioned on the product to estimate how much you need for your deck size.
Top Deck Stripping Products: A Comparative Analysis
When it comes to choosing a deck stripper, the market is flooded with options. To help you navigate through these choices, we have compiled a list of some of the top deck stripping products, analysing their features, benefits, and best use cases. Here’s a comparative analysis:
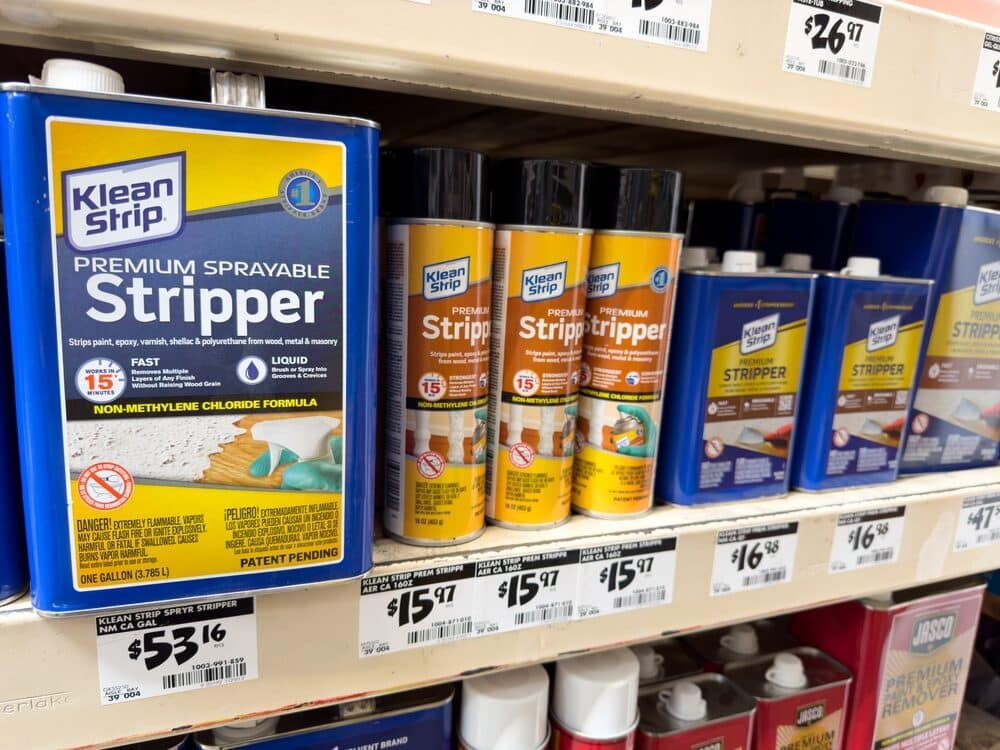
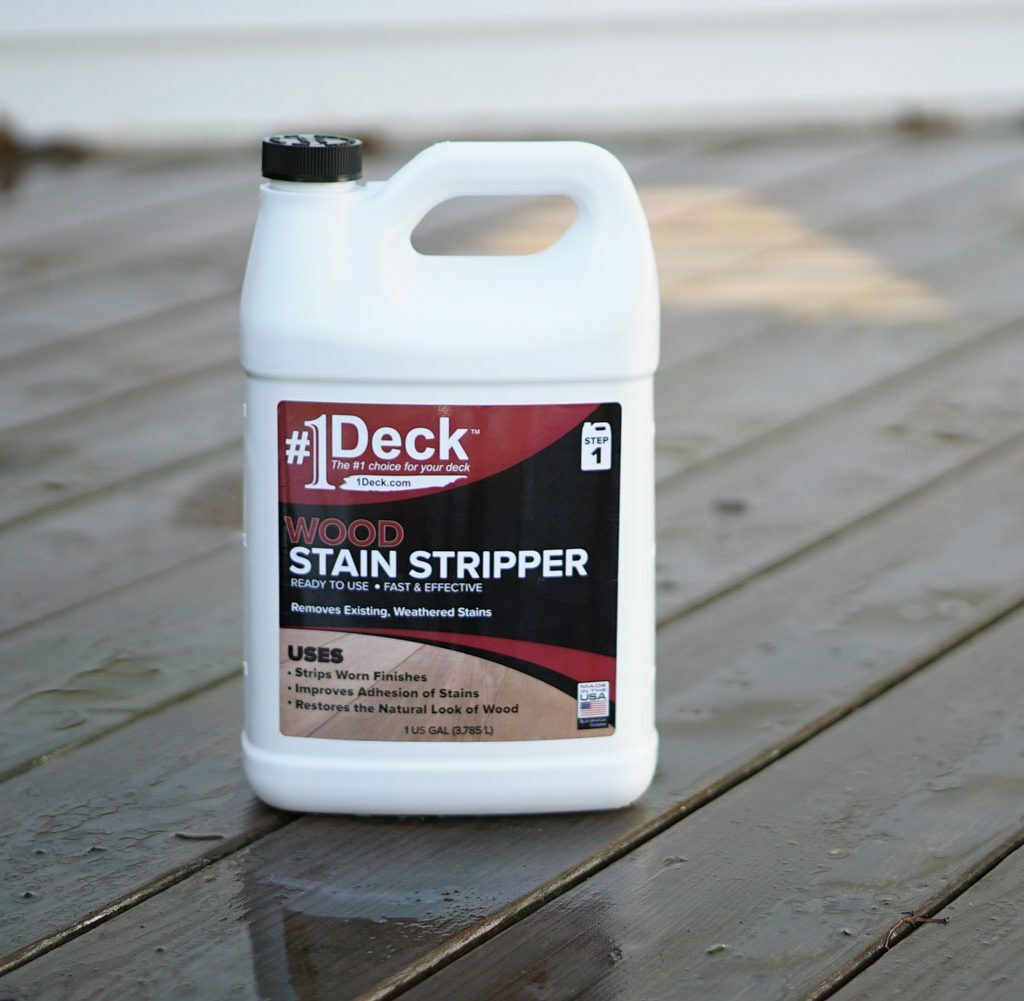
1. Product A: Wood Stripper
- Features and Benefits:
- Specifically designed for removing old, stubborn paints and stains.
- It contains a biodegradable formula, making it an eco-friendly option.
- Fast-acting begins to work in as little as 15 minutes.
- Best For:
- Decks with multiple layers of aged paint or stain.
- Environmentally conscious homeowners.
2. Product B: Pro Stripper
- Features and Benefits:
- A powerful, professional-grade stripper that can handle a variety of coatings.
- The gel formula clings to vertical surfaces, making it ideal for railings and vertical deck boards.
- Requires minimal scrubbing.
- Best For:
- Decks with vertical surfaces and detailed work.
- Professional deck restoration projects.
3. Product C: Safe Strip
- Features and Benefits:
- A mild, user-friendly product, great for first-time users.
- Free from harsh chemicals and low in VOCs.
- Safe for use around plants and animals.
- Best For:
- Families looking for a safe, easy-to-use option.
- Decks in close proximity to gardens or landscaped areas.
4. Side-by-Side Comparison:
- Efficacy: Product A is best for tough jobs, while Products B and C are more suited for specific applications and safer environments, respectively.
- Environmental Impact: Product C is the most environmentally friendly, followed by Product A. Product B, while effective, may have a higher chemical content.
- Ease of Use: Product C wins in terms of user-friendliness, but Product B’s gel formula offers unique application advantages.
- Price Range: These products may vary in price, with professional-grade options typically costing more.
This comparative analysis should give you a clearer picture of what each product offers and help you decide which one aligns best with your deck stripping needs. Remember, the right choice depends on the specific conditions and requirements of your deck.
Application Tips and Techniques
Applying a deck stripper effectively is as important as choosing the right product. Proper application ensures that the stripper works efficiently, providing the best results for your deck. Here are some essential tips and techniques to follow when applying a deck stripper:
1. Preparation is key
- Clean the deck thoroughly before applying the stripper. Remove debris, dirt, and loose paint flakes.
- Protect surrounding areas (like plants, furniture, and walls) with drop cloths or plastic sheeting to prevent damage from the stripping chemicals.
2. Read the instructions carefully
- Each product comes with specific instructions. Follow these guidelines for mixing, application, and waiting times to ensure the best performance of the product.
3. Test on a Small Area
- Before applying the stripper to the entire deck, test it on a small, inconspicuous area. This helps you determine the product’s effectiveness and the ideal waiting time for your specific deck coating.
4. Apply Evenly
- Use a brush, roller, or sprayer to apply the stripper, depending on the product’s instructions. Ensure an even application for consistent results.
- Work in sections to maintain control over the application and avoid letting the stripper dry on the wood.
5. Monitor the Stripping Process
- Keep an eye on the deck as the stripper works. You should see the old finish begin to lift or bubble.
- Avoid leaving the stripper on the deck longer than recommended, as it can damage the wood.
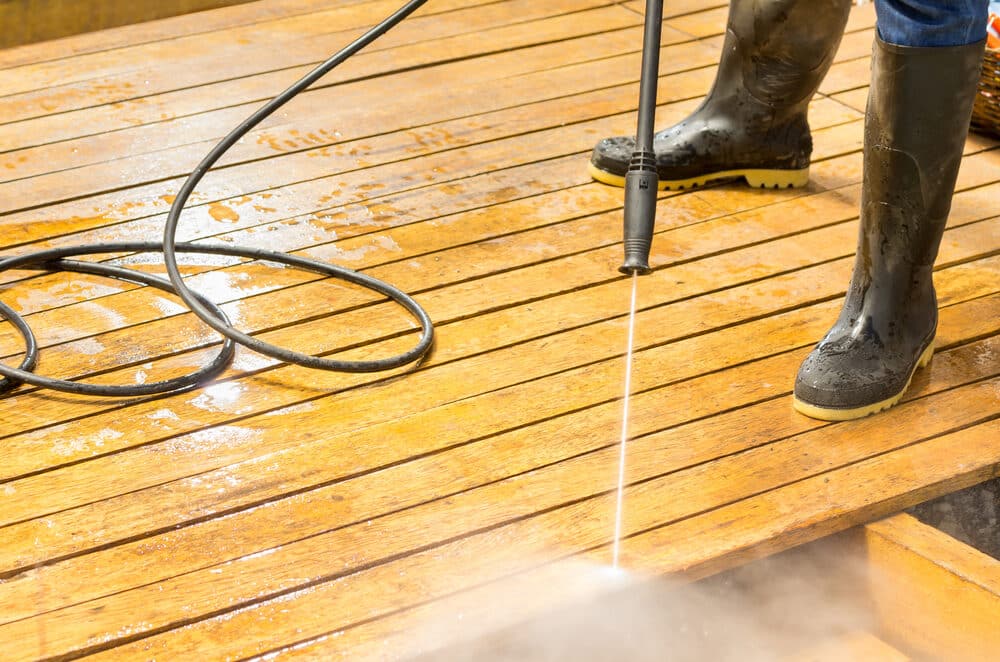
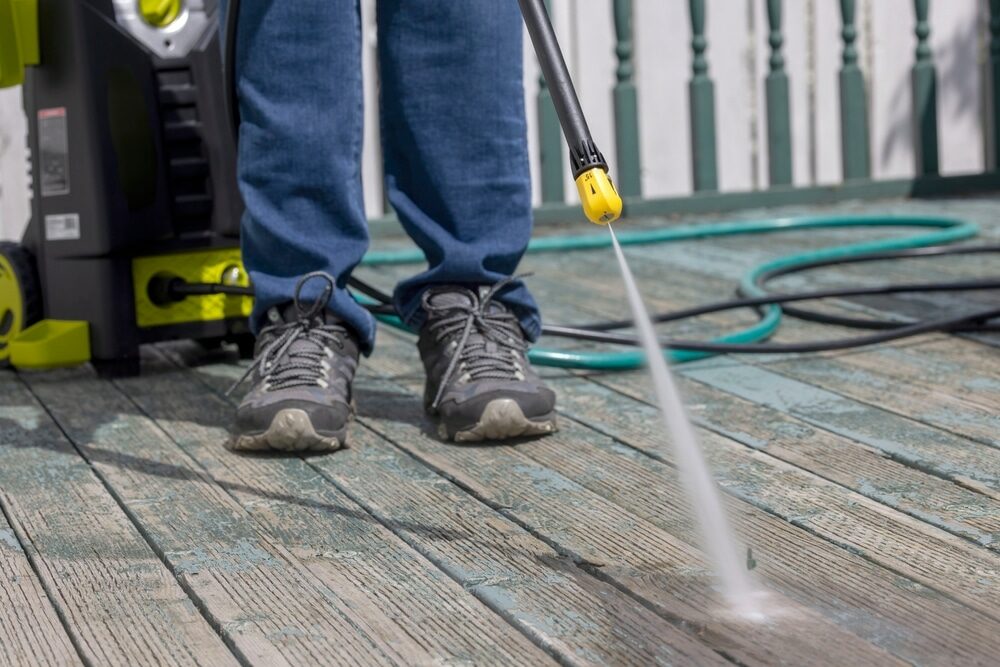
6. Scrubbing and removal
- Once the old finish has sufficiently loosened, use a stiff-bristled brush to scrub the deck gently. This helps remove the lifted finish.
- Rinse the deck thoroughly with water, or use a pressure washer on a low setting, to remove all traces of the stripper and old finish.
7. Safety Precautions
- Wear protective gear, including gloves, goggles, and a mask, to protect yourself from harmful chemicals.
- Ensure good ventilation if you’re working in a semi-enclosed space.
8. Post-Application Care
- Allow the deck to dry completely before applying any new finish.
- Inspect the wood for any repairs that might be needed after the stripping process.
Common Mistakes to Avoid in Deck Stripping
Deck stripping, if done improperly, can lead to unsatisfactory results and even damage your deck. Being aware of common mistakes can help you avoid them and ensure a successful stripping process. Here are some key mistakes to steer clear of:
1. Skipping the prep work
- Neglecting to clean the deck thoroughly before applying the stripper can hinder its effectiveness. Dirt, debris, and loose coatings must be removed for the stripper to work properly.
2. Ignoring safety precautions
- Deck strippers often contain harsh chemicals. Failing to wear protective gear such as gloves, goggles, and a mask can be hazardous to your health.
3. Using the Wrong Product for Your Deck
- Not all strippers are suitable for every type of wood or coating. Using a product that’s too harsh for your deck’s material can cause damage.
4. Applying Too Much or Too Little Product
- Over-application can lead to the stripper drying out, making it less effective and harder to remove. Under-application may not sufficiently remove the old coatings.
5. Not Allowing Enough Time for the Stripper to Work
- Impatience can lead to prematurely removing the stripper. It needs adequate time to penetrate and lift the old finish.
6. Inadequate Rinsing
- Failing to thoroughly rinse off the stripper can leave chemical residues, affecting the adhesion and appearance of new finishes.
7. Ignoring weather conditions
- Applying the stripper in extreme temperatures or direct sunlight can affect its performance. Ideal conditions are usually moderate temperatures and cloudy skies.
8. Not testing the product first
- Skipping a patch test can lead to unexpected results. Always test the stripper on a small, inconspicuous area first.
9. Forgetting Post-Stripping Care
- After stripping, the wood needs to be neutralized (if required by the product) and allowed to dry completely before applying any new finish.
Protecting Your Deck Post-Stripping
Once you have successfully stripped your deck, the next crucial step is protecting it to ensure longevity and maintain its beauty. Post-stripping care involves several key actions:
1. Allow adequate drying time
- After stripping and thorough rinsing, give your deck ample time to dry completely. This could take a few days, depending on the weather conditions. Applying a new finish to damp wood can lead to poor adhesion and premature failure.
2. Inspect and repair
- Stripping often reveals areas that need repair. Look for loose nails, splintered wood, or damaged boards. Make the necessary repairs before applying any new finish.
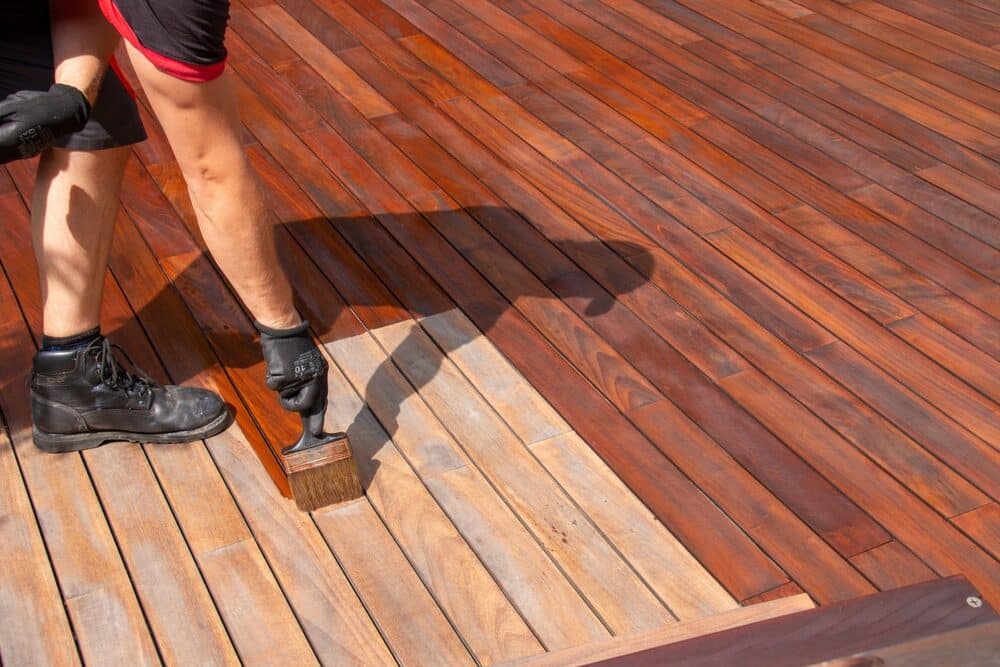
3. Choose the right sealant or stain
- Select a high-quality sealant or stain suitable for your deck’s wood type and your climate. Consider UV-resistant products to protect against sun damage and water-repellent ones to guard against moisture.
4. Apply Finish Evenly
- Use a brush, roller, or sprayer for even application of the sealant or stain. Follow the manufacturer’s instructions regarding application and drying times.
5. Regular Maintenance
- Regular cleaning and maintenance can extend the life of your deck’s finish. Sweep it regularly to remove debris, and clean it with a mild deck cleaner as needed.
6. Reapply, Finish Periodically
- Depending on the product and exposure to elements, reapplication of sealant or stain might be necessary every few years to maintain protection.
7. Consider a Water Repellent Preservative
- For additional protection, especially in areas with high moisture, consider applying a water-repellent preservative after staining.
8. Mind the weather
- Avoid applying sealant or stain in direct sunlight or during very hot or cold weather, which can affect drying and adhesion.
Conclusion
Stripping your deck is a critical step in maintaining its beauty, integrity, and longevity. Throughout this guide, we’ve explored the importance of choosing the right product for your specific deck needs, discussed various factors to consider before making a purchase, and delved into the intricacies of application techniques. We’ve also highlighted some common mistakes to avoid and provided essential tips for protecting your deck post-stripping.
Remember, the key to successful deck stripping and maintenance lies in thorough preparation, careful product selection, and diligent application. By following the advice and tips outlined in this post, you can rejuvenate your deck, bringing it back to its former glory and ensuring it remains a cherished part of your outdoor living space for years to come.
We hope this guide has been informative and helpful, equipping you with the knowledge you need to confidently undertake your deck stripping project. Whether you’re a seasoned DIY enthusiast or new to deck maintenance, the right approach and products can make all the difference in achieving a beautiful, long-lasting deck.

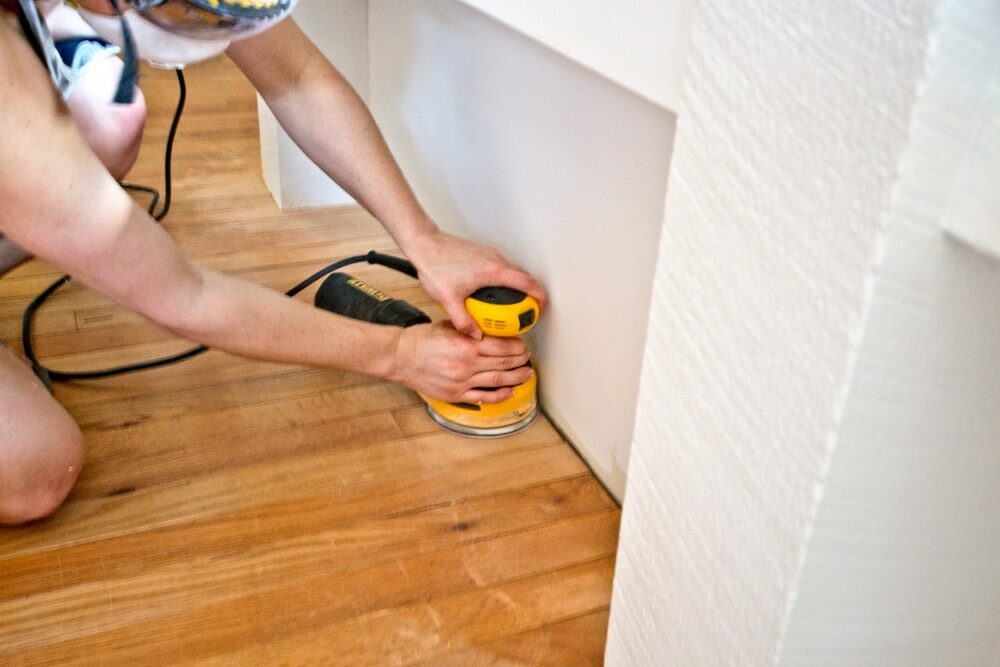


Sanding
We provide virtually dust-free sanding with our continuous belt machinery with mobile extraction units, giving you a safer environment for your family.
Oiling
This organic finish not only adds beauty to your home but also has exceptional water-repellent characteristics, making it easier to clean and maintain.
Waxing
This natural floor finish offers the softest and most mellow appearance – and leaves your floor able to breath.
Buffing
Using soft buffing machines (and hand-polishing where required) will bring a wonderful sheen to your newly-finished floor.
Repairs
We offer a full assessment of your wooden floors to determine what repairs are needed to provide the perfect working surface for the later stages of sanding, staining and sealing.
Restoration
We offer a comprehensive restoration process designed to address floors that are improperly fitted or damaged over time through wear and tear.
Request a fixed price quote for your wood floor restoration now
Simply enter your postcode below to get started.
Services
Wood Floor Sanding Wood Floor Restoration Wood Floor Scratch Repair Squeaky Wood Floor Repair Parquet Floor Sanding Parquet Floor Restoration Commercial Floor Sanding Church Floor Sanding Community Centre Floor Sanding School Floor Sanding Gap Filling Gap Filling with ResinCopyright © Mr Sander®
Privacy & Cookies Terms & Conditions Complaints Procedure Cancellation Rights Sitemap

Get An Instant Price Estimate Before You Go…
Simply enter the rooms you need sanded and we’ll provide you with a price estimate instantly! Try our price calculator now.
Get a Price Estimate NowLocal Floor Sanding Experts
Over 500 5-Star Reviews
Safe, Dust Free Sanding
Operating Since 1994