London:
Nationwide:
25,000+
Floors Restored
27 Years Experience
Wood Flooring Association Certified
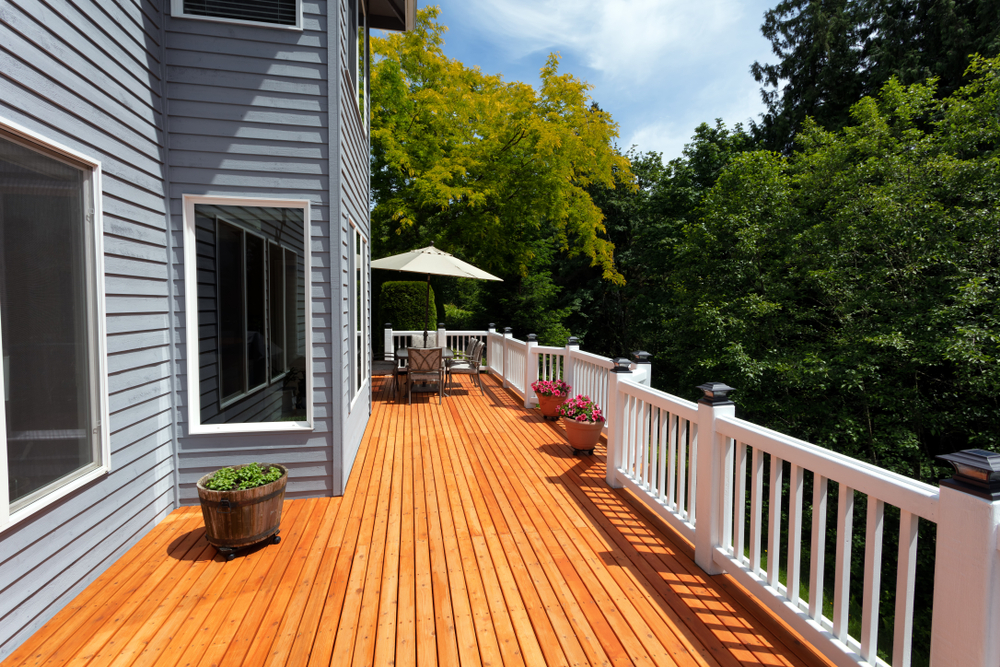
Prepping for a Paint Job: Should You Sand Your Old Deck First?
Posted on January 16, 2024
Deck Sanding
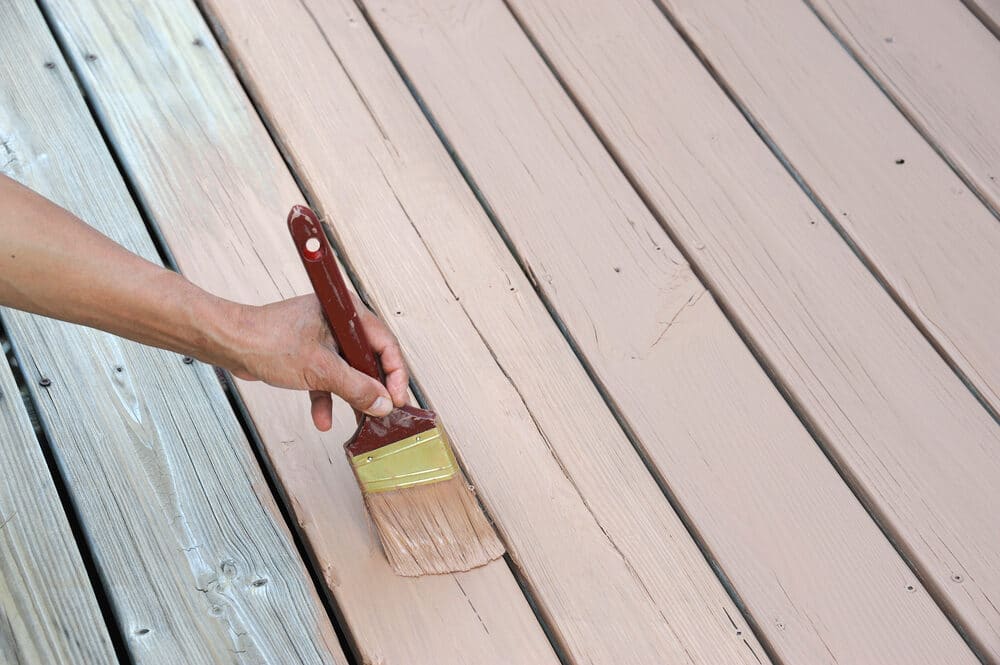
Getting Your Deck Ready for Painting: A Comprehensive Guide to Sanding
Welcome to our comprehensive guide on preparing your deck for a fresh coat of paint. A beautifully painted deck can transform your outdoor space, but achieving that perfect finish isn’t just about choosing the right color – it’s about starting with a well-prepped surface. In this post, we’re diving into one of the most crucial and often debated steps in deck sanding.
Many homeowners wonder whether sanding old deck is necessary before repainting. It’s a valid question, especially considering the effort and time involved in sanding a large surface. Here, we’ll explore the importance of this step, the conditions when it’s essential, and when you might be able to skip it.
Sanding a deck is not just about smoothing the surface; it’s about creating the ideal foundation for your paint to adhere to, ensuring a longer-lasting finish, and addressing any wear and tear that could affect the final result. Whether you’re tackling a weather-worn old deck or a relatively new surface, understanding the role of sanding is key to a successful paint job.
So, grab your safety glasses and join us as we journey through the ins and outs of deck sanding. By the end of this guide, you’ll be equipped with the knowledge to decide if sanding is right for your deck and how to do it effectively, ensuring a stunning and durable outcome for your outdoor sanctuary.
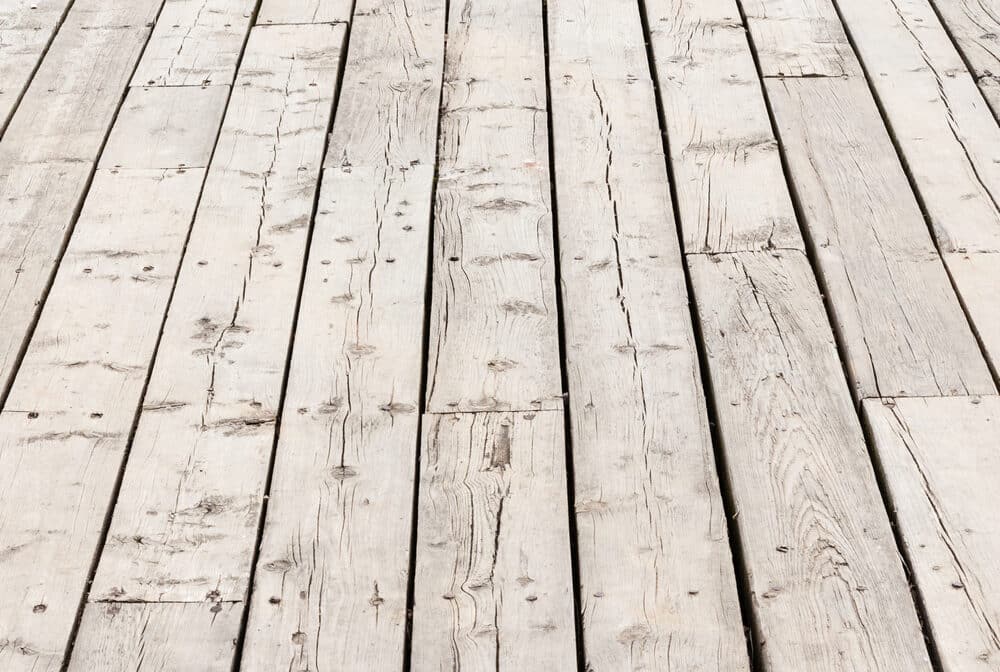
Understanding Your Deck’s Current Condition
Before you embark on the journey of repainting your deck, it’s crucial to assess its current condition. This initial evaluation will not only influence your decision to sand but also determine the overall approach to your painting project. Let’s break down the key aspects to consider during this assessment.
Assessing the Wood Quality
- Age and Exposure: Start by considering the age of your deck and the extent of its exposure to the elements. An older deck that has faced years of sun, rain, and possibly snow may show significant wear and tear.
- Checking for Damage: Look for signs of wood rot, splintering, or warping. These issues go beyond aesthetic concerns and may require more extensive repairs before painting.
- Moisture Levels: Wood’s moisture content can affect paint adhesion. Use a moisture meter if available, or look for signs of excessive dryness or moisture retention.

Identifying Problem Areas
- Mildew and Mold: These not only affect the deck’s appearance but can also undermine the integrity of the wood. Identifying and treating any fungal growth is essential.
- Previous Coatings: Determine the type and condition of any existing paint, stain, or sealant. Peeling or flaking coatings will need to be removed to ensure a smooth finish.
- Structural Concerns: Pay attention to the deck’s structural elements – railings, stairs, and posts. Issues here might require professional attention.
Preparing for the Next Steps
- Making a Plan: Based on your assessment, decide whether sanding is necessary. If the wood is in good condition with minor imperfections, a light sanding might suffice. However, for more damaged or weathered decks, more thorough sanding may be needed.
- Safety Considerations: Remember, dealing with old paint, especially on decks built before 1978, might involve lead-based paint. Take necessary precautions or consult a professional.
- Setting Realistic Expectations: It’s important to understand that not all imperfections can be fixed with sanding and painting. However, proper preparation can significantly enhance the longevity and appearance of your deck.
By thoroughly assessing your deck’s current condition, you set the stage for a more effective and satisfying paint job. This step is not just about aesthetics; it’s about ensuring the safety and durability of your outdoor living space. Next, we’ll delve into the role of sanding in deck preparation, helping you make an informed decision for your specific situation.
The Role of Sanding in Deck Preparation
Understanding the role of sanding your deck for a new coat of paint is pivotal to achieving the best results. Sanding your deck is not just a preparatory step; it’s a transformative process that can significantly impact the longevity and appearance of your deck’s paint job. Let’s explore why sanding is often a critical component in deck preparation.
Benefits of Sanding Before Painting
- Improving Adhesion: Sanding helps in removing the glossy surface of old coatings, providing a rougher surface for the new paint to adhere to. This is essential for long-lasting paintwork.
- Smoothing the Surface: Sanding evens out rough spots, splinters, and imperfections in the wood. This not only makes your deck safer but also ensures a smoother and more professional-looking finish.
- Enhancing Paint Absorption: By opening up the pores of the wood, sanding allows for deeper penetration of the paint, resulting in a more vibrant and durable coat.
- Removing Old Finishes: If your deck has a previous stain or paint that’s peeling or flaking, sanding is necessary to remove these old layers and prepare for a fresh start.
Potential Drawbacks of Skipping Sanding
- Poor Paint Adhesion: Without sanding, paint may not adhere properly to the surface, leading to peeling and flaking over time.
- Visible Imperfections: Any existing damages or rough spots on the deck will be more visible if the surface is not sanded smooth.
- Shortened Lifespan of Paint Job: The longevity of your paint job is compromised when the paint is applied on an unprepared or uneven surface.
When Sanding May Not Be Required
- New Wood Decks: If your deck is relatively new and has no prior coating, you might be able to skip sanding. However, a light sanding is still recommended to ensure optimal paint adhesion.
- Decks in Good Condition: For decks that are well-maintained and have minimal surface damage, a thorough cleaning might be sufficient.
Decision
Sanding your deck is a critical step in preparing your deck for a new paint job. It ensures that the paint adheres properly, lasts longer, and looks better. While it might be tempting to skip this step, especially in decks that appear in good condition, the benefits of sanding often outweigh the time and effort involved. In the next section, we will guide you through the different sanding techniques suitable for various deck conditions.
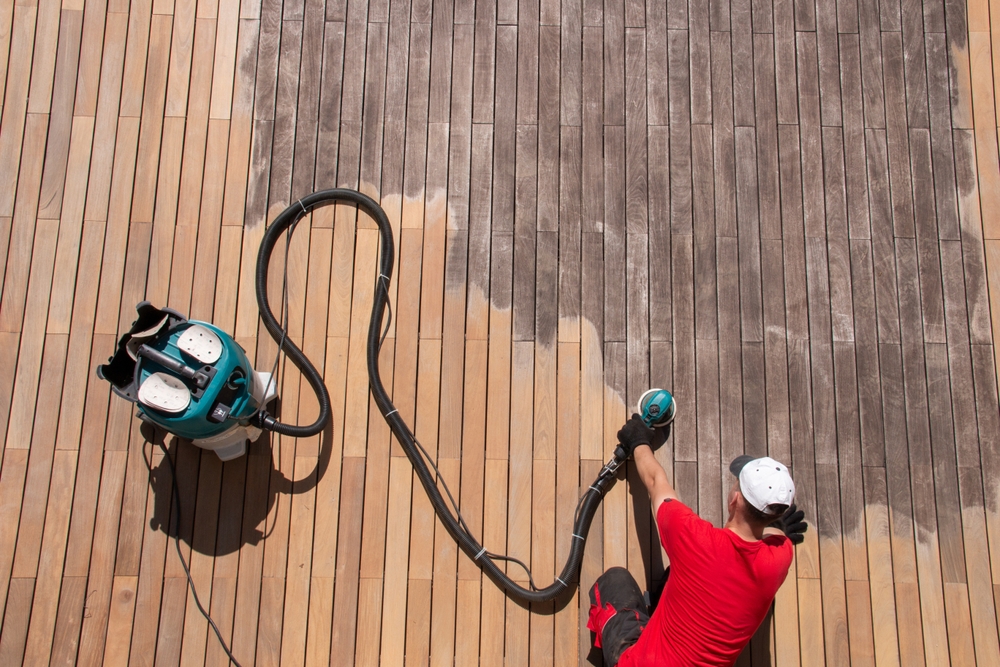
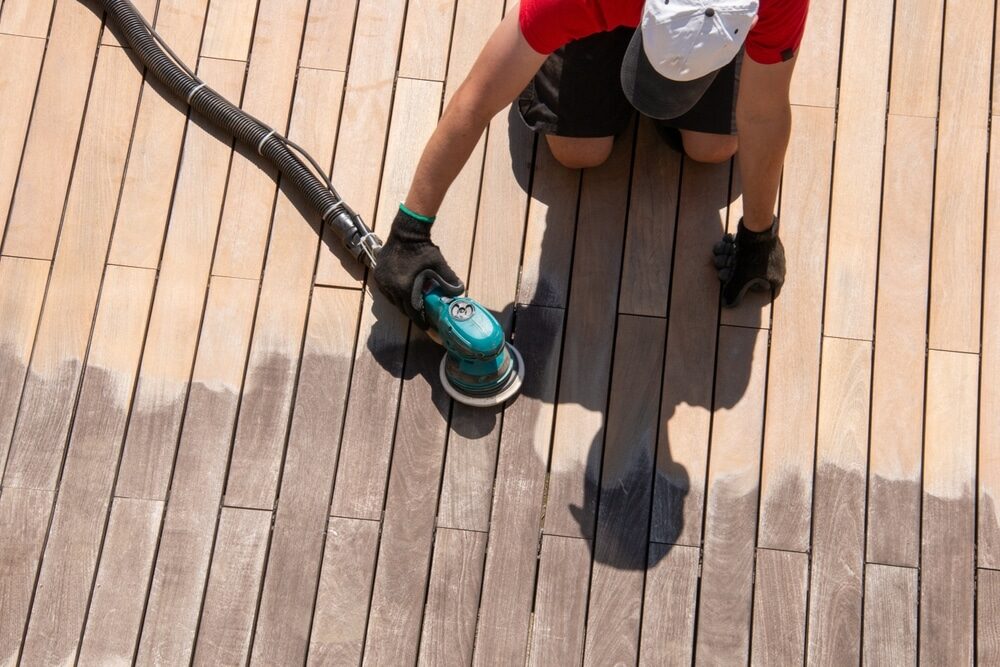
Sanding Techniques for Different Deck Conditions
Sanding your deck is not a one-size-fits-all process. The technique and approach should vary depending on the condition and type of your deck. Here, we’ll explore effective sanding techniques for different scenarios, ensuring that you achieve the best possible surface for painting.
Sanding Old, Weathered Wood
- Heavy-Duty Sanding: For decks that have seen better days, with significant weathering and surface damage, start with a heavier grit sandpaper (like 40-60 grit). This coarser sandpaper helps remove the damaged top layer of wood.
- Gradual Progression to Finer Grits: Once the major imperfections are removed, progressively move to finer grit sandpapers (up to 120-150 grit) for a smoother finish.
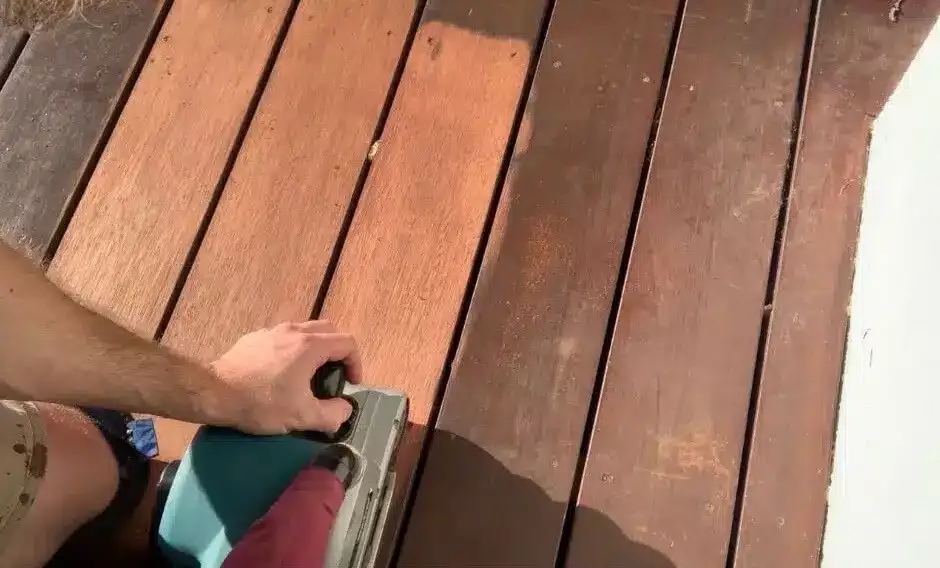
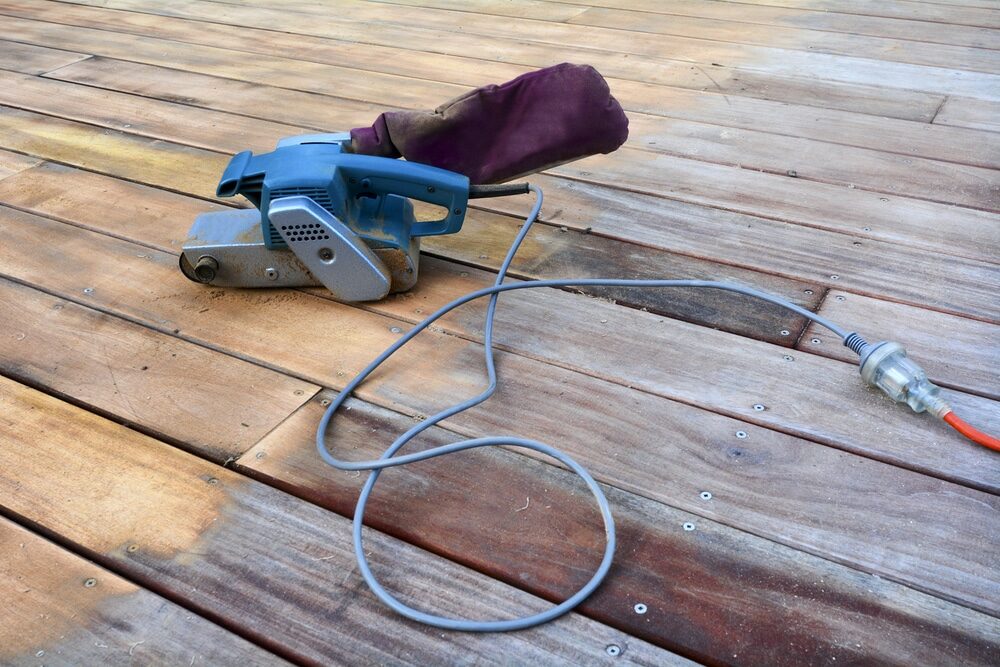
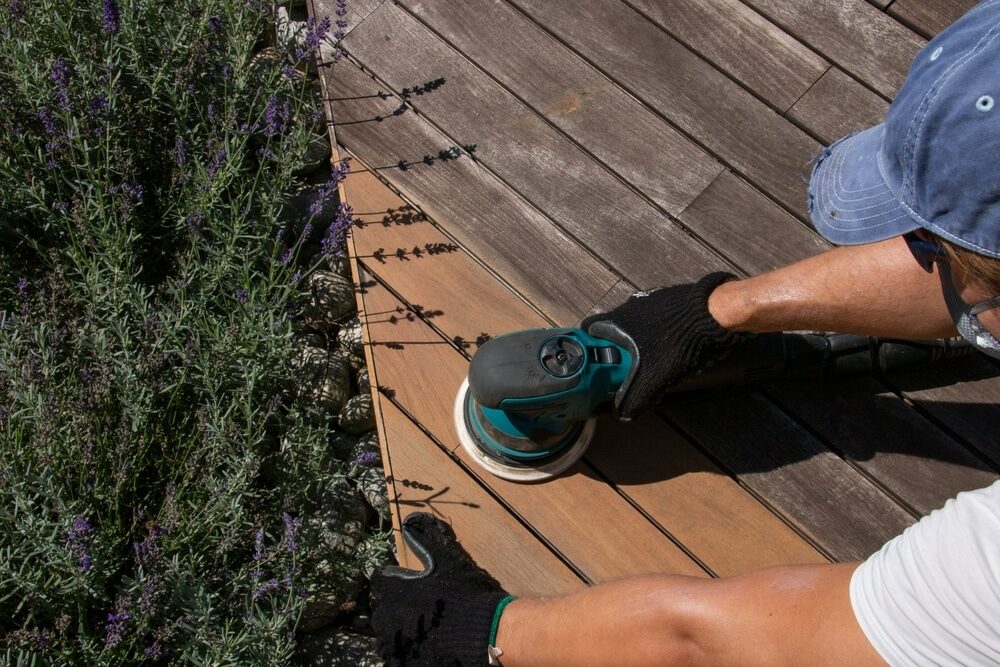
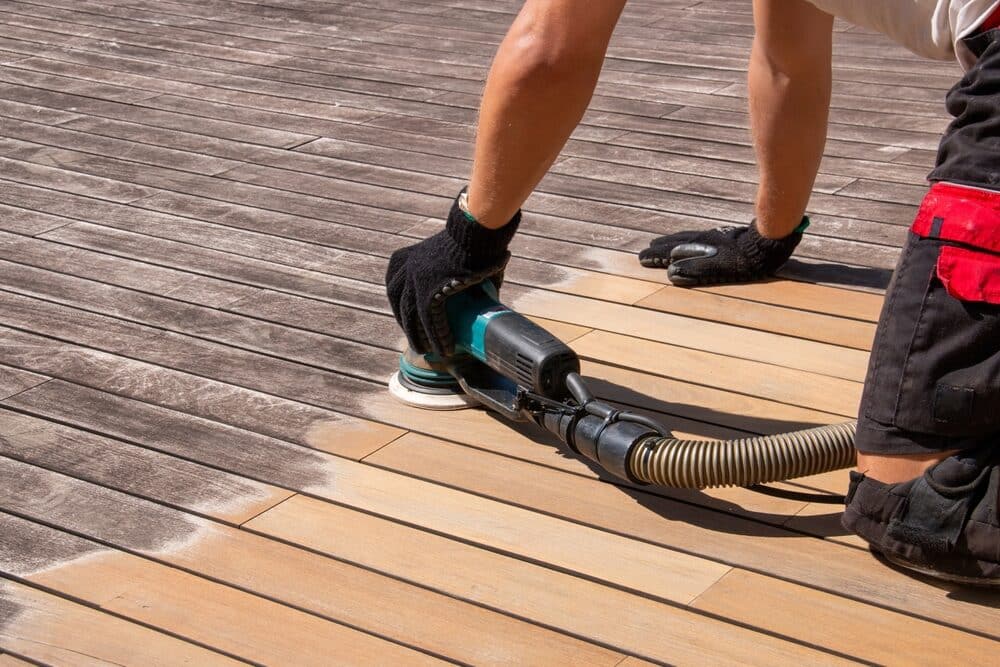
- Using Power Sanders: For extensive sanding, a power sander or a deck sander can save time and effort. Ensure even pressure to avoid creating depressions in the wood.
Dealing with Painted or Stained Surfaces
- Stripping Old Paint or Stain: If your deck has layers of old paint or stain, consider using a chemical stripper first to remove these layers before sanding.
- Medium Grit for Starters: Once the majority of the old paint or stain is removed, use a medium-grit sandpaper (80-100 grit) to smooth out the surface.
- Detail Sanding: For edges and hard-to-reach areas, use a hand sander or sanding sponge to ensure a uniformly smooth surface.
Preparing Newer Decks for Painting
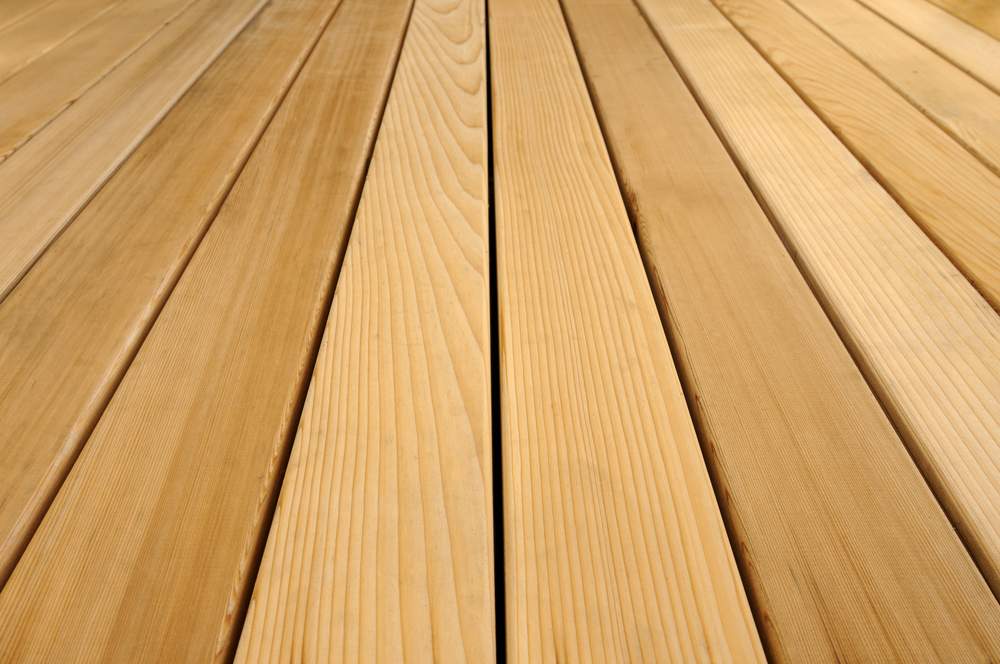
- Light Sanding: Newer decks that haven’t experienced much wear and tear often only require a light sanding. Use a fine grit sandpaper (120-150 grit) to slightly roughen the surface for better paint adhesion.
- Consistent Pattern: Sand in the direction of the wood grain to avoid scratches that could show through the paint.
Safety and Clean Up
- Safety First: Always wear a dust mask and safety goggles when sanding to protect yourself from wood dust and particles.
- Cleaning Up: After sanding, thoroughly clean the deck. Remove all dust and debris using a brush, followed by a damp cloth or a deck cleaner. This ensures that the paint adheres properly to the wood.

Decision
Choosing the right sanding technique based on the condition of your deck is crucial. Whether you’re dealing with an old, weathered deck, a previously painted surface, or a relatively new deck, the right approach to sanding can make a significant difference in the final outcome of your paint job. In the following section, we will discuss the tools and materials you will need for an effective sanding process.
Tools and Materials for Effective Sanding
Equipping yourself with the right tools and materials is essential for effective sanding of your deck. The proper gear not only makes the job easier but also ensures a higher quality finish. Here’s a list of essential tools and materials you’ll need for sanding your deck, along with some tips on how to use them effectively.
Essential Sanding Tools
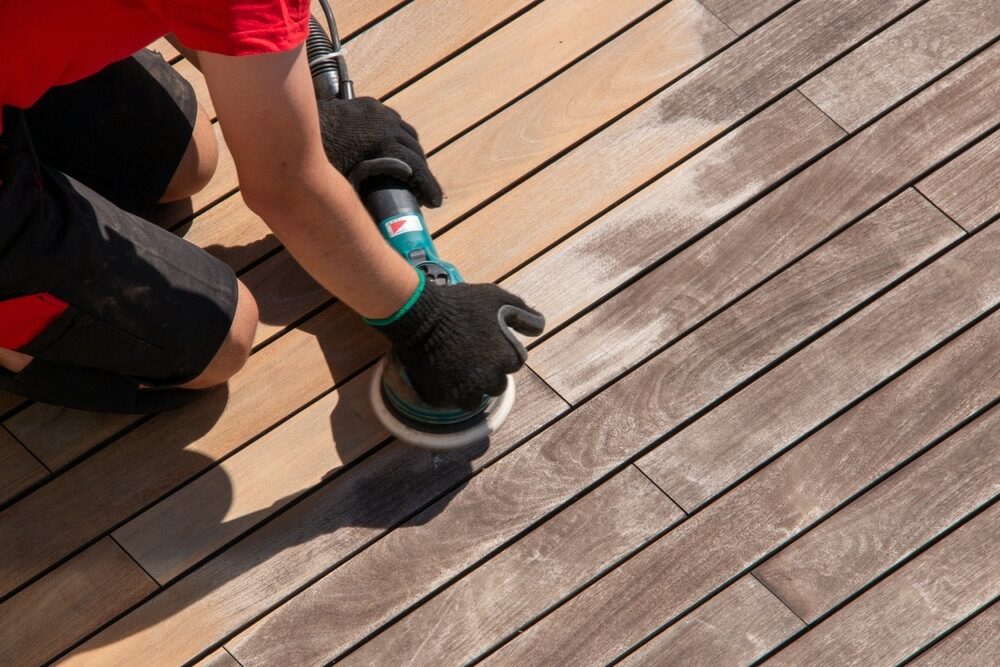
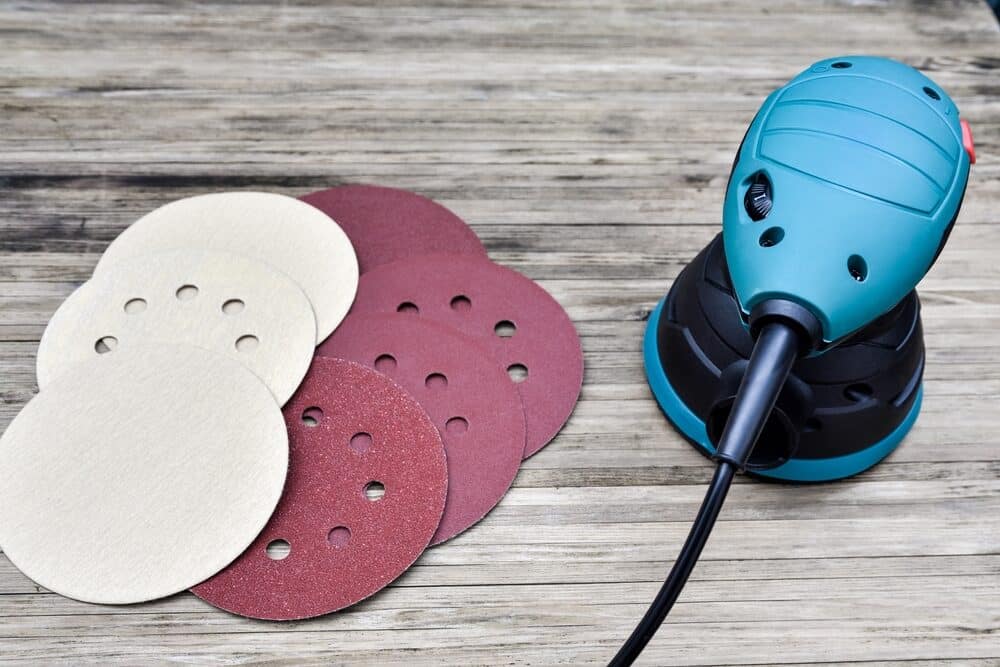
- Power Sander: Ideal for large decks, a power sander (like an orbital sander or a belt sander) saves time and effort. Choose one that fits your comfort and the size of your deck.
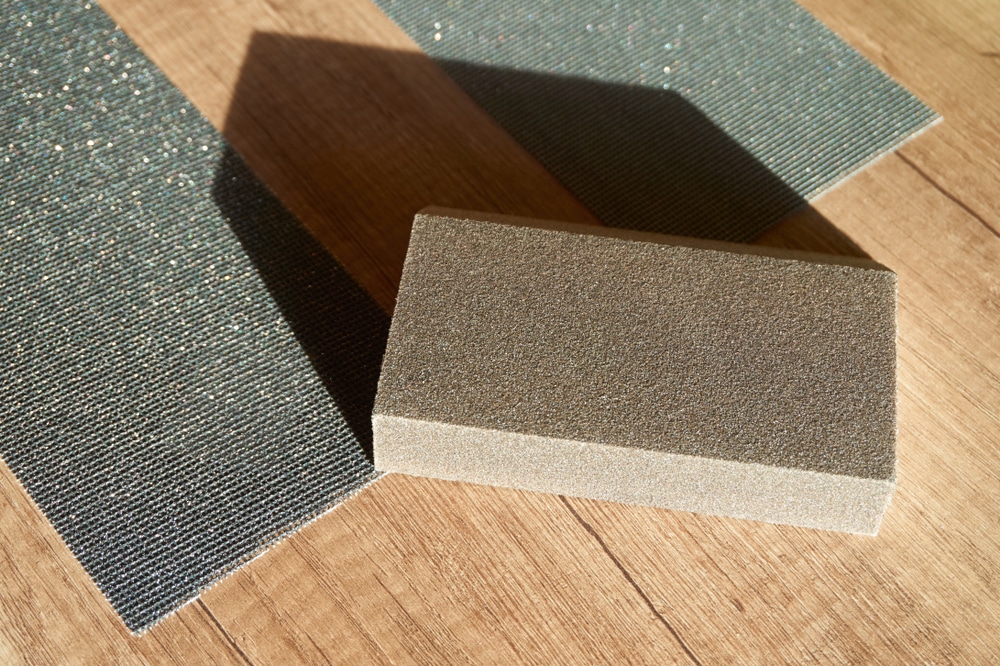
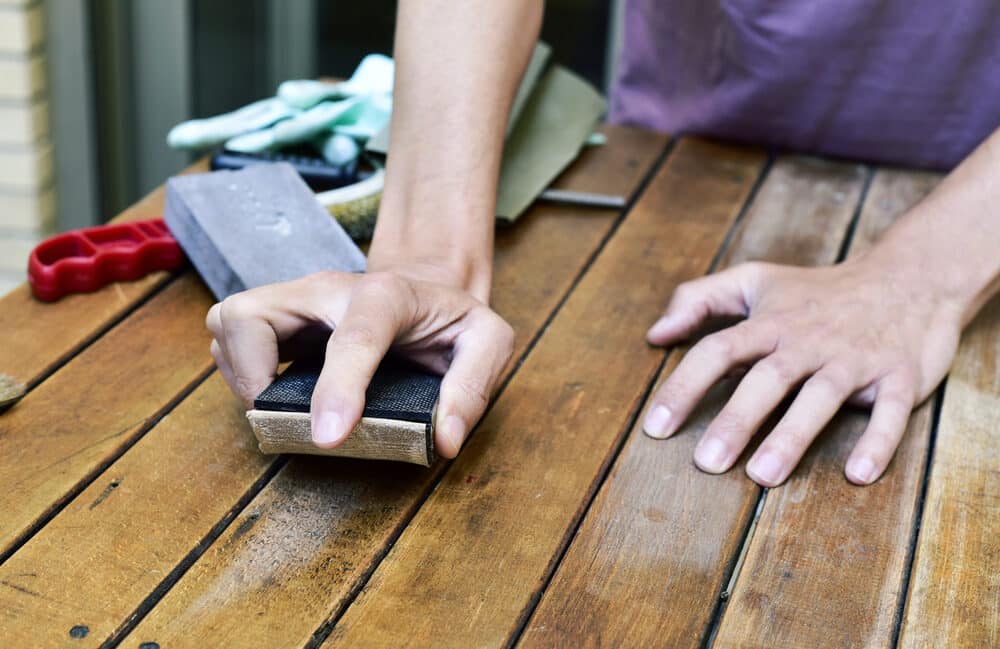
- Hand Sanders: For smaller areas and edges where a power sander can’t reach, hand sanders offer precision. They’re also useful for final touch-ups.
- Sanding Blocks: For manual sanding, sanding blocks provide an even pressure distribution, making it easier to achieve a smooth surface.
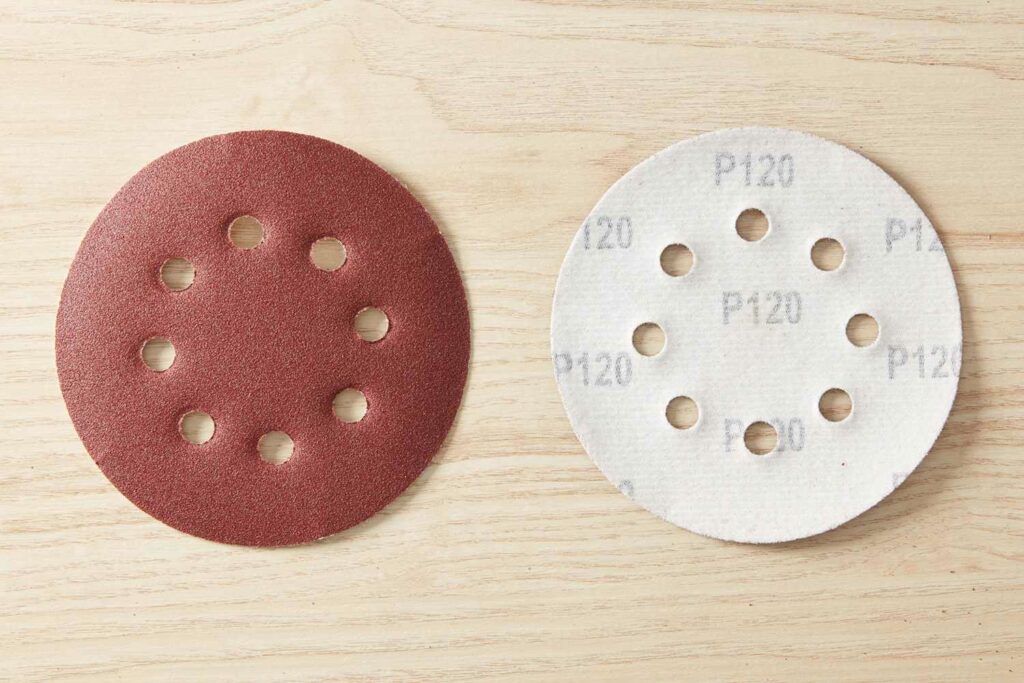
- Sandpaper: Have a variety of grits available. Start with coarser grits (40-60 grit) for rough surfaces and move to finer grits (up to 120-150 grit) for finishing touches.
Safety Equipment
- Dust Mask: Sanding produces a lot of dust. A dust mask is essential to protect your lungs.
- Safety Goggles: Protect your eyes from wood particles and dust with safety goggles.
- Gloves: Durable gloves protect your hands during the sanding process and provide a better grip.
Additional Materials
- Extension Cords: If using power tools, ensure you have suitable extension cords to reach all areas of your deck.
- Cleaning Supplies: A broom, dustpan, and a vacuum cleaner are necessary for cleanup after sanding. Consider a damp cloth or a tack cloth to wipe down the surface before painting.
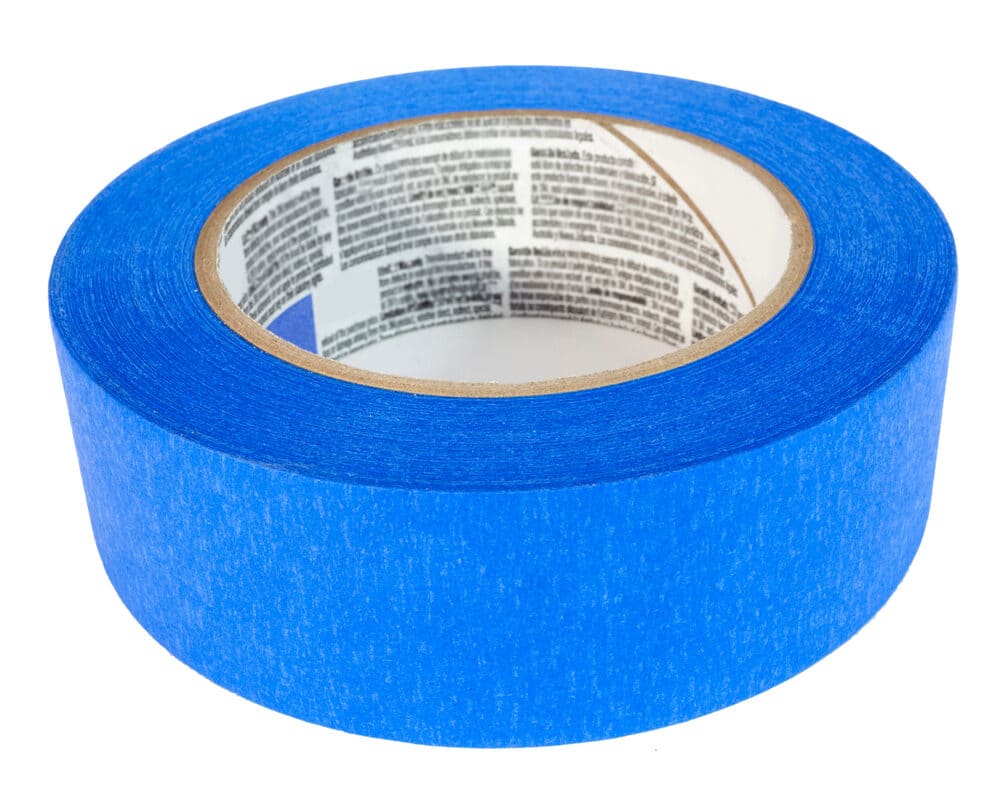
- Painters Tape: Use painters tape to protect areas you don’t want to sand, like trim or walls adjacent to the deck.
Tips for Using These Tools
- Test the Tools: Before starting, test your sanders on a small, inconspicuous area to get a feel for their power and effect.
- Sand in the Direction of the Grain: Always sand in the direction of the wood grain for the best finish and to avoid damaging the wood.
- Regularly Change Sandpaper: Dull sandpaper won’t be effective. Change it out regularly to maintain efficiency.
- Even Pressure: Apply consistent pressure when sanding to avoid uneven surfaces or gouges in the wood.
Step-by-Step Guide to Sanding Your Deck
Sanding your deck is a critical step in preparing it for a new coat of paint. This guide provides a step-by-step approach to ensure that you sand your deck effectively, creating the perfect base for painting. Here’s how to do it:
Preparing the Deck and Workspace
- Clear the Deck: Remove all furniture, grills, and decorations from the deck.
- Clean the Surface: Sweep the deck to remove debris. Consider washing the deck with a deck cleaner to remove dirt, mildew, and old finishes. Allow it to dry completely.
- Inspect and Repair: Check for loose nails or screws, and secure them. Replace or repair any damaged boards.

Choosing the Right Sandpaper and Tools
- Select Sandpaper Grits: Start with a coarser grit for rough surfaces (40-60 grit) and move to finer grits (up to 120-150 grit) for finishing.
- Choose Your Tools: Based on the size and condition of your deck, decide whether to use a power sander, hand sander, or sanding block.

Beginning the Sanding Process
- Start with Coarser Grit: Begin with the coarsest sandpaper to remove old finishes and smooth out major imperfections.
- Sand in the Direction of the Wood Grain: This helps prevent scratches and ensures a smoother finish.
Progressing to Finer Grits
- Switch to Medium Grit: Once the major issues are addressed, switch to a medium grit (80-100 grit) to further smooth the surface.
- Finish with Fine Grit: Finally, use a fine grit (120-150 grit) for the final sanding to prepare the wood for painting.
Detail Sanding
- Hand Sand Edges and Tight Spots: Use a hand sander or sanding sponge for corners and areas where the power sander can’t reach.
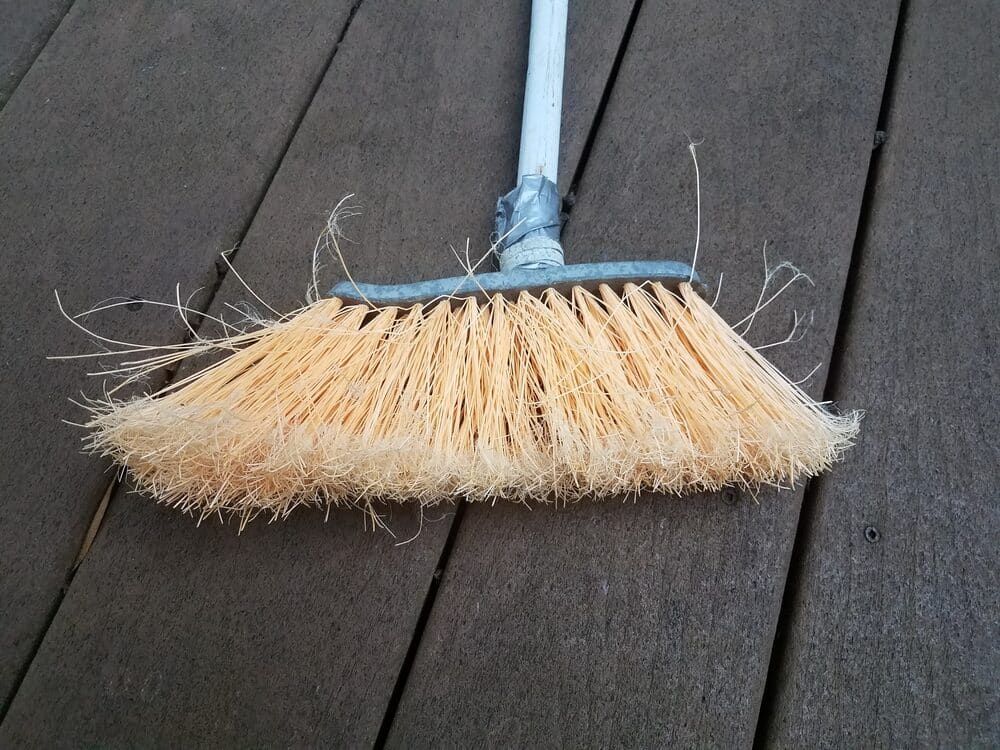
Cleaning Up
- Remove All Dust: After sanding, thoroughly sweep the deck. Use a leaf blower for an efficient cleanup.
- Wipe Down the Surface: Go over the deck with a damp cloth or a tack cloth to remove any remaining dust.
Inspecting Your Work
- Check for Smoothness: Run your hand over the deck to ensure that the surface is uniformly smooth.
- Look for Missed Spots: Make sure there are no areas that were missed or need additional sanding.
Final Preparations for Painting
- Let the Deck Rest: If possible, allow the deck to settle for a day before beginning the painting process.
- Tape Off Areas: Use painter’s tape to protect areas adjacent to the deck that you don’t want to paint.
Sanding your deck may be labor-intensive, but it’s a vital step in preparing for a new paint job. By following this step-by-step guide, you’ll ensure your deck is in the best possible condition for painting, which will enhance both the appearance and longevity of your paintwork. In the next section, we’ll explore the alternatives to sanding for those considering different preparation methods.
Alternatives to Sanding
While sanding is a common and effective method for preparing a deck for painting, there are situations where alternatives might be more suitable. Whether it’s due to the deck’s condition, time constraints, or personal preference, exploring other options can be beneficial. Here are some alternatives to sanding that can also prepare your deck for a new coat of paint.
Chemical Strippers
- Effective for Removing Old Paint and Stain: Chemical strippers can be a good choice if your deck is coated with layers of old paint or stain that are difficult to sand off.
- Application: Apply the stripper according to the manufacturer’s instructions, usually with a brush or roller.
- Safety Precautions: Wear protective gloves, eyewear, and clothing, and ensure good ventilation.
- Removal: After the stripper has worked, remove the old finish with a scraper or a stiff brush. Wash the deck thoroughly after stripping.
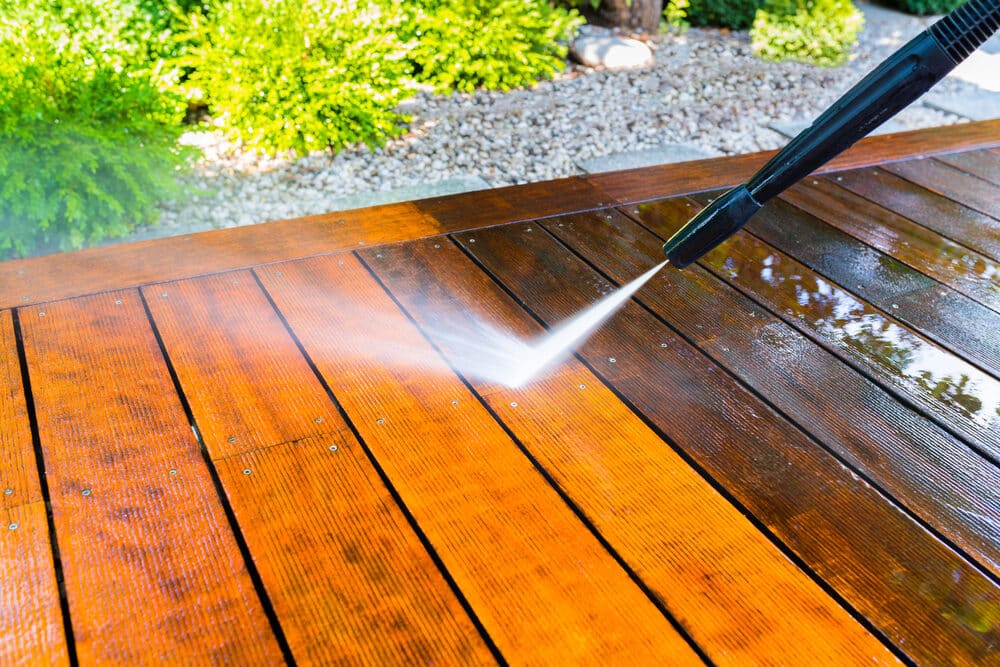
Power Washing
- Ideal for Cleaning and Minor Surface Preparation: Power washing can clean and mildly abrade the surface, making it more receptive to new paint.
- Careful Usage: Use a power washer with the appropriate pressure setting to avoid damaging the wood. Keep a consistent distance and angle.
- Not a Substitute for Major Sanding: Power washing is less effective for decks with significant damage or heavy old coatings.
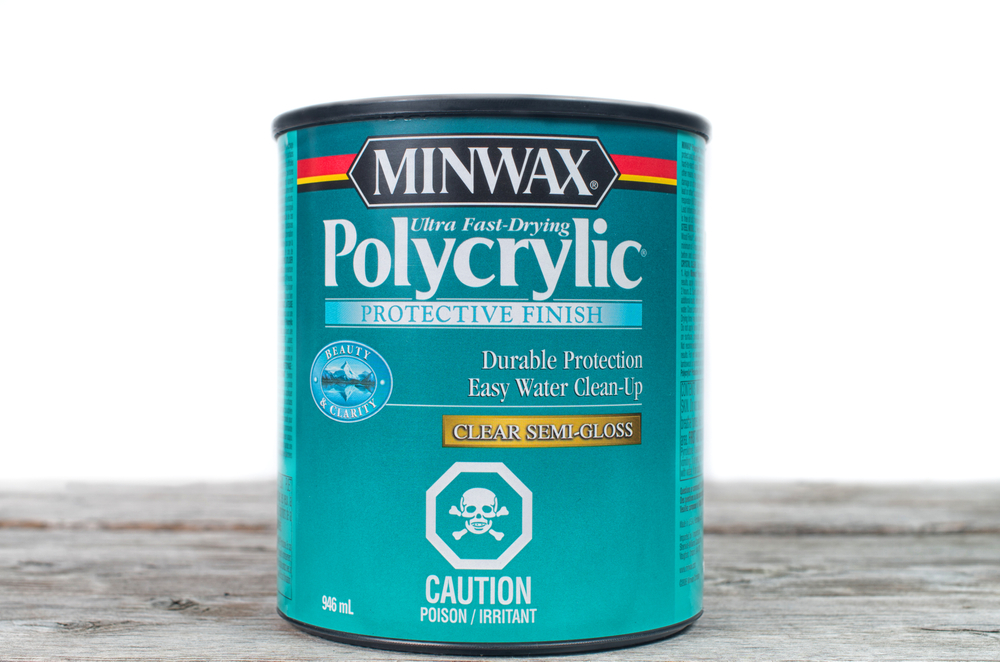
Liquid Sandpaper/De-Glosser
- For Light Preparations: Liquid sandpaper, also known as a de-glosser, can be used to prepare a lightly worn deck or one with a glossy surface.
- Application: It’s applied with a cloth and works by dulling the old finish, improving the adhesion of the new paint.
- Limitations: Not effective for removing old paint or smoothing rough surfaces.
Sanding Discs for Power Washers
- Combining Power Washing and Sanding: Some power washers can be equipped with sanding disc attachments, offering a way to clean and sand simultaneously.
- Specific Conditions: Best suited for decks with moderate wear and where a light sanding is sufficient.
Non-Sanding Stains
- Stain Instead of Paint: If your deck is in good condition, consider using a non-sanding stain. These products can be applied directly to the wood and offer a range of finishes.
Decision
Choosing the right preparation method for your deck is crucial. While sanding is often the go-to method, these alternatives offer different approaches that might better suit your deck’s condition and your project needs. In our next section, we’ll move on to discuss priming and painting after your deck is prepped, completing the transformation of your outdoor space.
Maintenance Tips Post-Painting
Congratulations on completing the sanding, priming, and painting of your deck! This hard work will pay off in the form of a beautiful and durable outdoor space. However, the job isn’t quite done yet. Regular maintenance is key to prolonging the life and appearance of your newly painted deck. Here are some tips to help you keep your deck in top condition.
Regular Cleaning
- Sweep Regularly: Remove leaves, dirt, and debris from your deck regularly. This prevents stains and mold growth.
- Gentle Washing: Periodically clean your deck with a mild soap and water solution or a specially formulated deck cleaner. Avoid harsh chemicals that can strip the paint.
- Immediate Spill Cleanup: Address spills as soon as they happen to prevent staining.
Annual Inspections
- Check for Damage: Each year, inspect your deck for any signs of wear, such as chipping paint, wood rot, or loose boards.
- Repair and Touch Up: Promptly repair any damage. Touch up areas where the paint has chipped or worn away to prevent further deterioration.
Avoiding and Addressing Wear and Tear
- Furniture Pads: Use protective pads under furniture legs to prevent scratches and paint wear.
- Rug Usage: If using outdoor rugs, choose ones that are breathable to prevent moisture buildup, which can damage the paint.
- Sun Exposure: Consider using a UV-resistant sealant or choosing UV-resistant paint, especially if your deck is in an area that receives a lot of sun.
Seasonal Care
- Winter Precautions: In snowy climates, use a plastic shovel to remove snow. Avoid metal tools that can scratch the paint.
- Moisture Management: Ensure proper drainage around your deck to prevent standing water, which can damage the paint and wood.
Long-Term Repainting
- Regular Repainting: Depending on exposure to elements and foot traffic, your deck will eventually need repainting. Typically, this is every 3-5 years.
- Prep Before Repaint: Before repainting, clean the deck thoroughly and do any necessary sanding or repairs.

Conclusion
As we wrap, it’s clear that the journey to revitalizing your deck is both challenging and rewarding. From understanding the condition of your deck, deciding whether to sand, choosing the right tools and techniques, to the final steps of priming, painting, and maintenance, each phase plays a crucial role in the transformation of your outdoor space.
Remember, the effort you put into this project is not just about aesthetics; it’s about creating a space where memories are made, moments are enjoyed, and relaxation is paramount. Your deck is more than just a structure; it’s a part of your home’s character and your personal haven.
We hope this guide has provided you with valuable insights and practical advice to tackle your deck painting project with confidence. Whether you’re a seasoned DIY enthusiast or a first-time deck painter, the journey of transforming your deck is a rewarding one. So, roll up your sleeves, gather your tools, and get ready to breathe new life into your deck.


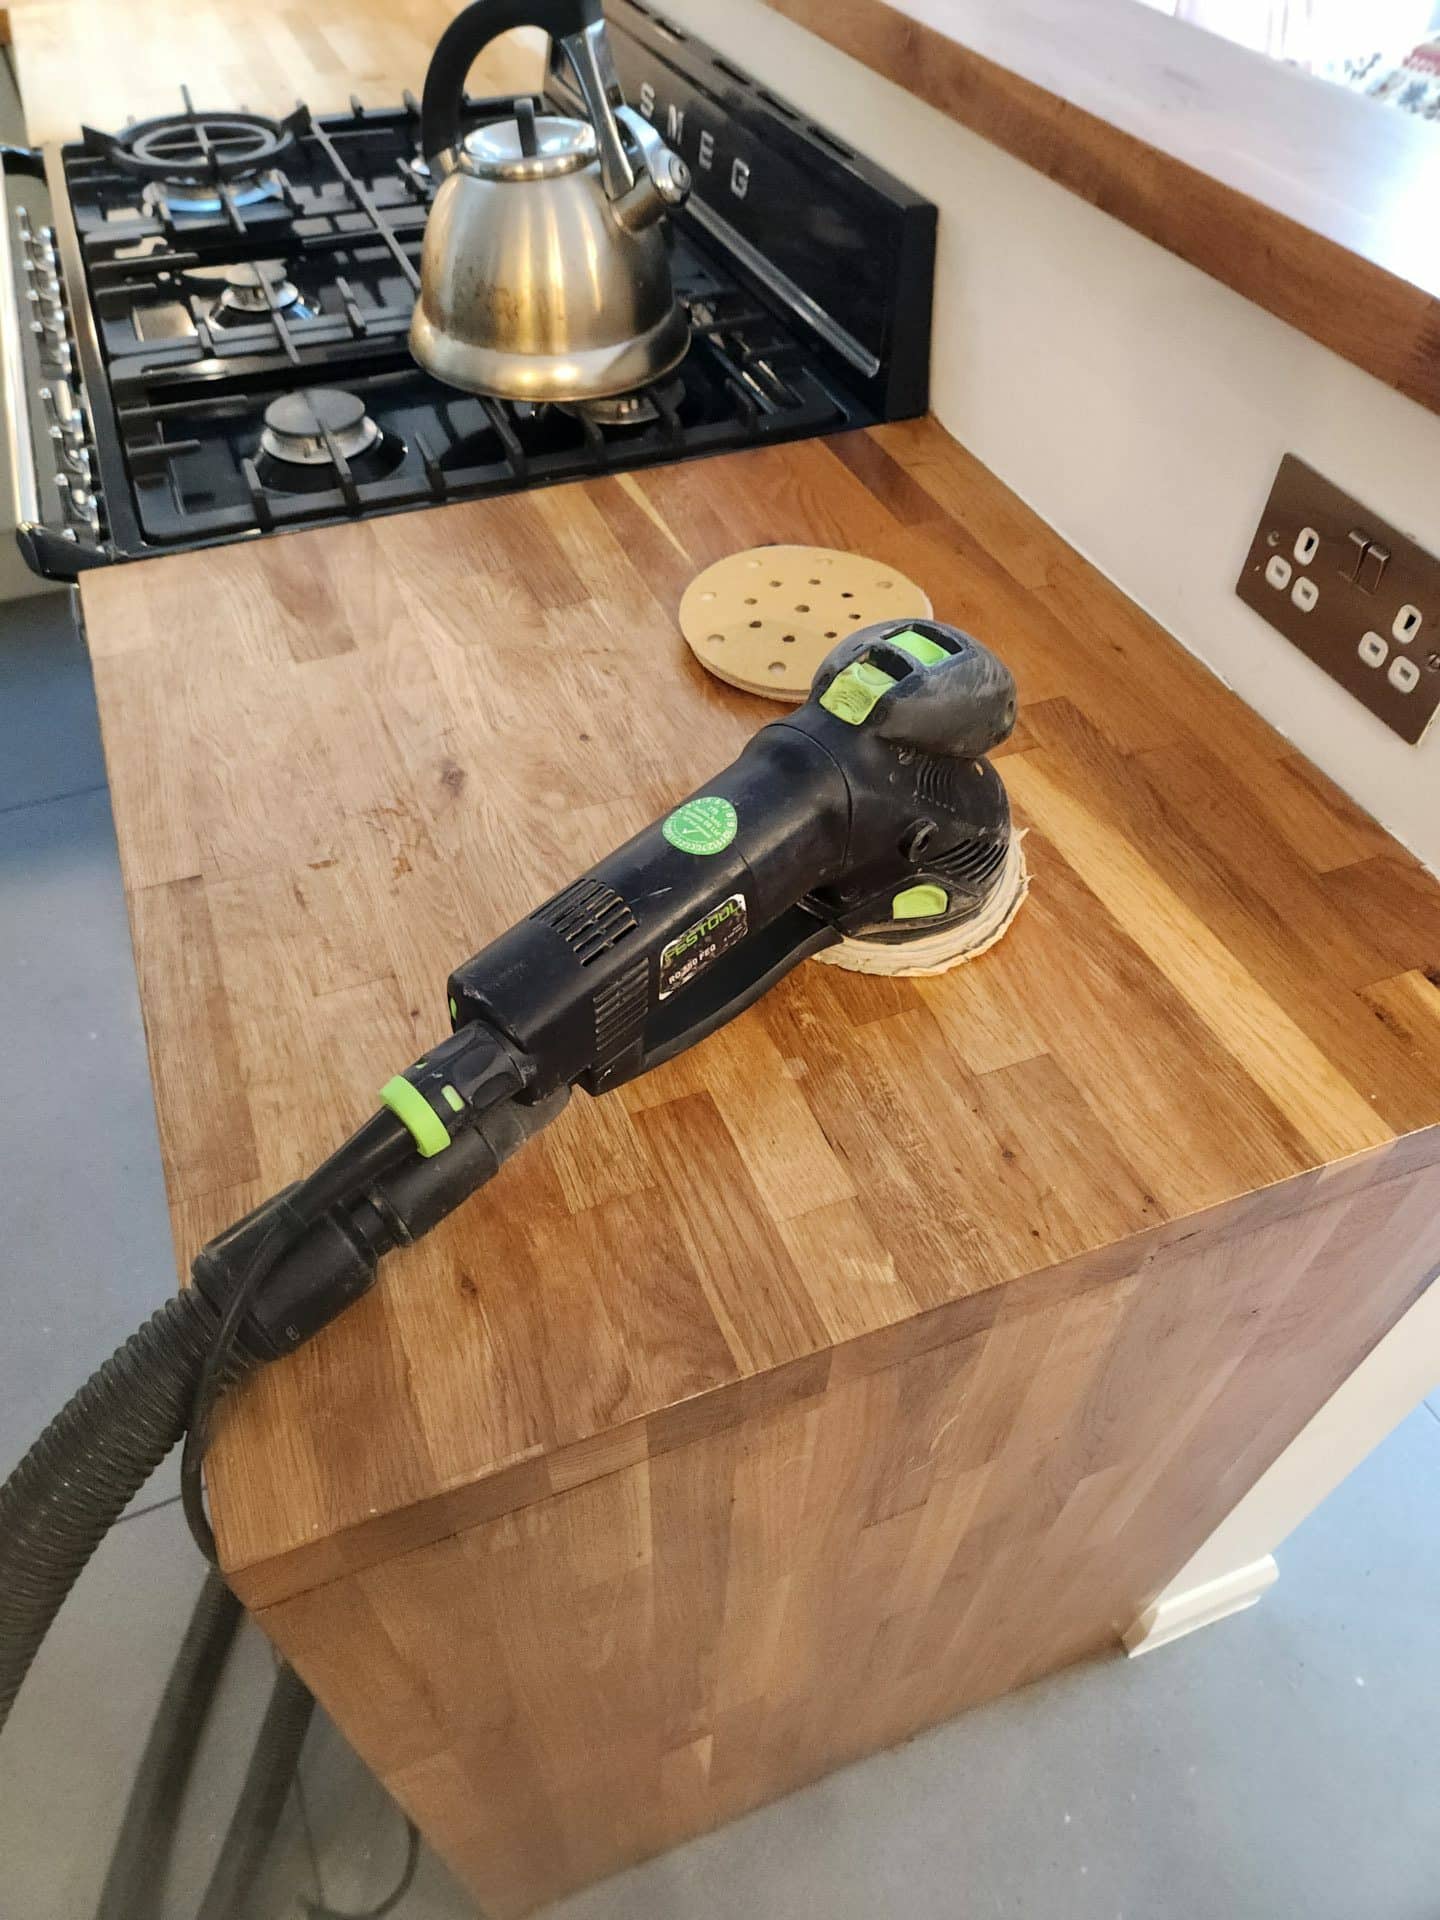
Sanding
We provide virtually dust-free sanding with our continuous belt machinery with mobile extraction units, giving you a safer environment for your family.
Oiling
This organic finish not only adds beauty to your home but also has exceptional water-repellent characteristics, making it easier to clean and maintain.
Waxing
This natural floor finish offers the softest and most mellow appearance – and leaves your floor able to breath.
Buffing
Using soft buffing machines (and hand-polishing where required) will bring a wonderful sheen to your newly-finished floor.
Repairs
We offer a full assessment of your wooden floors to determine what repairs are needed to provide the perfect working surface for the later stages of sanding, staining and sealing.
Restoration
We offer a comprehensive restoration process designed to address floors that are improperly fitted or damaged over time through wear and tear.
Request a fixed price quote for your wood floor restoration now
Simply enter your postcode below to get started.
Services
Wood Floor Sanding Wood Floor Restoration Wood Floor Scratch Repair Squeaky Wood Floor Repair Parquet Floor Sanding Parquet Floor Restoration Commercial Floor Sanding Church Floor Sanding Community Centre Floor Sanding School Floor Sanding Gap Filling Gap Filling with ResinCopyright © Mr Sander®
Privacy & Cookies Terms & Conditions Complaints Procedure Cancellation Rights Sitemap

Get An Instant Price Estimate Before You Go…
Simply enter the rooms you need sanded and we’ll provide you with a price estimate instantly! Try our price calculator now.
Get a Price Estimate NowLocal Floor Sanding Experts
Over 500 5-Star Reviews
Safe, Dust Free Sanding
Operating Since 1994