London:
Nationwide:
25,000+
Floors Restored
27 Years Experience
Wood Flooring Association Certified
Deck Sanding 101: How to Prepare Your Deck
Posted on December 23, 2023
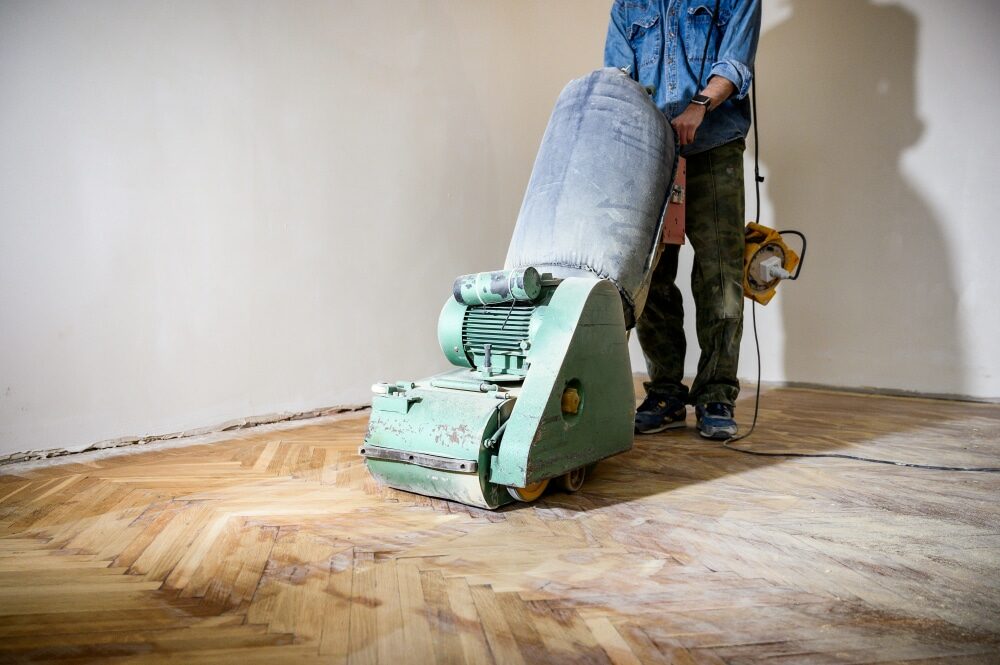
Deck Sanding
Mastering Deck Sanding: A Step-by-Step Guide to Deck Preparation
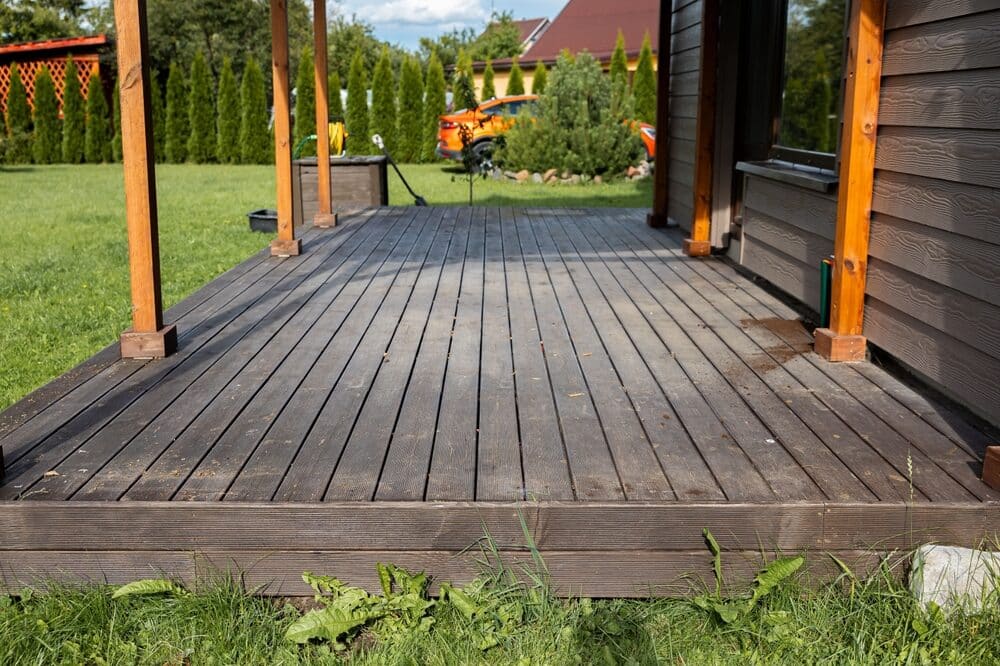
A deck is more than just an extension of your home; it’s a place where memories are made, from family barbecues to quiet morning coffees. However, exposure to the elements can take a toll on your deck, leaving it weathered and worn. The solution? A thorough sanding process that can breathe new life into your wooden deck.
In this guide, we’ll delve into the why and how of deck sanding. You’ll learn why sanding is a crucial step in deck maintenance, helping to extend the life of your wood, improve its appearance, and prepare it for sealing or staining. We’ll also cover the basics of what you need to get started, including the tools and materials required and how to assess the condition of your deck.
Whether you’re a DIY enthusiast or a first-timer looking to tackle deck maintenance, this blog post is designed to provide you with step-by-step instructions and professional tips. By the end of this guide, you’ll be equipped with the knowledge and confidence to prepare your deck for a stunning transformation. So, let’s roll up our sleeves and get ready to transform your deck into a beautiful and inviting outdoor oasis!

Materials and Tools Needed
Before diving into the deck sanding process, it’s essential to gather all the necessary materials and tools. Having everything on hand will make your deck sanding project more efficient and enjoyable. Here’s a comprehensive list of what you’ll need:
Sanding Tools
Power Sander: For large decks, a power sander (like an orbital or belt sander) can save time and effort.
Hand Sanding Blocks: Ideal for corners and tight spaces where a power sander can’t reach.
Sandpaper: A variety of grits (coarse, medium, and fine) to suit different stages of sanding.
Safety Gear
Safety Glasses: To protect your eyes from dust and debris.
Dust masks or respirators are essential to avoid inhaling dust particles.
Ear protection is especially important when using power sanders.
Gloves: To protect your hands during the sanding process.

Cleaning Supplies
Broom and dustpan: to clean the deck before and after sanding.
Deck Cleaner: For a thorough cleaning before starting the sanding process.
Pressure Washer (optional): For an even deeper clean, if necessary.
Repair and prep materials
Wood Filler: To fill in any cracks or holes in the deck boards.
Putty Knife: For applying wood filler.
Hammer or screwdriver: to fix any protruding nails or screws.

Other Essentials
Plastic sheeting or drop cloths: to protect surrounding areas from dust.
Paint scraper: to remove any flaking paint or finish.
Measuring Tape: For any measurements or adjustments needed.

Post-Sanding Materials
Vacuum or Leaf Blower: To remove all dust after sanding.
Rags and brushes: for applying sealant or stain post-sanding.
Note: The selection of tools may vary based on the size and condition of your deck, as well as personal preference. Always choose tools that you’re comfortable using and that fit the specific requirements of your deck sanding project.
Assessing Your Deck’s Condition
Before you begin the deck sanding process, it’s crucial to thoroughly assess the condition of your deck. This step ensures that you address any issues that might affect the quality and longevity of your sanding work. Here’s how to evaluate your deck’s condition:
Visual Inspection
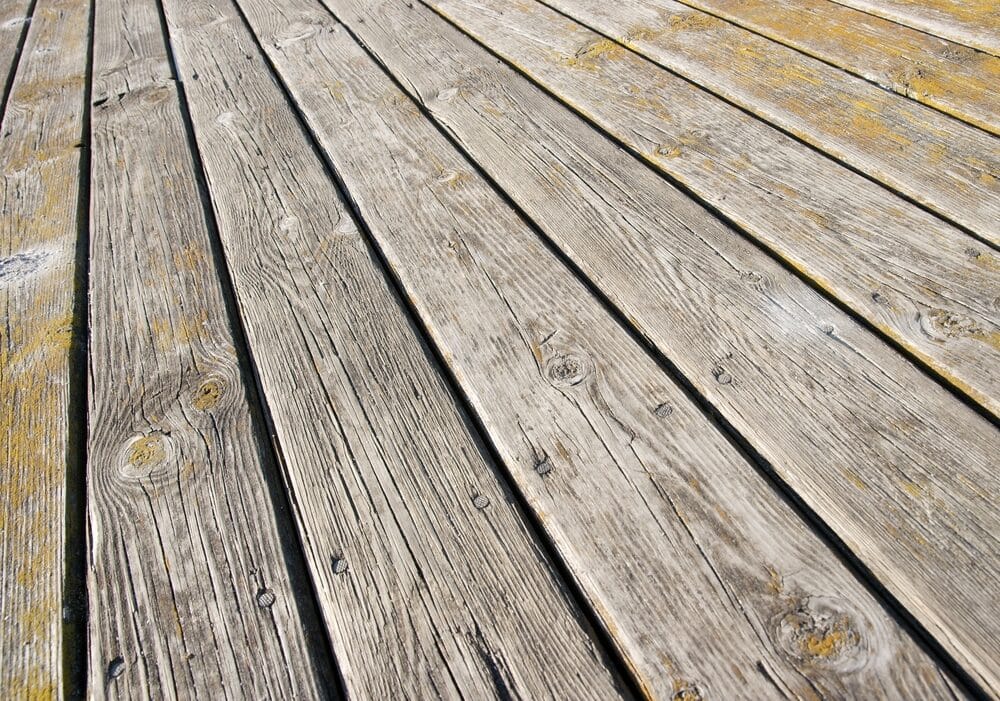
Surface Check: Look for signs of wear and tear, such as splinters, cracks, or peeling paint. These areas will need extra attention during the sanding process.
Rot and Damage: Check for soft, discolored, or rotting wood, particularly in areas that are often wet or shaded. Rotted wood should be replaced before sanding.
Mold and Mildew: Identify any dark spots or growths that indicate mold or mildew. These should be cleaned and treated before sanding.
Structural Integrity
Loose Boards or Rails: Test the stability of all boards, rails, and steps. Secure any loose parts to ensure the deck is safe to use.
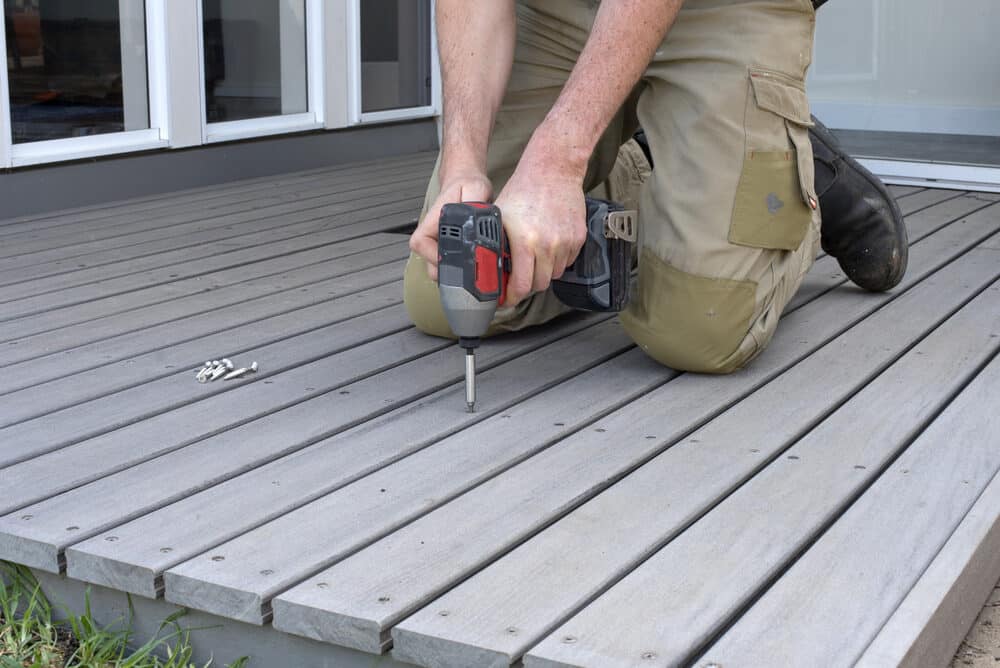
Nails and Screws: Check for protruding nails or screws, and hammer or screw them down flush with the deck surface.
Joists and Supports: Inspect the underlying structure for any signs of weakness or damage. Repairs may be necessary for optimal safety and stability.
Cleanliness
Surface Debris: Clear away leaves, dirt, and other debris that can interfere with the sanding process.
Stains and Discolorations: Take note of any stains from leaves, rust, or other materials, as these may require special treatment.
Previous Finishes
Type of Finish: Identify the type of finish currently on the deck (paint, stain, or sealant) and its condition. Some finishes may need to be stripped before sanding.
Adhesion Test: If you plan to reapply a similar finish, check its adhesion to the wood. Peeling or flaking indicates that stripping is necessary.
Wood Type and Age
Type of Wood: Different woods (like cedar, redwood, or pressure-treated lumber) have unique characteristics and may require specific sanding techniques.
Age of Deck: Older decks might need more gentle handling, especially if the wood has become brittle over time.
By conducting a thorough assessment, you can identify any preparatory work that needs to be done before sanding. This not only ensures a smoother sanding process but also contributes to the overall longevity and beauty of your deck.
Preparation Steps Before Sanding
Proper preparation is key to a successful deck sanding project. Taking the time to prepare your deck will not only make the sanding process smoother but also ensure a better finish. Here’s what you need to do before you start sanding:
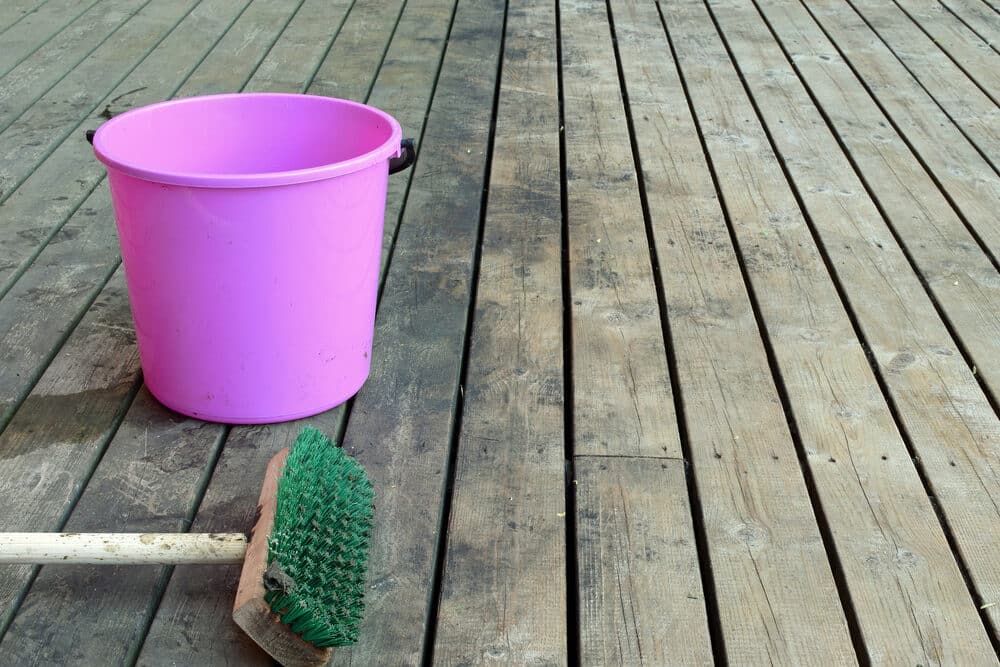
Sweeping: Begin by sweeping the deck to remove loose dirt, leaves, and debris.
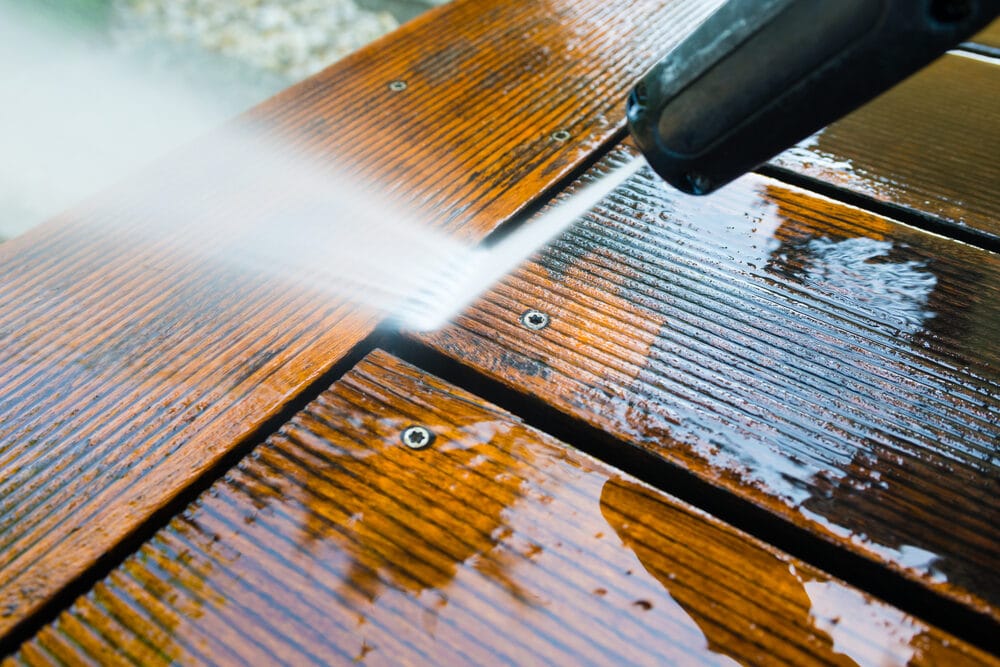
Washing: Use a deck cleaner to wash the surface thoroughly. This step is crucial for removing dirt, grease, and old finishes that can clog sandpaper.
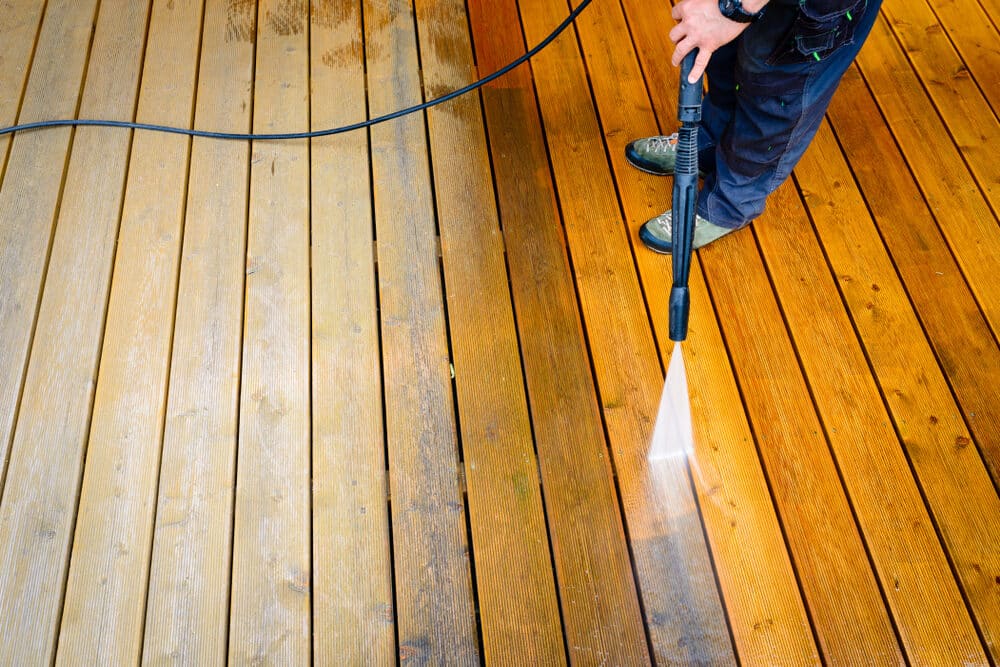
Pressure Washing (optional): For deeper cleaning, consider using a pressure washer, but be cautious to avoid damaging the wood.
Replace Rotted Wood: Any boards that are rotted or severely damaged should be replaced before sanding.
Secure Loose Boards: Tighten any loose boards or railings to ensure a stable surface for sanding.
Chemical Strippers: If your deck has pre-existing paint or stain, use a chemical stripper to remove it. Follow the manufacturer’s instructions for application and safety.
Scraping: After applying the stripper, scrape off the old finish with a paint scraper.
Hammering Protruding Nails: Hammer down any nails that are sticking out to prevent tearing your sandpaper.
Filling Cracks and Holes: Use wood filler to fill any cracks or holes in the deck boards. Allow it to dry according to the product instructions.
Covering Plants and Furniture: Use drop cloths or plastic sheeting to protect plants and outdoor furniture from dust and debris.
Securing Tarps: If necessary, secure tarps to protect nearby structures or areas from the dust.
Dry Surface: Ensure the deck is completely dry before you start sanding, especially if you have washed or used chemical strippers.
Tool Inspection: Check your sanding tools to ensure they are in good working condition and ready to use.
By following these preparation steps, your deck will be optimally ready for sanding. This not only makes the sanding process more efficient but also contributes to achieving a high-quality finish that will last for years to come.
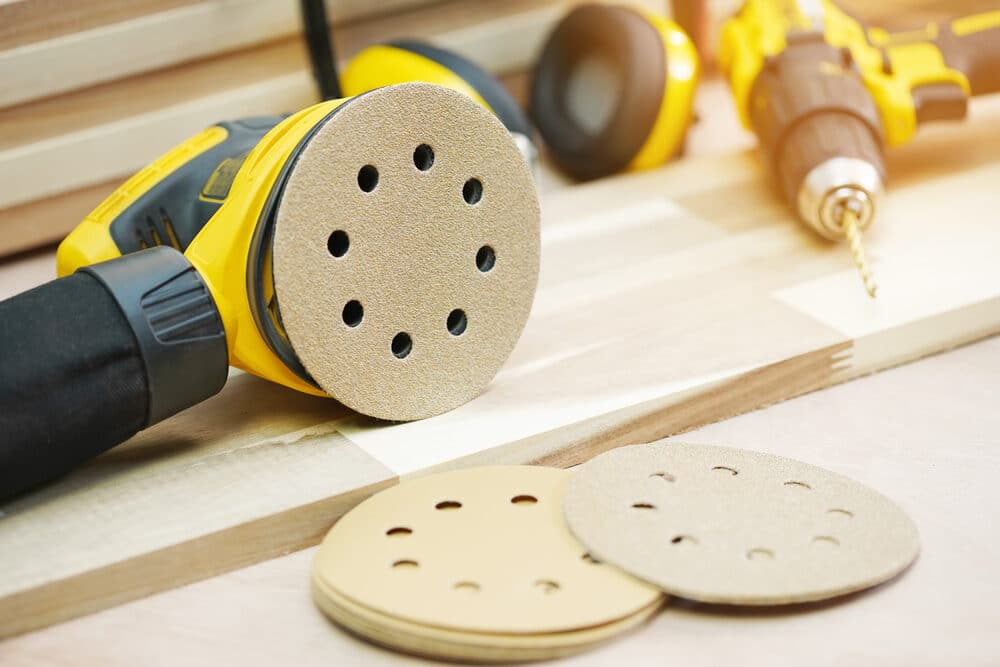
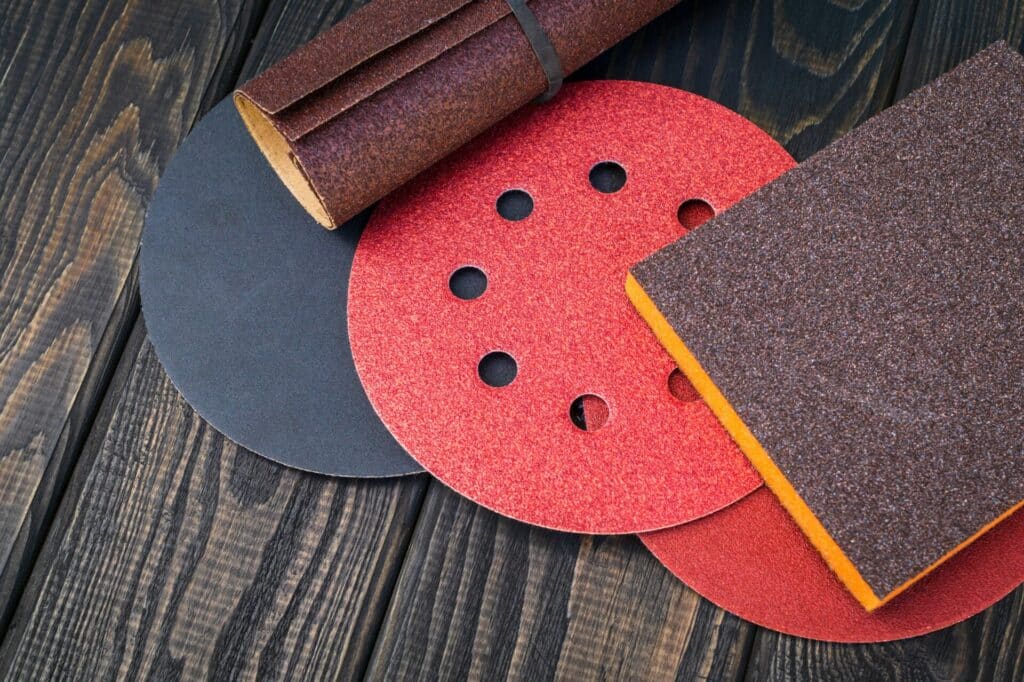
Choosing the Right Sandpaper
Selecting the appropriate sandpaper is a critical step in the deck sanding process. The right sandpaper ensures effective removal of old finishes and smooths the wood without causing damage. Here’s a guide to help you choose the best sandpaper for your deck sanding project:

Understanding Grit Numbers
- Grit Size: Sandpaper grit is measured by its grit number, which indicates the number of abrasive particles per square inch. Lower numbers mean coarser grit, and higher numbers indicate finer grit.
- Coarse Grit (40–60): Ideal for removing old finishes and heavy damage. Use this grit for the initial sanding to strip away old paint or stains and smooth out rough surfaces.
- Medium Grit (80–120): Suitable for smoothing the wood after the initial coarse sanding. This grit size helps to remove smaller imperfections and prepares the wood for finishing.
- Fine Grit (150–220): Used for final sanding before applying a finish. It smooths the wood further and prepares it for staining or sealing.
Type of Sandpaper
- Aluminum oxide is durable and a good choice for power sanding. It’s suitable for various stages of sanding and works well on wood.
- Silicon Carbide: Although more commonly used for wet sanding, it can be used for the final sanding of wood surfaces.
- Ceramic is extremely durable and great for rapid material removal. Ideal for the initial stages of sanding, especially on rough surfaces.
Sandpaper Format
- Sheets or rolls can be cut to fit hand sanders or used for hand sanding.
- Discs or Belts: Designed for power sanders. Ensure you get the right size and type for your specific power sander.
Tips for Choosing Sandpaper
- Assess the deck’s condition: If your deck is in poor condition with a lot of old paint or deep scratches, start with a coarser grit.
- Gradual Progression: Always progress gradually from coarse to finer grits. Skipping grits can leave scratches that are difficult to remove.
- Quality Matters: Invest in high-quality sandpaper. Cheaper options might save money initially, but they often wear out faster and can result in a less smooth finish.
Remember, the goal of sanding is not just to remove the old finish but also to create a smooth surface that will absorb the new finish evenly. By choosing the right sandpaper, you ensure an effective sanding process and a beautifully finished deck.
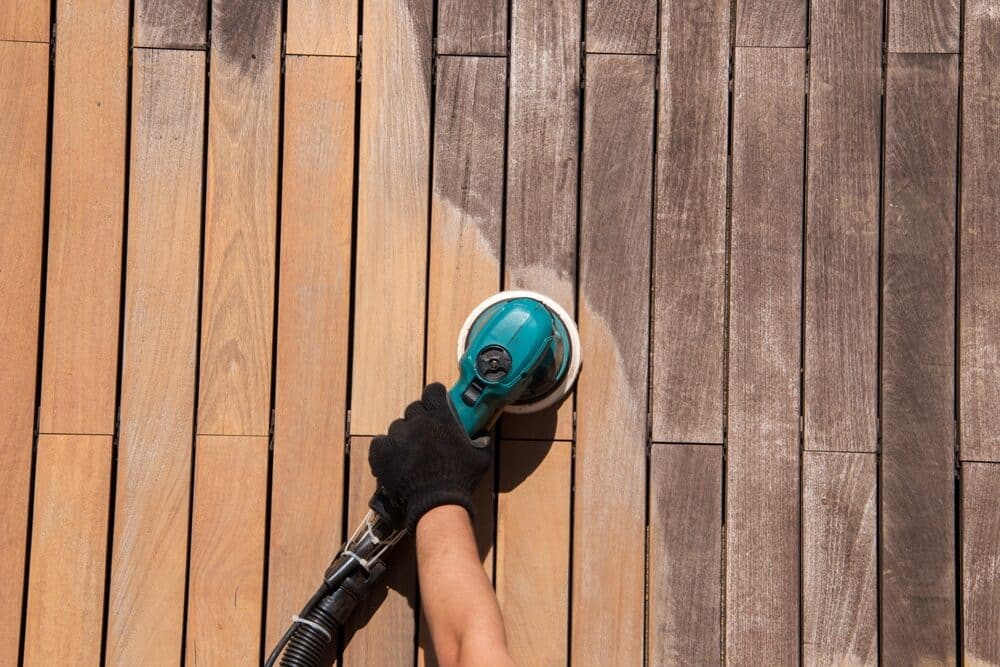
Sanding Techniques for Decks
Sanding your deck effectively requires using the right techniques. Proper sanding not only enhances the look of your deck but also extends its life by preparing it for sealing or staining. Here’s how to sand your deck for the best results:
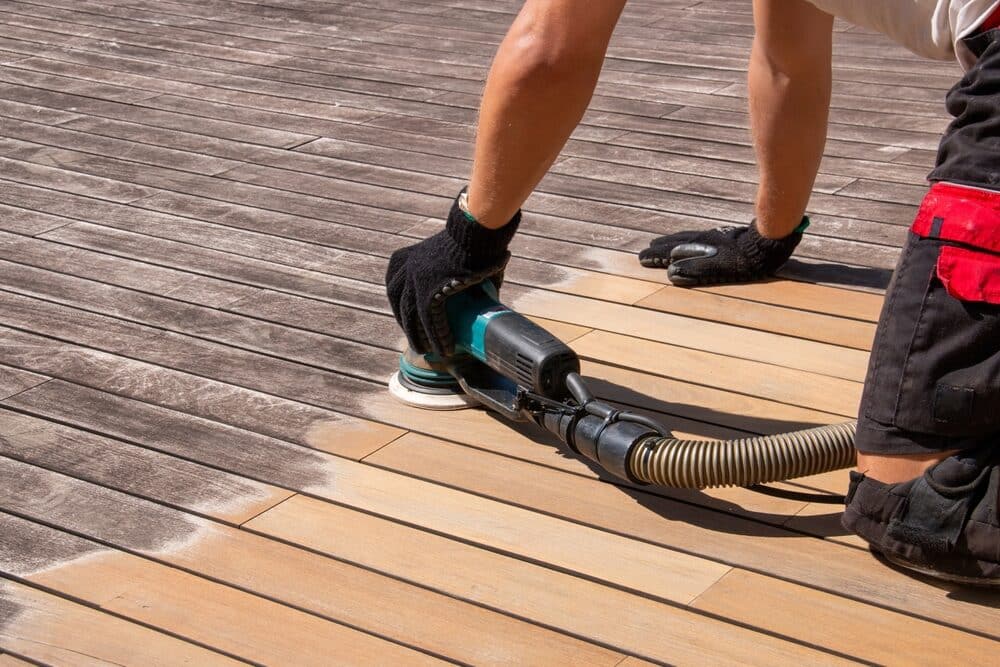
Choosing the Right Tool
Power Sanders: Ideal for large, flat areas. Orbital sanders are user-friendly and good for general sanding, while belt sanders are more powerful and efficient for larger, rougher surfaces.
Hand sanding is necessary for tight spots, edges, and corners where a power sander can’t reach. Use sanding blocks to maintain an even pressure.

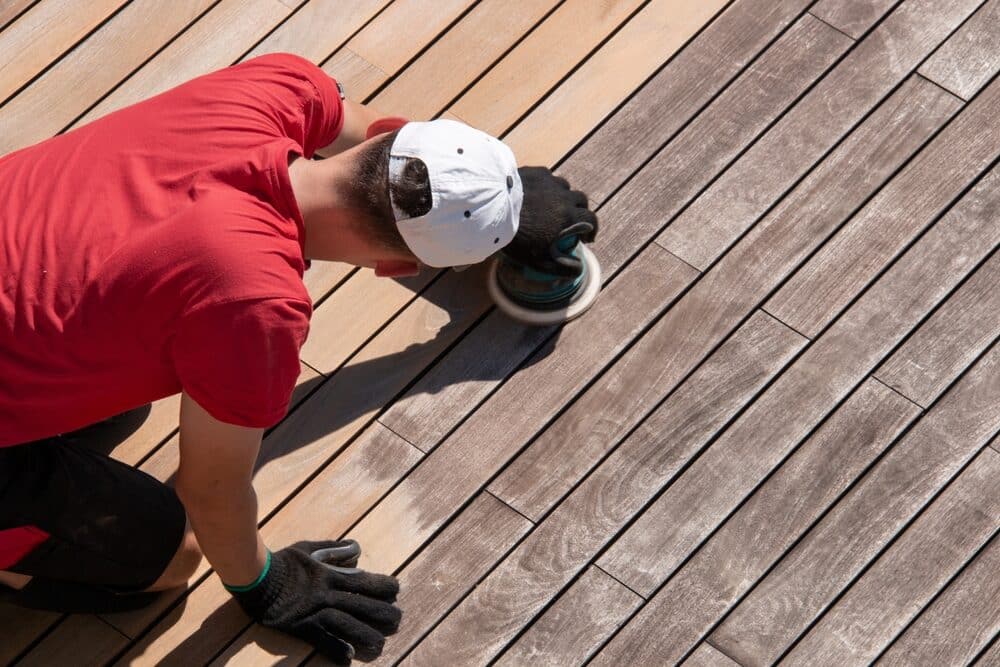
Sanding Techniques
With the grain: Always sand in the direction of the wood grain. Sanding against the grain can create scratches and damage the wood surface.
Even Pressure: Apply consistent pressure while sanding. Avoid pressing too hard with a power sander to prevent gouging the wood.
Grit Progression: Start with a coarser grit and move to finer grits. This gradual progression removes surface imperfections and prepares the wood for finishing.
Dealing with difficult areas
Edges and Corners: Use hand sanding blocks or a smaller detail sander. Be meticulous and patient to ensure these areas are as smooth as the rest of the deck.
Cracks and Splinters: Pay special attention to cracks and splinters. Use finer-grit sandpaper to smooth these areas without causing further damage.

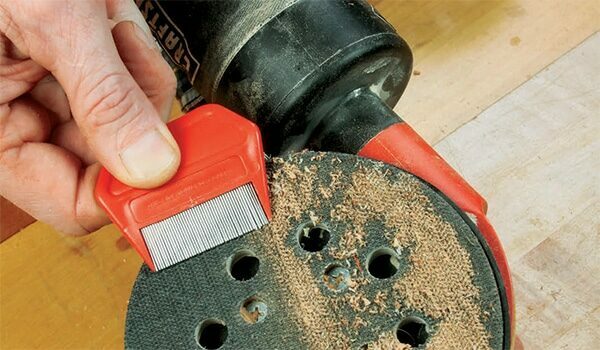
Dust Management
Regular Cleaning: Frequently remove sawdust from the deck surface. This not only keeps your workspace clear but also allows you to see your progress and ensure an even sanding job.
Using a Dust Collector: If your power sander has a dust collector, make sure to use it. This reduces cleanup time and helps maintain a healthier work environment.
Safety Precautions
Personal Protection: Wear appropriate safety gear, including dust masks, safety goggles, and hearing protection, especially when using power sanders.
Tool Safety: Always follow the manufacturer’s instructions for your sanding tools. Ensure they are in good working condition before starting.

Post-Sanding Cleaning
Thorough Cleanup: After completing the sanding process, clean the deck thoroughly to remove all sawdust and debris. A leaf blower or soft-bristle brush can be effective for this purpose.
By following these sanding techniques, you will not only achieve a smoother finish but also ensure that your deck is properly prepared for the next steps in your restoration or finishing project.
Safety Precautions During Sanding
Deck sanding is a task that involves several safety considerations. Taking the right precautions not only ensures your safety but also contributes to the quality of your work. Here are some key safety tips to keep in mind during the sanding process:
Personal Protective Equipment (PPE)
- Dust masks or respirators protect against inhaling wood dust, which can be harmful to your lungs.
- Safety Glasses: Prevent wood particles and dust from getting into your eyes.
- Ear Protection: Essential when using power sanders, as they can be quite loud and potentially damage your hearing.
- Gloves: protect your hands from splinters and abrasions while handling wood and sanding tools.
Safe Operation of Power Tools
- Read the Manual: Before using any power sander, read the manufacturer’s instructions to understand its operation and safety features.
- Proper Handling: Always hold power sanders firmly with both hands and keep a stable stance.
- Avoid overreaching: Keep your balance at all times. Do not overreach, as this can cause you to lose control of the sander.
Dust Management
- Work in a Ventilated Area: Ensure your work area is well-ventilated to reduce dust accumulation.
- Use Dust Extraction Systems: If your sander has a dust collection system, use it. Additionally, consider using a shop vacuum with a HEPA filter to minimize airborne dust.
Electrical Safety
- Check for Damaged Cords: Inspect the power cords of your sanders for any damage before use.
- Use GFCI Outlets: When working outdoors, use a Ground Fault Circuit Interrupter (GFCI) outlet to protect against electrical shock, especially in damp conditions.
Fire Safety
- Dispose of Dust Properly: Sawdust can be a fire hazard. Collect it and dispose of it safely, away from any heat sources or open flames.
- Be Cautious with Chemicals: If you use chemical strippers or other flammable materials, ensure they are stored safely and away from your sanding area.
General safety practices
- Stay hydrated and take breaks. Sanding can be physically demanding. Stay hydrated and take regular breaks to avoid fatigue.
- Keep Children and Pets Away: Ensure that children and pets are kept at a safe distance from your work area.
By adhering to these safety precautions, you can ensure a safer sanding experience and a more enjoyable DIY project.

Post-Sanding Deck Care
Once you’ve completed the sanding process, it’s essential to take proper care of your deck to maintain its newly refreshed appearance and ensure its longevity. Here are the post-sanding steps to follow:
Remove sanding residue.
Vacuum or Sweep: Use a vacuum cleaner with a hose attachment or a broom to thoroughly remove sanding dust from the deck surface.
Wipe Down: Dampen a cloth or mop with water and wipe down the deck to capture any remaining dust particles. Allow the deck to dry completely.
Inspect for imperfections.
Visual Inspection: Examine the deck’s surface for any missed spots or areas that require further sanding or touch-up work.
Smooth Edges and Corners: Check edges and corners to ensure they are smooth and free from splinters.
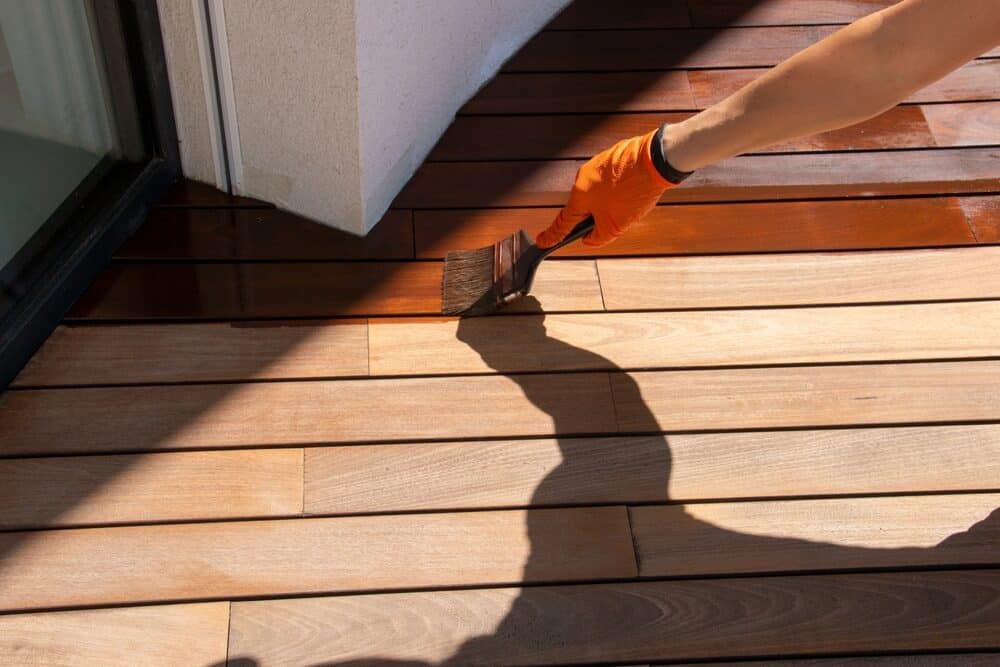
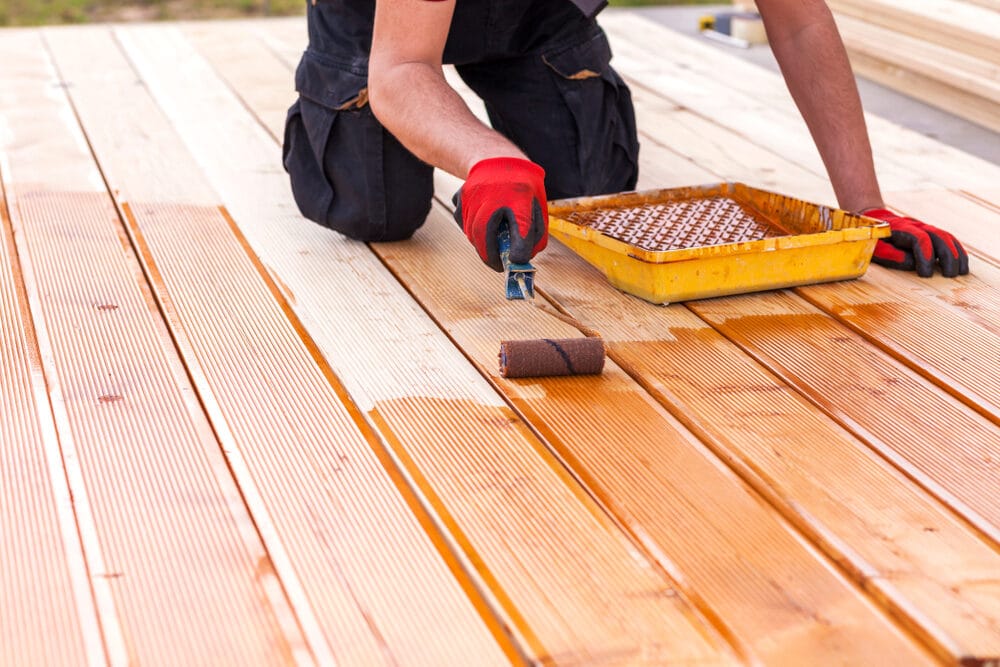
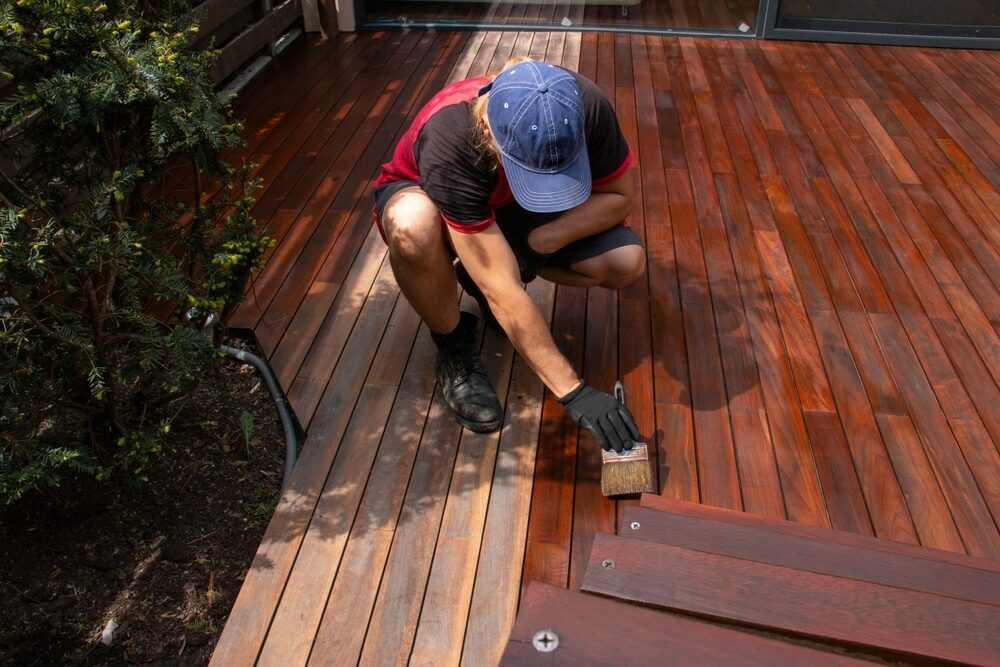
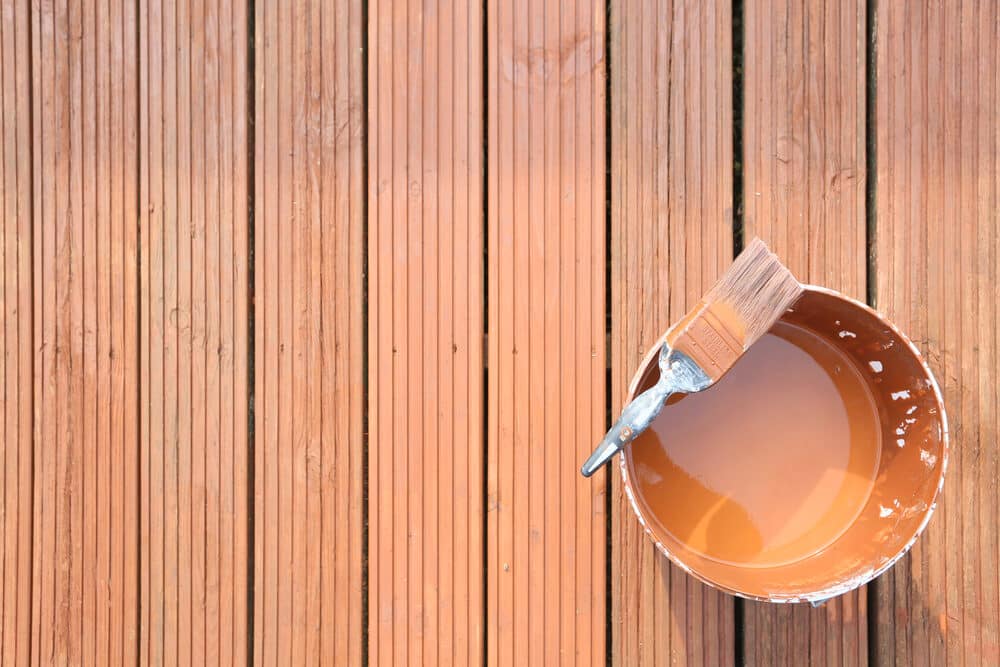
Applying sealants or stains
Choosing the Finish: Decide whether you want to apply a clear sealer to preserve the natural wood look or a wood stain for added color and protection.
Follow Product Instructions: Read and follow the manufacturer’s instructions on the chosen sealer or stain product. Ensure the deck is completely dry before application.
Use Appropriate Tools: Apply the finish with a brush, roller, or sprayer, depending on the product’s recommendations. Work evenly and methodically, following the wood grain.
Maintenance Tips
Regular Cleaning: Keep your deck clean by sweeping away debris regularly. Leaves, dirt, and other organic matter can accumulate and promote mildew growth.
Annual Inspection: Perform an annual inspection to check for signs of wear and tear, loose boards, or areas that may need refinishing.
Reapply Finish as Needed: The frequency of reapplying finish depends on the type of product used and your local climate. Generally, it’s recommended every 1–3 years.
Protect Surrounding Areas
Cover Plants and Furniture: Use drop cloths or plastic sheeting to protect nearby plants and outdoor furniture when applying finishes.
Prevent Overspray: Be careful not to overspray onto surfaces you don’t want to finish, such as your home’s exterior.
Dispose of Materials Properly
Dispose of Rags Safely: If you used rags for applying finish, dispose of them properly to prevent spontaneous combustion. Lay them flat to dry, or store them in a metal container with a tight-fitting lid.
By following these post-sanding care steps, you’ll ensure that your deck remains in excellent condition and continues to enhance your outdoor living space for years to come.
Maintenance Tips for Sanded Decks
After sanding and refinishing your deck, proper maintenance is key to preserving its beauty and prolonging its lifespan. Here are some essential maintenance tips to keep your sanded deck in excellent condition:
Regular Cleaning
- Sweep Regularly: Keep your deck free from leaves, dirt, and debris by sweeping it regularly. This prevents buildup that can lead to stains and mold growth.
- Gentle Washing: Periodically wash the deck surface with a mild detergent and a soft-bristle brush or mop. Rinse thoroughly with water.
- Avoid Harsh Cleaners: Avoid using harsh chemicals or high-pressure washers, as they can damage the finish and wood.
Inspect Annually
- Check for Damage: Conduct an annual inspection to look for any signs of damage, such as loose boards, popped nails or screws, or splintered wood. Address any issues promptly.
- Examine the finish: Inspect the finish for wear and tear. If you notice areas where the finish is thin or peeling, it’s time for reapplication.
Reapply and finish as needed.
- Follow the manufacturer’s recommendations: Refer to the manufacturer’s instructions for the finish you applied, as they will specify the recommended frequency of reapplication.
- Clean Before Reapplying: Before reapplying the finish, clean the deck surface thoroughly to ensure proper adhesion.
Protect furniture and plants.
- Use Coasters and Pads: Place coasters or protective pads under outdoor furniture to prevent scratching or indentations on the deck surface.
- Lift Planters: Avoid placing heavy planters directly on the deck. Use plant stands or saucers to elevate them and allow airflow underneath.
Trim overhanging branches.
- Tree Maintenance: Trim branches and foliage from nearby trees to reduce the amount of leaves and debris that fall onto the deck.
Address mold and mildew promptly.
- Mold and Mildew Removal: If you notice mold or mildew growth, address it promptly. Use a deck cleaner or a mixture of vinegar and water to remove these growths.
Protect Against Fading
- Use Sunscreen: Apply a UV-protective sealer or stain to prevent the sun’s UV rays from fading the wood’s color.
Winter Care
- Snow Removal: In regions with snowy winters, use a plastic snow shovel or a broom to remove snow rather than heavy metal shovels, which can scratch the finish.
Practice caution with barbecues and fire pits.
- Fireproof Mat: If you have a barbecue or fire pit on your deck, place a fireproof mat or pad underneath to protect the wood from heat and sparks.
Maintain Drainage
- Ensure Proper Drainage: Check that the deck has adequate drainage to prevent standing water, which can damage the wood and finish.
By following these deck maintenance tips, you’ll ensure that your sanded deck remains a beautiful and safe outdoor space for relaxation and entertainment.
Conclusion
By following the comprehensive guide provided in this blog post, you’ve learned the essential steps to transform your weathered deck into a beautiful outdoor space that you can enjoy for years to come.
Remember that deck maintenance is not just about aesthetics but also about extending the life of your deck and ensuring its safety. Regular cleaning, inspections, and finish reapplication are key components of ongoing care.
With the knowledge and skills you’ve gained from this guide, you have the power to revitalize your deck, turning it into a welcoming outdoor oasis for relaxation, gatherings with friends and family, or simply enjoying the beauty of nature.
We hope you’ve found this blog post informative and empowering. Your deck is now ready to shine, and you’re equipped to keep it that way. Thank you for joining us on this journey, and may your beautifully sanded deck be a source of joy and inspiration.


Sanding
We provide virtually dust-free sanding with our continuous belt machinery with mobile extraction units, giving you a safer environment for your family.
Oiling
This organic finish not only adds beauty to your home but also has exceptional water-repellent characteristics, making it easier to clean and maintain.
Waxing
This natural floor finish offers the softest and most mellow appearance – and leaves your floor able to breath.
Buffing
Using soft buffing machines (and hand-polishing where required) will bring a wonderful sheen to your newly-finished floor.
Repairs
We offer a full assessment of your wooden floors to determine what repairs are needed to provide the perfect working surface for the later stages of sanding, staining and sealing.
Restoration
We offer a comprehensive restoration process designed to address floors that are improperly fitted or damaged over time through wear and tear.
Request a fixed price quote for your wood floor restoration now
Simply enter your postcode below to get started.
Services
Wood Floor Sanding Wood Floor Restoration Wood Floor Scratch Repair Squeaky Wood Floor Repair Parquet Floor Sanding Parquet Floor Restoration Commercial Floor Sanding Church Floor Sanding Community Centre Floor Sanding School Floor Sanding Gap Filling Gap Filling with ResinCopyright © Mr Sander®
Privacy & Cookies Terms & Conditions Complaints Procedure Cancellation Rights Sitemap

Get An Instant Price Estimate Before You Go…
Simply enter the rooms you need sanded and we’ll provide you with a price estimate instantly! Try our price calculator now.
Get a Price Estimate NowLocal Floor Sanding Experts
Over 500 5-Star Reviews
Safe, Dust Free Sanding
Operating Since 1994