London:
Nationwide:
25,000+
Floors Restored
27 Years Experience
Wood Flooring Association Certified
Tips for Effective Hand Sanding Techniques
Posted on January 9, 2024
Floor sanding techniques
Mastering Hand Sanding: A Woodworker’s Guide to Perfect Finishes
Hand sanding is a foundational skill in the world of woodworking and DIY projects. It’s a process that, despite seeming straightforward, requires a good deal of finesse and understanding. The primary objective of hand sanding is to smooth the wood surface, removing any imperfections, scratches, or marks left by previous machining processes. It also plays a vital role in preparing the wood for painting, staining, or varnishing, ensuring that the finish adheres well and looks even and attractive.
In woodworking, hand-sanding is often considered an art form. It’s not just about making a surface smooth; it’s about bringing out the natural beauty of the wood, highlighting the grain, and achieving a level of finish that machines alone cannot provide. This technique allows for greater control and precision, especially in areas where power sanders are too aggressive or cannot reach.
Proper hand sanding can significantly impact the overall quality and appearance of your project. It’s a skill that, once mastered, allows you to create work that stands out with a professional, high-quality finish. Whether you’re refurbishing an antique piece of furniture, crafting a bespoke item, or simply doing some home DIY, the ability to sand effectively by hand is an invaluable skill in your woodworking arsenal.
In the following sections, we will delve into the specifics of choosing the right sandpaper, preparing your workpiece, mastering the technique, and avoiding common pitfalls, all to ensure that your hand sanding process is as effective and satisfying as possible.
Choosing the Right Sandpaper
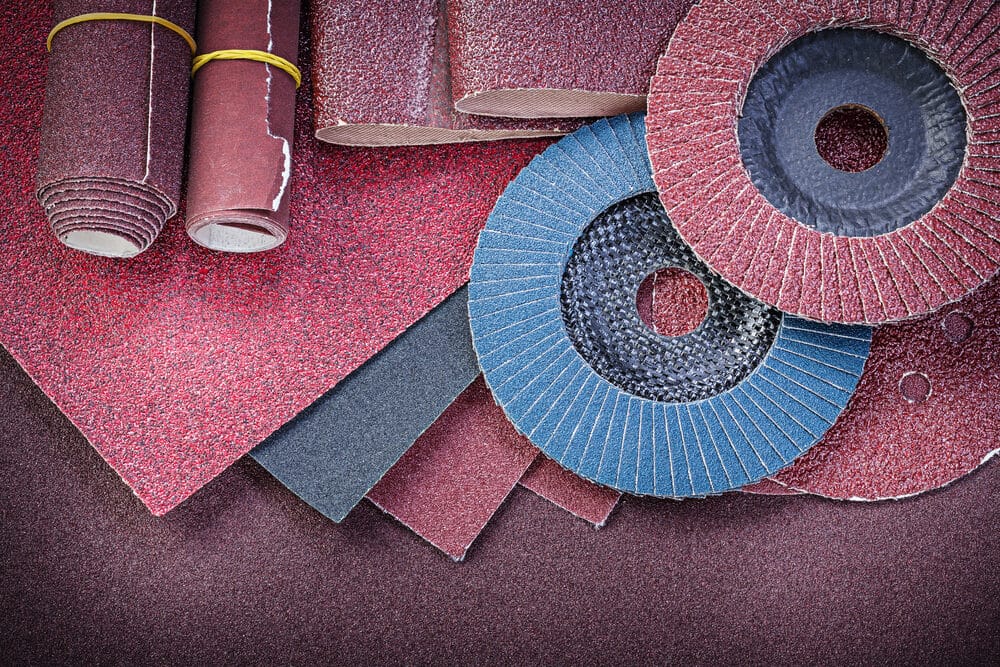
Types of sandpaper
When it comes to hand sanding, the selection of sandpaper is paramount. Sandpaper comes in various forms, each suited for specific tasks:
- Aluminium oxide is durable and ideal for hardwoods floor. It’s commonly used for power-sanding but is also available for hand-sanding.
- Silicon Carbide: Known for its sharper and harder grain, it’s perfect for sanding metal and for wet sanding, where water is used as a lubricant to minimise dust.
- Garnet: Popular for hand sanding, garnet paper is less durable but provides a smoother finish, especially on softwoods.
- Ceramic: Extremely durable, primarily used for power sanding but can be used for heavy-duty hand sanding tasks.
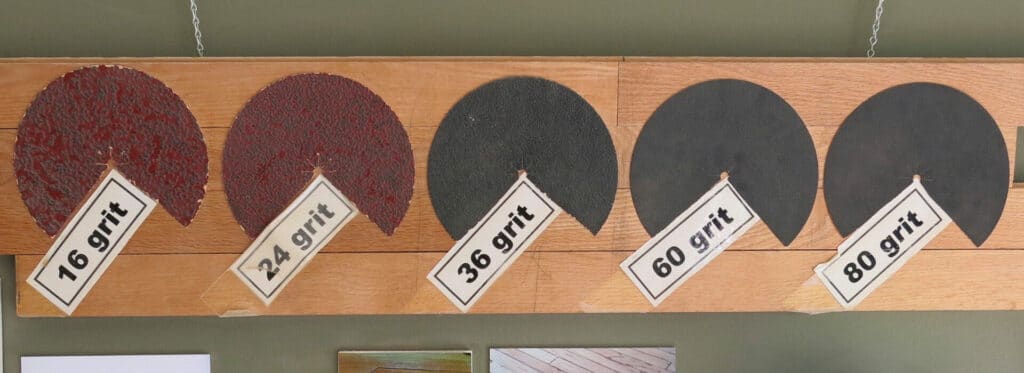
Determining the Grit
The ‘grit’ of sandpaper refers to the size of the abrasive particles on the paper. The lower the grit number, the coarser the sandpaper, and vice versa. Choosing the right grit is essential for the task at hand.
- Coarse Grit (40–60): Ideal for removing material quickly and for rough shaping. It is not recommended for finishing, as it leaves noticeable scratches.
- Medium Grit (80–120): A versatile choice for general sanding. It smooths out rough surfaces effectively without excessive removal.
- Fine Grit (150–220): Used for final smoothing before applying a finish. It’s perfect for prepping surfaces for painting or staining.
- Very Fine Grit (240–320): Best for sanding between coats of paint or finish, or for final light sanding before applying a final finish.
- Extra Fine Grit (400 and above): Typically used in wet sanding or for very fine, detailed work on delicate surfaces.
When selecting sandpaper, consider the material you are working on and the desired outcome. Start with a coarser grit to remove major imperfections, and gradually move to finer grits for smoothing and finishing. Remember, skipping grits can result in an uneven finish and additional work. It’s about progression, not haste, ensuring each stage of sanding builds upon the last for a flawless finish.
Techniques for Effective Sanding
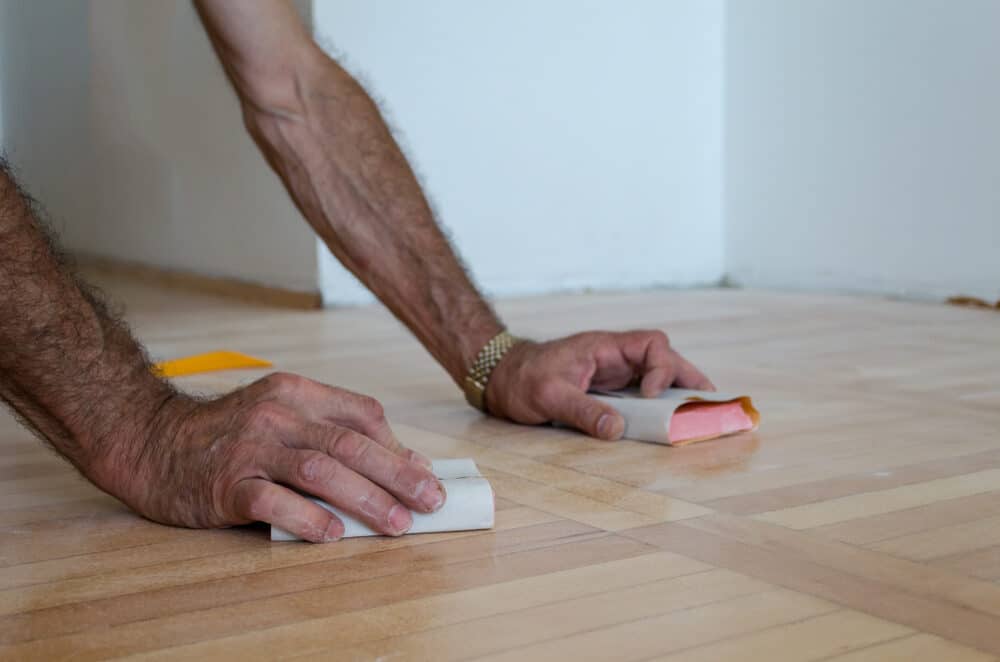
Sanding Along the Grain
One of the golden rules of sanding is to always sand along the grain of the wood, never across it. Sanding across the grain can create scratches and marks that are difficult to remove and can mar the final appearance of your project. Always observe the direction of the wood grain and sand in parallel lines along it. This approach not only minimises damage but also enhances the natural beauty of the wood.

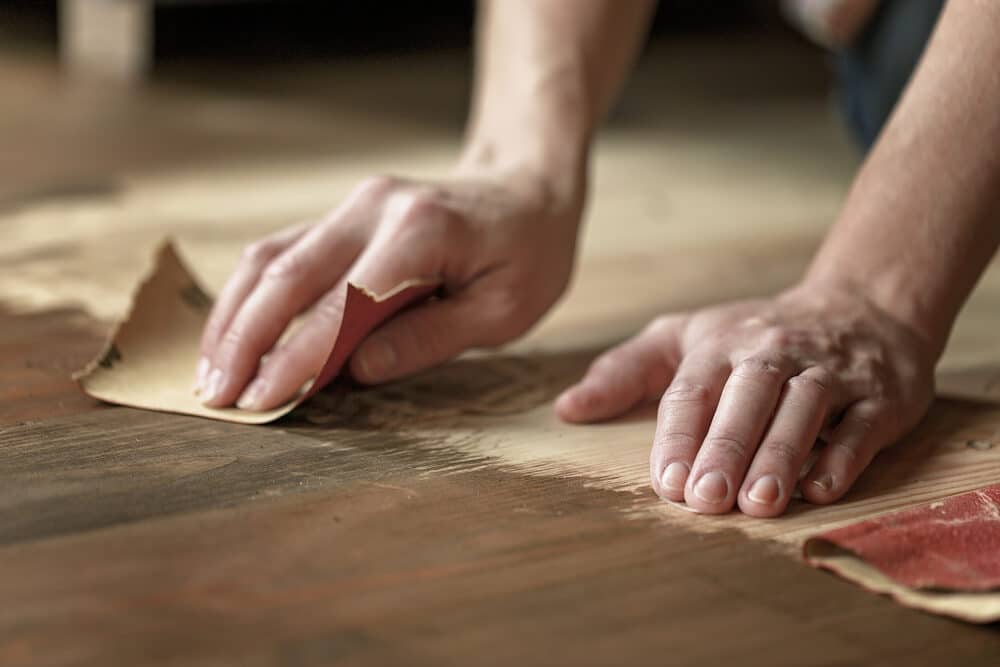
Pressure and Motion Tips
- Even Pressure: Apply consistent, moderate pressure when sanding. Too much pressure can gouge the wood and wear out the sandpaper quickly, while too little pressure is ineffective. The weight of your hand is often sufficient.
- Keep Moving: Don’t sand in one spot for too long, as this can create an uneven surface. Work in a sweeping motion across the surface, covering all areas uniformly.
- Progressive Grits: Start with a coarser grit to remove major imperfections and gradually move to finer grits. Each successive grit removes the scratches left by the previous one. Skipping grits can leave deeper scratches that are hard to remove.
- Check Your Progress: Regularly wipe the surface with a tack cloth and check your progress. This helps to see if you need more sanding or if you are ready to move to a finer grit.
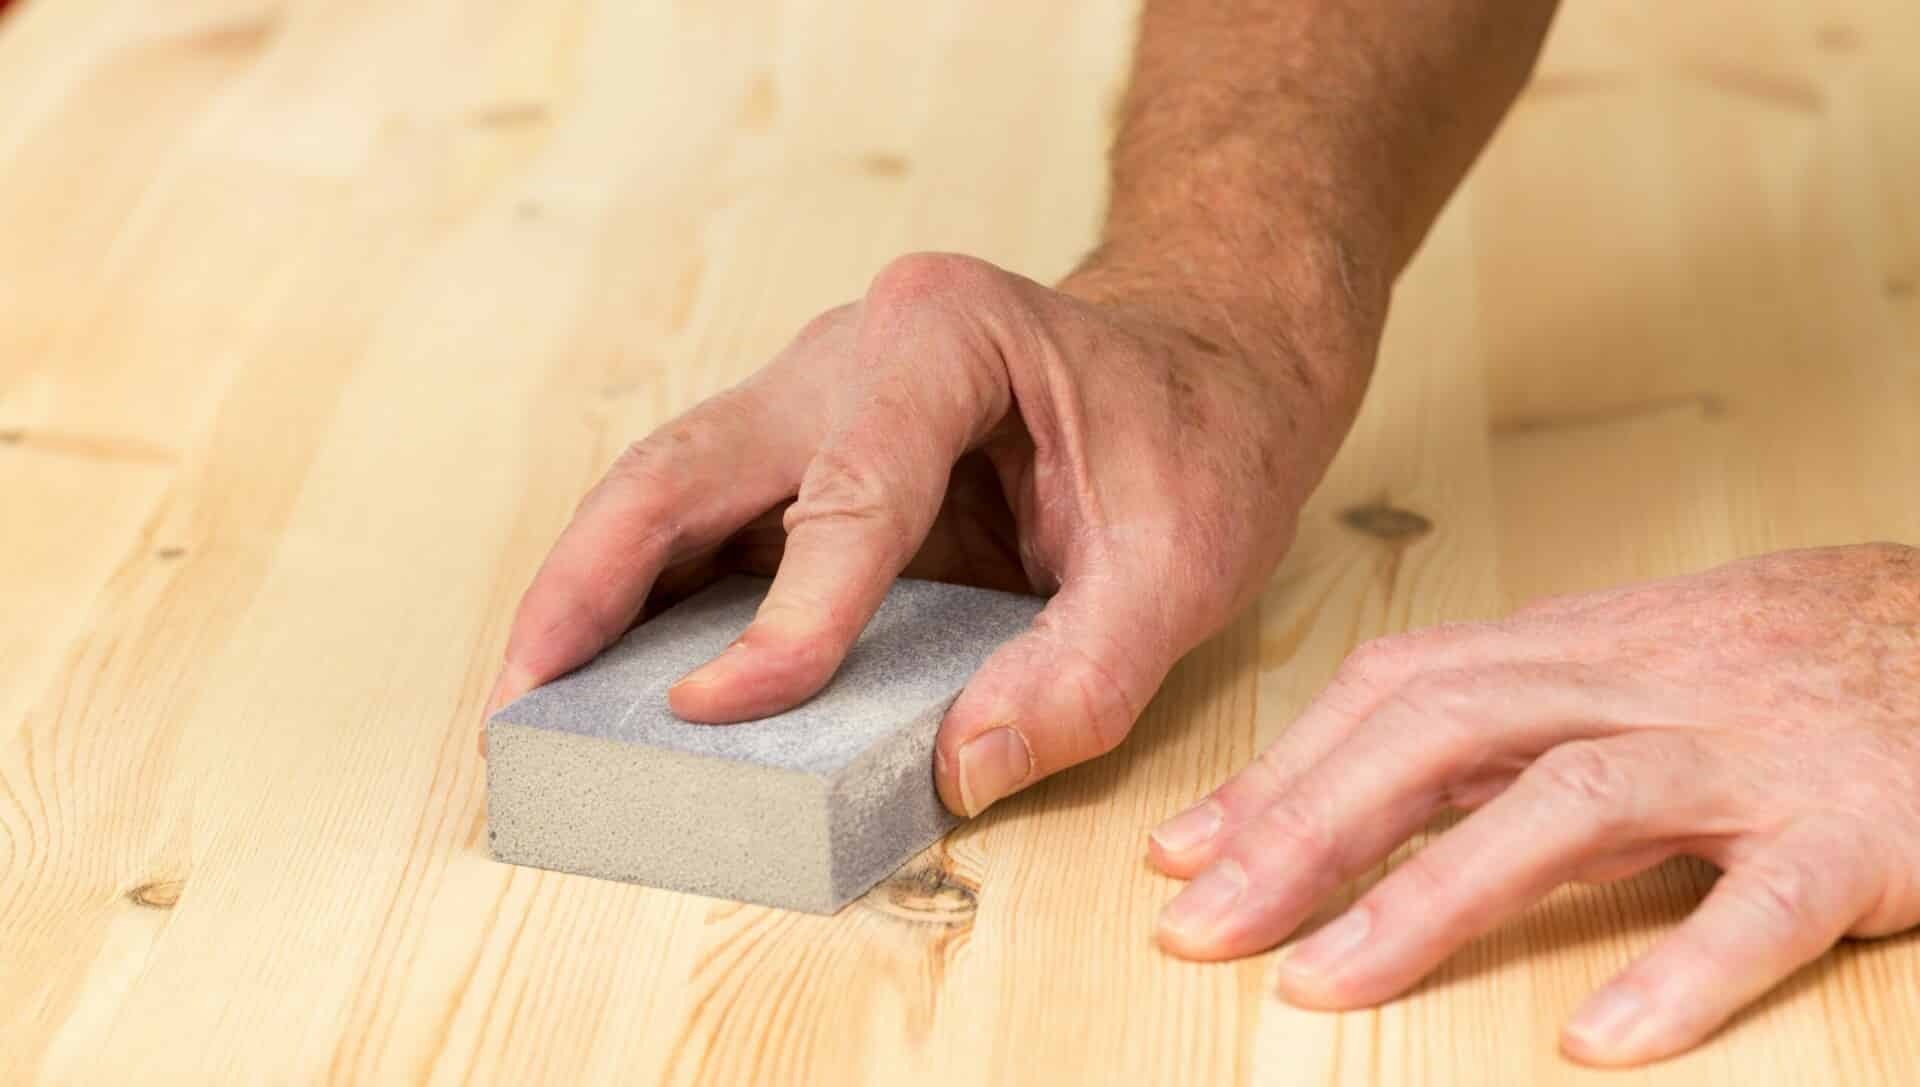
- Use a Sanding Block: For flat surfaces, a sanding block is essential to maintain an even pressure and avoid creating dips or waves in the wood.
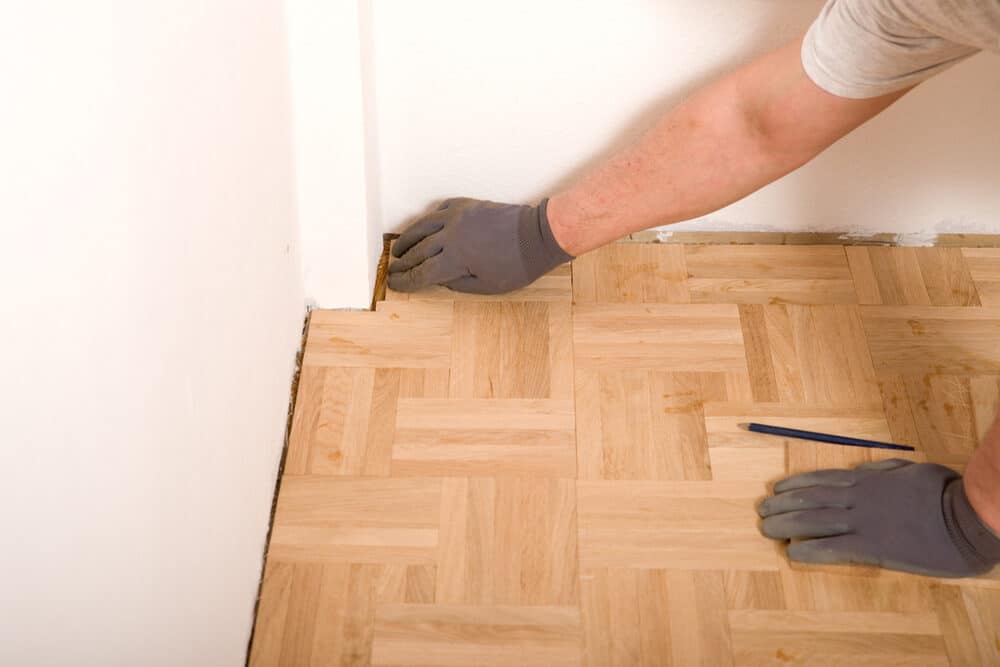
- Hand Sanding Contours and Profiles: For curved or detailed areas, ditch the sanding block. Use your fingers, wrapped with sandpaper, to get into crevices and curves, applying even pressure to avoid creating indentations.
- Dry and Wet Sanding: For the finest finishes, especially on surfaces to be painted or varnished, consider finishing with wet sand. Wet sanding, using water or a sanding lubricant, can create an exceptionally smooth surface.
- Finishing Up: Once you’ve reached the desired smoothness, give the wood a final once-over with a very fine grit. This step is crucial for preparing the wood for staining, painting, or sealing.
By following these techniques, you can achieve a smooth, professional finish on your woodworking projects. Remember, effective hand sanding is as much about patience and attention to detail as it is about technique. Take your time, and the results will speak for themselves.
Avoiding common sanding mistakes
Over-Sanding Issues
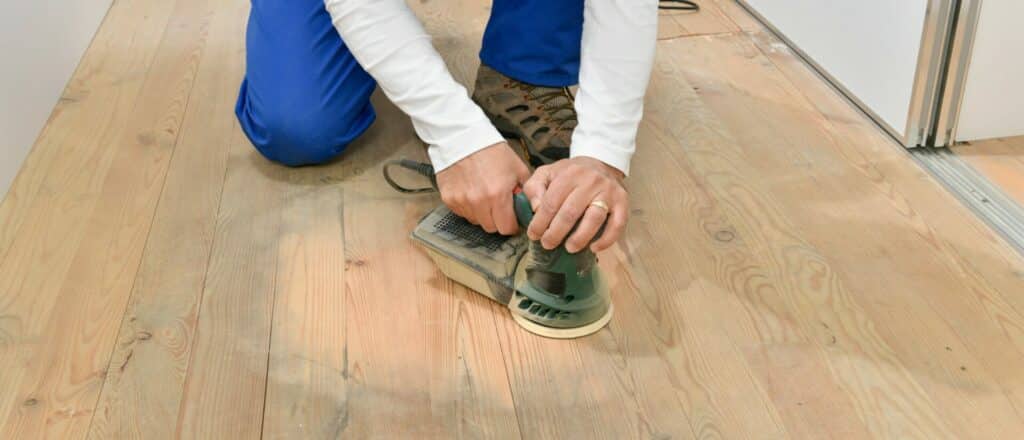
- Removing Too Much Material: One of the most common mistakes in sanding is removing too much material, especially with power sanders. With hand sanding, while the risk is lower, it’s still important to be mindful. Pay attention to the amount of wood you’re removing, particularly when working with veneers or fine details.
- Not Checking Progress Frequently: Regularly stop and check your work. Over-sanding often happens when you’re too focused on one area or not checking the overall progress. Use a light source at an angle to highlight any imperfections or gauge the evenness of your sanding.
Uneven Sanding
- Inconsistent Pressure: Applying uneven pressure can lead to an uneven surface. Ensure you’re using consistent pressure throughout your work, adjusting as necessary for different areas of the wood.
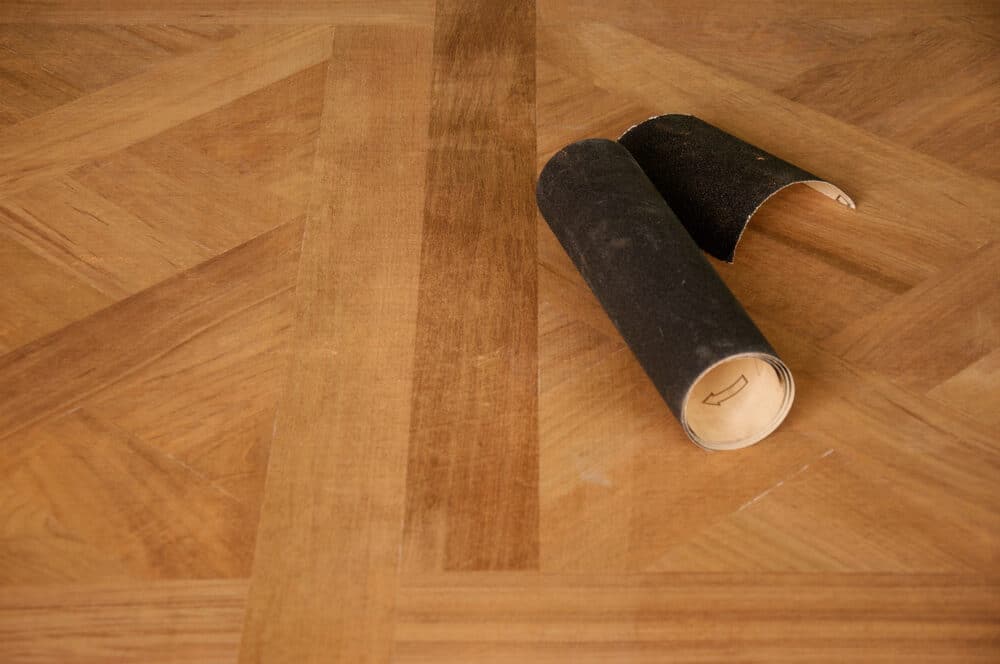
- Ignoring the Sandpaper’s Condition: Using worn-out sandpaper not only makes your task harder but can also result in uneven sanding. Replace your sandpaper regularly to maintain efficiency and uniformity.
- Rushing Through Grits: Skipping grits to save time is a common mistake. Each grit serves a purpose, smoothing out scratches from the previous coarser grit. Skipping grits can leave deeper scratches, leading to an uneven finish.
- Neglecting Edges and Corners: It’s easy to overlook the edges and corners, but these areas are just as important as the main surface. Sand them with the same care and attention to detail, ensuring they blend seamlessly with the rest of your work.
- Not Using a Sanding Block: For flat surfaces, not using a sanding block can lead to finger marks or uneven pressure, resulting in an uneven surface. Always use a sanding block where appropriate.

By being aware of these common mistakes and taking steps to avoid them, you can ensure a smoother, more professional finish on your woodworking projects. Remember, sanding is a critical step in the woodworking process, and taking the time to do it right can make a significant difference in the outcome of your project.
Sanding Curved and Detailed Areas
Sanding curved and detailed areas in woodworking projects requires a different approach compared to sanding flat surfaces. These areas demand more finesse and attention to preserve their shape and detail.

Techniques for Complex Shapes
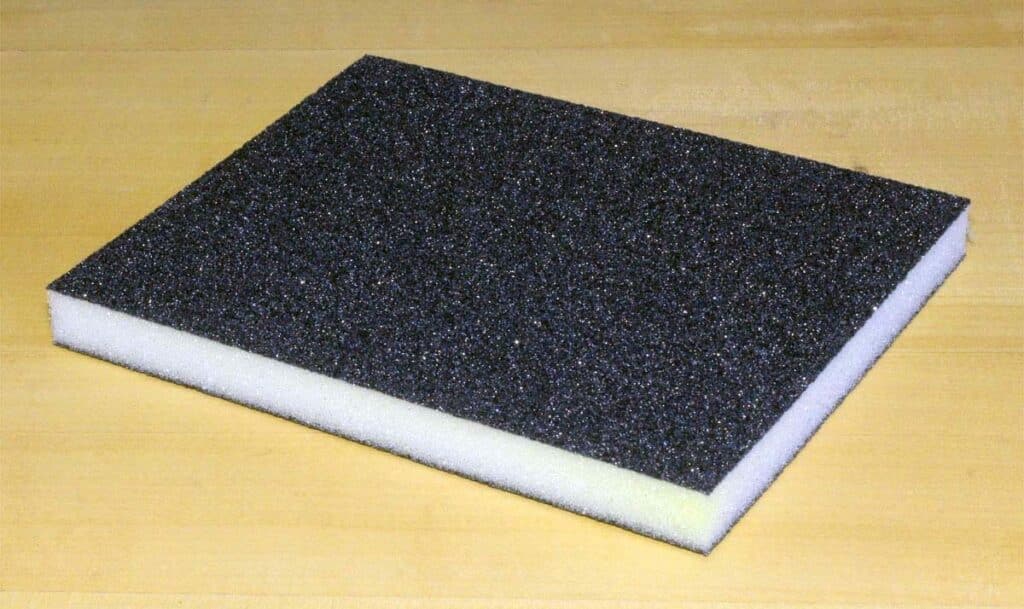
Flexible Sanding Tools:
For curves and profiles, use flexible sanding tools like foam sanding pads or sanding sponges that can conform to the shape. These tools allow for more control and even pressure on curved surfaces.

Hand Sanding:
Wrap sandpaper around your fingers or a custom-shaped block to match the contour of the piece. This method gives you the ability to feel the surface and apply pressure where needed, which is particularly useful for intricate details.
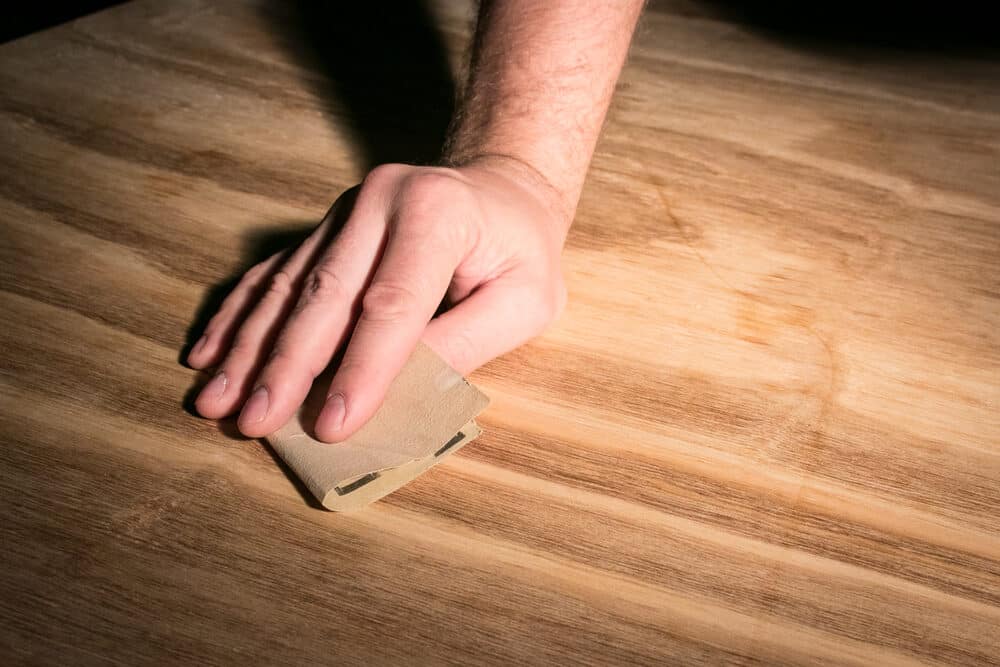
Folded Sandpaper:
Fold your sandpaper into a crease for getting into tight corners or sharp crevices. This technique allows for precision sanding without damaging adjacent areas.

Custom Sanding Blocks:
For unique profiles, consider making your own sanding blocks. Cut pieces of wood or dense foam into shapes that match the contours of your project. This custom tool can be a perfect match for the specific curve or detail you are working on.
Gentle Pressure:
Apply gentle, even pressure when working on curves and detailed areas. Excessive force can distort the shape or remove too much material.
Tips for precision
- Go Slow and Steady: Take your time and work slowly on detailed areas. Rushing through these parts can lead to mistakes that are difficult to correct.
- Use Finer Grits: Start with a coarser grit if necessary, but switch to finer grits sooner than you would for flat surfaces. Finer grits are less aggressive and offer more control.
- Keep Checking Your Work: Frequently stop and check your progress. Look at the area from different angles to ensure you’re maintaining the shape and not creating flat spots.
- Tack Cloth for Dust Removal: Regularly use a tack cloth to remove dust. This step is crucial in detailed areas where dust can accumulate quickly and obscure your view of the work.
- Avoid Power Tools for Fine Details: For very fine details, avoid using power tools, as they can be too aggressive. Hand-sanding offers much more control.
By using these techniques, you can effectively sand curved and detailed areas, ensuring they are smoothly finished and their intricate shapes are preserved. Precision and patience are key when working on such areas.
Finishing Touches
After diligently sanding your woodworking project, the final steps are crucial for achieving a professional and aesthetically pleasing finish. These finishing touches not only enhance the appearance of your piece but also protect it for years to come.
Final sanding tips
- Use Very Fine Grit Sandpaper: For the final sanding pass, use extra fine grit sandpaper (320-grit or higher). This will prepare the surface for finishing by creating a super smooth texture.
- Light Hand and Even Strokes: Apply a very light hand with even, gentle strokes. This final touch shouldn’t alter the shape or dimensions but should refine the surface.
- Sand With the Grain: Always sand in the direction of the wood grain, especially in this final stage. It ensures any minor scratches align with the wood’s natural pattern.
- Inspect the Surface: Use a raking light (a light source held at an angle) to inspect the surface. This will help reveal any remaining imperfections or scratches that need attention.

Preparing for the Finish Application
- Thorough Cleaning: After the final sanding, thoroughly clean the surface. Remove all dust with a vacuum cleaner, then wipe down the wood with a tack cloth to ensure it’s completely free of dust and debris.
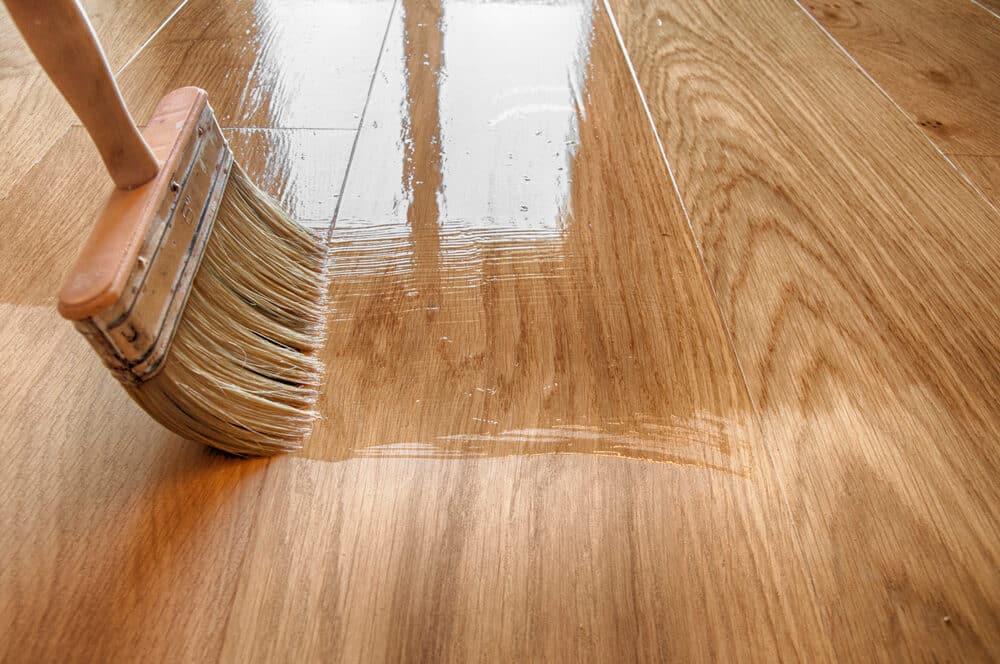
- Testing the Finish: Before applying your chosen finish (be it stain, varnish, or paint), test it on a scrap piece of the same wood. This helps you gauge how the wood reacts to the finish and if it’s the desired outcome.
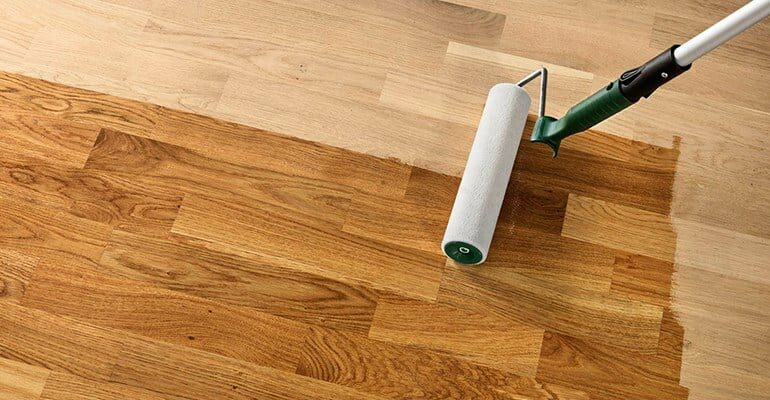
- Apply the finish. Evenly: Use a high-quality brush, roller, or cloth to apply the finish. Work in smooth, even strokes to avoid drips or uneven application. Follow the manufacturer’s instructions for the best results.
- Sanding Between Coats: If applying multiple coats, lightly sand between each coat with very fine-grit sandpaper or steel wool. This will help subsequent coats adhere better and will smooth out any imperfections.
- Final Inspection: Once the final coat has dried, inspect your work. Look for any missed spots or imperfections. If you’re satisfied with the finish, your project is complete.
The finishing touches are a testament to your craftsmanship and attention to detail. A well-finished piece not only looks superb but also stands the test of time, reflecting the care and skill that went into its creation.
Conclusion
Hand sanding is more than just a step in the woodworking process; it’s an essential skill that elevates the quality of your work, brings out the beauty of the wood, and ensures a professional finish. The techniques and tips we’ve discussed in this guide are designed to help both novices and seasoned woodworkers achieve the best possible results from their hand sanding efforts.
Remember, the key to successful hand sanding lies in patience, attention to detail, and a methodical approach. Starting with the right sandpaper, moving through the grits progressively, and paying special attention to curved and detailed areas are all vital steps. Avoiding common mistakes like over-sanding and uneven pressure will save time and material. And finally, applying the finishing touches with care and precision will bring out the best in your woodworking projects.
Hand sanding might seem like a laborious task, but it’s truly where your craftsmanship shines. It’s the bridge between the raw material and the finished product—a process that imbues your work with character and quality. So, take your time, enjoy the process, and let your hands create a finish that machines simply cannot replicate.
We hope this guide serves as a helpful resource for your woodworking journey, helping you achieve beautifully sanded finishes that you can be proud of. Happy sanding!

Get more floor restoration advice…


Sanding
We provide virtually dust-free sanding with our continuous belt machinery with mobile extraction units, giving you a safer environment for your family.
Oiling
This organic finish not only adds beauty to your home but also has exceptional water-repellent characteristics, making it easier to clean and maintain.
Waxing
This natural floor finish offers the softest and most mellow appearance – and leaves your floor able to breath.
Buffing
Using soft buffing machines (and hand-polishing where required) will bring a wonderful sheen to your newly-finished floor.
Repairs
We offer a full assessment of your wooden floors to determine what repairs are needed to provide the perfect working surface for the later stages of sanding, staining and sealing.
Restoration
We offer a comprehensive restoration process designed to address floors that are improperly fitted or damaged over time through wear and tear.
Request a fixed price quote for your wood floor restoration now
Simply enter your postcode below to get started.
Services
Wood Floor Sanding Wood Floor Restoration Wood Floor Scratch Repair Squeaky Wood Floor Repair Parquet Floor Sanding Parquet Floor Restoration Commercial Floor Sanding Church Floor Sanding Community Centre Floor Sanding School Floor Sanding Gap Filling Gap Filling with ResinCopyright © Mr Sander®
Privacy & Cookies Terms & Conditions Complaints Procedure Cancellation Rights Sitemap

Get An Instant Price Estimate Before You Go…
Simply enter the rooms you need sanded and we’ll provide you with a price estimate instantly! Try our price calculator now.
Get a Price Estimate NowLocal Floor Sanding Experts
Over 500 5-Star Reviews
Safe, Dust Free Sanding
Operating Since 1994