London:
Nationwide:
25,000+
Floors Restored
27 Years Experience
Wood Flooring Association Certified
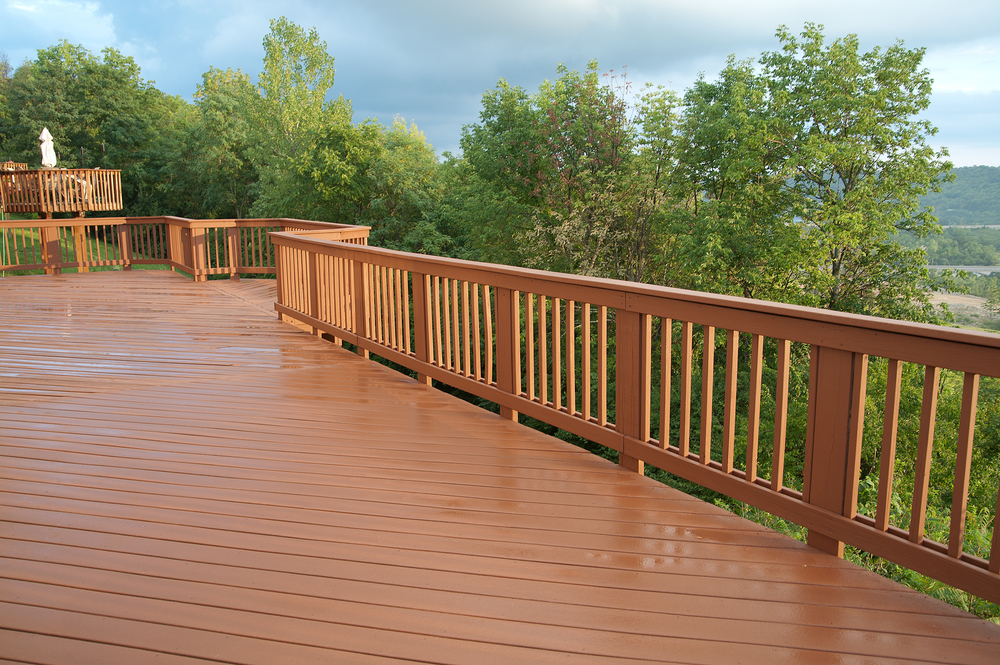
Avoiding Damage: Can Your Deck Get Wet Between Sanding and Oiling?
Posted on January 19, 2024
Deck Maintenance
Preventing Moisture Damage: Ensuring Safe Deck Care During Sanding and Oiling Phases
Welcome to our comprehensive guide to maintaining your deck’s longevity and beauty! If you’re a homeowner with a wooden deck, you know that it’s not just a part of your house; it’s a space of relaxation, family gatherings, and cherished memories. But this beloved outdoor area demands care and attention, especially when it comes to its maintenance routine—sanding your deck and oiling. These processes are crucial for protecting the wood from the elements and ensuring your deck continues to be a source of joy for years to come.
But what happens when nature intervenes in your well-planned maintenance schedule? A question that often plagues many deck owners is whether their deck can get wet between the sanding and oiling stages without suffering damage. It’s a valid concern, given that wood is a natural material susceptible to the weather’s whims. In this blog post, we delve into the heart of this issue, exploring the effects of water on your freshly sanded deck and providing insights on how to navigate this tricky part of deck maintenance.
So, whether you’re a seasoned DIY enthusiast or a first-time deck owner, join us as we unravel the mysteries of deck care and help you ensure that your deck remains a sturdy, beautiful extension of your home.
Understanding Your Deck’s Needs
When it comes to deck maintenance, one size does not fit all. Your deck is as unique as your home, and understanding its specific needs is the first step towards effective care. This section will explore the various factors that influence your deck’s maintenance requirements, helping you make informed decisions about its upkeep.
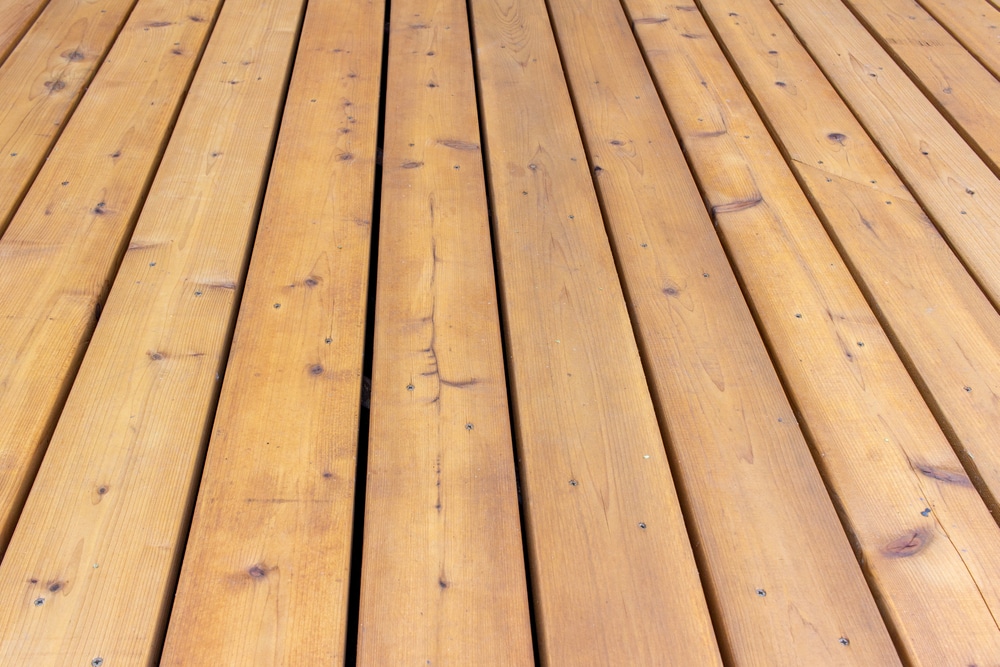
Types of Wood and Their Unique Characteristics
Every wood species has distinct properties that affect its durability, appearance, and maintenance needs. We’ll dive into common types like cedar, redwood, and pressure-treated lumber, explaining how each one reacts to environmental factors. This knowledge will guide you in choosing the right treatment and maintenance approach for your specific deck.
Environmental Impact on Wood Decks
Your deck’s exposure to the elements plays a significant role in its maintenance needs. Factors like sunlight, humidity, rain, and temperature variations can all impact the wood’s condition. We’ll discuss how these environmental elements affect different types of wood and what you can do to mitigate their impact.

Deck Usage and Lifestyle Considerations
How you use your deck also influences its maintenance. A deck that frequently hosts gatherings may require more frequent upkeep compared to a less-used one. We’ll offer tips on how to maintain your deck based on your lifestyle and usage patterns.

Aging and Wear: Recognizing Signs of Distress
Over time, decks show signs of wear and tear. We’ll help you identify these signs, such as discoloration, splintering, and warping. Recognizing these early warning signs is crucial for timely maintenance, preventing minor issues from becoming major problems.
By the end of this section, you’ll have a clearer understanding of your deck’s specific needs based on its material, environmental exposure, usage, and age. This knowledge is key to not only keeping your deck in top shape but also extending its life and preserving its beauty for years to come.

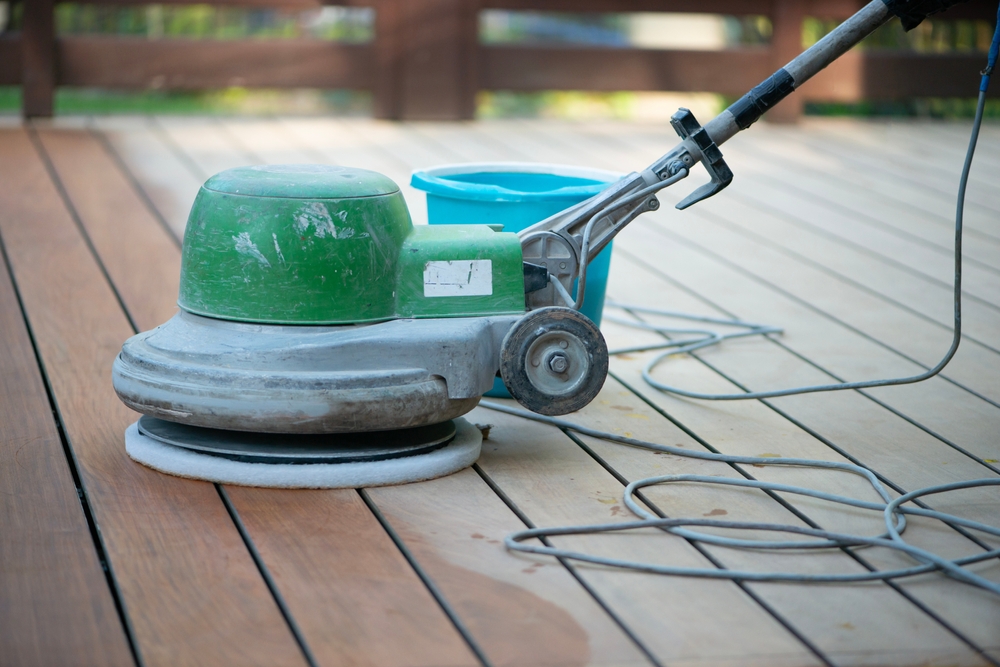
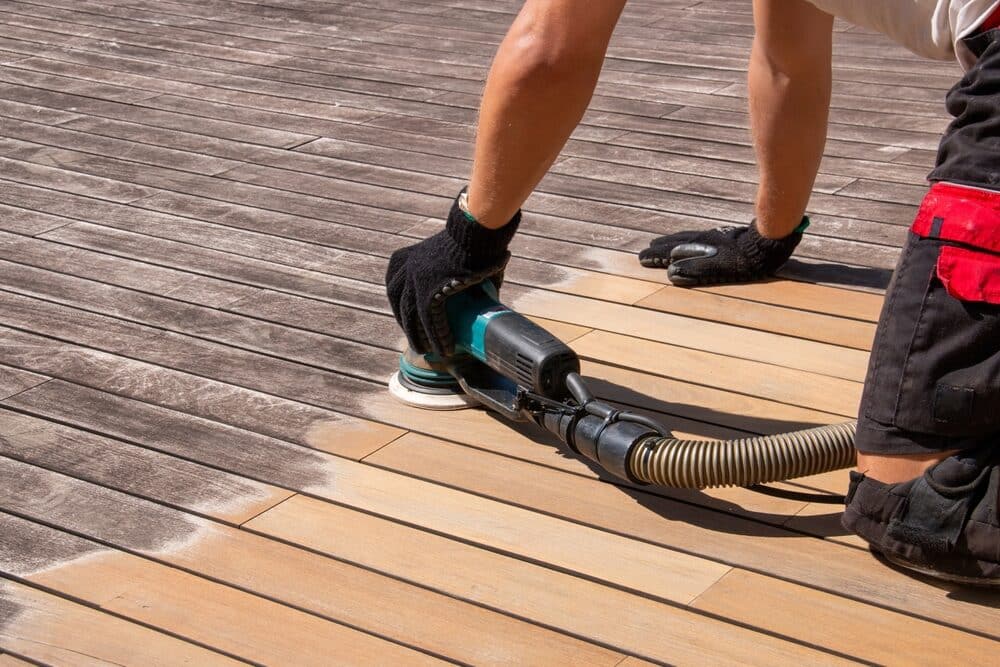
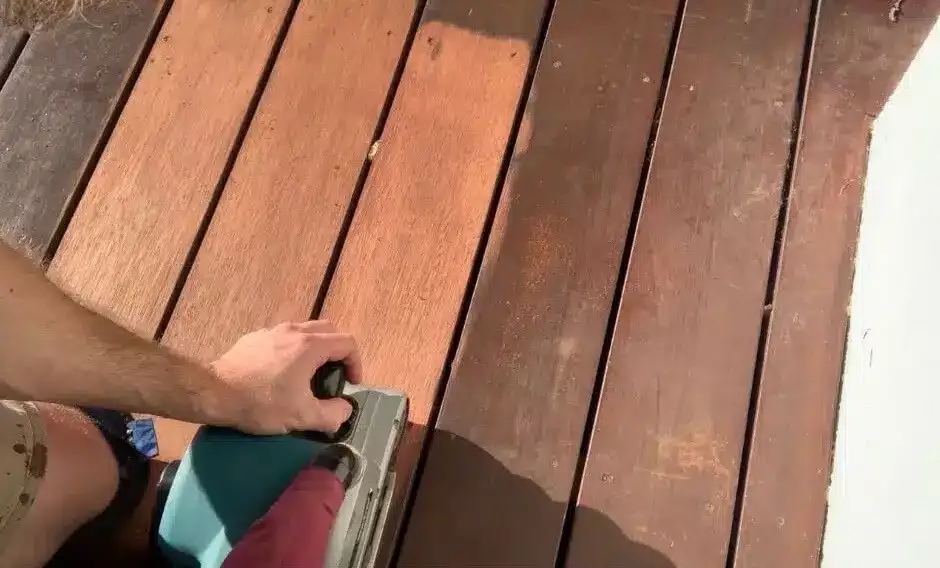
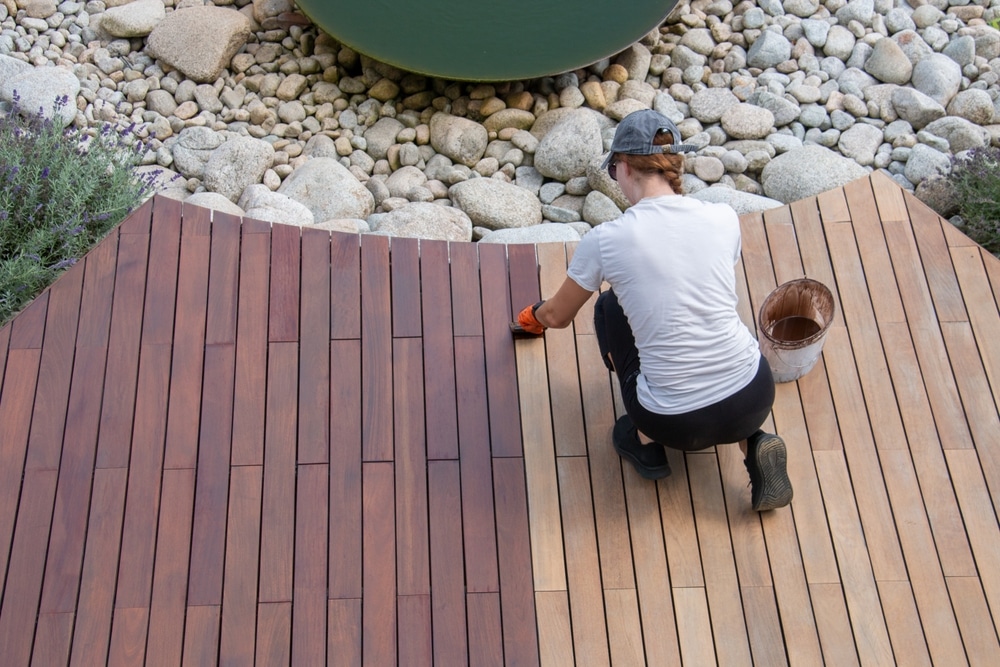
The sanding process
Sanding is a critical step in deck maintenance, serving as the foundation for all subsequent treatments, like oiling. It’s not just about aesthetics; proper sanding ensures the longevity and safety of your deck. In this section, we’ll walk you through the sanding process, providing you with the knowledge and techniques to do it effectively.
Preparation: Setting the Stage for Sanding
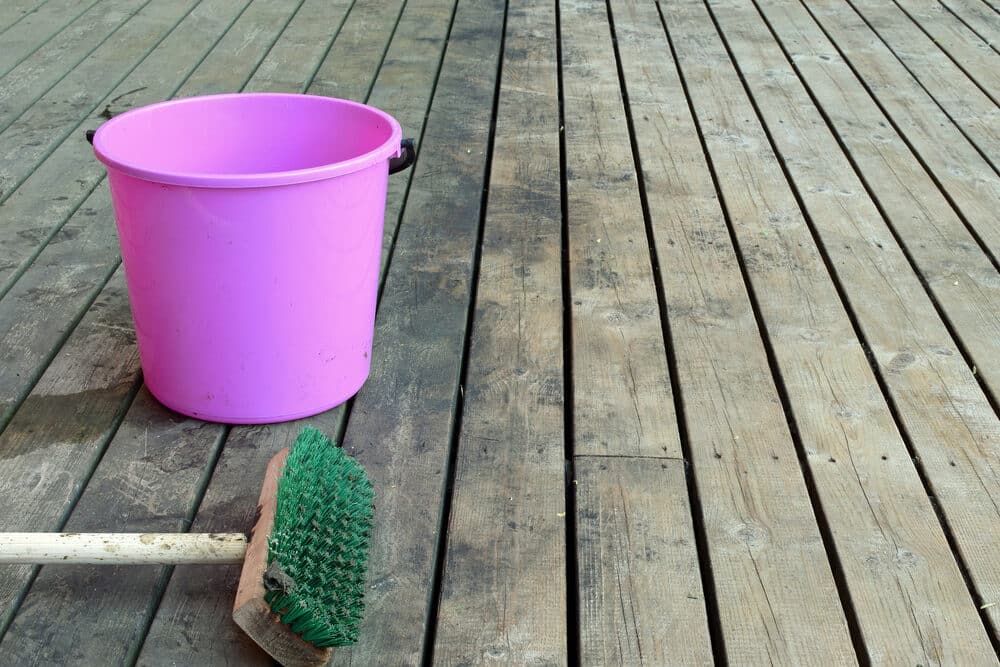
Before you start sanding your deck, it’s essential to prepare your deck. This includes cleaning the surface, removing old finishes, and repairing any damage. We’ll guide you through these preparatory steps to ensure your deck is ready for a thorough sanding.
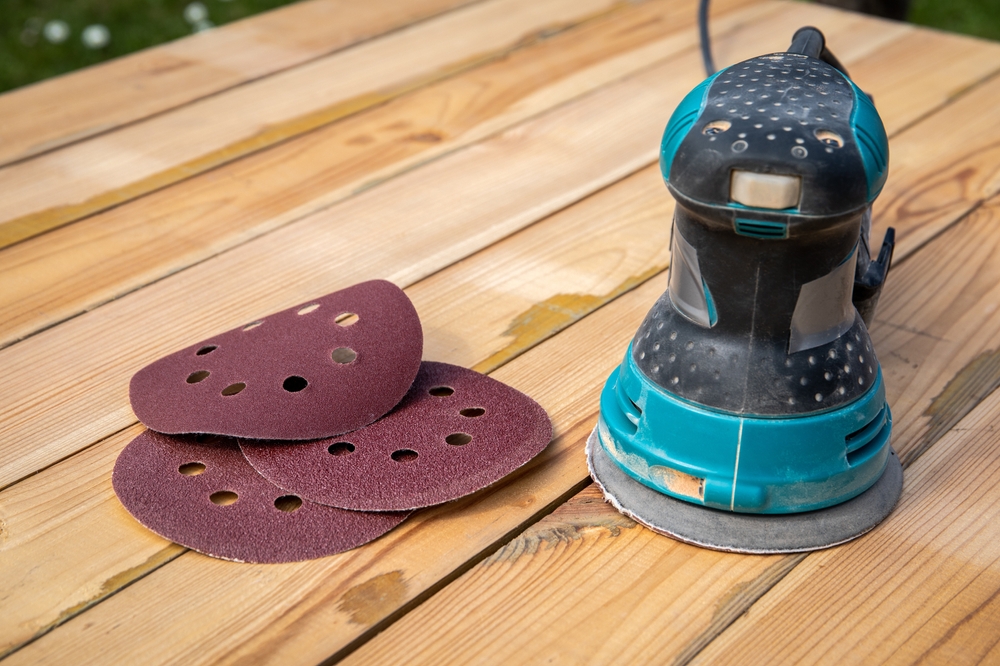
Choosing the Right Tools and Materials
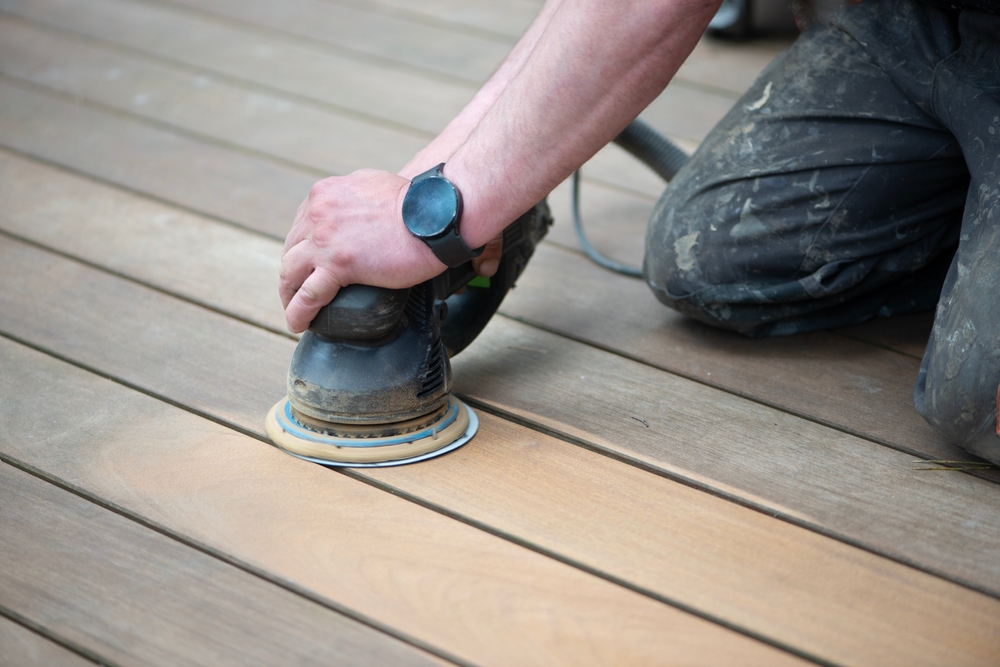
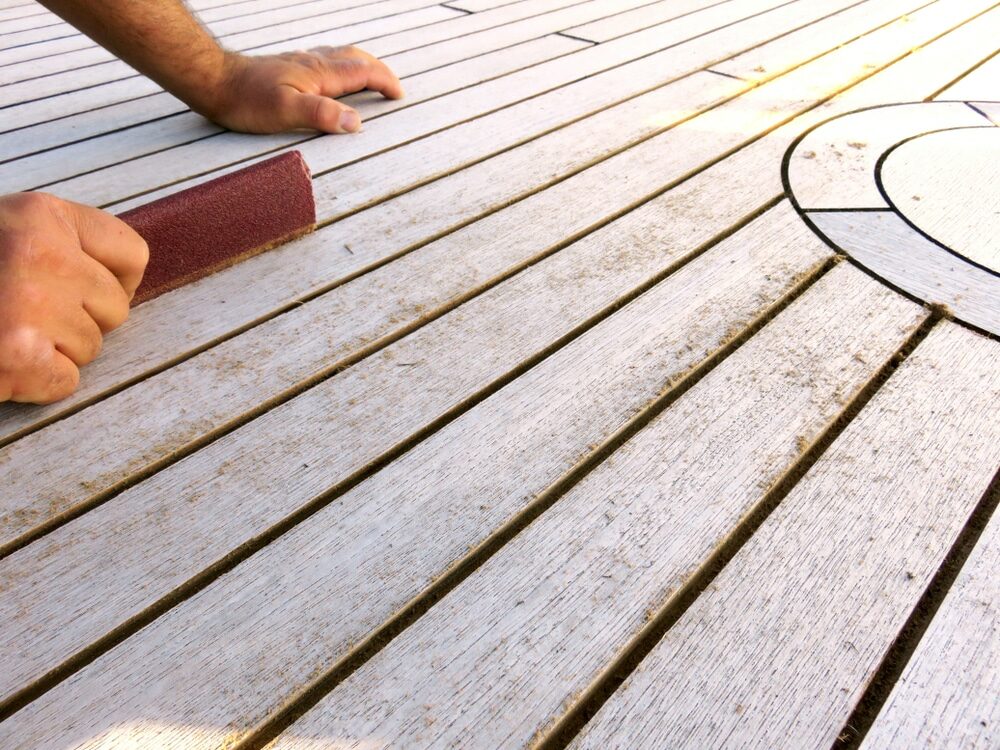
The right tools can make a significant difference in the quality of your sanding job. We’ll discuss the types of sanders (like orbital sanders, belt sanders, or hand sanding tools) and the appropriate grit of sandpaper for different stages of the sanding process.
Sanding Techniques: Best Practices
Effective sanding is both an art and a science. We’ll provide tips on how to sand efficiently and evenly, including techniques for dealing with tough areas like corners and railings. You’ll learn how to avoid common pitfalls like over-sanding, which can damage the wood.
Safety Considerations During Sanding
Safety is paramount when sanding. We’ll cover essential safety gear, such as dust masks and eye protection, and safe practices to ensure you’re protected throughout the process.

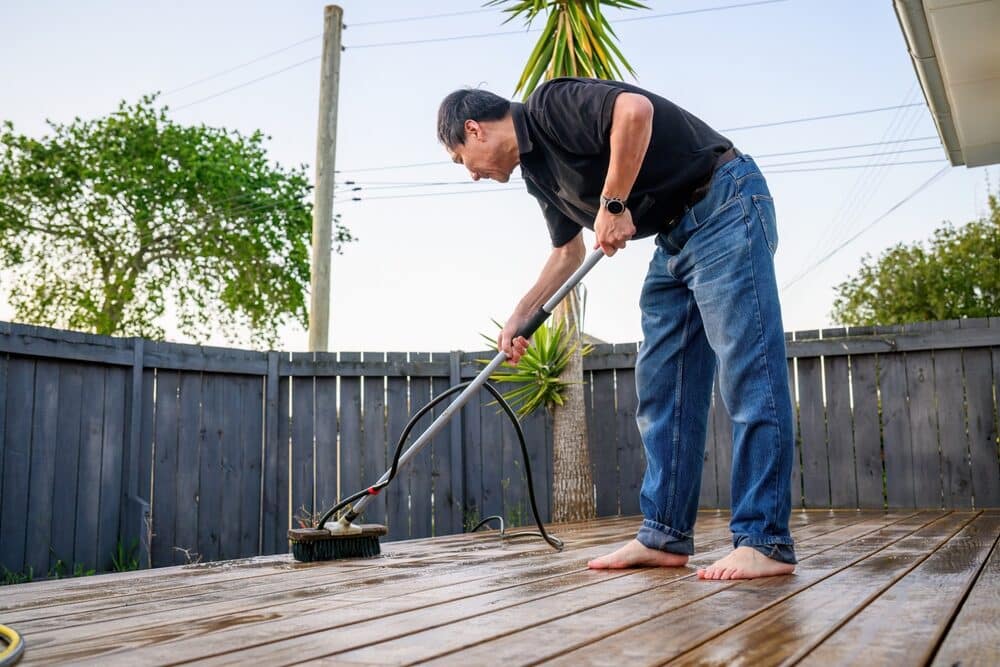
Post-Sanding Clean-Up
After sanding, it’s crucial to clean the deck thoroughly to remove all dust and debris. We’ll offer advice on the best ways to clean your deck post-sanding, preparing it for the next step in the maintenance process.
Inspecting Your Work
Once you’ve finished sanding and cleaning, we’ll show you how to inspect your deck. This step ensures that the surface is smooth, even, and ready for oiling. We’ll also discuss how to identify any areas that may need additional attention.
By the end of this section, you’ll be equipped with the knowledge to sand your deck effectively, setting the stage for a successful oiling and a beautiful, long-lasting finish.
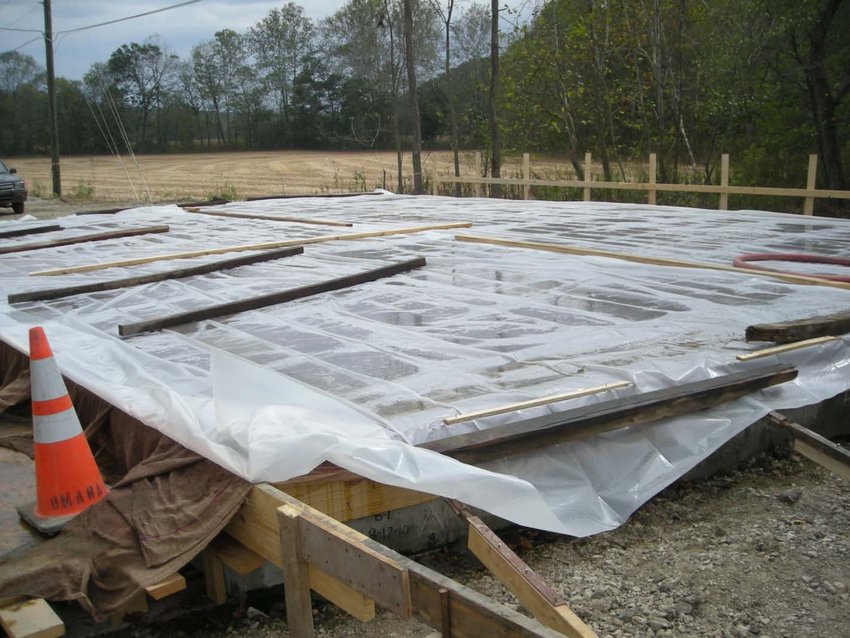
Risks of Water Exposure Between Sanding and Oiling
Understanding the risks associated with water exposure between sanding and oiling your deck is crucial for effective maintenance. This section will delve into why this phase is particularly sensitive and what potential hazards you need to be aware of.
Vulnerability of Bare Wood
After sanding, your deck is at its most vulnerable. The protective layers are stripped away, leaving the pores of the wood open and susceptible to moisture. We’ll explain the science behind why bare wood is more prone to water damage and how this can affect the integrity of your deck.
Water Absorption and its Consequences
One of the primary risks of water exposure is the absorption of moisture by the wood. This can lead to several issues, such as warping, swelling, or cupping of the boards. We’ll discuss these potential problems in detail, providing real-world examples of how moisture can compromise the structure and appearance of your deck.
Mold and mildew growth
Wet conditions are ideal for the growth of mold and mildew, which can occur if your deck gets wet between sanding and oiling. This not only affects the deck’s aesthetic but can also lead to health concerns and further wood degradation. We’ll explore preventive measures and how to address any mold or mildew issues that arise.
Impact on Subsequent Treatments
Applying oil or other treatments to a deck that has been exposed to water can be problematic. The presence of moisture can hinder the proper absorption of the oil, leading to an uneven finish or even peeling and flaking over time. We’ll guide you on how to ensure your deck is adequately dry before proceeding with oiling.
Tips for Avoiding Water Damage
To help you mitigate these risks, this section will provide practical tips on how to protect your deck from unexpected rain or dew. From timing your maintenance activities based on weather forecasts to using temporary protective coverings, we’ll cover a range of strategies to keep your deck dry and safe.
By understanding these risks and implementing the right precautions, you can ensure that your deck remains in excellent condition throughout the maintenance process, paving the way for a successful and durable oiling treatment.
Best Practices for Timing Oiling After Sanding
The timing of oiling your deck after sanding is a critical factor that can significantly affect the longevity and appearance of your deck. Proper timing ensures that the oil is absorbed efficiently and provides maximum protection. This section will cover the best practices to follow when timing the oiling process after sanding.

Ensuring Proper Drying Time
The first and foremost consideration is making sure your deck is completely dry after sanding. We’ll discuss the recommended drying time, which can vary based on wood type, climate, and weather conditions. Understanding how to assess whether your deck is dry enough for oiling is key to this step.
Monitoring weather conditions
The weather plays a pivotal role in the timing of oiling your deck. It’s essential to choose a period with clear, dry weather, ideally with moderate temperatures. We’ll offer guidance on how to interpret weather forecasts and pick the optimal time window for oiling.

Ideal Temperature and Humidity Levels
The efficiency of the oiling process is affected by temperature and humidity. This section will explore the ideal conditions for oiling your deck, including the best temperature range and humidity levels to ensure optimal absorption and drying of the oil.
Seasonal Considerations
Different seasons can offer advantages or pose challenges for deck oiling. We’ll discuss the pros and cons of oiling your deck in various seasons, helping you plan your maintenance schedule accordingly.
Time of Day for Oiling
The time of day when you apply the oil can also impact the results. The morning or late afternoon is often ideal to avoid the intense midday sun, which can cause the oil to dry too quickly. We’ll delve into the best times of day for oiling and the reasons behind these recommendations.
Allowing Adequate Time for the Oiling Process
Rushing through the oiling process can lead to suboptimal results. We’ll emphasize the importance of taking your time during application, ensuring even coverage and absorption, and allowing sufficient drying time before using the deck again.
By adhering to these best practices, you can effectively time the oiling of your deck post-sanding, ensuring a beautiful, protective finish that enhances the longevity and aesthetic appeal of your outdoor space.
Protecting your deck during the process
Maintaining your deck is a significant investment in time and resources, and protecting it throughout the process is essential for achieving the best results. This section will provide you with strategies to safeguard your deck during the crucial stages of sanding and oiling.
Covering and shielding the deck
Unexpected weather can interfere with your maintenance schedule. We’ll discuss how to use tarps, plastic sheeting, or temporary awnings to protect your deck from rain, dew, or excessive sunlight. These methods are crucial for keeping the wood dry and ready for each stage of the process.
Managing moisture and humidity
Even without rain, ambient humidity can affect your deck. We’ll cover techniques to manage moisture, including the use of dehumidifiers or choosing the right time of day for maintenance activities to minimize exposure to high humidity.
Dealing with Dust and Debris
During sanding, dust and debris can be a significant concern. We’ll offer advice on how to contain and clean up sanding dust, which is crucial for a clean and safe environment, and how to prepare the deck for oiling.
Minimizing foot traffic
Limiting foot traffic on the deck during the maintenance process is essential. We’ll talk about how to plan your activities to minimize the need to use the deck, thereby preventing any disturbances to the newly sanded or oiled surfaces.
Using the Right Products for Protection
The choice of products for sanding and oiling can also play a role in protection. We’ll guide you in selecting the right types of sandpaper, oils, and sealants that not only enhance the appearance of your deck but also provide long-term protection.
Safety Measures During Maintenance
Safety for you and your deck is paramount. We’ll include tips on how to safely use tools and products and how to protect surrounding areas like plants, furniture, and your home’s exterior during the maintenance process.
Regular inspections and touch-ups
Finally, we’ll emphasize the importance of regular inspections and timely touch-ups. Keeping a close eye on your deck’s condition can help you address small issues before they become significant problems, ensuring ongoing protection and longevity.
By following these protective strategies, you can maintain the integrity and beauty of your deck, ensuring that it remains a durable and enjoyable part of your home for years to come.
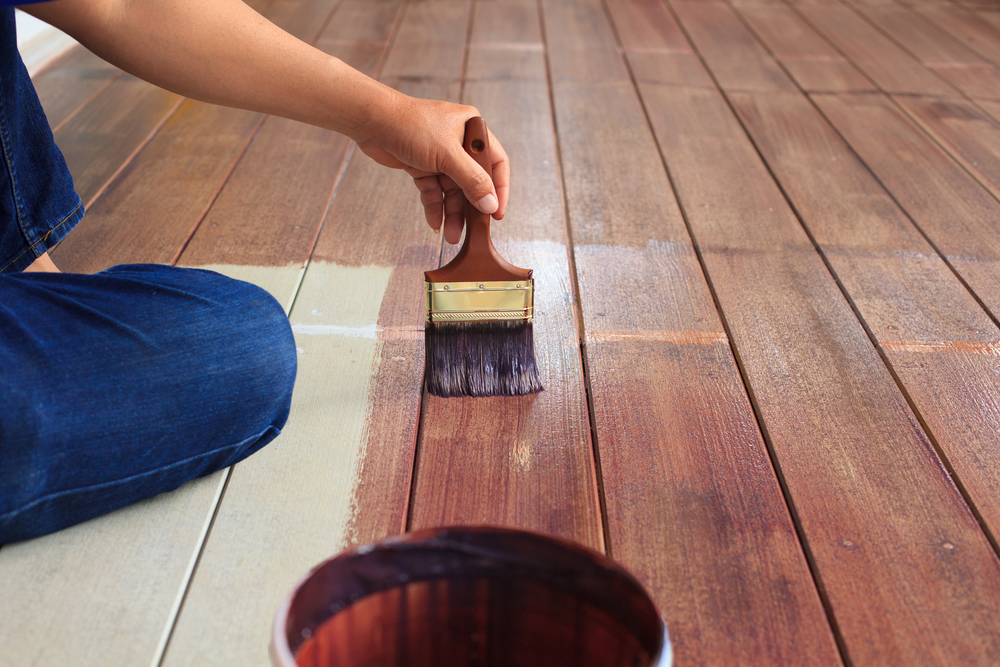
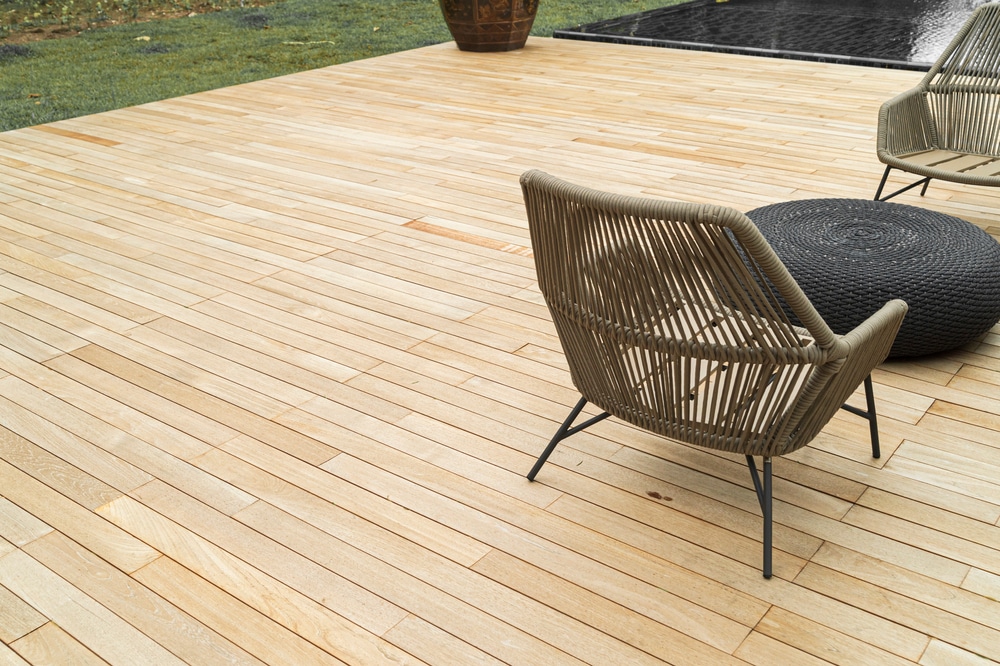
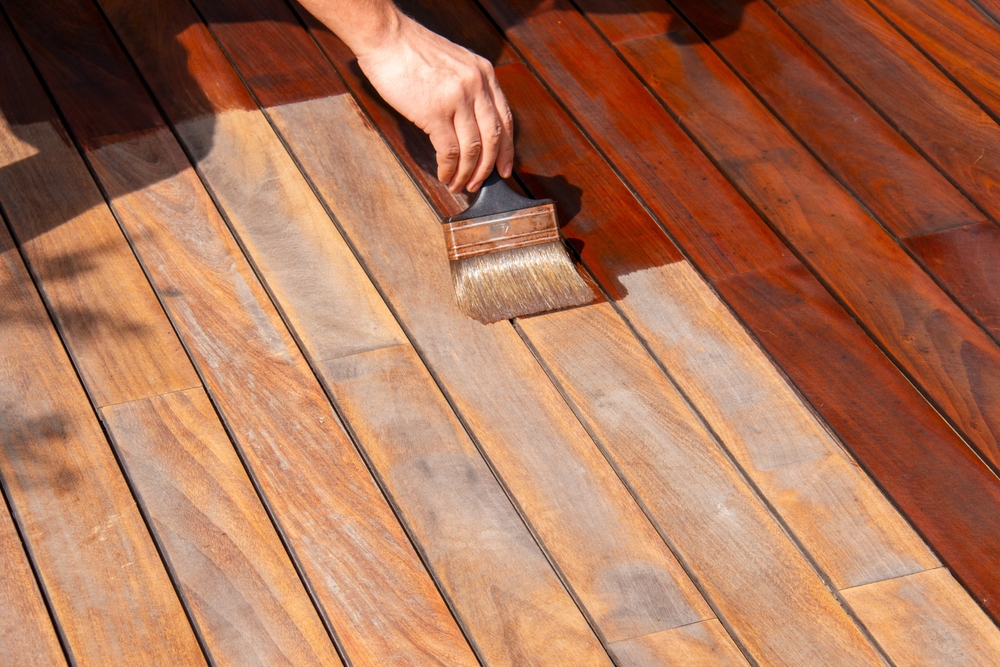
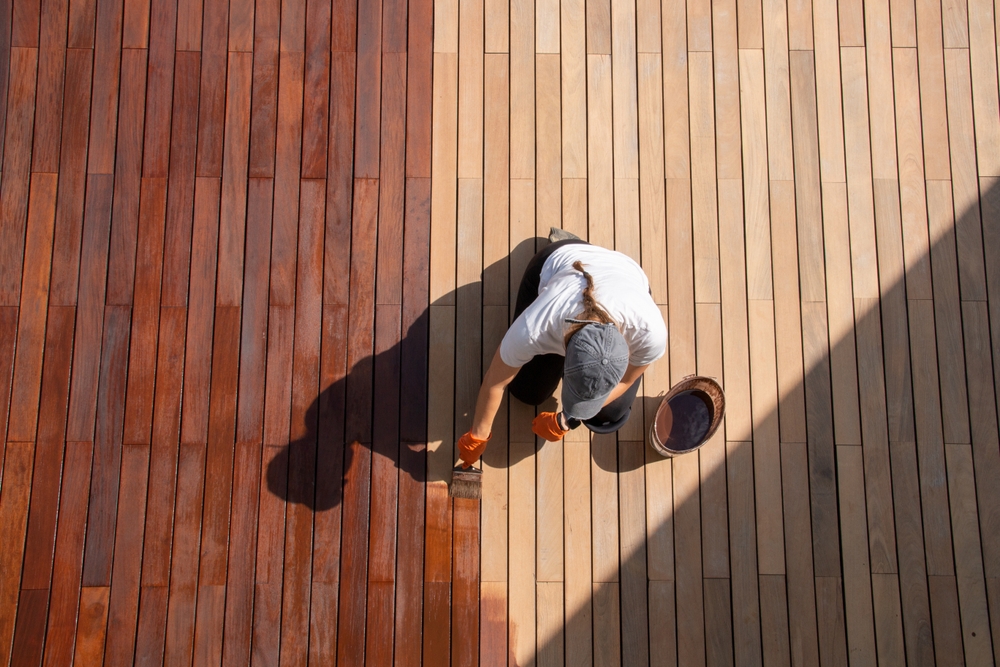
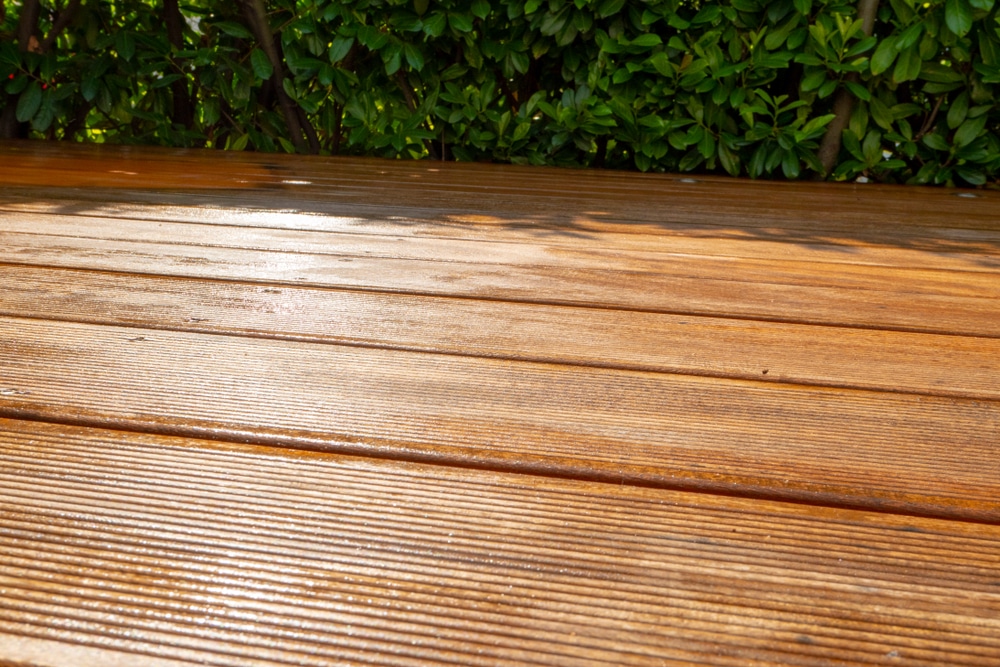
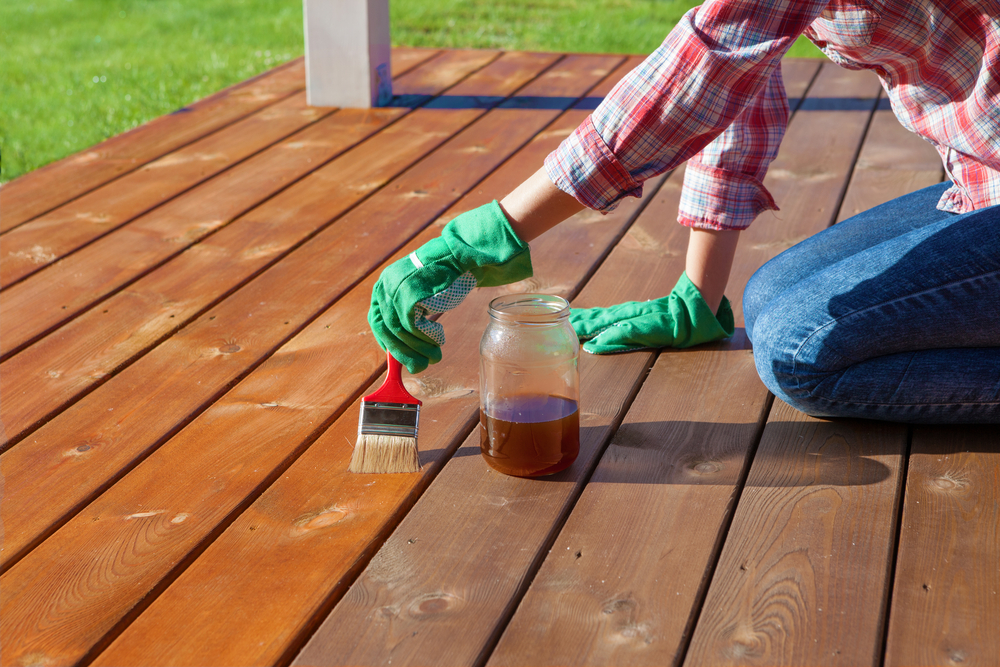
Oiling Your Deck
After the critical steps of preparation and sanding, oiling your deck is the next crucial phase. This process not only enhances the appearance of your deck but also provides a protective layer against the elements. Here, we’ll guide you through the best practices for oiling your deck to ensure a durable and aesthetically pleasing finish.
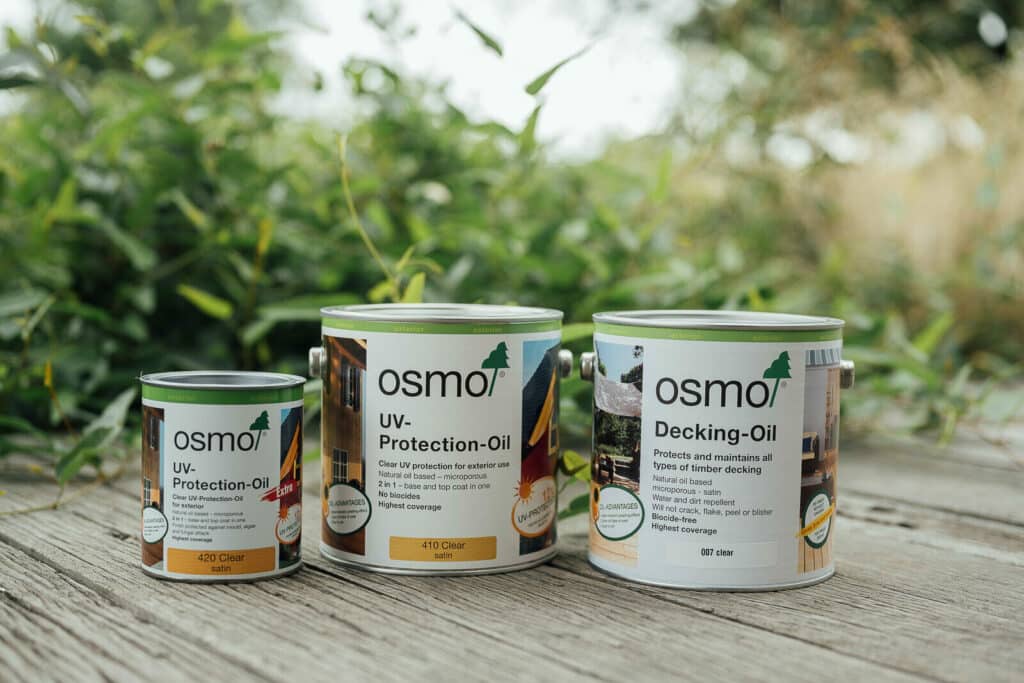
Selecting the Right Deck Oil
The choice of oil is fundamental to the process. We’ll discuss different types of oils, including natural and synthetic varieties, and their suitability for various wood types. Factors like UV resistance, water repellency, and ease of application will be covered to help you make an informed decision.
Preparing the deck for oiling
Even after sanding, it’s important to ensure the deck is clean and free from dust and debris. This section will detail the final preparation steps, such as a thorough cleaning and possible light sanding, to create the ideal surface for oiling.
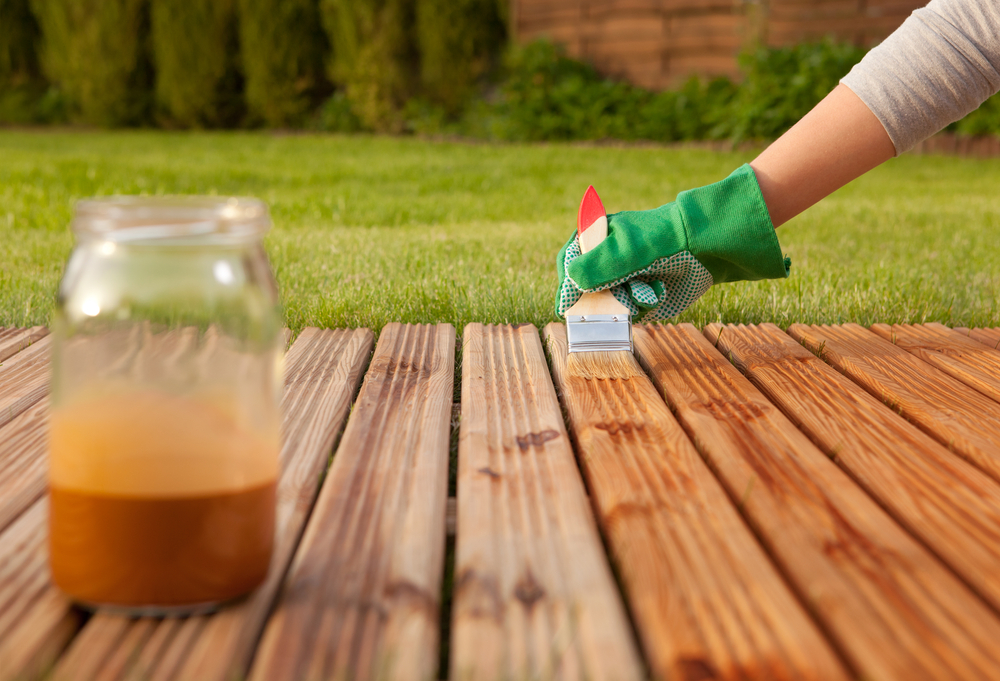
Application Techniques
Applying oil correctly is key to achieving an even, lasting finish. We’ll provide step-by-step instructions on how to apply deck oil, including the tools you’ll need (like brushes, rollers, or pads), techniques for even coverage, and tips on how to handle tricky areas like edges and corners.
Drying time and conditions
Understanding the drying time and ideal conditions for your chosen oil is crucial. This part of the guide will offer advice on how long to leave the oil to dry, the effects of temperature and humidity on drying times, and how to check if the deck is ready for use.
Applying multiple coats
Depending on the product and the condition of your wood, multiple coats of oil may be necessary. We’ll discuss how to determine if your deck needs more than one coat and the proper technique for applying subsequent layers.
Maintenance Tips Post-Oiling
Proper maintenance after oiling your deck is key to extending its life and preserving its beauty. This section will provide you with essential tips and strategies to keep your deck in top condition following the oiling process.
Regular Cleaning
Keeping your deck clean is fundamental. We’ll discuss how to regularly sweep and wash your deck to remove dirt, debris, and potential mildew. This includes advice on gentle cleaning agents that won’t strip the oil and techniques for safely removing stains.
Monitoring for Wear and Tear
Regular inspections are important to identify any signs of wear, such as fading, peeling, or cracking of the oil finish. We’ll guide you on what to look for and how often to inspect your deck, so you can address any issues promptly.
Reapplying Oil: When and How
Over time, you will need to reapply oil to maintain the deck’s protective layer and appearance. We’ll offer insights on how to determine when it’s time to re-oil, based on factors like weather exposure and usage, and provide tips for the reapplication process.

Dealing with water exposure
Even with a good oil finish, prolonged water exposure can be damaging. We’ll provide advice on how to minimize water damage, including tips on drainage, proper sealing, and how to deal with pooled water.
Managing sun exposure
UV rays can degrade the oil finish and the wood over time. We’ll discuss strategies to protect your deck from sun damage, such as using UV-protective oils and adding shade elements like umbrellas or pergolas.

Winter Care and Protection
If you live in an area with harsh winters, special care is needed to protect your deck during this season. We’ll cover winter maintenance tips, including snow removal, protection from ice melt products, and preparing your deck for winter.

Addressing Repairs Promptly
Immediate attention to repairs, such as fixing loose boards or railings and addressing splintered areas, is crucial. We’ll emphasize the importance of prompt repairs to maintain the safety and integrity of your deck.
Conclusion
As we wrap up our comprehensive guide on “Avoiding Damage: Can Your Deck Get Wet Between Sanding and Oiling?” it’s clear that the maintenance of your deck is a delicate balance of art, science, and a bit of weather forecasting. We’ve journeyed through the essential steps of preparing, sanding, and oiling your deck, understanding the risks involved, and the best practices for maintaining it post-oiling.
The key takeaway is that your deck, much like any valuable asset in your home, requires consistent care and attention. Each step in the maintenance process, from the initial sanding to the final oiling and ongoing upkeep, plays a pivotal role in extending the life and beauty of your deck. By following the guidelines and tips provided, you can protect your deck from water damage and environmental wear and ensure it remains a sturdy, inviting space for years to come.
Remember, the effort you put into maintaining your deck not only preserves its aesthetic and structural integrity but also enhances the overall value and enjoyment of your outdoor living space. So, whether you’re a seasoned DIY enthusiast or a first-time deck owner, embrace the process, keep an eye on the sky, and take pride in creating a beautiful, enduring outdoor retreat.
Thank you for joining us on this journey of deck maintenance. May your decks always be well-maintained, beautiful, and ready for your next outdoor gathering or quiet moment of relaxation.


Sanding
We provide virtually dust-free sanding with our continuous belt machinery with mobile extraction units, giving you a safer environment for your family.
Oiling
This organic finish not only adds beauty to your home but also has exceptional water-repellent characteristics, making it easier to clean and maintain.
Waxing
This natural floor finish offers the softest and most mellow appearance – and leaves your floor able to breath.
Buffing
Using soft buffing machines (and hand-polishing where required) will bring a wonderful sheen to your newly-finished floor.
Repairs
We offer a full assessment of your wooden floors to determine what repairs are needed to provide the perfect working surface for the later stages of sanding, staining and sealing.
Restoration
We offer a comprehensive restoration process designed to address floors that are improperly fitted or damaged over time through wear and tear.
Request a fixed price quote for your wood floor restoration now
Simply enter your postcode below to get started.
Services
Wood Floor Sanding Wood Floor Restoration Wood Floor Scratch Repair Squeaky Wood Floor Repair Parquet Floor Sanding Parquet Floor Restoration Commercial Floor Sanding Church Floor Sanding Community Centre Floor Sanding School Floor Sanding Gap Filling Gap Filling with ResinCopyright © Mr Sander®
Privacy & Cookies Terms & Conditions Complaints Procedure Cancellation Rights Sitemap

Get An Instant Price Estimate Before You Go…
Simply enter the rooms you need sanded and we’ll provide you with a price estimate instantly! Try our price calculator now.
Get a Price Estimate NowLocal Floor Sanding Experts
Over 500 5-Star Reviews
Safe, Dust Free Sanding
Operating Since 1994