London:
Nationwide:
25,000+
Floors Restored
27 Years Experience
Wood Flooring Association Certified
How to Restore a Weathered Deck
Posted on January 5, 2024
Deck Maintenance
Comprehensive Guide to Reviving Your Weathered Deck
Welcome to our comprehensive guide on “How to Restore a Weathered Deck.” Decks are an integral part of many homes, providing a space for relaxation and social gatherings. However, exposure to the elements can leave your deck looking weathered and worn. This guide aims to equip you with the knowledge and techniques needed to restore your deck to its former glory.
Restoring a weathered deck is not just about improving its appearance. It’s about prolonging its life, ensuring safety, and maintaining the value of your property. Whether your deck suffers from faded colour, cracked wood, or is simply looking old and tired, our step-by-step process will help you rejuvenate it.
A weathered deck not only detracts from the aesthetic appeal of your home but can also pose safety hazards. Wood that has been compromised by weather can become weak, leading to the risk of accidents. Insects and moisture can further damage the wood, making timely restoration crucial.
Restoring your deck is also a cost-effective alternative to a complete rebuild. With the right tools, materials, and guidance, you can transform your weathered deck into a beautiful and functional outdoor space. Not only does this enhance your living experience, but it also increases the overall value of your property.
In the following sections, we will guide you through the process of assessing your deck’s condition, cleaning, repairing, choosing the right finishes, and maintaining your restored deck. So, grab your tools and let’s breathe new life into your weathered deck!
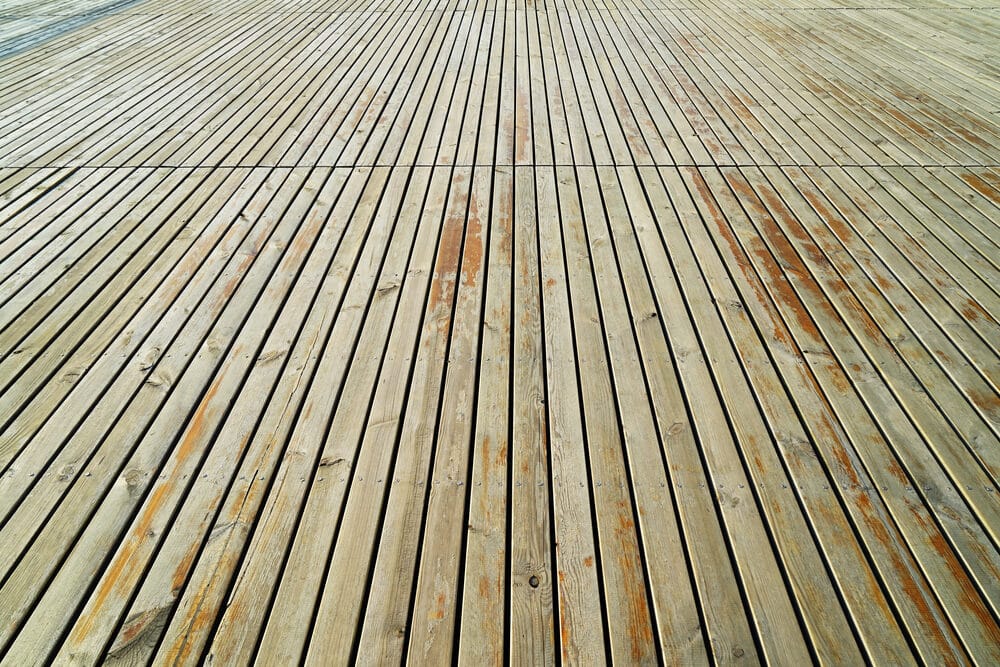
Assessing the Condition of Your Deck
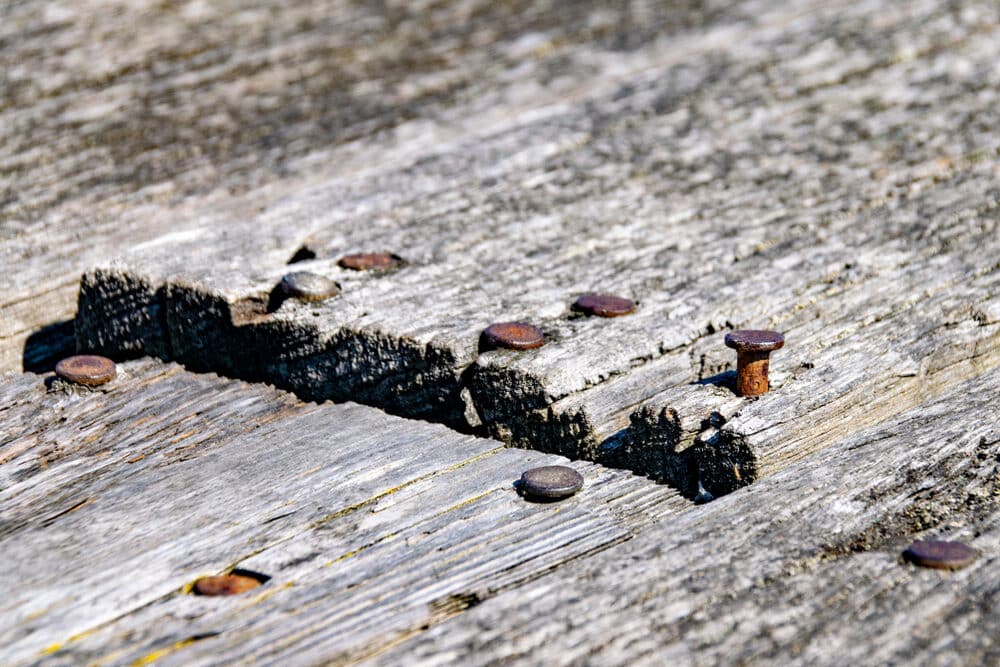
The first step in restoring your deck is to conduct a thorough assessment of its condition. This is crucial for understanding the extent of wear and damage and for planning the restoration process accordingly. Look for common signs of damage, such as:
- Splintering or cracked wood: These are often the most visible signs of wear and can pose safety hazards.
- Loose or wobbly boards: This could indicate underlying structural issues.
- Discoloration and stains: caused by weather exposure, mould, or mildew.
- Rotting Wood: Check for soft spots, especially in areas that are often wet.
- Rust or Corrosion on Fasteners: Inspect screws and nails for rust, which can weaken the deck’s structure.
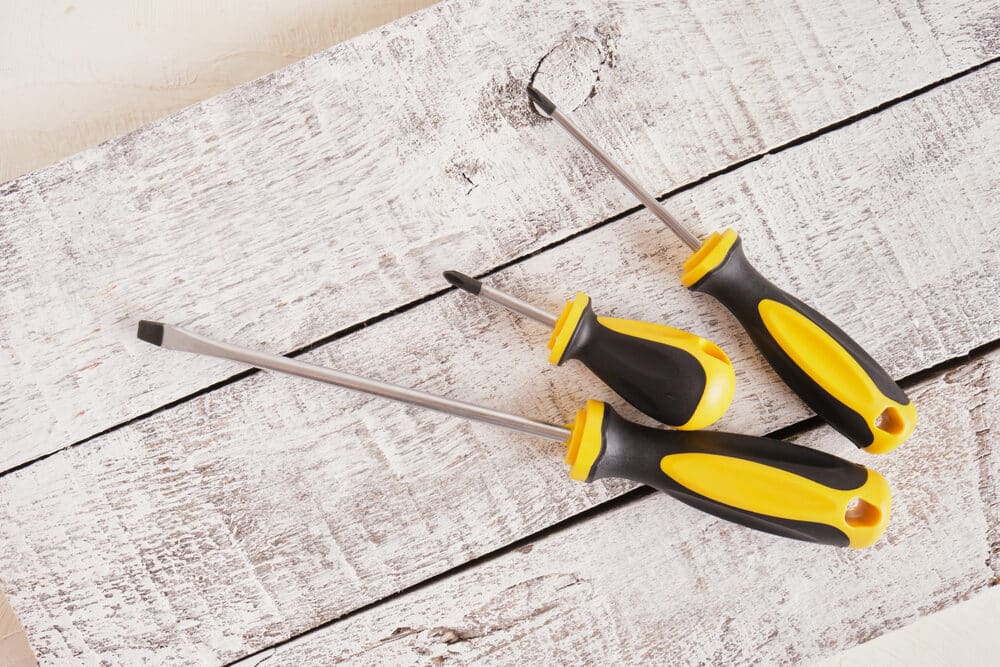
Tools and Materials Needed for Assessment
To accurately assess your deck, you will need some basic tools and materials:
- Screwdriver or Awl: Use these to poke at wood to check for softness, a sign of rot.
- Level: To check for warping or unevenness in the boards.
- Tape Measure: Useful for measuring boards that need replacement.
- Flashlight: Helps in inspecting under-deck areas.
- Notebook and Pen: Keep track of areas that need repair or special attention.
During your assessment, take detailed notes and photographs, if possible. This will help you keep track of areas that need work and will be useful when purchasing supplies.
It’s also important to assess the deck’s overall design and construction. Ensure that railings are secure and steps are stable. Pay attention to the foundation and support beams, especially if your deck is elevated.
Remember, safety is paramount. If you encounter any structural issues that seem beyond basic DIY fixes, it’s wise to consult a professional. Once you have a clear understanding of the condition of your deck, you can move on to the next steps in the restoration process, which include cleaning, repairing, and refinishing your deck.

Cleaning your deck
Before you start the cleaning process, it’s important to choose the right cleaning solutions that will effectively remove dirt, mildew, and stains without damaging the wood. Here are some options:
- Commercial Deck Cleaners: These are specially formulated to clean decks without harming the wood. They are effective against mould, mildew, and dirt.
- Homemade Solutions: A mixture of water, bleach (or vinegar for a less harsh option), and a small amount of dish soap can work for mild cleaning tasks.
- Oxygen Bleach: This is a less harsh alternative to chlorine bleach and is good for removing mildew and algae without discolouring the wood.

A Step-by-Step-by-Step Cleaning
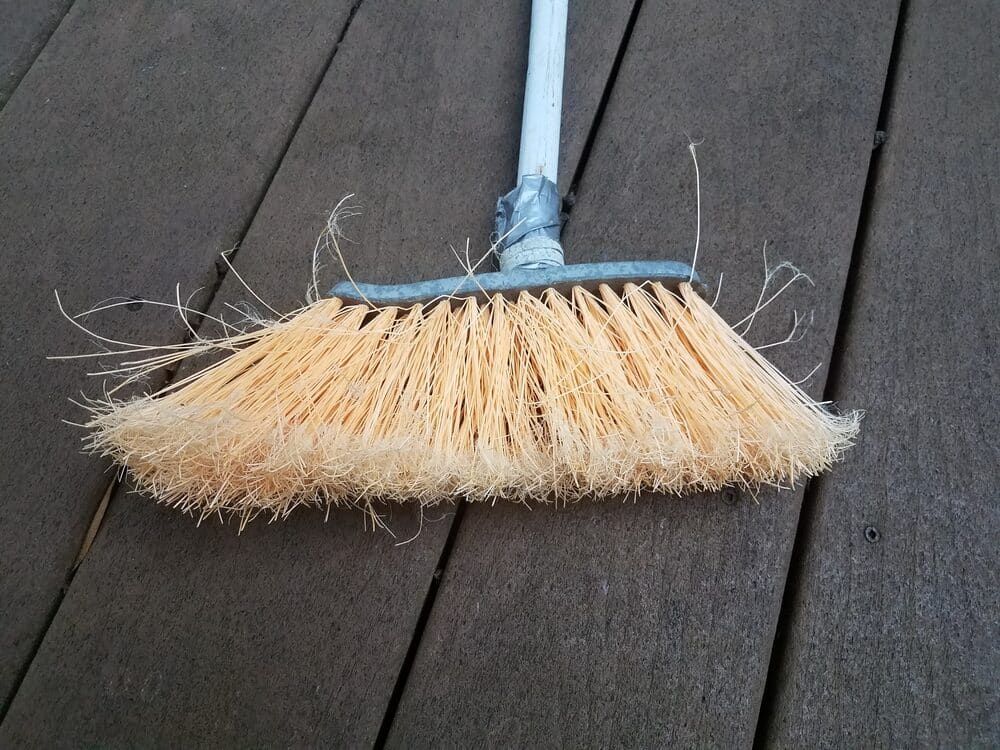
- Remove all furniture and objects. Clear the deck completely to ensure every part is accessible.
- Sweep the Deck: Remove all loose dirt, leaves, and debris with a broom.
- Prepare the Cleaning Solution: Mix your chosen cleaner according to the manufacturer’s instructions or your homemade recipe.
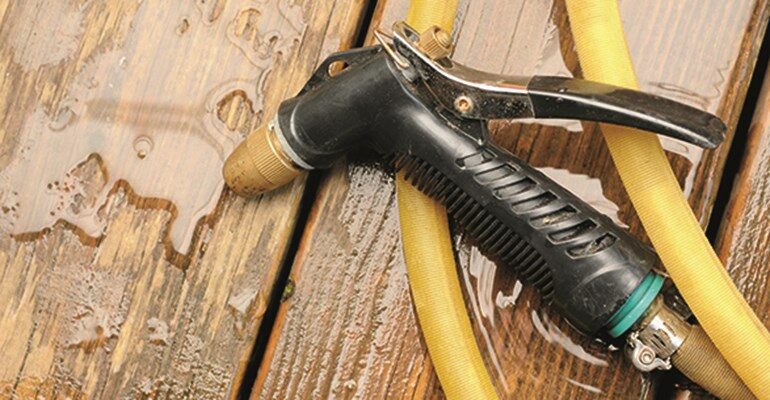
- Apply the cleaner: Use a garden sprayer, roller, or brush to apply the cleaning solution evenly across the deck. For tough stains, use a brush to scrub gently.
- Let it Sit: Allow the solution to sit on the deck for the time recommended by the product instructions (usually 10-15 minutes).
- Rinse Thoroughly: Use a garden hose with a high-pressure nozzle or a pressure washer on a low setting to rinse the deck. Be careful with pressure washers, as they can damage the wood if the setting is too high or the nozzle is held too close to the deck surface.
Safety Precautions
- Wear protective gear: gloves, goggles, and old clothes are recommended, especially when using chemical cleaners.
- Be Mindful of Plants and Grass: Cover nearby plants with plastic sheets to protect them from cleaning solutions.
- Avoid Using Bleach on Coloured or Composite Decks: Bleach can discolour these materials. Always check the compatibility of cleaning solutions with your deck material.

Cleaning your deck not only enhances its appearance but also prepares it for further restoration steps, such as repairing and applying stains or sealants. A clean deck will allow these products to adhere better and last longer.
Repairing damaged areas
After cleaning your deck, the next step is to repair any damaged areas. This step is crucial for ensuring the longevity and safety of your deck. Look for:
- Rotting or Soft Wood: Indicative of deeper damage, often requiring board replacement.
- Cracked or Splintered Boards: Small cracks can be filled, but larger ones might necessitate board replacement.
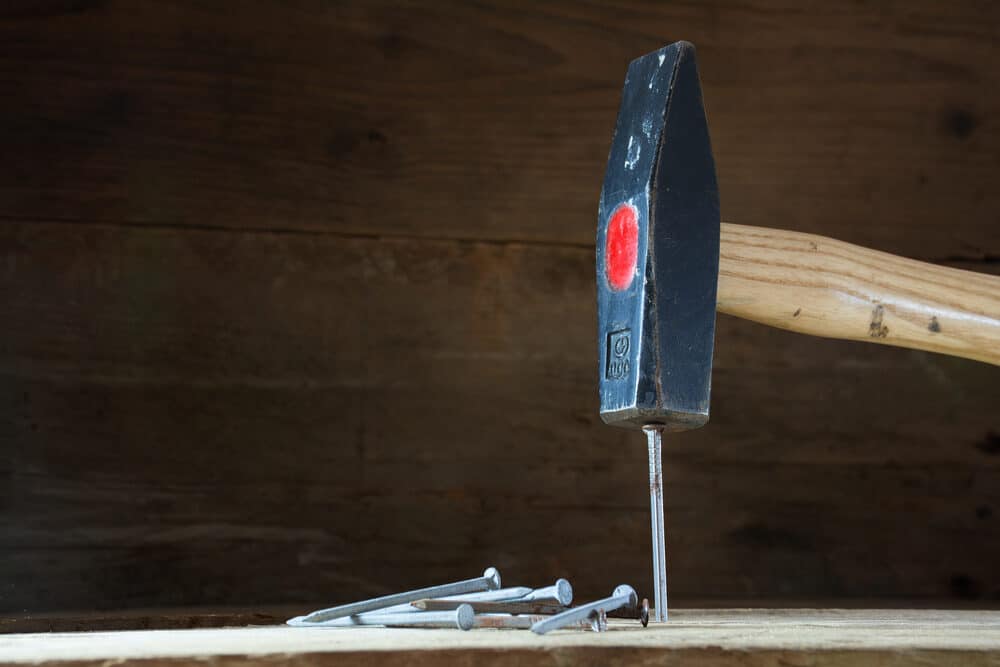
- Loose Nails or Screws: These need tightening or replacing for safety.
- Unstable Railings or Steps: These are safety hazards and must be addressed promptly.
How to Replace Damaged Boards
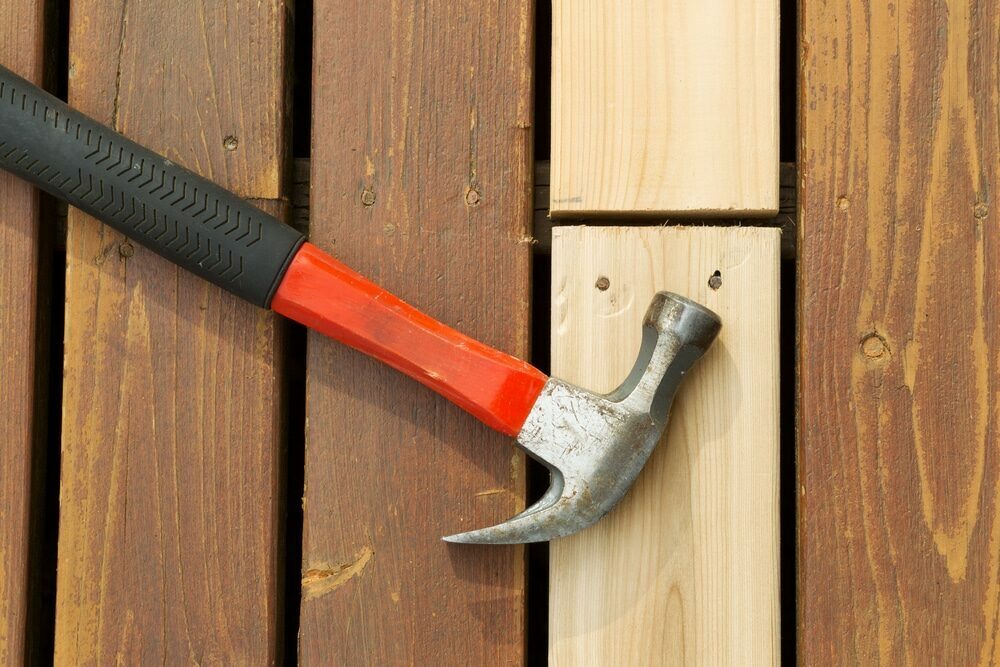
- Remove the Damaged Board: Use a pry bar and hammer to carefully remove the board. Be careful not to damage adjacent boards.
- Measure and Cut the New Board: Measure the space and cut a new board to fit. Ensure it matches the existing deck boards in type, thickness, and width.
- Install the New Board: Place the new board into the gap. Secure it with deck screws, ensuring they are countersunk for a smooth finish.
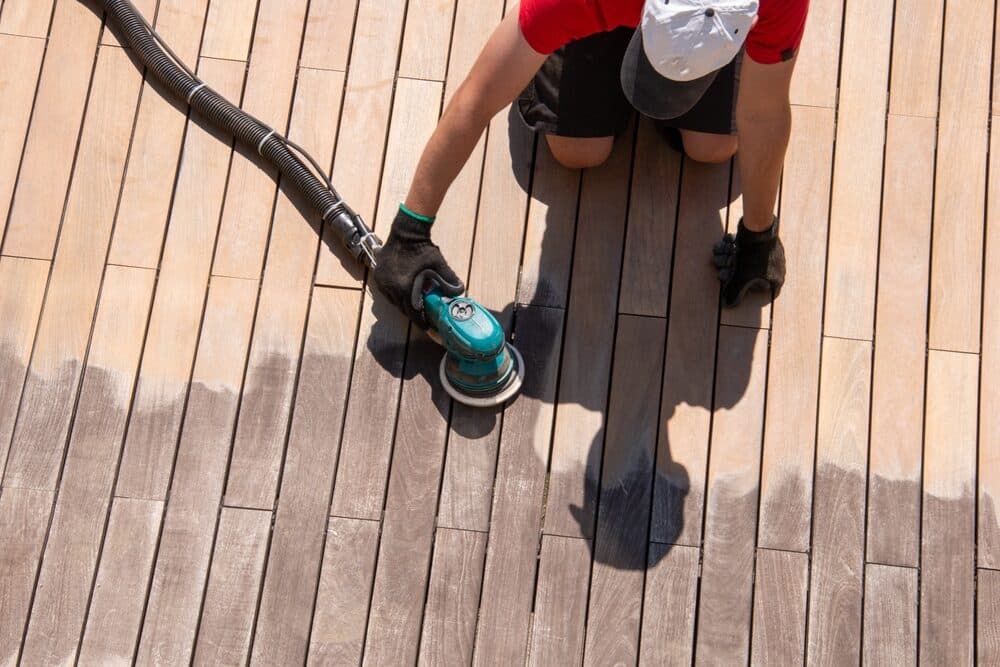
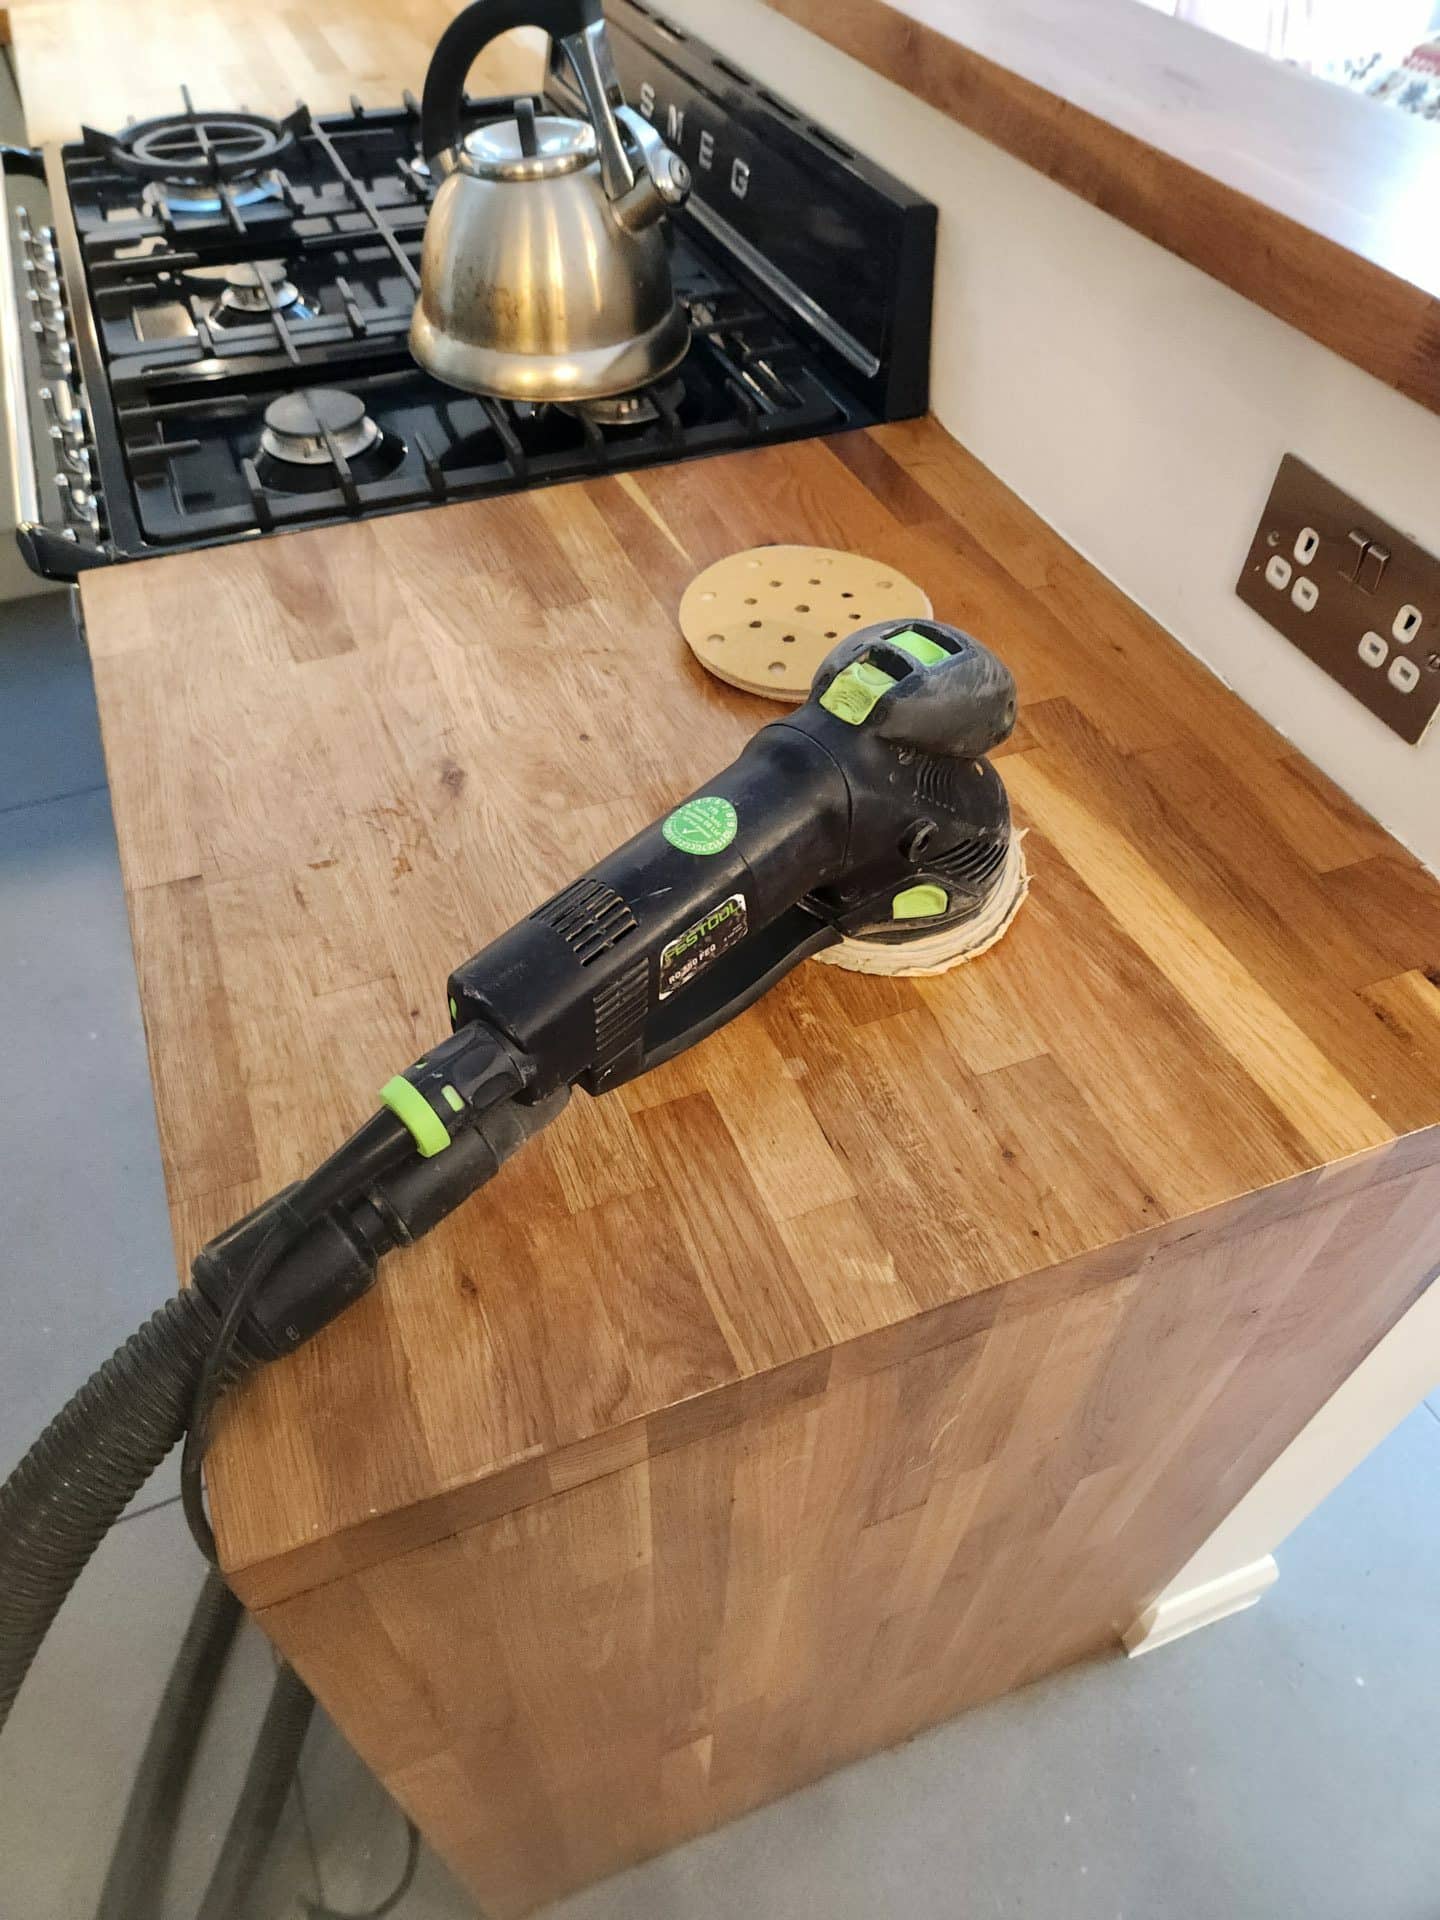
Sanding and smoothing techniques
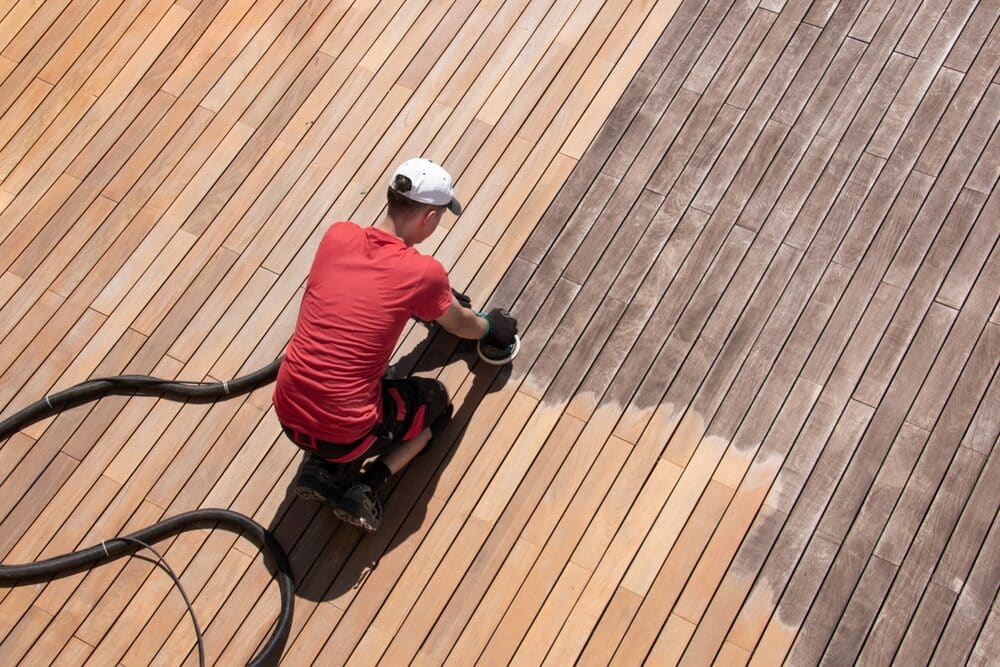
- Sanding: Once the damaged boards are replaced, sand the entire deck to create a smooth surface. This is especially important if your deck has splinters or rough spots.
- Choose the Right Grit: Start with a coarse grit for heavy sanding and move to a finer grit for a smooth finish.
- Use a Power Sander for Efficiency: For large decks, a power sander saves time and effort. Hand sanding works for smaller areas or touch-ups.
- Safety First: Wear a mask to avoid inhaling dust and goggles to protect your eyes.
Additional Repairs
- Tighten or Replace Fasteners: Tighten any loose screws and replace rusted or corroded fasteners.
- Check and Repair Railings: Make sure all railings are secure. Repair or replace any unstable parts.
- Inspect and reinforce joints and supports. If you have any doubts about the structural integrity, consult a professional.
Once all repairs are done, your deck will not only look better but will also be safer and more durable. This sets the stage for the next steps: choosing and applying the right stain or sealant to protect and enhance your deck’s appearance.
Choosing the Right Stain or Sealant
Selecting the right stain or sealant is essential for protecting your deck and enhancing its appearance. Here are the common types:
- Clear sealers: These provide basic protection against moisture and ageing without changing the wood’s natural olor. Ideal for decks with beautiful natural wood that you want to show off.
- Tinted Sealers: Similar to clear sealers but with a hint of colour to enhance the wood’s natural hues. They offer slightly better UV protection than clear sealers.
- Semi-Transparent Stains: These penetrate the wood to provide a middle ground between colour and natural appearance. They offer better protection and hide some of the wood’s imperfections.
- Solid Stains: These are like paint, covering the wood grain but offering the best protection against the elements. Ideal for older decks with more imperfections.
- Waterproofing Sealants: Specifically designed to protect against water damage, they are ideal for decks exposed to a lot of rain or near water bodies.
Pros and Cons of Different Finishes
- Clear and Tinted Sealers: Pros are a natural look and easy application; cons are less UV protection and frequent reapplication needed.
- Semi-Transparent Stains: The pros are balanced protection and aesthetics; the cons are that they can peel if not applied properly.
- Solid Stains: Pros are maximum protection and hiding imperfections; cons are hiding wood grain and potential peeling.
- Waterproofing Sealants: Pros are excellent moisture protection; cons are the potential for a more synthetic appearance.
Tips for Colour Selection
- Consider Your Home’s Exterior: Choose a colour that complements the exterior of your home.
- Test on a Small Area: Apply your chosen stain or sealant to a small, inconspicuous area of your deck to ensure you’re happy with the colour and finish.
- Think About Maintenance: Darker colours may show dust and dirt more easily, while very light colours can show stains.
Choosing the right stain or sealant not only enhances the aesthetic appeal of your deck but also plays a crucial role in its longevity. After selecting the appropriate product, you can move on to the application process, ensuring a smooth and protective finish for your restored deck.

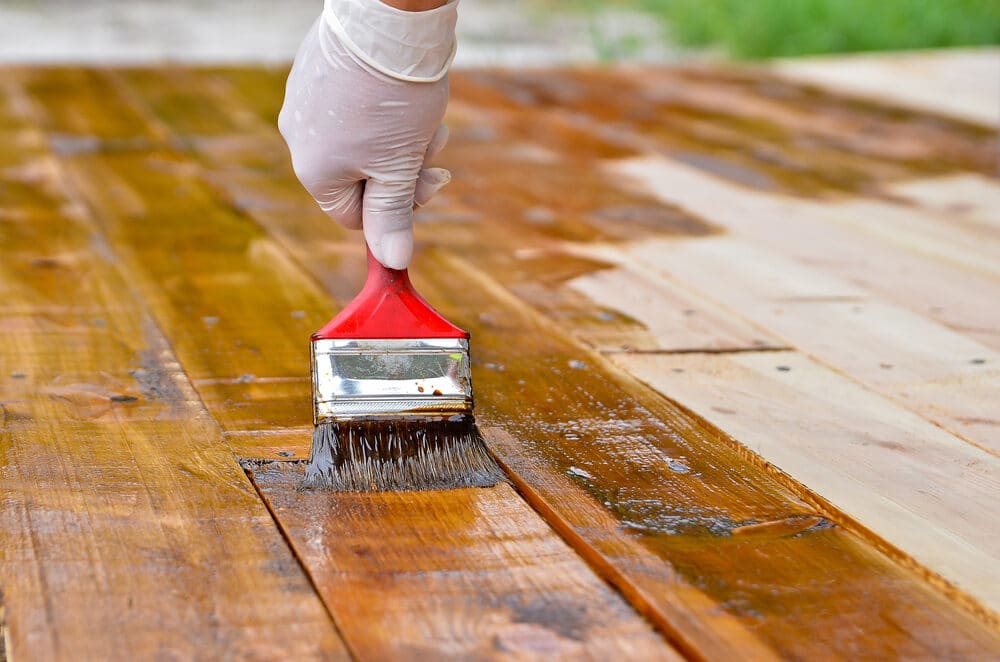
Applying stain or sealant
Before you apply stain or sealant, it’s important to ensure your deck is properly prepared to achieve the best results. Here’s how to prepare:
- Ensure the Deck is Clean: The deck should be free from dirt, grime, and debris. If you’ve just cleaned your deck, make sure it’s completely dry before applying any stain or sealant.
- Sanding: If you haven’t already sanded your deck during the repair phase, do so now. Sanding helps open up the wood’s pores, allowing the stain or sealant to penetrate more effectively.
- Tape Off Areas: Use painter’s tape to protect areas like siding or plants that you don’t want to get stains or sealants on.

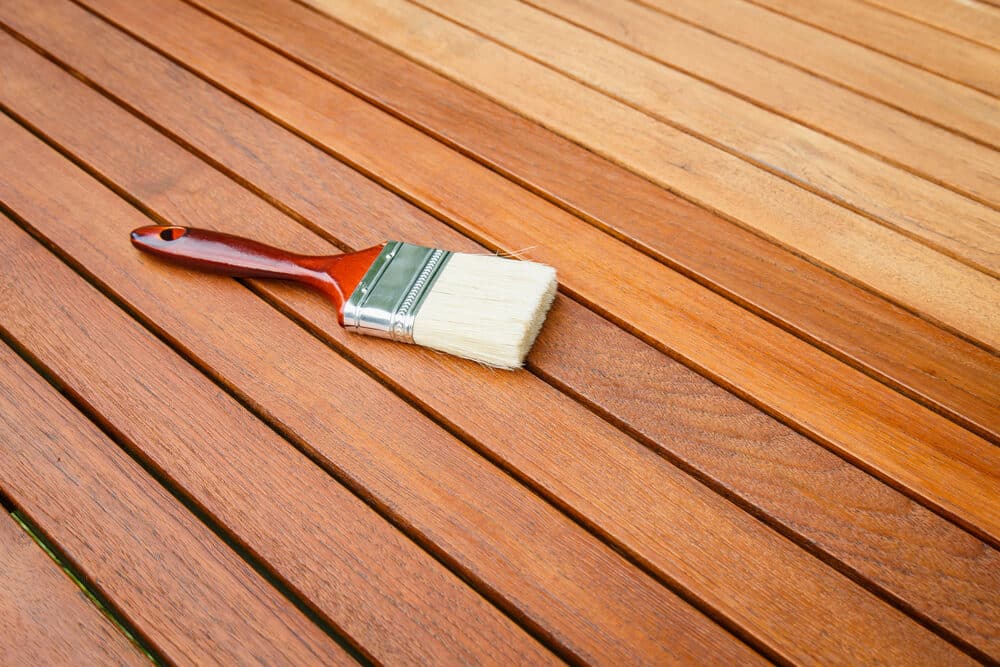
Application Techniques for the Best Results
- Choose the right tools: Use a brush, roller, or sprayer, depending on your preference and the type of product you’re using. Brushes work well for getting into cracks and ensuring even coverage.
- Apply in Sections: Work on one section of the deck at a time. This ensures that the edges of the stain don’t dry out before you can blend them with the next section.
- Smooth Out Drips and Runs: Keep an eye out for drips or runs, smoothing them out immediately with your brush or roller for an even finish.
- Apply Thin Coats: It’s better to apply two thin coats rather than one thick coat. This helps the stain or sealant penetrate the wood and dry more uniformly.
- Allow Adequate Drying Time: Check the product instructions for drying times. Make sure not to use the deck or place furniture on it until it’s fully dry.
Drying and Curing Time
- Drying Time: Most stains and sealants will be dry to the touch within a few hours, but this can vary depending on the weather and product.
- Curing Time: The full curing process, where the product reaches its maximum hardness and durability, can take several days. Avoid heavy use during this period.
Proper application of stain or sealant is crucial for achieving a durable and visually appealing finish. Once this step is completed, your deck will not only look renewed but will also be better protected against the elements, extending its life and maintaining its beauty.
Maintaining Your Restored Deck
Once your deck is restored, regular maintenance is key to keeping it in good condition. Here are some tips:
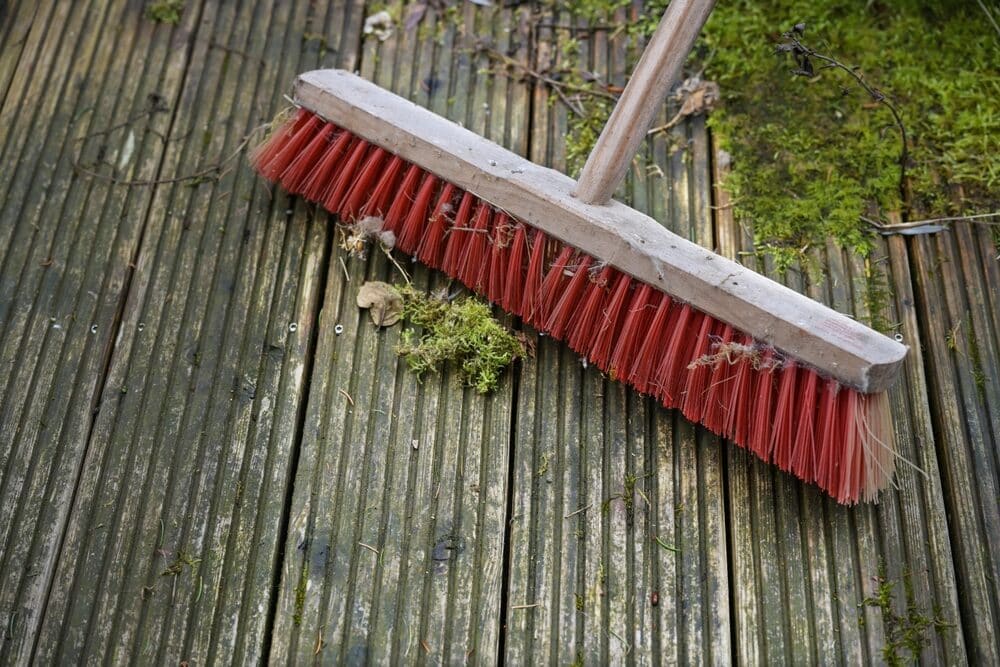
- Regular Cleaning: Sweep your deck regularly to remove dirt, leaves, and debris. This prevents mould and mildew growth and reduces the chance of stains.
- Periodic Washing: Use a mild deck cleaner or a simple soap and water solution to wash your deck at least twice a year. This helps to maintain its appearance and prevent the buildup of grime.
- Immediate Stain Removal: If something spills on your deck, clean it up as soon as possible to prevent staining.
- Check for Damage: Regularly inspect your deck for signs of wear or damage, such as loose boards or railings, and repair them promptly.
Addressing Minor Issues Quickly
- Loose Screws or Nails: Tighten any loose screws and replace any popped nails as soon as you notice them.
- Minor Splinters or Cracks: These can be sanded and resealed to prevent further damage.
Seasonal Deck Care Advice
- Winter: If you live in a region with snow and ice, use a plastic shovel to remove snow from your deck to prevent scratching the wood. Avoid using salt or chemical ice melters that can damage the wood and stain it.
- Spring and Fall: These are good times to do a thorough cleaning and check for any repairs needed.
- Summer: Protect your deck from sun damage by using a UV-resistant sealant, and keep it clean from summer BBQ spills and stains.
Additional Tips
- Reapply Sealant or Stain: Depending on the type of product used and your local weather conditions, reapply the sealant or stain every few years to maintain its protective layer.
- Furniture and Plant Considerations: Use furniture pads to prevent scratches on your deck. Make sure that planters have trays underneath to prevent water stains.
Common Mistakes to Avoid
When restoring and maintaining a deck, there are several common pitfalls that homeowners can fall into. Being aware of these can save you time and money and ensure the longevity of your deck. Here are some key mistakes to avoid:
- Ignoring Regular Maintenance: One of the biggest mistakes is neglecting regular maintenance. Routine cleaning and inspections can prevent major issues from developing.
- Improper Preparation Before Staining or Sealing: Failing to properly clean and sand the deck before applying stain or sealant can lead to a poor finish that won’t last long.
- Using the Wrong Products: Choosing the wrong type of stain or sealant for your deck material can lead to inadequate protection and a less appealing finish.
- Applying Too Much Stain or Sealant: Over-application can lead to a sticky surface that doesn’t dry properly. It’s better to apply multiple thin coats than one thick coat.
- Not Allowing Enough Drying Time: It’s essential to allow sufficient drying time after cleaning, before applying stain or sealant, and also after the application.
- Ignoring the Weather: Applying a stain or sealant in unsuitable weather conditions, like extreme heat, cold, or humidity, can affect the finish.
- Overlooking Structural Issues: Focusing only on the deck’s surface without paying attention to structural elements like joists and supports can lead to safety hazards.
- Neglecting Railings and Steps: Often, railings and steps get overlooked during the restoration process, yet they are crucial for safety and aesthetics.
- Using High-Pressure Power Washing Incorrectly: While power washing can be effective for cleaning, using too high a pressure can damage the wood fibres, leading to a rough surface.
- Forgetting to Protect Surrounding Areas: When staining or sealing, it’s important to protect nearby plants, siding, and other surfaces from drips or overspray.
Avoiding these common mistakes will help ensure that your deck restoration and maintenance efforts are successful, leaving you with a beautiful and durable deck that you can enjoy for years to come.

Conclusion
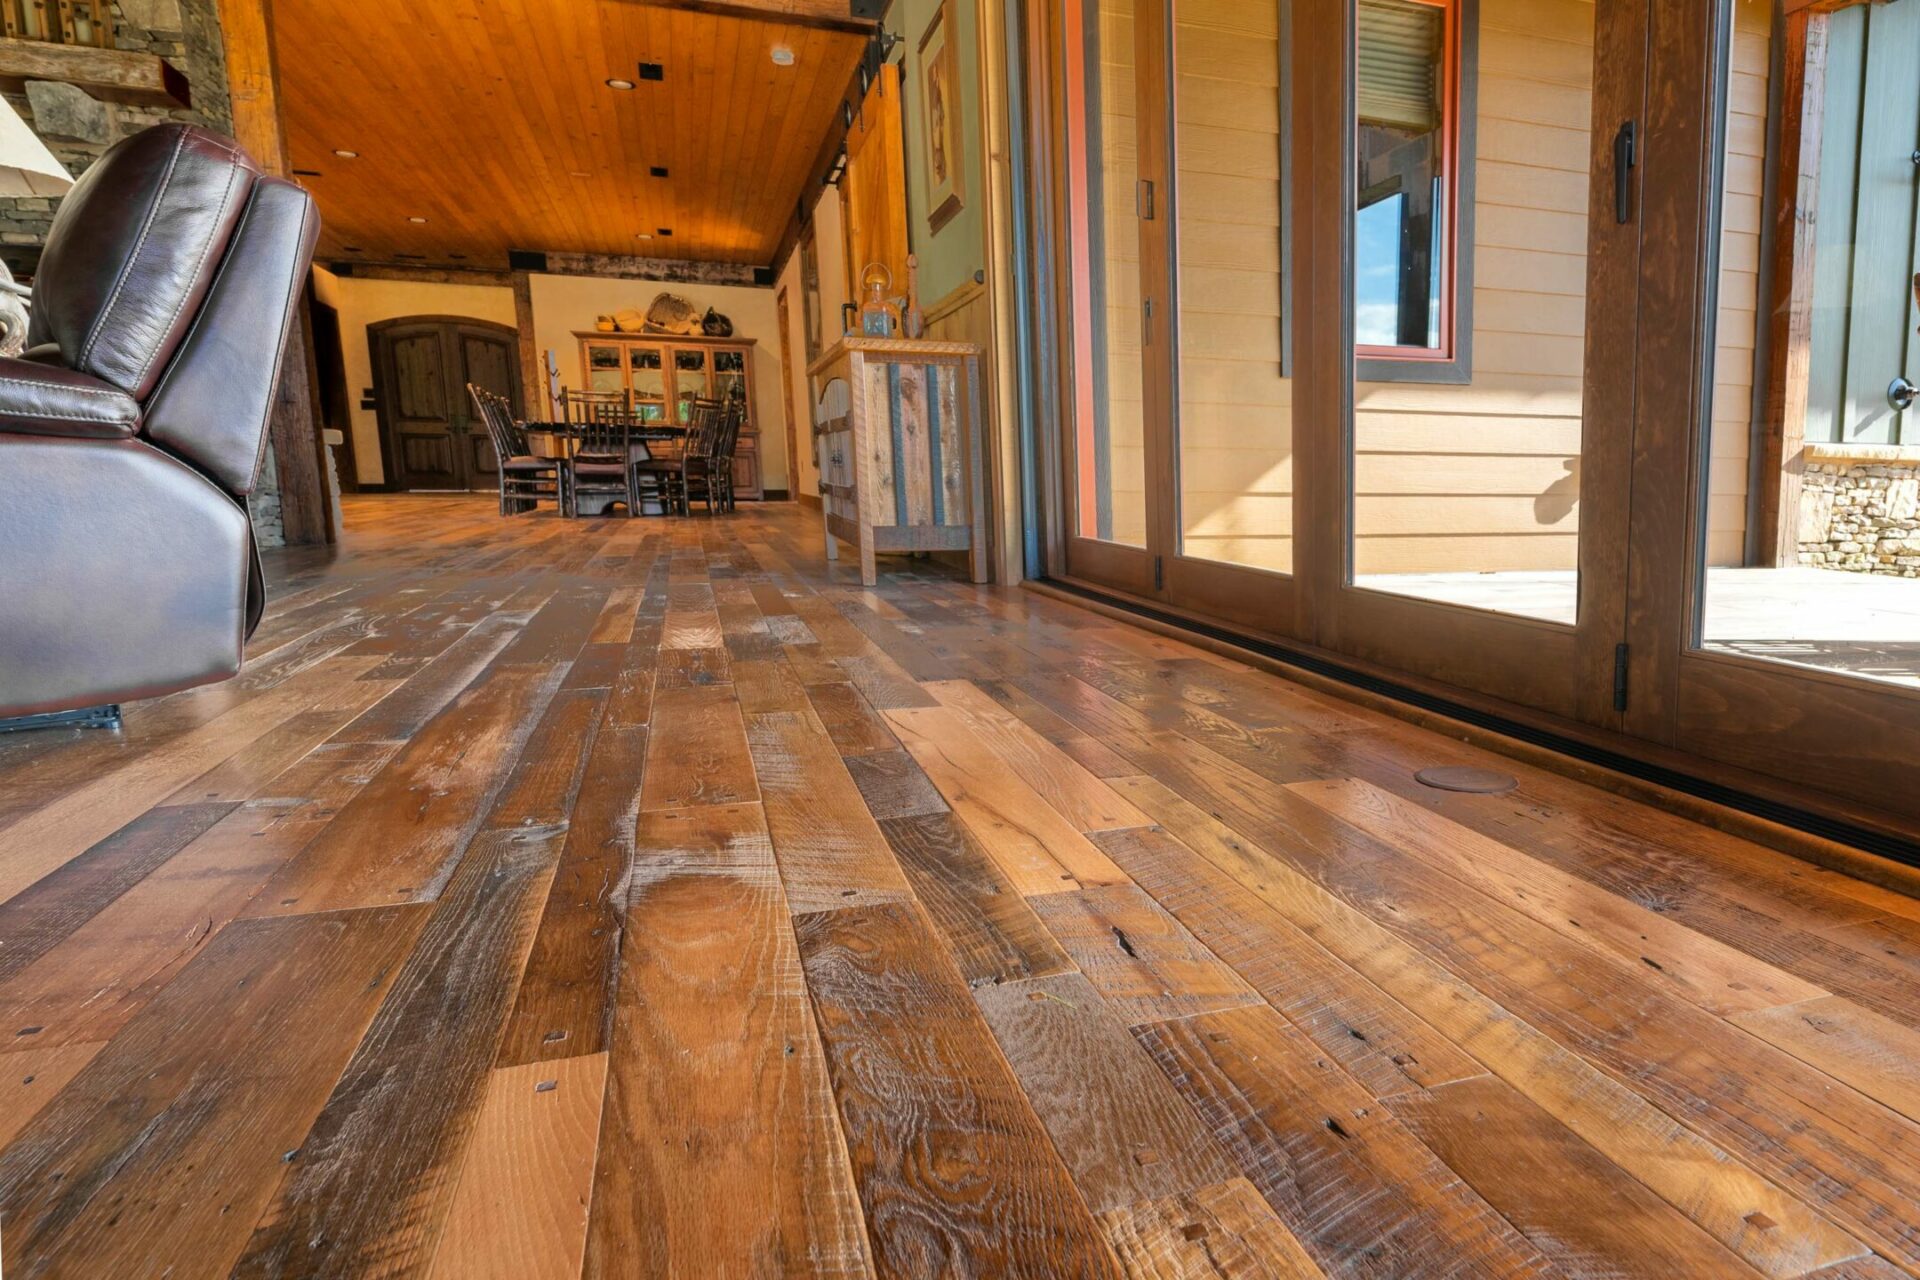
Restoring a weathered deck is a rewarding project that not only enhances the beauty of your outdoor space but also extends the life of your deck. Throughout this guide, we’ve covered the crucial steps in this process that are explained briefly.
Now that your deck has been restored, it’s time to enjoy the fruits of your labor. A revitalised deck not only adds aesthetic appeal to your home but also serves as a wonderful space for relaxation and entertainment. Whether hosting barbecues, enjoying quiet mornings, or simply admiring the renewed look of the wood, your deck is now ready to make lasting memories.
Restoring a weathered deck can seem daunting, but with the right approach, it’s a manageable and satisfying project. By following the steps outlined in this guide, you’ve not only improved the look and safety of your deck but also enhanced the overall value of your property. Regular maintenance will ensure that your deck remains a cherished part of your home for years to come.
Thank you for following this guide on “How to Restore a Weathered Deck.” May your newly restored deck bring you endless enjoyment and serve as a testament to the value of caring for your outdoor living space.

Sanding
We provide virtually dust-free sanding with our continuous belt machinery with mobile extraction units, giving you a safer environment for your family.
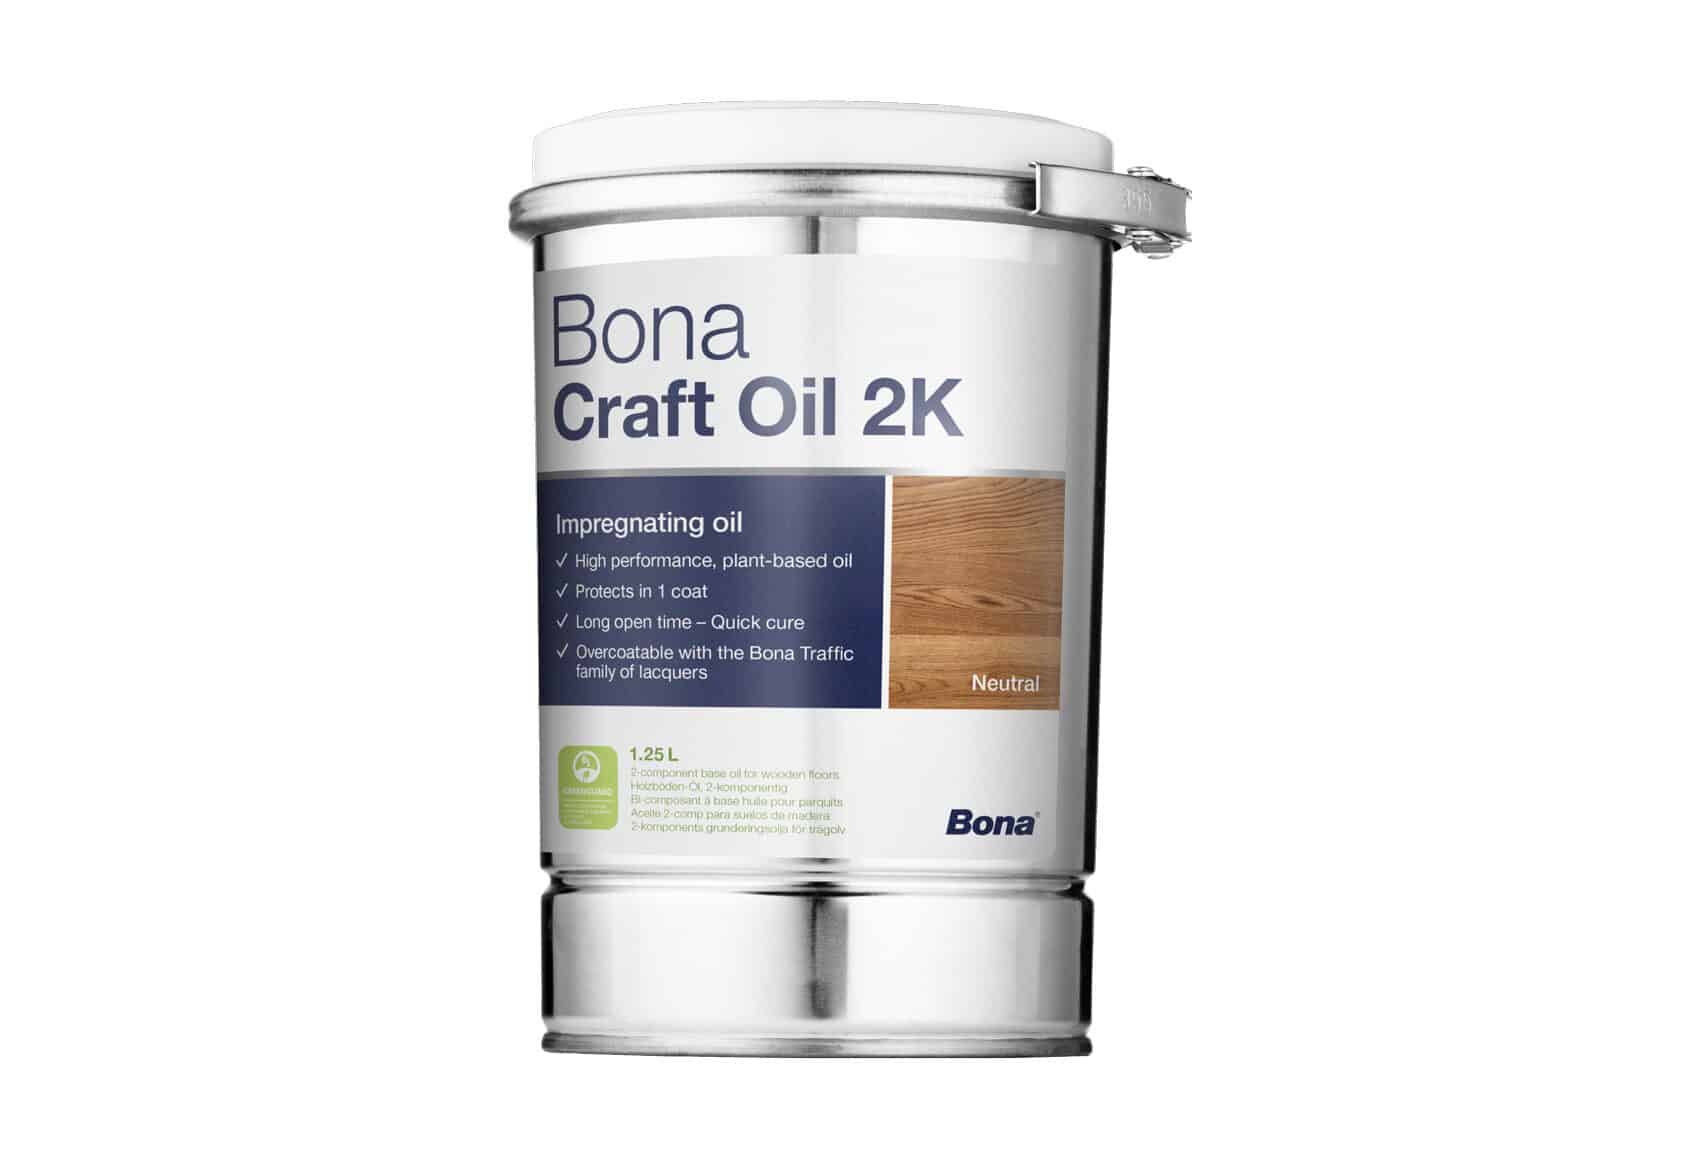
Oiling
This organic finish not only adds beauty to your home but also has exceptional water-repellent characteristics, making it easier to clean and maintain.
Waxing
This natural floor finish offers the softest and most mellow appearance – and leaves your floor able to breath.
Buffing
Using soft buffing machines (and hand-polishing where required) will bring a wonderful sheen to your newly-finished floor.
Repairs
We offer a full assessment of your wooden floors to determine what repairs are needed to provide the perfect working surface for the later stages of sanding, staining and sealing.
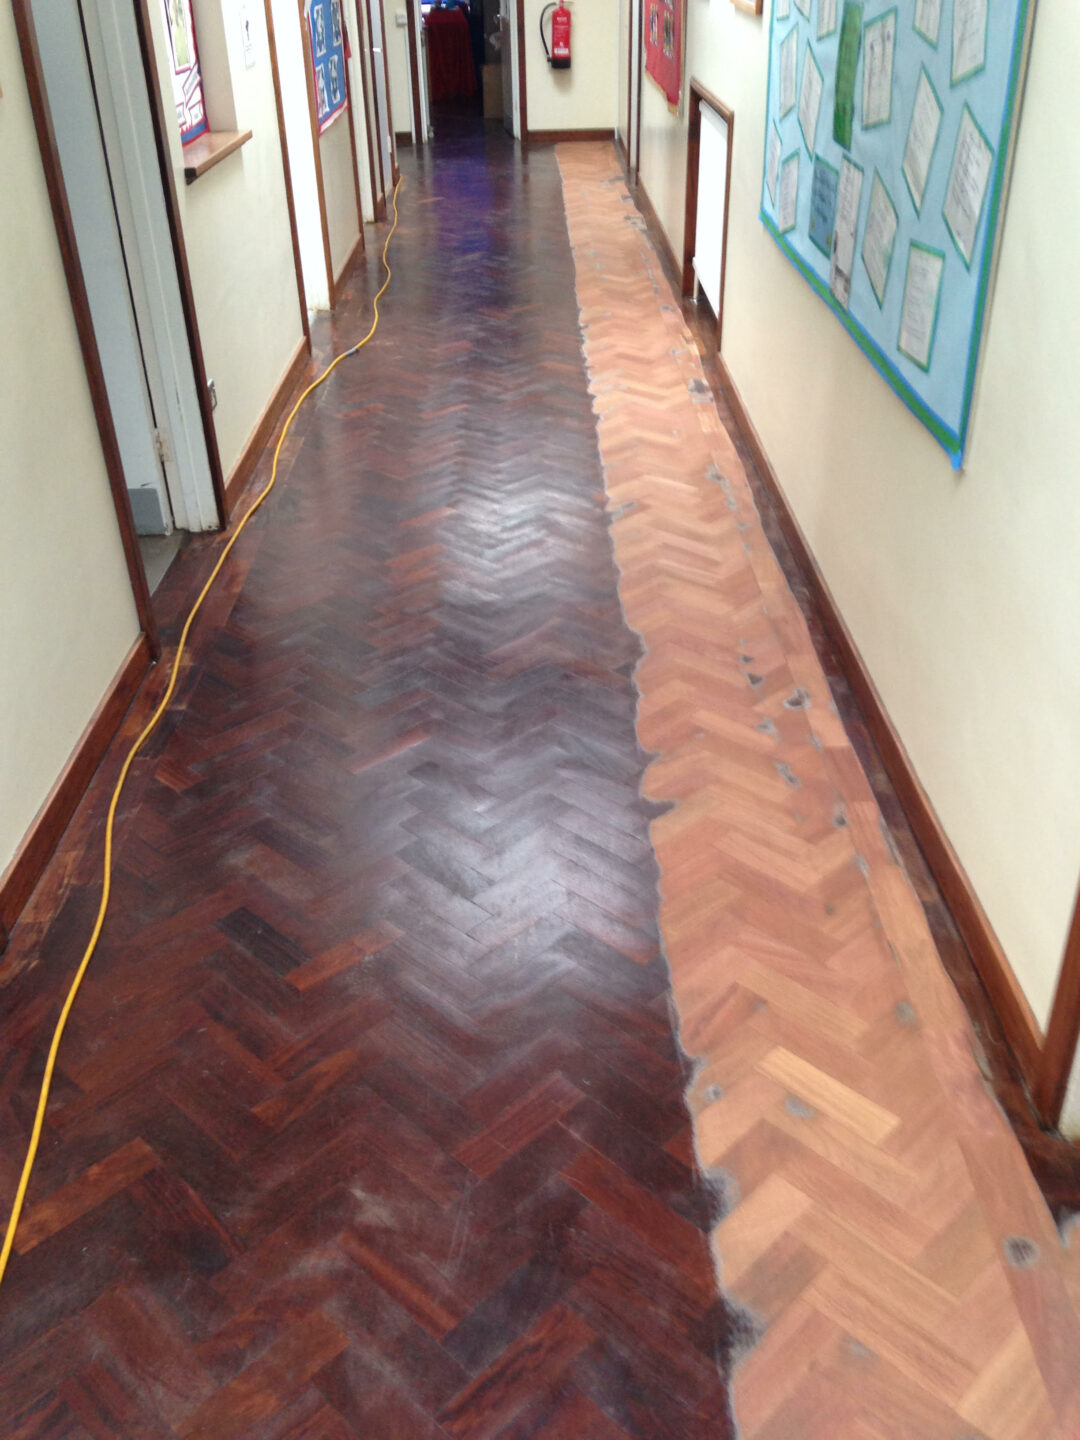
Restoration
We offer a comprehensive restoration process designed to address floors that are improperly fitted or damaged over time through wear and tear.
Request a fixed price quote for your wood floor restoration now
Simply enter your postcode below to get started.
Services
Wood Floor Sanding Wood Floor Restoration Wood Floor Scratch Repair Squeaky Wood Floor Repair Parquet Floor Sanding Parquet Floor Restoration Commercial Floor Sanding Church Floor Sanding Community Centre Floor Sanding School Floor Sanding Gap Filling Gap Filling with ResinCopyright © Mr Sander®
Privacy & Cookies Terms & Conditions Complaints Procedure Cancellation Rights Sitemap

Get An Instant Price Estimate Before You Go…
Simply enter the rooms you need sanded and we’ll provide you with a price estimate instantly! Try our price calculator now.
Get a Price Estimate NowLocal Floor Sanding Experts
Over 500 5-Star Reviews
Safe, Dust Free Sanding
Operating Since 1994