London:
Nationwide:
25,000+
Floors Restored
27 Years Experience
Wood Flooring Association Certified
Can You Paint Over an Old Deck? Here’s What You Need to Know
Posted on January 8, 2024
Deck Maintenance
Revitalizing Your Outdoor Space: Painting Over an Old Deck
Welcome to our comprehensive guide to reviving your old deck! If you’re staring at your weathered deck and wondering whether it’s time for a makeover, you’re in the right place. Decks are more than just outdoor spaces; they’re where memories are made, from summer barbecues to quiet evenings under the stars. But over time, the elements can take a toll on your deck, leaving it looking aged and worn.
The good news is, with the right approach, painting your old deck can transform it from a faded backdrop to a vibrant centrepiece of your outdoor living space. However, this isn’t a task to take lightly. Before you grab a paintbrush and get started, there are essential factors to consider to ensure your deck not only looks fantastic but stays in great condition for years to come.
In this post, we’ll explore everything you need to know about painting an old deck. We’ll help you assess the condition of your deck, choose the right materials, and guide you through the painting process step-by-step. Whether you’re a DIY enthusiast or considering hiring a professional, this guide will provide you with the knowledge and tips to make an informed decision and achieve the best possible results.
So, let’s dive in and discover how you can breathe new life into your old deck with a fresh coat of paint!
Assessing Your Deck’s Condition
Before embarking on the journey of painting your old deck, it’s crucial to assess its current condition thoroughly. This step is vital, as it determines not only the feasibility of a paint job but also the amount of preparation needed to ensure a lasting finish. Here’s how you can effectively evaluate your deck’s condition:
1. Visual Inspection for Wear and Damage
- Surface Wear: Look for signs of wear, such as fading, discoloration, or chipped and peeling paint from previous finishes.
- Wood Damage: Check for wood rot or decay, especially in areas that are prone to moisture accumulation. Probe suspect areas with a screwdriver to test for softness.
- Cracks and Splits: Identify any significant cracks or splits in the wood, which can impact the deck’s structural integrity.
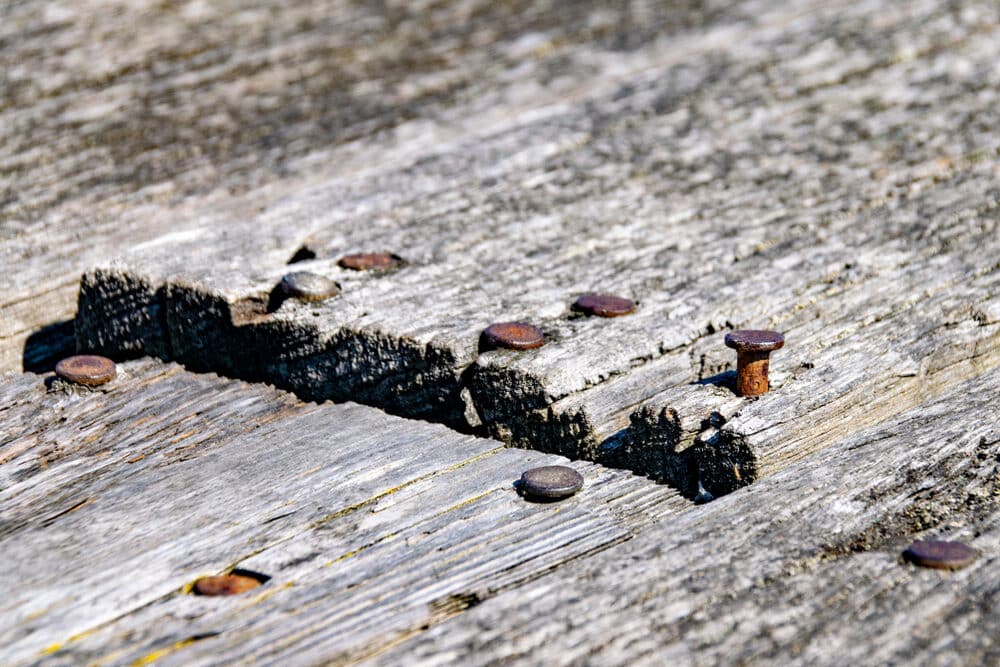
2. Checking for structural issues
- Loose Boards or Railings: Ensure all boards, railings, and steps are secure. Loose elements not only pose a safety hazard but also affect the quality of your paint job.
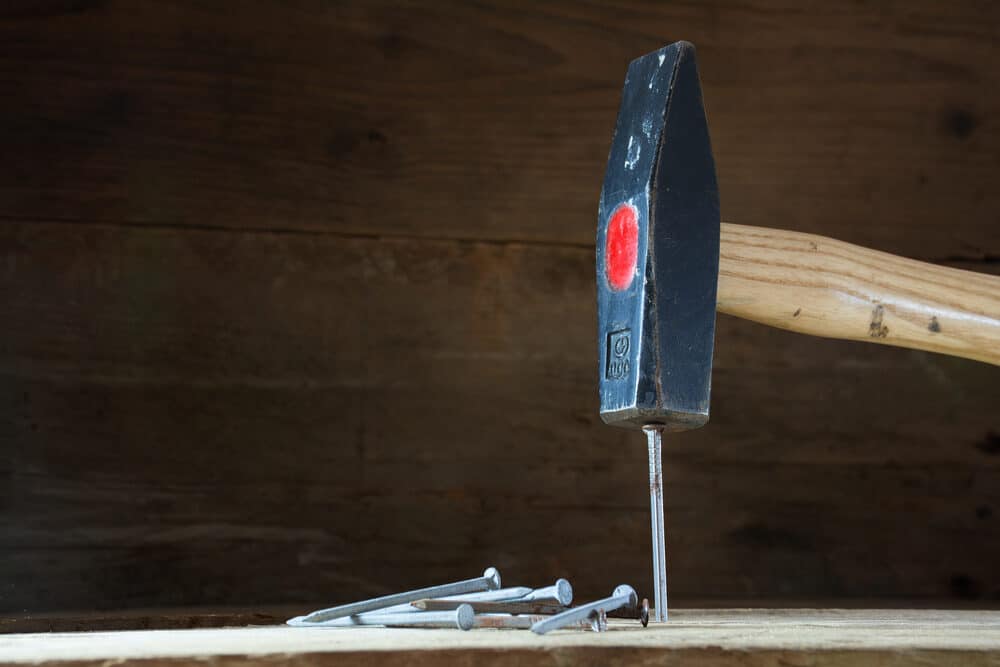
- Nails and Screws: Inspect for protruding nails or screws that need to be hammered down or replaced.
3. Mould and mildew assessment
- Look for any signs of mould and mildew, which can be a common issue on decks. These need to be thoroughly cleaned and treated before painting.
4. Understanding the Type of Wood
- Different wood types respond differently to paint. Knowing whether your deck is made of pressure-treated lumber, hardwood, or another material will guide your choice of paint and preparation methods.
5. Previous finishes and coatings
- If your deck has been previously stained or painted, consider how well the new paint will adhere to the existing finish. Some finishes may require stripping before repainting.
6. Weather and Age Considerations
- Consider the age of your deck and the typical weather conditions it faces. Older decks or those exposed to harsh weather may require more extensive prep work.
Preparing Your Deck for Painting
Once you’ve assessed the condition of your deck and decided that painting is the right course of action, the next crucial step is preparation. Proper preparation is key to ensuring that your paint adheres well and lasts as long as possible. Here’s a comprehensive guide to preparing your deck for painting:
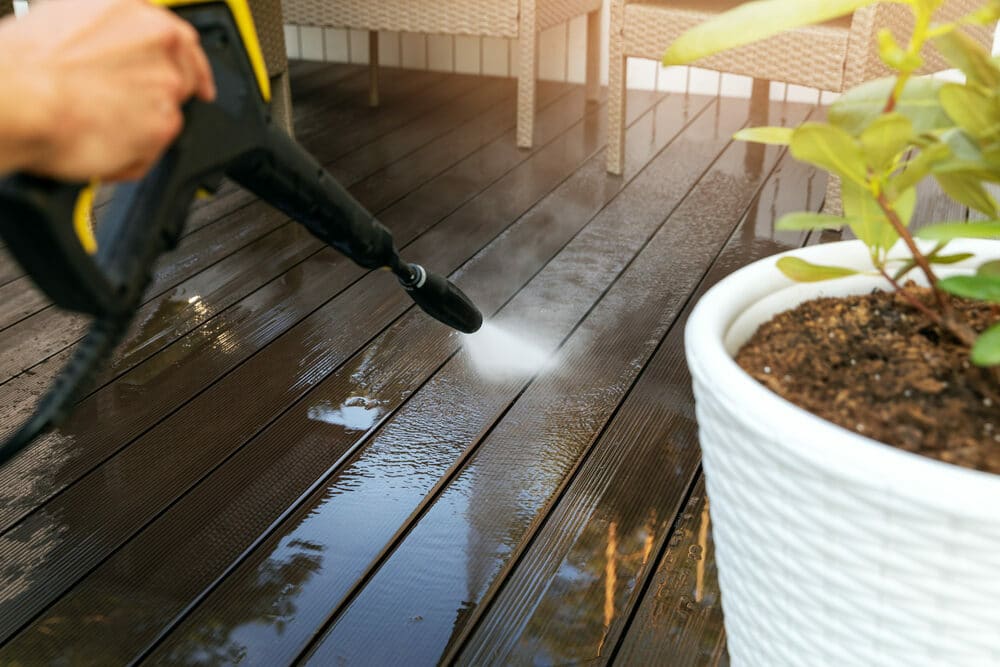
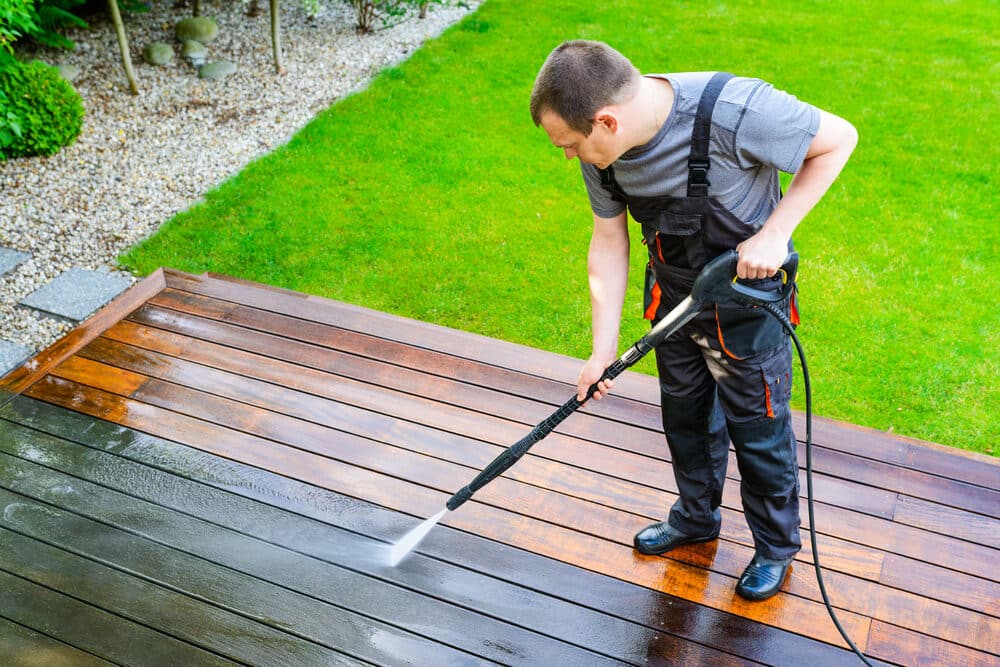
1. Cleaning the deck
- Remove Debris: Start by sweeping the deck to remove loose dirt, leaves, and debris. Pay special attention to the gaps between the boards where debris tends to accumulate.
- Wash the Deck: Use a deck cleaner or a mild detergent solution to thoroughly wash the deck. For best results, use a pressure washer, but be careful not to damage the wood with a high-pressure setting.
- Treat Mould and Mildew: If you noticed any mould or mildew during your assessment, treat these areas with a mould-killing solution.
2. Making Repairs
- Replace Damaged Wood: Replace any boards that are too damaged to be repaired.
- Secure Loose Boards and Railings: Tighten any loose screws and hammer in protruding nails.
- Fill Cracks and Holes: Use a wood filler to fill in any cracks, splits, or holes in the deck boards.
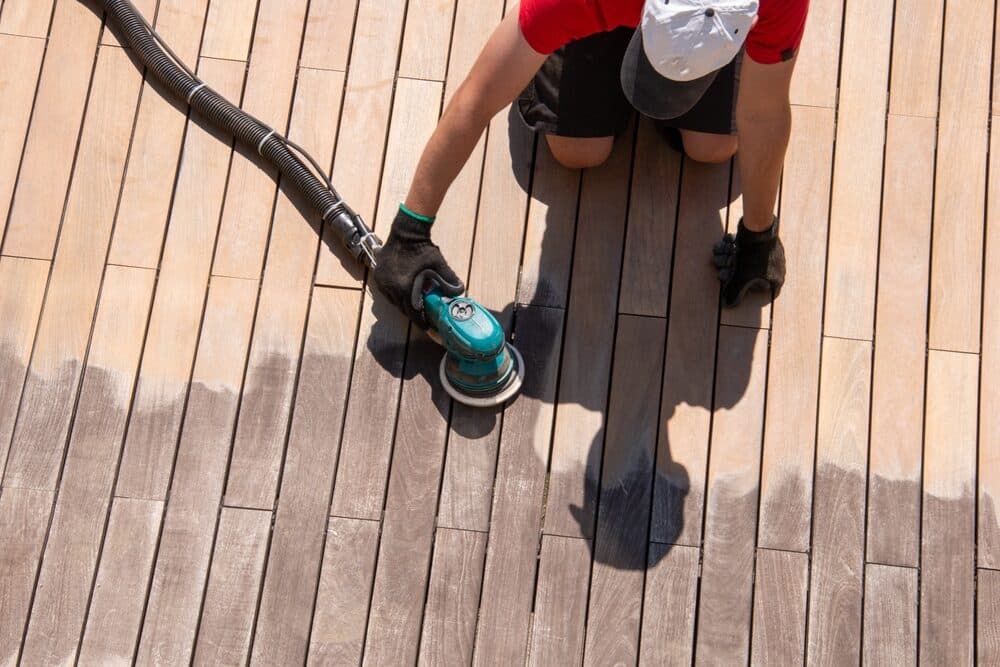
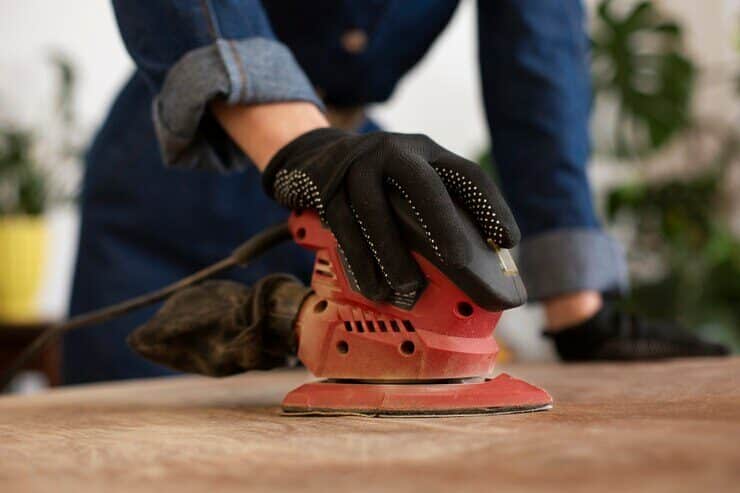
3. Sanding
- Smooth the Surface: Sand the entire deck to create a smooth surface. This helps the paint adhere better and also removes any residual dirt or old paint.
- Focus on Rough Spots: Pay special attention to areas where the wood is splintered or rough.
- Dust Removal: After sanding, sweep the deck again or use a leaf blower to remove all the sanding dust.
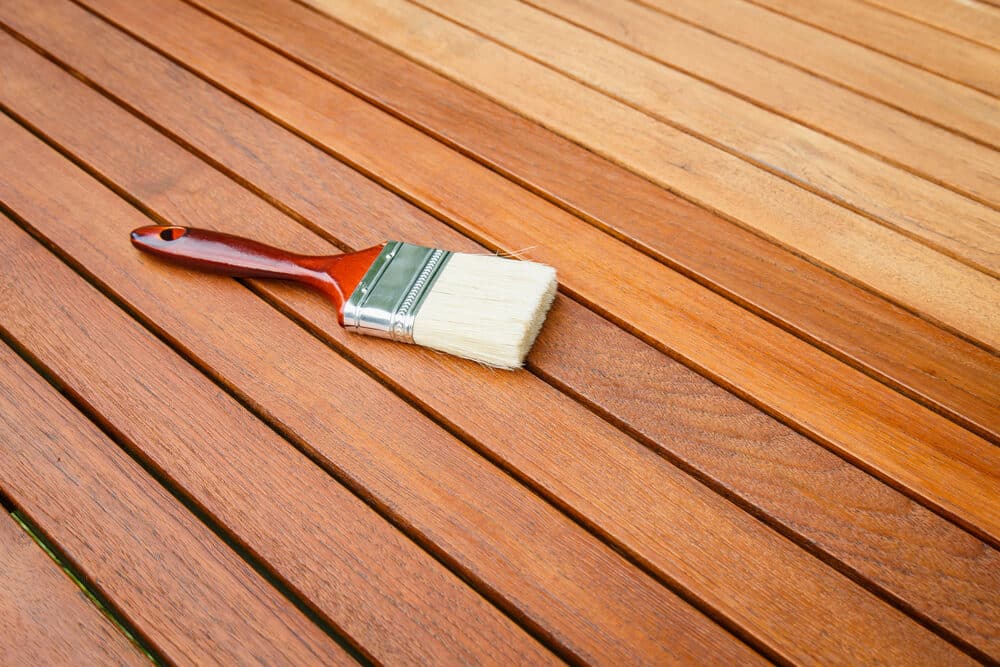
4. Priming the deck (if necessary)
- Choose the Right Primer: If your deck is made of a particularly porous wood or if you’re switching from a dark to a light paint colour, apply a quality primer designed for exterior use.
- Application: Use a roller or brush to apply the primer evenly, and allow it to dry completely as per the manufacturer’s instructions.
5. Planning for weather conditions
- Check the Forecast: Ensure that the weather will be dry both during and after painting for the time required by the paint to properly dry and cure.
- Temperature and Humidity: Take note of the temperature and humidity levels recommended by the paint manufacturer, as extreme conditions can affect the paint’s drying and curing processes.

Choosing the Right Paint and Supplies
Selecting the right paint and supplies is a critical step in your deck painting project. The type of paint you choose can significantly impact the appearance, durability, and maintenance of your deck. Here’s a guide to help you make the best choices:
1. Type of Paint
- Deck Paint vs. Regular Exterior Paint: Opt for a specialised deck paint that is formulated to withstand foot traffic and varying weather conditions. Regular exterior paint may not endure the wear and tear on a deck.
- Oil-Based vs. Water-Based Paints: Oil-based paints are known for their durability and resistance to wear, making them a good choice for decks. However, water-based paints are easier to work with, dry faster, and are more environmentally friendly.
- Finish Options: Choose between different finishes like matte, semi-gloss, or glossy, depending on your aesthetic preference and the level of maintenance you’re willing to undertake. Glossy finishes are easier to clean but show imperfections more readily.

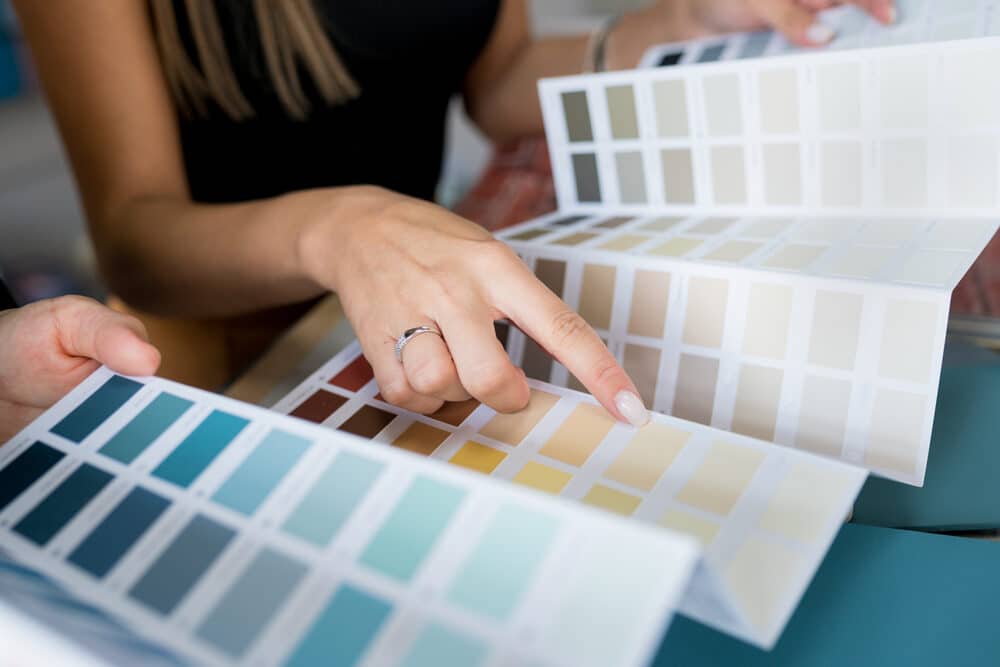
2. Preparing for Colour Choice
- Consider the deck’s exposure: If your deck is exposed to a lot of sunlight, lighter colours may be better as they absorb less heat.
- Complement Your Home’s Exterior: Choose a colour that complements the exterior of your home and fits in with your outdoor décor.
- Test Samples: Before committing to a colour, test paint samples on a small area of your deck to see how they look in different lights and against your home’s exterior.
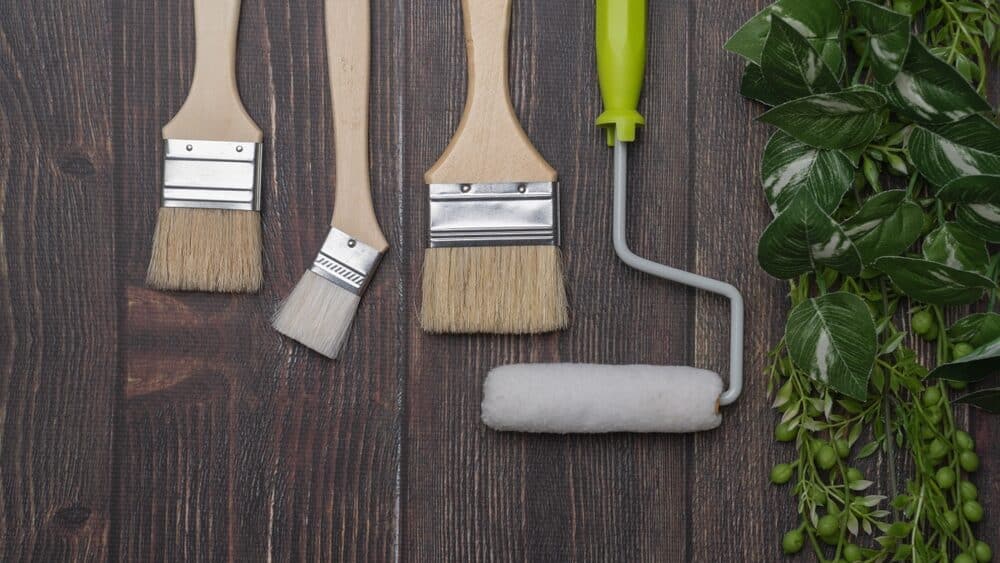
3. Supplies for painting
- Paint Brushes and Rollers: Get high-quality brushes and rollers for a smooth application. Consider the size and texture of your deck when choosing the size of brushes and rollers.
- Paint Tray: Use a paint tray for easier loading of paint onto rollers.
- Painter’s Tape: Use painter’s tape to protect areas that you do not want to paint, such as the side of the house or metal fixtures.
- Drop Cloths: Protect the surrounding areas from paint spills and drips with drop cloths.
4. Safety and cleaning supplies
- Protective Gear: Use gloves, safety goggles, and masks, especially if sanding or using a pressure washer during preparation.
- Cleaning Supplies: Have rags and cleaning solvents ready for any spills or drips.
5. Other tools and materials
- Extension Handles for Rollers: These can make it easier to paint larger areas or hard-to-reach spots.
- Sanding Tools: If your deck requires sanding, ensure you have the appropriate sanding tools and materials.
Step-by-Step Painting Guide
Painting your deck can be a rewarding DIY project if done correctly. Following a systematic approach ensures a smooth, even finish and prolongs the life of your deck. Here’s a step-by-step guide to help you paint your deck effectively:
1. Final Preparations
- Check the Weather: Ensure you have a clear weather forecast for at least 24-48 hours.
- Protect Surroundings: Use drop cloths to protect areas around the deck from paint splatters.
- Tape Off Areas: Apply painter’s tape to areas that you don’t want to paint, like siding or railings.
2. Priming (if necessary)
- Apply primer: If your deck needs a primer, apply it with a roller or brush. Ensure even coverage and allow it to dry completely according to the manufacturer’s instructions.
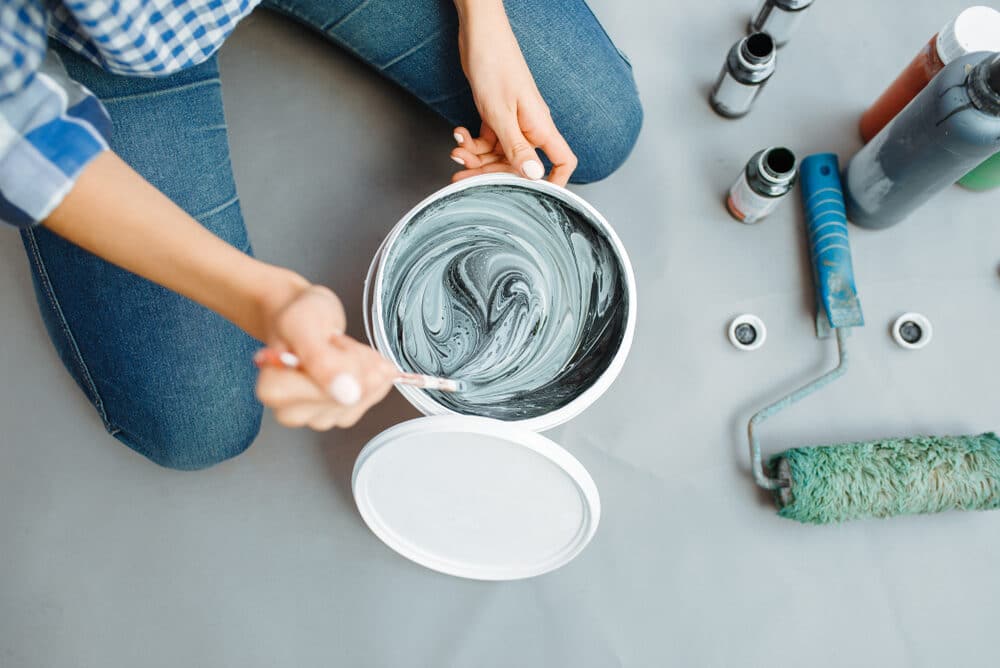
3. Mixing the paint
- Stir the Paint: Thoroughly stir the paint to ensure colour consistency. Don’t shake the paint, as it can create air bubbles.
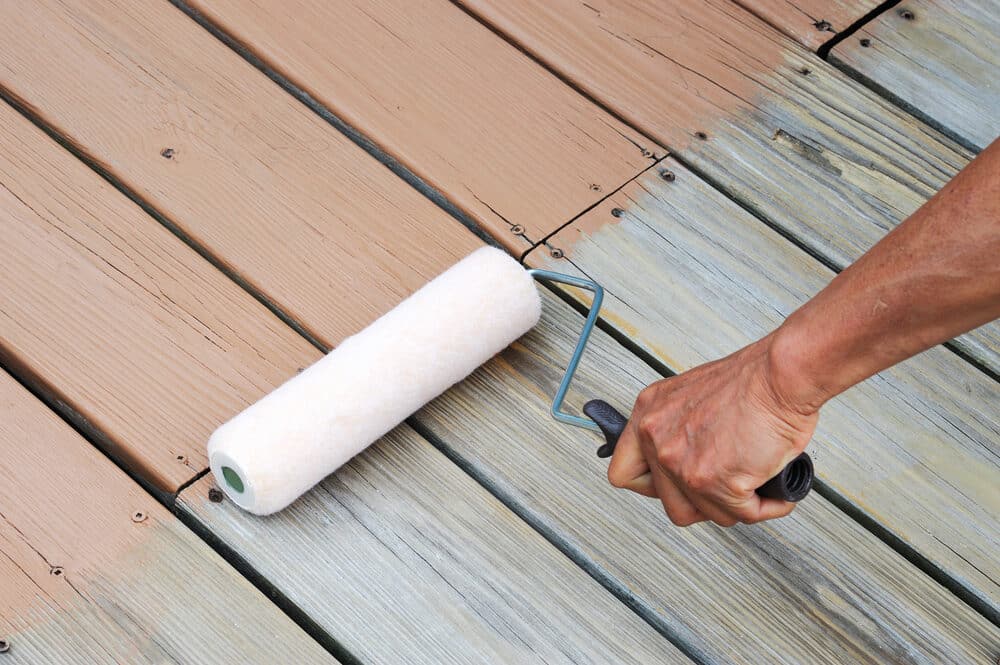
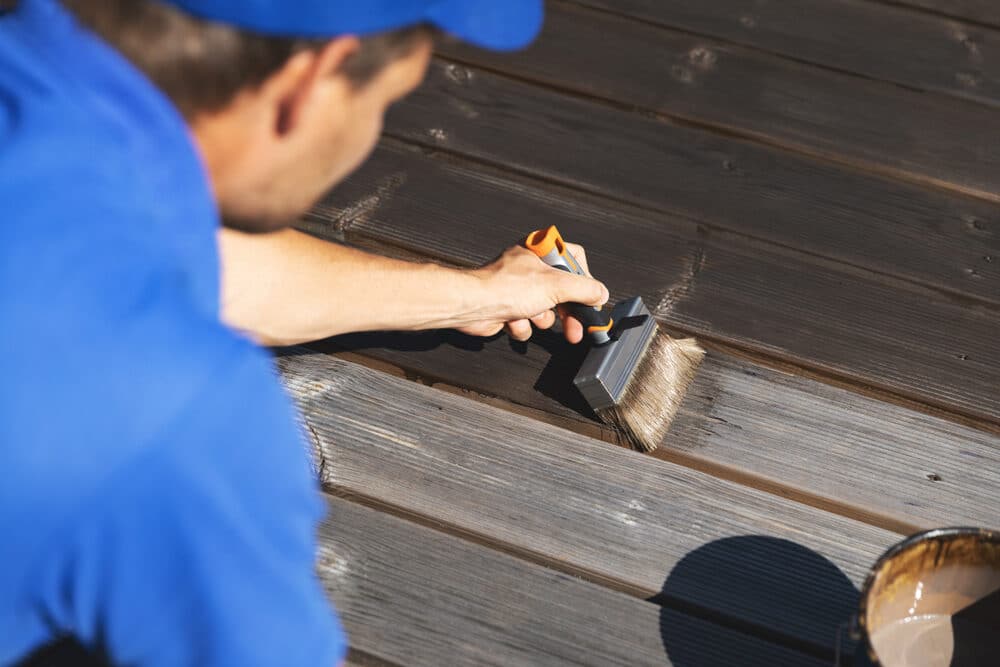
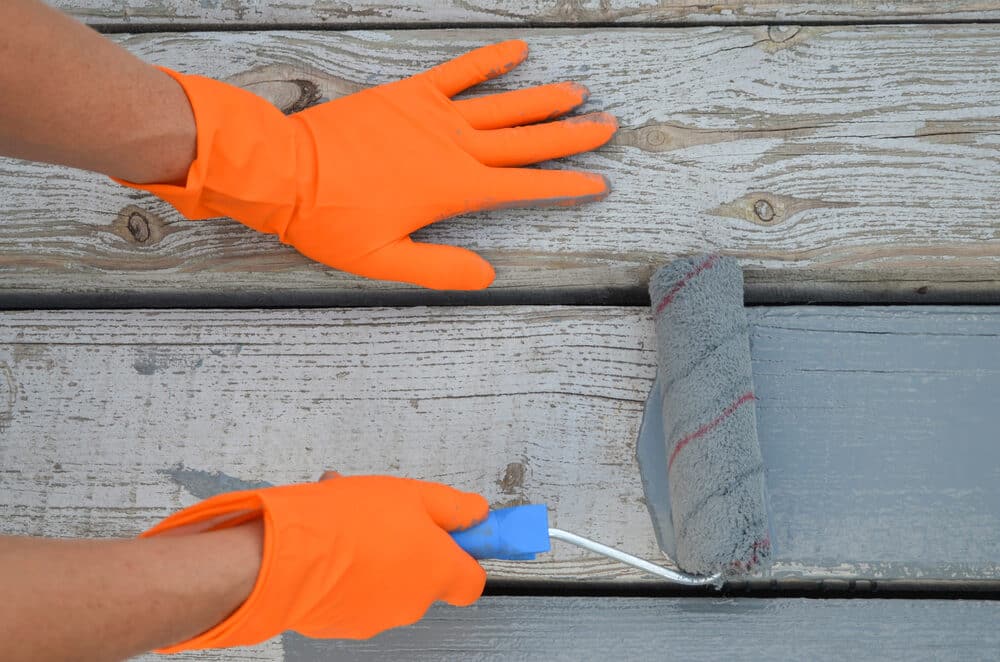
4. Applying the First Coat of Paint
- Start with Edges and Corners: Use a brush to cut in around edges, corners, and any hard-to-reach areas.
- Use a Roller for Large Areas: For the main surface of the deck, use a roller to apply paint in long, even strokes. Work in small sections to maintain a wet edge.
- Smooth Out Paint: Go over each section with a dry roller or brush to smooth out the paint and eliminate any puddles or drips.
5. Letting the first coat dry
- Drying Time: Allow the first coat to dry completely. The drying time can vary based on temperature and humidity.
6. Applying the Second Coat
- Apply a Second Coat: Depending on the opacity and the colour you’re using, a second coat may be necessary for even coverage and depth of colour.
- Repeat the process: Use the same technique as the first coat, ensuring even coverage.

7. Finishing Touches
- Remove Painter’s Tape: Once the final coat is dry to the touch, carefully remove the painter’s tape.
- Touch-ups: If necessary, do touch-ups with a small brush for any missed spots or edges.
8. Cleaning Up
- Clean Tools Immediately: Clean your brushes, rollers, and trays with the appropriate cleaners (water for latex paint, mineral spirits for oil-based paint).
- Dispose of Waste Properly: Follow local regulations for disposing of paint and cleaning supplies.
9. Curing Time
- Wait Before Using the Deck: Even though the paint may feel dry, it needs time to cure for full durability. Avoid heavy foot traffic and placing furniture on the deck for the time recommended by the paint manufacturer.
10. Maintenance
- Regular Check-ups: Periodically check your deck for chips or wear and perform touch-ups as necessary.
Common Mistakes to Avoid When Painting a Deck
Painting a deck can rejuvenate your outdoor space, but common mistakes can lead to less than desirable results and may even shorten the lifespan of your deck. Here are some common pitfalls to avoid:
1. Skipping proper preparation
- Importance: Properly cleaning, sanding, and priming (if necessary) your deck is crucial. Skipping these steps can lead to poor paint adhesion and longevity.
- Solution: Invest time in thoroughly preparing your deck before painting.
2. Ignoring weather conditions
- Importance: Painting in unsuitable weather can ruin your paint job. High humidity, rain, or extreme temperatures can affect paint drying and curing.
- Solution: Choose a time to paint when the weather forecast is dry and within the temperature range recommended by the paint manufacturer.

3. Choosing the Wrong Paint
- Importance: Not all paints are suitable for decks, and the wrong type can peel or chip prematurely.
- Solution: Use a high-quality deck paint that’s formulated to withstand foot traffic and outdoor conditions.
4. Applying paint too thickly
- Importance: Thick coats of paint can lead to peeling and cracking if they don’t cure properly.
- Solution: Apply paint in thin, even coats, allowing proper drying time between coats.
5. Neglecting to mix paint properly
- Importance: Unmixed paint can lead to colour inconsistency and a poor finish.
- Solution: Stir the paint thoroughly before use.
6. Painting over rotten wood
- Importance: Painting over damaged or rotten wood is a temporary solution that doesn’t address underlying problems.
- Solution: Replace rotten boards and make necessary repairs before painting.
7. Using inferior brushes and rollers
- Importance: Low-quality tools can shed bristles or fibres, leaving an uneven finish.
- Solution: Invest in high-quality brushes and rollers for a smoother finish.
8. Not Allowing Enough Drying Time
- Importance: Not allowing each coat to dry completely can result in a sticky, tacky finish.
- Solution: Follow the recommended drying times for each coat of paint.
9. Ignoring safety precautions
- Importance: Overlooking safety can lead to accidents or health hazards.
- Solution: Use protective gear like masks, gloves, and safety glasses, especially when sanding or using chemicals.
10. Forgetting Maintenance
- Importance: Even the best paint jobs require maintenance.
- Solution: Regularly inspect and touch up your deck to prolong the life of the paint job.
Maintenance Tips for Painted Decks
Maintaining your painted deck is crucial to preserving its appearance and prolonging its lifespan. Regular maintenance not only keeps your deck looking great but also helps protect your investment. Here are some tips to help you maintain your painted deck:
1. Routine Cleaning
- Sweep Regularly: Regularly sweep your deck to remove dirt, leaves, and debris, especially between the boards where moisture can accumulate.
- Wash the Surface: Clean the deck periodically with a mild detergent or a deck cleaner and water to remove grime, mildew, and stains. Avoid using harsh chemicals that can strip the paint.
2. Inspect and Touch Up Paint
- Annual Inspection: Once a year, inspect your deck for chips, cracks, or peeling paint. Look closely at areas that endure more wear and tear.
- Touch-Up Painting: Touch up any areas where the paint has deteriorated. This not only improves the appearance but also prevents moisture from seeping into the wood.
3. Avoid water damage
- Proper Drainage: Ensure that your deck has proper drainage and that water doesn’t pool on the surface, as standing water can damage the paint and the wood.
- Protect from Sprinklers: Position lawn sprinklers so they don’t directly hit the deck, as constant water exposure can lead to paint deterioration.
- UV Protection: Although high-quality deck paint usually has UV protection, consider adding an extra layer of UV-resistant sealant if your deck is in a very sunny area.
5. Furniture and plant care
4. Prevent sun damage
- Furniture Pads: Use furniture pads under chairs and tables to prevent scratches on the painted surface.
- Care with Plants: Place planters on cement blocks or trays to prevent water and soil from staining the deck. Avoid letting leaves and debris from plants accumulate on the deck.
6. Dealing with Snow and Ice
- Gentle Removal: Use a plastic shovel instead of a metal one to remove snow, as metal can scratch the paint. Avoid using salt or chemical deicers, as they can damage the paint and the wood.

7. Recoat when necessary
- Recoating: Depending on wear and tear and exposure to elements, your deck may need a full recoat every few years. This is normal and part of maintaining a deck in good condition.
8. Regular Check for Repairs
- Loose Boards and Railings: Regularly check for and fix any loose boards or railings to ensure safety and prevent further damage.

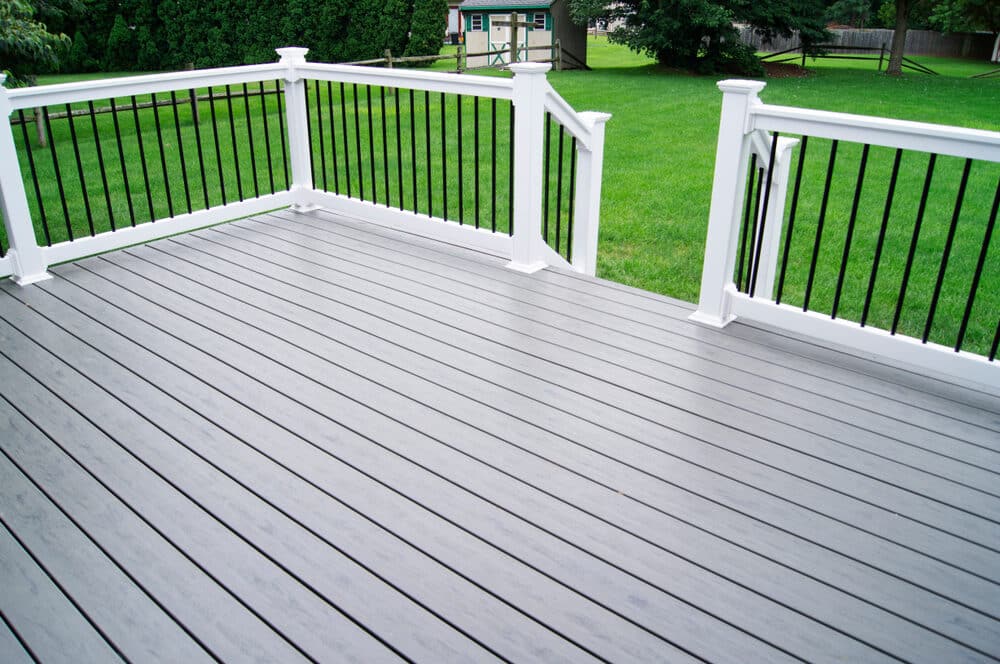
Conclusion
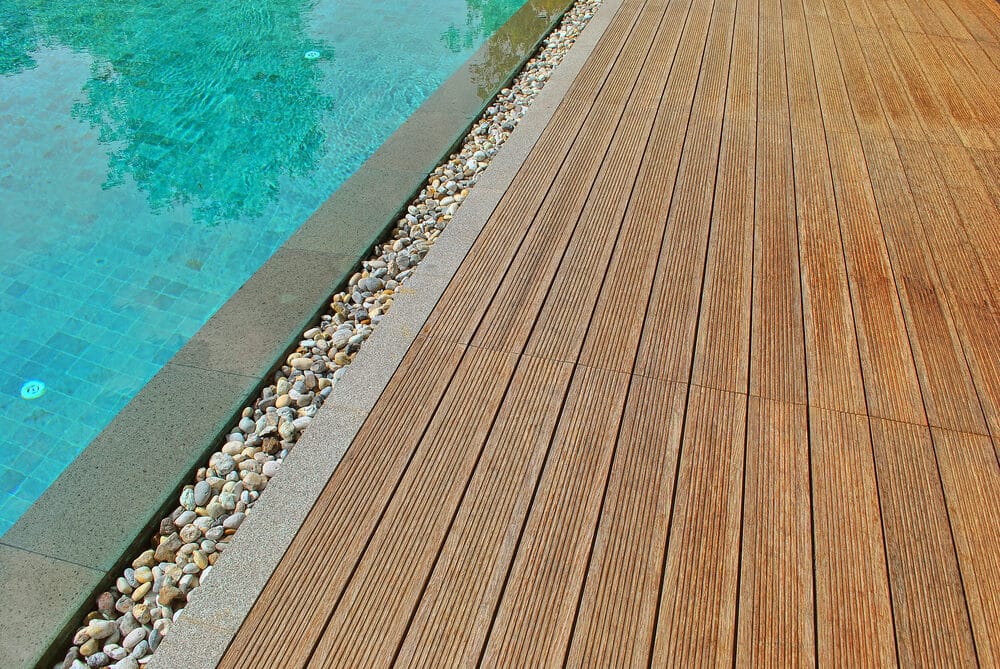
Revitalising your old deck with a fresh coat of paint can transform your outdoor space, adding both aesthetic appeal and value to your home. Throughout this guide, we’ve covered the essential steps, from assessing the condition of your deck to the final touches of maintenance. Remember, the key to a successful deck painting project lies in meticulous preparation, choosing the right materials, and diligent application.
The effort you put into this project will pay off in the form of a beautiful, durable deck that can withstand the elements and continue to be a place of relaxation and enjoyment for years to come. Regular maintenance of your deck will ensure that your deck remains in top condition, extending the life of your paint job and the overall health of your deck.
Whether you’re a seasoned DIY enthusiast or a beginner taking on a new challenge, painting your deck can be a rewarding experience. It’s an opportunity to infuse your personal style into your outdoor space and create an inviting atmosphere for family and friends to gather.
In closing, we encourage you to approach this project with patience, care, and attention to detail. The results will not only be seen in the enhanced beauty of your deck but also in the satisfaction of having accomplished a significant home improvement task. Happy painting!

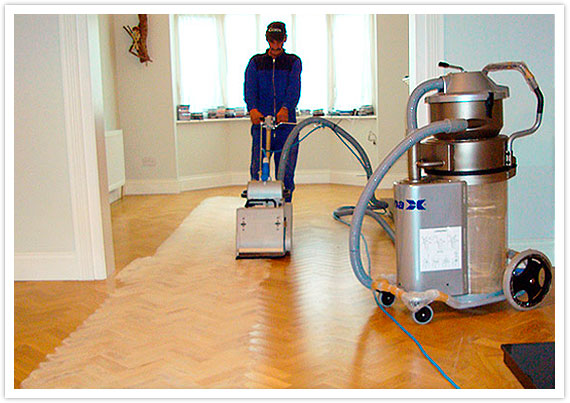
Sanding
We provide virtually dust-free sanding with our continuous belt machinery with mobile extraction units, giving you a safer environment for your family.
Oiling
This organic finish not only adds beauty to your home but also has exceptional water-repellent characteristics, making it easier to clean and maintain.
Waxing
This natural floor finish offers the softest and most mellow appearance – and leaves your floor able to breath.
Buffing
Using soft buffing machines (and hand-polishing where required) will bring a wonderful sheen to your newly-finished floor.
Repairs
We offer a full assessment of your wooden floors to determine what repairs are needed to provide the perfect working surface for the later stages of sanding, staining and sealing.
Restoration
We offer a comprehensive restoration process designed to address floors that are improperly fitted or damaged over time through wear and tear.
Request a fixed price quote for your wood floor restoration now
Simply enter your postcode below to get started.
Services
Wood Floor Sanding Wood Floor Restoration Wood Floor Scratch Repair Squeaky Wood Floor Repair Parquet Floor Sanding Parquet Floor Restoration Commercial Floor Sanding Church Floor Sanding Community Centre Floor Sanding School Floor Sanding Gap Filling Gap Filling with ResinCopyright © Mr Sander®
Privacy & Cookies Terms & Conditions Complaints Procedure Cancellation Rights Sitemap

Get An Instant Price Estimate Before You Go…
Simply enter the rooms you need sanded and we’ll provide you with a price estimate instantly! Try our price calculator now.
Get a Price Estimate NowLocal Floor Sanding Experts
Over 500 5-Star Reviews
Safe, Dust Free Sanding
Operating Since 1994