London:
Nationwide:
25,000+
Floors Restored
27 Years Experience
Wood Flooring Association Certified
Refresh Your Home With Floor Sanding and Finishing
Posted on May 1, 2023
Blog
Breathe New Life into Your Home: The Ultimate Guide to Floor Sanding and Finishing
There comes a time when every home needs a little refresh to breathe new life into it. One of the most effective ways to revamp your living space is by restoring your wooden floors through floor sanding and finishing. In this comprehensive guide, we will explore the benefits of floor sanding and finishing, the process involved, and tips for maintaining your newly refinished floors. With the right knowledge and tools, you can give your home the rejuvenation it deserves.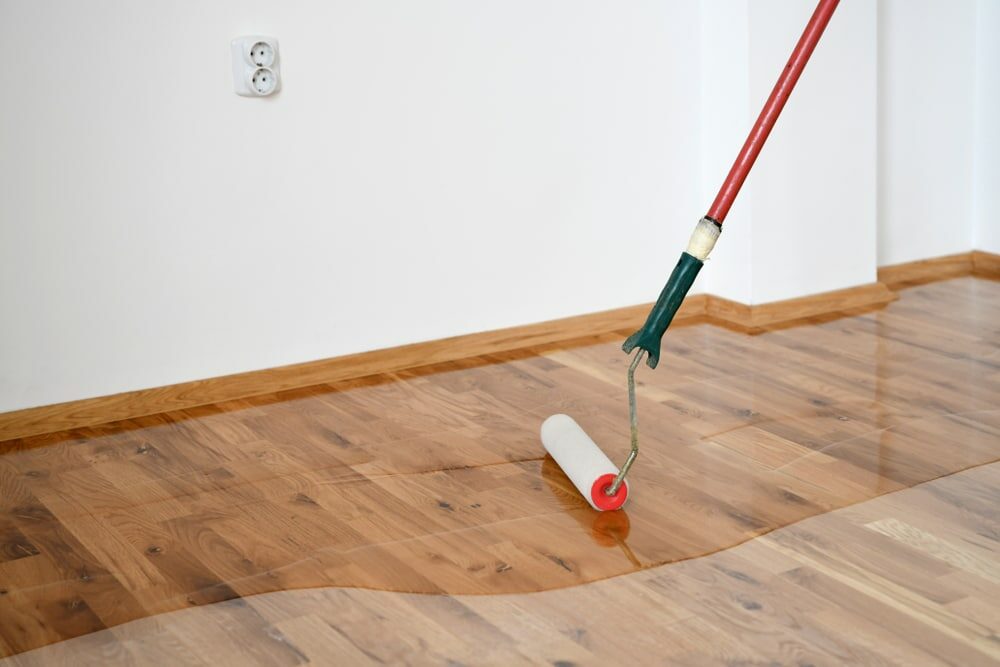
Benefits of Floor Sanding and Finishing
- Improved Aesthetics: A well-sanded and finished floor can instantly transform the look of your living space, giving it a sleek and polished appearance. It can revive the natural beauty of the wood, enhance the grain patterns, and add warmth to your home.
- Increased Home Value: Refinished floors can boost the value of your property, making it more attractive to potential buyers. A well-maintained wooden floor is a desirable feature that many homeowners seek when purchasing a new home.
- Enhanced Durability: Floor sanding and finishing can greatly improve the lifespan of your wooden floors. The process removes scratches, dents, and other imperfections, while a fresh coat of finish adds an extra layer of protection against everyday wear and tear.
- A healthier living environment: Refinished floors can contribute to a healthier living environment by eliminating allergens, dust, and dirt trapped in the wood’s surface. A smooth and sealed floor also makes cleaning and maintenance much easier.
The process of floor sanding and finishing
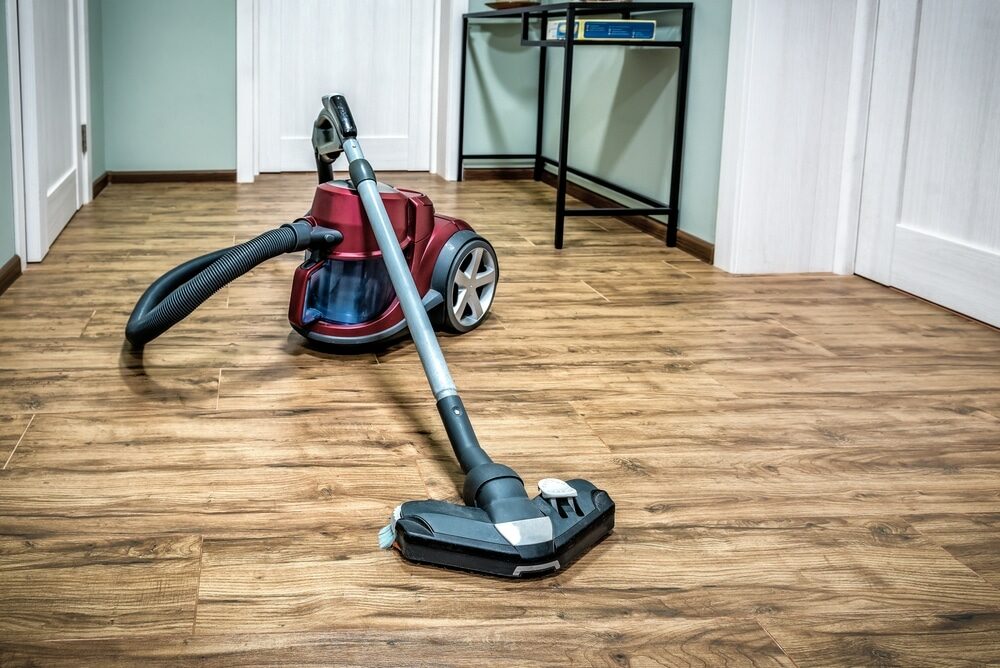
Step 1: Assess Your Floors Before beginning the sanding process, inspect your floors for any damage, such as deep scratches, gouges, or stains. This will help you determine if your floors require minor repairs or complete refinishing. Step 2: Prepare the space Remove all furniture, rugs, and other items from the room. Protect any adjacent rooms from dust by sealing off doorways with plastic sheeting. Cover vents, electrical outlets, and light fixtures to prevent dust from entering these areas. Step 3: Choose Your Equipment Rent or purchase a drum sander and an edge sander for the floor sanding process. These powerful tools are designed to remove the old finish and smooth out any imperfections in the wood. You will also need sandpaper in various grits, a vacuum cleaner, and a dust mask for your safety. Step 4: Sand the floors Start with coarse-grit sandpaper to remove the old finish and any deep scratches. Sand the floor using the drum sander, moving in the direction of the wood grain. After completing the first pass, switch to medium-grit sandpaper and repeat the process. Finally, use fine-grit sandpaper to achieve a smooth and even surface. Use the edge sander to reach tight corners and edges. Step 5: Clean the Floors Thoroughly vacuum the floor to remove all dust and debris. You can also use a tack cloth to pick up any remaining particles. Ensure the floor is completely clean before moving on to the next step. Step 6: Apply the Finish Choose a finish that complements the style of your home and offers the desired level of protection. Options include water-based polyurethane, oil-based polyurethane, and natural oil finishes. Apply the finish using a brush or roller, following the manufacturer’s instructions. Allow the finish to dry completely before applying additional coats if needed. Step 7: Buff the Floors Once the final coat of finish has dried, use a floor buffer with a fine-grit sanding screen to smooth out any imperfections and create a uniform surface. Vacuum the floor and wipe.it down with a tack cloth to remove any remaining dust.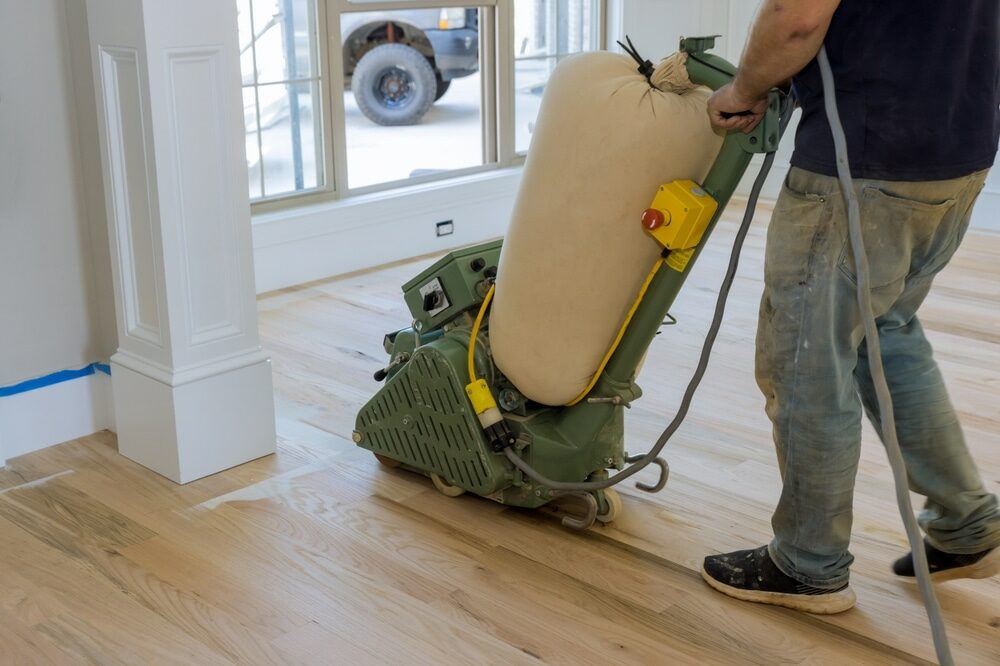
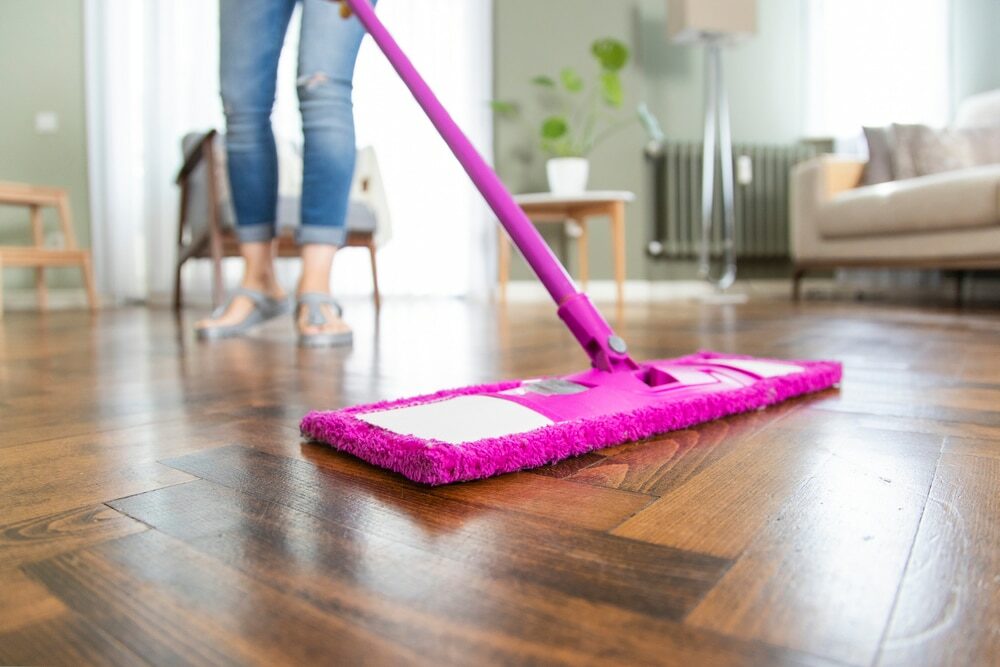
Tips for Maintaining Your Refinished Floors
- Regular Cleaning: Keep your floors clean by regularly sweeping or vacuuming to remove dirt and dust. Use a soft-bristle broom or a vacuum cleaner with a hardwood floor attachment to avoid scratching the surface.
- Use proper cleaning products: Avoid using harsh chemicals or abrasive cleaning tools on your hardwood floors. Choose cleaning products specifically designed for hardwood floors, and always follow the manufacturer’s instructions.
- Protect your floors: from sunlight. Direct sunlight can cause your hardwood floors to fade or change colour over time. Use curtains, blinds, or other window coverings to protect your floors from excessive sunlight.
- Prevent scratches and dents: Place felt pads under furniture legs to minimise the risk of scratches and dents. Avoid wearing high heels or heavy boots on your hardwood floors, as they can cause damage to the surface.
- Control Humidity: Maintain a consistent indoor humidity level between 40 and 60% to prevent your hardwood floors from warping, cupping, or buckling. Use a humidifier or dehumidifier as needed to help maintain proper humidity levels.
Some Useful Links:
Conclusion
Floor sanding and finishing is a fantastic way to refresh your home and bring out the natural beauty of your wooden floors. By understanding the process involved and following the proper maintenance tips, you can enjoy the stunning transformation of your living space for years to come. Don’t hesitate to give your home the makeover it deserves with floor sanding and finishing; you’ll be amazed at the difference it can make.More from our Blog:
Exploring the Different Types of Wood Floor Sanding: A Comprehensive Guide Are You in Need of Wood Floor Sanding? A Complete Guide Enhance Your Home’s Value: Discover the Power of Wood Flooring The Ultimate Guide to Sanding and Restoring Parquet Floors
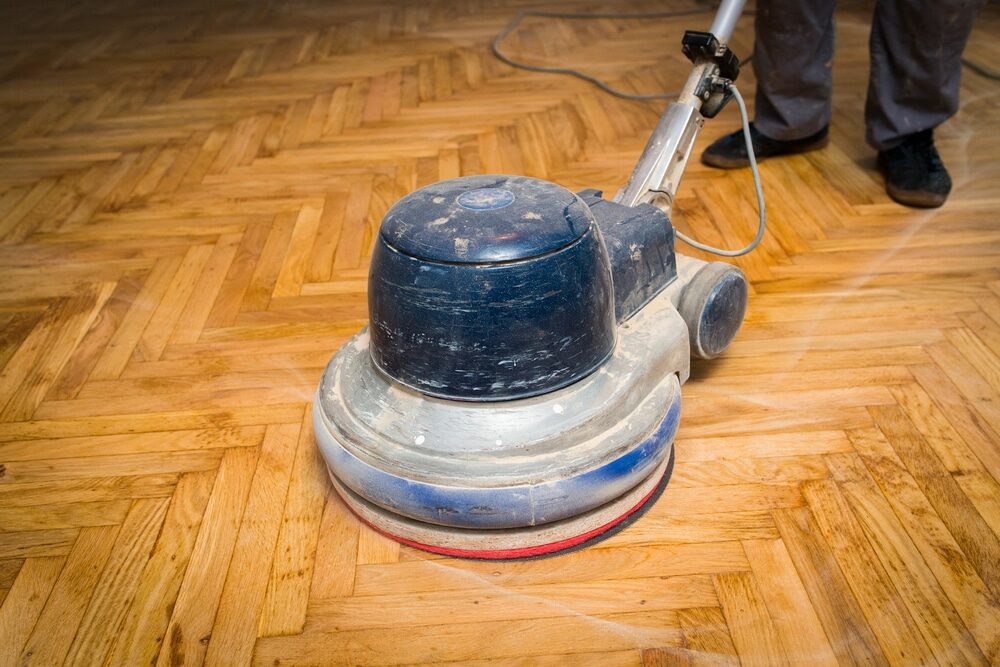

Sanding
We provide virtually dust-free sanding with our continuous belt machinery with mobile extraction units, giving you a safer environment for your family.
Oiling
This organic finish not only adds beauty to your home but also has exceptional water-repellent characteristics, making it easier to clean and maintain.
Waxing
This natural floor finish offers the softest and most mellow appearance – and leaves your floor able to breath.
Buffing
Using soft buffing machines (and hand-polishing where required) will bring a wonderful sheen to your newly-finished floor.
Repairs
We offer a full assessment of your wooden floors to determine what repairs are needed to provide the perfect working surface for the later stages of sanding, staining and sealing.
Restoration
We offer a comprehensive restoration process designed to address floors that are improperly fitted or damaged over time through wear and tear.
Request a fixed price quote for your wood floor restoration now
Simply enter your postcode below to get started.
Services
Wood Floor Sanding Wood Floor Restoration Wood Floor Scratch Repair Squeaky Wood Floor Repair Parquet Floor Sanding Parquet Floor Restoration Commercial Floor Sanding Church Floor Sanding Community Centre Floor Sanding School Floor Sanding Gap Filling Gap Filling with ResinCopyright © Mr Sander®
Privacy & Cookies Terms & Conditions Complaints Procedure Cancellation Rights Sitemap

Get An Instant Price Estimate Before You Go…
Simply enter the rooms you need sanded and we’ll provide you with a price estimate instantly! Try our price calculator now.
Get a Price Estimate NowLocal Floor Sanding Experts
Over 500 5-Star Reviews
Safe, Dust Free Sanding
Operating Since 1994