London:
Nationwide:
25,000+
Floors Restored
27 Years Experience
Wood Flooring Association Certified
Wood Floor Sanding Essentials – Uncover the Basics of Floor Restoration
Posted on May 7, 2023
Floor Sanding Articles
A Comprehensive Guide to Sanding and Refinishing Your Wooden Floor
There are few things more elegant and timeless than a wooden floor. However, over time, even the most carefully maintained floors can start to show signs of wear and tear. When your floor loses its original lustre, one of the most effective ways to restore its beauty is by sanding it down and refinishing it. In this blog post, we’ll walk you through the basics of sanding a wooden floor and provide you with the information you need to tackle this DIY project with confidence.
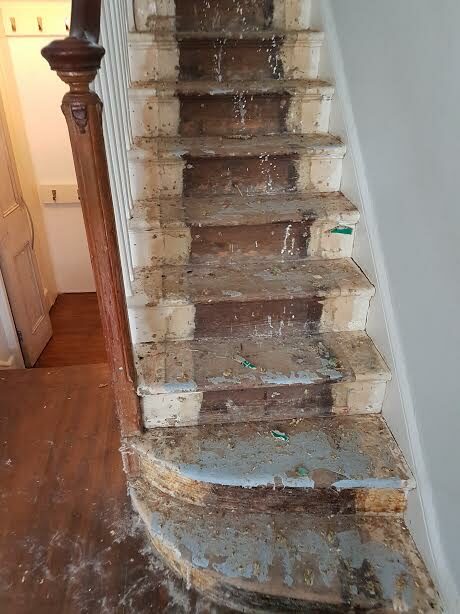
Assess the condition of your floor
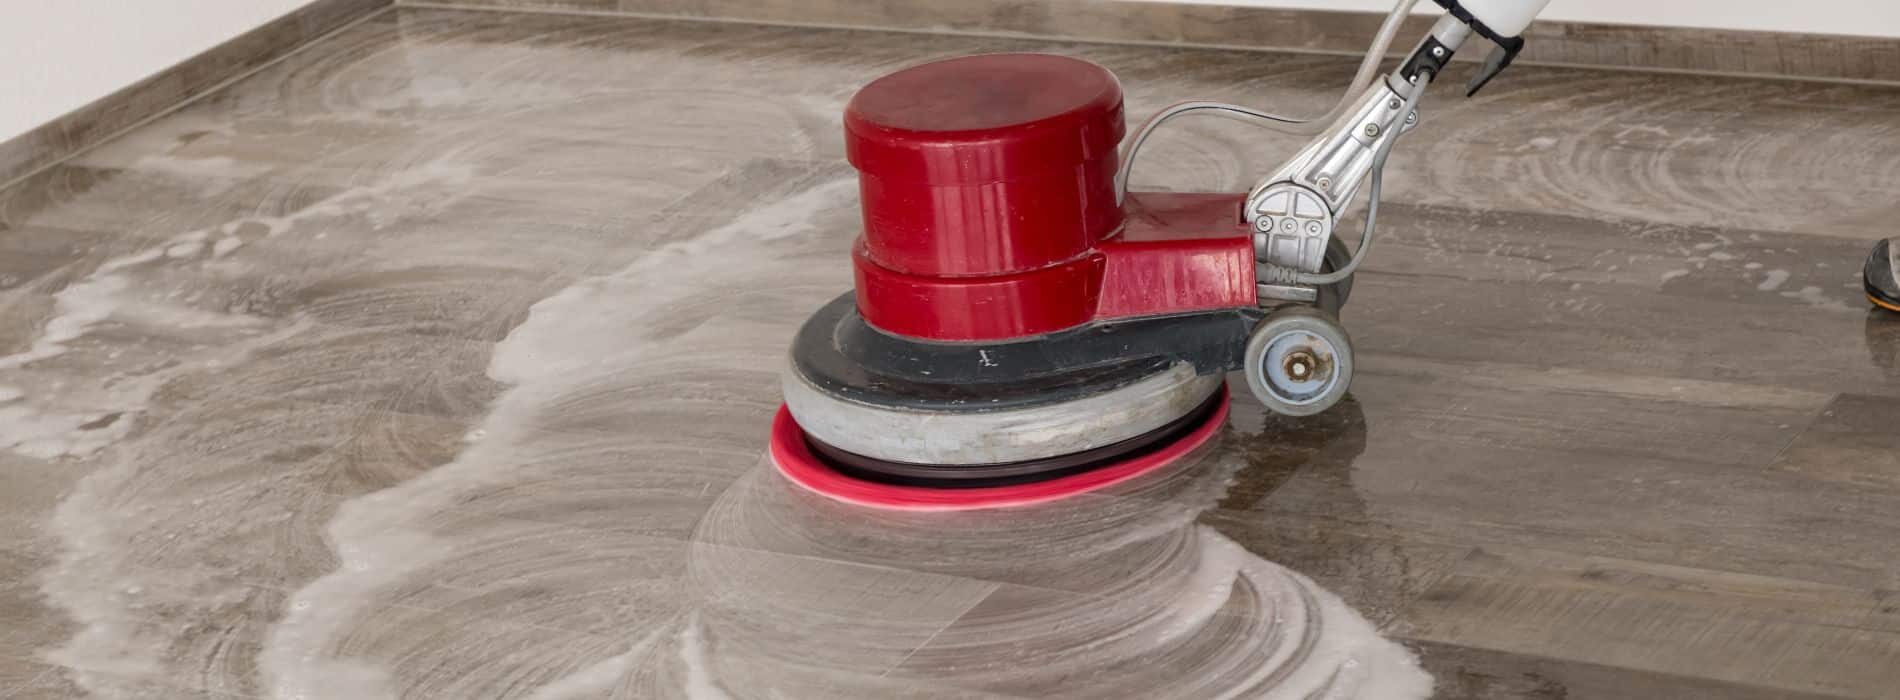
Before you begin the sanding process, it’s important to assess the condition of your wooden floor. Check for any signs of damage, such as deep scratches, gouges, or warped boards. If your floor is in relatively good shape with only minor surface wear, you may be able to get away with a light sanding or even a screen and recoat, which involves using a floor buffer and a screen disc to abrade the existing finish before applying a new coat of finish. However, if your floor has extensive damage or an uneven surface, it may require more aggressive sanding to restore its beauty.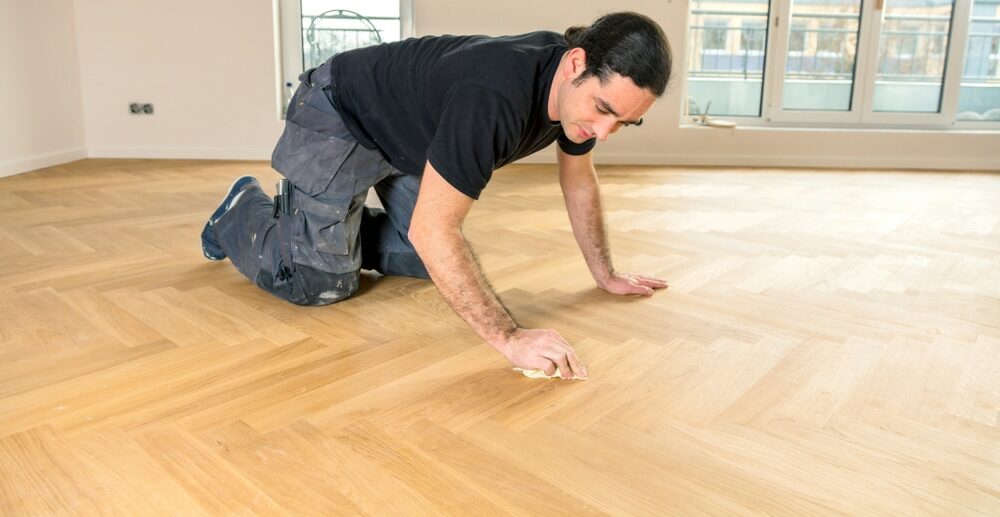
Gather your tools and materials
To sand your wooden floor, you’ll need the following tools and materials:- Drum sander or orbital sander (you can rent these at your local tool rental centre).
- Sandpaper in various grits (typically 36, 60, 80, and 100 grit for a drum sander or 60, 80, and 120 grit for an orbital sander)
- Edge sander or hand sander for sanding the edges and corners of the room
- Vacuum cleaner or shop vacuum to remove dust and debris
- Safety gear, such as earplugs, a dust mask, and goggles
- Painter’s tape and plastic sheeting to seal off doors, windows, and vents
- Wood filler or wood putty to fill in any holes or gaps in the floor

Prepare the room
Before you start sanding, you’ll need to prepare the room. This involves:- Removing all furniture and items from the room
- Taking up any floor coverings, such as rugs or carpets
- Removing any baseboards, shoe moulding, or quarter rounds to allow for sanding close to the walls
- Sealing off doors, windows, and vents with painter’s tape and plastic sheeting will prevent dust from spreading throughout your home.
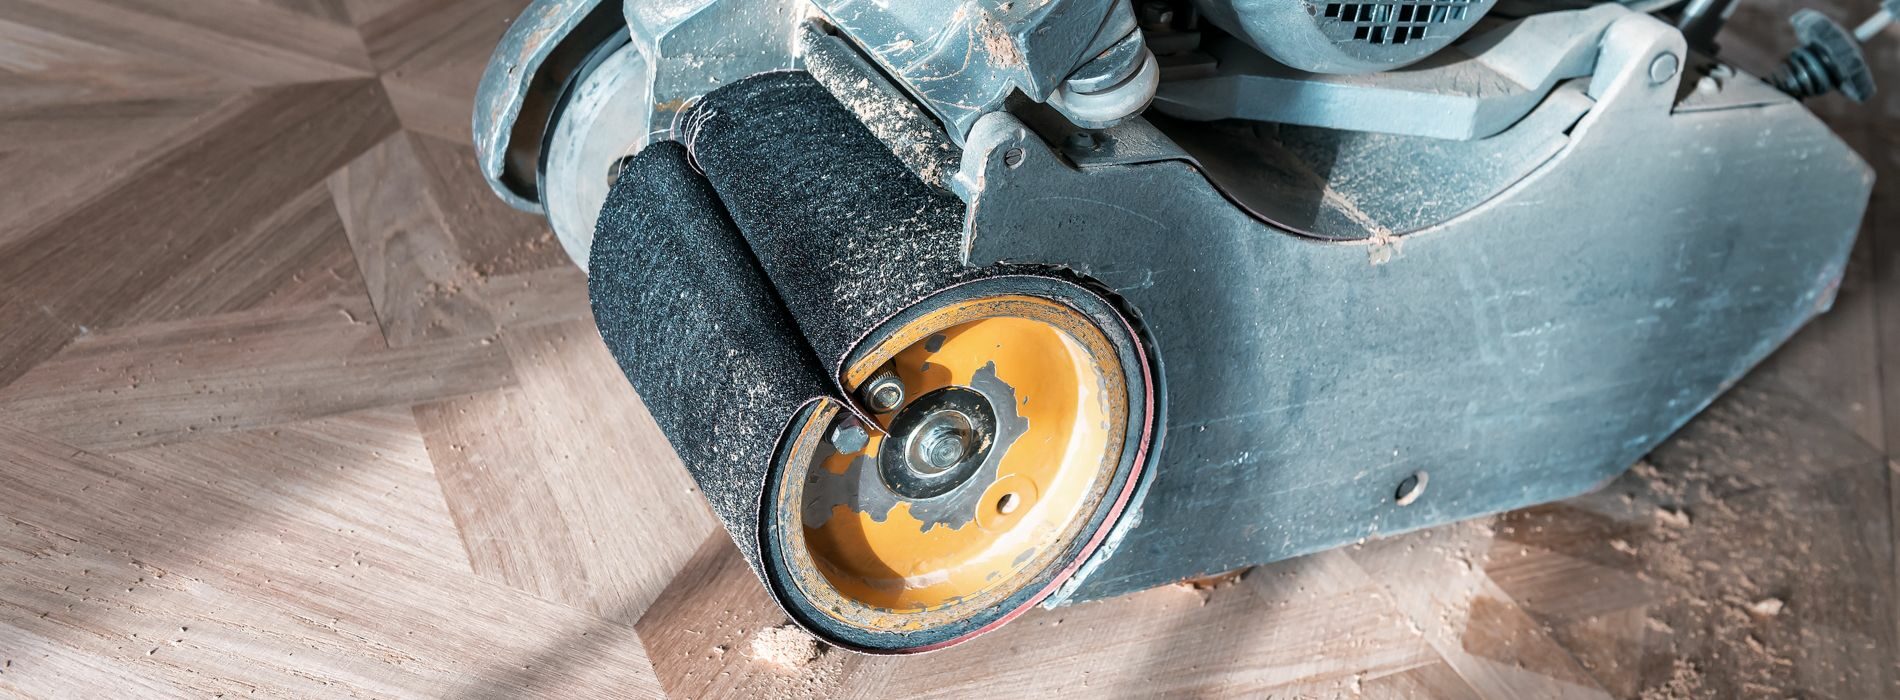
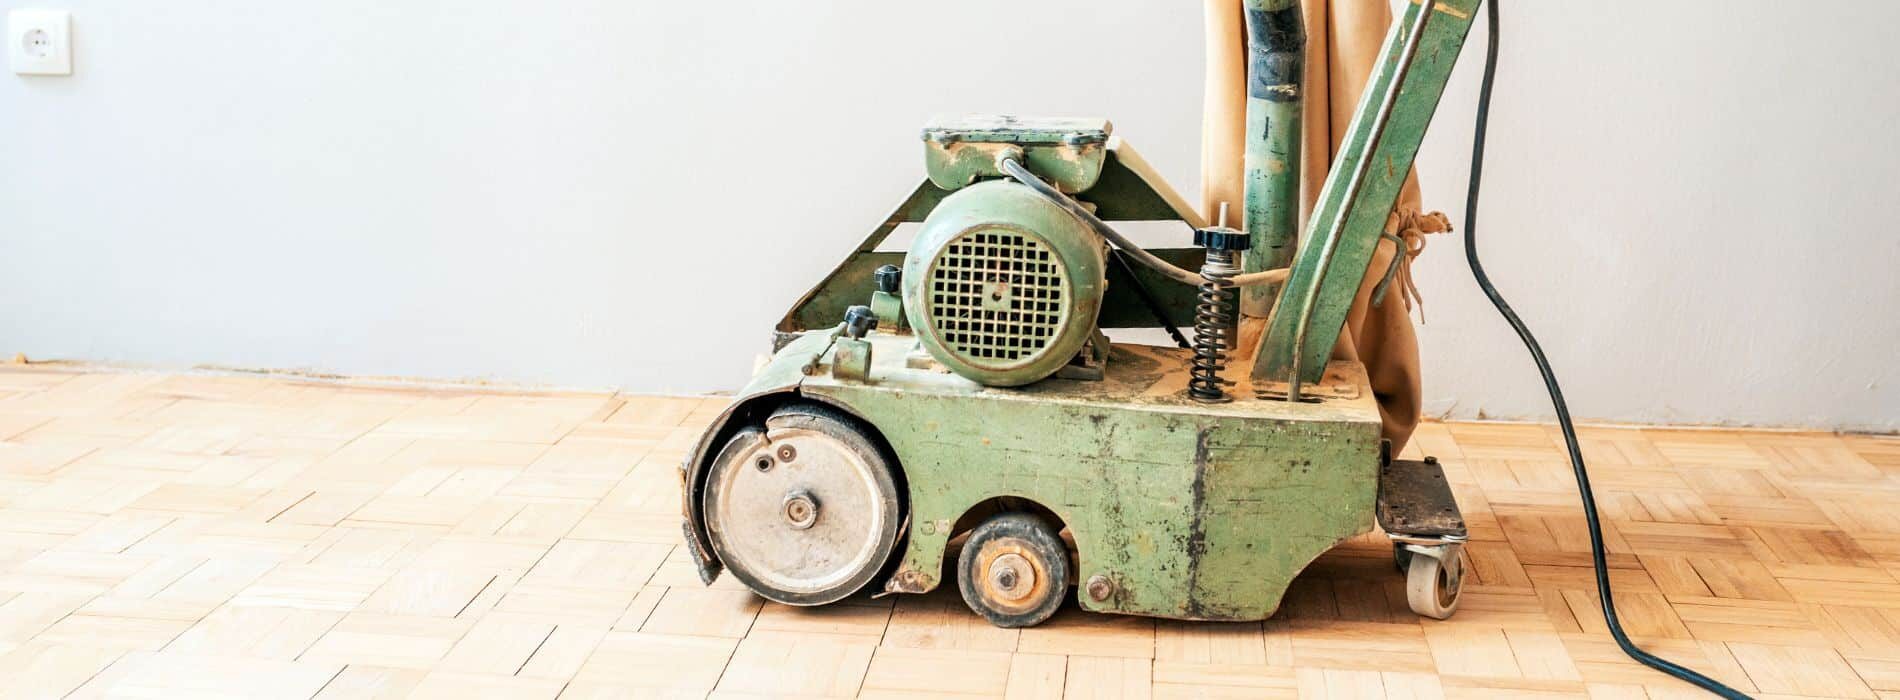
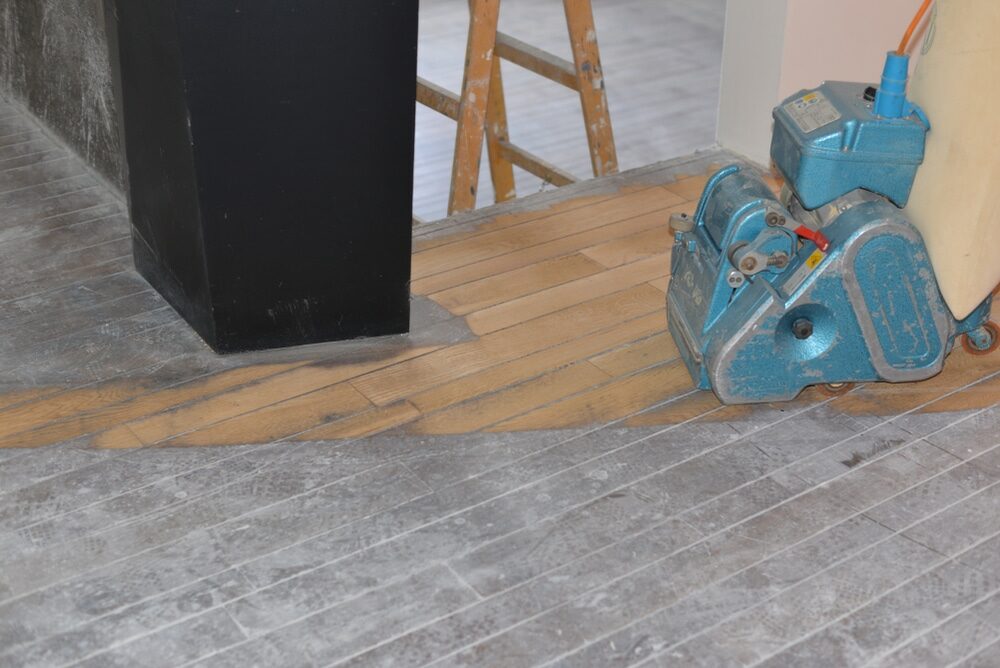
Choose the right sander
There are two main types of floor sanders: drum sanders and orbital sanders. Drum sanders are powerful and efficient but can be difficult to control, especially for inexperienced users. They can also cause damage to your floor if not used properly. Orbital sanders are more user-friendly and less aggressive, making them a better choice for beginners. However, it may take longer to remove old finishes and smooth the floor.Sanding Process
The sanding process typically involves three stages: rough sanding, medium sanding, and fine sanding.- Rough sanding: Start with the coarsest grit sandpaper (36 grit for drum sanders or 60 grit for orbital sanders) to remove old finishes and level out any uneven spots on the floor. Sand the entire floor, moving the sander in the direction of the wood grain to prevent cross-grain scratches. Be sure to overlap your passes slightly to ensure even sanding.
- Medium sanding: Switch to medium-grit sandpaper (60 grit for drum sanders or 80 grit for orbital sanders) and sand the floor again to remove any remaining finish and smooth out the surface.
- Fine sanding: Finally, use the finest grit sandpaper (100 grit for drum sanders or 120 grit for orbital sanders) to give your floor a smooth and even finish. This step is crucial for achieving a professional-looking result and ensuring that your new finish adheres properly to the wood.
Sanding the edges and corners
After you’ve finished sanding the main area of the floor, you’ll need to sand the edges and corners of the room using an edge sander or a hand sander. This can be a bit more time-consuming, but it’s important to ensure that your entire floor has a consistent finish.- Start with the same coarse-grit sandpaper you used for rough sanding the main area and work your way through the medium and fine grits, just as you did before.
- Be cautious not to gouge the floor or damage the walls while sanding the edges and corners.
- If you’re using a hand sander, be prepared for some extra elbow grease. This process can be more labour-intensive than using a machine, but it’s essential for achieving a polished final result.
Filling gaps and holes
After completing the sanding process, inspect your floor for any gaps, holes, or imperfections that need to be filled. You can use wood filler or wood putty to fill these areas, following the manufacturer’s instructions for the best results. Make sure the filler or putty matches the colour of your wood as closely as possible, and let it dry completely before proceeding.Cleanup and Final Inspection
Before you apply a new finish to your floor, you’ll need to thoroughly clean the area to remove any dust and debris from the sanding process. Use a vacuum cleaner or shop vac to remove the bulk of the dust, and then follow up with a tack cloth or damp mop to pick up any remaining fine particles. Be sure to let the floor dry completely before moving on to the next step. Inspect your floor one final time for any missed spots or imperfections that need to be addressed. If necessary, lightly sand any problem areas with fine-grit sandpaper until they blend seamlessly with the rest of the floor.Applying the finish
Now that your floor is sanded and prepped, you can apply a new finish to protect and enhance the beauty of the wood. There are several types of finishes to choose from, including oil-based polyurethane, water-based polyurethane, and natural oil finishes. Each type has its own unique set of benefits and drawbacks, so be sure to research which one is the best fit for your specific needs and preferences. Follow the manufacturer’s instructions for application, and make sure to apply the finish in thin, even coats to prevent drips and uneven coverage. You’ll typically need to apply at least two to three coats of finish, allowing ample drying time between coats as specified by the manufacturer.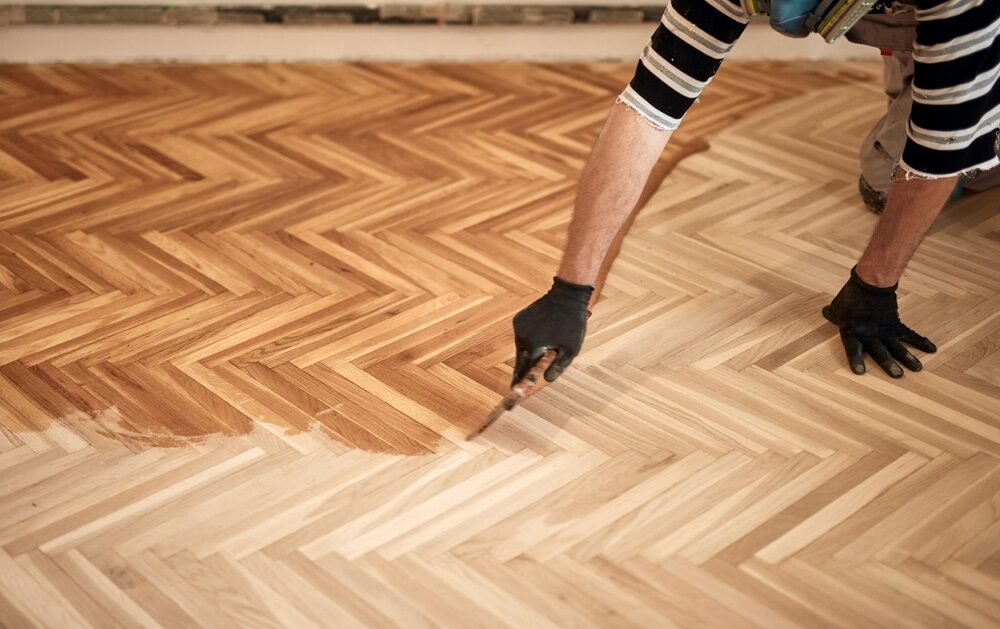
Reinstalling baseboards and moving furniture back in
Once your new finish is completely dry and cured, you can reinstall your baseboards, shoe moulding, or quarter rounds. Then, carefully move your furniture and other items back into the room, taking care not to scratch or damage your newly refinished floor.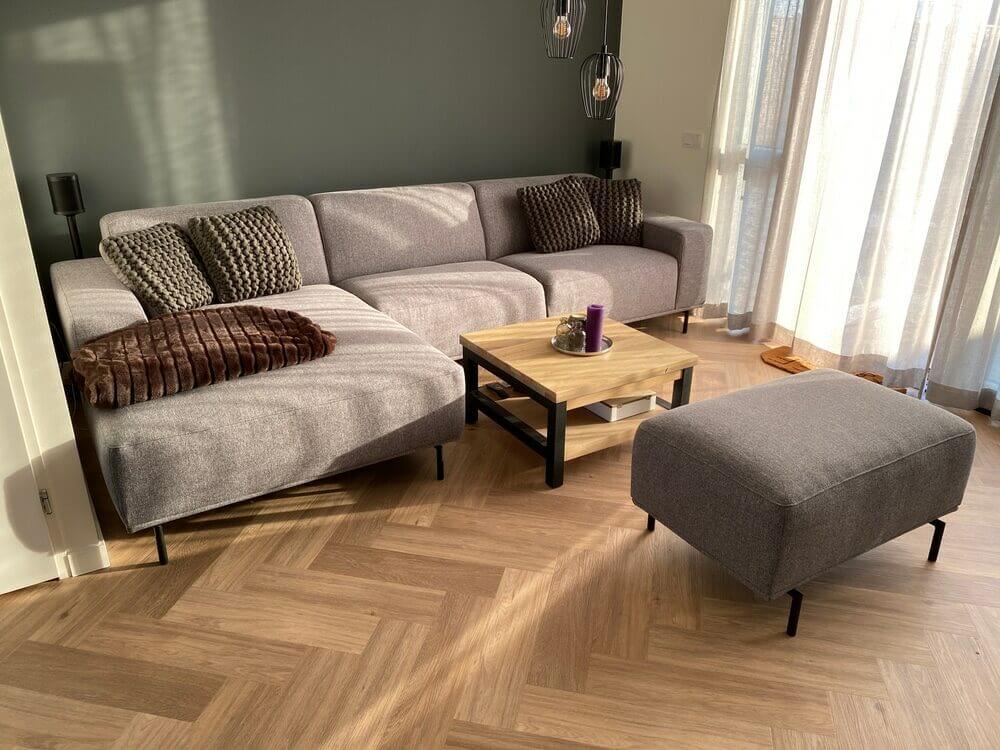
Some Useful Links:
Conclusion
Sanding and refinishing a wooden floor is a labour-intensive but rewarding DIY project that can breathe new life into your home. By following the steps outlined in this blog post, you can tackle this project with confidence and achieve professional-looking results. Your wooden floor will be restored to its original beauty, providing you with a durable and attractive surface that will last for many years to come.More from our Blog:
Floor Sanders: Key Machines for Successful Floor Refinishing Advantages of Pre-sanded Hardwood Flooring Explained Laminate Flooring vs. Hardwood: Cost, Durability, Aesthetics How Easy Is To Repair A Hardwood Floor? The Experts Guide Parquet Wood Flooring: The Perfect Choice for Your Home Gym
Sanding
We provide virtually dust-free sanding with our continuous belt machinery with mobile extraction units, giving you a safer environment for your family.
Oiling
This organic finish not only adds beauty to your home but also has exceptional water-repellent characteristics, making it easier to clean and maintain.
Waxing
This natural floor finish offers the softest and most mellow appearance – and leaves your floor able to breath.
Buffing
Using soft buffing machines (and hand-polishing where required) will bring a wonderful sheen to your newly-finished floor.
Repairs
We offer a full assessment of your wooden floors to determine what repairs are needed to provide the perfect working surface for the later stages of sanding, staining and sealing.
Restoration
We offer a comprehensive restoration process designed to address floors that are improperly fitted or damaged over time through wear and tear.
Request a fixed price quote for your wood floor restoration now
Simply enter your postcode below to get started.
Services
Wood Floor Sanding Wood Floor Restoration Wood Floor Scratch Repair Squeaky Wood Floor Repair Parquet Floor Sanding Parquet Floor Restoration Commercial Floor Sanding Church Floor Sanding Community Centre Floor Sanding School Floor Sanding Gap Filling Gap Filling with ResinCopyright © Mr Sander®
Privacy & Cookies Terms & Conditions Complaints Procedure Cancellation Rights Sitemap

Get An Instant Price Estimate Before You Go…
Simply enter the rooms you need sanded and we’ll provide you with a price estimate instantly! Try our price calculator now.
Get a Price Estimate NowLocal Floor Sanding Experts
Over 500 5-Star Reviews
Safe, Dust Free Sanding
Operating Since 1994