London:
Nationwide:
25,000+
Floors Restored
27 Years Experience
Wood Flooring Association Certified
How to Sand a Wooden floor – Hints, Tips and Tricks you Need to Know
Posted on May 8, 2023
Floor Sanding Blogs
Mastering DIY Floor Sanding: Comprehensive Tips, Hints, and Tricks You Need
Whether you’re a seasoned DIY enthusiast or a first-time home renovator, sanding a wooden floor can seem like a daunting task. But with the right guidance, patience, and a healthy amount of elbow grease, you’ll be well on your way to breathing new life into your worn-out wooden floors. This comprehensive guide offers all the hints, tips, and tricks you need to know to successfully sand a wooden floor.
Understand what you’re working with.
Before you get started, it’s crucial to understand the type of wood that makes up your floor. Different wood species have varying hardness levels, grain patterns, and responses to sanding. For example, hardwoods like oak or maple are more resistant to wear and tear but can be more challenging to sand than softer woods like pine. Additionally, check the thickness of the wood. If your floor has been sanded several times before, it might be too thin to safely sand again. You’ll want at least 1/8 inch of wood above the tongue of the floorboard to avoid damaging it.Gather your tools and materials.
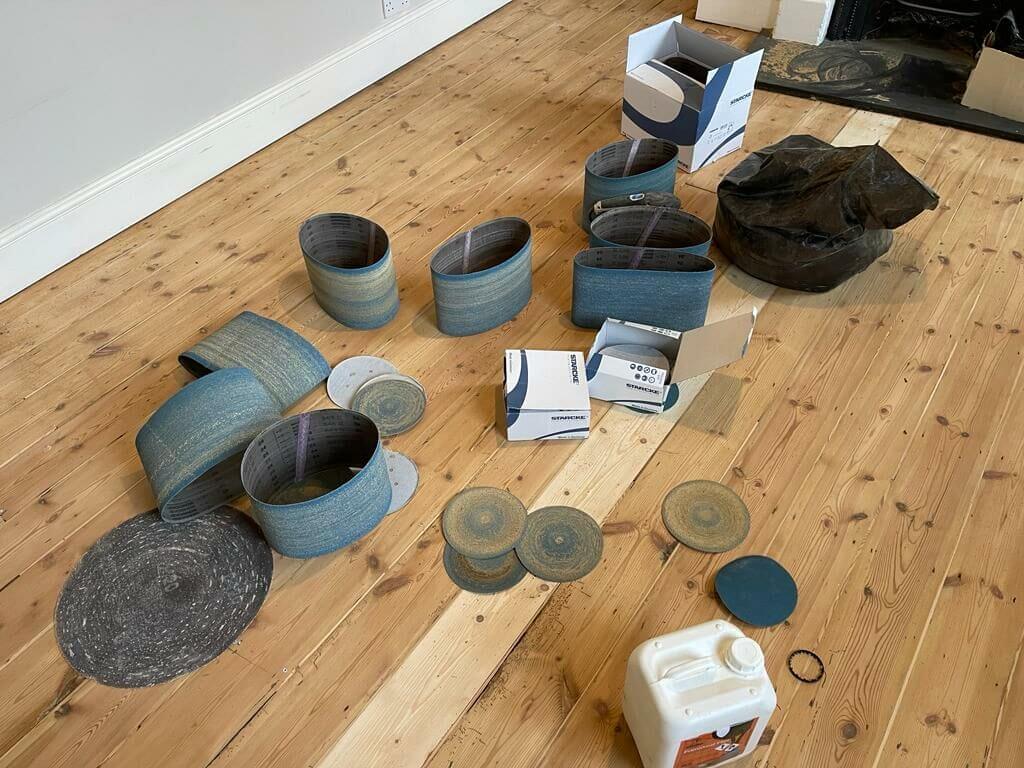
To get started, you’ll need some essential tools and materials:- Drum sander
- Edging sander
- Sandpaper in various grits (coarse, medium, and fine)
- Safety goggles
- Dust masks
- Ear protection
- Broom and dustpan
- Vacuum cleaner
- Wood filler (if necessary)
- Varnish or other finishing product
Prepare your space.
Before you start sanding, remove all furniture, rugs, and other items from the room. Take down curtains or blinds and cover any built-in furniture or fixtures with plastic sheeting to protect them from dust. Also, remember to remove any protruding nails or staples from the floor, as they can damage your sanding equipment. Fill any large cracks or holes with wood filler and allow it to dry.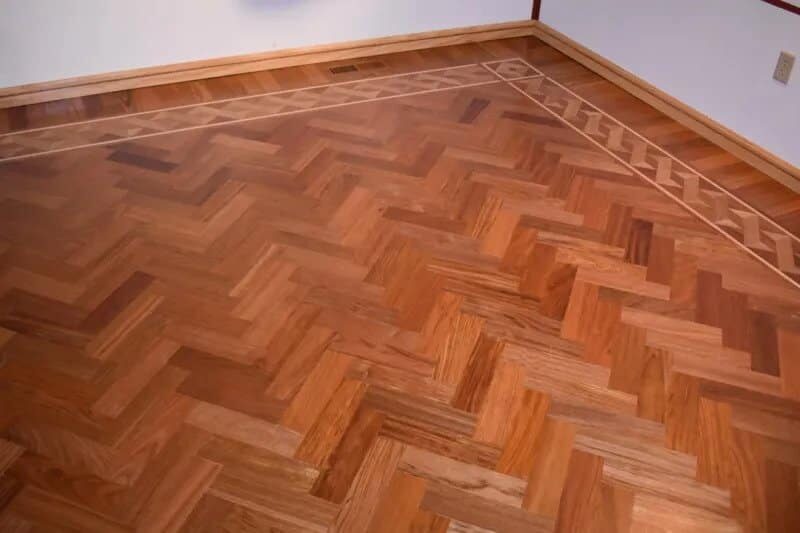
The sanding process
Begin with the drum sander and coarse-grit sandpaper. This will help remove the old finish and any surface-level imperfections. Always sand along the grain of the wood, not against it. Move the sander steadily across the floor, being careful not to linger in one spot for too long to avoid creating dips or gouges in the wood. Once you’ve sanded the main area of the floor, switch to the edging sander to tackle the edges and corners of the room. After the first pass with the coarse-grit sandpaper, vacuum or sweep up the dust. Then, repeat the process with medium-grit sandpaper, followed by fine-grit sandpaper. This progressive sanding technique will help smooth out the wood and prepare it for the finish.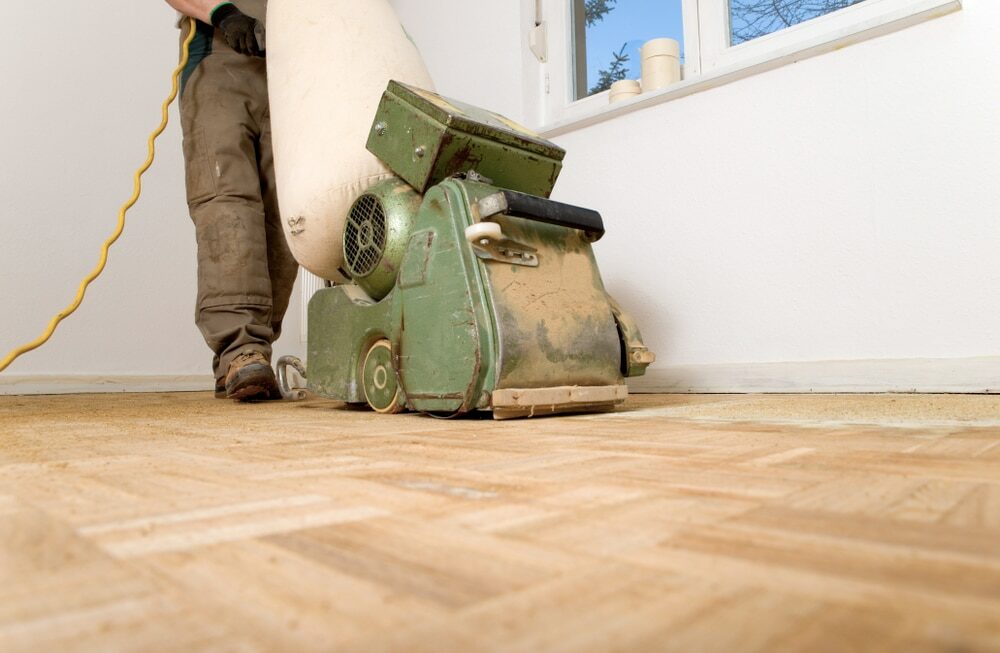
Finishing Touches
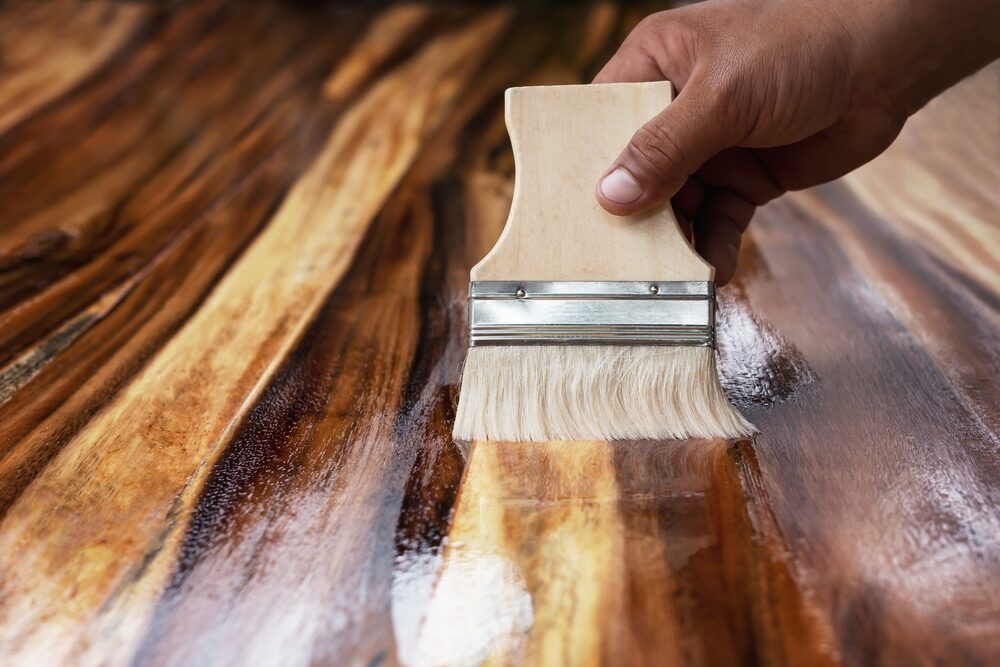
Once you’ve finished sanding, it’s time to apply the finish. But before you do, make sure to clean the room thoroughly to remove any dust. Any leftover dust can mar your finish and leave your floor looking less than perfect. When choosing a finish, consider the look you’re aiming for and the wear and tear the floor will experience. Polyurethane finishes are popular due to their durability and ease of application. Apply the finish according to the manufacturer’s instructions, taking care to ensure even coverage. Most finishes will require multiple coats, so be sure to allow sufficient drying time between each one.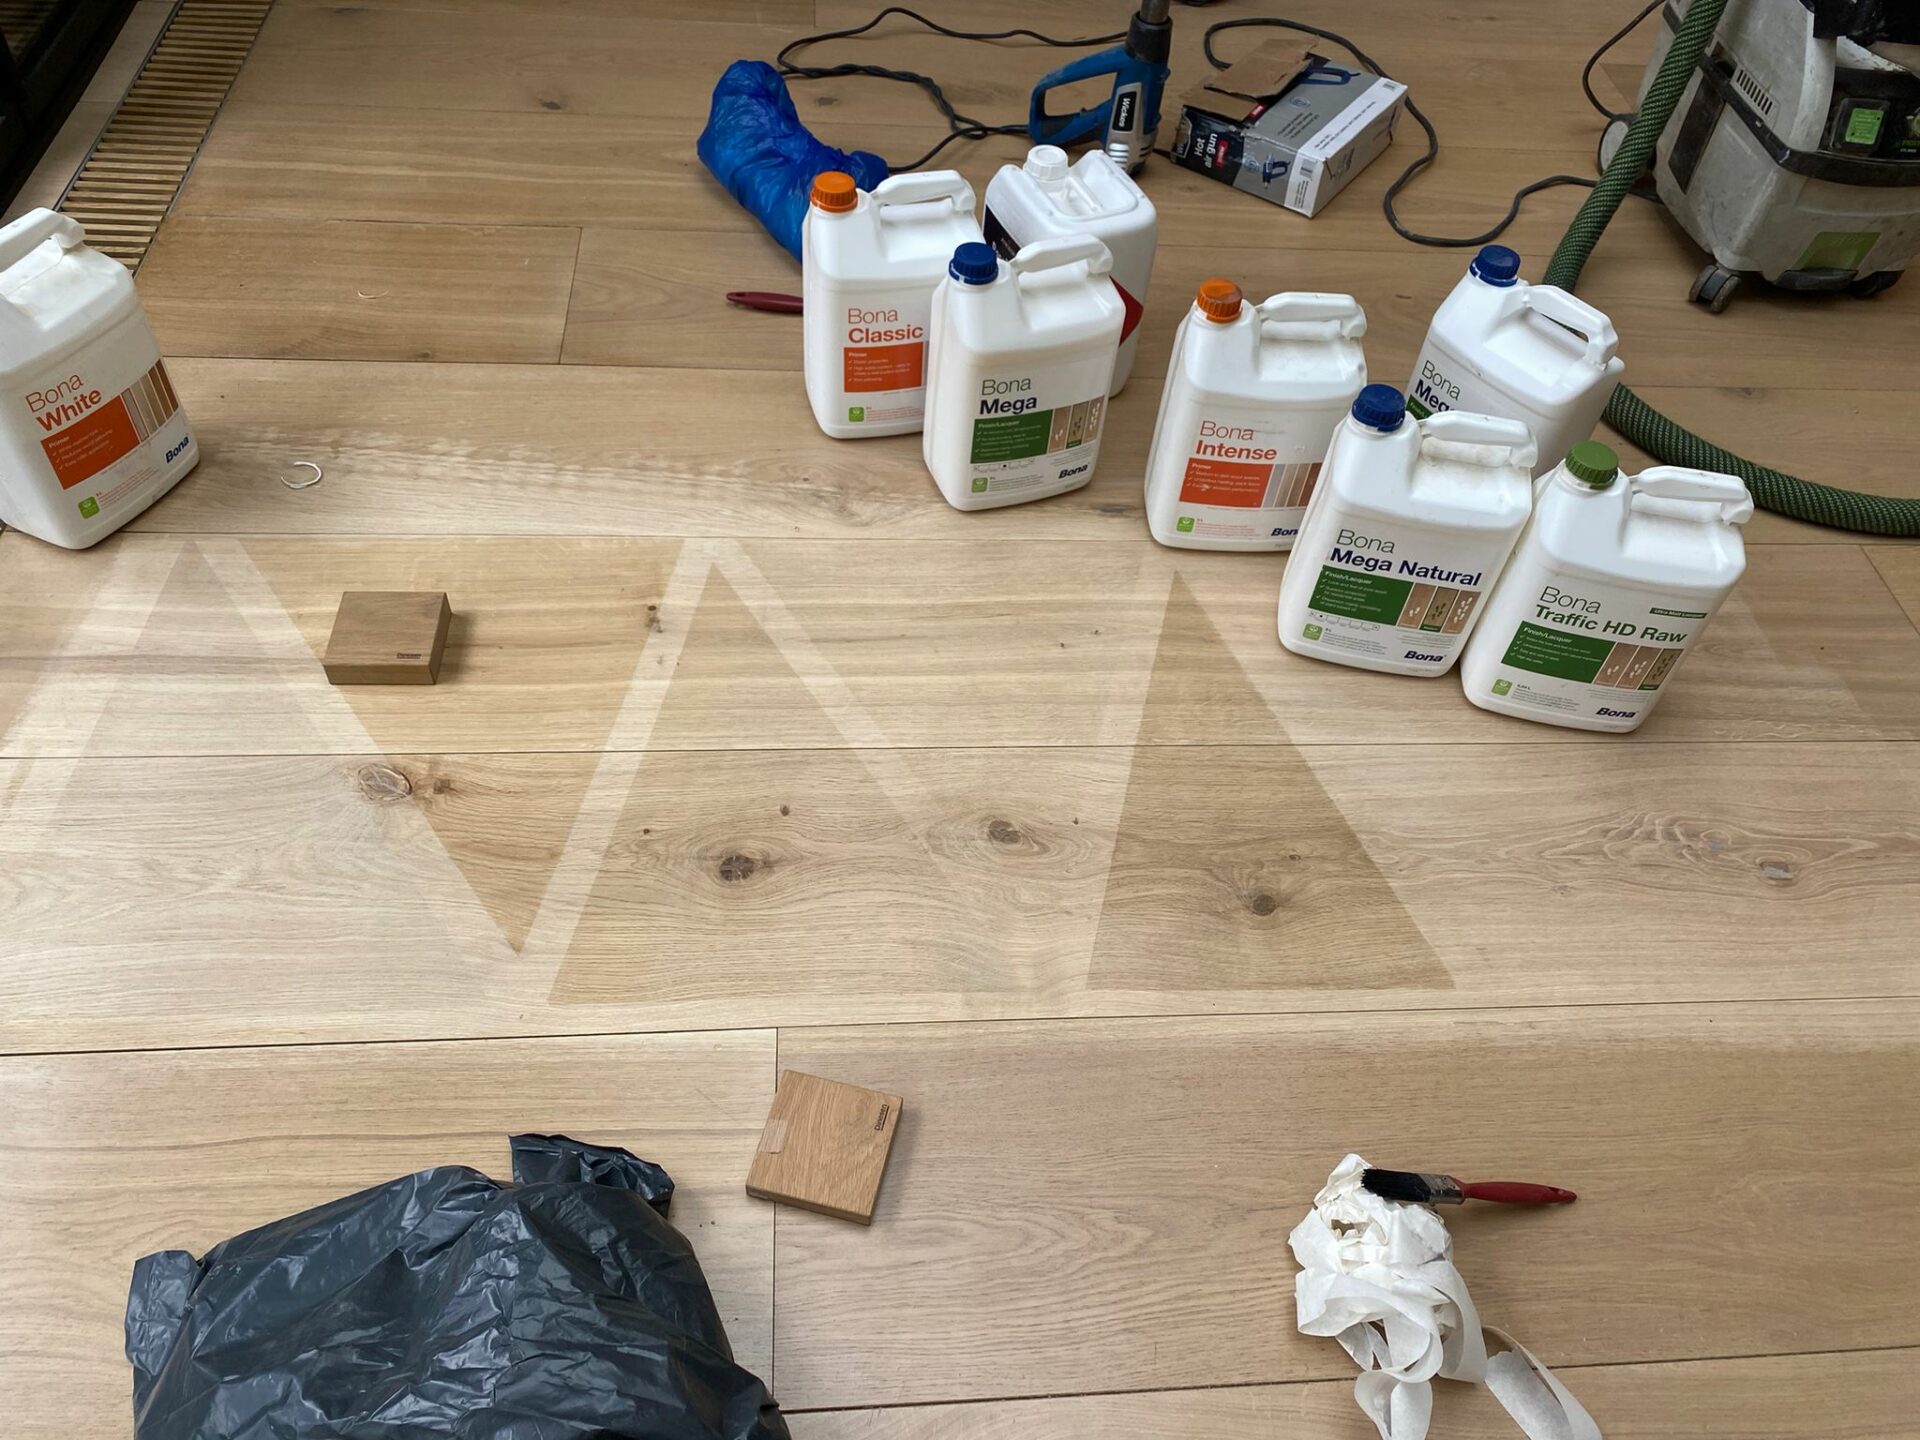
Tips and Tricks for Successful Sanding
- Practise first: If you’re new to floor sanding, try practising on a hidden area first (like inside a closet) to get a feel for the equipment.
- Change sandpaper often. Don’t try to save money by using worn-out sandpaper. Dull sandpaper makes the sander work harder and can leave unsightly marks on your floor.
- Don’t rush the process. Rushing through sanding can lead to mistakes that are difficult to fix. Take your time to ensure the best possible results.
- Wear appropriate safety gear. Sanding can be a messy and noisy process. Always wear safety goggles, a dust mask, and ear protection.
- Always sand with the grain. Sanding against the grain can damage your floor and make it more difficult to achieve a smooth finish.
- Keep the sander moving. Leaving the sander in one spot for too long can cause gouges. Always keep the sander moving and lift it off the floor when you need to stop.
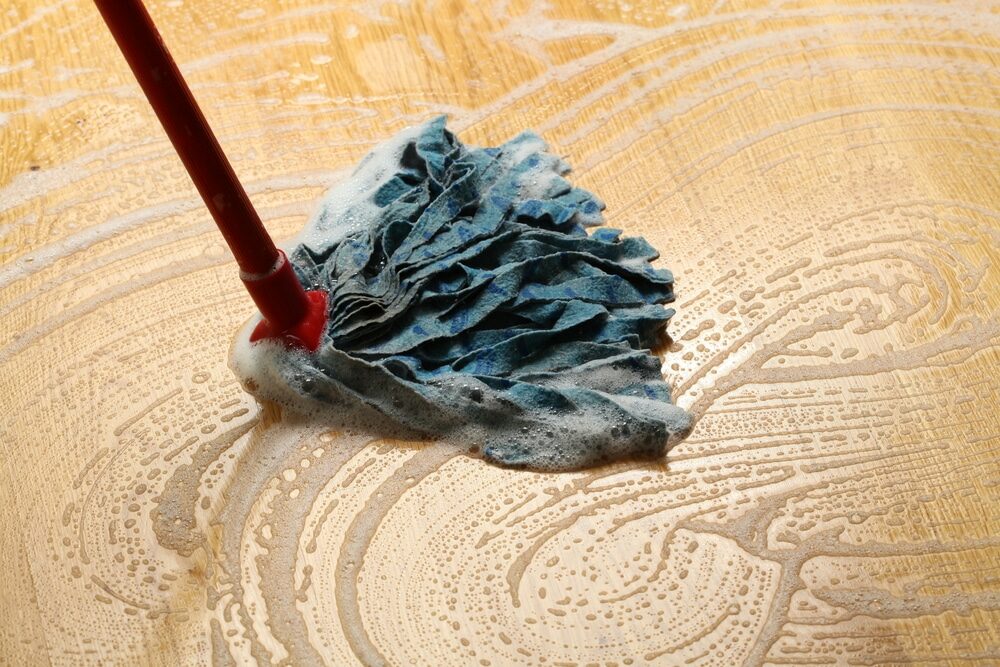
- Clean between each sanding and before applying finish. This ensures that your finish goes on smoothly and doesn’t trap any dust or debris.

What to Do If Things Go Wrong
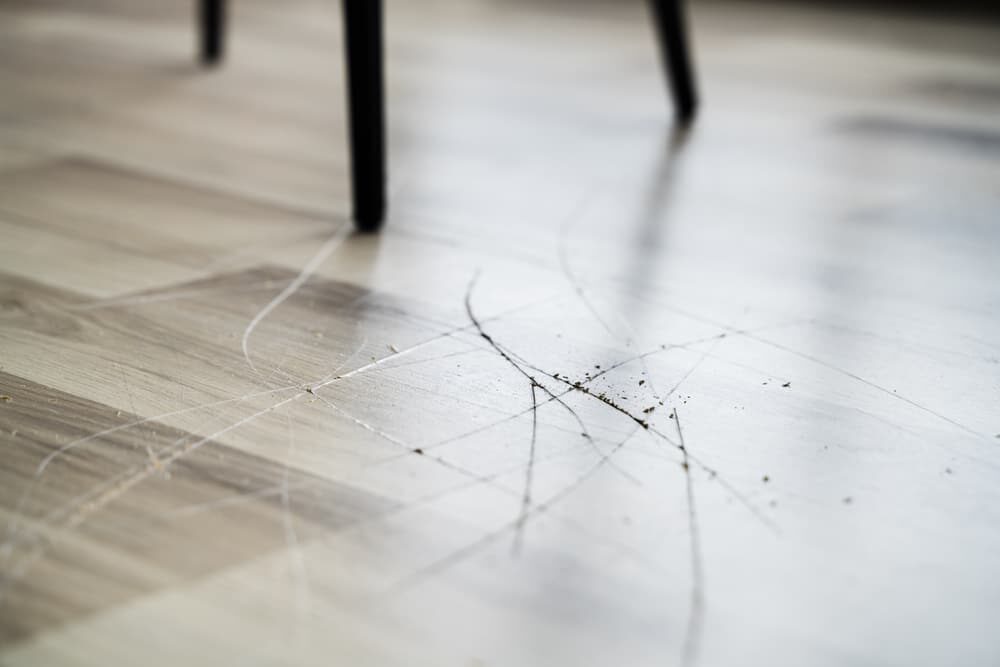
Despite your best efforts, you might encounter a few snags during your floor sanding project. Here’s how to handle common issues:- If you notice a scratch or gouge, fill it with wood filler, allow it to dry, and then sand the area smooth.
- If the sander isn’t removing the old finish, check your sandpaper. If it’s worn out, replace it. If the sandpaper is new, you might need to use a coarser grit.
- If you notice dust accumulating on the floor, check the dust bag on your sander. If it’s full, empty it.
- If the finish isn’t drying or is drying unevenly, check the room’s temperature and humidity levels. Most finishes dry best in a room that’s between 60 and 80°F with a relative humidity of 40 to 60%.
Conclusion
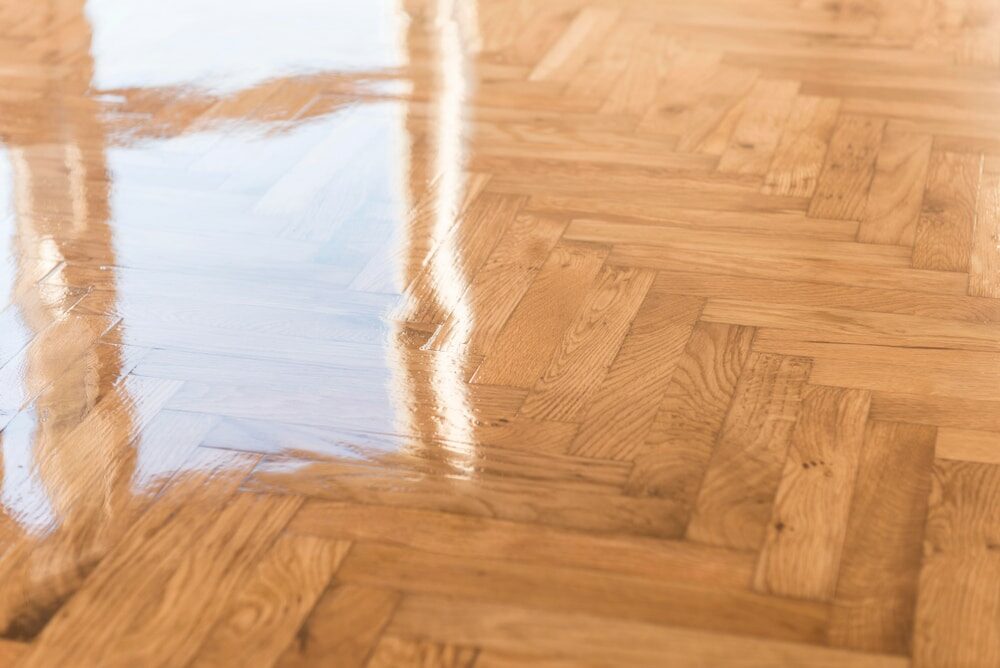
Floor sanding can be a challenging yet rewarding DIY project. Not only can it significantly improve the look of your home, but it can also provide a sense of satisfaction and accomplishment. With these hints, tips, and tricks in your tool belt, you’re well-equipped to tackle this project and achieve fantastic results. Remember, preparation is key, patience is a virtue, and practise makes perfect. Happy sanding!Some Useful Links:
More from our Blog:
The Comprehensive DIY Guide to Sanding and Refinishing Your Floor Wooden Floors vs Carpets: Which Flooring Option Serves Restaurants Best? Unlocking the Benefits of Locking Hardwood Floors The Importance of Professional Wood Floor Repair Firms
Sanding
We provide virtually dust-free sanding with our continuous belt machinery with mobile extraction units, giving you a safer environment for your family.
Oiling
This organic finish not only adds beauty to your home but also has exceptional water-repellent characteristics, making it easier to clean and maintain.
Waxing
This natural floor finish offers the softest and most mellow appearance – and leaves your floor able to breath.
Buffing
Using soft buffing machines (and hand-polishing where required) will bring a wonderful sheen to your newly-finished floor.
Repairs
We offer a full assessment of your wooden floors to determine what repairs are needed to provide the perfect working surface for the later stages of sanding, staining and sealing.
Restoration
We offer a comprehensive restoration process designed to address floors that are improperly fitted or damaged over time through wear and tear.
Request a fixed price quote for your wood floor restoration now
Simply enter your postcode below to get started.
Services
Wood Floor Sanding Wood Floor Restoration Wood Floor Scratch Repair Squeaky Wood Floor Repair Parquet Floor Sanding Parquet Floor Restoration Commercial Floor Sanding Church Floor Sanding Community Centre Floor Sanding School Floor Sanding Gap Filling Gap Filling with ResinCopyright © Mr Sander®
Privacy & Cookies Terms & Conditions Complaints Procedure Cancellation Rights Sitemap

Get An Instant Price Estimate Before You Go…
Simply enter the rooms you need sanded and we’ll provide you with a price estimate instantly! Try our price calculator now.
Get a Price Estimate NowLocal Floor Sanding Experts
Over 500 5-Star Reviews
Safe, Dust Free Sanding
Operating Since 1994