London:
Nationwide:
25,000+
Floors Restored
27 Years Experience
Wood Flooring Association Certified
Hardwood Floor Revival: Sanding & Finishing Guide
Posted on May 1, 2023
Blog
Mastering the Art of Wood Floor Sanding and Finishing: Revitalize Your Hardwood Floors Today
Wood floor sanding and finishing are essential processes that can breathe new life into your hardwood floors. Over time, wear and tear can take a toll on your floors, resulting in scratches, dents, and a dull appearance. By sanding and refinishing your floors, you can restore their beauty and enhance their durability. In this comprehensive guide, we will cover everything you need to know about wood floor sanding and finishing, including the benefits, steps involved, and tips for achieving the best results. Let’s get started!
-
The Benefits of Wood Floor Sanding and Finishing:
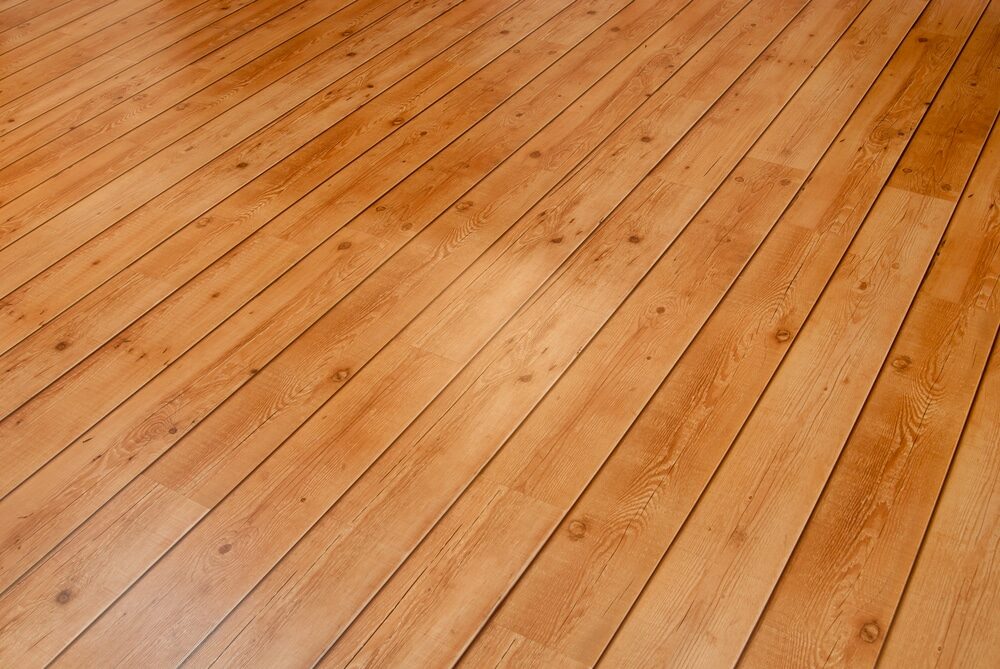
- Improved appearance: Sanding removes surface imperfections, such as scratches and dents, while refinishing restores the wood’s natural colour and shine.
- Increased durability: A fresh finish provides a protective layer that helps prevent future damage and prolongs the life of your floors.
- Enhanced home value: Well-maintained hardwood floors can increase your home’s value and appeal to potential buyers.
- Cost-effective: Sanding and refinishing are more affordable than replacing your hardwood floors entirely.
-
Assessing the Condition of Your Floors
-
Preparing for the Sanding Process:

-
The Sanding Process:
-
Vacuum and tack:
-
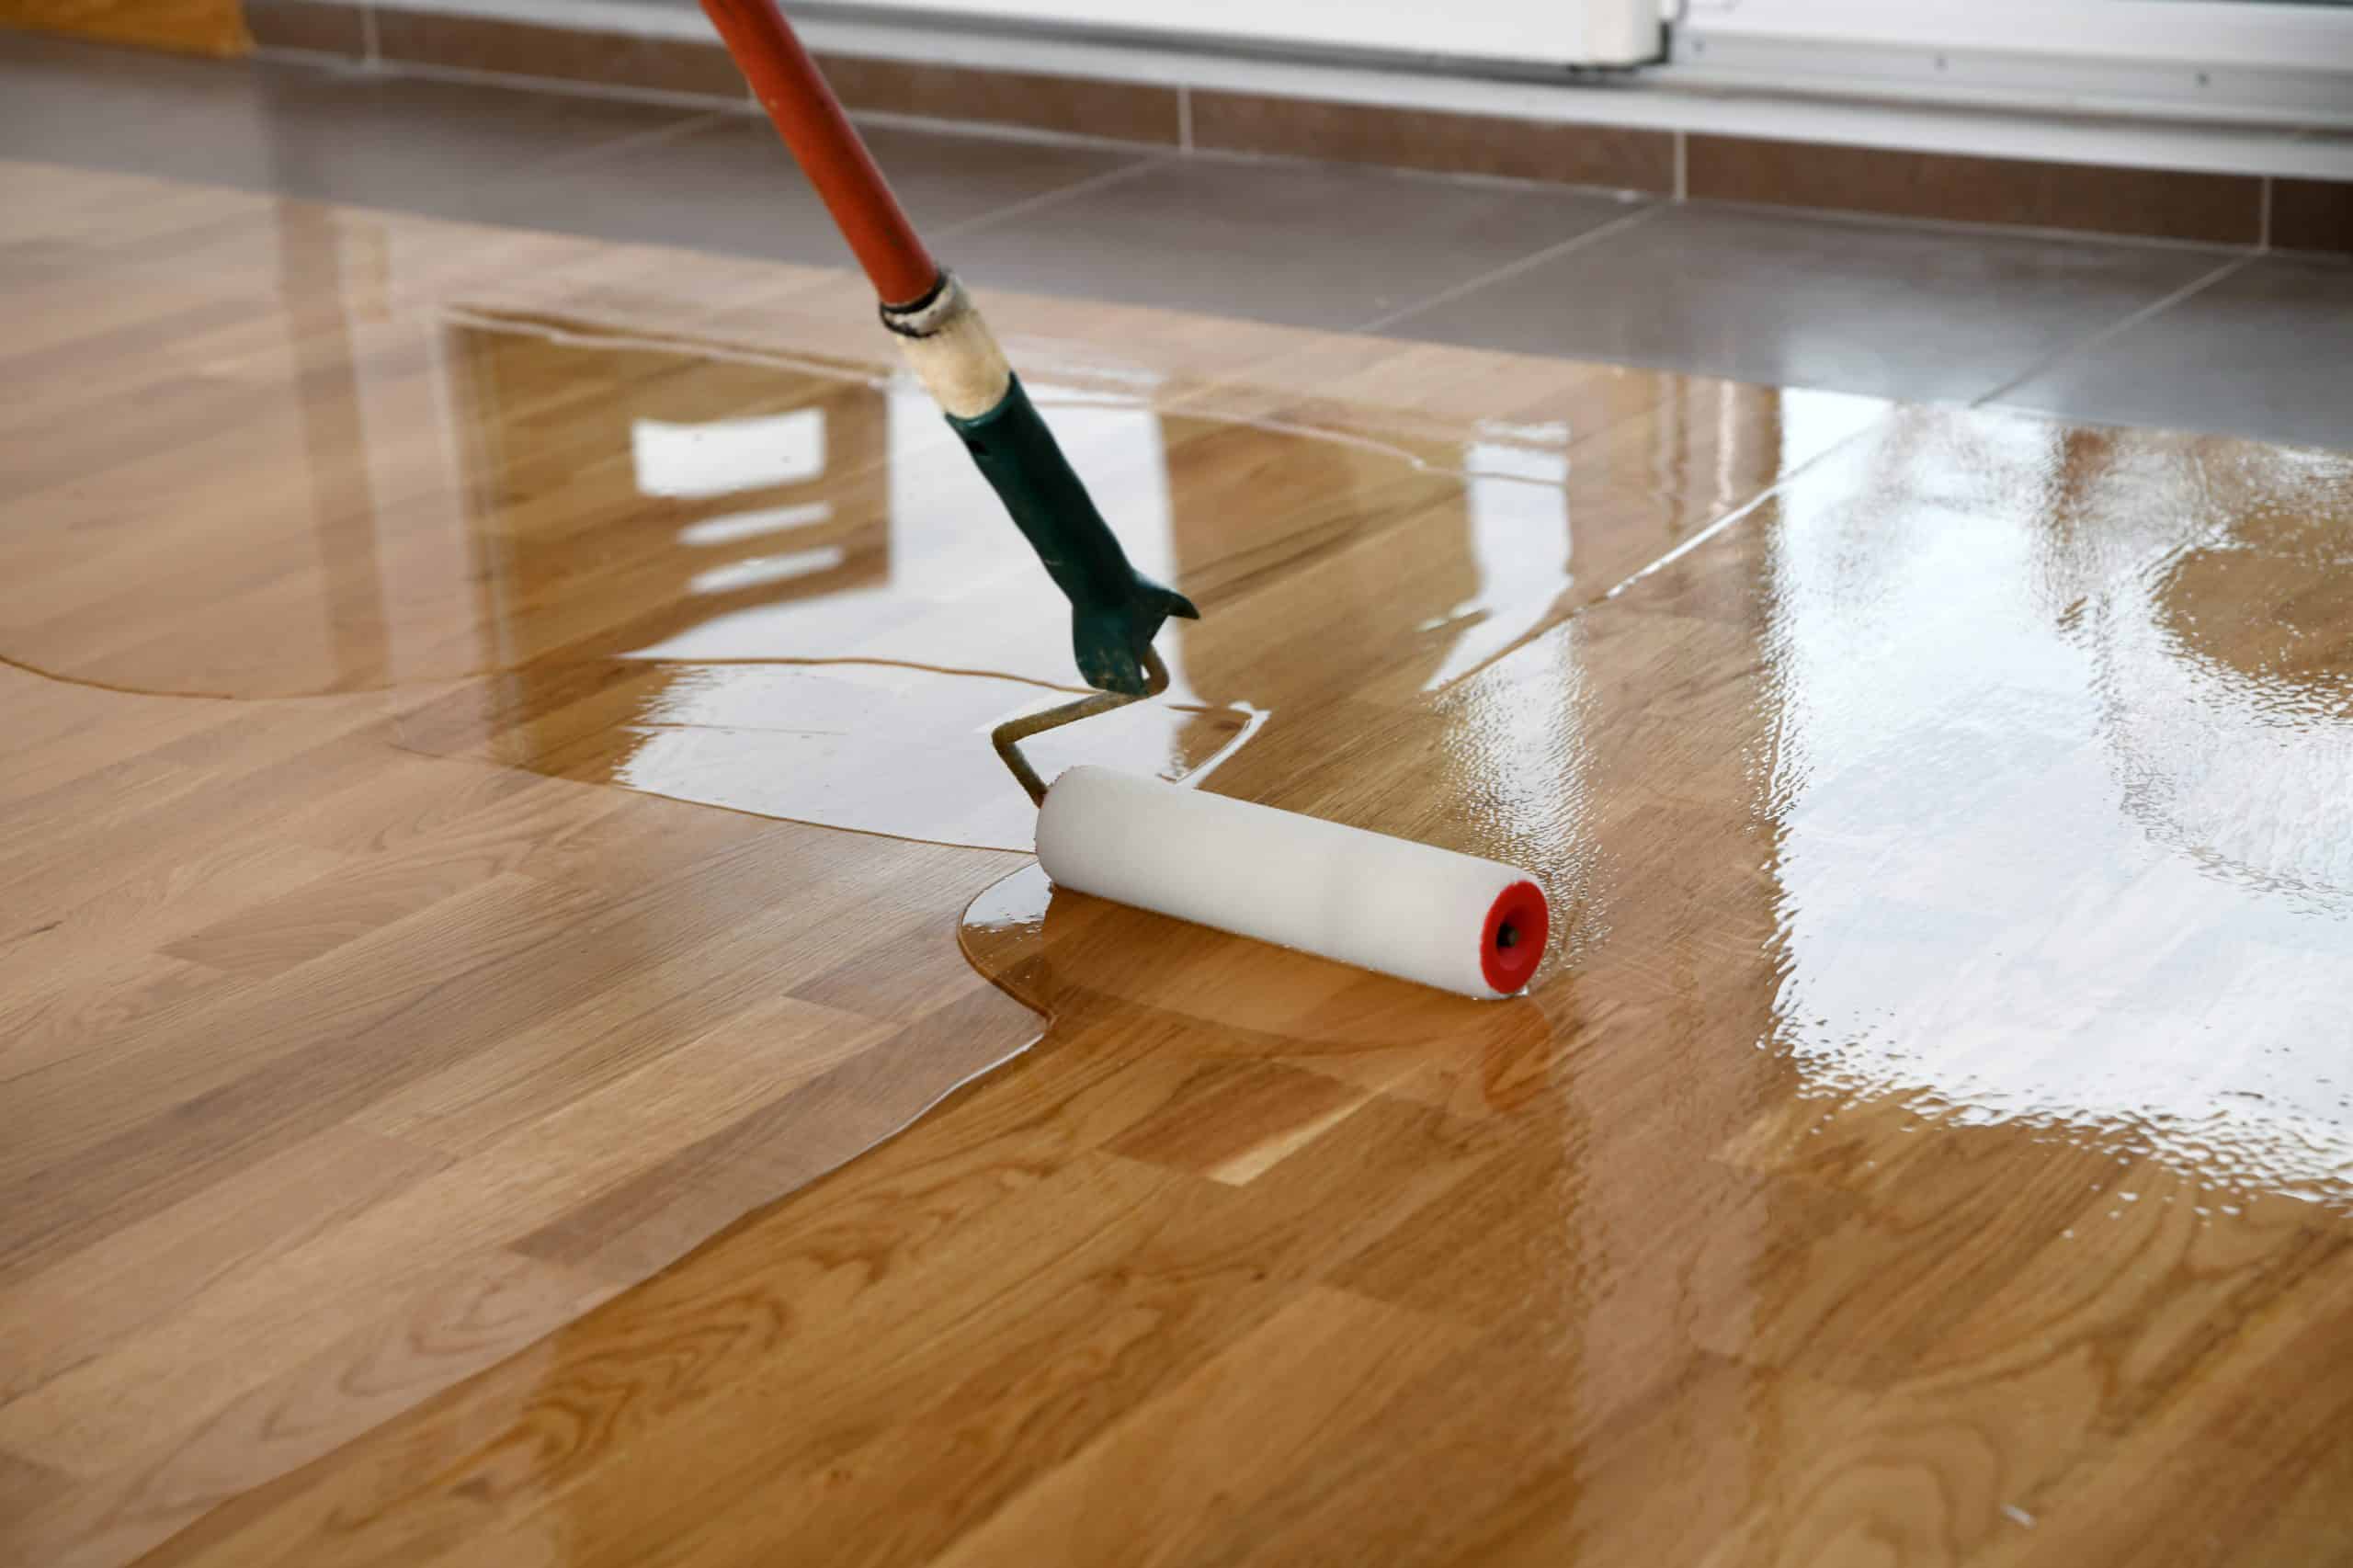
Applying the Finish:
- Water-based polyurethane: This type of finish dries quickly, has a low odour, and is easy to clean up. It is also environmentally friendly and provides a clear, non-yellowing finish that highlights the wood’s natural colour.
- Oil-based polyurethane: While it takes longer to dry and has a stronger odour, oil-based polyurethane offers increased durability and a rich, amber tone to the wood. It is an excellent choice for high-traffic areas or households with pets.
- Natural oil finishes: These finishes, such as tung oil or linseed oil, penetrate the wood fibres and harden, providing a natural, matte appearance. They are eco-friendly and allow for easy spot repairs, but may require more frequent maintenance than polyurethane finishes.
-
Curing and Post-Finishing Care:

Some Useful Links:
Conclusion:
Wood floor sanding and finishing are excellent ways to restore the beauty and durability of your hardwood floors. By following the proper steps and using the right materials, you can achieve professional-quality results and breathe new life into your home’s flooring. With regular maintenance and care, your refinished hardwood floors will continue to be a stunning and valuable feature in your home for years to come.More from our Blog:
Hardwood Flooring Trends 2023: Modern & Elegant Floors Reasons to Choose Professional Wood Floor Sanding Services Top Wooden Floor Restoration Techniques | Revitalize Your Floors The Basics Of Hardwood Floor Sanding: A Beginner’s Guide to DIY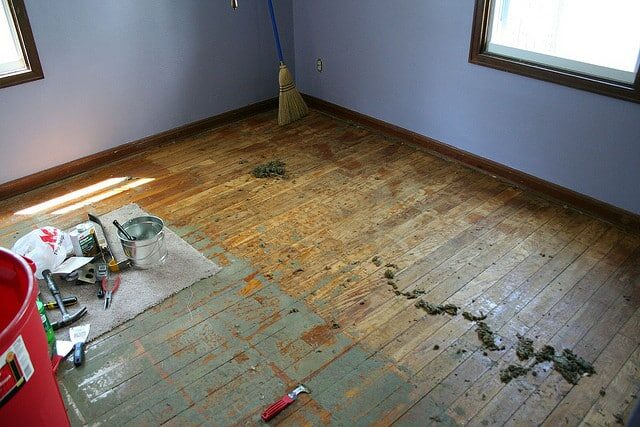

Sanding
We provide virtually dust-free sanding with our continuous belt machinery with mobile extraction units, giving you a safer environment for your family.
Oiling
This organic finish not only adds beauty to your home but also has exceptional water-repellent characteristics, making it easier to clean and maintain.
Waxing
This natural floor finish offers the softest and most mellow appearance – and leaves your floor able to breath.
Buffing
Using soft buffing machines (and hand-polishing where required) will bring a wonderful sheen to your newly-finished floor.
Repairs
We offer a full assessment of your wooden floors to determine what repairs are needed to provide the perfect working surface for the later stages of sanding, staining and sealing.
Restoration
We offer a comprehensive restoration process designed to address floors that are improperly fitted or damaged over time through wear and tear.
Request a fixed price quote for your wood floor restoration now
Simply enter your postcode below to get started.
Services
Wood Floor Sanding Wood Floor Restoration Wood Floor Scratch Repair Squeaky Wood Floor Repair Parquet Floor Sanding Parquet Floor Restoration Commercial Floor Sanding Church Floor Sanding Community Centre Floor Sanding School Floor Sanding Gap Filling Gap Filling with ResinCopyright © Mr Sander®
Privacy & Cookies Terms & Conditions Complaints Procedure Cancellation Rights Sitemap

Get An Instant Price Estimate Before You Go…
Simply enter the rooms you need sanded and we’ll provide you with a price estimate instantly! Try our price calculator now.
Get a Price Estimate NowLocal Floor Sanding Experts
Over 500 5-Star Reviews
Safe, Dust Free Sanding
Operating Since 1994