London:
Nationwide:
25,000+
Floors Restored
27 Years Experience
Wood Flooring Association Certified
Master Floor Sanding Basics: Step-by-Step Guide to Sanding
Posted on May 7, 2023
Floor Sanding Blogs
The Ultimate Guide to Floor Sanding: Restore Your Wooden Floor Like a Pro
Floor sanding is the process of removing the top surface of a wooden floor by abrasion with sandpaper. This technique can be used to restore old, worn-out floors and make them look new again. Floor sanding can be an excellent do-it-yourself project, but it requires patience, attention to detail, and the right tools. In this blog post, we’ll guide you through the basics of floor sanding, including the tools and materials needed, preparing the floor, and the sanding process itself.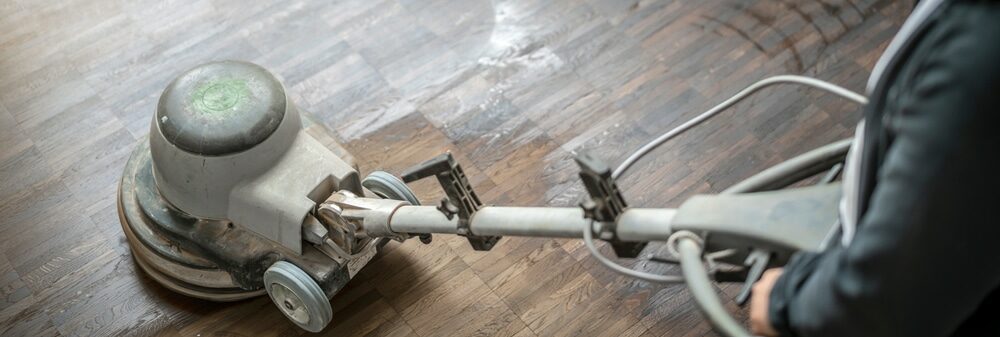
1. What is Floor Sanding?
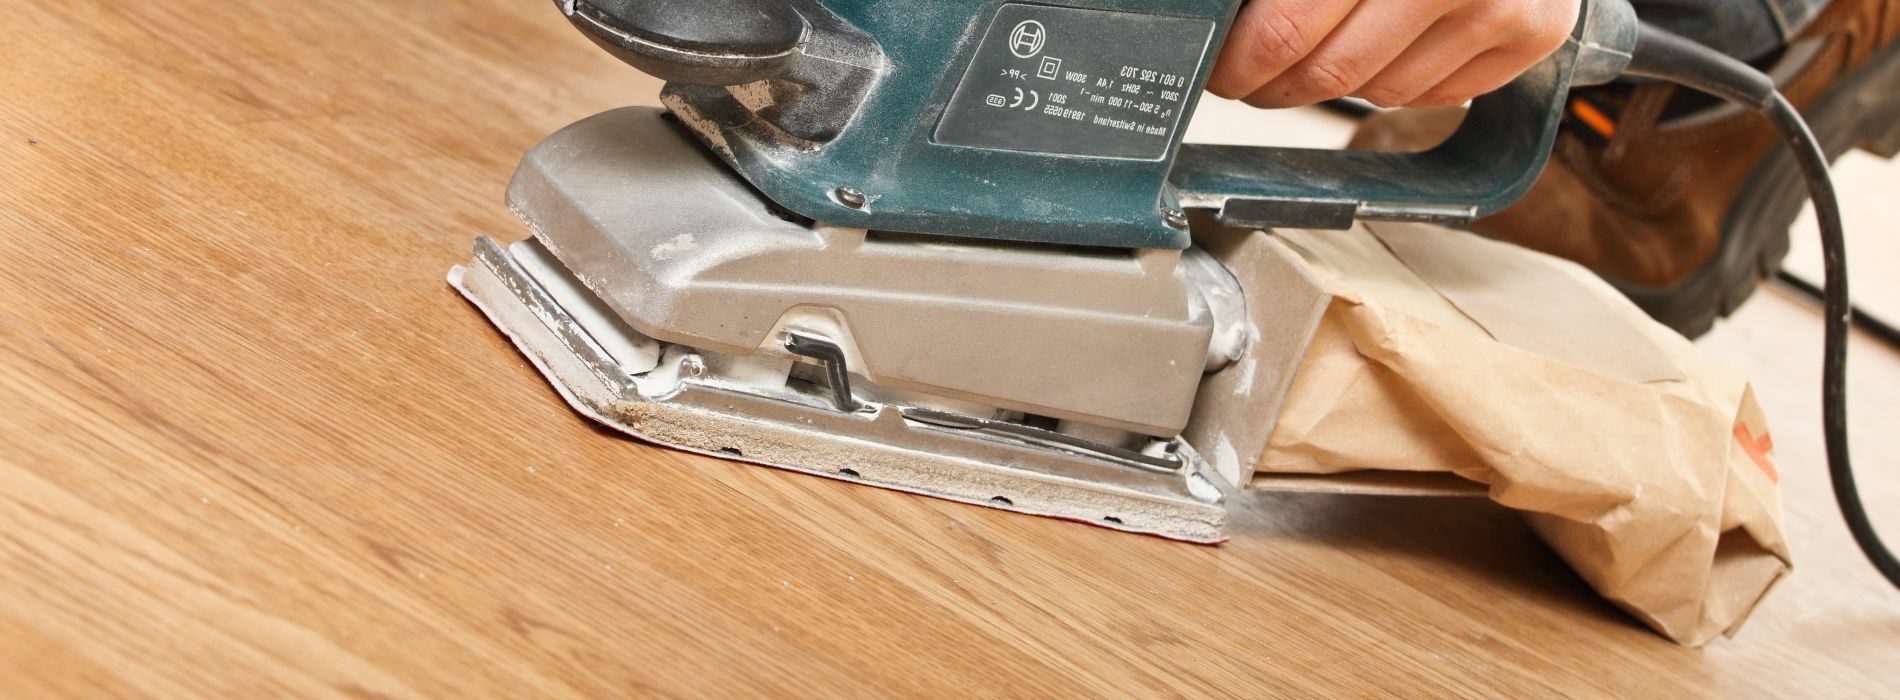
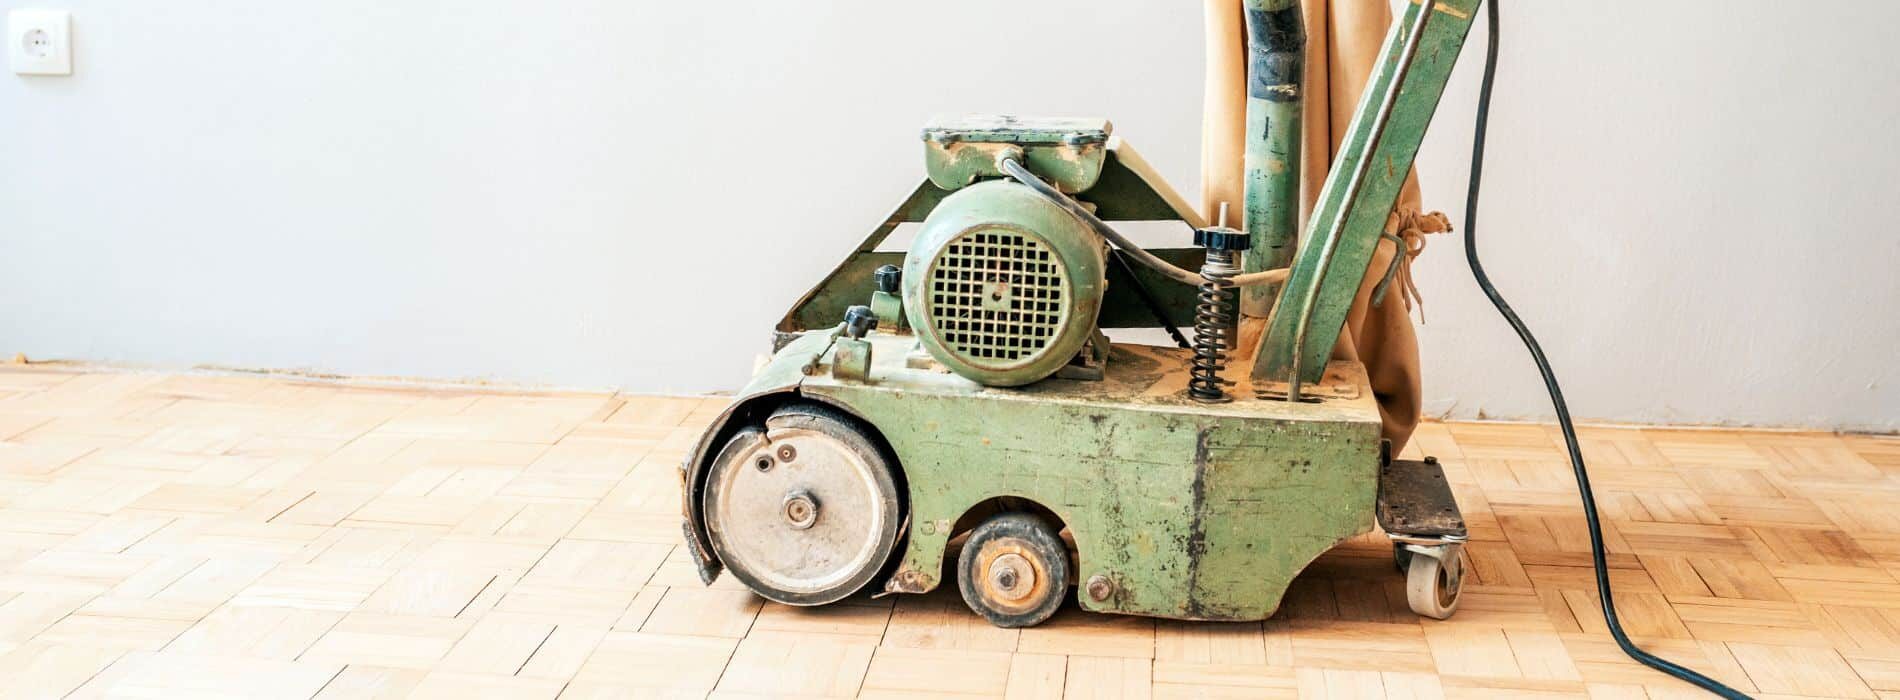
Floor sanding is a technique used to remove the top layer of a wooden floor to eliminate scratches, dents, and other imperfections. The process involves using sandpaper to abrade the surface of the floor, gradually reducing the coarseness of the sandpaper to create a smooth, even finish. This can be done using various types of sanding machines, including drum sanders, orbital sanders, and edging sanders.
2. Tools and materials needed for floor sanding
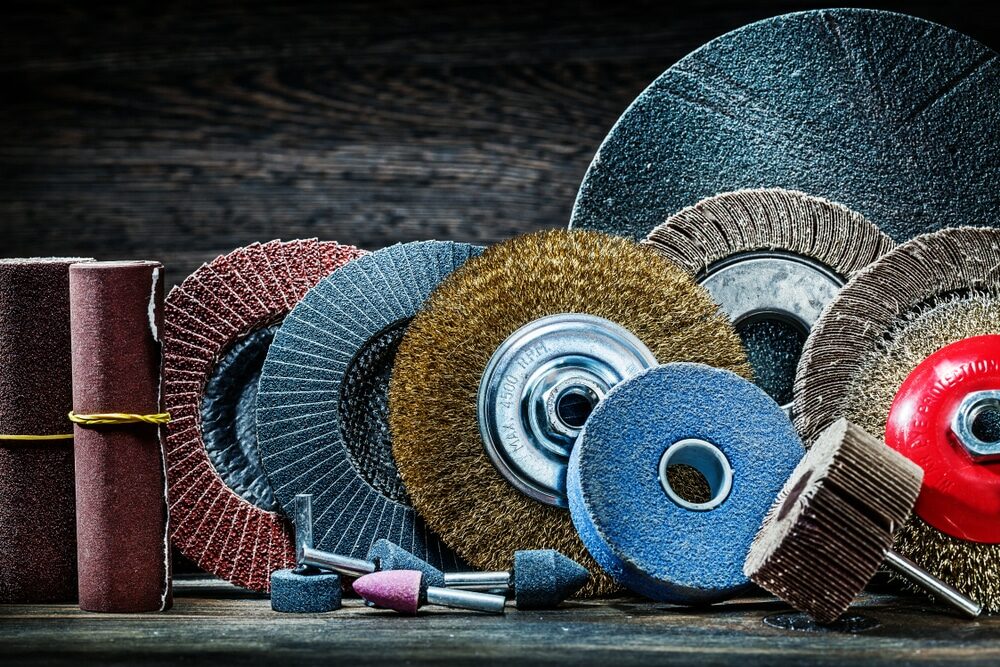
To effectively sand a wooden floor, you’ll need the following tools and materials: a. Sanding machines: drum sanders, orbital sanders, and edging sanders are the most commonly used machines for floor sanding. You can rent these machines from a local tool rental store or purchase them if you plan on sanding floors regularly. b. Sandpaper: You’ll need different grits of sandpaper for your sanding machines, ranging from coarse (24-grit) to fine (120-grit) sandpaper. c. Hammer and nail set: Use a hammer and nail set to countersink any protruding nails or staples in the floor. d. Vacuum cleaner: A vacuum cleaner is essential for cleaning up dust and debris during the sanding process. e. Protective gear: Safety goggles, earplugs, and a dust mask are crucial to protecting yourself from dust and noise during sanding. f. Wood filler: Wood filler can be used to fill any gaps or holes in the floor before sanding. g. Finishing materials: After sanding, you’ll need a finish, such as varnish or oil, to protect and enhance the appearance of your wooden floor.
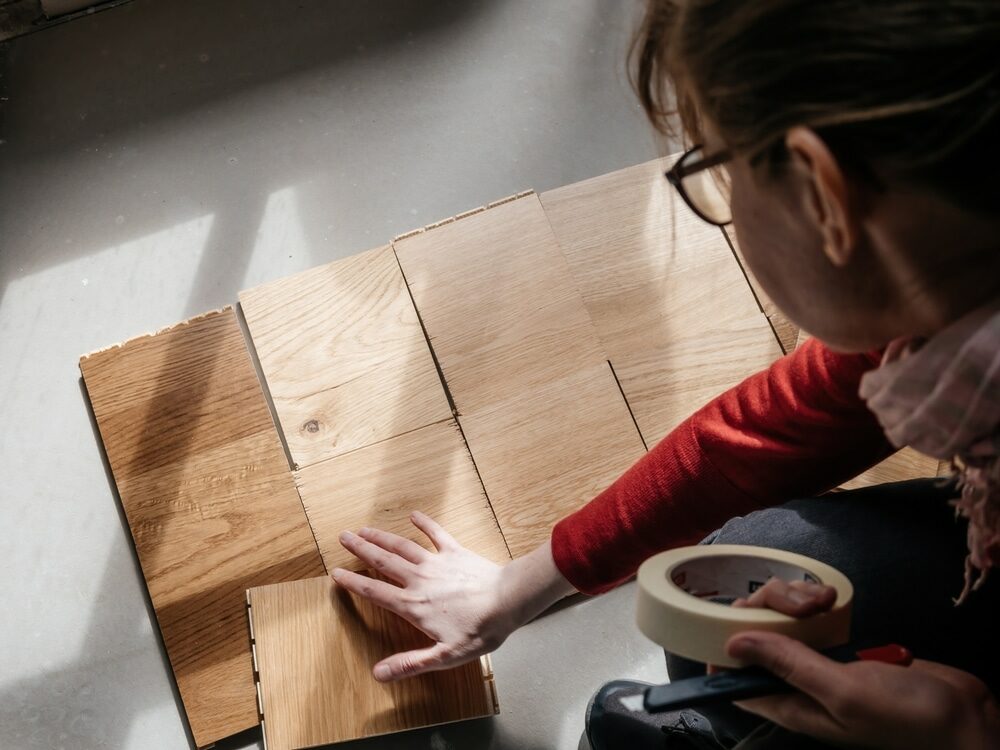
3. Preparing the Floor for Sanding
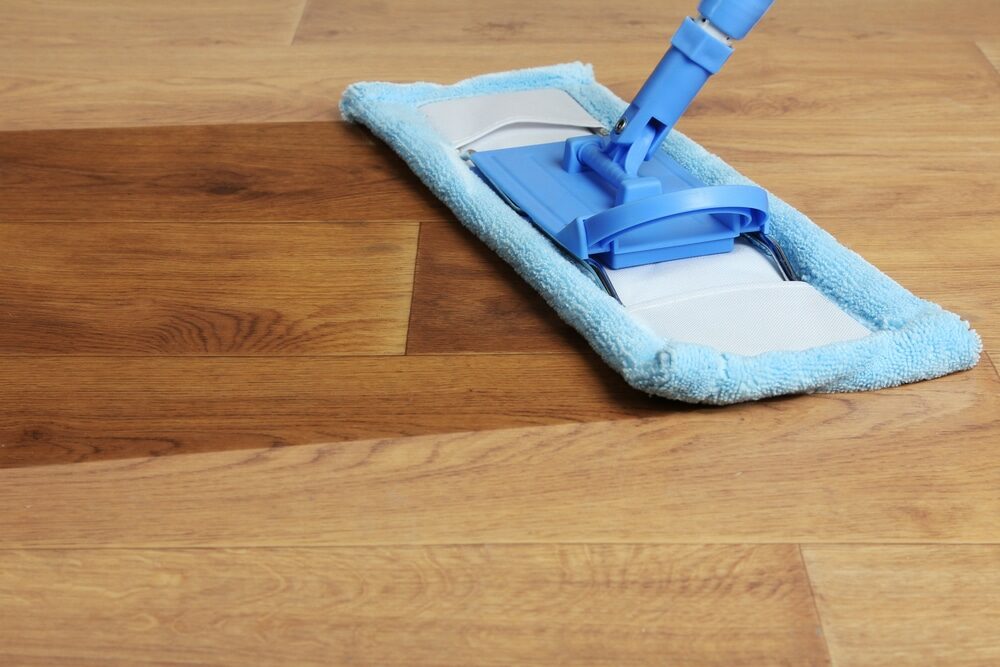
Before you start sanding, it’s essential to prepare the floor. Follow these steps: a. Remove all furniture, rugs, and other items from the room. b. Inspect the floor for any protruding nails or staples. If you find any, use a hammer and nail set to countersink them. c. Fill any gaps or holes in the floor with wood filler, following the manufacturer’s instructions. d. Sweep the floor thoroughly to remove any loose debris. e. Vacuum the floor to remove any remaining dust and debris.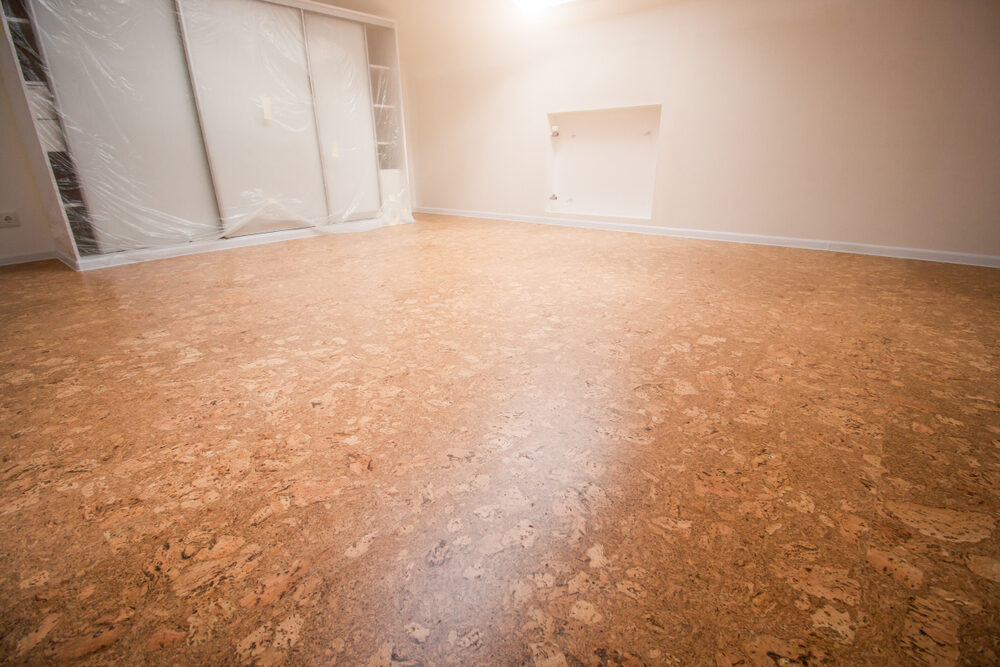
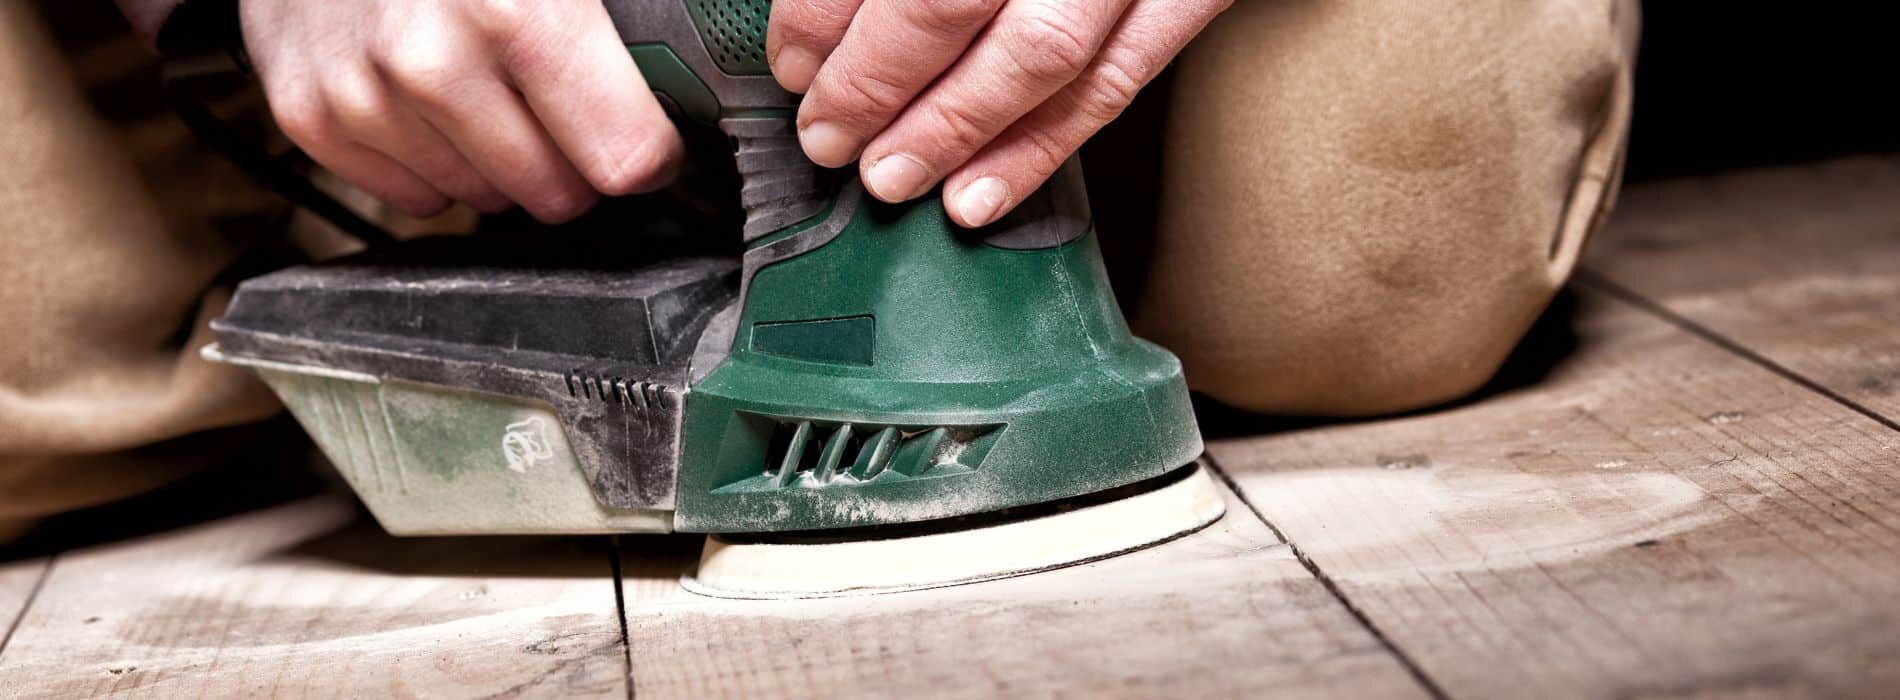
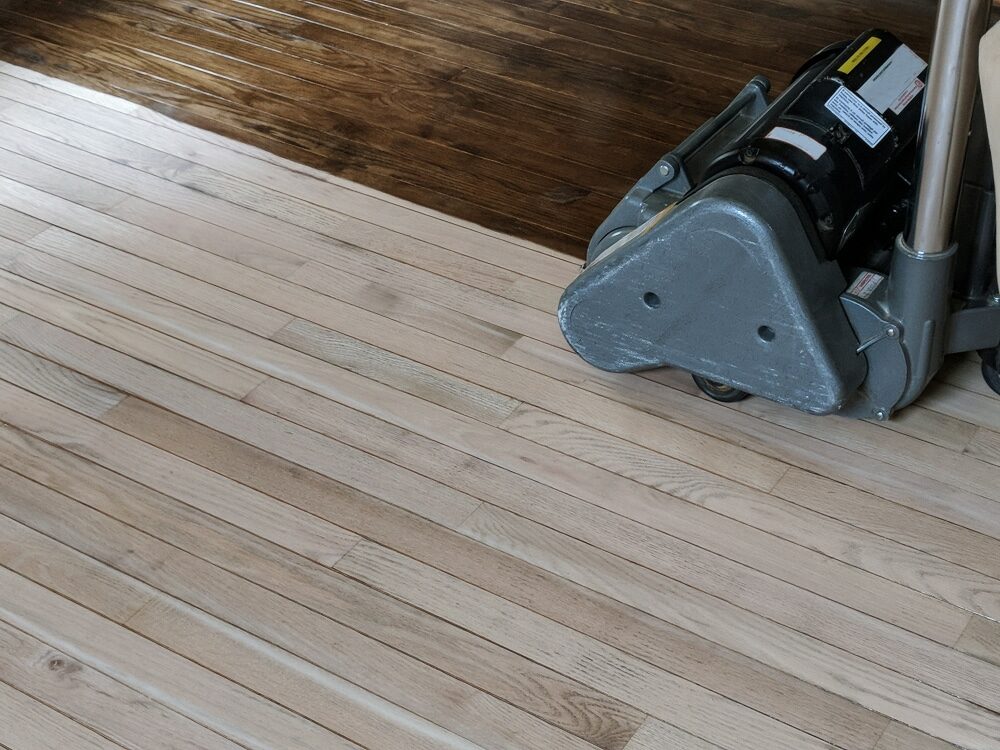
4. The floor sanding process
Now that your floor is prepared, it’s time to start sanding. Here’s a step-by-step guide to the process: a. Start with the coarsest sandpaper (24-grit) on your drum sander. Begin at one corner of the room and sand in the direction of the wood grain. Move the sander in a straight line, overlapping each pass by about a third of the sander’s width. b. After completing the first pass, vacuum the floor to remove dust and debris. c. Switch to a finer grit sandpaper (40 grit) and repeat the sanding process, again vacuuming the floor after completing the pass. d. Repeat this process with progressively finer grits of sandpaper (60-grit, 80-grit, and 120-grit), vacuuming the floor between each pass. e. Once you have completed the sanding with the drum sander, it’s time to use the edging sander. Start with the coarsest sandpaper (24-grit) and sand the edges and corners of the room, working in the direction of the wood grain. Make sure to overlap your passes to blend the edges with the rest of the floor. f. Repeat the process with finer grits of sandpaper (40-grit, 60-grit, 80-grit, and 120-grit), ensuring to vacuum the floor between each pass. g. After completing the sanding process, give the floor a thorough vacuuming to remove any remaining dust and debris.5. Tips for Sanding Your Floor
Here are some tips to help you achieve the best results when sanding your floor: a. Take your time: Floor sanding can be a time-consuming process, but it’s essential to be patient and move at a steady pace to achieve a smooth, even finish. b. Maintain consistent pressure: Apply even pressure to the sander as you move across the floor to avoid creating uneven patches or gouges. c. Overlap your passes: Make sure to overlap each pass by about a third of the sander’s width to ensure a consistent finish. d. Keep the sander moving: Avoid staying in one spot for too long, as this can create dips or gouges in the floor. e. Wear protective gear: Always wear safety goggles, earplugs, and a dust mask when sanding to protect yourself from dust and noise.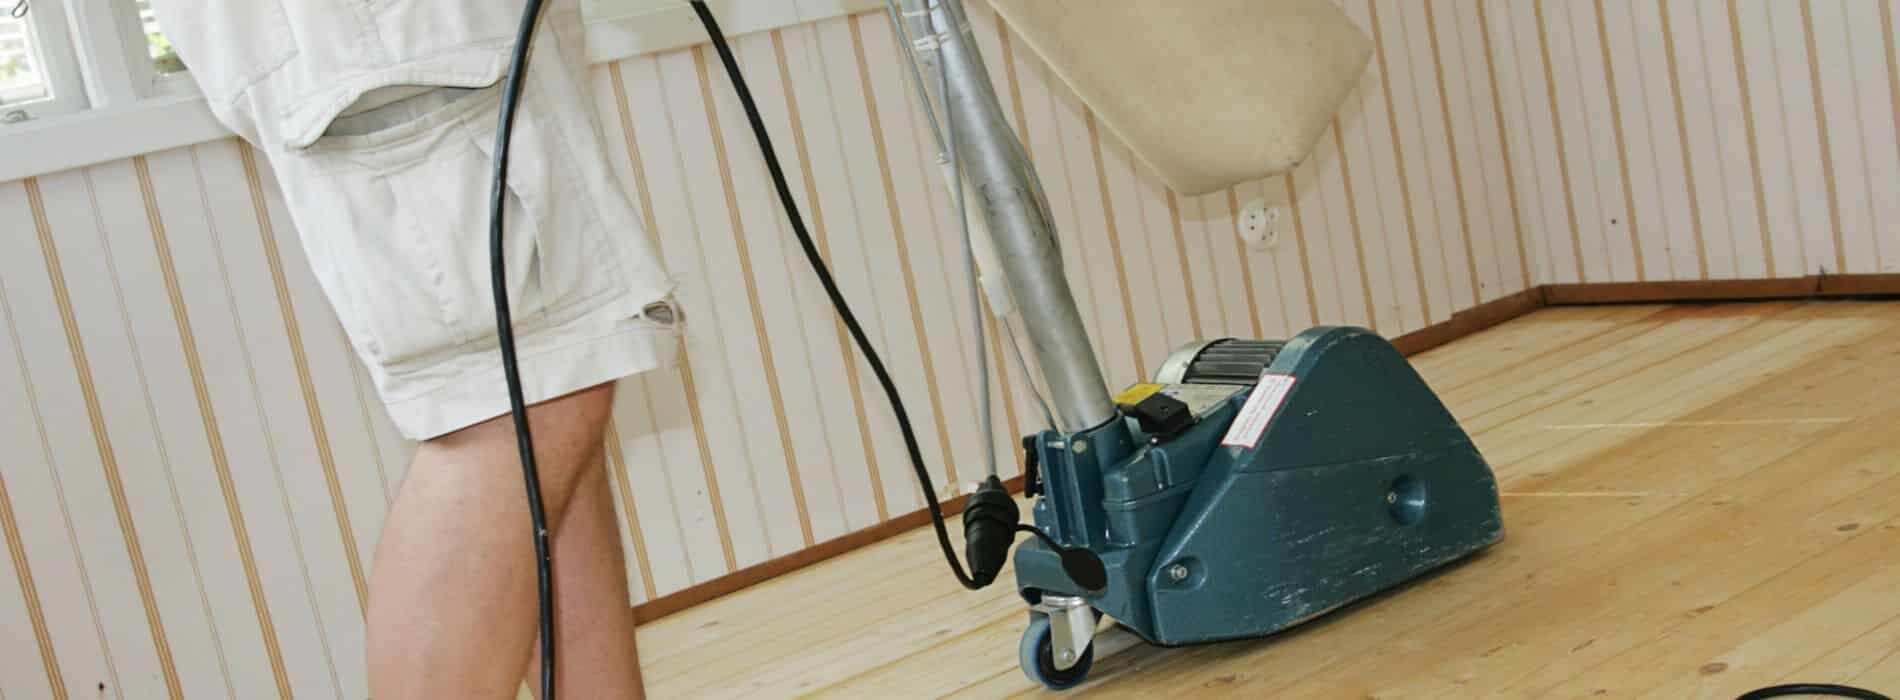
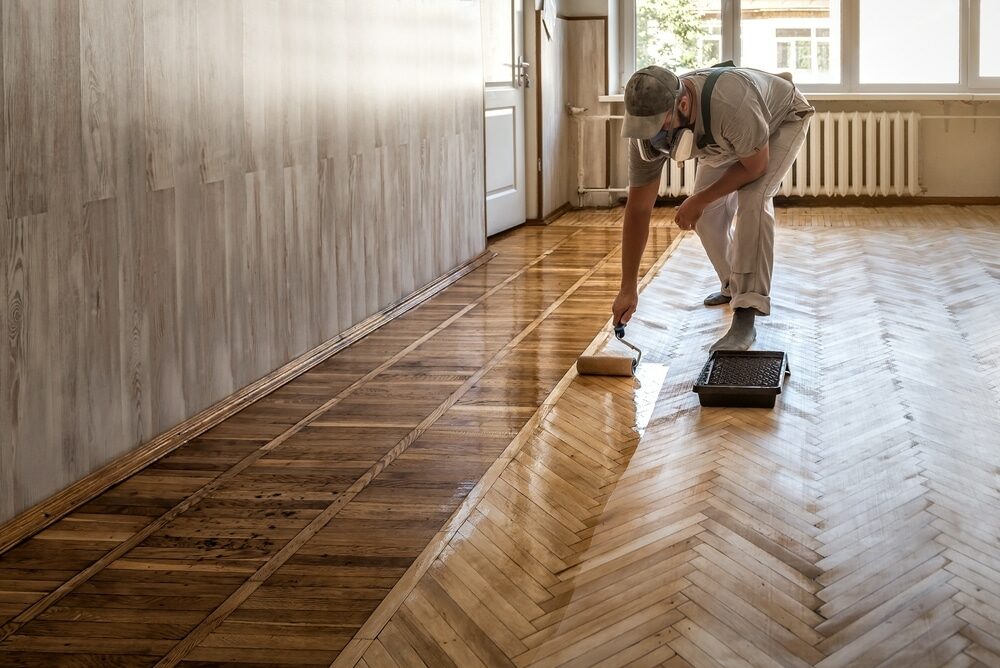
6. Final touches and floor finishing
Once you have completed the sanding process and vacuumed the floor, it’s time to apply a finish to protect and enhance the appearance of your wooden floor. Follow these steps: a. Choose a finish that’s suitable for your floor type and desired look, such as varnish, oil, or wax. b. Follow the manufacturer’s instructions for preparing and applying the finish. This may involve stirring the finish, applying it with a brush or roller, and allowing it to dry for a specified time. c. Apply multiple coats of finish, as recommended by the manufacturer, allowing each coat to dry thoroughly before applying the next. d. Once the final coat of finish has dried, you can replace your furniture and enjoy your newly restored wooden floor.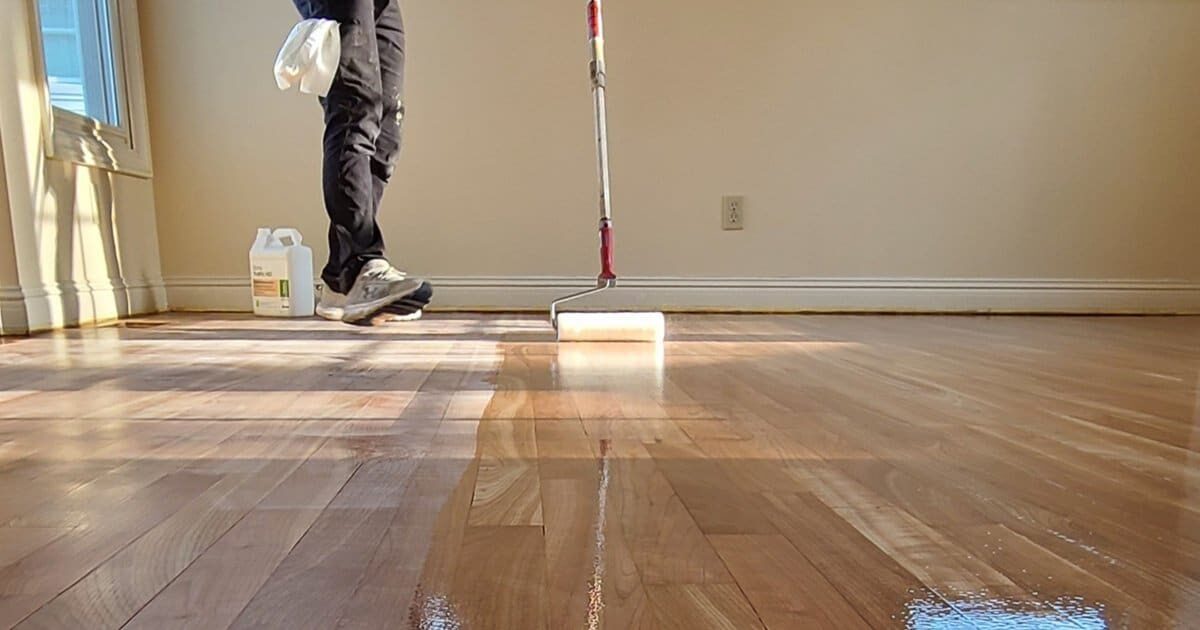
Some Useful Links:
Conclusion
Floor sanding is an effective way to restore old, worn-out wooden floors and make them look new again. With the right tools, materials, and a little patience, you can achieve professional-looking results by following the steps outlined in this blog post. Remember to take your time, overlap your passes, and wear protective gear to ensure a smooth, even finish. Once your floor is sanded and finished, you’ll be able to enjoy its beauty for years to come.More from our Blog:
What is Parquet Flooring? Timeless Elegance and Durability Can a New Wooden Floor Enhance Your Business? Experts Guide What Type of Wood Flooring is Right for You? The Expert Guide Hardwood Flooring Pros and Cons: A Complete Guide to Make an Informed Choice Unveiling the Art of Hand-Distressed Hardwood Floors
Sanding
We provide virtually dust-free sanding with our continuous belt machinery with mobile extraction units, giving you a safer environment for your family.
Oiling
This organic finish not only adds beauty to your home but also has exceptional water-repellent characteristics, making it easier to clean and maintain.
Waxing
This natural floor finish offers the softest and most mellow appearance – and leaves your floor able to breath.
Buffing
Using soft buffing machines (and hand-polishing where required) will bring a wonderful sheen to your newly-finished floor.
Repairs
We offer a full assessment of your wooden floors to determine what repairs are needed to provide the perfect working surface for the later stages of sanding, staining and sealing.
Restoration
We offer a comprehensive restoration process designed to address floors that are improperly fitted or damaged over time through wear and tear.
Request a fixed price quote for your wood floor restoration now
Simply enter your postcode below to get started.
Services
Wood Floor Sanding Wood Floor Restoration Wood Floor Scratch Repair Squeaky Wood Floor Repair Parquet Floor Sanding Parquet Floor Restoration Commercial Floor Sanding Church Floor Sanding Community Centre Floor Sanding School Floor Sanding Gap Filling Gap Filling with ResinCopyright © Mr Sander®
Privacy & Cookies Terms & Conditions Complaints Procedure Cancellation Rights Sitemap

Get An Instant Price Estimate Before You Go…
Simply enter the rooms you need sanded and we’ll provide you with a price estimate instantly! Try our price calculator now.
Get a Price Estimate NowLocal Floor Sanding Experts
Over 500 5-Star Reviews
Safe, Dust Free Sanding
Operating Since 1994