London:
Nationwide:
25,000+
Floors Restored
27 Years Experience
Wood Flooring Association Certified
Master Wood Floor Sanding & Finishing: Expert Tips for Flawless Results
Posted on April 27, 2023
Blog
Comprehensive Guide to Wood Floor Sanding and Finishing – Restore Your Floors Like a Pro
Wooden floors are a popular choice for homeowners due to their natural beauty, durability, and ability to add warmth and character to any living space. However, over time, these floors can lose their lustre, become scratched, or develop uneven surfaces due to wear and tear. Wood floor sanding and finishing are essential processes to restore and maintain your wooden floors, giving them a fresh and pristine appearance. In this blog post, we will discuss some helpful advice on wood floor sanding and finishing, from preparation to final touches, ensuring a flawless result.
-
Preparing for Wood Floor Sanding
- Remove all furniture, rugs, and other items from the room.
- Inspect the floor for any protruding nails, staples, or other debris and remove or hammer them down to avoid damaging your sanding equipment.
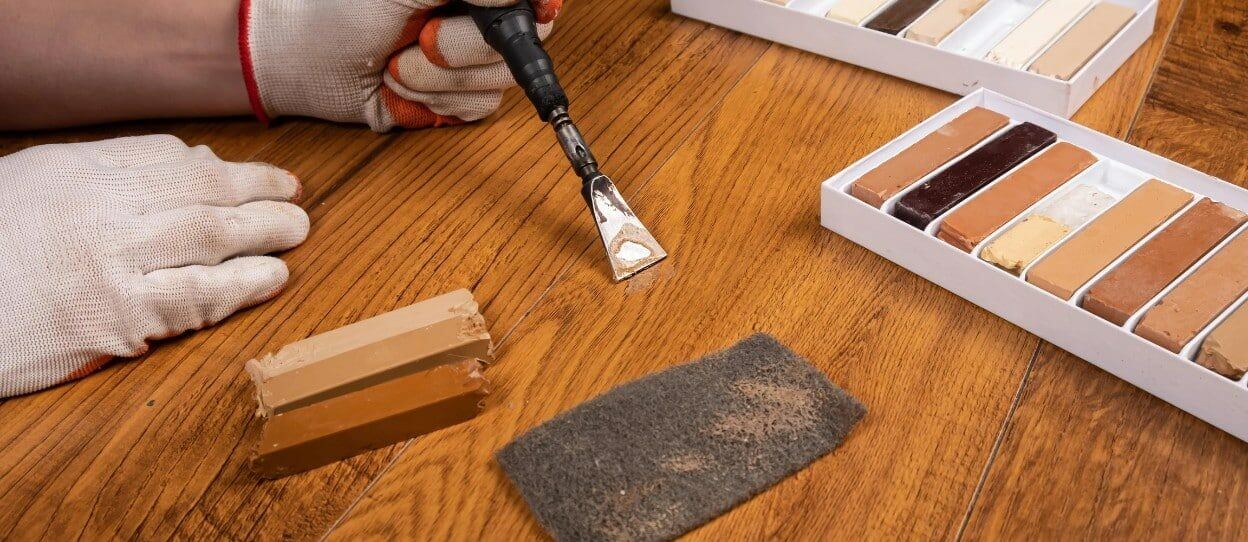
- Fill any significant gaps or cracks in the floor with a suitable wood filler.
- Thoroughly clean the floor using a vacuum cleaner or a broom to remove any dust or dirt.
- Seal doors, windows, and vents with plastic sheeting or tape to prevent dust from spreading throughout your home.
-
Choosing the right sanding equipment
- Drum sander: A powerful machine used for the initial sanding of larger areas
- Orbital sander: a more gentle sander, suitable for delicate or intricate surfaces.
- Edge sander: designed for sanding the edges and corners of the floor where a drum or orbital sander cannot reach.
- Handheld sanding blocks or pads are ideal for touch-ups and detail work.
-
Selecting the Right Sandpaper Grit
-
Sanding Techniques
- Sand with the grain of the wood, moving in straight, overlapping passes.
- Keep the sander moving at all times to avoid creating divots or uneven patches.
- Maintain even pressure on the sander, allowing the weight of the machine to do most of the work.
- Use a dust mask and ear protection, as sanding can be loud and create a significant amount of dust.
-
Cleaning and Preparing for Finishing
-
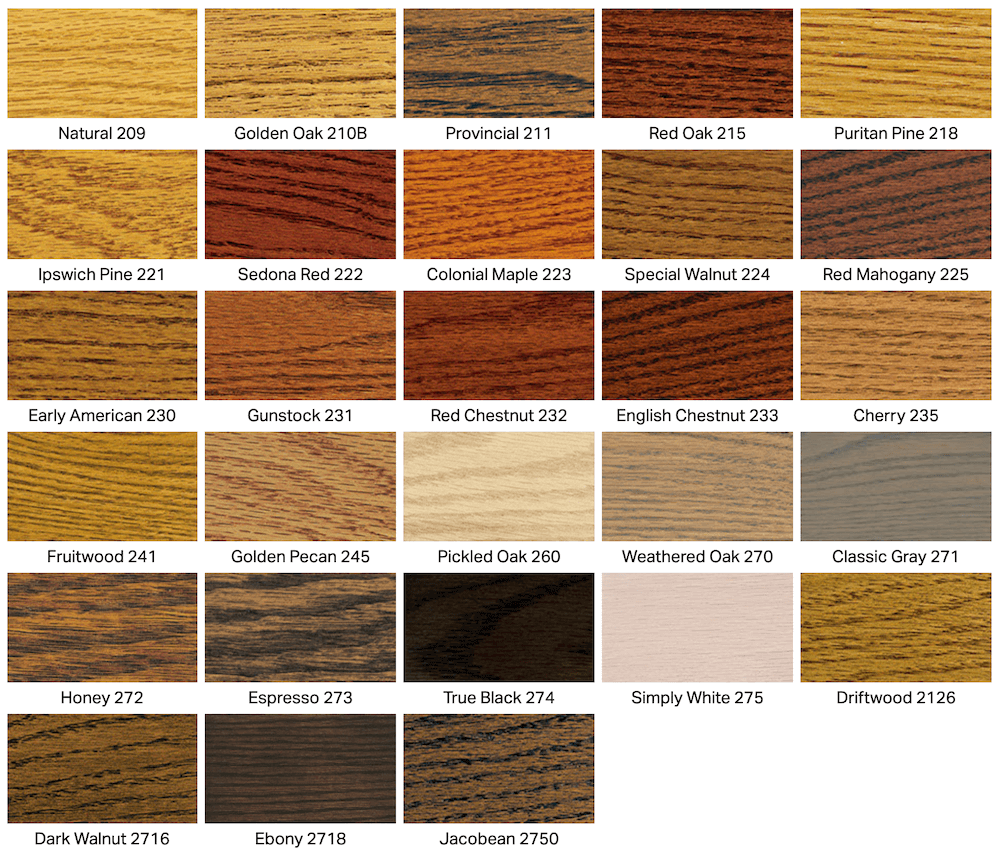
Choosing a Wood Floor Finish
- Oil-based polyurethane: Durable and easy to apply, this finish provides a warm, amber tone.
- Water-based polyurethane is a low-odour, quick-drying option that offers a clear finish.
- Hardwax oil: a natural, eco-friendly choicethat penetrates the wood and provides a matte, natural appearance.
- Shellac: A traditional finish with a warm, amber tone that is easily repairable but less durable than other options.
- Lacquer: A durable, high-gloss finish that provides a luxurious, reflective appearance.
-
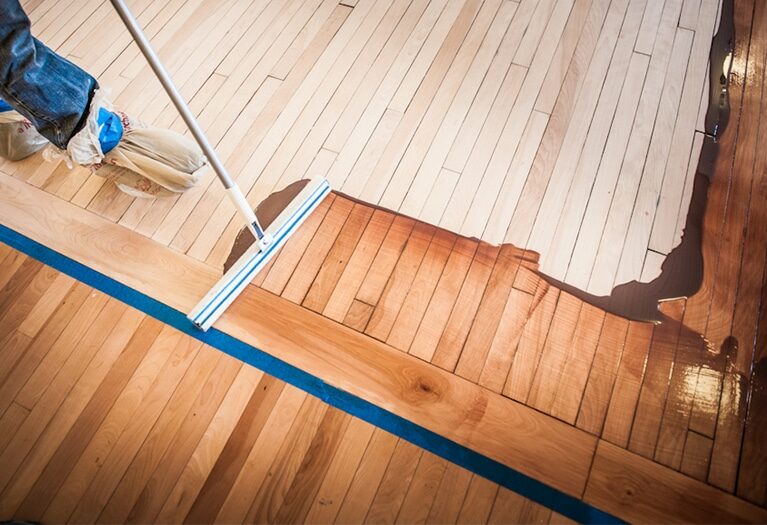
Applying the Wood Floor Finish
- Ensure the room is well-ventilated and dust-free.
- If staining the floor, apply the wood stain with a brush or rag, following the wood grain. Allow the stain to dry for the recommended time before applying the finish.
- Stir the chosen finish thoroughly but gently to avoid creating bubbles. Do not shake the container.
- Apply the first coat of finish using a high-quality brush or applicator, following the wood grain. Work in small, manageable sections to ensure an even application.
- Allow the first coat to dry according to the manufacturer’s instructions. Drying times can vary from a few hours to a full day, depending on the finish.
- Lightly sand the floor with a fine-grit sandpaper (220-240 grit) or a sanding screen to remove any imperfections or raised grain. Vacuum and wipe down the floor with a tack cloth to remove dust.
- Apply additional coats of finish as needed, following the same process. Most finishes require at least two to three coats for optimum durability and appearance.
-
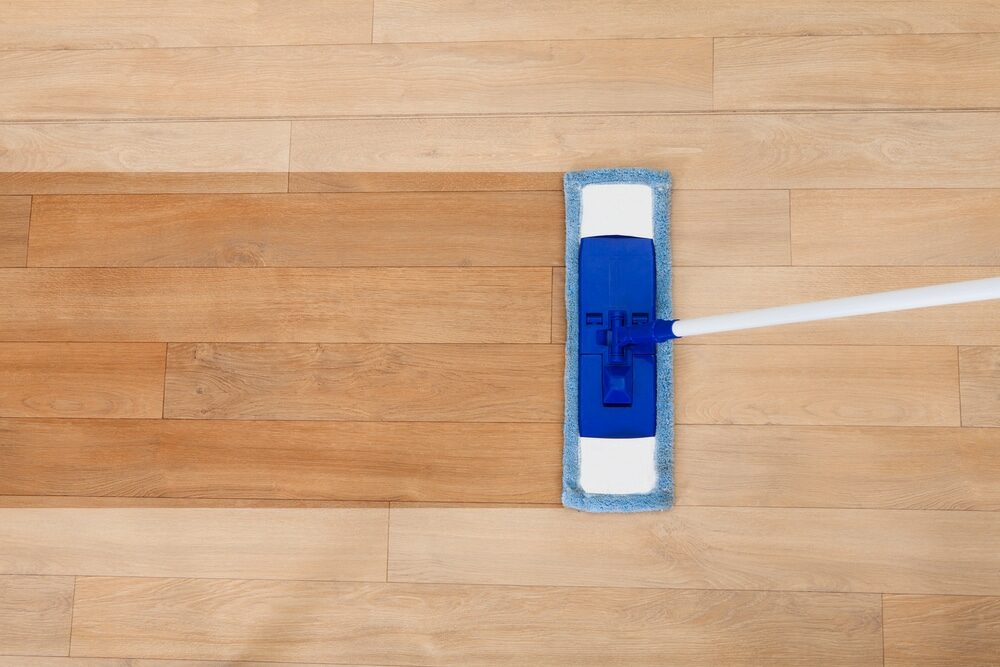
Curing and Post-Finishing Care
- Regularly clean the floor with a soft broom, vacuum, or microfiber mop to remove dust and dirt.
- Avoid using harsh chemicals or abrasive cleaning tools that can damage the finish.
- Place felt pads or furniture coasters under heavy items to prevent scratches or dents.
- Use area rugs or runners in high-traffic areas to protect the floor from wear.
- Recoat the floor every few years, as needed, to maintain its appearance and durability.
Some Useful Links:
Conclusion
Wood floor sanding and finishing can transform a worn, damaged floor into a stunning, like-new surface. By following these helpful tips and advice, you can achieve a professional and flawless result that enhances the beauty and longevity of your wooden floors. With proper care and maintenance, your restored wood floors will provide warmth and elegance to your home for years to come.

Sanding
We provide virtually dust-free sanding with our continuous belt machinery with mobile extraction units, giving you a safer environment for your family.
Oiling
This organic finish not only adds beauty to your home but also has exceptional water-repellent characteristics, making it easier to clean and maintain.
Waxing
This natural floor finish offers the softest and most mellow appearance – and leaves your floor able to breath.
Buffing
Using soft buffing machines (and hand-polishing where required) will bring a wonderful sheen to your newly-finished floor.
Repairs
We offer a full assessment of your wooden floors to determine what repairs are needed to provide the perfect working surface for the later stages of sanding, staining and sealing.
Restoration
We offer a comprehensive restoration process designed to address floors that are improperly fitted or damaged over time through wear and tear.
Request a fixed price quote for your wood floor restoration now
Simply enter your postcode below to get started.
Services
Wood Floor Sanding Wood Floor Restoration Wood Floor Scratch Repair Squeaky Wood Floor Repair Parquet Floor Sanding Parquet Floor Restoration Commercial Floor Sanding Church Floor Sanding Community Centre Floor Sanding School Floor Sanding Gap Filling Gap Filling with ResinCopyright © Mr Sander®
Privacy & Cookies Terms & Conditions Complaints Procedure Cancellation Rights Sitemap

Get An Instant Price Estimate Before You Go…
Simply enter the rooms you need sanded and we’ll provide you with a price estimate instantly! Try our price calculator now.
Get a Price Estimate NowLocal Floor Sanding Experts
Over 500 5-Star Reviews
Safe, Dust Free Sanding
Operating Since 1994