London:
Nationwide:
25,000+
Floors Restored
27 Years Experience
Wood Flooring Association Certified
How to Restore Water-Damaged Wood Floors
Posted on December 5, 2023
Floor Restoration Blogs
Ultimate Guide to Restoring Water-Damaged Wood Floors
Dealing with water-damaged wood floors can be a daunting task for any homeowner. It’s not just about the unsightly stains or warping; water damage can compromise the integrity and safety of your flooring if not addressed promptly and effectively. In this comprehensive guide, we will walk you through the essential steps to restore your wood floors to their former glory after water damage.
Understanding the nature of water damage is crucial. It can stem from various sources, like flooding, leaks, or even high humidity. Each scenario presents its own unique challenges and requires specific solutions. Our aim is to provide you with practical, step-by-step instructions to assess, repair, and protect your wood floors from further damage.
Whether you’re facing minor water spots or extensive flooding damage, this guide will equip you with the knowledge and confidence to tackle the restoration process. We’ll cover everything from identifying the extent of damage and removing excess water to sanding, refinishing, and preventive measures for future protection.
So, let’s get started on the journey to bring your water-damaged wood floors back to life!
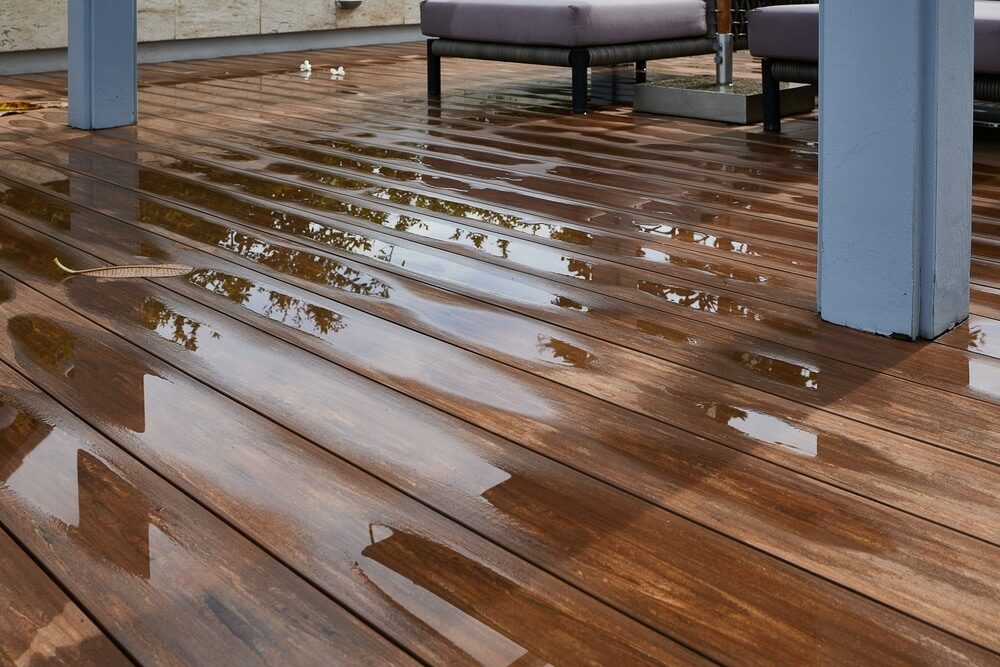
Identifying the Extent of Water Damage
Before embarking on the restoration process, it’s critical to assess the extent of the water damage to your wood floors. This step is crucial in determining the appropriate course of action and whether you can handle the repairs yourself or need professional assistance.
1. Visual Inspection:
Begin with a thorough visual examination of the affected area. Look for obvious signs like discoloration, warping, cupping (when the edges of the wood planks rise higher than the centre), or buckling (when the boards lift off the subfloor). These symptoms indicate the severity of the water impact.
2. Touch and Feel:
Gently press on the wood to check for softness, which can be a sign of rot or severe damage. Be cautious, as excessively damaged wood might collapse under pressure.
3. Moisture Testing:
Use a moisture metre to measure the level of moisture in the wood. Compare the readings to normal moisture levels for wood in your region, as this can vary depending on the local climate. Typically, a reading of 6–9% is considered safe, but anything significantly higher requires attention.
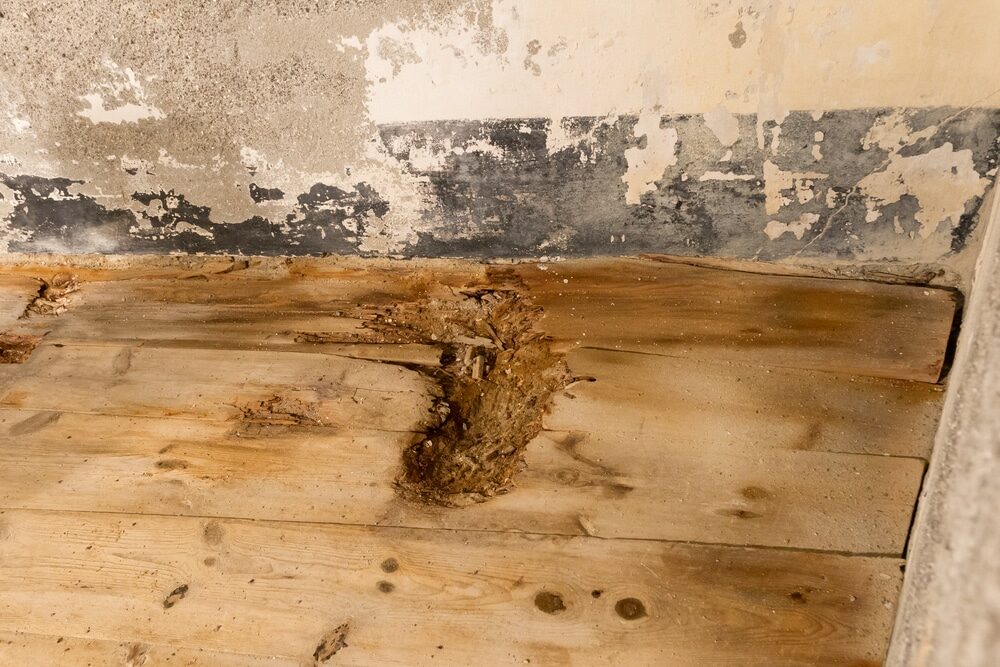
4. Check for Mould and Mildew:
Inspect for any signs of mould or mildew, which often accompany water damage. These not only deteriorate the wood but also pose health hazards.
5. Examine the Subfloor:
If possible, inspect the subfloor for any signs of water damage. This could include mould, softening, or warping. Damage to the subfloor may necessitate more extensive repairs.
6. Duration of Exposure:
Consider how long the wood has been exposed to water. Prolonged exposure increases the likelihood of significant damage and can affect the restoration approach.
7. Consult a Professional:
If you’re unsure about the extent of the damage or how to proceed, it’s wise to consult a professional. They can provide a more in-depth assessment and guide you on the best course of action.
By carefully assessing the extent of water damage, you can plan an effective restoration strategy that not only revives the beauty of your wood floors but also ensures their longevity and safety.
Preparation for Restoration
Restoring water-damaged wood floors is a meticulous process that requires thorough preparation. Proper planning not only makes the restoration process smoother but also helps in achieving the best results. Here are the key steps to prepare for the restoration of your water-damaged wood floors:
1. Gather Necessary Tools and Materials:
Assemble all the tools and materials you will need for the restoration process. This may include a moisture metre, sander, vacuum, protective gear (gloves, masks, and goggles), wood filler, varnish or sealant, and cleaning supplies.
2. Ensure Safety First:
Before starting, make sure the area is safe to work in. Turn off any electrical power in the affected area to avoid the risk of electric shock, especially if there is standing water.
3. Clear the Area:
Remove all furniture, rugs, and other items from the affected area. This not only provides you with space to work but also prevents further damage to your belongings.
4. Document the damage:
Take photos or videos of the water-damaged areas for insurance purposes. This documentation can be crucial for claims and to record the extent of damage before restoration.
5. Dry the Area Thoroughly:
Before any repair work can begin, it’s essential to ensure the wood and surrounding area are completely dry. Use fans, dehumidifiers, and natural ventilation to aid in drying out the area.
6. Inspect for mould and mildew:
If there is any sign of mould or mildew, address this immediately. Depending on the severity, you may need to clean the area with a mould-killing solution or seek professional help.
7. Plan the Restoration Process:
Based on the extent of the damage, plan out the steps of restoration. This could range from simple drying and refinishing to more extensive repairs or even partial replacement of the flooring.
By thoroughly preparing for the restoration, you can tackle the project more efficiently and effectively, ensuring your wood floors are restored to their best condition.
Removing excess water
The first and most crucial step in restoring water-damaged wood floors is to remove all excess water. Prompt and effective removal is key to preventing further damage and mould growth. Follow these steps to efficiently remove excess water from your wood floors:
1. Mop Up Standing Water:
Begin by mopping up any standing water on the surface of the wood. Use a soft mop or towels to gently blot and soak up the water. Be careful not to scrub, as this can further damage the wood.
2. Use a Wet Vacuum:
For a more significant water presence, a wet vacuum can be very effective in pulling water out of the wood. Move the vacuum over the affected areas several times to extract as much water as possible.
3. Dry with Fans and Dehumidifiers:
After removing the visible water, set up fans and dehumidifiers around the affected area. This will help dry out the remaining moisture. Ensure good air circulation by opening windows if the weather permits.
4. Check Underneath the Floorboards:
If possible, access the subfloor to ensure it’s also being dried. Sometimes water seeps underneath, and drying it is crucial to prevent damage to the substructure.
5. Monitor Moisture Levels:
Continuously monitor the moisture levels using a moisture meter. This will help you understand when the wood has dried sufficiently to move on to the next step of the restoration process.
6. Repeat as Necessary:
Depending on the severity of the water damage, you may need to repeat the drying process over several days. Consistency is key to ensuring thorough drying.
7. Inspect for Mould During Drying:
Keep an eye out for any signs of mould or mildew as the floor dries. If you notice any growth, address it immediately to prevent it from spreading.
By carefully and thoroughly removing excess water, you set a strong foundation for the subsequent steps in the restoration process, ensuring the longevity and aesthetics of your wood floors.
Assessing and repairing damage
After removing the excess water and drying your wood floors, the next step is to assess and repair any damage. This process is vital to restoring the integrity and appearance of your flooring.
1. Detailed Assessment of Damage:
Carefully inspect the floors for signs of damage such as warping, cupping, discoloration, or splitting. Use a straightedge or level to check for unevenness in the planks.
2. Decide on Repairs or Replacement:
Based on the assessment, decide whether the damaged sections need repairs or a complete replacement. Minor warping and cupping can often be sanded out, but severely damaged planks should be replaced.

3. Repair Minor Scratches and Dents:
For minor surface damage, use wood filler to fill in scratches and dents. Ensure the filler matches the colour of your wood for a seamless look.
4. Address Warping and Cupping:
If the wood has been slightly warped or cupped, sanding might be enough to level it. However, in more severe cases, the affected planks may need to be replaced.
5. Replace Damaged Planks:
In cases where planks are too damaged to be repaired, carefully remove and replace them with new wood. Ensure that the new planks match the existing flooring in terms of type, size, and finish.
6. Sanding the Floors:
Once repairs are made, sand the entire floor to ensure an even and smooth surface. This step is essential for preparing the floor for refinishing.
7. Stain and Finish:
After sanding, apply a stain that matches your original flooring, followed by a protective finish. This will not only restore the beauty of your floors but also protect them from future damage.
8. Regular Inspection During the Repair Process:
Regularly inspect the floors as you make repairs to ensure that no additional damage is overlooked.
By thoroughly assessing and repairing the damage, you can restore the functionality and aesthetics of your wood floors, ensuring they remain a beautiful part of your home for years to come.
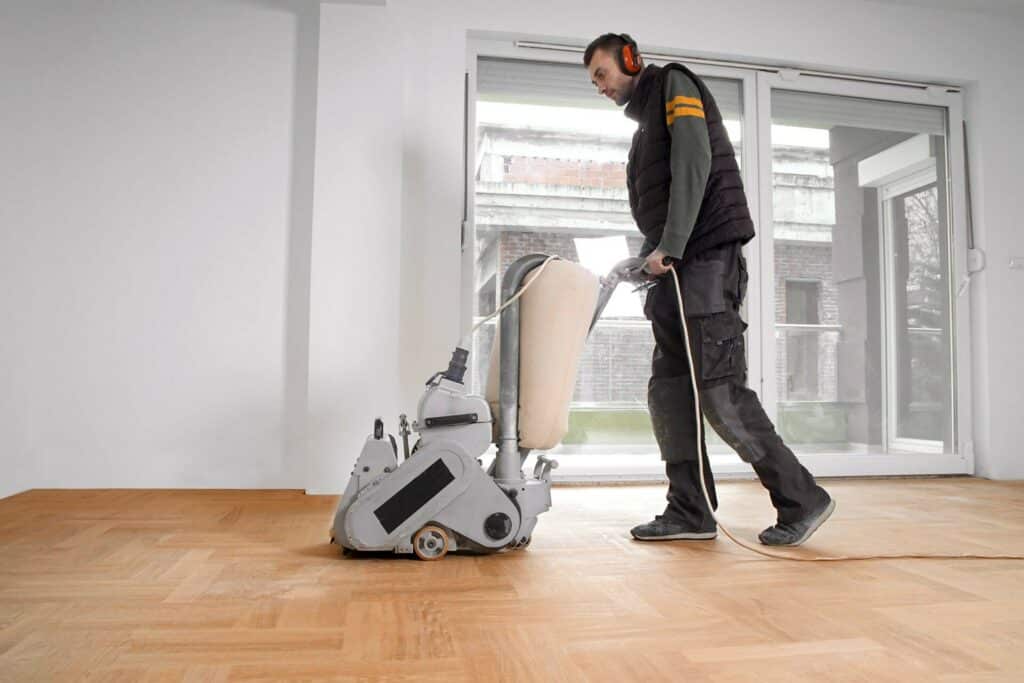
Sanding and refinishing
Once you have dealt with the water damage and made the necessary repairs, the next step is to sand and refinish your wood floors. This is a crucial phase in restoring your floors to their original beauty and protecting them from future damage.
1. Preparation for Sanding:
Before sanding, ensure the floor is clean and free from any debris. Remove any nails or staples that might damage the sandpaper or sanding machine. Seal off the area to prevent dust from spreading throughout your home.
2. Choosing the Right Sandpaper:
Start with coarser-grit sandpaper (like 60-grit) to remove the old finish and any superficial damage. Gradually move to finer grits (up to 120 grit or higher) for a smooth finish.
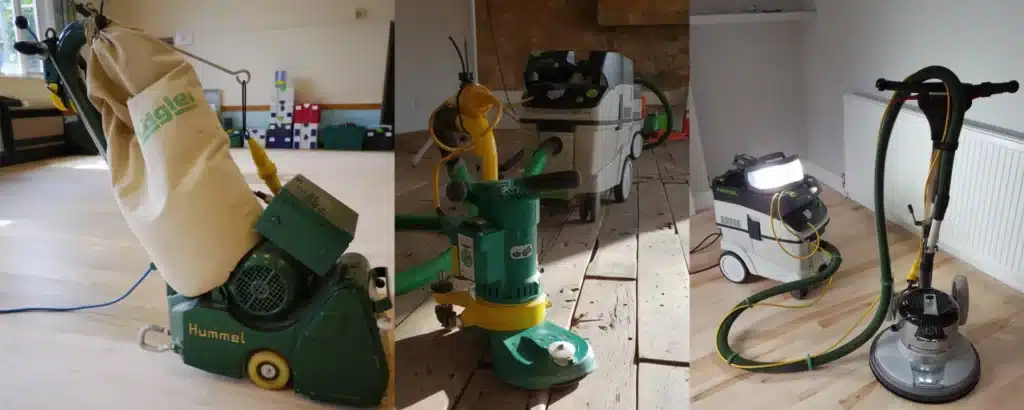
3. Sanding the Floor:
Using a floor sander, sand the floor evenly, moving along the grain of the wood. Be sure to cover the entire surface, including edges and corners, which may require hand sanding.
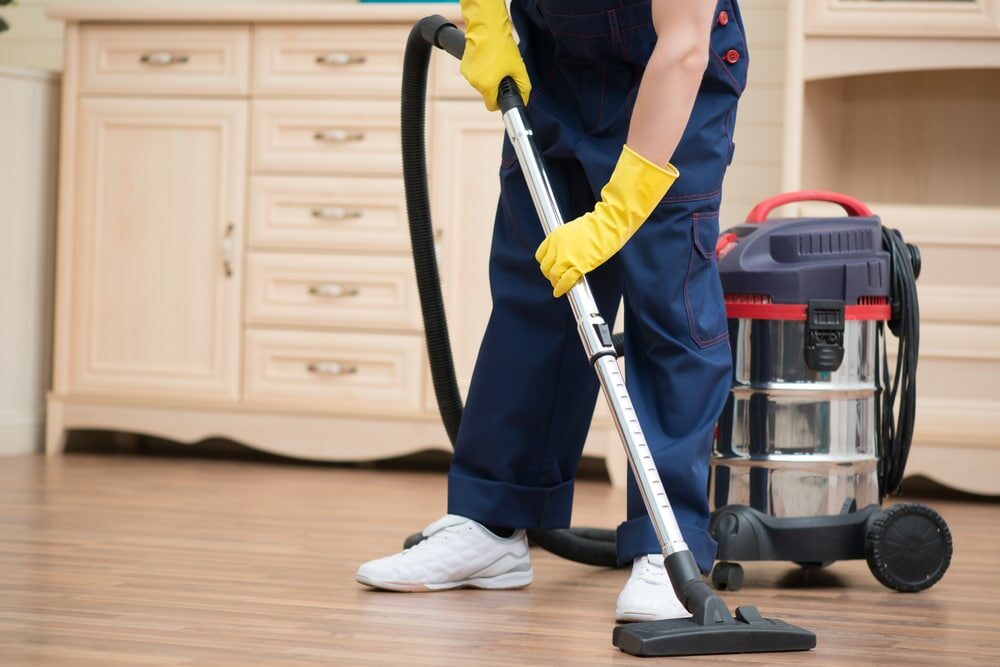
4. Dust Removal:
After sanding, thoroughly vacuum the floor to remove all the dust. Wipe the floor with a tack cloth or a damp mop to pick up any remaining dust particles.
5. Applying Stain (If Desired):
If you wish to change the colour of your wood floors, apply a wood stain evenly with a brush or rag. Allow the stain to penetrate according to the manufacturer’s instructions before wiping off the excess.
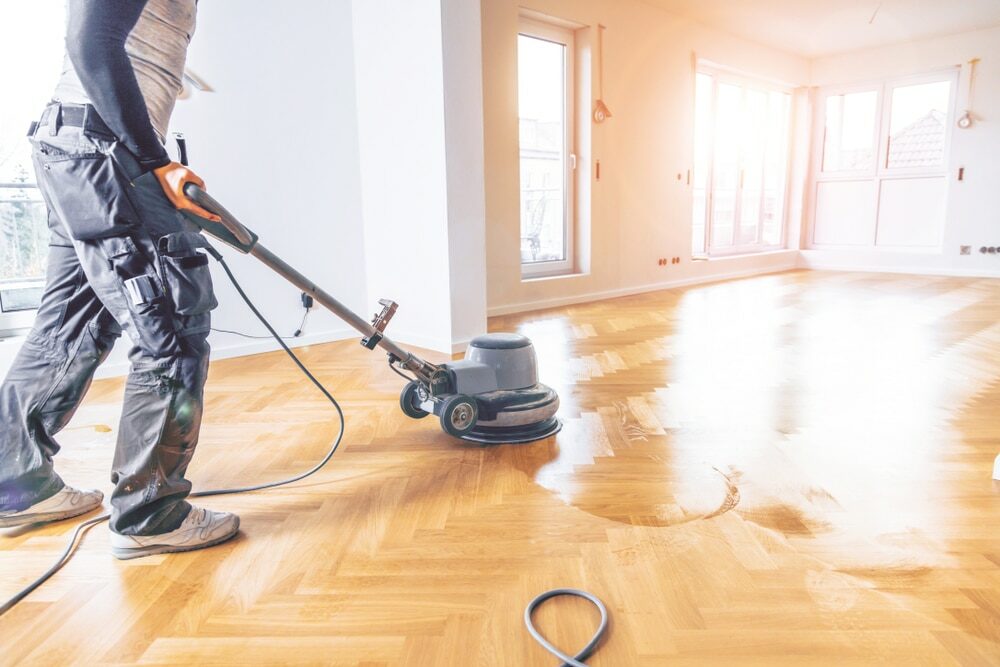
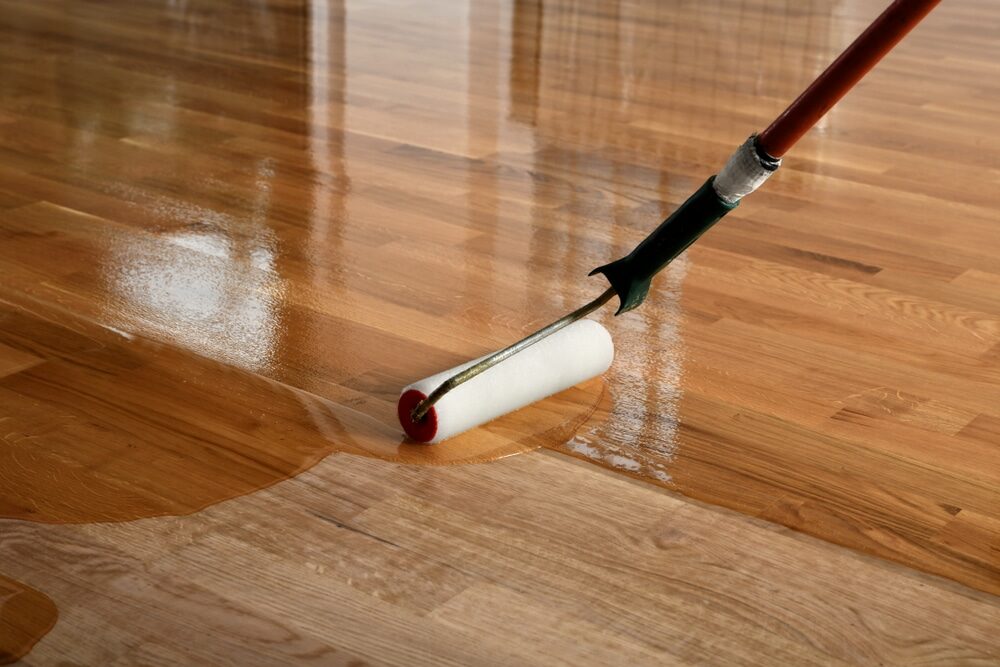
6. Applying the Finish:
Choose a durable finish like polyurethane to protect your floors. Apply the finish evenly with a brush or roller, following the grain of the wood. Multiple coats may be required, with sufficient drying time between each coat.
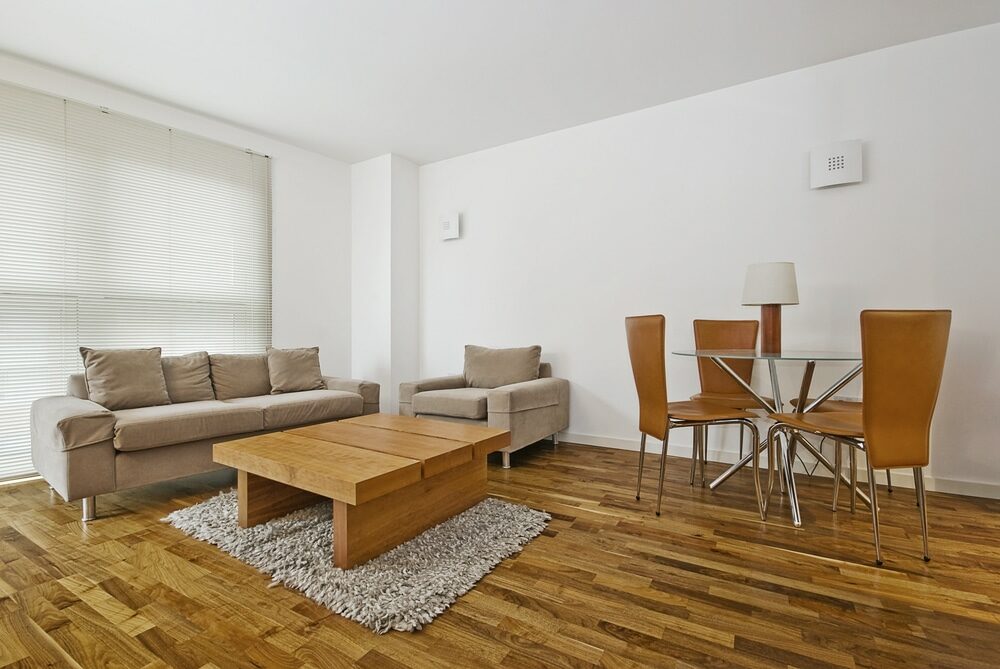
7. Curing Time:
After the final coat, allow ample time for the finish to cure. This can take several days, during which the floors should not be walked on or covered with rugs.
8. Final Inspection:
Once the floors are dry, inspect them to ensure a smooth and even finish. Any missed spots or imperfections can be touched up as needed.
Sanding and refinishing not only restore the look of your wood floors but also provide a protective layer, helping to prevent future water damage and wear. With careful attention to detail, you can achieve a professional-looking finish that rejuvenates your floors.
Preventive Measures
After restoring your water-damaged wood floors, it’s important to take measures to prevent future water damage. By adopting these preventive strategies, you can protect your floors and ensure their longevity.
1. Regular Maintenance:
Regularly clean your wood floors with suitable products to keep them in good condition. Avoid using excessive water or harsh chemicals that can damage the wood.
2. Immediate Spill Cleanup:
Address spills immediately. The longer the water sits on the wood, the greater the risk of damage. Use a dry or slightly damp cloth to blot spills promptly.
3. Control Indoor Humidity:
Maintain a stable indoor humidity level, ideally between 30% and 50%. Excessive humidity can cause wood to expand, while low humidity can lead to cracking. Use humidifiers or dehumidifiers as needed.
4. Proper Ventilation:
Ensure proper ventilation in your home, especially in areas like kitchens and bathrooms where moisture levels can be high. This helps reduce the risk of moisture buildup on your floors.
5. Use of Mats and Rugs:
Place mats at entrances to reduce the amount of water and dirt tracked onto the wood floors. Use area rugs in high-traffic areas, but avoid rubber-backed rugs as they can trap moisture.
6. Regular Inspections:
Periodically inspect your floors for signs of wear or damage. Early detection of issues like leaks or water spots can prevent more extensive damage.
7. Sealant Reapplication:
Over time, the finish on your wood floors will wear down. Reapply sealant as needed to maintain a protective barrier against moisture.
8. Avoiding Standing Water:
Be cautious with activities that involve water, like mopping or plant watering. Avoid allowing standing water on your floors.
9. Professional Check-ups:
Consider having a professional inspect your floors periodically, especially after incidents of high humidity or leaks. They can offer advice on maintenance and preventive care.
By implementing these preventive measures, you can significantly reduce the risk of future water damage to your wood floors, preserving their beauty and structural integrity for years to come.
Conclusion
Restoring water-damaged wood floors is a journey that requires patience, attention to detail, and a commitment to thorough work. Throughout this guide, we’ve explored the critical steps of identifying and removing excess water, assessing and repairing damage, sanding, refinishing, and implementing preventive measures. Each step plays a vital role in not only restoring your wood floors but also in ensuring their resilience and beauty for the future.
Water damage can be daunting, but with the right approach, you can breathe new life into your floors. Whether you tackle the project yourself or seek professional assistance, the key is to act quickly and carefully. Remember, the goal is not just to repair the damage but to protect your floors from future incidents.
We hope this guide has empowered you with the knowledge and confidence to restore your water-damaged wood floors effectively. Regular maintenance, prompt attention to spills, and a proactive approach to care will go a long way in preserving the charm and functionality of your wood flooring.
In closing, remember that your efforts today will ensure that your wood floors continue to add warmth and beauty to your home for many years to come. Happy restoring!


Sanding
We provide virtually dust-free sanding with our continuous belt machinery with mobile extraction units, giving you a safer environment for your family.
Oiling
This organic finish not only adds beauty to your home but also has exceptional water-repellent characteristics, making it easier to clean and maintain.
Waxing
This natural floor finish offers the softest and most mellow appearance – and leaves your floor able to breath.
Buffing
Using soft buffing machines (and hand-polishing where required) will bring a wonderful sheen to your newly-finished floor.
Repairs
We offer a full assessment of your wooden floors to determine what repairs are needed to provide the perfect working surface for the later stages of sanding, staining and sealing.
Restoration
We offer a comprehensive restoration process designed to address floors that are improperly fitted or damaged over time through wear and tear.
Request a fixed price quote for your wood floor restoration now
Simply enter your postcode below to get started.
Services
Wood Floor Sanding Wood Floor Restoration Wood Floor Scratch Repair Squeaky Wood Floor Repair Parquet Floor Sanding Parquet Floor Restoration Commercial Floor Sanding Church Floor Sanding Community Centre Floor Sanding School Floor Sanding Gap Filling Gap Filling with ResinCopyright © Mr Sander®
Privacy & Cookies Terms & Conditions Complaints Procedure Cancellation Rights Sitemap

Get An Instant Price Estimate Before You Go…
Simply enter the rooms you need sanded and we’ll provide you with a price estimate instantly! Try our price calculator now.
Get a Price Estimate NowLocal Floor Sanding Experts
Over 500 5-Star Reviews
Safe, Dust Free Sanding
Operating Since 1994