London:
Nationwide:
25,000+
Floors Restored
27 Years Experience
Wood Flooring Association Certified
Top 10 Tips for Easy and Effective Wood Floor Repair
Posted on May 11, 2023
Blog
Top 10 Tips for Easy and Effective Wood Floor Repair: Restore the Beauty of Your Wooden Floors
Wooden floors are the epitome of timeless elegance and durability. However, like all things, they aren’t impervious to wear and tear. The good news is that, with the right tips and techniques, you can easily repair and restore your wooden floor to its former glory. Let’s explore the top 10 tips to achieve easy and effective wood floor repair.
1. Assess the damage.
The first step in any repair process is to accurately assess the damage. Whether it’s a minor scratch, a dent, a stain, or a major gouge, the extent and type of damage will determine the appropriate repair strategy. Make sure you inspect the entire floor carefully, ideally in good daylight, to not miss any details.
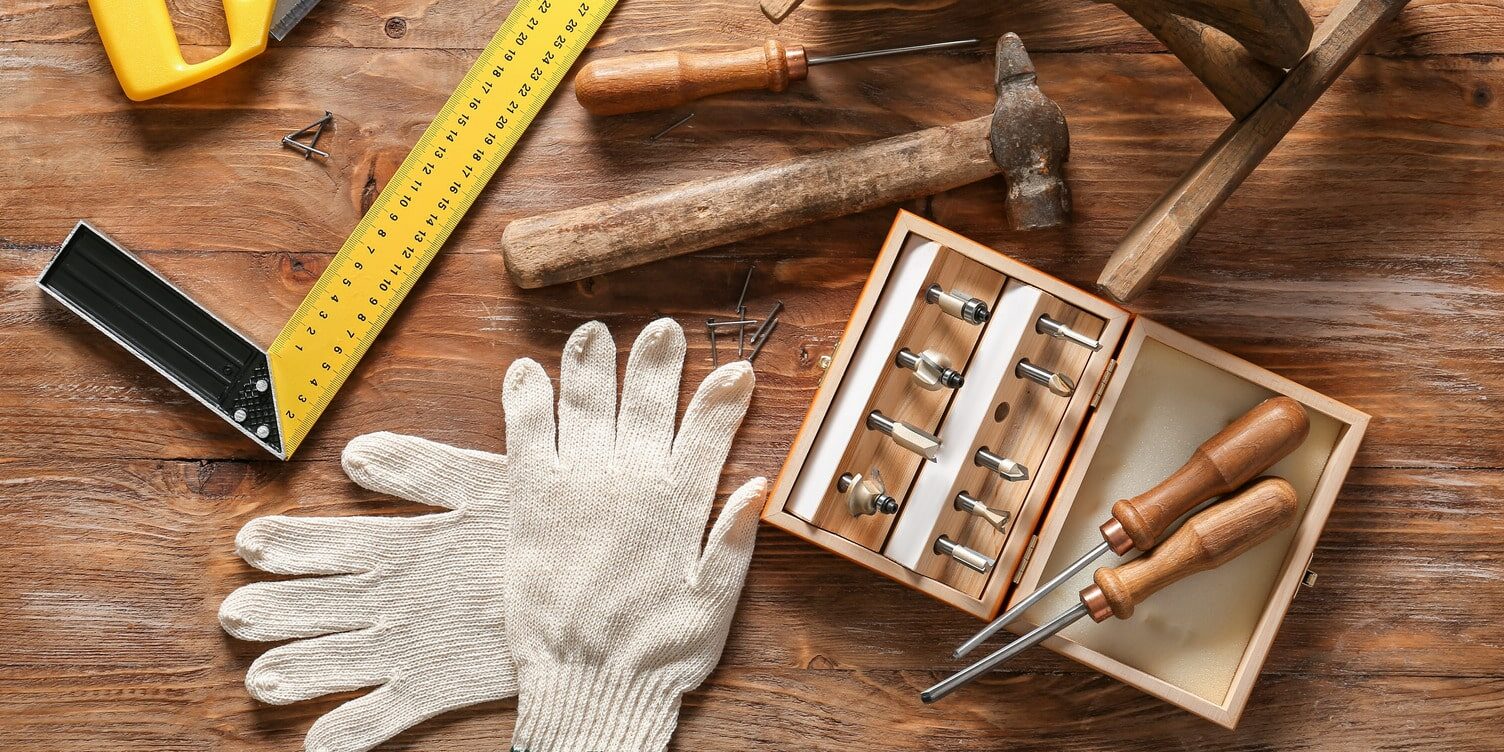
2. Gather the Right Tools
For a successful repair job, you need the right tools. Commonly required items for wooden floor repairs include sandpaper, wood filler, a putty knife, varnish or polyurethane finish, matching wood stain, clean rags, and a brush. The specific tools you need will depend on the type of repair you’re doing, so make sure to do your research beforehand.
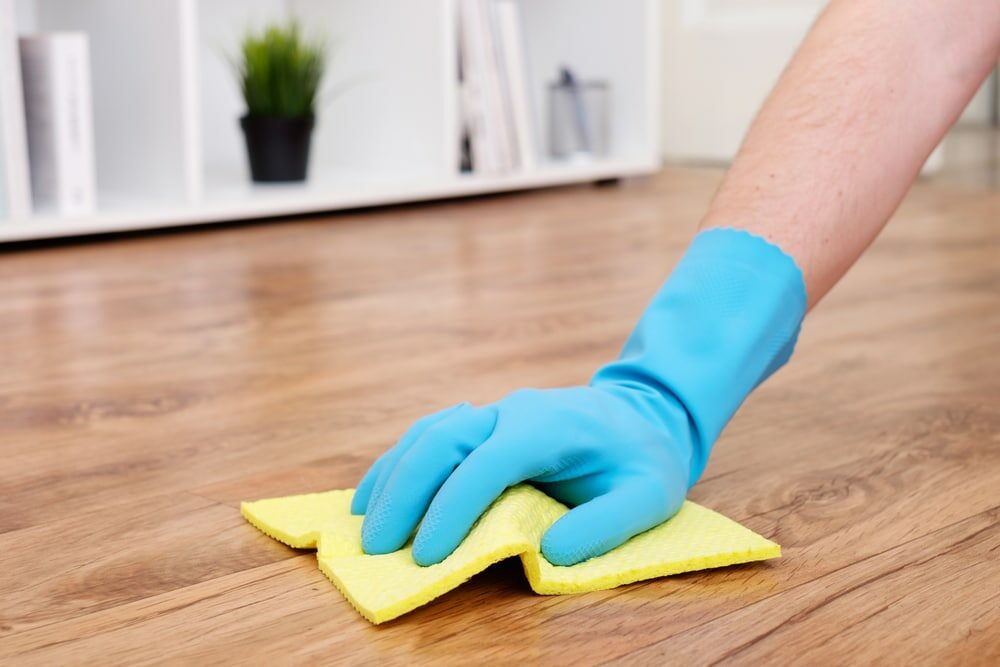
3. Clean the area.
Before starting the repair work, it’s essential to thoroughly clean the area. Dust, dirt, or grime can interfere with the repair process and prevent the repair materials from adhering properly. Use a soft brush or vacuum cleaner to clean the damaged area and its surroundings. If necessary, clean the area with a damp cloth, but be sure to let it dry completely before starting the repair.
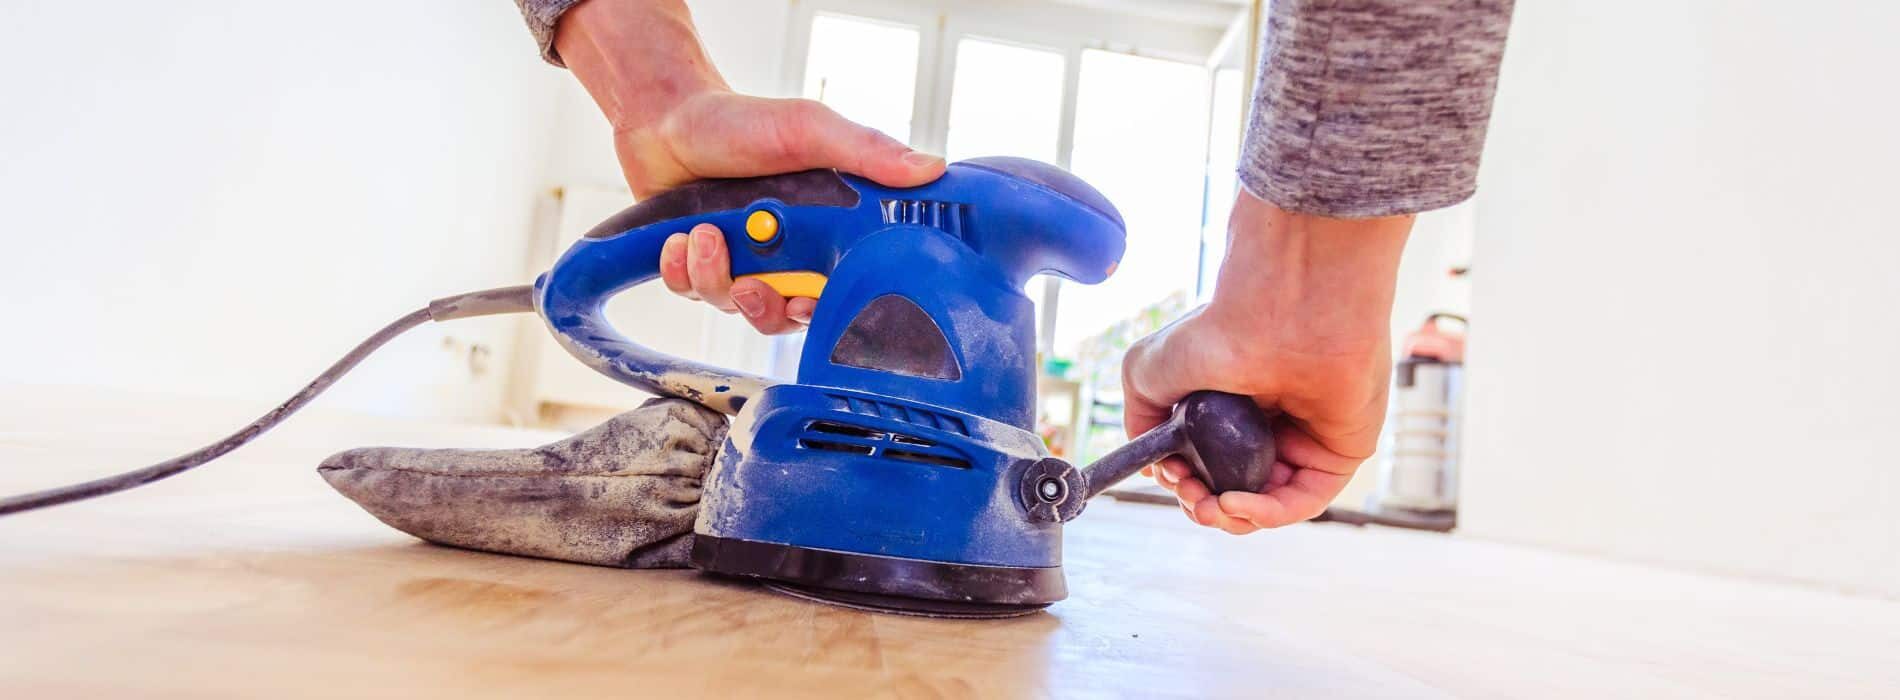
4. Repairing Minor Scratches and Dents
For minor scratches and dents, a bit of sanding and refinishing can do the trick. Start by lightly sanding the damaged area with fine-grit sandpaper. This will smooth the area and prepare it for the new finish. After sanding, wipe off the dust with a damp cloth. Once the area is dry, apply a coat of varnish or polyurethane that matches the rest of your floor. Let the finish dry according to the manufacturer’s instructions.
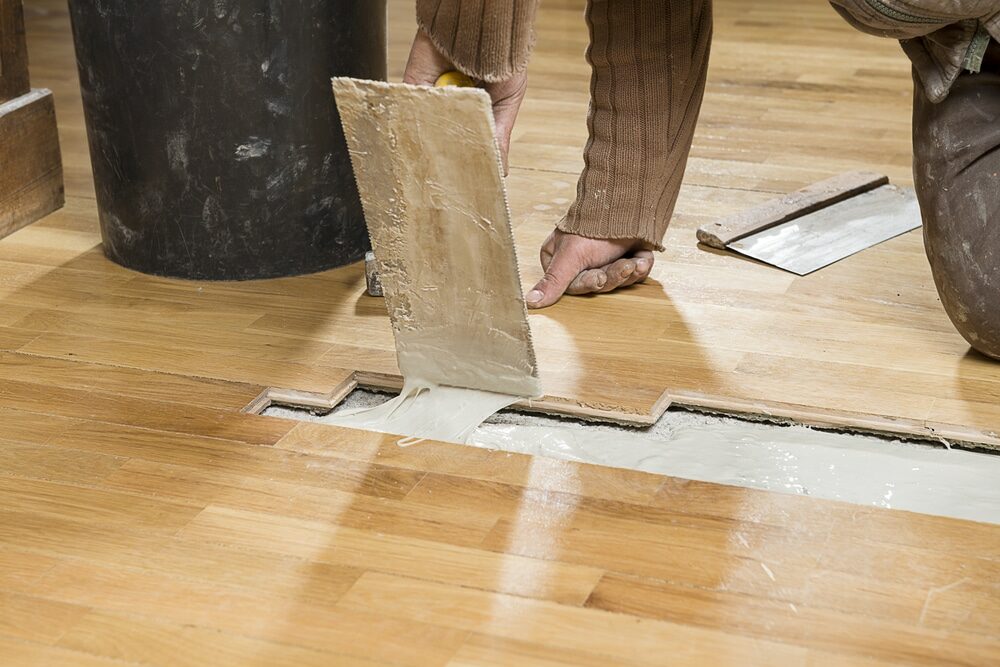
5. Filling deeper scratches and gouges
For deeper scratches and gouges, you’ll need a wood filler. Choose a filler that matches the colour of your wooden floor. Use a putty knife to apply the filler to the gouge, making sure to smooth it out and level it with the surrounding floor. Once the filler dries, sand the area until smooth, wipe off the dust, and apply the finish.
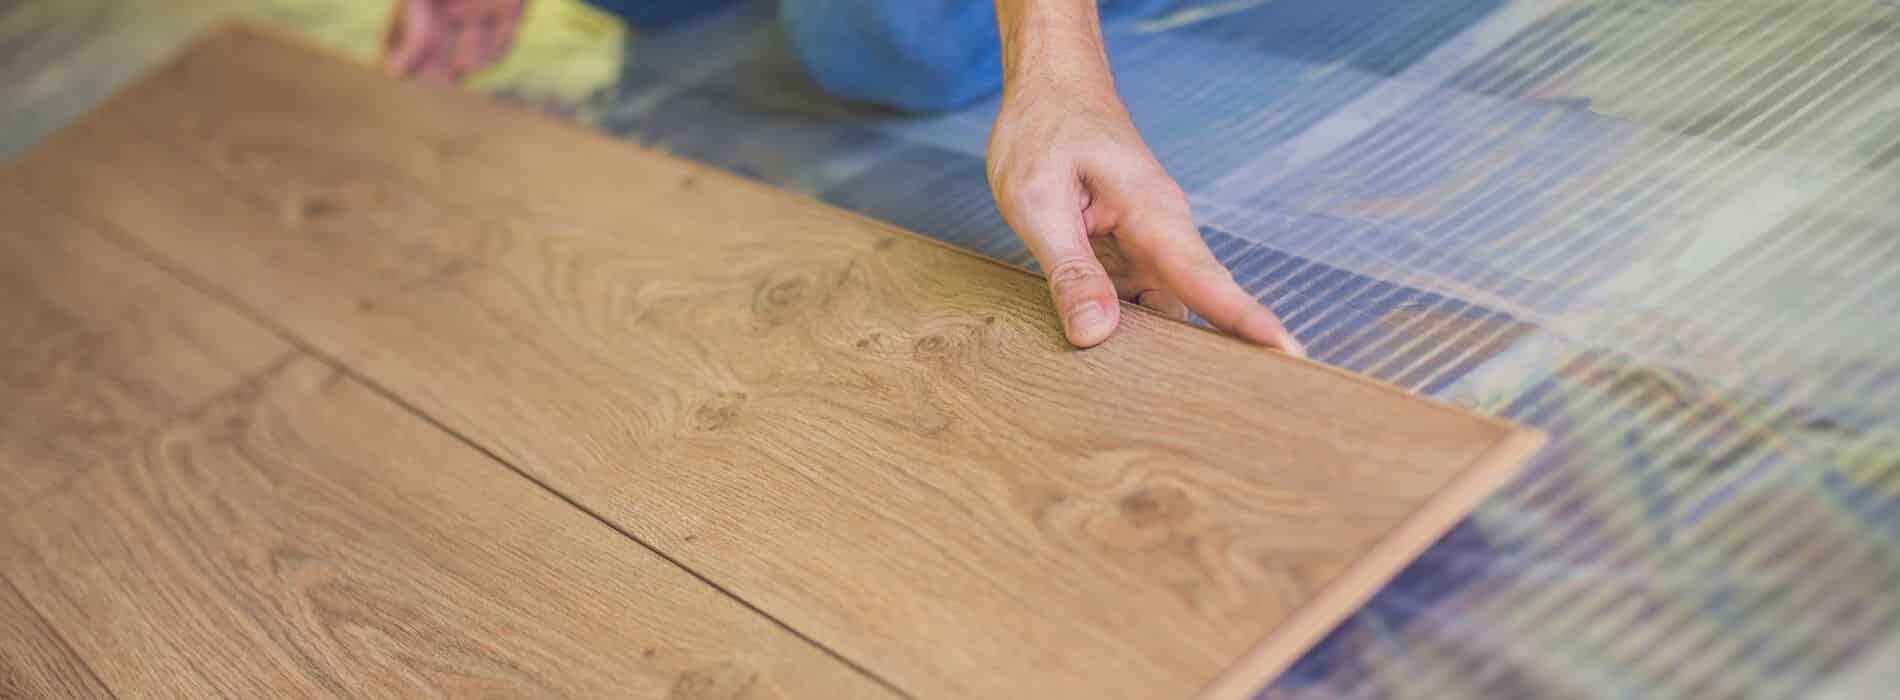
6. Replacing damaged boards
Sometimes, the damage might be too severe for a simple filler job. In such cases, the best course of action is to replace the damaged board entirely. This process involves cutting out the damaged board, removing it carefully to avoid damaging adjacent boards, and replacing it with a new one that matches the rest of the floor. Once the new board is installed, it might need to be sanded and finished to blend seamlessly with the surrounding floor.
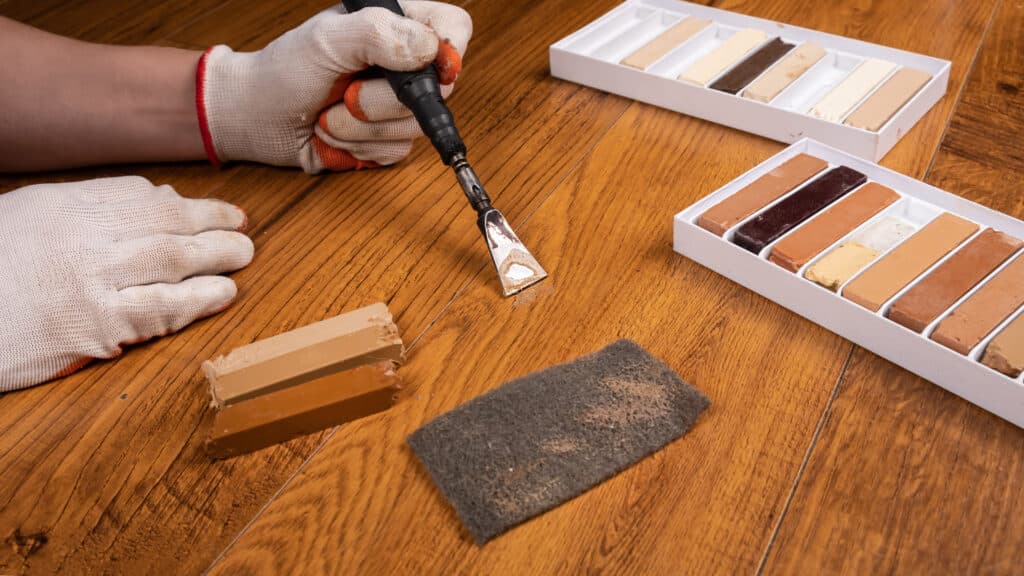
7. removing stains
Stains on a wooden floor can be unsightly. The method of removal will depend on the nature of the stain. For instance, oil-based stains can often be removed using a cloth dampened with mineral spirits, while dark water stains might require light sanding followed by bleaching with a wood bleach. Always test the stain removal method on a small, inconspicuous area first to ensure it doesn’t damage the wood.
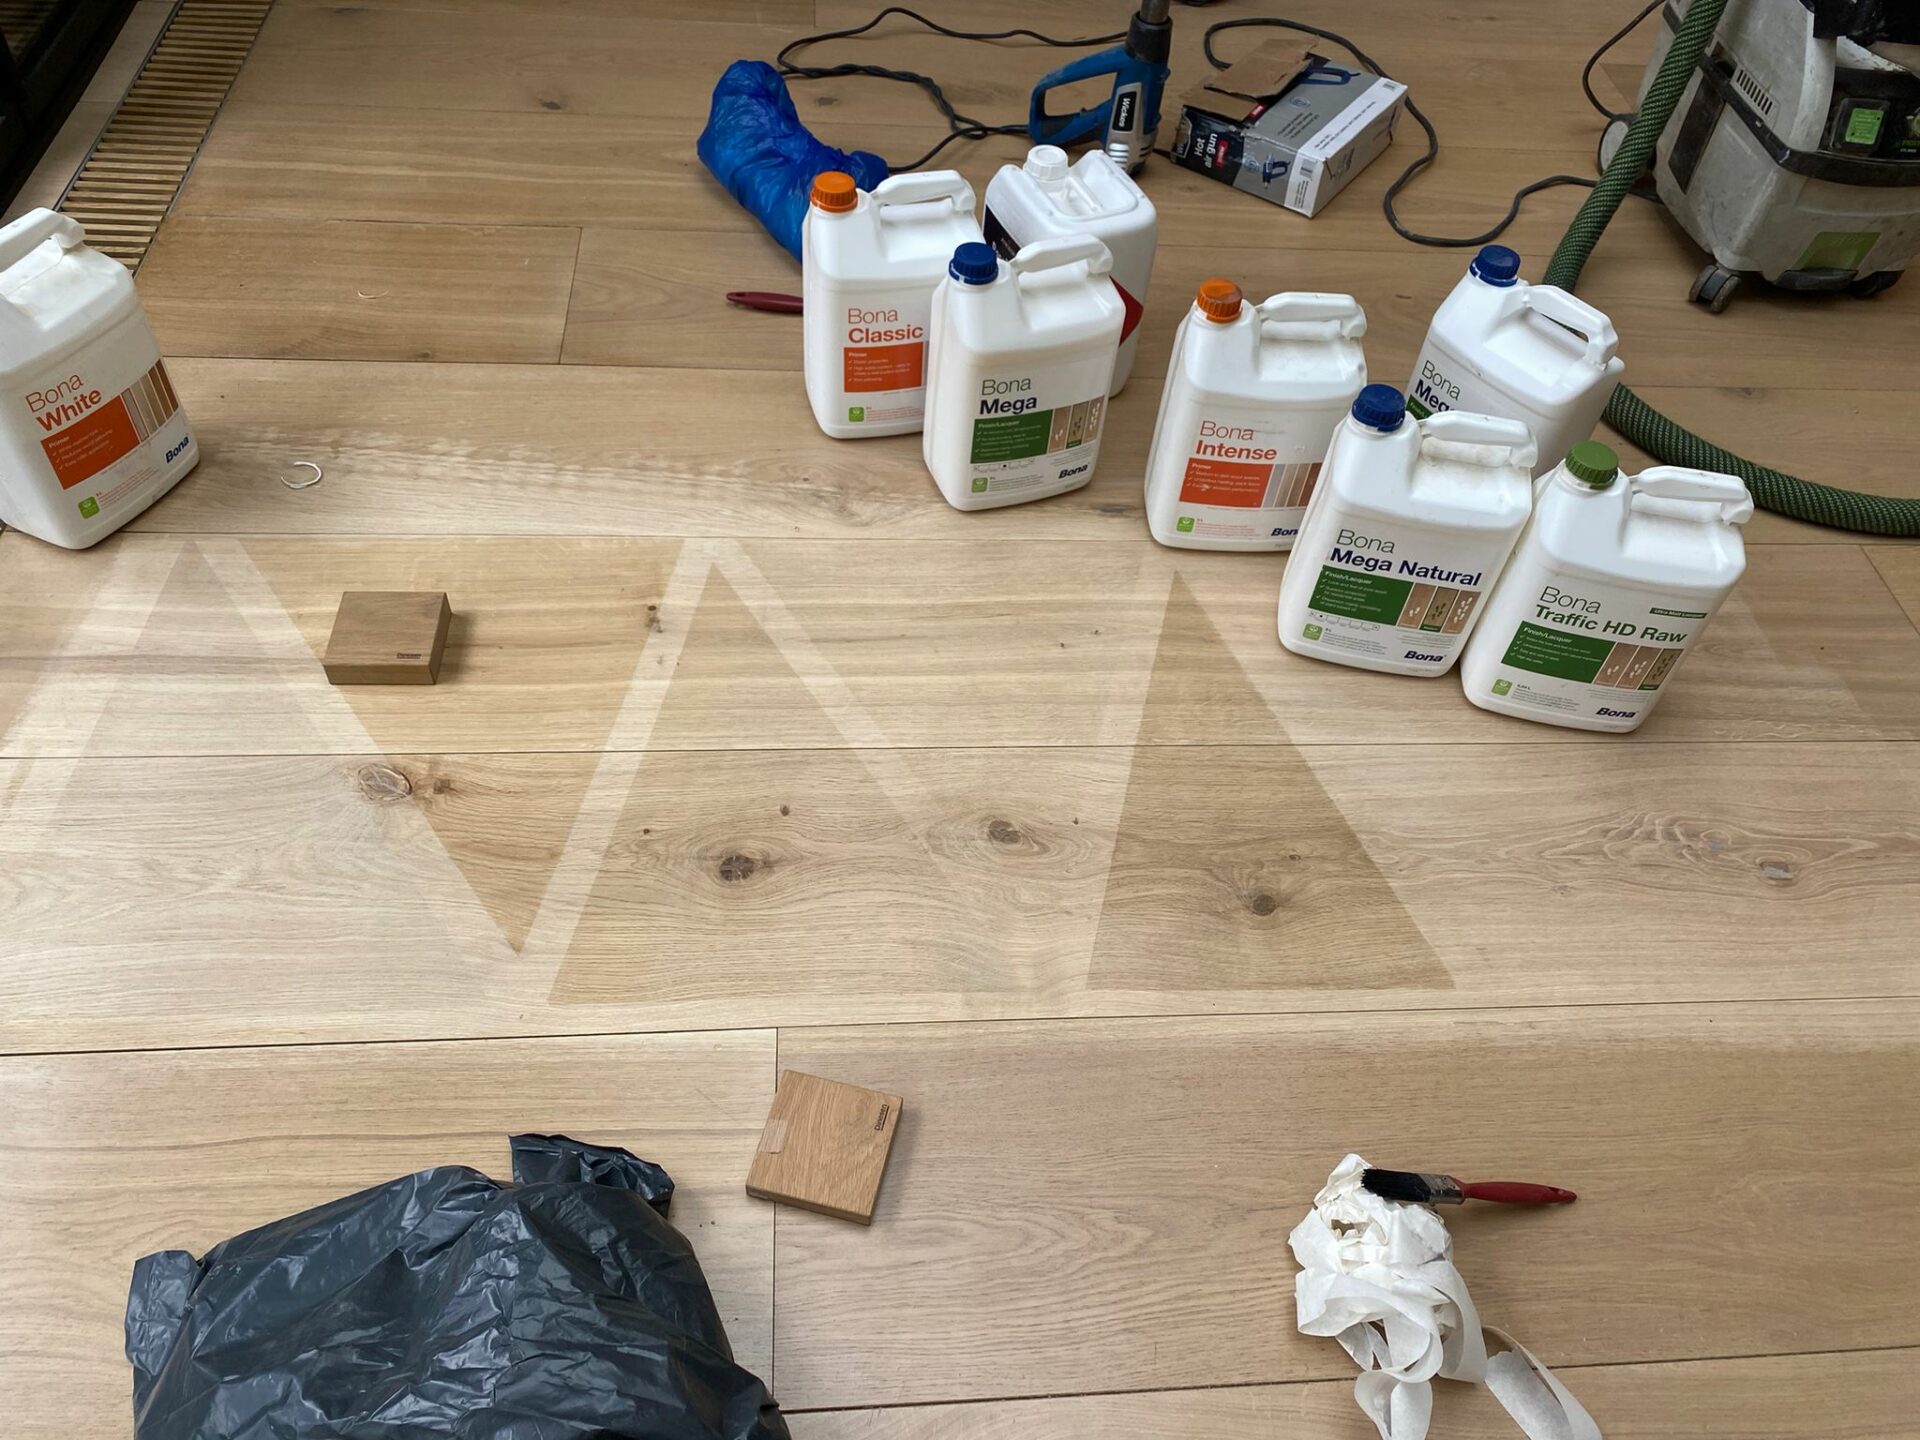
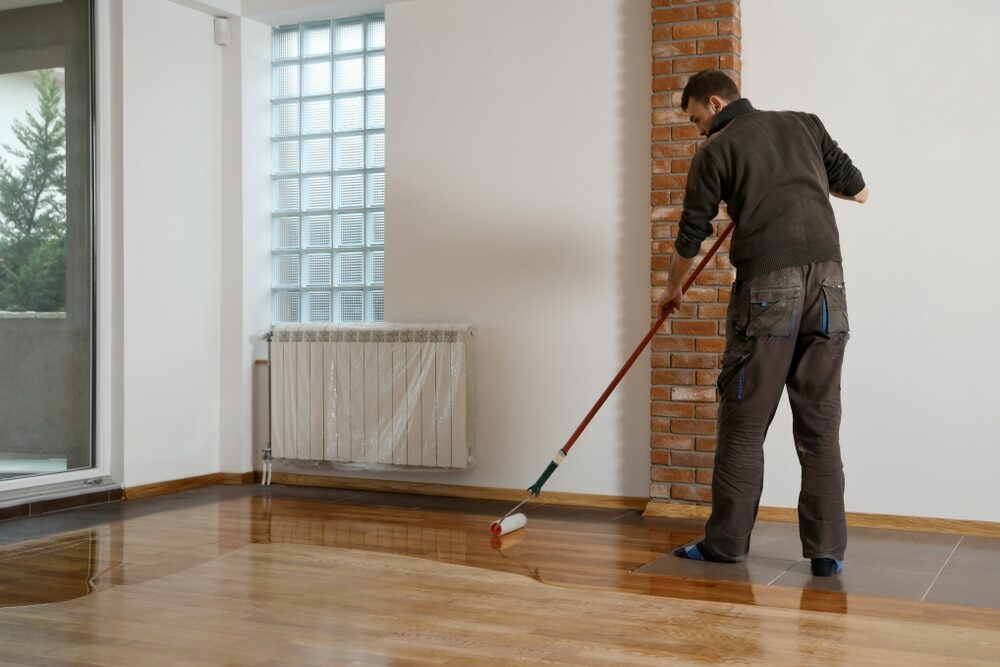
8. Matching the Finish
Take a piece of your flooring (if available) to a home improvement or paint store to get a matching stain. When applying the finish, start with a thin coat, let it dry, and then assess if you need to add more. It’s easier to gradually build up the finish than to remove the excess.
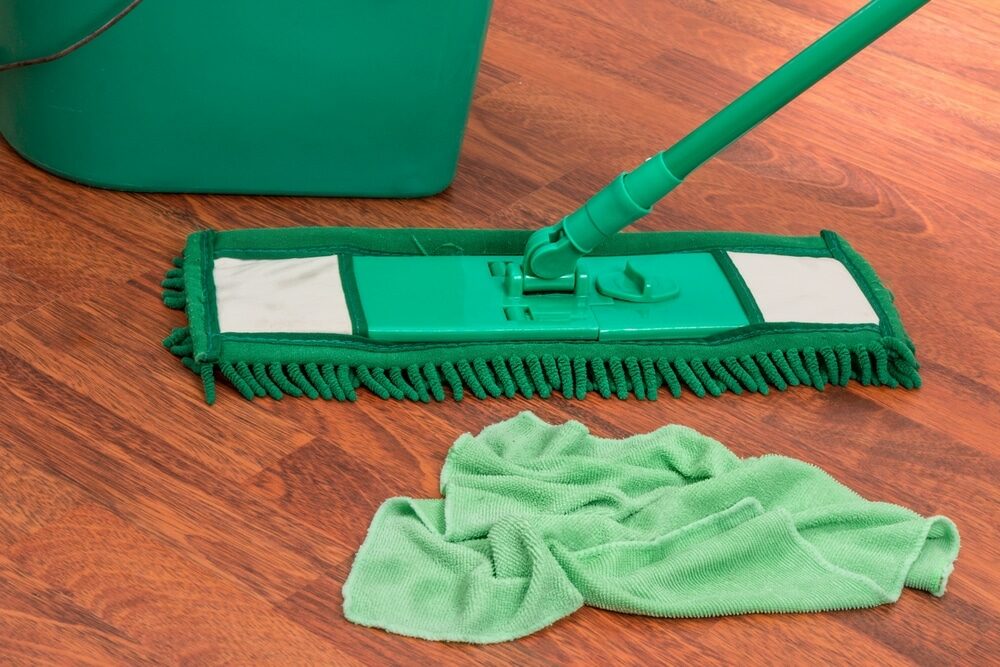
9. Regular maintenance
The best way to minimise the need for extensive wood floor repairs is through regular maintenance. This includes daily sweeping or vacuuming to remove dirt and grit that can scratch the floor, prompt cleaning of spills to prevent stains, and periodic re-coating or refinishing to maintain the floor’s protective layer. Using furniture pads can also help prevent scratches and dents.
10. Seek professional help.
While many wood floor repairs can be done on a DIY basis, don’t hesitate to seek professional help for more complex repairs, particularly those involving structural damage or extensive water damage. Professionals have the experience and specialised tools to handle these repairs efficiently and effectively. They can also provide valuable advice on maintaining your wooden floor.
Conclusion
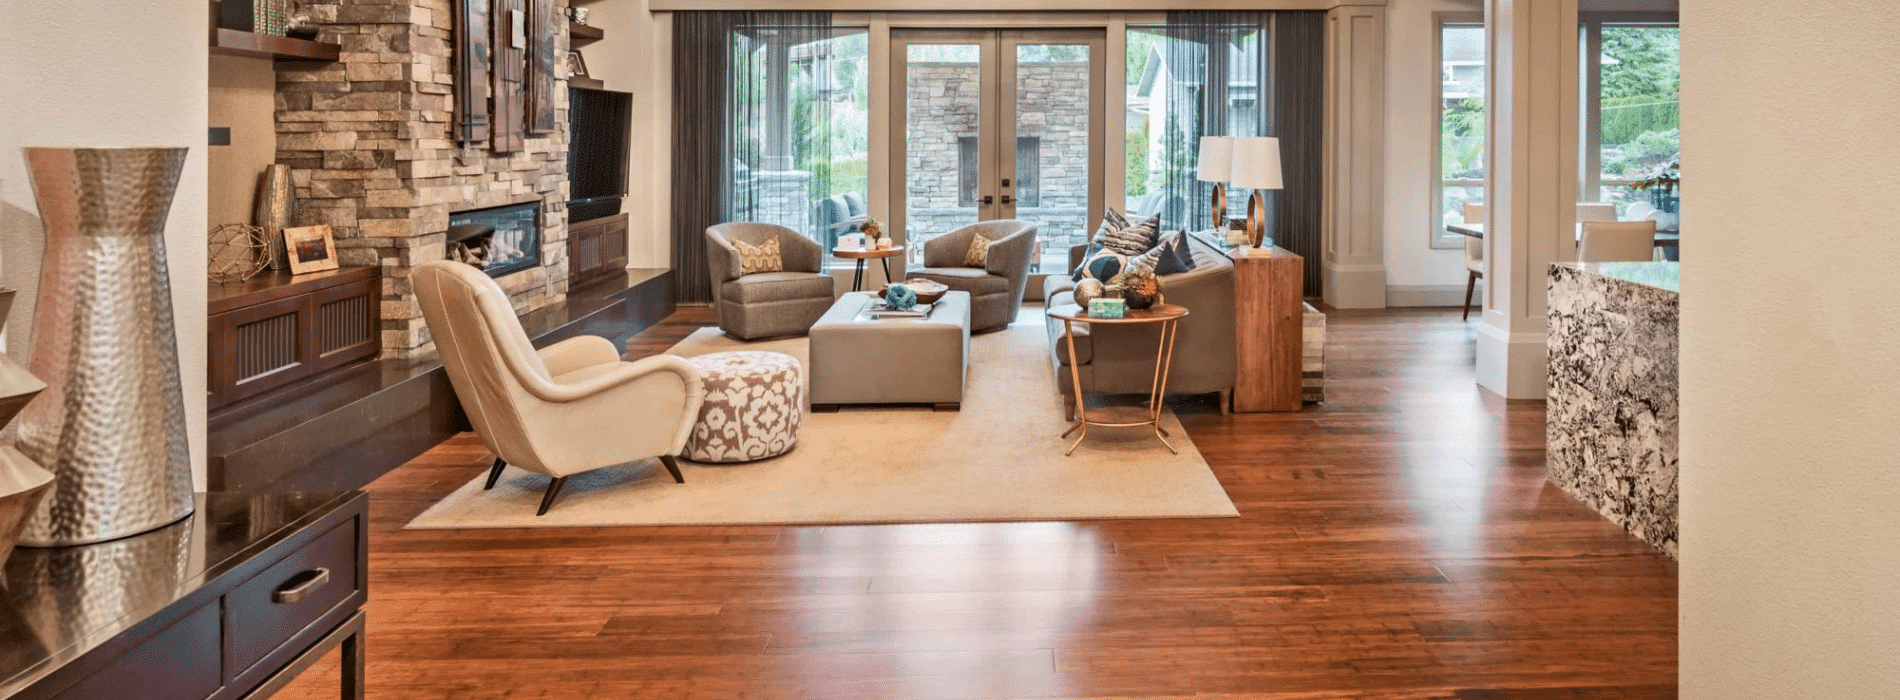
A well-maintained wooden floor can last for generations, adding warmth, character, and value to your home. By following these top 10 tips, you can ensure that your wooden floor remains in excellent condition, even when faced with the occasional scratch, dent, or stain. Remember, the key to easy and effective wood floor repair lies in prompt action, careful execution, and regular maintenance.
Wooden floors are more than just a feature of your home; they are an investment. Maintaining them need not be a chore, but rather a testament to their endurance and your home’s charm. With these tips at your disposal, you can tackle any wooden floor repair with confidence and ease, ensuring your floors continue to bring you joy for many years to come.
And finally, remember that every repair and scar on your wooden floor tells a story—a story of times gone by, of laughter and gatherings, of milestones, and of everyday life. Embrace these stories, and let them add to the rich tapestry of your home.

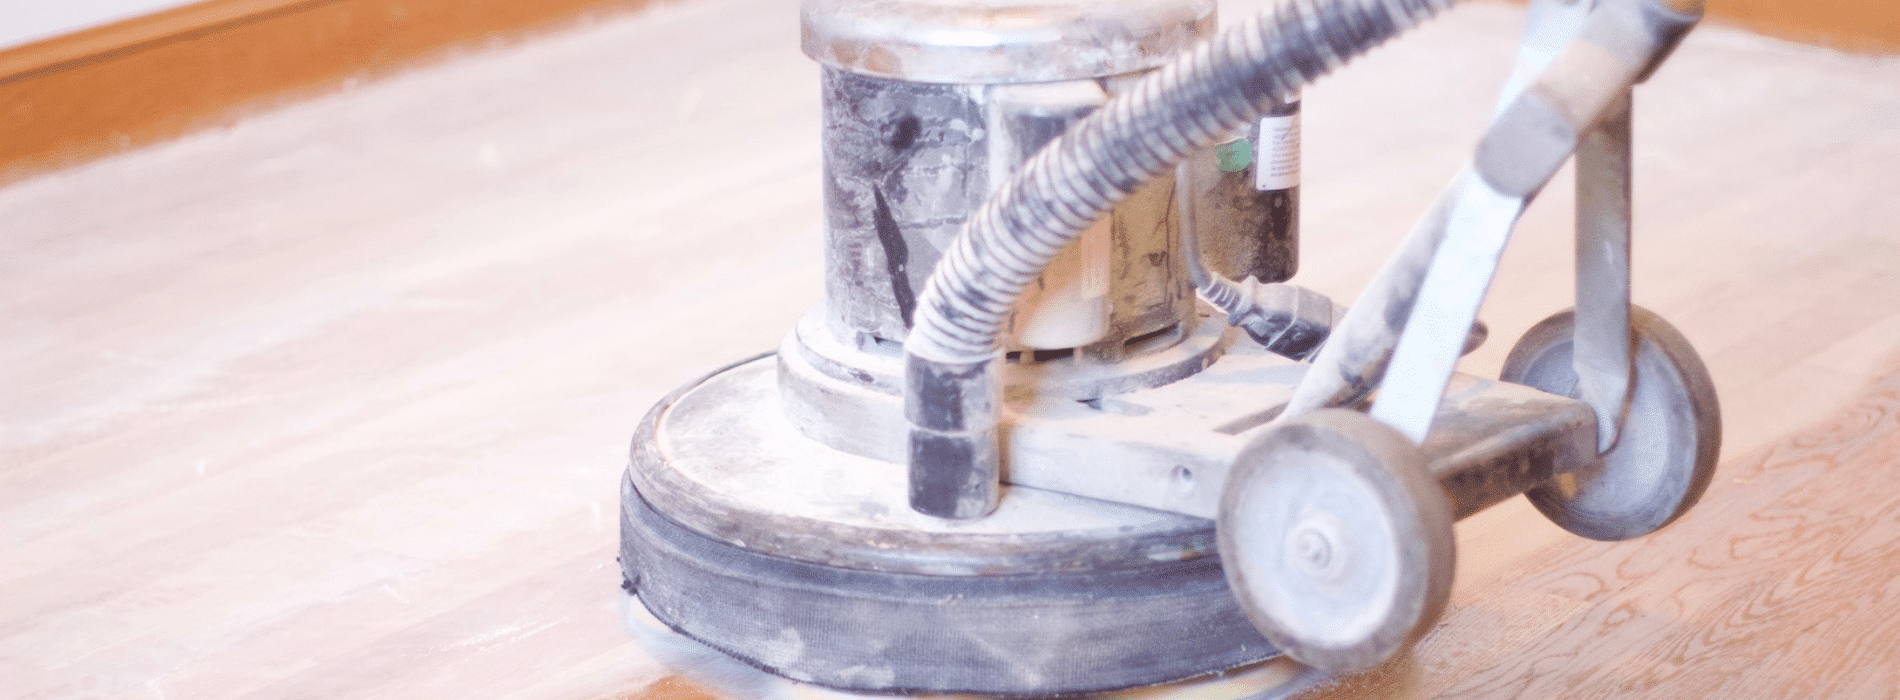
Sanding
We provide virtually dust-free sanding with our continuous belt machinery with mobile extraction units, giving you a safer environment for your family.
Oiling
This organic finish not only adds beauty to your home but also has exceptional water-repellent characteristics, making it easier to clean and maintain.
Waxing
This natural floor finish offers the softest and most mellow appearance – and leaves your floor able to breath.
Buffing
Using soft buffing machines (and hand-polishing where required) will bring a wonderful sheen to your newly-finished floor.
Repairs
We offer a full assessment of your wooden floors to determine what repairs are needed to provide the perfect working surface for the later stages of sanding, staining and sealing.
Restoration
We offer a comprehensive restoration process designed to address floors that are improperly fitted or damaged over time through wear and tear.
Request a fixed price quote for your wood floor restoration now
Simply enter your postcode below to get started.
Services
Wood Floor Sanding Wood Floor Restoration Wood Floor Scratch Repair Squeaky Wood Floor Repair Parquet Floor Sanding Parquet Floor Restoration Commercial Floor Sanding Church Floor Sanding Community Centre Floor Sanding School Floor Sanding Gap Filling Gap Filling with ResinCopyright © Mr Sander®
Privacy & Cookies Terms & Conditions Complaints Procedure Cancellation Rights Sitemap

Get An Instant Price Estimate Before You Go…
Simply enter the rooms you need sanded and we’ll provide you with a price estimate instantly! Try our price calculator now.
Get a Price Estimate NowLocal Floor Sanding Experts
Over 500 5-Star Reviews
Safe, Dust Free Sanding
Operating Since 1994