London:
Nationwide:
25,000+
Floors Restored
27 Years Experience
Wood Flooring Association Certified
Simple Steps to Restoring a Wood Floor: DIY Guide
Posted on May 28, 2023
News
A Simple, Comprehensive Guide to Restoring a Wood Floor
Wood floors are timeless and elegant, but over time, even the highest-quality hardwood can begin to show signs of wear and tear. Scratches, discolorations, dents, or just the dulling of the surface can all take away from the pristine look of your floor. Thankfully, restoring a wood floor is not as daunting as it may seem. This blog post will walk you through the simplest way to restore your wood floor, breathing new life into it and preserving its beauty for many years to come.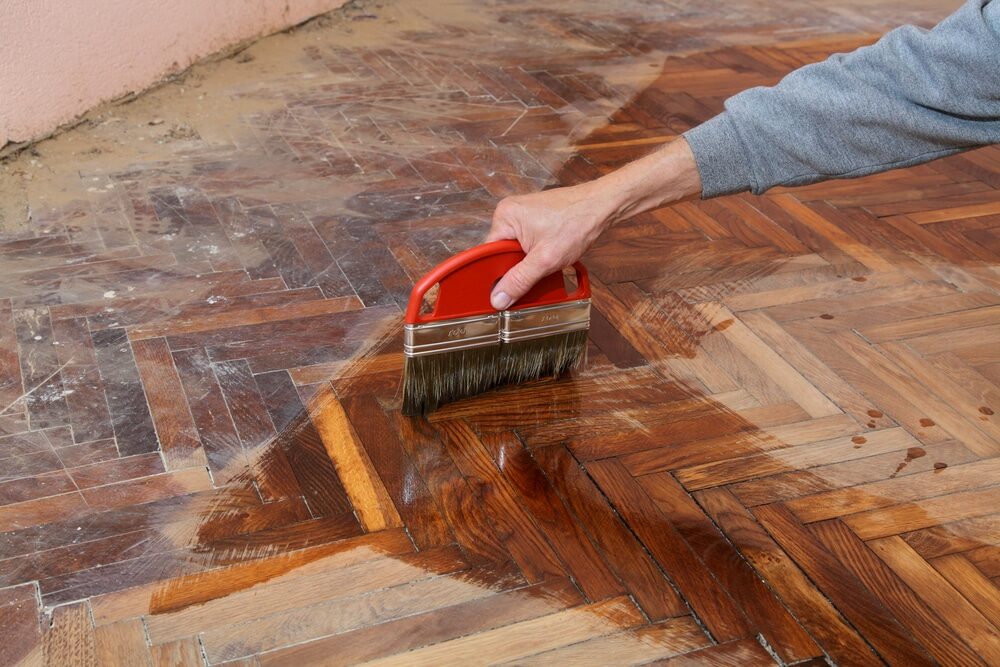
Part 1: Assessing the Condition of Your Floor
Before jumping into the restoration process, it’s crucial to first assess the current condition of your wood floor. Look out for deep scratches, discolored patches, dents, or gaps between the boards. Identifying the areas of damage will help you understand what needs to be done and guide you through the necessary steps of restoration.Part 2: Gathering the Necessary Materials
Before getting started, ensure that you have the following materials on hand:- Broom or vacuum cleaner
- Wood floor cleaner
- Microfiber mop or cloth
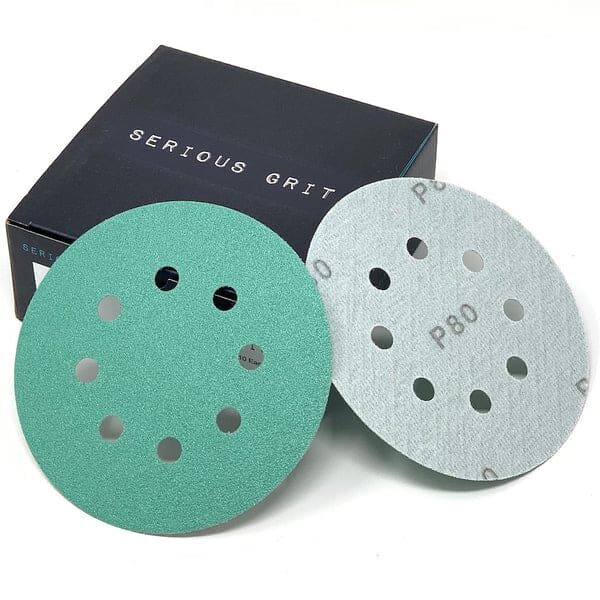
- Coarse, medium, and fine-grit sandpaper
- Wood filler (if necessary)
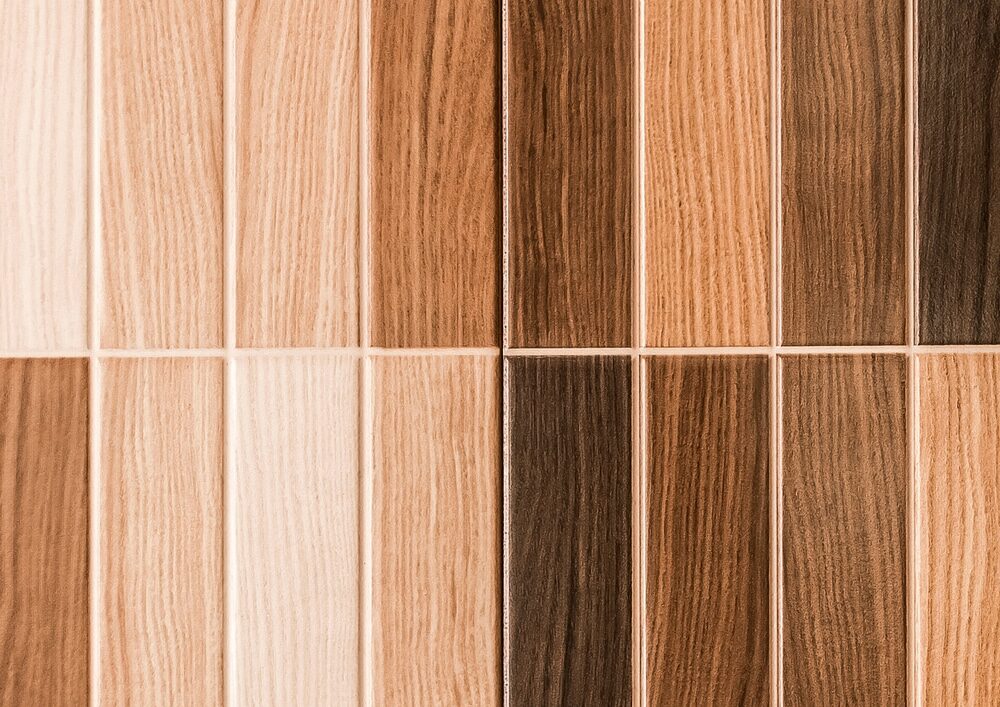
- Wood stain (matching your floor)
- Polyurethane finish
- Paintbrush or lambswool roller
- Safety gear: goggles, gloves, and a mask

Part 3: Cleaning the Floor
The first step in the restoration process is cleaning the floor thoroughly. Sweep or vacuum the floor to remove all loose dust and debris. Afterward, use a wood floor cleaner and a microfiber mop or cloth to clean the surface. This will help remove any grime that may interfere with the restoration process. Allow the floor to dry completely before moving on to the next step.
Part 4: Sanding the Floor
Sanding the floor is a crucial step in restoring a wood floor. It removes the old finish and any surface-level damage, revealing the fresh wood underneath. Start by sanding the floor with coarse-grit sandpaper, working your way up to old finish and any surface-level damage, revealing the fresh wood underneath. Start by sanding the floor with coarse-grit sandpaper, working your way up to medium-grit and then fine-grit. Always sand in the direction of the wood grain to prevent scratches. Ensure you wear safety gear during this process, as it can generate a lot of dust.
Part 5: Filling the Gaps
If you notice any gaps or small holes in your wood floor, use a wood filler to repair these areas. Make sure the filler is the same color as your floor to maintain a uniform look. Allow the filler to dry according to the manufacturer’s instructions before moving on.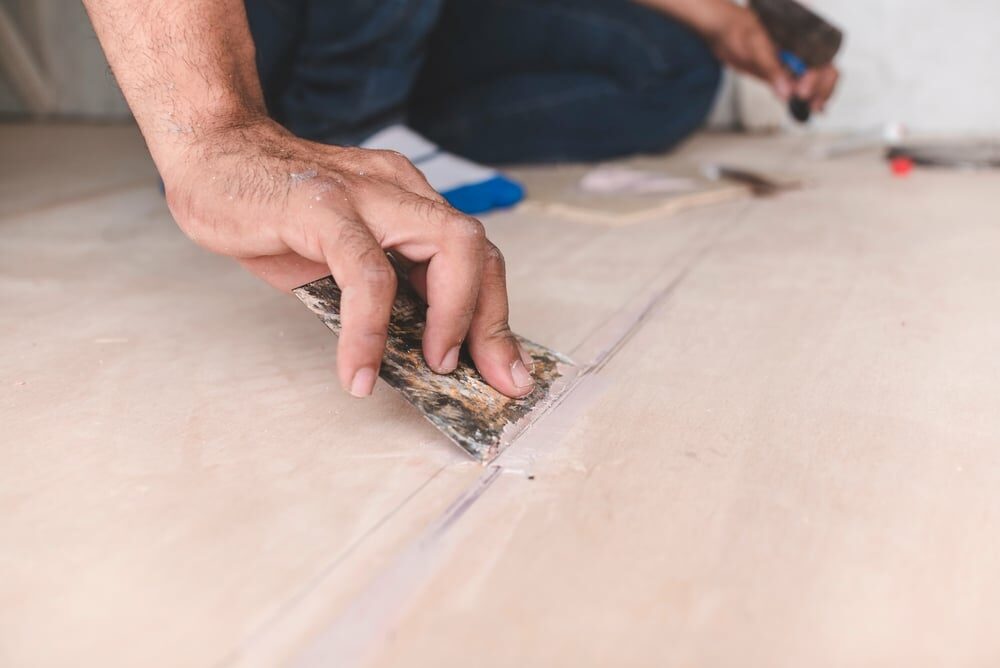
Part 6: Staining the Floor
After sanding and filling in any gaps, it’s time to stain the floor. This will not only enhance the wood’s natural color but also help protect it. Apply a wood stain that matches your floor using a paintbrush or lambswool roller. Let it dry thoroughly before proceeding.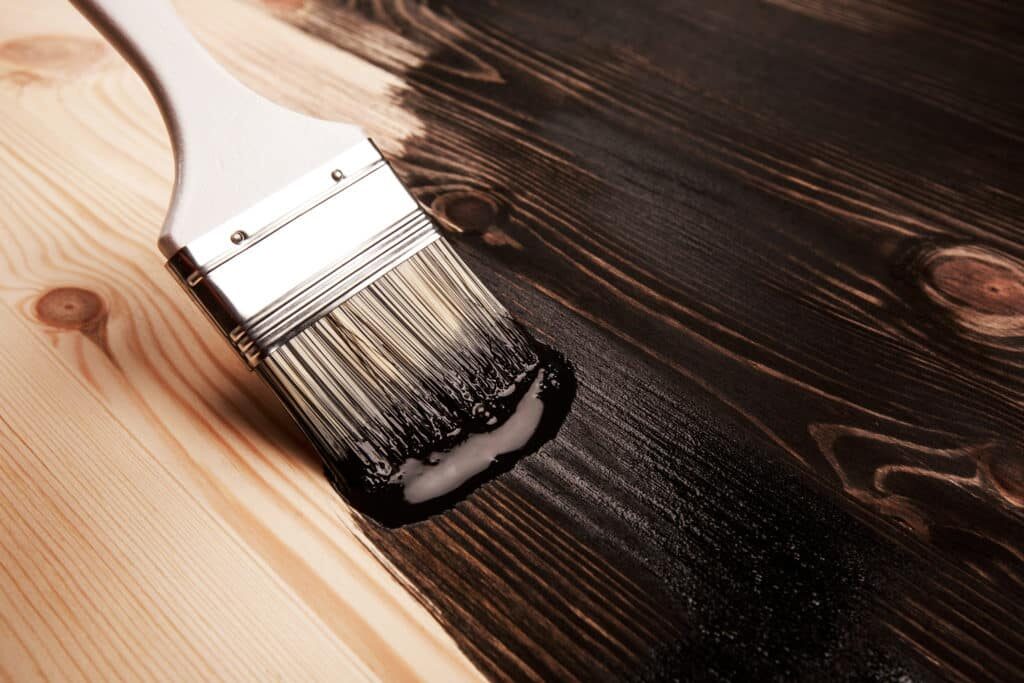
Part 7: Applying the Finish
The final step in the restoration process is applying a polyurethane finish. This will protect your floor from future damage and give it a beautiful sheen. Apply the finish using a paintbrush or lambswool roller, and ensure you work in a well-ventilated area. Allow the finish to dry completely before walking on the floor.
Part 8: Maintaining Your Restored Floor
Restoring a wood floor can be a labor-intensive process, but maintaining its beauty doesn’t have to be. Regular cleaning, avoiding excess moisture, and prompt attention to scratches or dents will help keep your floor looking its best. Consider reapplying a polyurethane finish every few years for added protection.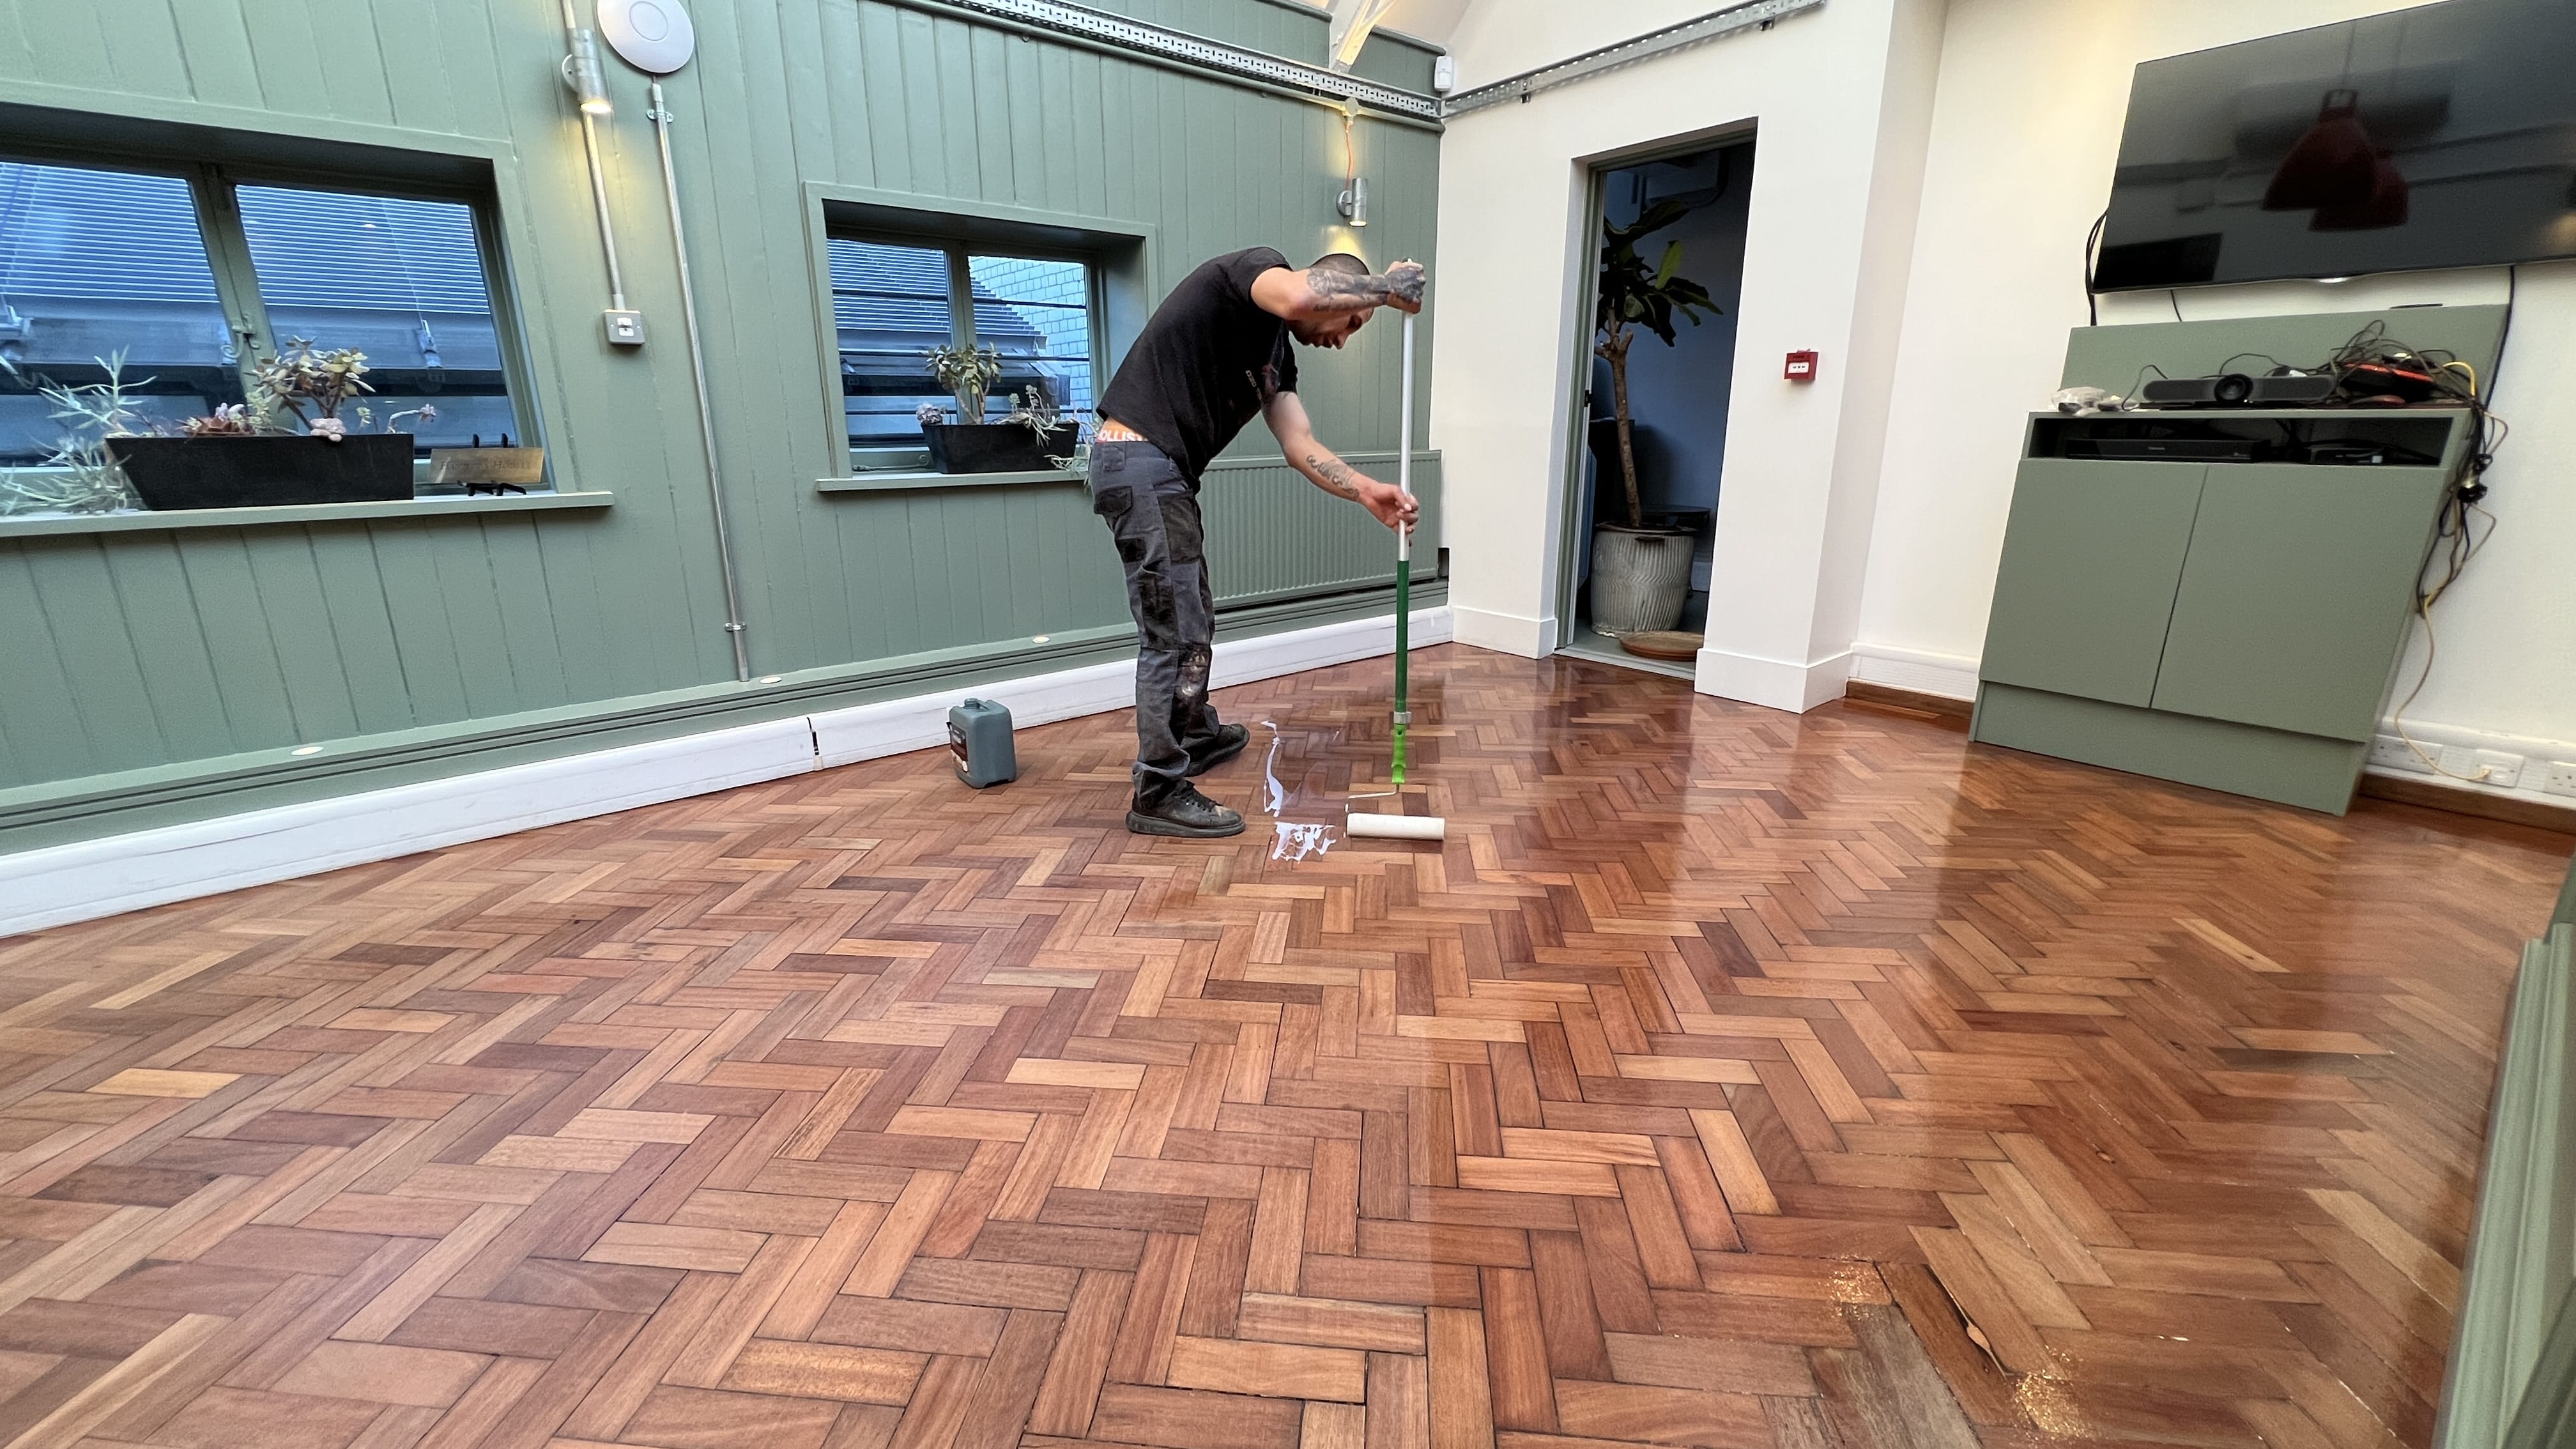
Conclusion
Restoring a wood floor may initially seem like a daunting task, but by following this simple guide, you can bring back the elegance and beauty of your hardwood flooring. A well-maintained wood floor not only adds timeless charm to your home, but it also increases its value. Remember, wood is a living material that changes over time. Regular maintenance and prompt repairs can help ensure that your floor stays in top condition. Restoration is not an everyday task but a periodic one that refreshes and revives the life of your wooden floor, preserving its grandeur for generations to come. The simplicity of this method lies in its step-by-step approach. From understanding the condition of your floor to gathering the right materials, from thorough cleaning to the application of stain and finish, each step brings you closer to achieving a beautifully restored wood floor. The effort invested in this process is rewarded with the satisfaction of seeing your aged and worn-out hardwood floor regain its original, immaculate appearance. And this rejuvenated surface isn’t just aesthetically pleasing; it’s also more resilient and better equipped to face daily wear and tear. So don’t let those scratches and dull spots get you down. With the right guidance, restoring your hardwood floor can be a rewarding experience. As you take on this project, remember that the goal is not to erase the history and character of your floor but to highlight and preserve its inherent beauty. Good luck on your wood floor restoration journey!Some Useful Links:
- Floor Sanding Services
- School Floor Sanding
- Wood Floor Restorations
- Wood Floor Repairs
- Wood Floor Polishing
More from our Blog:
How to Effectively Remove Dark Water Stains from Hardwood Floors Unraveling the Paradox: Outdated Equipment in London’s Wood Floor Sanders Understanding the Effects of Heating on Wood Floors Maintaining a Dust-Free Environment in Wood Floor Sanding | Essential Tips Essential Facts About Wood Floor Sanding | Complete Guide

Sanding
We provide virtually dust-free sanding with our continuous belt machinery with mobile extraction units, giving you a safer environment for your family.
Oiling
This organic finish not only adds beauty to your home but also has exceptional water-repellent characteristics, making it easier to clean and maintain.
Waxing
This natural floor finish offers the softest and most mellow appearance – and leaves your floor able to breath.
Buffing
Using soft buffing machines (and hand-polishing where required) will bring a wonderful sheen to your newly-finished floor.
Repairs
We offer a full assessment of your wooden floors to determine what repairs are needed to provide the perfect working surface for the later stages of sanding, staining and sealing.
Restoration
We offer a comprehensive restoration process designed to address floors that are improperly fitted or damaged over time through wear and tear.
Request a fixed price quote for your wood floor restoration now
Simply enter your postcode below to get started.
Services
Wood Floor Sanding Wood Floor Restoration Wood Floor Scratch Repair Squeaky Wood Floor Repair Parquet Floor Sanding Parquet Floor Restoration Commercial Floor Sanding Church Floor Sanding Community Centre Floor Sanding School Floor Sanding Gap Filling Gap Filling with ResinCopyright © Mr Sander®
Privacy & Cookies Terms & Conditions Complaints Procedure Cancellation Rights Sitemap

Get An Instant Price Estimate Before You Go…
Simply enter the rooms you need sanded and we’ll provide you with a price estimate instantly! Try our price calculator now.
Get a Price Estimate NowLocal Floor Sanding Experts
Over 500 5-Star Reviews
Safe, Dust Free Sanding
Operating Since 1994