London:
Nationwide:
25,000+
Floors Restored
27 Years Experience
Wood Flooring Association Certified
How to Stain Your Hardwood Floor: A Complete DIY Guide
Posted on May 11, 2023
Articles
How to Stain Your Hardwood Floor: A Step-by-Step Guide
Hardwood floors are a classic choice for many homeowners due to their durability, timeless appeal, and ability to enhance any space’s aesthetic. Over time, however, these floors can lose their lustre. Thankfully, this doesn’t mean you need to replace them. You can revive your hardwood floors by staining them, effectively giving them a fresh, new look. Staining is a cost-effective and satisfying DIY project if you’re comfortable getting your hands a little dirty. This guide will walk you through the process, step by step.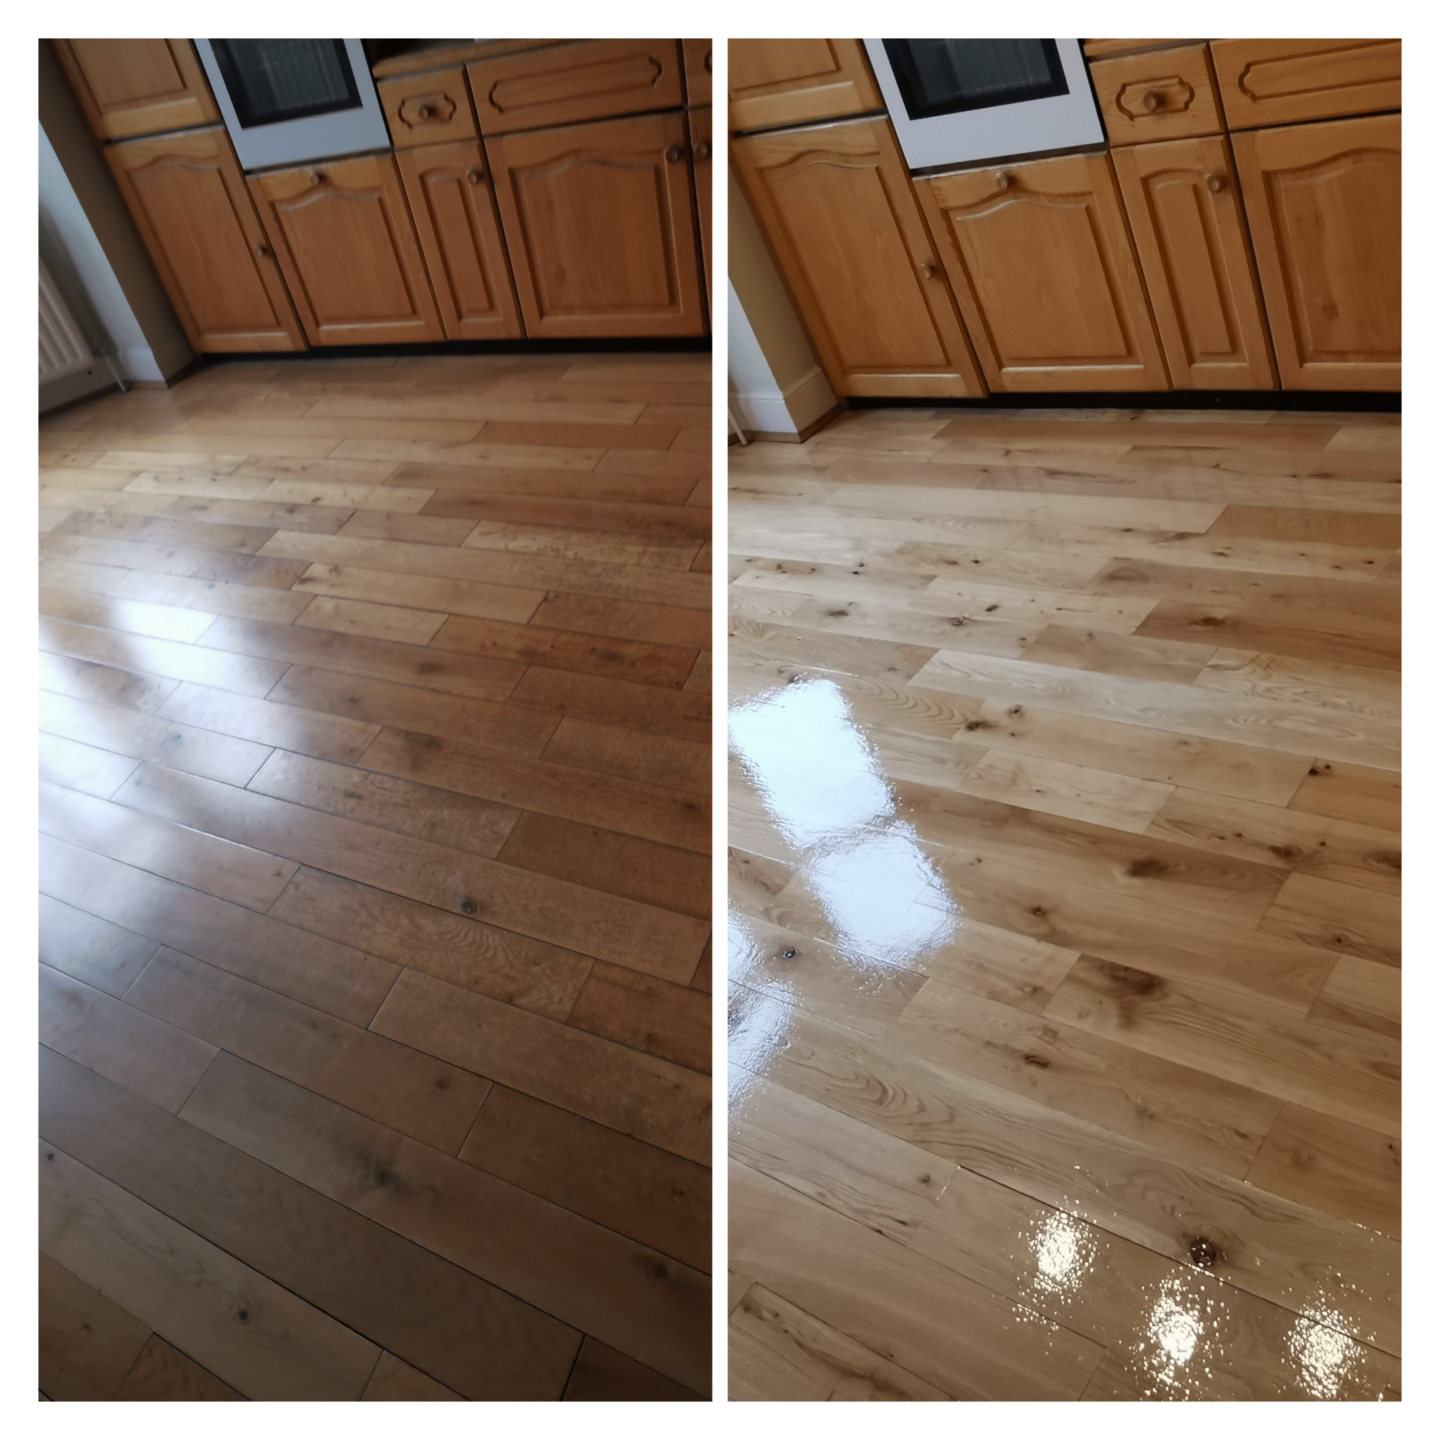
Step 1: Prepare Your Space
Preparation is key when staining hardwood floors. Start by clearing out all the furniture in the room. This includes rugs, curtains, and any other item that might get in your way or be damaged by the stain. Next, clean your floor thoroughly. Sweep or vacuum to remove any dust and dirt. For stubborn stains or sticky spots, use a damp cloth and mild detergent.
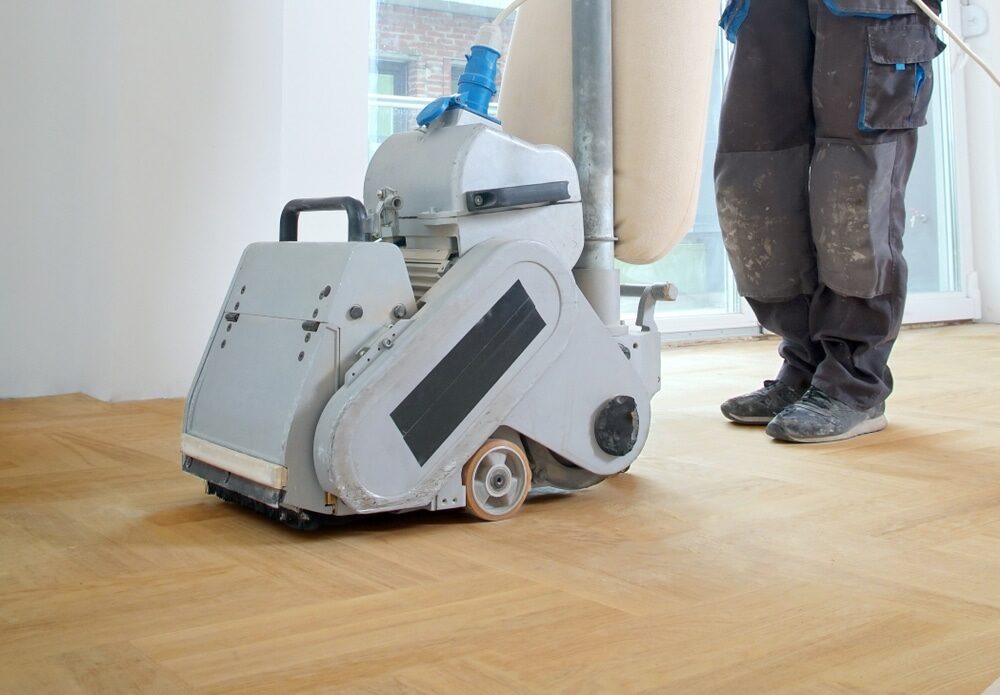
Step 2: Sand Your Floor
Sanding your floor is necessary to remove the old finish and to open up the wood’s pores for the stain. Rent or buy an orbital sander for this purpose. Start with coarser grit sandpaper (like 60-grit) and move to finer grits (up to 220-grit) to achieve a smooth finish. Always sand in the direction of the wood grain to avoid scratches. Remember to wear a dust mask and goggles for your safety.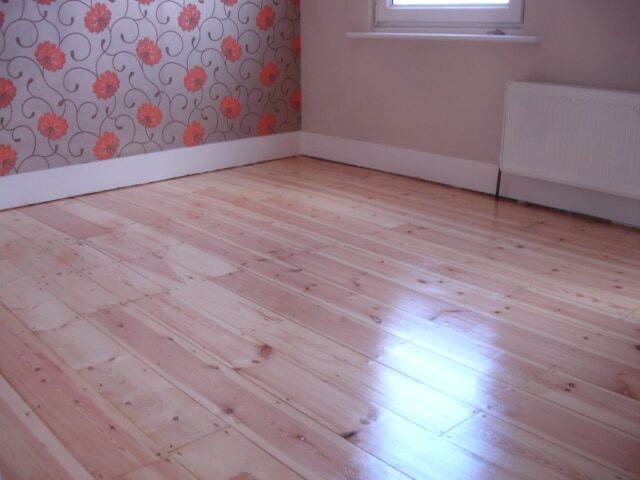
Step 3: Clean Again
After sanding, there will be a considerable amount of dust. Vacuum the floor and then wipe it down with a damp cloth. For a thorough cleaning, you can use a tack cloth, which is a special type of cloth designed to pick up and hold dust particles.
Step 4: Apply the wood stain.
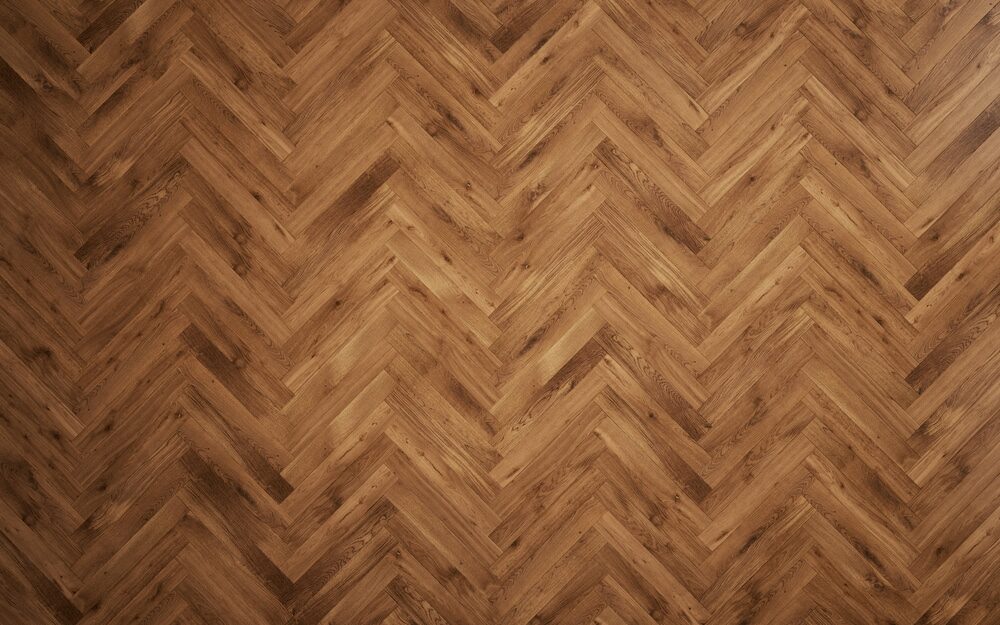
Before you start staining wood floor, make sure your room is well-ventilated. Open windows and doors, and use fans if necessary. Also, ensure you have the proper protective equipment, including rubber gloves and safety goggles. Choose a wood stain that complements your home’s decor and your personal style. You can test a small amount in an inconspicuous area to confirm it’s the colour you want. Start at the corner of the room and work your way towards the door so you don’t box yourself in. Apply the stain with a brush or a clean, lint-free cloth, following the direction of the wood grain. Allow the stain to penetrate into the wood; the longer it stays before wiping, the darker the colour will be. Wipe off the excess stain with a clean cloth before it dries.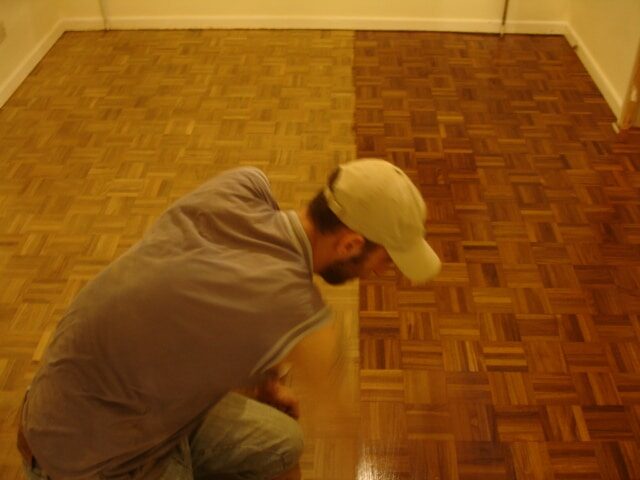
Step 5: Apply a Finish
Once the stain is dry, it’s time to apply a finish. The finish will seal the stain and protect your floor from wear and tear. Polyurethane is a popular choice for its durability and ease of application. You can choose between oil-based and water-based polyurethane; each has its pros and cons, so do your research before deciding. Apply the finish with a high-quality, natural-bristle brush or a lamb’s wool roller, moving in the direction of the grain. It’s typically recommended to apply at least two coats, sanding lightly between coats once the previous one has dried.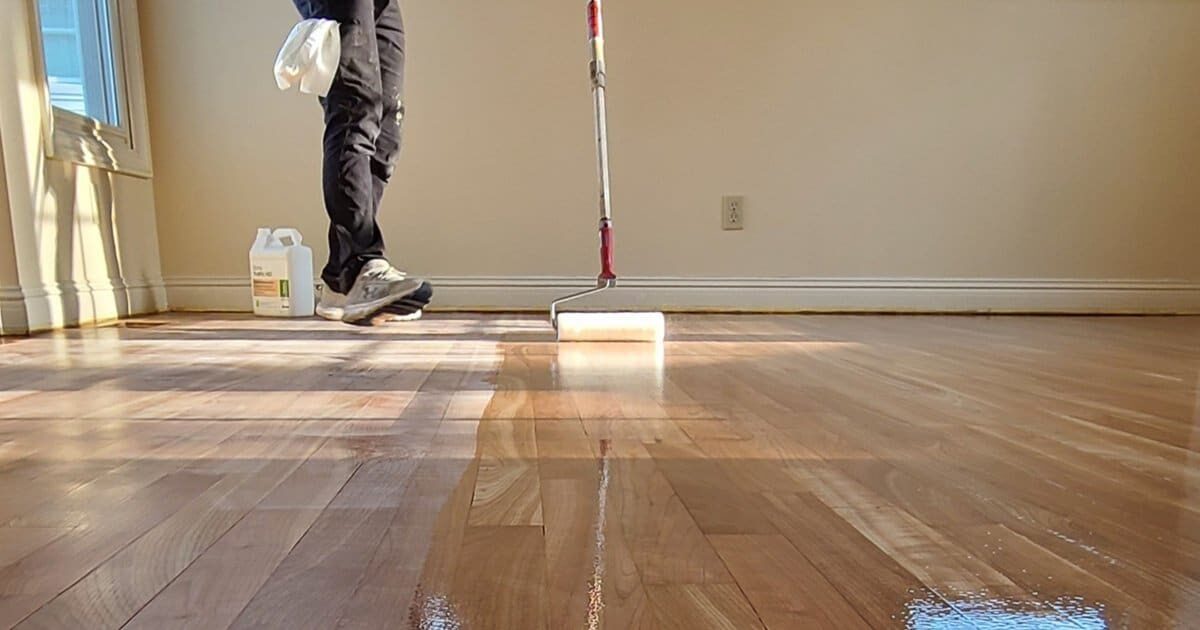
Step 6: Let It Dry
This is the hardest part: waiting. Depending on the type of finish you used, it can take anywhere from a few hours to several days for your floor to completely dry. Resist the urge to walk on it or move furniture back in before it’s fully cured. Rushing this step could result in a floor that’s not as durable as it should be.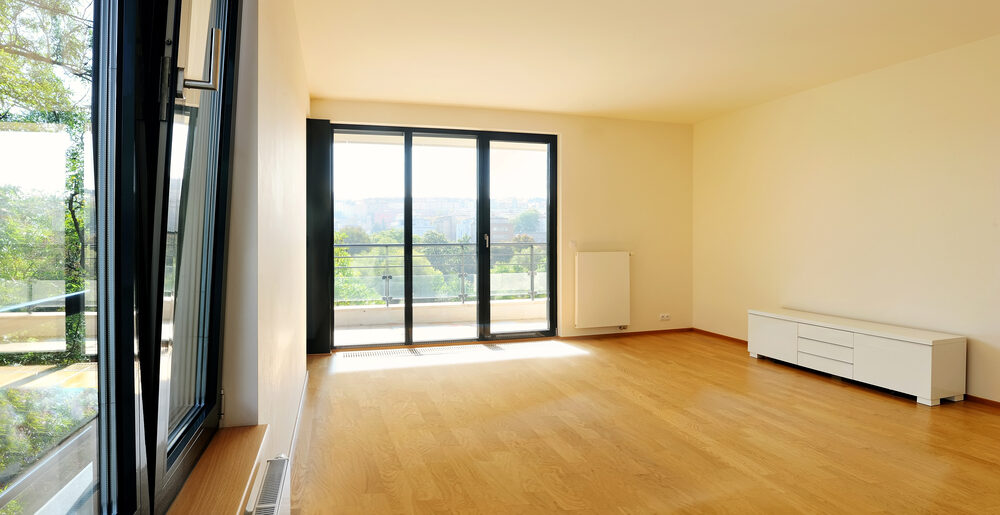
Some Useful Links:
- Floor Sanding Services
- Stairs Sanding & Refinishing
- School Floor Sanding
- Wood Floor Restorations
- Wood Floor Repairs
- Wood Floor Polishing
Conclusion
Staining your hardwood floor is a labour-intensive but rewarding project. It can breathe new life into your space, enhance the value of your home, and give you a sense of accomplishment. Like any home improvement task, it requires patience and attention to detail. But with careful preparation, the right tools and materials, and a step-by-step approach, you can achieve professional-looking results and transform your floors from drab to fabulous. Remember, safety is crucial at every step of this process. Always use the recommended protective gear, work in a well-ventilated area, and take your time. With this guide, you’re now ready to embark on your hardwood floor staining project. Happy staining!More from our Blog:
Unveiling the Best Wooden Flooring for Basements Ensuring Wooden Floor Safety: Comprehensive Guide & Maintenance Tips Wooden Floors and Home Gym Workouts: A Comprehensive Guide Wood Floor Sanding and Polishing | Common Questions Answered Unleash Your Floor’s Potential: Wood Floor Sanding, Staining and Restoration Guide
Sanding
We provide virtually dust-free sanding with our continuous belt machinery with mobile extraction units, giving you a safer environment for your family.
Oiling
This organic finish not only adds beauty to your home but also has exceptional water-repellent characteristics, making it easier to clean and maintain.
Waxing
This natural floor finish offers the softest and most mellow appearance – and leaves your floor able to breath.
Buffing
Using soft buffing machines (and hand-polishing where required) will bring a wonderful sheen to your newly-finished floor.
Repairs
We offer a full assessment of your wooden floors to determine what repairs are needed to provide the perfect working surface for the later stages of sanding, staining and sealing.
Restoration
We offer a comprehensive restoration process designed to address floors that are improperly fitted or damaged over time through wear and tear.
Request a fixed price quote for your wood floor restoration now
Simply enter your postcode below to get started.
Services
Wood Floor Sanding Wood Floor Restoration Wood Floor Scratch Repair Squeaky Wood Floor Repair Parquet Floor Sanding Parquet Floor Restoration Commercial Floor Sanding Church Floor Sanding Community Centre Floor Sanding School Floor Sanding Gap Filling Gap Filling with ResinCopyright © Mr Sander®
Privacy & Cookies Terms & Conditions Complaints Procedure Cancellation Rights Sitemap

Get An Instant Price Estimate Before You Go…
Simply enter the rooms you need sanded and we’ll provide you with a price estimate instantly! Try our price calculator now.
Get a Price Estimate NowLocal Floor Sanding Experts
Over 500 5-Star Reviews
Safe, Dust Free Sanding
Operating Since 1994