London:
Nationwide:
25,000+
Floors Restored
27 Years Experience
Wood Flooring Association Certified
How We Sanded Our Wood Floor: A DIY Story
Posted on June 18, 2023
Floor Sanding Articles
Our DIY Adventure: Sanding Our Wood Floor | A Personal Journey
When it comes to home renovations, there’s nothing quite as satisfying as a successful DIY project. One such project that we undertook was sanding our wooden floor. This monumental task, though challenging, added an unmatched charm to our house and instilled a sense of pride and achievement in us. Here’s a detailed recount of our 4000-word journey through the process, with the hopes that our story might inspire and guide your own DIY adventures.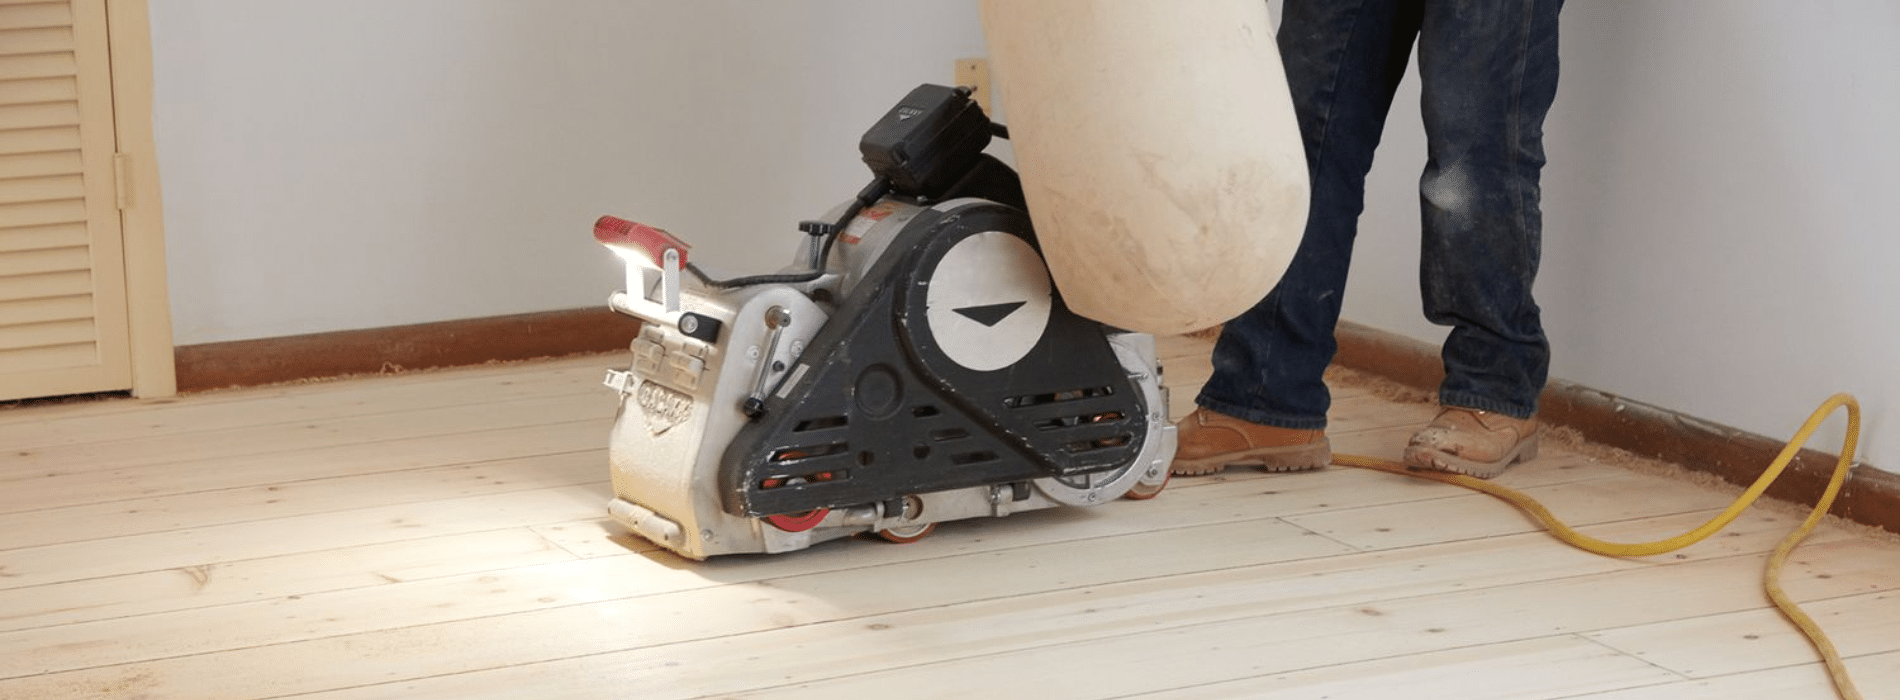
The Prologue: Why We Chose to Sand Our Floor
Before diving into the process, it’s important to share the reason why we chose to sand our wooden floor. Our house, built over 30 years ago, came with beautiful, albeit worn-out, oak wood flooring. The floors, having seen better days, were covered in a myriad of scratches, dents, and stains. We knew it was time to breathe new life into them. After researching professional services and weighing the cost, we decided to tackle this task ourselves.Gathering the Right Tools
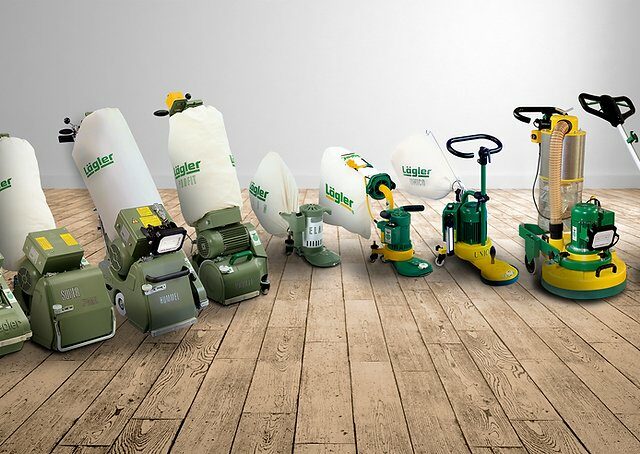
Armed with our decision, we started by gathering all the necessary equipment. A quick search on the internet revealed the tools we needed:- Drum Sander
- Edging Sander
- Sandpaper (various grits)
- Safety Glasses
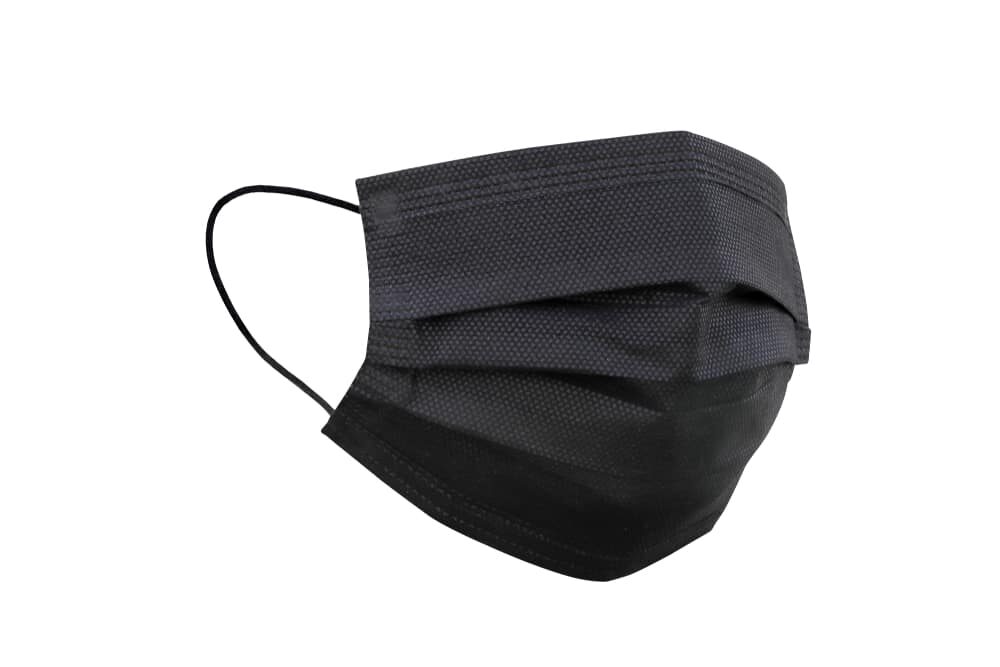
- Dust Masks
- Ear Protectors
- Vacuum Cleaner

Learning the Process
Before we got down to work, we spent considerable time learning about the sanding process. We read numerous blogs, watched tutorial videos, and even spoke with professional floor sanders. It was crucial to understand the proper techniques to avoid irreparable damage to our floors.The Actual Sanding Begins
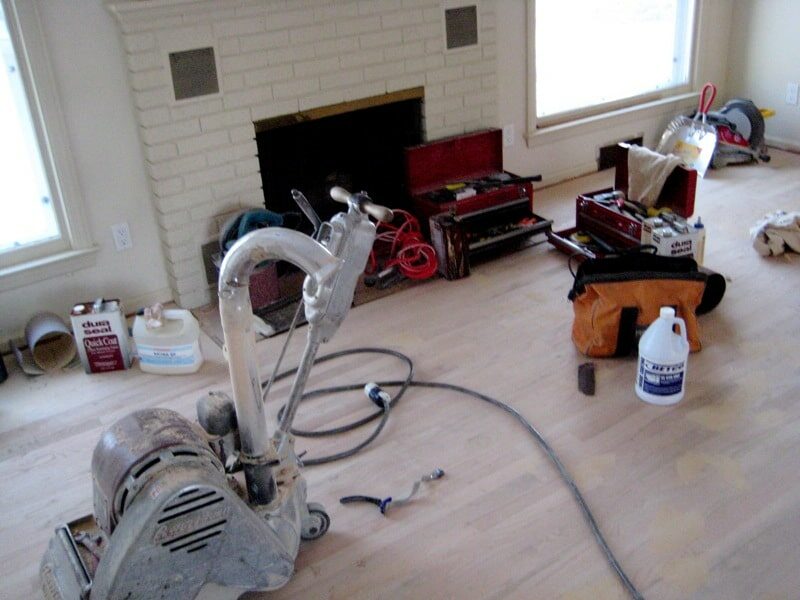
Clearing the Room
The first step was to clear the room completely. This not only meant removing furniture but also curtains, wall decorations, and anything else that could potentially gather dust.Safety First
Next, we suited up. We wore our safety glasses, dust masks, and ear protectors. We realised that DIY doesn’t mean compromising on safety.Understanding the grain
Understanding the direction of the wood grain was vital. We learned that sanding should always be done along the grain, never against it.The drum sander
Starting with the coarsest grit sandpaper, we began with the drum sander, which is designed for the main body of the floor. It was an intense workout, pushing and pulling the sander, but seeing the scratches and stains disappear was incredibly satisfying. However, the drum sander couldn’t reach the corners and edges of the room.The edging sander
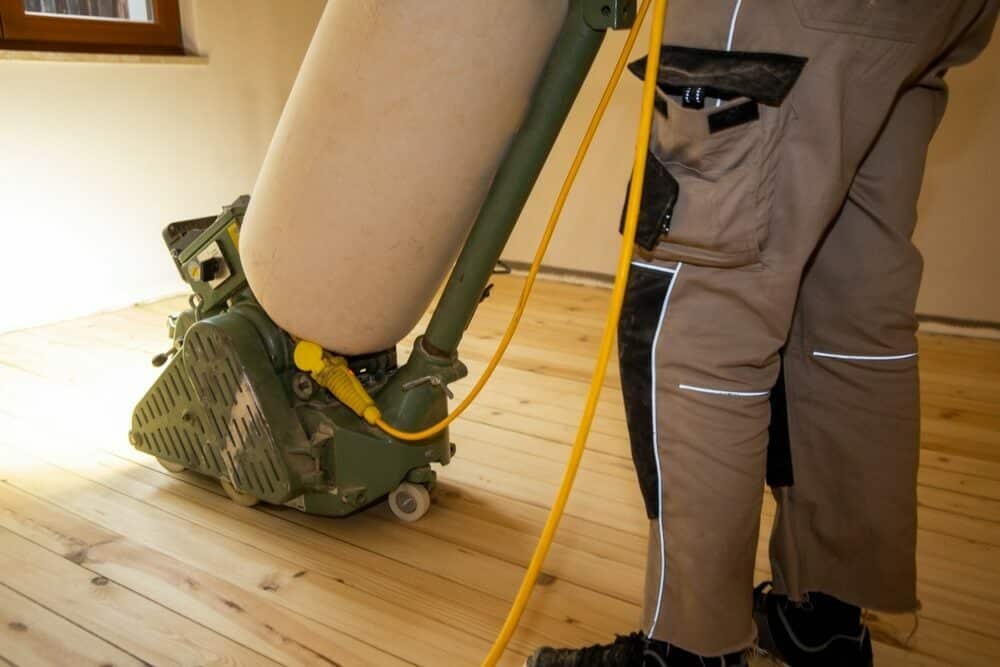
This is where the edging sander came in. As the name suggests, it’s designed to sand the edges of the room that the drum sander can’t reach. Using it required a bit of a learning curve, but we got the hang of it after a while.Multiple Rounds
We did multiple rounds of sanding, starting with a coarse 36-grit sandpaper, moving to a medium 60-grit, and finally a fine 100-grit. With each round, we could see the wood getting smoother and cleaner.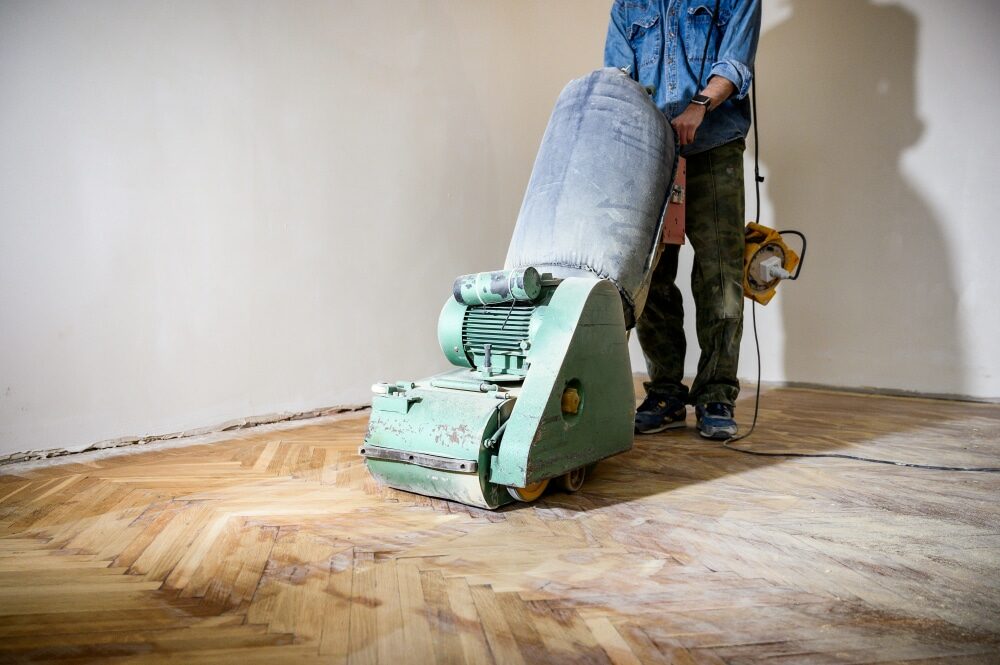
The Aftermath of Sanding
After we completed the sanding process, we were left with a room covered in dust. We vacuumed the entire room thoroughly, ensuring that not a speck of dust remained. We also wiped down walls and windows to remove any lingering dust.The Transformation
The final result was stunning. Our once scratched and dull floor was now smooth, clean, and ready for a fresh coat of finish. The transformation was drastic, and the room seemed much brighter and more welcoming.Epilogue: Reflecting on Our Experience
While the process was labour-intensive and time-consuming, we wouldn’t change a thing. The satisfaction of seeing our hard work come to fruition was incomparable. We learned a great deal about patience, perseverance, and the importance of preparation. We believe anyone can undertake this task with the right tools, adequate research, and a bit of determination. Our DIY journey to sand our wood floor was not just about home renovation. It was also about creating memories, working together, and achieving something beautiful from our efforts. We hope our story inspires you to take on your DIY projects with confidence and enthusiasm. Happy renovating!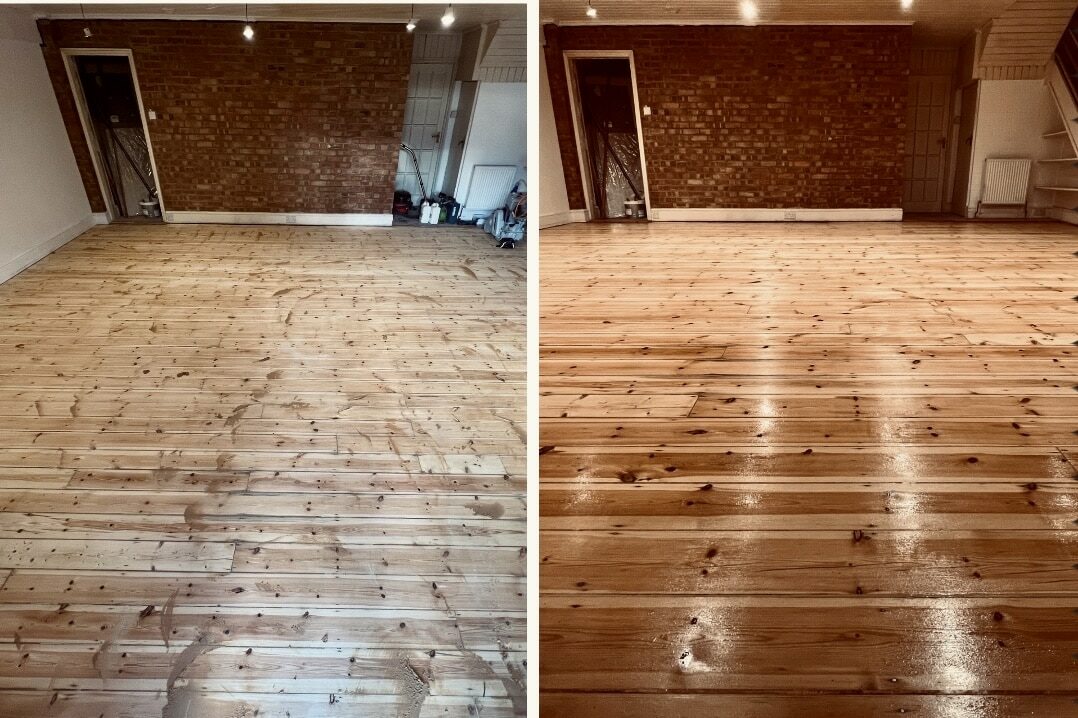
Some Useful Links:
- Floor Sanding Services
- School Floor Sanding
- Wood Floor Restorations
- Wood Floor Repairs
- Wood Floor Polishing
More from our Blog:
Repair Your Damage Wood Floor with Mr Sander® Company Restore Your Wood Flooring with Mr Sander® Company Hardwood Flooring: Enhancing Small Home Trends Achieving the Classic Waxed Look for Your Hardwood Floors Parquet Flooring Installation: Essential Steps and Tips
Sanding
We provide virtually dust-free sanding with our continuous belt machinery with mobile extraction units, giving you a safer environment for your family.
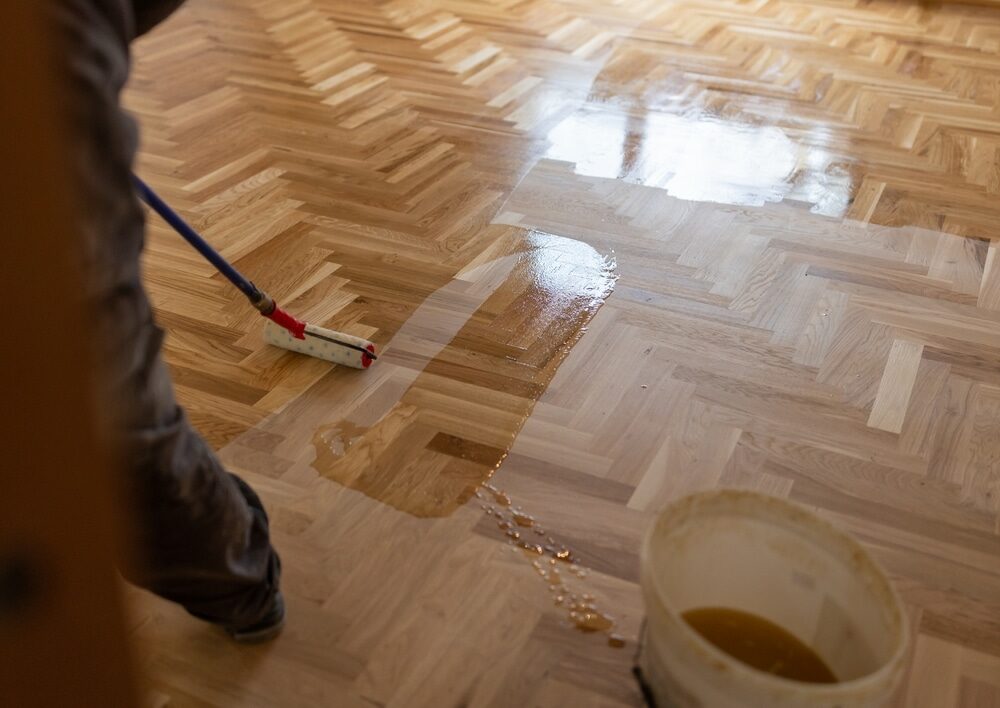
Oiling
This organic finish not only adds beauty to your home but also has exceptional water-repellent characteristics, making it easier to clean and maintain.
Waxing
This natural floor finish offers the softest and most mellow appearance – and leaves your floor able to breath.
Buffing
Using soft buffing machines (and hand-polishing where required) will bring a wonderful sheen to your newly-finished floor.
Repairs
We offer a full assessment of your wooden floors to determine what repairs are needed to provide the perfect working surface for the later stages of sanding, staining and sealing.
Restoration
We offer a comprehensive restoration process designed to address floors that are improperly fitted or damaged over time through wear and tear.
Request a fixed price quote for your wood floor restoration now
Simply enter your postcode below to get started.
Services
Wood Floor Sanding Wood Floor Restoration Wood Floor Scratch Repair Squeaky Wood Floor Repair Parquet Floor Sanding Parquet Floor Restoration Commercial Floor Sanding Church Floor Sanding Community Centre Floor Sanding School Floor Sanding Gap Filling Gap Filling with ResinCopyright © Mr Sander®
Privacy & Cookies Terms & Conditions Complaints Procedure Cancellation Rights Sitemap

Get An Instant Price Estimate Before You Go…
Simply enter the rooms you need sanded and we’ll provide you with a price estimate instantly! Try our price calculator now.
Get a Price Estimate NowLocal Floor Sanding Experts
Over 500 5-Star Reviews
Safe, Dust Free Sanding
Operating Since 1994