London:
Nationwide:
25,000+
Floors Restored
27 Years Experience
Wood Flooring Association Certified
Revive Your Floors: A DIY Guide to Sanding, Repairing & Finishing Parquet Flooring
Posted on May 14, 2023
Blog
Comprehensive Guide to Sanding, Repairing & Finishing Parquet Flooring
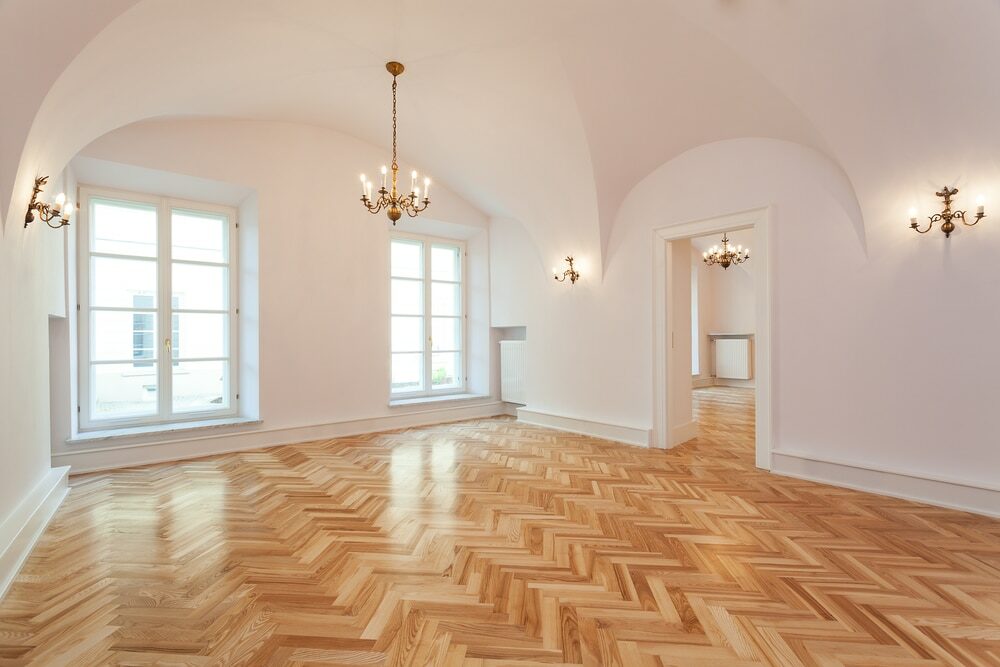
Parquet flooring, a beautiful and classic choice for any home, can last for many years if properly maintained. Over time, however, even the best-kept floors will show signs of wear and tear. This article will provide a step-by-step guide on how to sand, repair, and finish your parquet flooring, bringing it back to its former glory.
Understanding Parquet Flooring
Parquet flooring is a type of wood flooring made from small blocks or strips of wood that are laid to create a regular and geometric pattern. It’s known for its durability and timeless elegance. Before starting the repair and restoration process, it’s crucial to understand the unique characteristics and needs of parquet flooring.
When to Sand, Repair, and Finish Your Parquet Flooring
Signs that your parquet floor needs restoration include visible scratches, dullness, discoloration, loose blocks, and creaking sounds when walking. If your floor shows any of these signs, it’s time for a refresh.
Step 1: Assessing the Floor and Gathering Tools
Start by thoroughly inspecting your parquet flooring. Look for loose blocks, deep scratches, and damaged areas. This will give you a clear idea of what needs repair as well as the materials and tools you’ll need for the job.
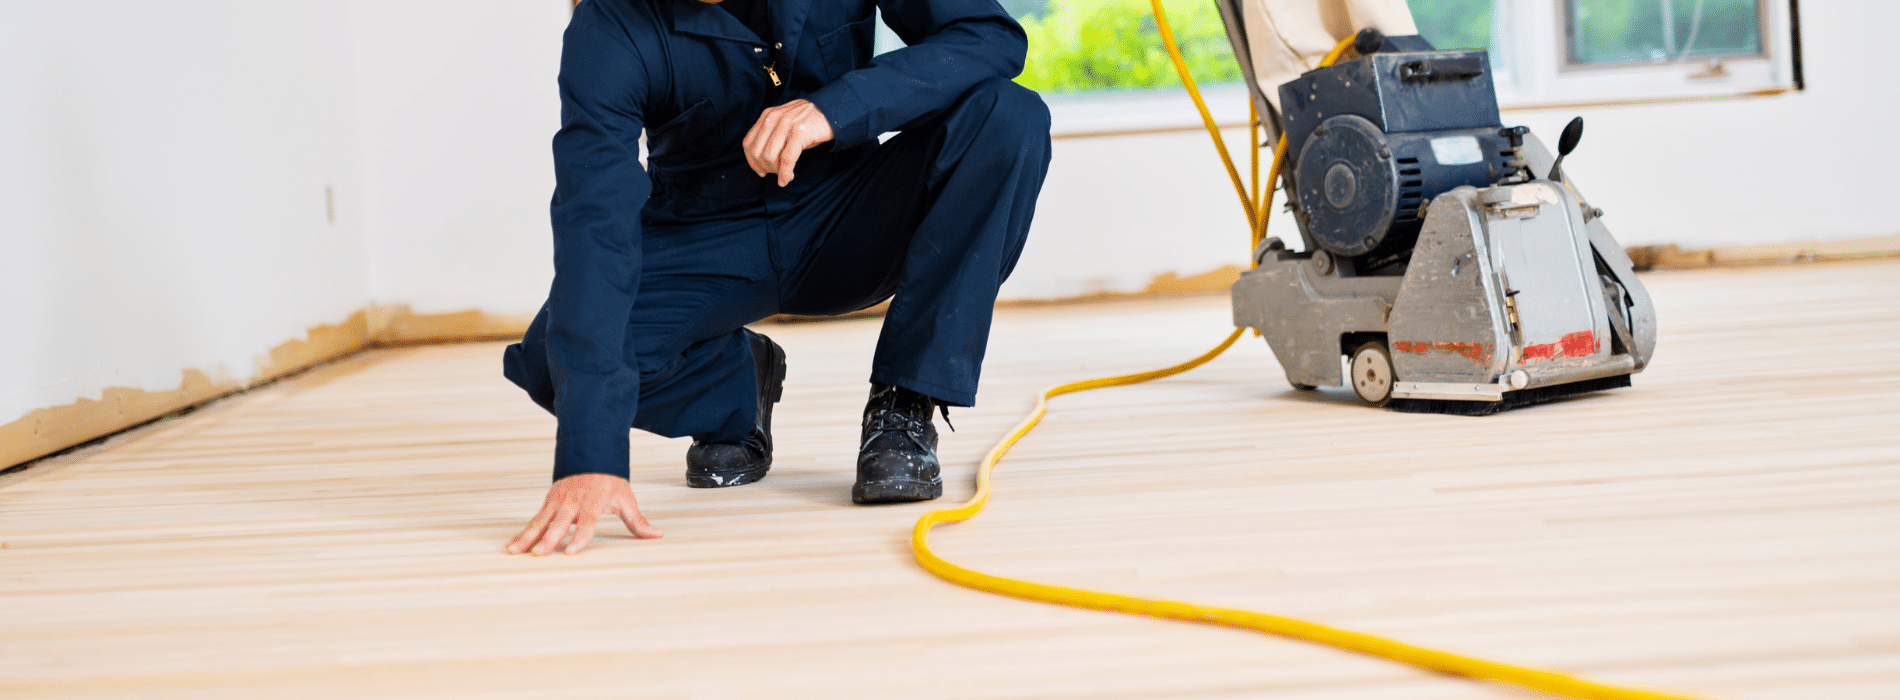
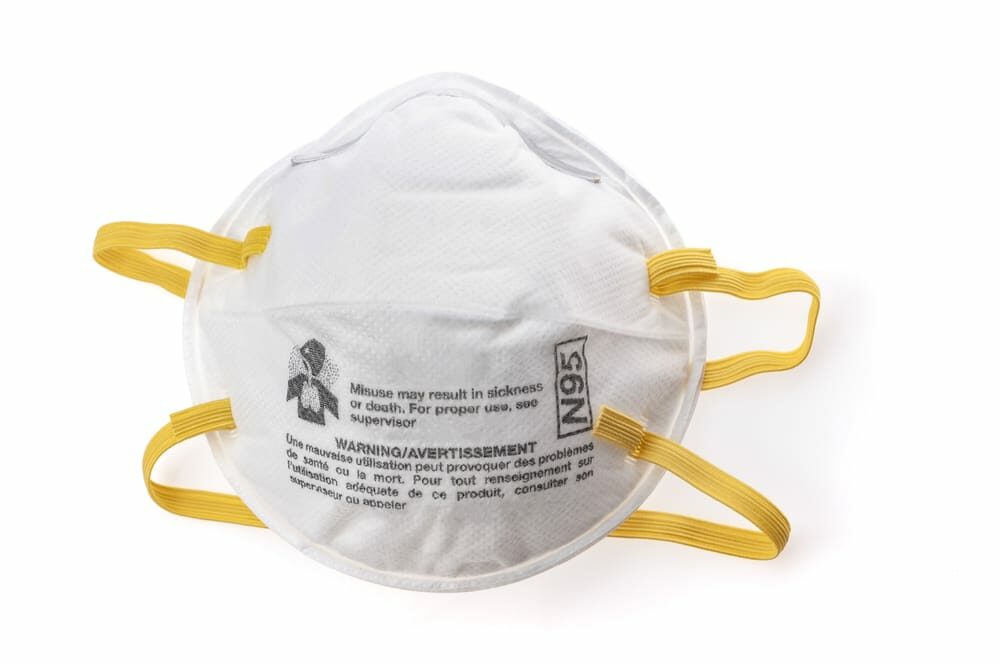
Essential tools include a drum or orbital sander, sandpaper of varying grits, wood adhesive, a mallet, a chisel, a brush, and finishing products like wood stain and varnish. Also, ensure you have protective gear, such as safety goggles, gloves, and a dust mask.

Step 2: Preparing for Sanding
Before sanding, ensure the floor is clean and free from any furniture or debris. Any loose blocks should be secured using a suitable wood adhesive. If any blocks are damaged beyond repair, they should be replaced. Use a chisel to carefully remove the damaged block, apply adhesive in the empty space, and fit in the new block, ensuring it’s level with the surrounding ones.
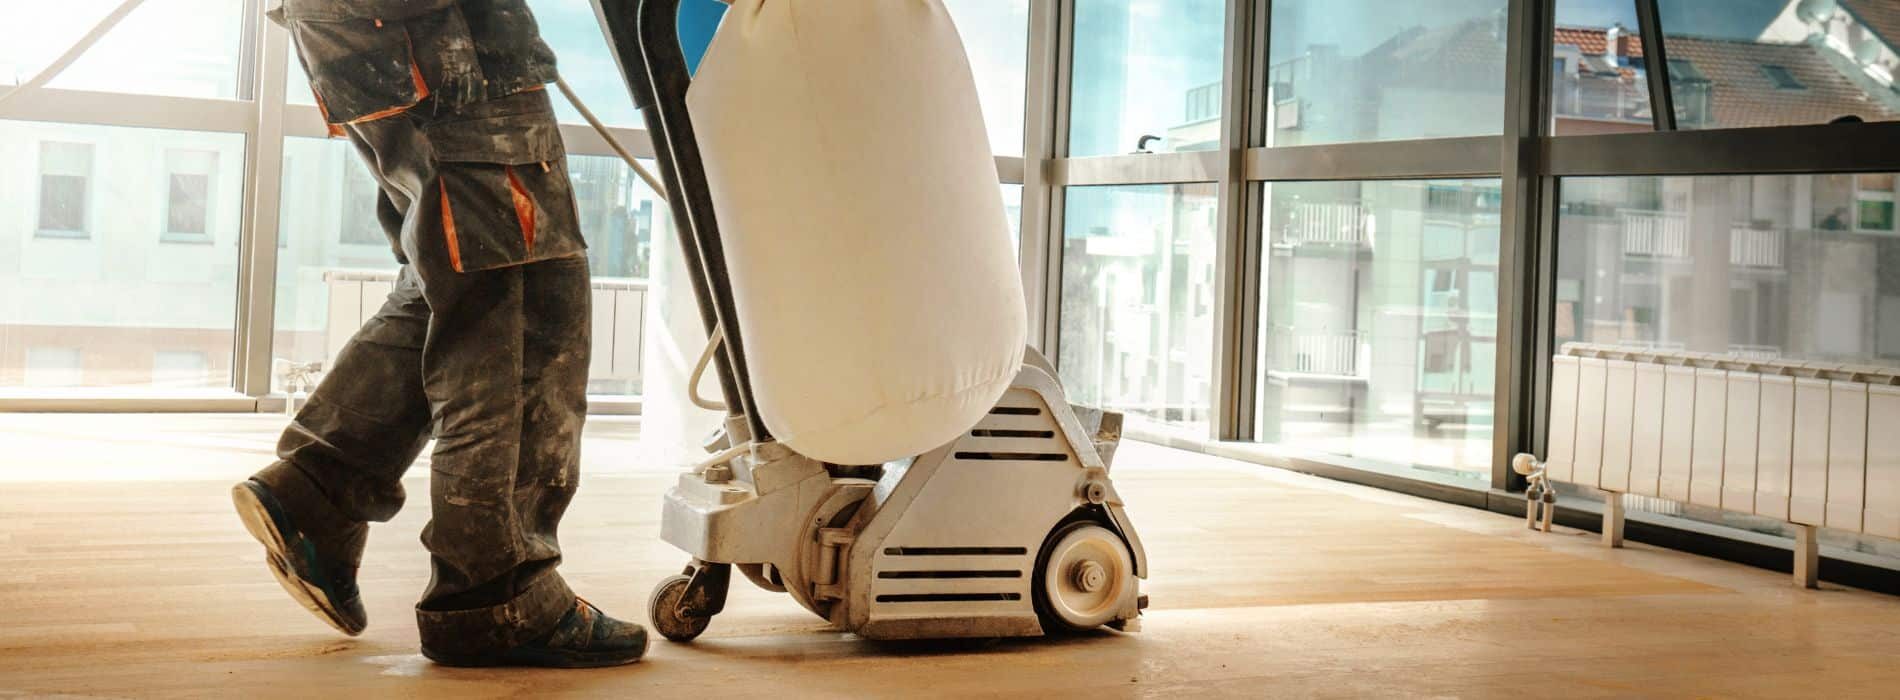
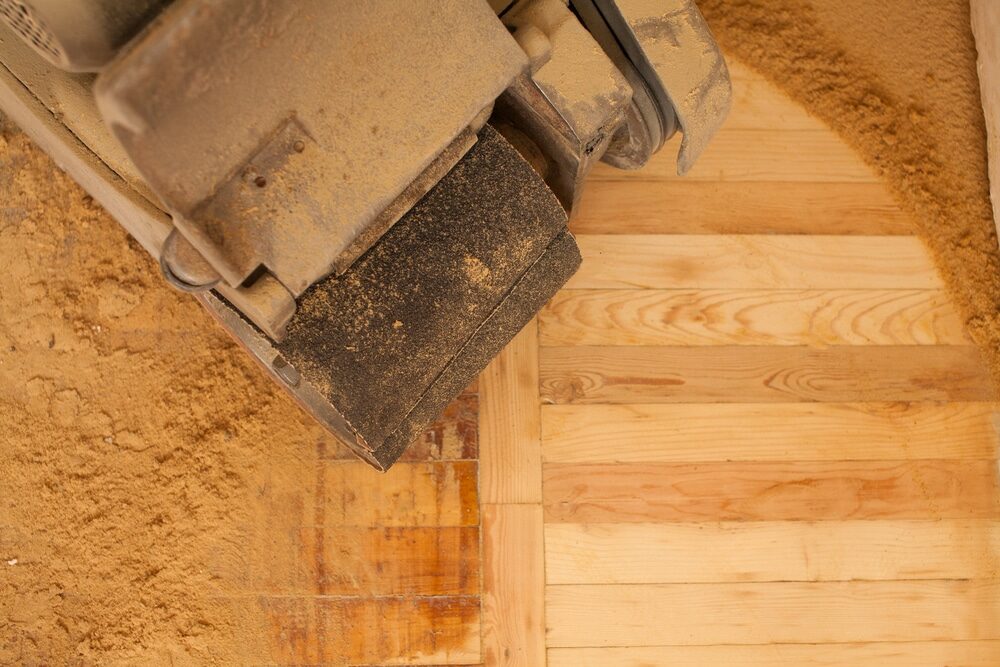
Step 3: Sanding Your Parquet Floor
Sanding parquet flooring is a crucial step that requires care due to the grain of the blocks running in different directions. Start with coarse-grit sandpaper to remove the old finish and any superficial scratches or stains. Then, progressively move to medium- and fine-grit sandpapers for a smooth finish.
Remember to always sand along the grain of the wood to avoid scratches. Since the grain in parquet flooring changes direction, you’ll need to sand diagonally to the grain. Start from the center of the room and work your way out to the edges.
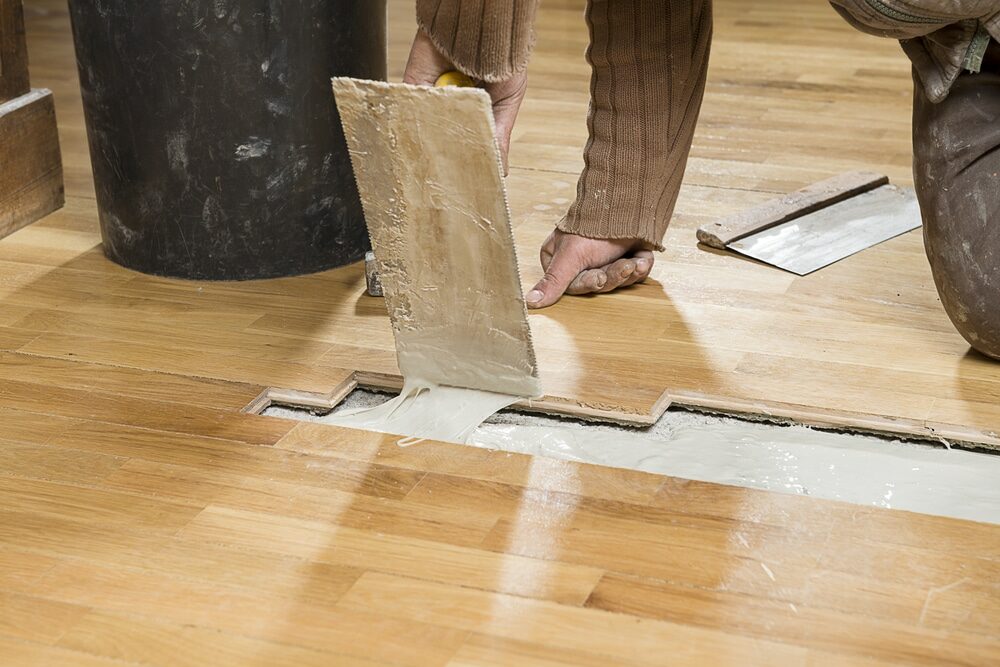
Step 4: Repairing the Floor
After sanding, inspect your floor again for any damaged or loose blocks. These should be glued down or replaced as necessary. Any gaps or cracks can be filled using a mixture of resin and fine sawdust collected during sanding. This will ensure the filler matches the color of your flooring.
Step 5: Finishing the Floor
Once you’re satisfied with the sanding and any repairs, it’s time to apply the finish. You can choose between various products, such as oils, waxes, or varnishes, depending on the desired look and the type of wood.
Before applying the finish, wipe down your floor with a damp (not wet) cloth to remove any dust. Apply the finish evenly with a brush, working along the grain. Let the first coat dry completely before applying the second one. Two to three coats are usually sufficient for a durable finish.

Conclusion
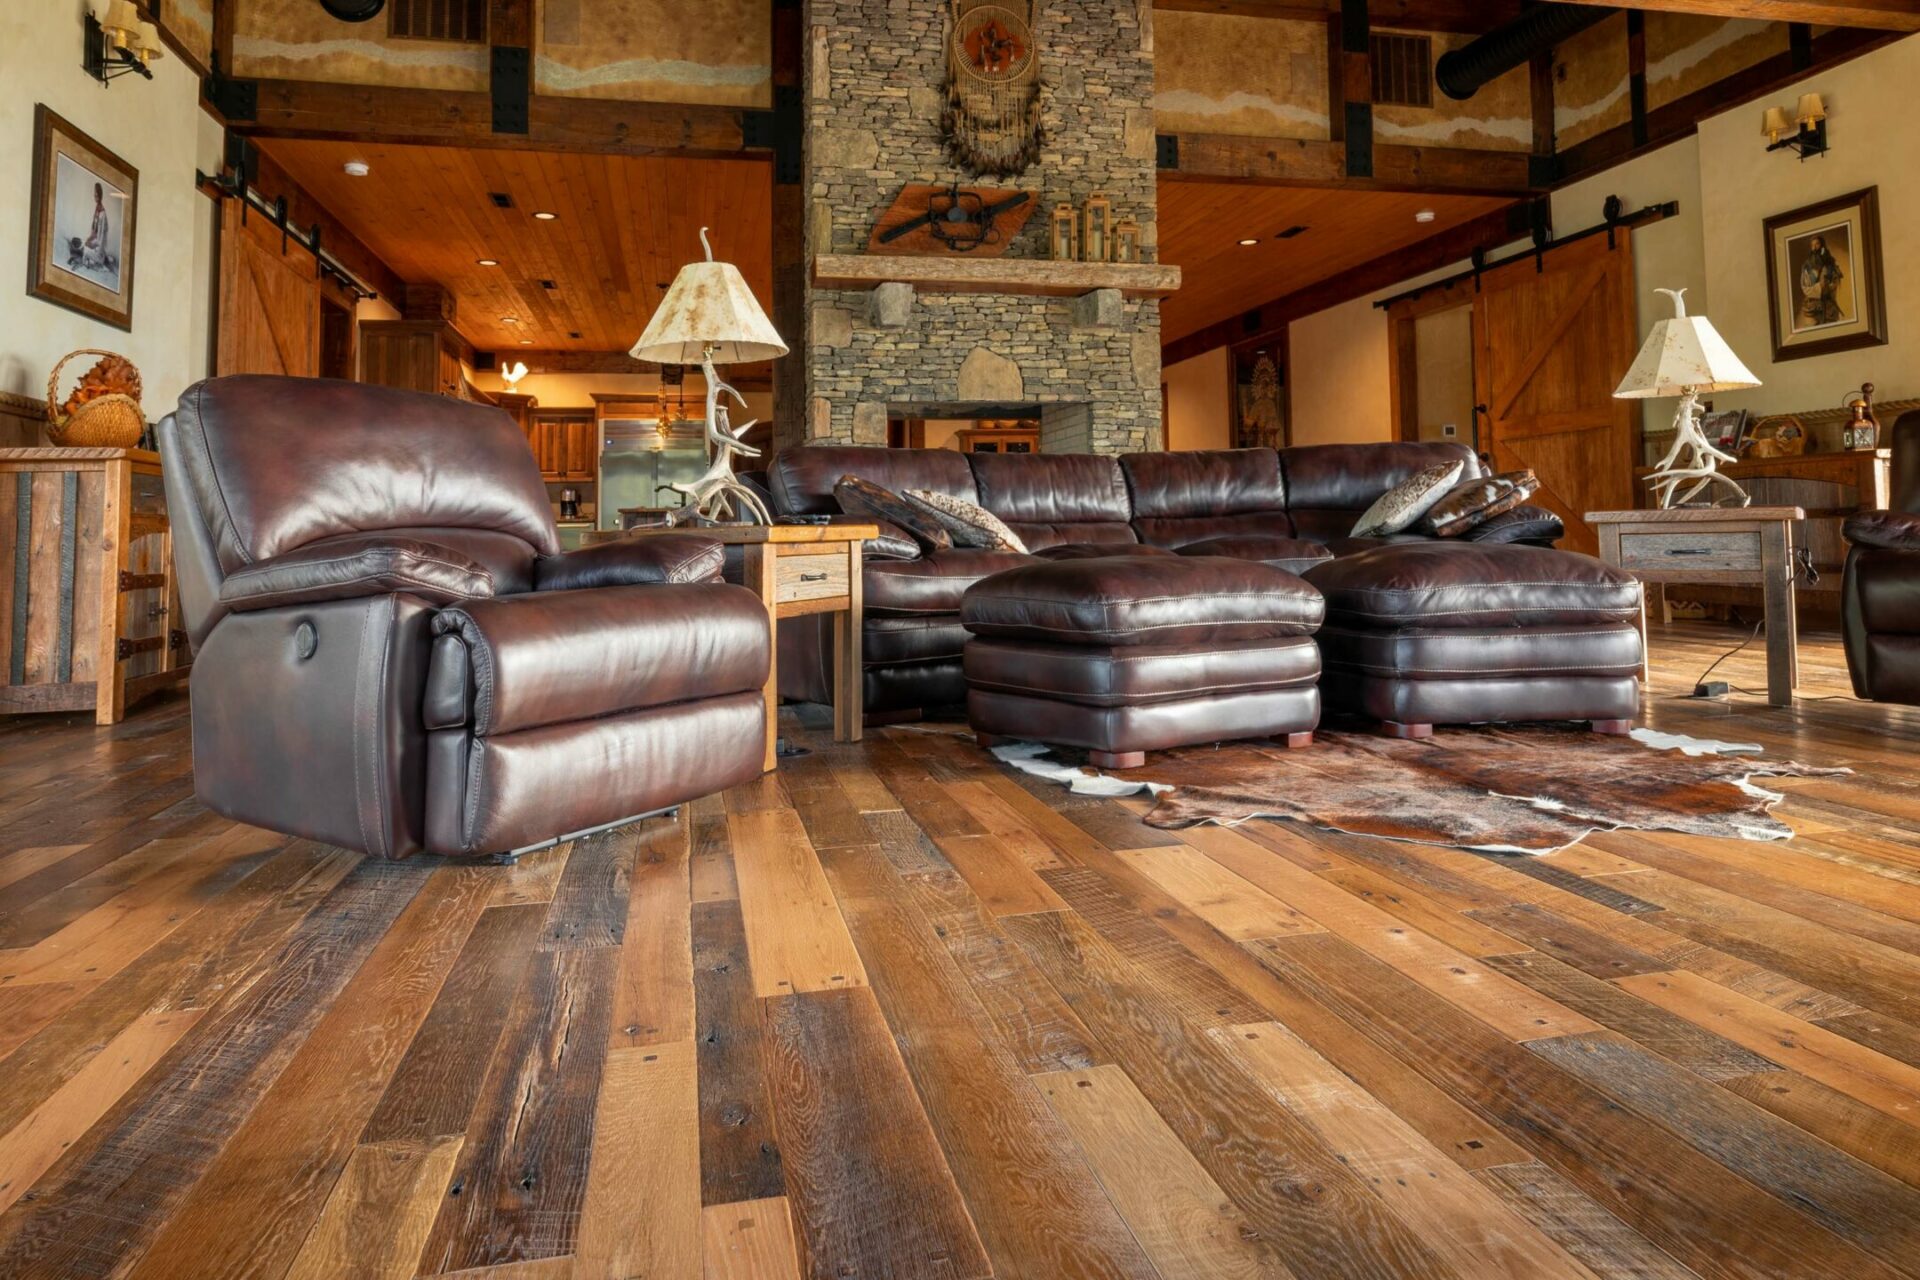
Restoring your parquet flooring is a rewarding DIY project that can significantly enhance the beauty of your home. By carefully sanding, repairing, and finishing your floor, you can extend its lifespan and bring out its natural charm and character.
Remember, every parquet floor is unique, and the process of restoration can reveal unexpected issues like stubborn stains, deep scratches, or even structural problems. Don’t be discouraged by these challenges. With patience, diligence, and attention to detail, you can overcome them and achieve excellent results.
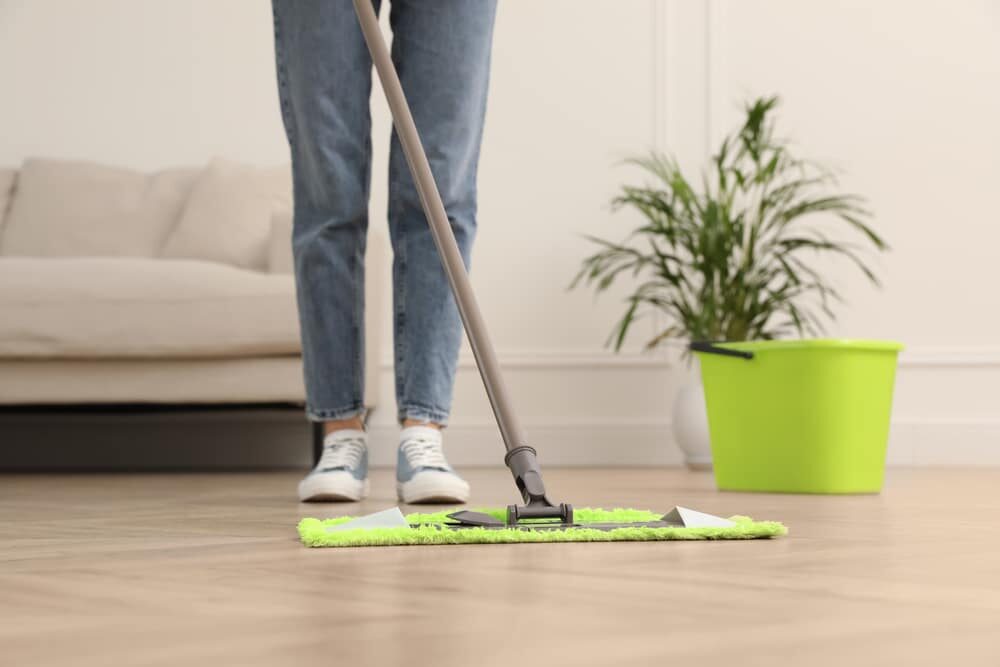
Maintenance Tips for Parquet Flooring
After successfully sanding, repairing, and finishing your parquet floor, maintaining it becomes essential. Regular cleaning with a soft broom or vacuum, immediate cleaning of spills, avoiding water exposure, and occasional polishing can help maintain its shine and durability. Also, protect the floor from scratches by using protective pads under furniture legs.
Safety Precautions
Safety should be a priority when doing any DIY project. Always wear protective gear such as safety goggles, gloves, and a dust mask when sanding and applying the finish. Ensure the room is well ventilated during the process, especially when applying the finish, as some products can release harmful fumes.
Final Thoughts
Sanding, repairing, and finishing parquet flooring is a worthwhile investment of your time and effort. With the right approach and a bit of patience, you can transform a worn-out parquet floor into a beautiful, lasting surface that adds warmth and elegance to your home.
Whether you’re a seasoned DIY enthusiast or a beginner eager to take on a new challenge, this comprehensive guide provides the knowledge and tips you need to tackle your parquet floor restoration project with confidence. Get ready to breathe new life into your parquet floor and enjoy the satisfaction of a job well done.

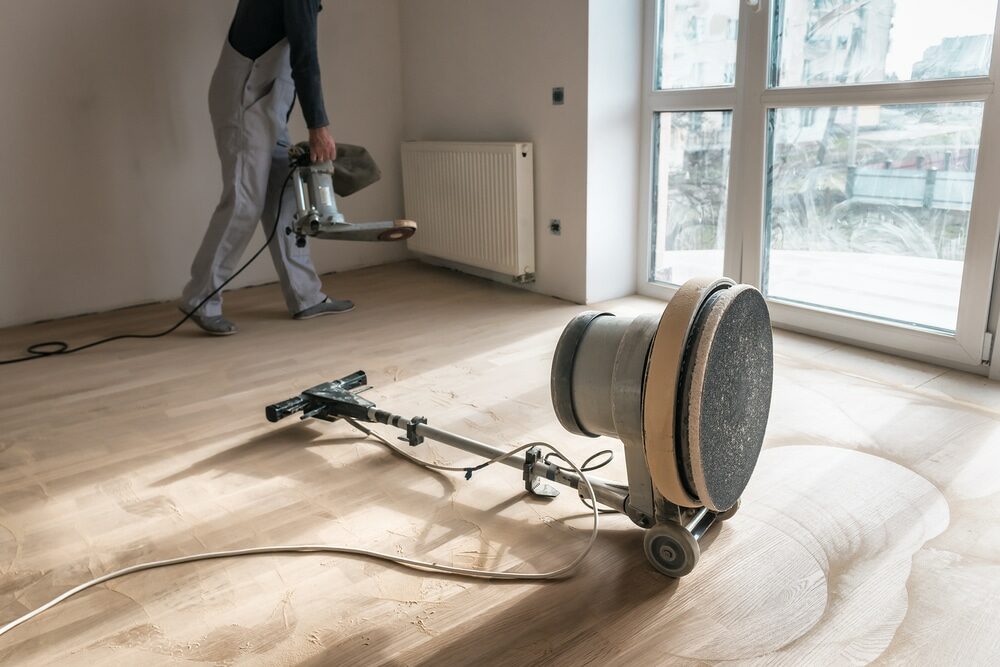
Sanding
We provide virtually dust-free sanding with our continuous belt machinery with mobile extraction units, giving you a safer environment for your family.
Oiling
This organic finish not only adds beauty to your home but also has exceptional water-repellent characteristics, making it easier to clean and maintain.
Waxing
This natural floor finish offers the softest and most mellow appearance – and leaves your floor able to breath.
Buffing
Using soft buffing machines (and hand-polishing where required) will bring a wonderful sheen to your newly-finished floor.
Repairs
We offer a full assessment of your wooden floors to determine what repairs are needed to provide the perfect working surface for the later stages of sanding, staining and sealing.
Restoration
We offer a comprehensive restoration process designed to address floors that are improperly fitted or damaged over time through wear and tear.
Request a fixed price quote for your wood floor restoration now
Simply enter your postcode below to get started.
Services
Wood Floor Sanding Wood Floor Restoration Wood Floor Scratch Repair Squeaky Wood Floor Repair Parquet Floor Sanding Parquet Floor Restoration Commercial Floor Sanding Church Floor Sanding Community Centre Floor Sanding School Floor Sanding Gap Filling Gap Filling with ResinCopyright © Mr Sander®
Privacy & Cookies Terms & Conditions Complaints Procedure Cancellation Rights Sitemap

Get An Instant Price Estimate Before You Go…
Simply enter the rooms you need sanded and we’ll provide you with a price estimate instantly! Try our price calculator now.
Get a Price Estimate NowLocal Floor Sanding Experts
Over 500 5-Star Reviews
Safe, Dust Free Sanding
Operating Since 1994