London:
Nationwide:
25,000+
Floors Restored
27 Years Experience
Wood Flooring Association Certified
Wood Conditioner for Staining: Tips and Best Practices
Posted on December 6, 2023
Wood Floor Polishing Blogs
Optimizing Wood Staining: Key Strategies and Best Practices for Using Wood Conditioner
Welcome to our detailed guide on “Wood Conditioner for Staining: Tips and Best Practices.” Whether you’re a seasoned DIY enthusiast, a professional woodworker, or just beginning to explore the world of Wood Floor finishing, understanding the role of wood conditioner in the staining process is crucial. This guide is designed to shed light on the importance of wood conditioner and how it can significantly enhance your staining projects.
Wood conditioner, often an overlooked step in wood staining, plays a pivotal role in achieving a flawless finish. Its primary function is to prep the wood, ensuring the stain applies smoothly and evenly. This is especially important in softwoods and porous types of wood, which are prone to absorbing stain unevenly, leading to blotchy and unattractive finishes.
In this guide, we’ll delve into what wood conditioner is and the various types available on the market. We’ll also discuss how different types of wood react to conditioners and stains. By understanding these nuances, you can choose the best conditioner for your specific project and wood type.
So, whether you’re planning to refinish an antique piece, stain new woodwork, or simply look to improve your woodworking skills, this guide will equip you with the knowledge and best practices needed to succeed in your Wood Floor Staining endeavors.
Understanding Wood Conditioner
To achieve professional-looking stain finishes on wood projects, understanding the role and types of wood conditioner is essential. Wood conditioner is a pre-stain product designed to prime the wood surface, ensuring a more uniform and consistent stain application. Here’s a deeper look into the world of wood conditioners:
1. What is wood conditioner?
- A wood conditioner, sometimes referred to as a pre-stain conditioner, is a preparatory coat applied before staining. It’s designed to partially seal the wood grain, reducing the absorption of stain and thereby preventing blotchy finishes.
2. Types of Wood Conditioner
- There are primarily two types of wood conditioners: oil-based and water-based. The choice depends on the type of stain you plan to use. Oil-based conditioners are compatible with oil-based stains, while water-based conditioners work well with water-based stains.
3. How Wood Conditioner Works
- When applied to wood, the conditioner penetrates the surface and evens out the rate at which the wood absorbs stains. This is particularly important in soft and porous woods like pine, fir, or birch, which tend to absorb stain unevenly.
4. Conditioner and Different Wood Types
- Hardwoods like oak and maple, known for their dense grain, may not require a conditioner as they naturally absorb stain more evenly. However, using a conditioner on these woods can still be beneficial for achieving an exceptionally smooth and uniform stain.
5. Effectiveness in Stain Application
- Wood conditioner plays a crucial role in achieving a professional look. It helps minimize the appearance of streaks and blotches, leading to a more aesthetically pleasing and consistent finish.
6. Limitations of Wood Conditioner
- While wood conditioners are effective in promoting uniform stain absorption, they may slightly lighten the final color of the stain. This is due to the partial sealing of the wood grain, which limits the amount of stain that the wood can absorb.
Benefits of Using Wood Conditioner
Incorporating wood conditioner into your staining process can significantly enhance the quality and appearance of your wood projects. Understanding the benefits of wood conditioner is key to achieving optimal results in wood staining. Here are the main advantages of using a wood conditioner:
1. Enhanced Stain Absorption and Uniformity
- One of the primary benefits of using a wood conditioner is the promotion of uniform stain absorption. It reduces the likelihood of the wood absorbing too much stain in some areas and too little in others, resulting in a more consistent color and finish.
2. Prevention of Blotches and Uneven Staining
- Especially in soft and porous woods, applying a conditioner helps prevent blotchy and uneven staining. It acts as a barrier, ensuring that the stain distributes evenly across the wood surface.
3. Improved Aesthetic Appeal
- Wood conditioner helps achieve a more professional and aesthetically pleasing finish. The evenness in color and texture it provides enhances the overall look of the wood, making it more appealing.
4. Suitable for Various Wood Types
- While especially beneficial for softwoods, wood conditioner can also be used on hardwoods to achieve a finer finish. It’s a versatile product suitable for a wide range of wood types and projects.
5. Prolonging the Life of the Stain and Wood
- By promoting even absorption of the stain, wood conditioner can also extend the life of both the stain and the wood. It helps in protecting the wood surface and maintaining the integrity of the stain over time.
6. Easy to Use
- Wood conditioners are generally user-friendly and can be easily applied, even by beginners. This makes them a valuable addition to both professional and DIY staining projects.
7. Flexibility in Stain Choices
- Using a conditioner allows for more flexibility in choosing different types of stains. It helps in achieving good results with both light and dark stains, regardless of the wood type.

Preparing Wood for Conditioning
Proper preparation of the wood surface is crucial for the effective application of wood conditioner and subsequent staining. Taking the time to prepare the wood correctly ensures the best possible finish and longevity of your project. Here’s how to prepare wood for conditioning:
1. Cleaning the wood surface
- Begin by thoroughly cleaning the wood to remove any dirt, dust, or grease. Use a soft cloth and, if necessary, a mild detergent or wood cleaner. Ensure the surface is completely dry before proceeding.
2. Sanding the wood
- Sanding is a critical step in wood preparation. Start with a coarser grit sandpaper to remove any rough spots or previous finishes and gradually move to finer grits. This process creates a smooth surface and opens up the pores of the wood for better absorption of the conditioner.
3. Choosing the Right Sandpaper
- The choice of sandpaper grit depends on the wood type and the condition of the surface. Generally, starting with a grit of around 120 and finishing with 220 is effective for most woods.
4. Sanding Technique
- Sand in the direction of the wood grain to avoid scratches. Ensure even pressure and avoid over-sanding, which can close the pores of the wood, leading to uneven stain absorption.

5. Removing Sanding Dust
- After sanding, it’s essential to remove all the dust. Vacuum the surface, and then wipe it down with a tack cloth or a slightly damp cloth to pick up any remaining dust particles.
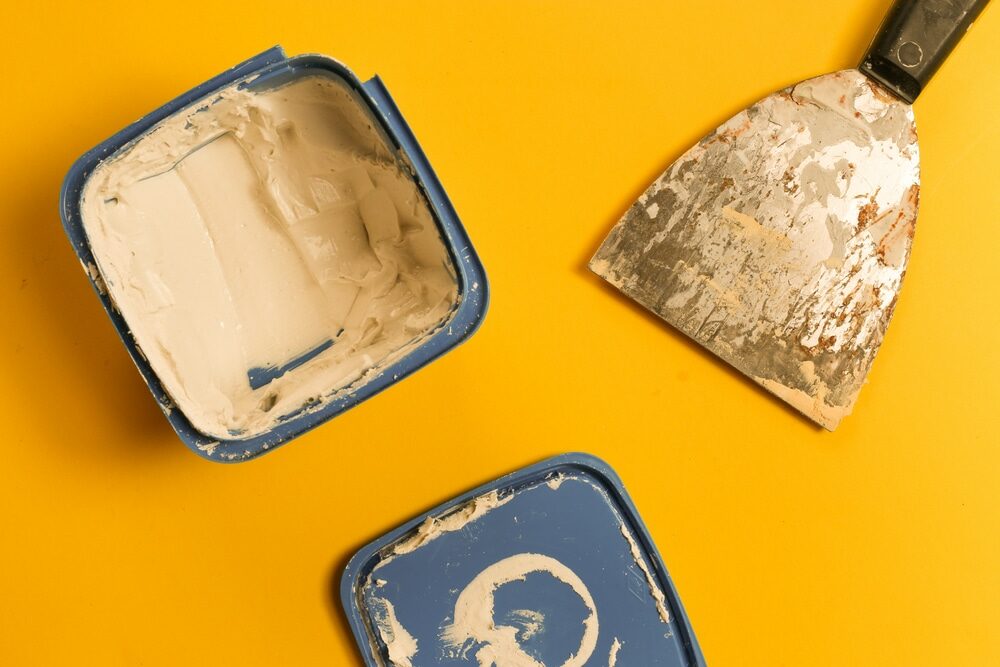
6. Assessing the Wood Condition
- Examine the wood for any cracks, holes, or imperfections. These should be filled with wood filler and sanded smooth to ensure a uniform finish after conditioning and staining.
7. Necessary Tools and Materials
- Ensure you have all the necessary tools and materials at hand before starting the conditioning process. This includes sandpaper, a vacuum or brush, a tack cloth, wood filler (if needed), and the wood conditioner itself.
8. Environmental Considerations
- Work in a well-ventilated area and consider the temperature and humidity, as these factors can affect the drying time and absorption of the conditioner.
By meticulously preparing the wood, you create the ideal conditions for the wood conditioner to do its job effectively. This preparation stage is a vital foundation for a successful staining project, leading to a beautiful and lasting finish.
Applying Wood Conditioner: A Step-by-Step Guide
Applying wood conditioner is a straightforward process, but doing it correctly is key to achieving an even and smooth stain finish. Follow these step-by-step instructions to ensure effective application of wood conditioner:
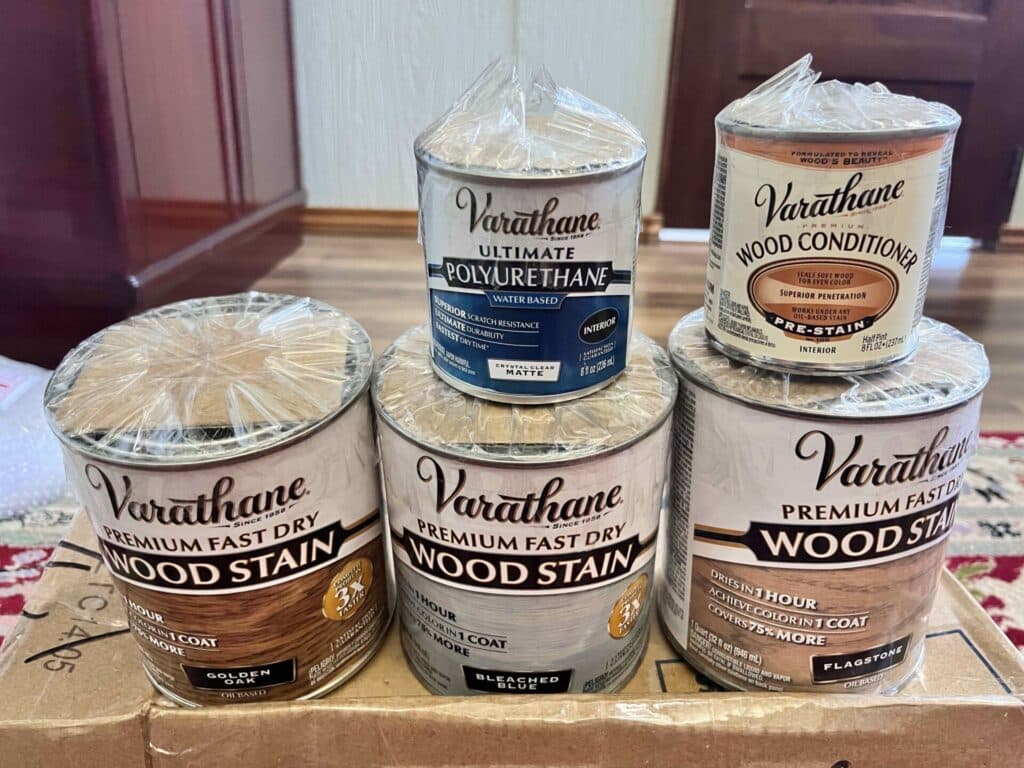
1. Selecting the Appropriate Wood Conditioner
- Choose a wood conditioner that matches the type of stain you plan to use. oil-based conditioner for oil-based stains and water-based conditioner for water-based stains.
2. Stirring the conditioner
- Before application, stir the wood conditioner thoroughly, but gently, to avoid creating bubbles. This ensures a consistent formula without any separation of ingredients.
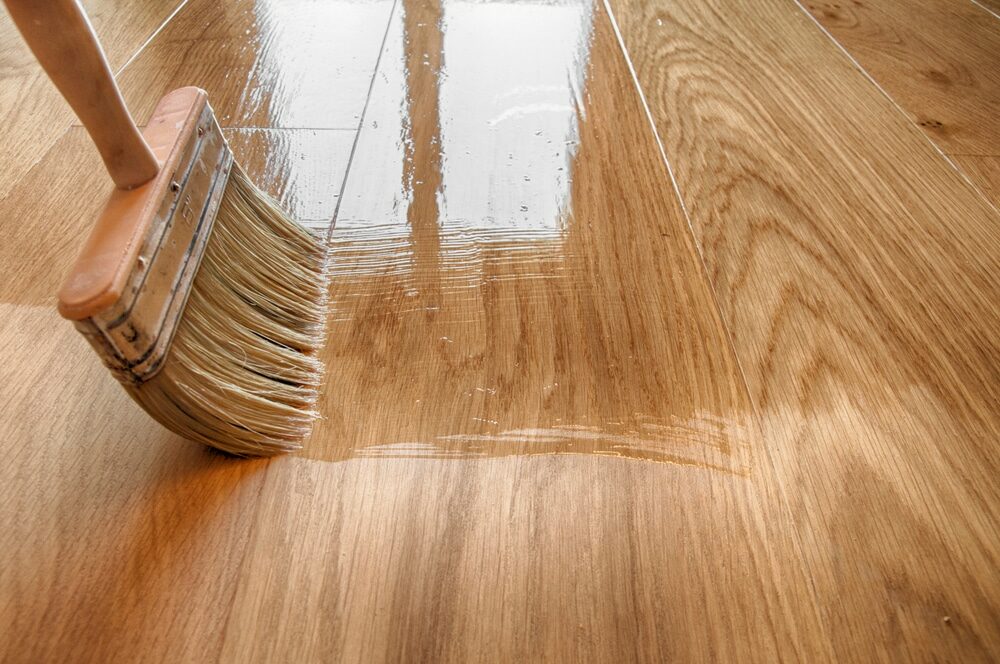
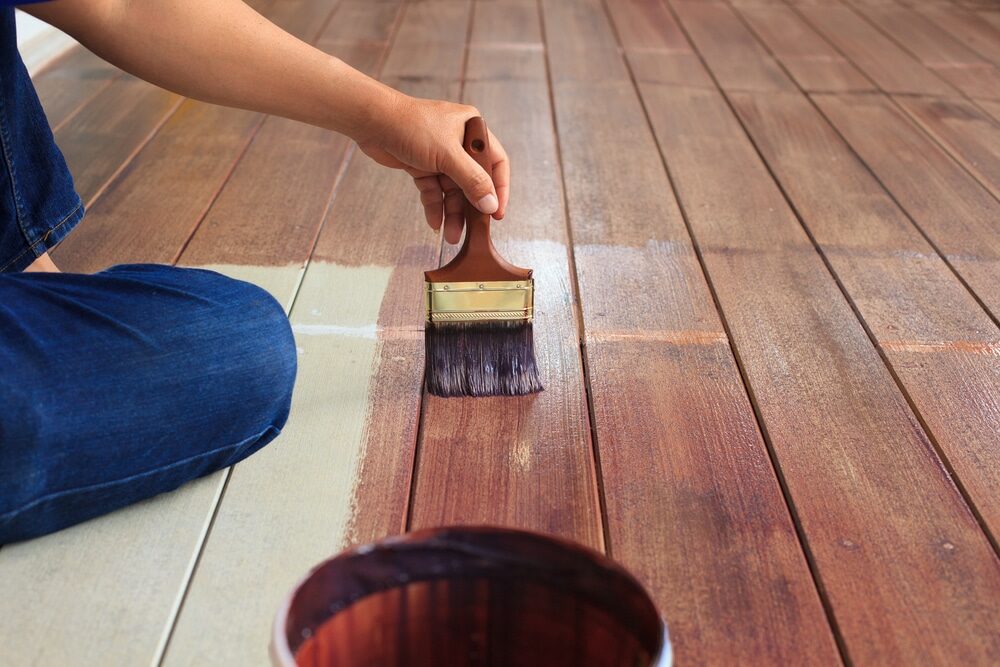
3. Applying the conditioner
- Use a natural bristle brush, foam brush, or clean cloth to apply the conditioner. Apply it evenly across the wood surface, working in the direction of the grain. Ensure complete coverage without overapplying.
4. Penetration Time
- Allow the conditioner to penetrate the wood for the recommended time specified on the product label. This usually ranges from 5 to 15 minutes. Avoid letting the conditioner dry completely on the wood.
5. Wiping Off Excess Conditioner
- After the recommended penetration time, wipe off any excess conditioner with a clean, dry cloth. This step is crucial to prevent a blotchy appearance after staining.
6. Drying Time
- Allow the wood to dry as directed by the conditioner’s instructions. Typically, this can be anywhere from 15 minutes to a couple of hours.
7. Applying Stain
- Once the conditioner is dry, you are ready to apply the stain. It’s important to stain within two hours after applying the conditioner for the best results.
8. Testing on a Scrap Piece
- If possible, test the conditioner and stain on a scrap piece of the same wood. This gives you an idea of the final color and allows you to adjust your technique if needed.
9. Final Checks
- Before moving on to staining, check the wood for any missed spots or uneven areas. Reapply conditioner if necessary to ensure even coverage.
Choosing the Right Stain After Conditioning
After conditioning your wood, selecting the right stain is crucial for achieving the desired finish and color for your project. The choice of stain can significantly impact the final look of your woodwork. Here are some key considerations to keep in mind when choosing a stain after conditioning:
1. Compatibility with Conditioner
- Ensure that the stain you choose is compatible with the type of wood conditioner used. Oil-based stains work best with oil-based conditioners, while water-based stains should be paired with water-based conditioners.
2. Consider the wood type
- Different wood types react differently to stains. Consider the natural color and grain pattern of the wood when selecting your stain. For example, a lighter stain might highlight the natural grain of the wood, while a darker stain can give it a richer tone.
3. Desired Finish
- Stains come in a variety of finishes, from matte to glossy. Consider the overall aesthetic of the space where the wood will be used and choose a finish that complements it.
4. Color Testing
- Always test the stain on a scrap piece of wood or an inconspicuous area. This helps you see the actual color and decide if it meets your expectations, especially after the wood has been conditioned.
5. Stain Opacity
- Stains vary in opacity from transparent to solid. Transparent stains allow more of the wood’s natural character to show through, while solid stains offer more color and hide more of the wood grain.
6. Environmental and health considerations
- Consider environmentally friendly and low-VOC (volatile organic compounds) stains for healthier indoor air quality. These are especially important in enclosed spaces or if you have sensitivities to strong fumes.
7. Application Method
- Some stains are better suited for wiping, brushing, or spraying. Consider your comfort and experience with these application methods when choosing your stain.
8. Drying and Curing Time
- Check the drying and curing times of the stain, especially if you’re working on a time-sensitive project. Some stains require longer drying times than others.
9. Brand and quality
- Opt for reputable brands and high-quality stains to ensure the durability and longevity of the finish. Research and read reviews to make an informed decision.
Staining Process Post-Conditioning
Applying stain to wood after conditioning requires careful attention to ensure a beautiful, even finish. Here’s a step-by-step guide to the staining process post-conditioning, which will help you achieve the best possible results:
1. Timing of Stain Application
- Apply the stain within two hours of conditioning for optimal results. This timeframe ensures that the conditioner’s effects are maximized, allowing for even absorption of the stain.
2. Choosing the Right Tools
- Select the appropriate tools for staining, such as brushes, rags, or foam applicators. The choice depends on the type of stain you are using and your personal preference for application.
3. Stirring the stain
- Before application, stir the stain thoroughly to ensure a consistent color. Avoid shaking the can, as this can create bubbles.
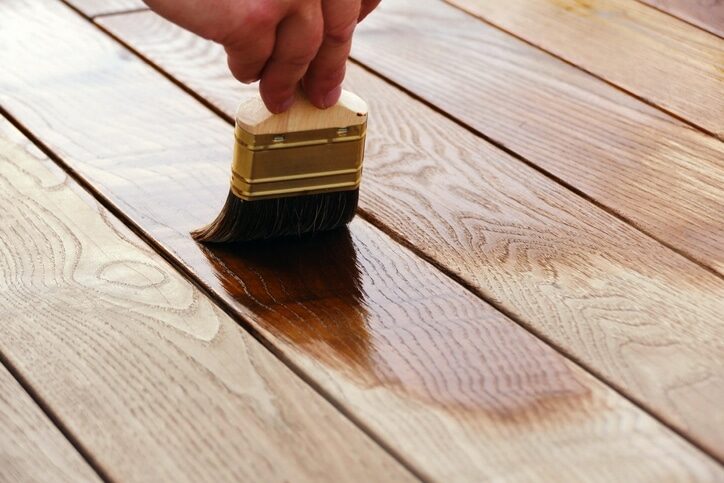
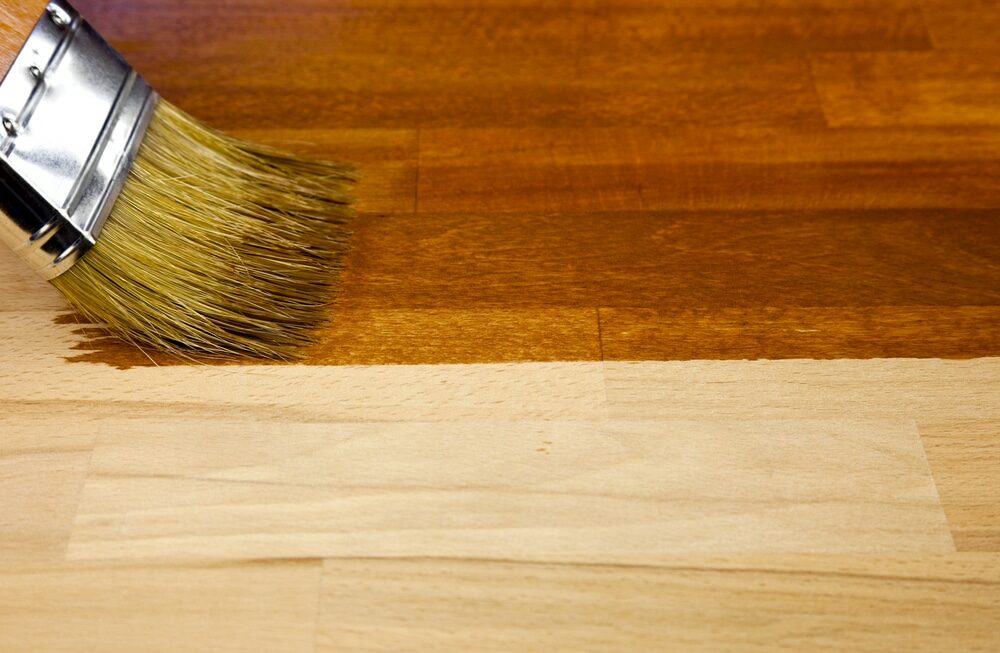
4. Applying the stain
- Apply the stain in thin, even layers, working along the wood grain. Avoid over-applying, as this can lead to a tacky finish and uneven coloration.
5. Wiping Off Excess Stain
- After applying the stain, let it sit for a few minutes (follow the manufacturer’s recommendations), then wipe off any excess with a clean rag. This step is crucial to avoid a blotchy finish and to control the depth of color.
6. Allowing Proper Drying Time
- Allow the stain to dry completely before assessing the color. Drying times can vary based on the type of stain, room temperature, and humidity.
7. Applying Additional Coats (If Needed)
- If the desired color depth is not achieved, you can apply additional coats. Ensure each coat is completely dry before applying the next. Remember, each coat will darken the color slightly.
8. Evening Out the Finish
- Between coats, lightly sand the surface with fine-grit sandpaper to ensure an even finish and promote adhesion to the next coat.
9. Final Inspection
- After the final coat, inspect the wood for any missed spots or inconsistencies. Touch up as needed to ensure a uniform appearance.
10. Sealing the stain
- Once you’re satisfied with the stain, apply a sealer or topcoat to protect the wood and enhance the stain’s appearance. This also adds durability to the finish.
11. Curing Time
- Allow ample time for the stain and sealer to cure fully before using or handling the wood. This could take several days, depending on the products used.
Common Mistakes to Avoid
Staining wood, especially after conditioning, can be a delicate process. Being aware of common mistakes can help you avoid pitfalls and achieve a more professional finish. Here are some frequent errors to watch out for:
1. Skipping the Conditioner on Softwoods
- One of the most common mistakes is not using a wood conditioner on softwoods like pine, fir, or spruce. These woods are prone to absorbing stains unevenly, so skipping the conditioner can result in a blotchy finish.
2. Not testing the stain first
- Failing to test the stain on a scrap piece or inconspicuous area can lead to unexpected colors or finishes. Always test first to ensure the color matches your expectations.
3. Over-applying the conditioner or stain
- Applying too much conditioner or stain can lead to a sticky, uneven finish. Apply in thin, even layers, and wipe off the excess.
4. Rushing between steps
- Not allowing enough time for the conditioner or stain to properly penetrate and dry can adversely affect the final outcome. Follow the recommended drying times for each product.
5. Ignoring the wood grain
- Always apply conditioner and stain in the direction of the wood grain. Ignoring the grain can result in an uneven and unprofessional finish.
6. Using Dirty or Inappropriate Tools
- Applying conditioner or stain with dirty or inappropriate tools can introduce debris and imperfections. Use clean, suitable brushes, rags, or applicators.
7. Poor sanding techniques
- Inadequate sanding or using the wrong grit can leave the wood uneven or too smooth, affecting how the stain and conditioner adhere. Sand evenly, and choose the right grit for your wood type.
8. Neglecting environmental factors
- Staining in a dusty environment or under inappropriate temperature and humidity conditions can affect the drying process and finish quality. Work in a clean, controlled environment.
9. Forgetting to Seal the Stain
- Not sealing the stained wood can leave it vulnerable to damage and wear. Always apply a suitable sealer to protect your work.
10. Lack of patience
- Rushing through the staining process often leads to mistakes. Take your time at each step for the best results.
Maintenance and Care of Conditioned and Stained Wood
Proper maintenance and care are crucial for preserving the beauty and longevity of conditioned and stained wood. Whether it’s furniture, flooring, or other woodwork, following these maintenance tips will help keep your wood in excellent condition:
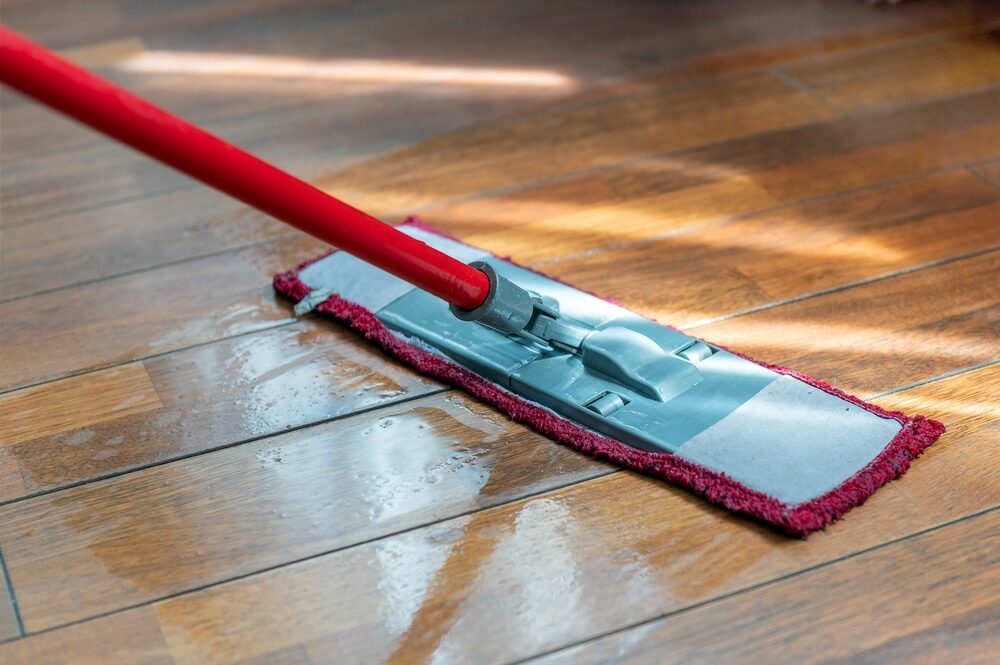
1. Regular Cleaning
- Clean the wood regularly using a soft, dry, or slightly damp cloth. Avoid using harsh chemical cleaners or abrasive materials, as they can damage the stain and wood surface.
2. Immediate spill management
- Wipe up spills immediately to prevent water marks or stains. Use a clean, dry cloth and gently blot the spill.
3. Avoid excessive moisture.
- Protect wood surfaces from prolonged exposure to water or moisture. In areas like kitchens or bathrooms, be extra vigilant about spills and humidity.
4. Use protective pads and coasters.
- Place protective pads under hot dishes, cups, or other items that could leave marks or stains. This is especially important for dining tables and coffee tables.
5. Regular Dusting
- Dust the wood often with a soft, lint-free cloth. Dust can accumulate and scratch the surface if not removed regularly.
6. Avoid direct sunlight.
- Protect the wood from direct sunlight, which can fade or darken the stain over time. Use curtains or blinds in sunny rooms to minimize exposure.
7. Maintain a stable environment.
- Fluctuations in temperature and humidity can cause wood to expand and contract, potentially damaging the finish. Try to maintain a stable environment in your home.
8. Reapply sealer as needed.
- Over time, the sealer can wear off. Reapply a coat of sealer as needed to protect the stain and wood.
9. Use appropriate cleaning products.
- If you need to use cleaning products, opt for those specifically designed for stained wood. Always test the product in an inconspicuous area first.
10. Annual Inspections
- Conduct an annual inspection of your wood items to check for scratches, wear, or other issues. Addressing minor problems promptly can prevent more significant damage.
Conclusion
Successfully conditioning and Staining Wood Floor is a rewarding process that enhances the beauty and longevity of your wood projects. Throughout this guide, “Wood Conditioner for Staining: Tips and Best Practices,” we have explored the importance of using a wood conditioner, the benefits it brings, and the best practices for applying it and the subsequent stain. By understanding these key aspects, you can ensure a more even, durable, and visually pleasing finish on your woodwork.
Remember, the steps of preparing the wood, selecting the right conditioner and stain, and applying them correctly are crucial for achieving the desired outcome. Additionally, being aware of common mistakes and how to avoid them can make a significant difference in the quality of your work.
Moreover, the longevity and appearance of your conditioned and stained wood greatly depend on regular maintenance and care. Simple practices like cleaning, protecting from moisture and sunlight, and periodic inspections can help preserve your wood’s beauty for years to come.
Whether you are a DIY enthusiast, a professional woodworker, or someone just starting with wood finishing, we hope this guide has provided valuable insights and encouraged you to approach your next wood staining project with confidence. With the right knowledge and tools, you can transform any piece of wood into a work of art that stands the test of time.


Sanding
We provide virtually dust-free sanding with our continuous belt machinery with mobile extraction units, giving you a safer environment for your family.
Oiling
This organic finish not only adds beauty to your home but also has exceptional water-repellent characteristics, making it easier to clean and maintain.
Waxing
This natural floor finish offers the softest and most mellow appearance – and leaves your floor able to breath.
Buffing
Using soft buffing machines (and hand-polishing where required) will bring a wonderful sheen to your newly-finished floor.
Repairs
We offer a full assessment of your wooden floors to determine what repairs are needed to provide the perfect working surface for the later stages of sanding, staining and sealing.
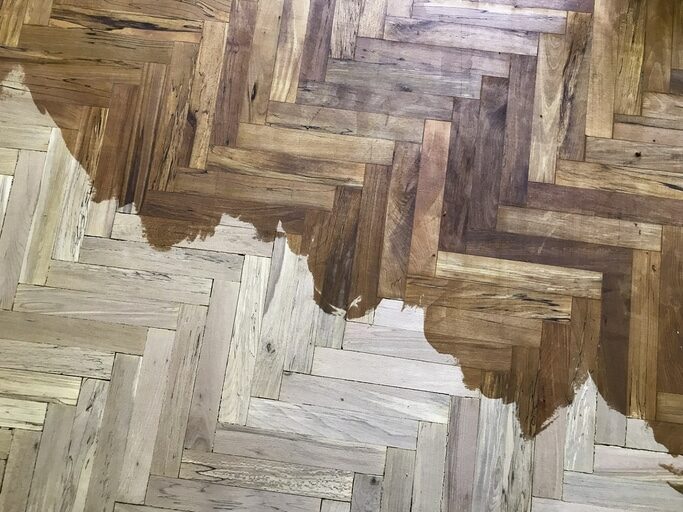
Restoration
We offer a comprehensive restoration process designed to address floors that are improperly fitted or damaged over time through wear and tear.
Request a fixed price quote for your wood floor restoration now
Simply enter your postcode below to get started.
Services
Wood Floor Sanding Wood Floor Restoration Wood Floor Scratch Repair Squeaky Wood Floor Repair Parquet Floor Sanding Parquet Floor Restoration Commercial Floor Sanding Church Floor Sanding Community Centre Floor Sanding School Floor Sanding Gap Filling Gap Filling with ResinCopyright © Mr Sander®
Privacy & Cookies Terms & Conditions Complaints Procedure Cancellation Rights Sitemap

Get An Instant Price Estimate Before You Go…
Simply enter the rooms you need sanded and we’ll provide you with a price estimate instantly! Try our price calculator now.
Get a Price Estimate NowLocal Floor Sanding Experts
Over 500 5-Star Reviews
Safe, Dust Free Sanding
Operating Since 1994