London:
Nationwide:
25,000+
Floors Restored
27 Years Experience
Wood Flooring Association Certified
Sanding and Sealing Hardwood Floors
VIEW PRICINGSanding and Sealing Hardwood Floors and Parquet
Hardwood floors are cherished for their natural beauty, durability, and long-lasting charm. However, over time, they can become worn, scratched, and dull. Thankfully, with a bit of DIY elbow grease, you can restore your hardwood floors to their former glory. In this comprehensive guide, we’ll take you through the steps of sanding and sealing hardwood floors, providing expert tips along the way.
The Importance of Sanding and Sealing Hardwood Floors
Sanding and sealing are key processes for maintaining the beauty and functionality of hardwood floors. Sanding removes the worn-out top layer of your floors, getting rid of imperfections and creating a smooth surface. Sealing, on the other hand, is the act of applying a protective layer to your newly sanded floors, helping to preserve their beauty and protect them from damage. This dual process not only enhances the aesthetic appeal of your floor but also increases its lifespan.
The Tools You Need for Sanding and Sealing
Before diving into the process, it’s crucial to prepare your toolkit. Here’s what you’ll need for a successful sanding and sealing project:
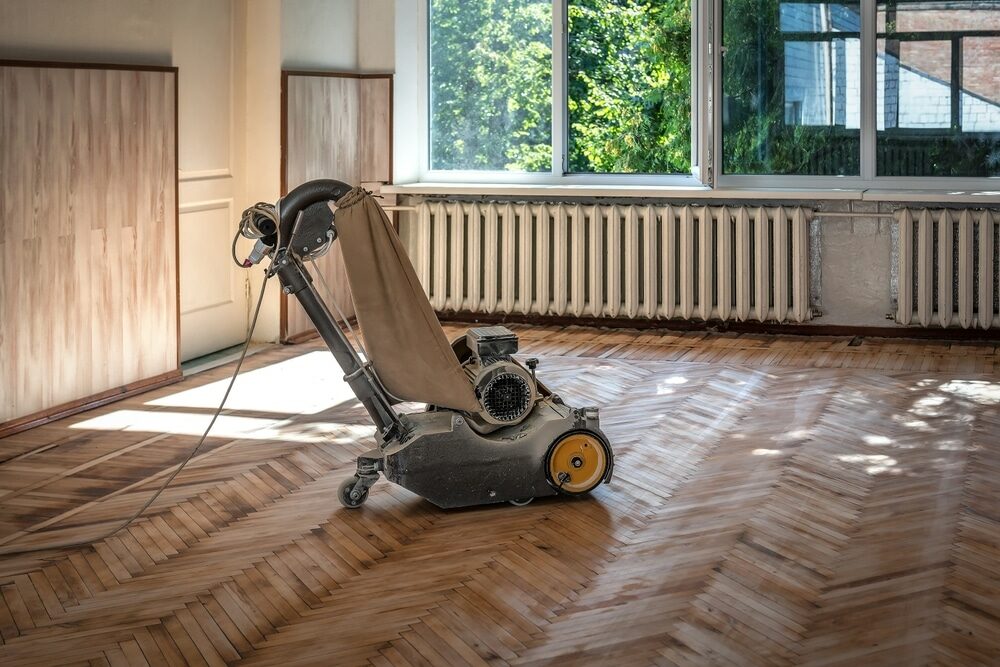
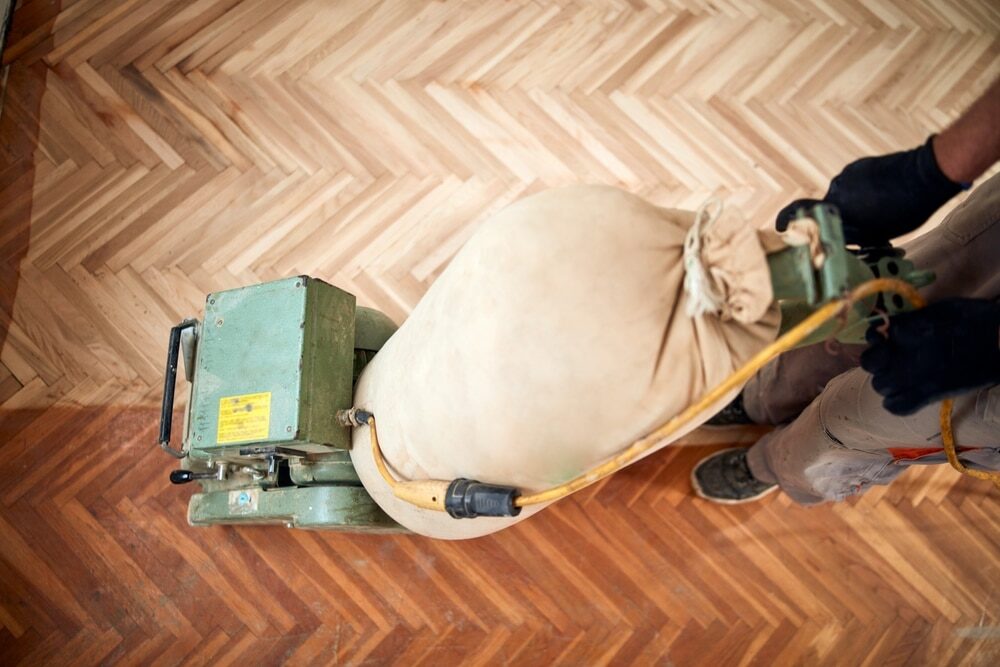
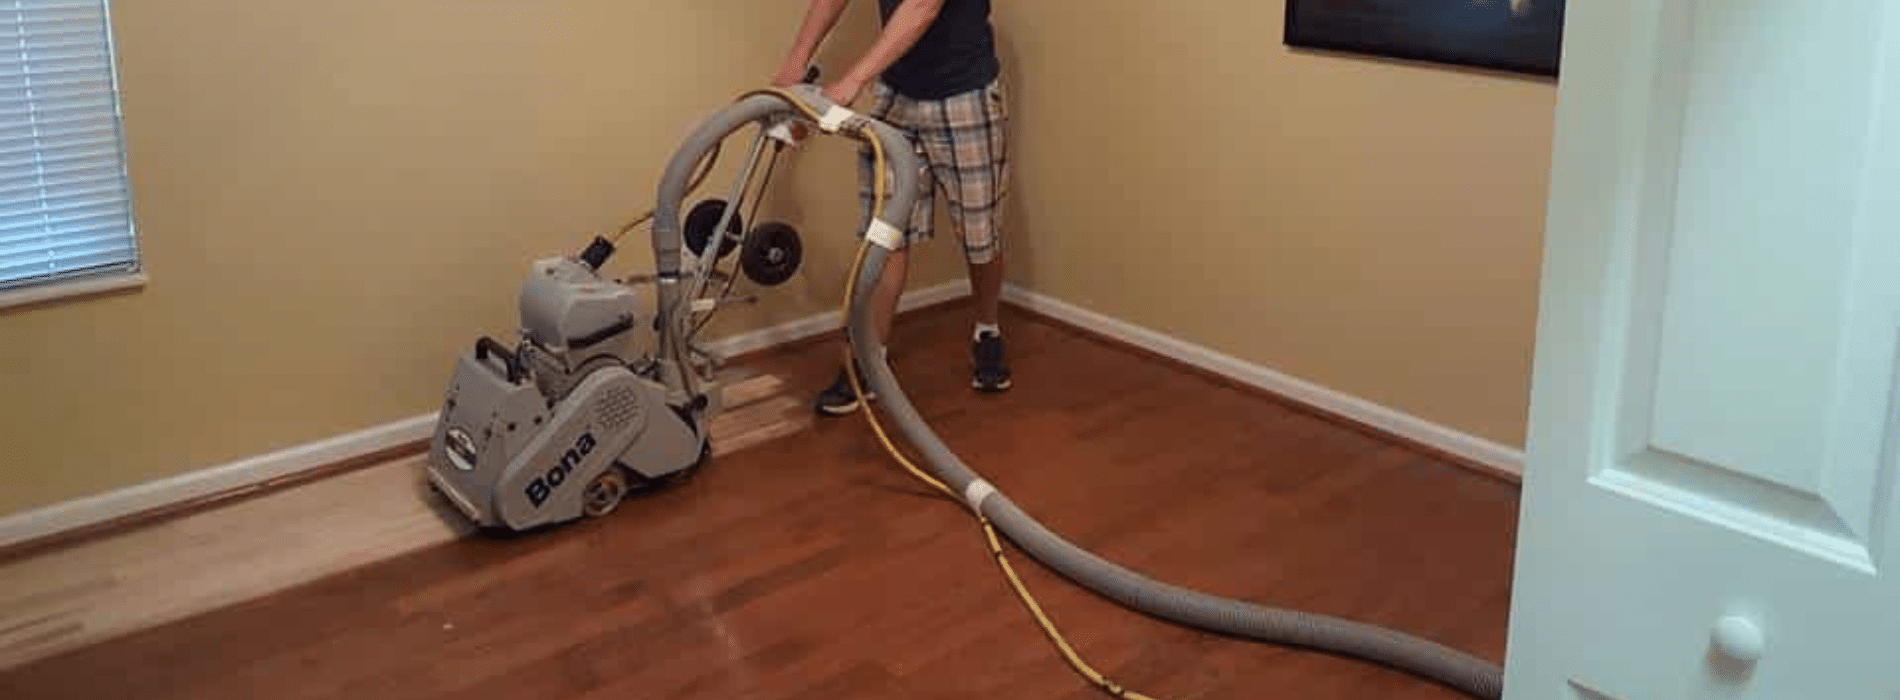
- Floor sander: This is the main tool you’ll need for sanding. You can rent one from a home improvement store.
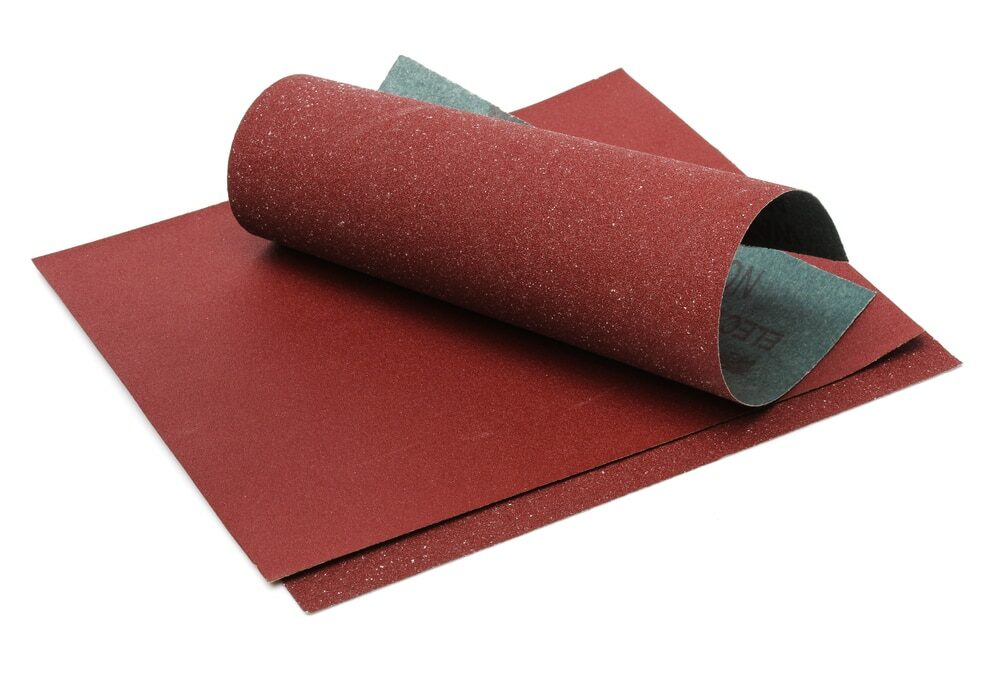
- Sandpaper: You’ll need different grit sizes, typically starting from coarse (like 60-grit) to fine (like 220-grit).
- Vacuum cleaner: This is necessary for cleaning up dust between sanding and sealing.
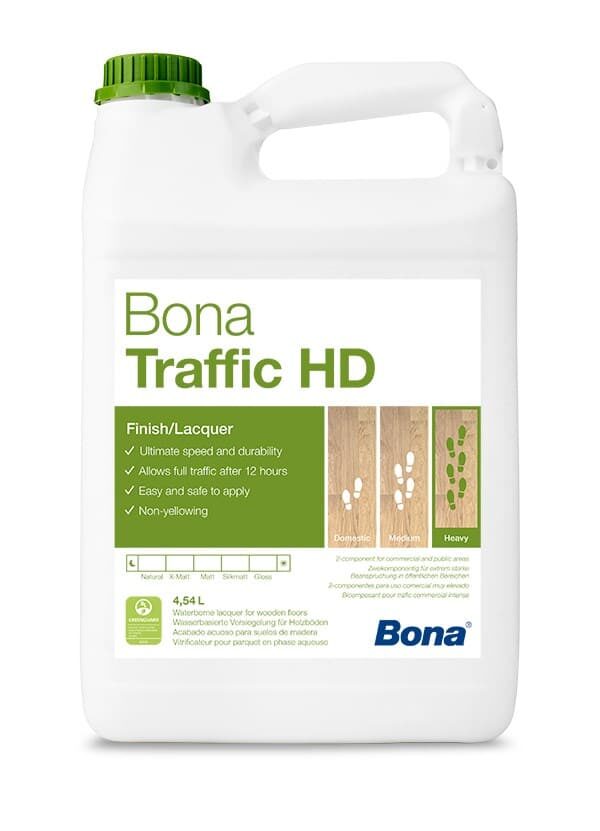
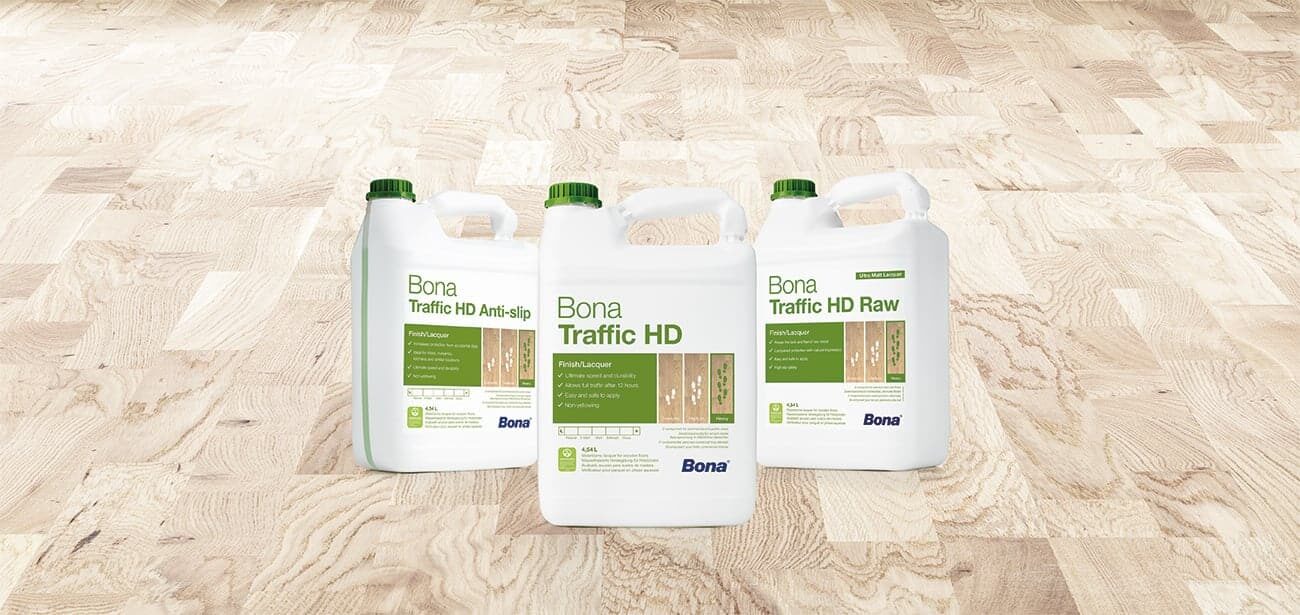
- Sealant: This can be a polyurethane finish, varnish, or any other sealant suitable for hardwood floors.
- Applicator: Depending on your sealant, this could be a brush, roller, or lambswool applicator.
A Step-by-Step Guide to Sanding Hardwood Floors
Step 1: Prepare the Room
Start by removing all furniture and floor coverings. Use a screwdriver to set any protruding nail heads below the surface of the wood to prevent damage to your sander. Also, ensure to cover all air vents and doorways with plastic sheets to prevent dust from spreading.
Step 2: Start Sanding
Starting with the coarse-grit sandpaper, sand the entire floor surface. Move the sander parallel to the grain, keeping it moving to avoid gouging the wood. Don’t worry if the floor looks rough after this stage; subsequent sanding stages will smooth it out.
Step 3: Vacuum and Repeat
After each round of sanding, vacuum the floor to remove dust and debris. Then, repeat the sanding process with the next finer-grit sandpaper. This progressive sanding will gradually smooth the floor.
A Step-by-Step Guide to Sealing Hardwood Floors
Step 1: Final Cleanup
Once you’ve finished sanding, do a thorough cleanup. Vacuum the floor and wipe with a damp cloth to ensure no dust or debris is left behind.
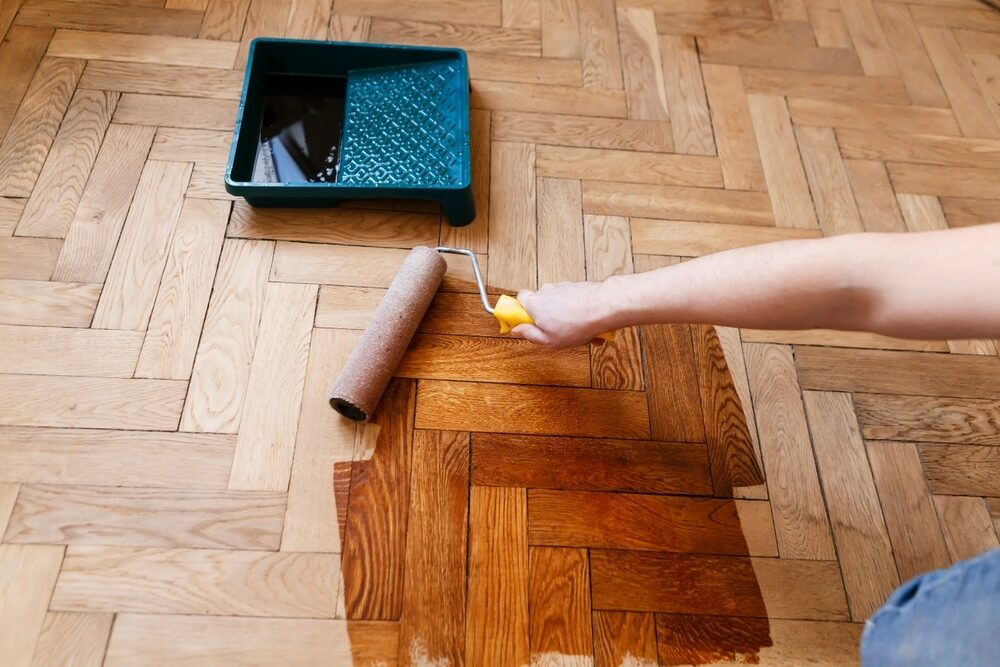
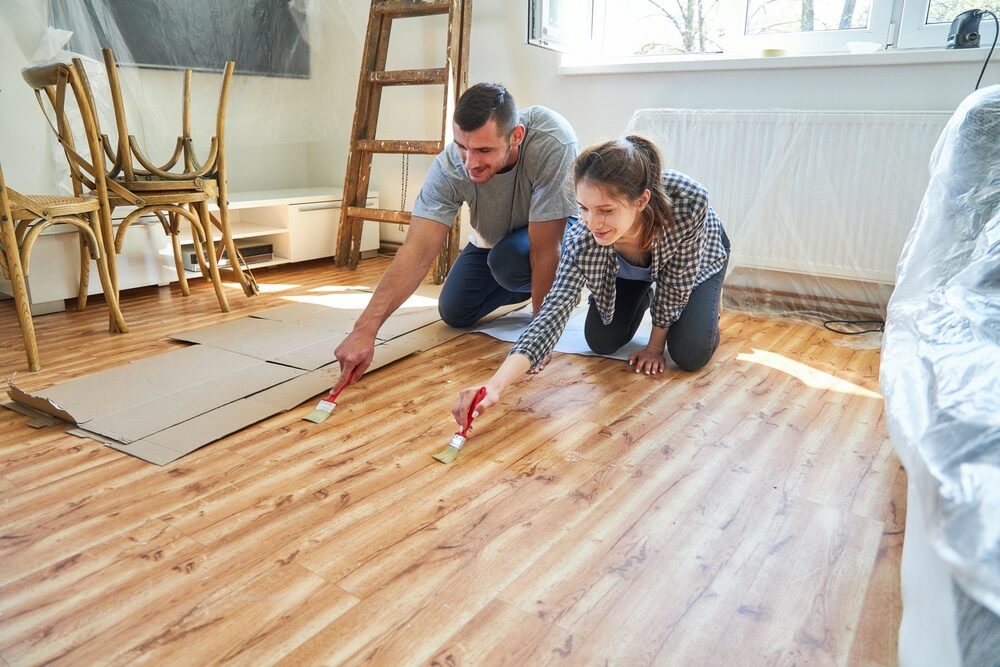
Step 2: Apply the sealant.
Starting at the farthest corner of the room, apply the sealant along the grain using your chosen applicator. Work your way towards the exit of the room to avoid walking on the freshly sealed floor.
Step 3: Let It Dry and Apply More coats.
Allow the sealant to dry as per the manufacturer’s instructions. Once dry, lightly sand the floor with fine-grit sandpaper, clean up the dust, and apply the second coat. Depending on the sealant, you may need to apply additional coats for optimal protection.
Conclusion: The Reward of Sanding and Sealing Your Hardwood Floors
Sanding and sealing your hardwood floors can be a labor-intensive task, but the reward is well worth it. By taking the time to properly sand and seal your hardwood floors, you can restore their original beauty, protect them from future wear and tear, and add value to your home. With this guide, you’re well equipped to embark on this rewarding DIY project. Happy sanding and sealing!
Some Useful Links:
- Floor Sanding Services
- School Floor Sanding
- Wood Floor Restorations
- Wood Floor Repairs
- Wood Floor Polishing
More from our Blog:
Enhance Your Interior Look and Appeal with Floor Sanding
Importance of Wood Floor Sanding
Unleash Your Floor’s Potential: Expert Guide to Floor Sanding in West London
Demystifying Floorboard Sanding | Expertise of Floor Sanding Companies
Improving Wood Floor Safety: Essential Tips and Techniques
Sanding
We provide virtually dust-free sanding with our continuous belt machinery with mobile extraction units, giving you a safer environment for your family.
Oiling
This organic finish not only adds beauty to your home but also has exceptional water-repellent characteristics, making it easier to clean and maintain.
Waxing
This natural floor finish offers the softest and most mellow appearance – and leaves your floor able to breath.
Buffing
Using soft buffing machines (and hand-polishing where required) will bring a wonderful sheen to your newly-finished floor.
Repairs
We offer a full assessment of your wooden floors to determine what repairs are needed to provide the perfect working surface for the later stages of sanding, staining and sealing.
Restoration
We offer a comprehensive restoration process designed to address floors that are improperly fitted or damaged over time through wear and tear.
Request a fixed price quote for your wood floor restoration now
Simply enter your postcode below to get started.
Services
Wood Floor Sanding Wood Floor Restoration Wood Floor Scratch Repair Squeaky Wood Floor Repair Parquet Floor Sanding Parquet Floor Restoration Commercial Floor Sanding Church Floor Sanding Community Centre Floor Sanding School Floor Sanding Gap Filling Gap Filling with ResinCopyright © Mr Sander®
Privacy & Cookies Terms & Conditions Complaints Procedure Cancellation Rights Sitemap

Get An Instant Price Estimate Before You Go…
Simply enter the rooms you need sanded and we’ll provide you with a price estimate instantly! Try our price calculator now.
Get a Price Estimate NowLocal Floor Sanding Experts
Over 500 5-Star Reviews
Safe, Dust Free Sanding
Operating Since 1994