London:
Nationwide:
25,000+
Floors Restored
27 Years Experience
Wood Flooring Association Certified
The Best Products for Reviving Old Kitchen Worktops
Posted on December 27, 2023
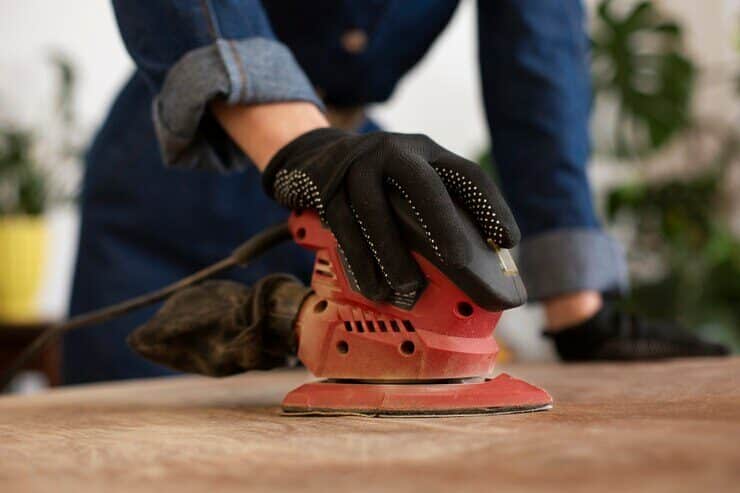
Kitchen Worktop sanding
Discover the Top Products to Bring Life Back to Your Aging Kitchen Worktops
Reviving old kitchen worktops is a task that many homeowners face as their kitchens age and wear over time. The kitchen is often the heart of the home, a place where meals are prepared, memories are made, and conversations flow. However, the worktops, which bear the brunt of daily cooking activities, can start to show signs of wear and tear, leaving your kitchen looking less than its best. In this blog post, we will explore the best products and techniques for breathing new life into your kitchen worktops, ensuring they remain both functional and aesthetically pleasing.
Over the years, kitchen worktops can become scratched, stained, and worn down from constant use. Whether you have wooden, laminate, stone, or composite worktops, each material has its own unique challenges when it comes to maintenance of kitchen worktop and revival. Understanding the type of worktop you have and its specific needs is crucial for achieving the best results. We’ll delve into the different types of kitchen worktops, offering tailored solutions for each, so you can confidently choose the right approach for your kitchen’s needs.
Before diving into product recommendations and techniques, it’s essential to assess the condition of your worktops. We’ll guide you through the process of identifying common issues such as scratches, stains, and dullness. Knowing when it’s time to revive your worktops versus when a replacement might be a better option is a critical decision. We’ll provide insights to help you make an informed choice that suits your budget and goals.
In the subsequent sections, we’ll take an in-depth look at the best products and methods for reviving different types of kitchen worktops, including wooden, laminate, stone, and composite surfaces. From specialised oils and waxes for wooden worktops to high-quality sealants for stone surfaces, you’ll discover a range of solutions that can help you restore the beauty and functionality of your kitchen worktops. Whether you’re a seasoned DIY enthusiast or prefer professional assistance, we’ve got you covered with practical advice and cost considerations. Plus, we’ll share maintenance tips to ensure your revitalised worktops stay in top-notch condition for years to come. Join us on this journey to transform your kitchen worktops and breathe new life into your culinary space.
Types of Kitchen Worktops
Kitchen worktops come in various materials, each with its own unique characteristics and advantages. The type of worktop you choose can significantly impact the overall look, feel, and functionality of your kitchen. Here are some common types of kitchen worktops:
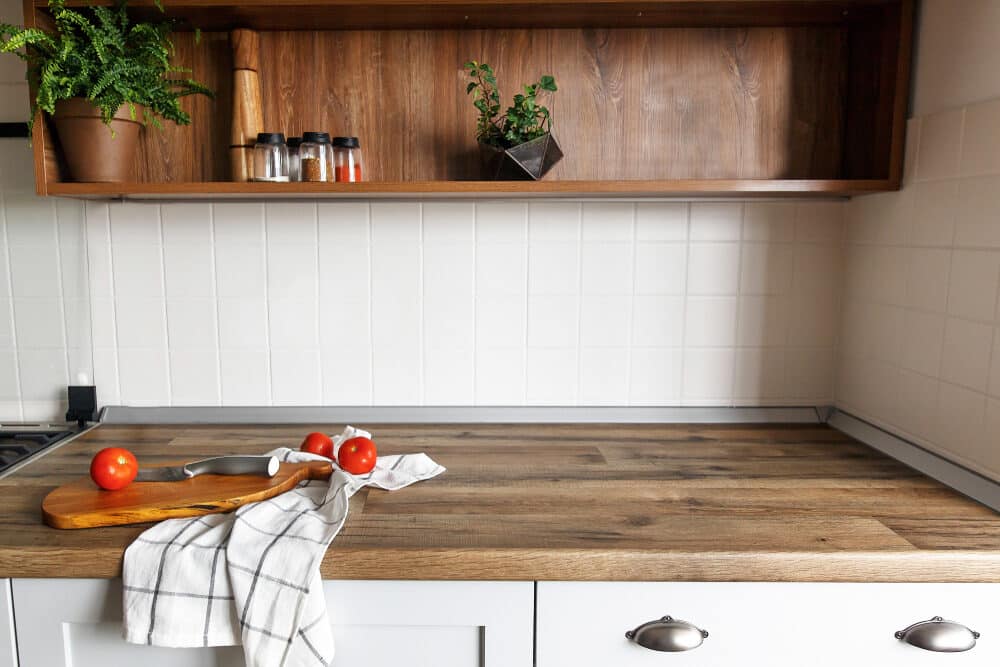
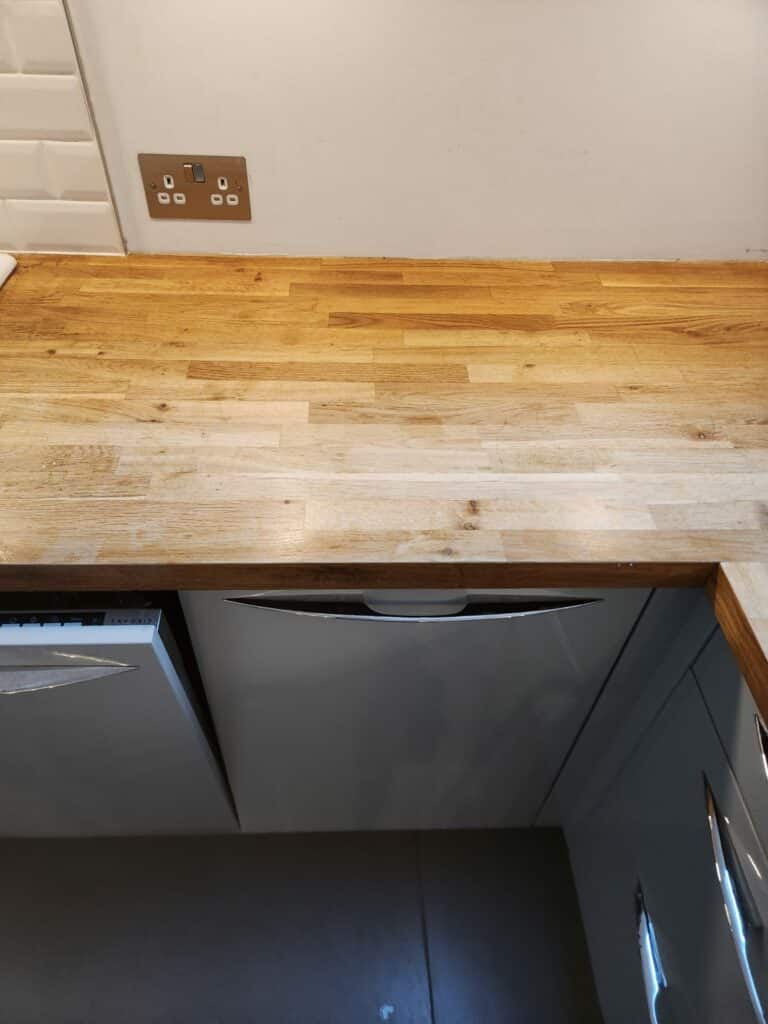
1. Wooden Worktops:
- Material: wood, such as oak, beech, walnut, or cherry.
- Advantages: warm and natural appearance; adds character to the kitchen; can be sanded and refinished to remove minor scratches and stains.
- Considerations: It requires regular maintenance with oil or wax to prevent drying and cracking and is vulnerable to water damage and heat.
2. Laminate Worktops:
- Material: composite materials with a laminate surface.
- Advantages: affordable, available in a wide range of designs and colours, easy to clean, resistant to stains and moisture.
- Considerations: susceptible to scratches and damage from sharp objects or excessive heat; difficult to repair once damaged.
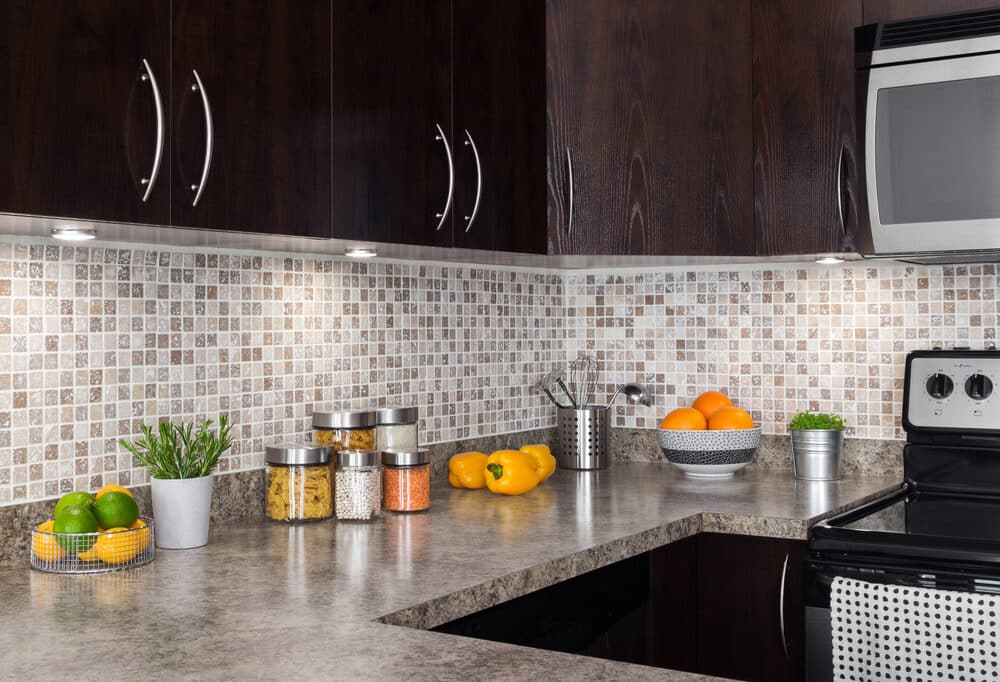
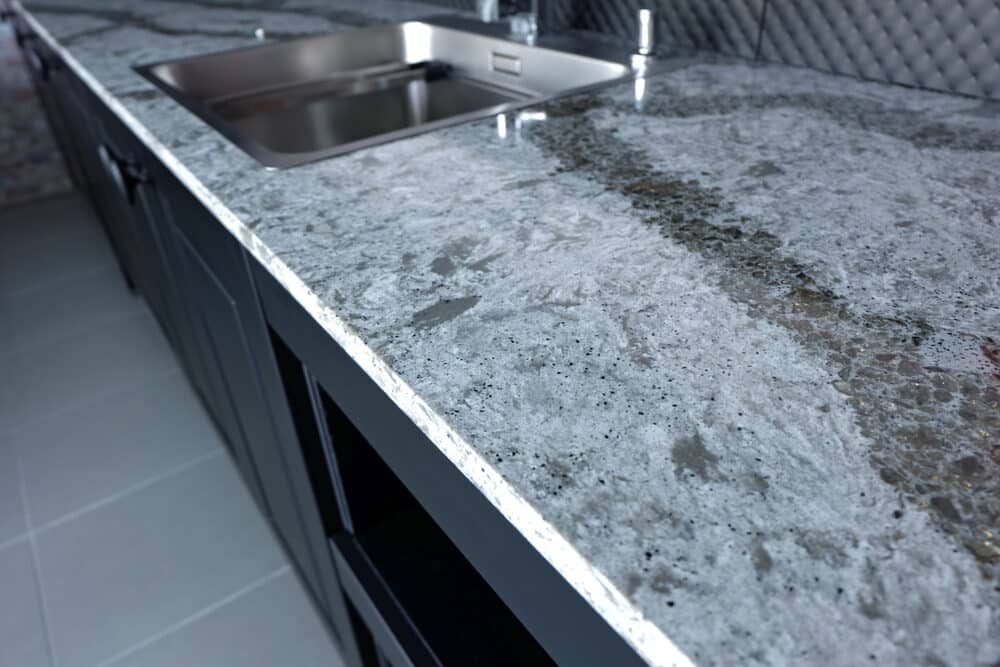
3. Granite and Marble Worktops:
- Material: natural stone, either granite or marble.
- Advantages: Luxurious and elegant appearance; highly durable; heat and scratch-resistant; adds value to the home.
- Considerations: Expensive, requires professional installation, needs periodic sealing to prevent staining, is heavy, and may require additional structural support.
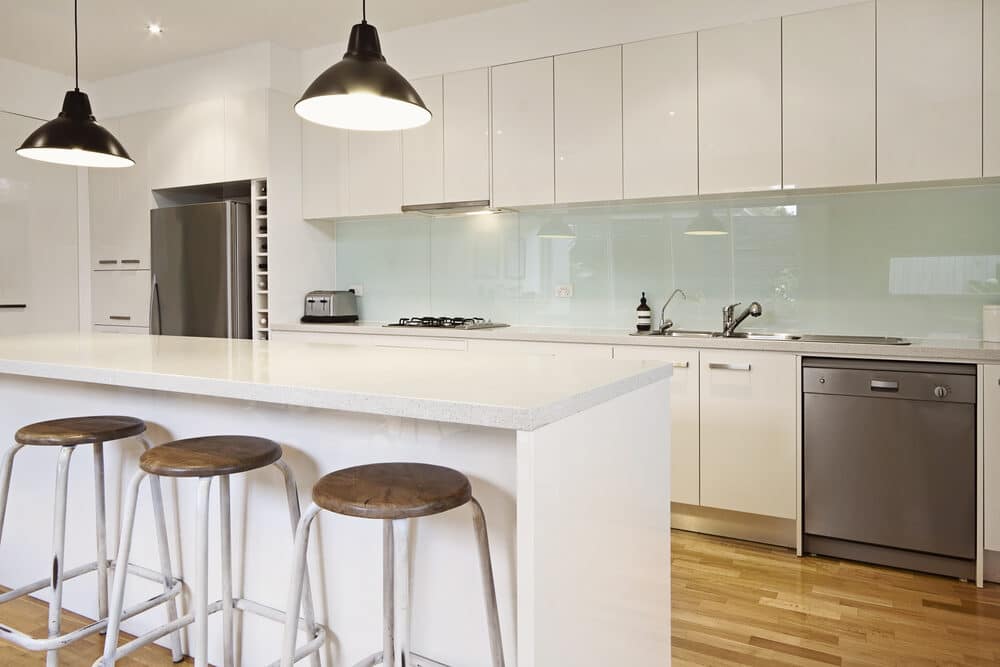
4. Composite and Quartz Worktops:
- Material: Engineered stone composed of quartz crystals and resin.
- Advantages: Extremely durable and scratch-resistant, non-porous surfaces resist stains and bacteria and are available in various colours and patterns.
- Considerations: Can be relatively expensive, vulnerable to high heat (use trivets), not suitable for outdoor use.
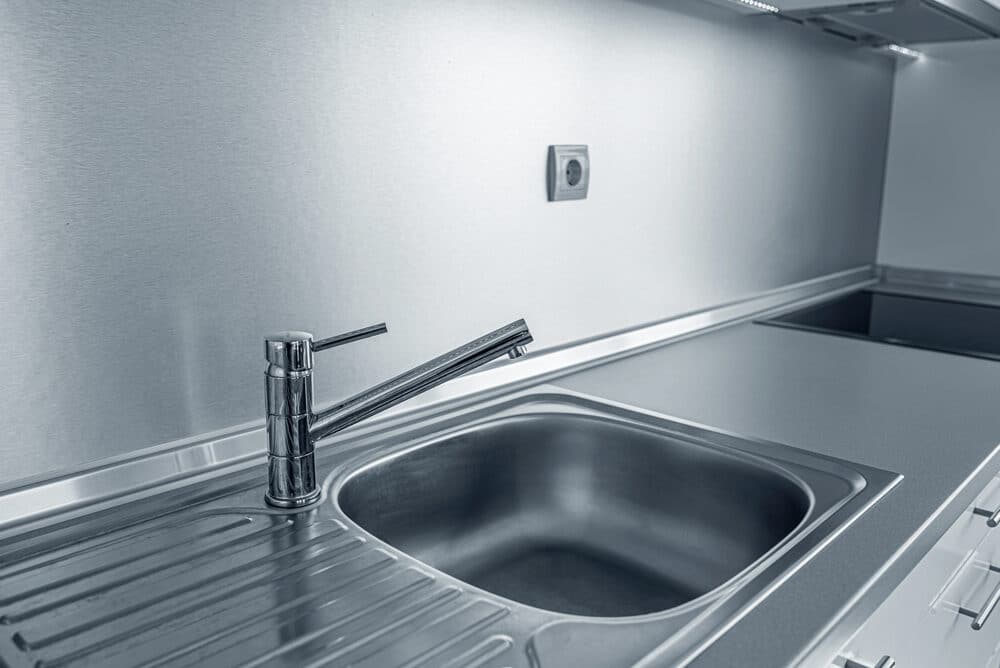
5. Stainless Steel Worktops:
- Material: stainless steel.
- Advantages: Sleek and modern appearance, heat and stain-resistant, easy to clean and maintain, hygienic surface.
- Considerations: Prone to scratches and dents; may show fingerprints and water spots; can be noisy when items are placed on it.
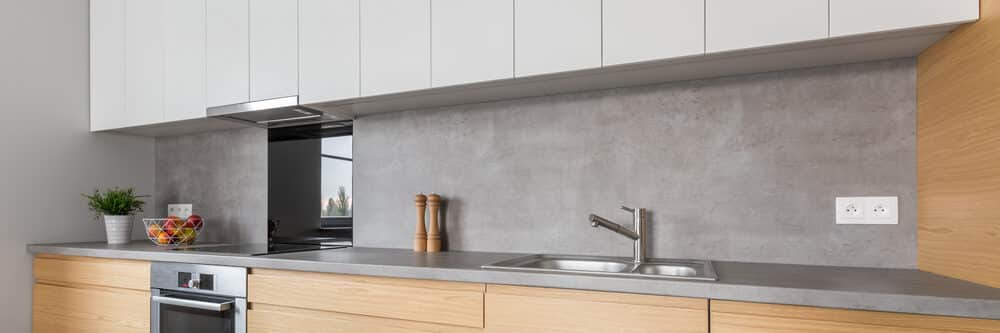
6. Concrete Worktops:
- Material: Poured concrete or concrete-like composite materials.
- Advantages: customisable design, durable, heat-resistant, and can be sealed for stain resistance.
- Considerations: Heavy and may require additional support; can develop hairline cracks over time.
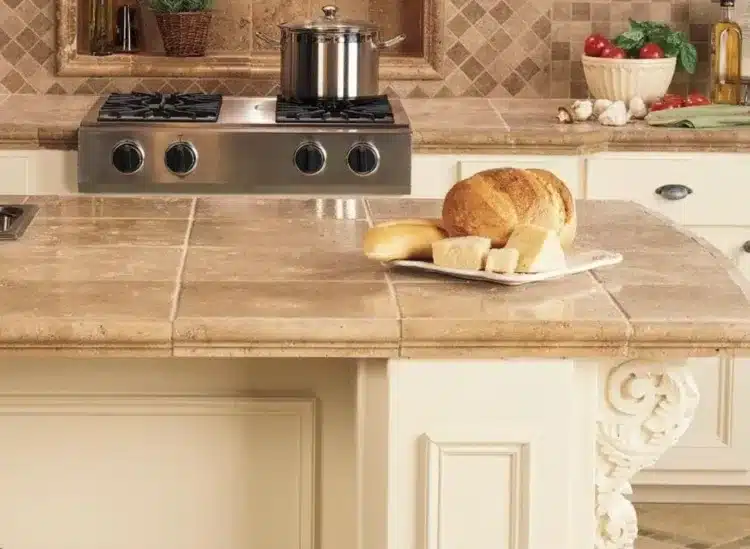
7. Tile Worktops:
- Material: ceramic or porcelain tiles on a substrate.
- Advantages: wide variety of colours and patterns; affordable; individual tiles can be replaced if damaged.
- Considerations: Grout lines can stain and require regular maintenance; tiles may chip or crack; an uneven surface for food preparation.
8. Glass Worktops:
- Material: toughened glass.
- Advantages: modern and reflective appearance; easy to clean; heat and stain-resistant; hygienic surface.
- Considerations: Can be expensive, may show fingerprints and water spots, and may not be suitable for heavy-duty chopping or cutting.
Choosing the right kitchen worktop material depends on your budget, design preferences, and how you use your kitchen. Each type has its pros and cons, so consider your lifestyle and maintenance preferences when making your selection.
Assessing Your Worktop’s Condition
Assessing the condition of your kitchen worktops is a crucial step before deciding on the best approach to reviving them. Understanding the specific issues your worktops face will help you determine whether they can be revitalised or if it’s time for a replacement. Here are some key aspects to consider when assessing your worktop’s condition:
1. Scratches and Scuffs:
- Examine the surface of your worktops for visible scratches, scuffs, or gouges.
- Run your hand over the surface to feel for rough spots or deep scratches.
- Determine the extent of the damage and whether it affects the worktop’s usability and appearance.
2. Stains and discoloration:
- Look for stains or areas of discoloration on the worktop.
- Identify the source of the stains, such as spilled liquids, food, or chemical cleaners.
- Assess whether the stains are superficial or have penetrated the surface.
3. Dullness and Lack of Lustre:
- Observe whether the worktop has lost its natural shine and lustre.
- Consider whether the worktop looks faded or worn due to age and exposure to sunlight.
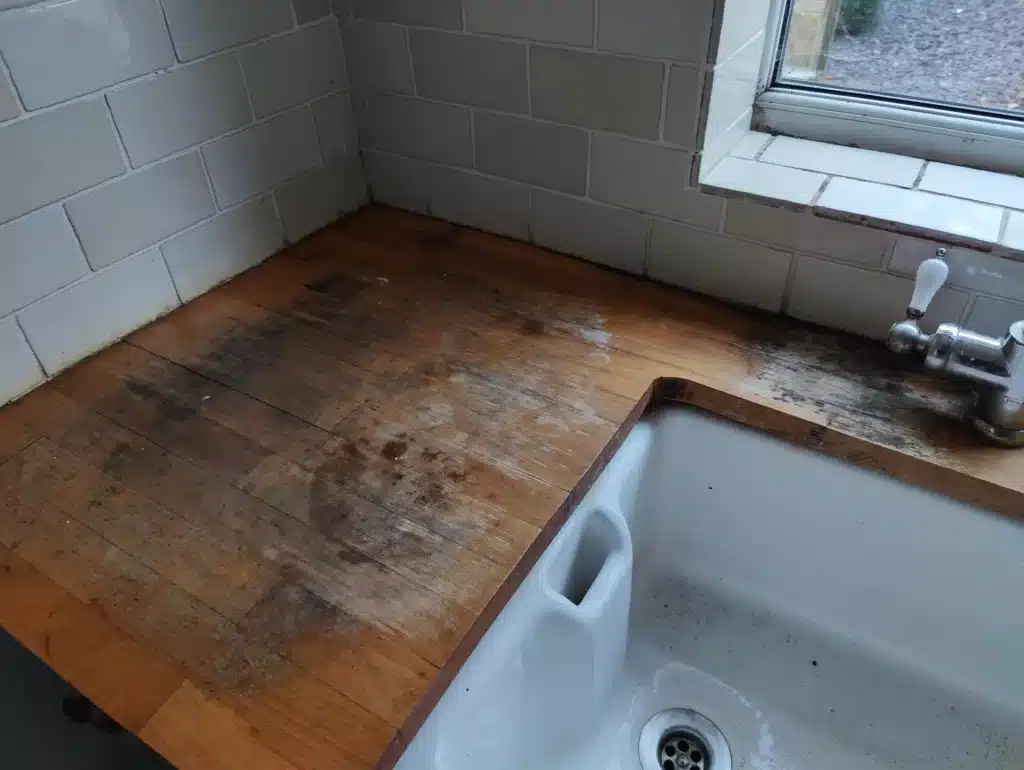
4. Water Damage:
- Check for signs of water damage, including warping, swelling, or dark spots.
- Determine if there are areas where the worktop’s surface has lifted or separated from the substrate.
5. Burns and heat damage:
- Inspect for burn marks or areas where the surface has been damaged by hot pots and pans.
- Evaluate whether the heat damage is superficial or has caused structural issues.
6. Cracks and chips:
- Look for cracks or chips in the worktop’s surface or edges.
- Measure the size and depth of any cracks or chips to assess their severity.
7. Worn edges and corners:
- Examine the edges and corners of the worktop for signs of wear.
- Check if the edges have become rounded or chipped over time.
8. Seam Integrity (for Seam-Fitted Worktops):
- If you have seam-fitted worktops, inspect the seams for gaps or unevenness.
- Ensure that the seams are still tightly joined and haven’t separated.
9. Overall Appearance:
- Step back and assess the overall appearance of the worktop.
- Consider whether the worktop’s condition detracts from the aesthetics of your kitchen.
10. Usability and Functionality:
- Evaluate whether the worktop’s condition affects its functionality.
- Determine if you can still perform essential kitchen tasks without hindrance.
Once you have thoroughly assessed your worktops, you can make an informed decision on whether they can be revived through cleaning, repair of kitchen worktop, and maintenance of kitchen worktop, or if it’s time to invest in a replacement. Keep in mind that some minor issues, like light scratches and stains, can often be addressed with the right products and techniques, while more severe damage may require professional assistance or a complete replacement.
Preparation for Revival
Preparing your kitchen worktops for revival is a crucial step that sets the foundation for successful restoration. Proper preparation ensures that the products and techniques you use will be more effective in rejuvenating the worktop’s appearance and functionality. Here are the key steps to prepare your worktops for revival:
1. Clear the worktops:
- Remove all items, appliances, and utensils from the worktops.
- Clear the area to give you unrestricted access to the entire surface.
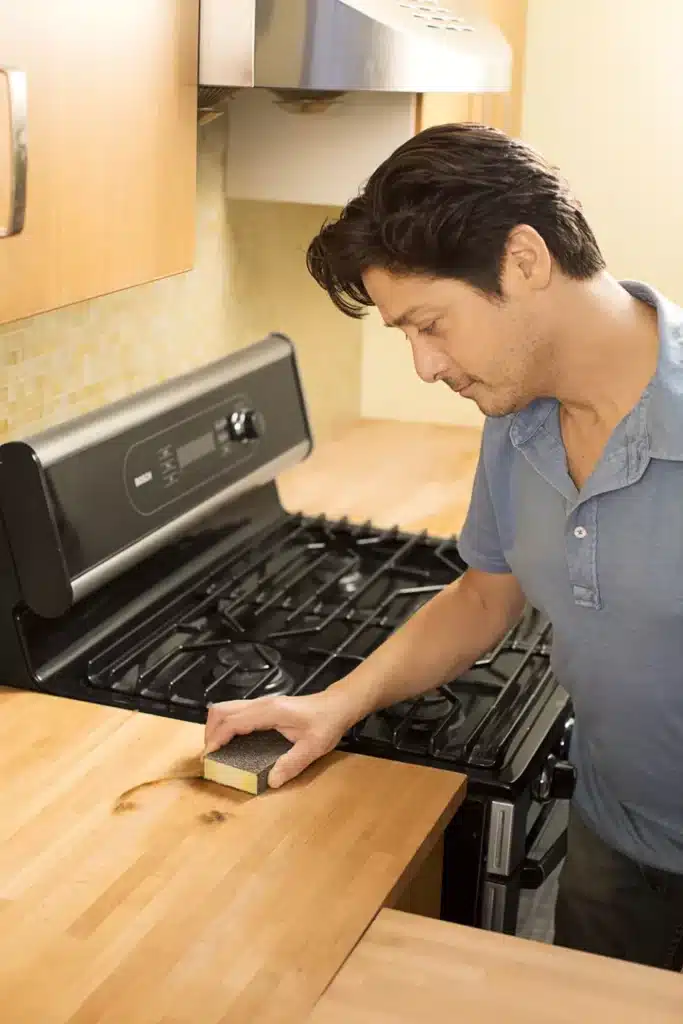
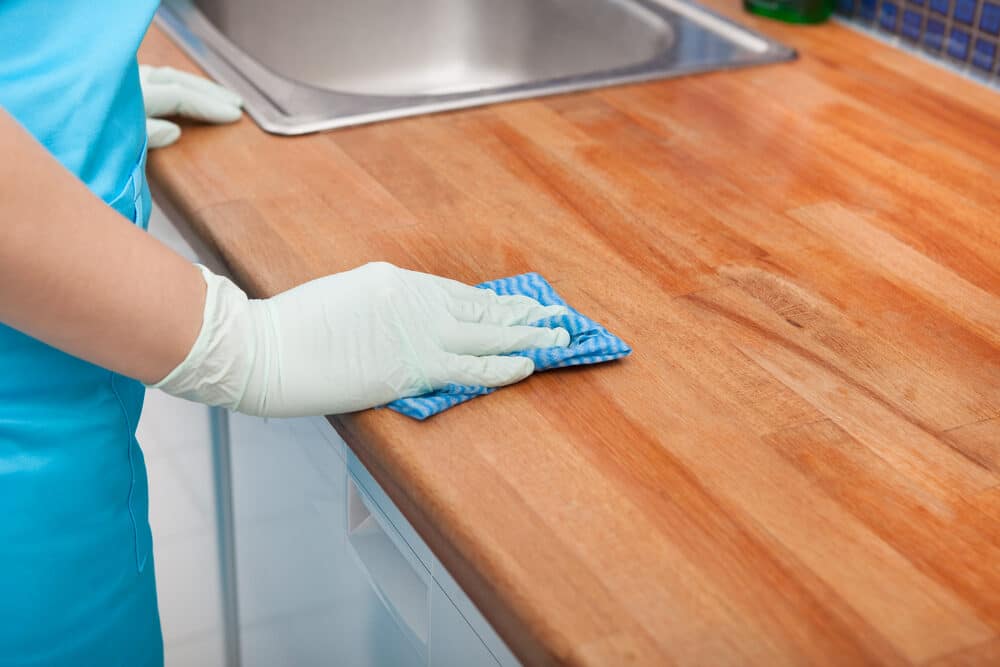
2. Clean the worktops thoroughly:
- Start by cleaning the worktops to remove surface dirt, grease, and debris.
- Use a mild, non-abrasive cleaner or a mixture of warm water and dish soap.
- Wipe down the entire surface with a soft cloth or sponge.
- Rinse the worktops with clean water to remove any soap residue.
3. Assess the worktop’s condition:
- Reevaluate the condition of the worktops to identify any remaining stains, scratches, or damage.
- Take note of areas that may require special attention during the revival process.
4. Repair minor damage:
- Address minor scratches and chips by using appropriate repair kits or products designed for your worktop material.
- Follow the manufacturer’s instructions for repair kits and allow ample drying time.
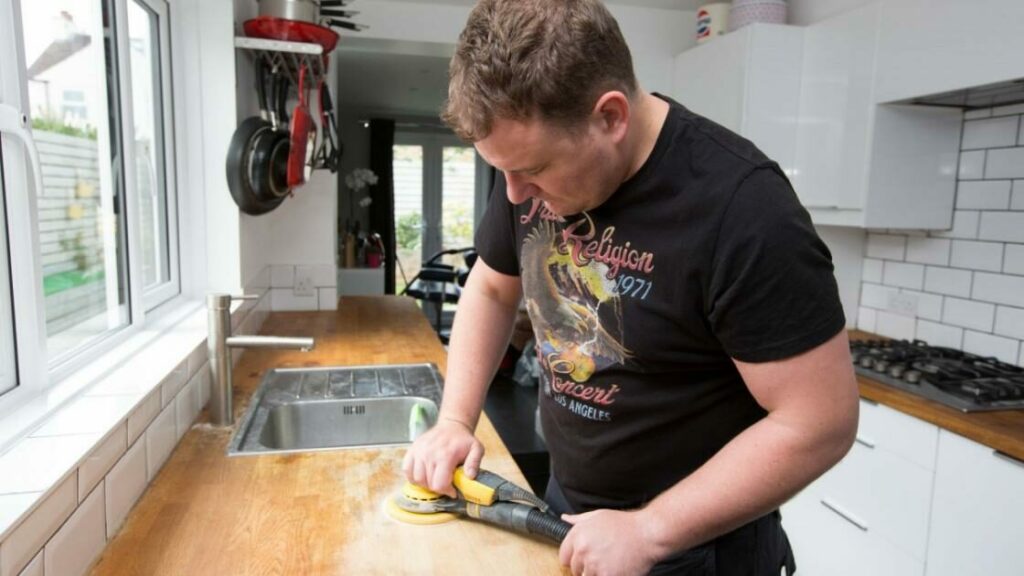
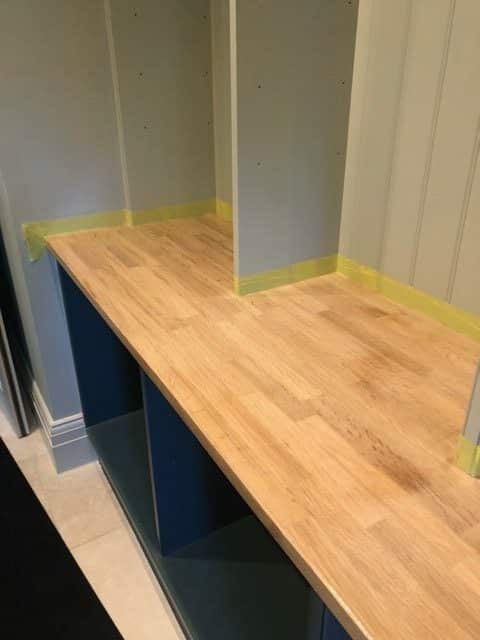
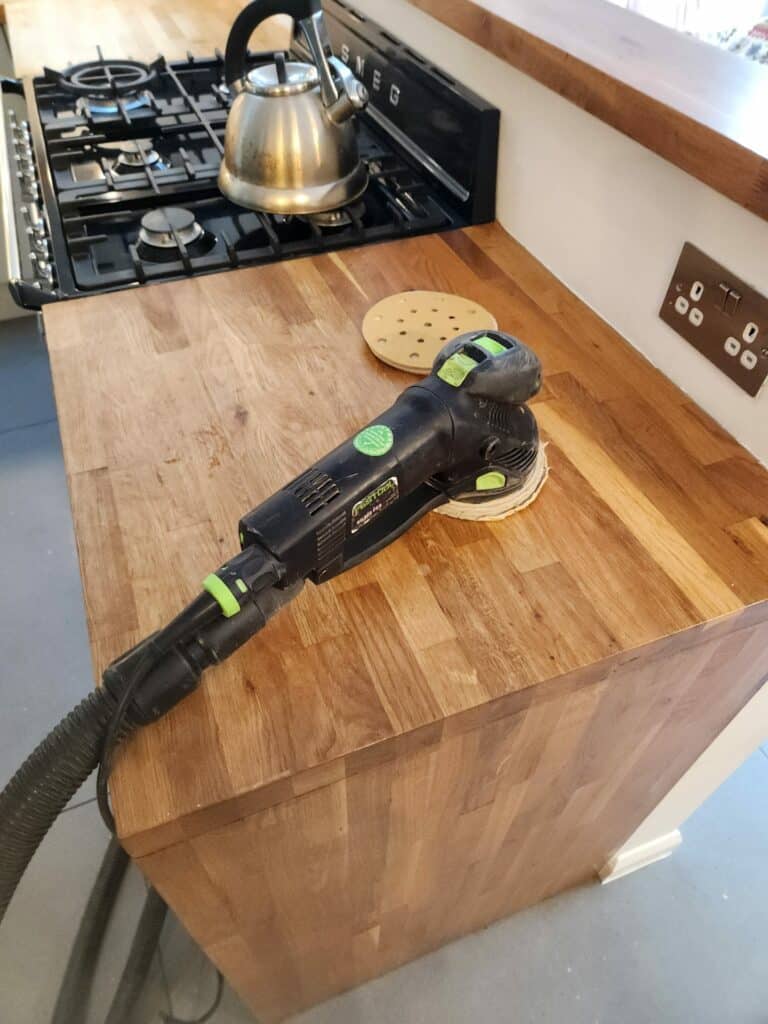
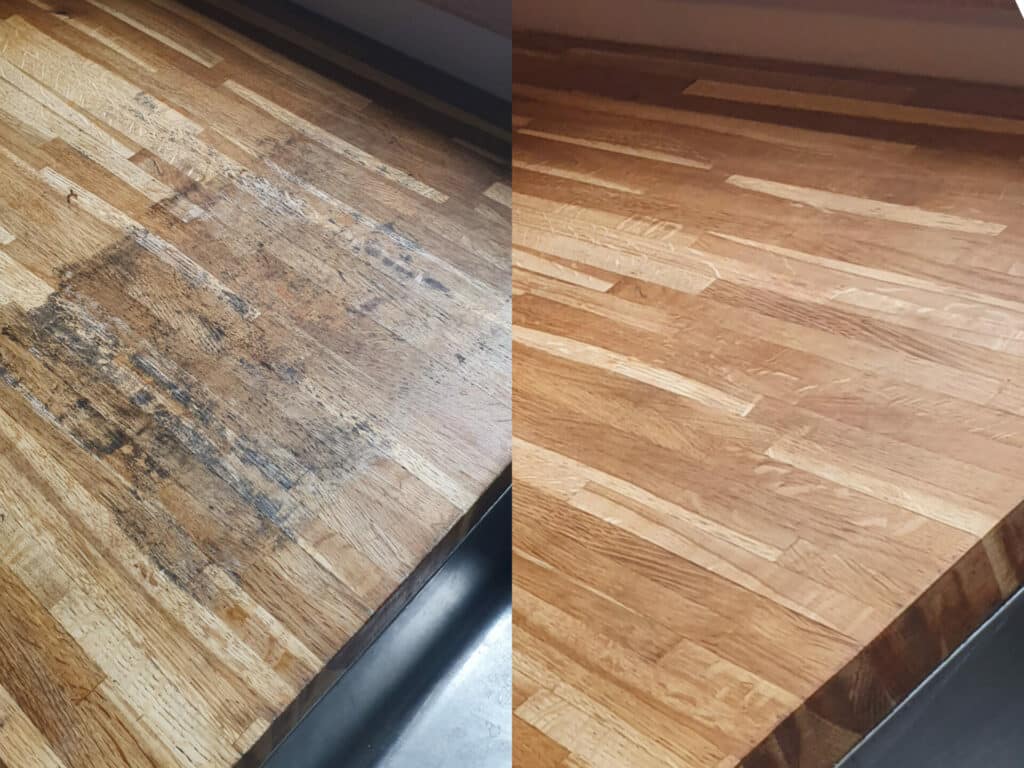
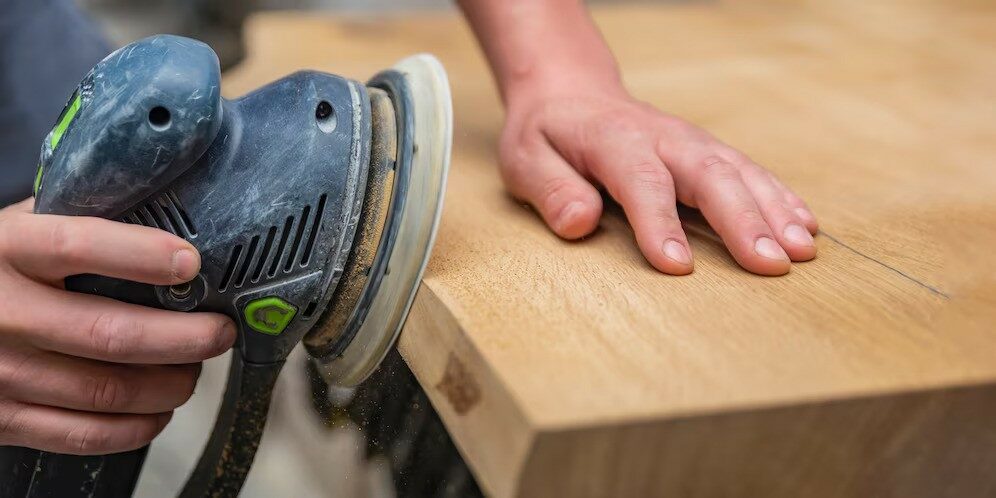
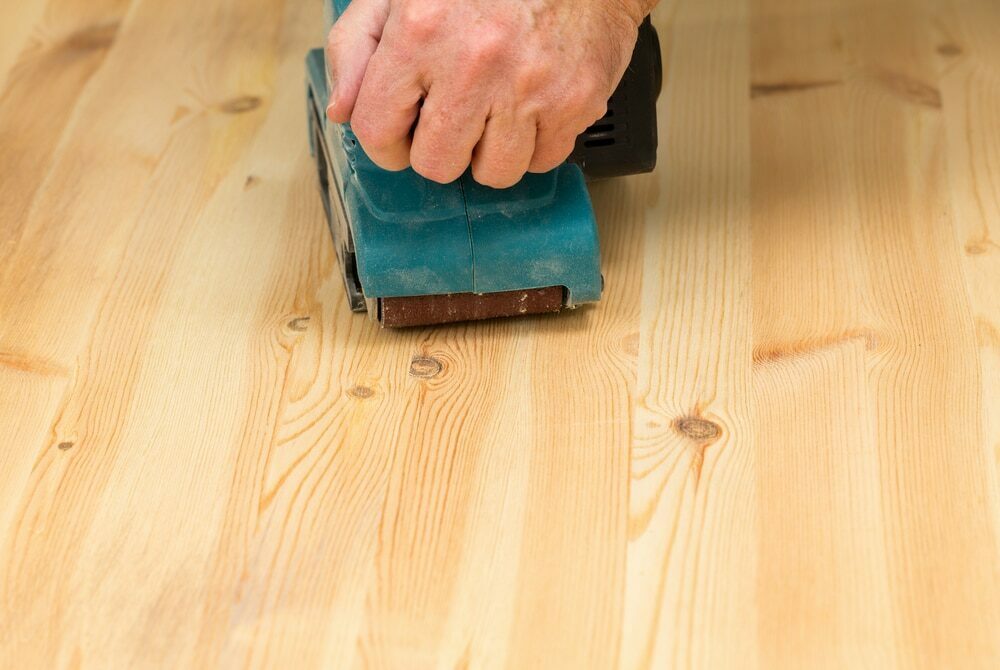
5. Sand the worktop (if applicable):
- For wooden worktops, consider sanding kitchen worktop the surface to remove deeper scratches, stains, or uneven areas.
- Start with coarse-grit sandpaper and gradually move to finer grits for a smoother finish.
- Sand in the direction of the wood grain to avoid creating new scratches.
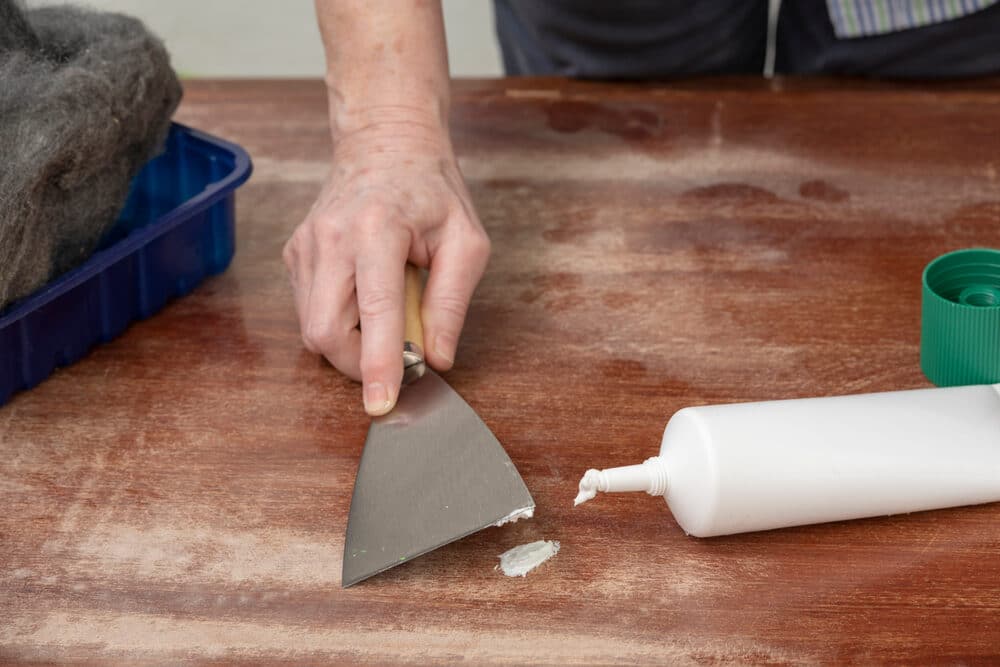
6. Fill gaps and seams (if applicable):
- If you have seam-fitted worktops with visible gaps, fill them with appropriate filler materials to create a seamless appearance.
- Ensure that the filler matches the colour of your worktop.
7. Gather the necessary tools and materials:
- Depending on the type of worktop material, gather the products and tools needed for revival.
- This may include oils, waxes, sealants, paints, or specialised cleaners.
8. Protect surrounding areas:
- Cover nearby surfaces, appliances, and cabinets with drop cloths or plastic sheets to protect them from any splashes or spills during the revival process.
9. Ventilate the area:
- Ensure proper ventilation in your kitchen by opening windows or using fans.
- Some revival products may have fumes or odours that require adequate ventilation.
10. Read product instructions:
- Before applying any revival products, carefully read and follow the manufacturer’s instructions.
- Pay attention to the recommended drying times and safety precautions.
11. Use protective gear (if necessary):
- If you are working with chemicals or strong cleaners, wear appropriate protective gear, such as gloves and safety goggles.
12. Plan the Revival Process:
- Determine the order in which you will apply revival products.
- Follow a systematic approach to ensure thorough coverage and consistent results.
The Best Products for Wooden Worktops
When it comes to reviving and maintaining the beauty of wooden worktops, selecting the right products is essential. Wooden worktops add warmth and character to your kitchen, but they require specific care to ensure they stay in excellent condition. Here are some of the best products for wooden worktops:
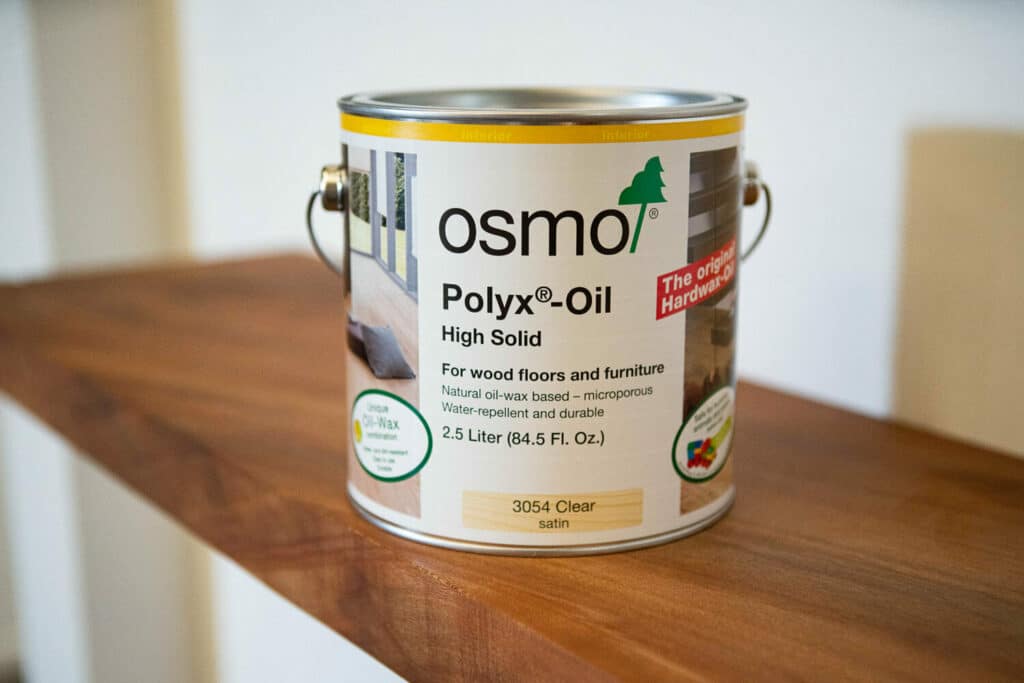
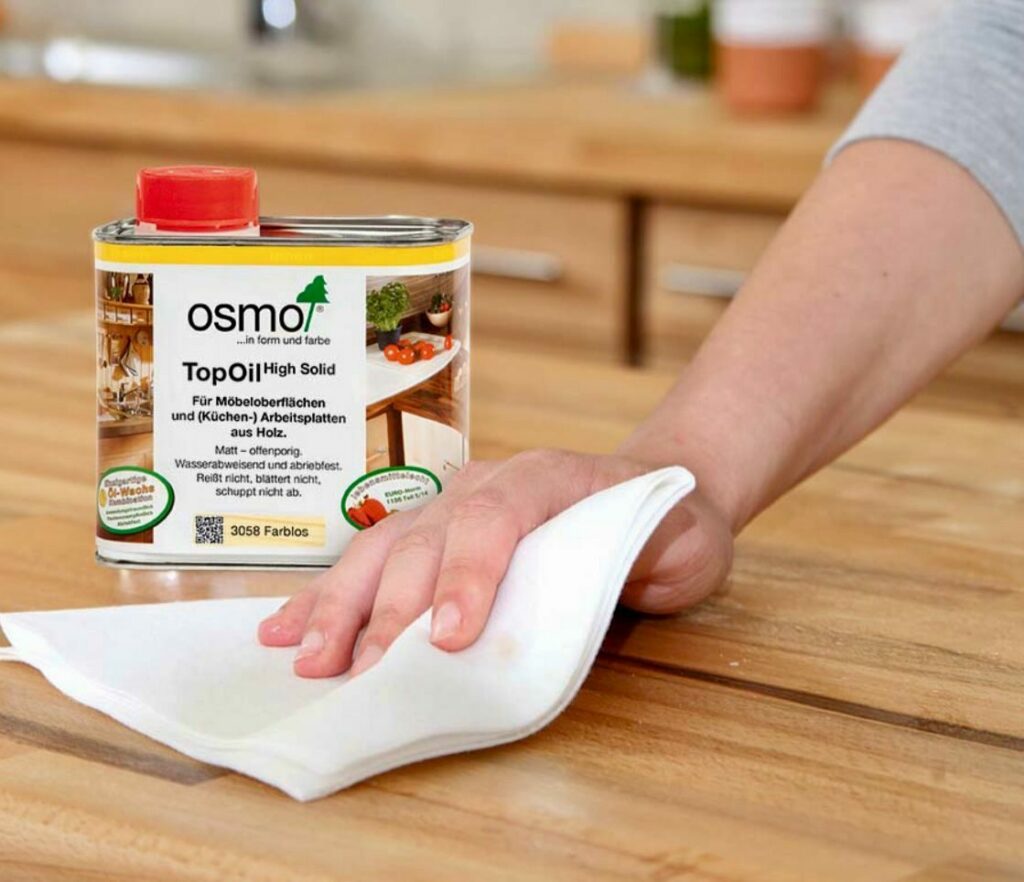
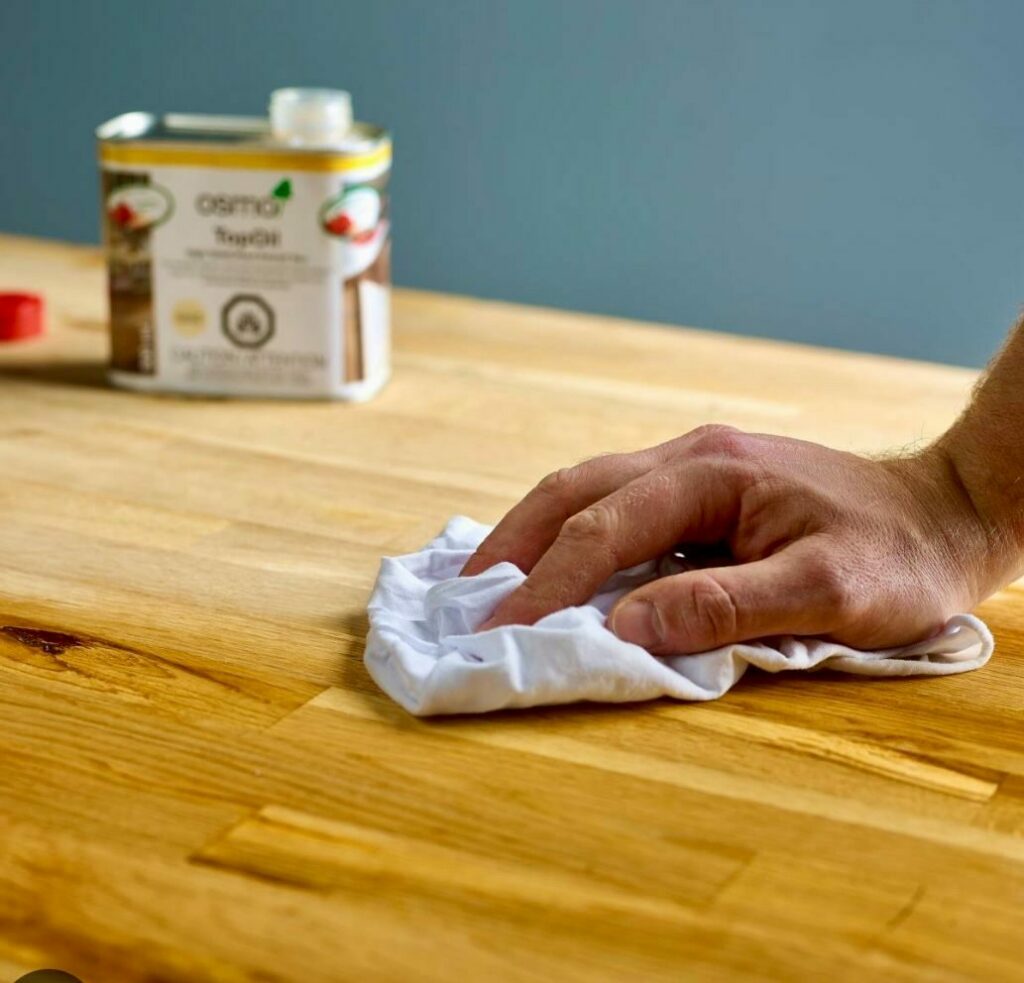
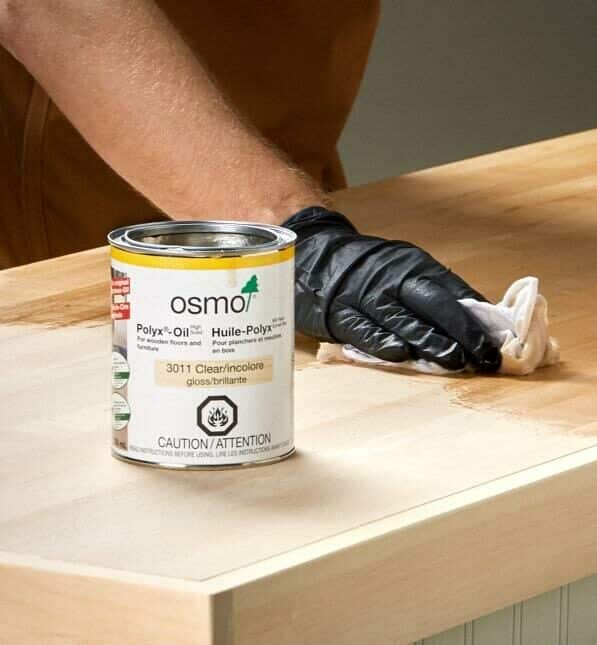
1. Wooden Worktop Oil:
- A high-quality wooden worktop oil is essential for nourishing and protecting the wood. It helps prevent drying, cracking, and staining. Look for natural food-safe oils like mineral oil, tung oil, or linseed oil.
2. Wooden Worktop Wax:
- Wooden worktop wax provides a protective layer and a beautiful sheen to the wood. It enhances the natural grain and repels water and stains.
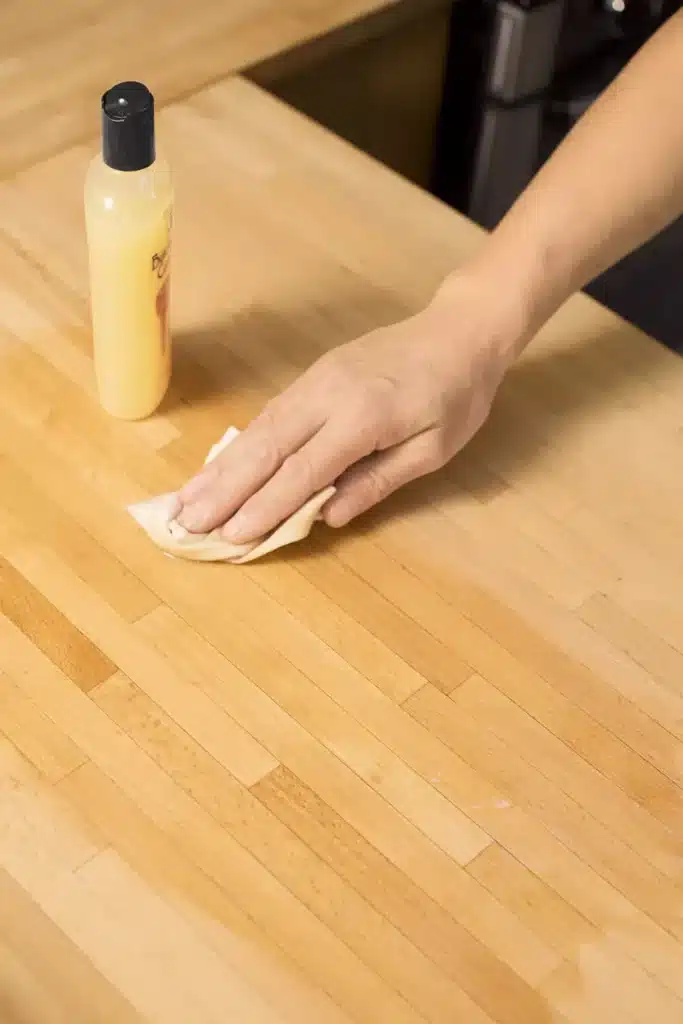
3. Wooden Worktop Cleaner:
- Choose a gentle, pH-balanced wooden worktop cleaner to clean surface dirt and grease without harming the wood’s finish.
4. Sanding paper or blocks:
- For sanding out scratches, stains, or rough spots, you’ll need sandpaper or sanding blocks in various grits. Start with coarse grit and gradually move to finer grits for a smooth finish.

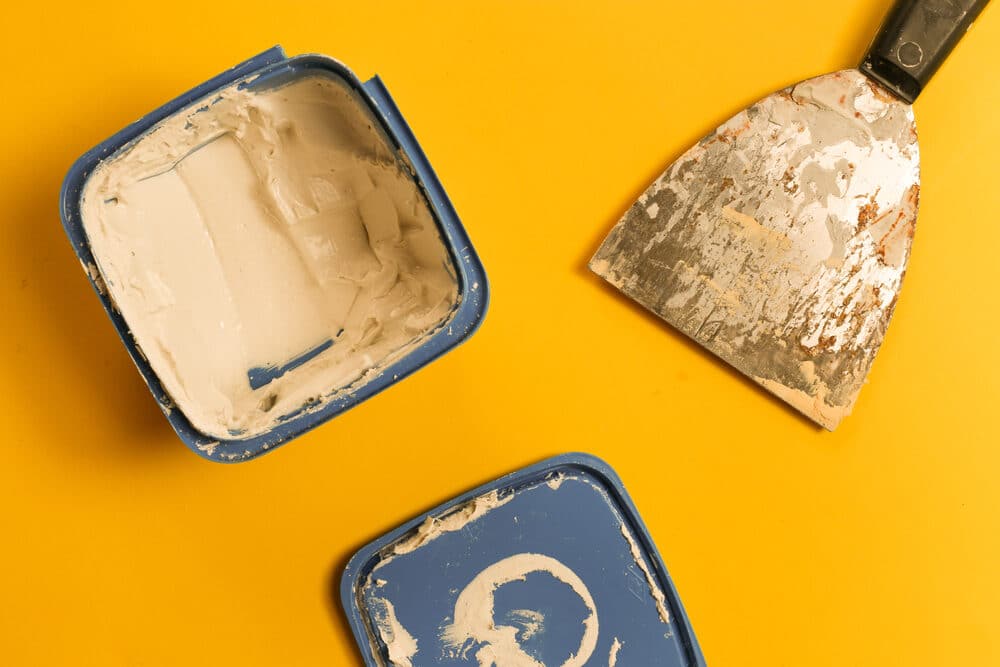
5. Wood Filler:
- To repair deeper scratches or chips, a wood filler matching your worktop’s colour can help fill in gaps and create a seamless look.
6. Microfiber Cloths:
- Soft microfiber cloths are ideal for wiping down the worktops after cleaning, oiling, or waxing. They won’t scratch the surface.
7. Wooden Worktop Sealer:
- A good wooden worktop sealer provides an extra layer of protection against moisture and stains. Choose a food-safe and water-resistant sealer.
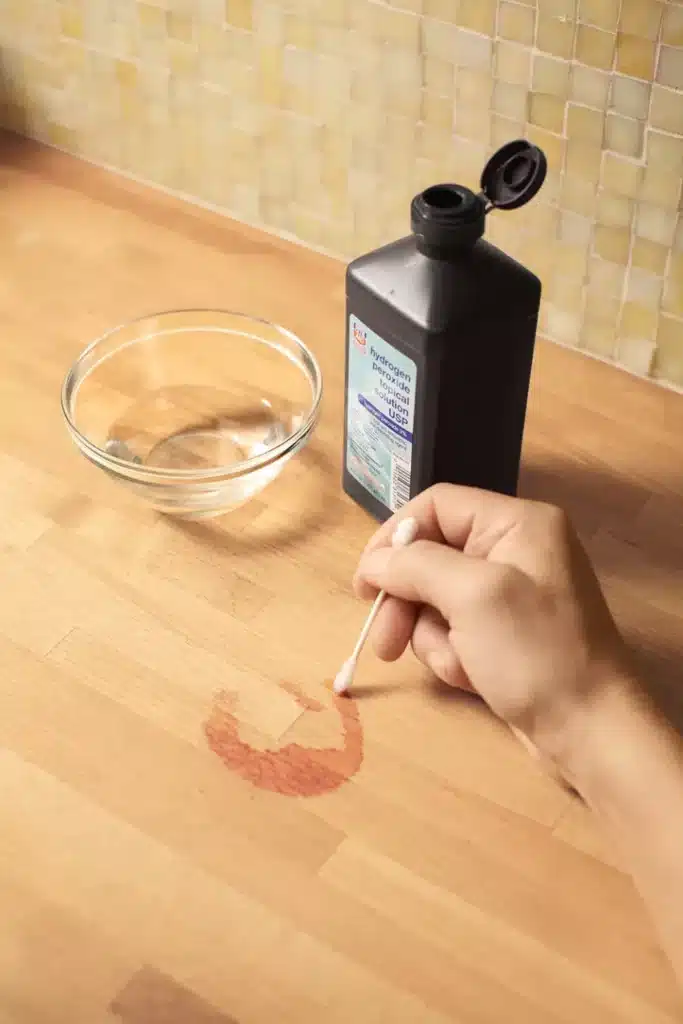
8. Wooden Worktop Stain Remover:
- In the case of stubborn stains, having a specialised wooden worktop stain remover can be handy for spot treatment.
9. Polishing Compound:
- For enhancing the shine of your wooden worktops, a suitable polishing compound can be applied after cleaning and sealing.
10. Cutting Boards and Trivets:
- Using cutting boards and trivets prevents direct contact between hot pans and sharp knives and the wooden surface, reducing the risk of damage.
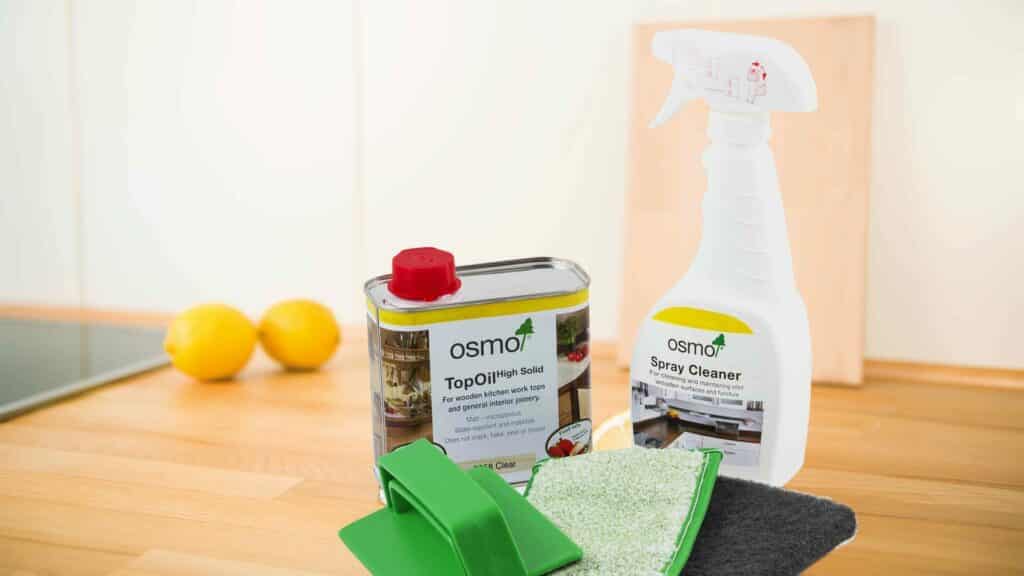
11. Maintenance Kit:
- Some brands offer complete maintenance kits that include oils, waxes, cleaners, and application tools, making it convenient to care for your worktops.
Remember to follow the manufacturer’s instructions for each product and perform regular maintenance to keep your wooden worktops looking their best. Proper care and the right products can help your wooden worktops age gracefully and add timeless charm to your kitchen.
DIY vs. Professional Help
Deciding between DIY (Do It Yourself) and professional help for reviving or renovating your kitchen worktops is an important consideration. The choice you make depends on various factors, including your skills, budget, the extent of the work required, and your personal preferences. Here’s a comparison to help you make an informed decision:
DIY (Do It Yourself):
- Cost-effective: DIY projects are often more budget-friendly since you don’t have to pay for professional labour.
- Flexibility: You have control over the project, allowing you to work at your own pace and make design decisions.
- Satisfaction: Completing a DIY project can be personally rewarding and give you a sense of accomplishment.
- Learning Opportunity: You can gain new skills and knowledge by tackling a DIY project, which can be valuable for future tasks.
- Smaller Repairs: DIY is suitable for minor repairs, cleaning, and maintenance tasks.

Consider DIY if:
- You have experience with similar projects.
- The work required is within your skill level.
- You have the necessary tools and materials.
- You’re comfortable with the potential challenges and risks.
- Your budget is limited.
Professional Help:
- Expertise: Professionals have the training and experience to handle complex projects and ensure high-quality results.
- Time-saving: Hiring experts can speed up the process, reducing the time your kitchen is out of commission.
- Quality Assurance: Professionals use the right techniques, tools, and materials to achieve long-lasting and flawless results.
- Warranty: Many professionals offer warranties or guarantees for their work, providing peace of mind.
- Large-Scale Projects: For major renovations or complex installations, professionals are often the best choice.
Consider professional help if:
- The project involves structural changes or major renovations.
- You lack the necessary skills and tools for the job.
- The work requires specialised knowledge or permits.
- You want a high-quality, polished finish.
- Your schedule is limited, and you need the project completed quickly.
Factors to consider:
- Budget: Compare the cost of DIY with the quotes from professionals. Sometimes, the cost of fixing DIY mistakes can exceed the cost of hiring a professional from the start.
- Project Complexity: Assess the complexity of the work. While DIY is suitable for minor repairs and maintenance, extensive renovations or installations may require professional expertise.
- Time and Availability: Consider your availability and timeline. DIY projects may take longer, while professionals can work efficiently.
- Skills and Knowledge: Be honest about your skills and knowledge. If you’re unsure about a project, it’s often best to seek professional assistance.
- Safety: Ensure that safety is a top priority. Some tasks, especially those involving electricity, plumbing, or structural changes, can be hazardous if not done correctly.
- Permits and Regulations: Check if the project requires permits or adherence to building codes. Professionals are often well-versed in these requirements.
Maintenance tips and tricks
Maintenance is essential to keep your kitchen worktops in excellent condition and prolong their lifespan. Whether you have wooden, laminate, stone, composite, or quartz worktops, here are some maintenance tips and tricks to help you maintain their beauty and functionality:
- Regular Cleaning:
- Clean the worktops daily with a soft cloth or sponge and a mild, non-abrasive cleaner.
- For stone worktops, use a pH-balanced stone cleaner.
- Immediate Spill Cleanup:
- Wipe up spills promptly to prevent staining, especially on porous surfaces like wood or stone.
- Use cutting boards and trivets.
- Use cutting boards to protect against scratches and trivets to prevent heat damage.
- Avoid harsh cleaners:
- Avoid abrasive or acidic cleaners that can damage the surface.
- Use cleaners recommended for your specific worktop material.
- Regular Dusting:
- Dust worktops regularly with a dry, soft cloth or a microfiber duster to remove loose dirt and debris.
- Avoid Impact:
- Avoid dropping heavy objects or slamming pots and pans on the worktops to prevent chips and cracks.
- Seal Stone Worktops:
- If you have stone worktops, ensure they are properly sealed to prevent stains and moisture absorption.
- Reseal as needed according to manufacturer recommendations.
- Use Coasters:
- Use coasters for drinks to prevent water rings and stains on wooden and laminate worktops.
- Buff and Shine (Quartz):
- If you have quartz worktops, occasionally use a quartz stone polish to enhance their shine.
- Repair Minor Damage:
- Address minor scratches or chips promptly with repair kits designed for your worktop material.
- Inspect Periodically:
- Periodically inspect the worktops for any signs of damage, stains, or discoloration. Address issues promptly to prevent them from worsening.
- Follow Manufacturer Recommendations:
- Read and follow the manufacturer’s care and maintenance guidelines specific to your worktop material.
- Avoid Extreme Temperatures:
- Avoid placing hot pans directly on the worktop surface to prevent heat damage.
- Prevent Water Damage:
- Wipe up standing water around sinks and faucets to prevent water damage, especially on wooden worktops.
- Use Trivets for Appliances:
- Place trivets or heat-resistant pads under appliances like coffee makers to prevent direct contact with the worktop surface.
- Handle with Care:
- Be gentle with your worktops, especially with knives and heavy cookware.
Regular maintenance helps preserve the appearance and functionality of your kitchen worktops. By following these tips and tricks, you can ensure that your work surfaces remain in great condition for years to come.
Conclusion
In conclusion, caring for your kitchen work surfaces is an essential aspect of maintaining a beautiful and functional kitchen. Whether you have laminate, stone, composite, quartz, or wooden worktops, a proactive approach to care and maintenance can significantly extend their lifespan and keep them looking their best.
From regular cleaning and immediate spill cleanup to preventive measures like using cutting boards and trivets, these simple steps can make a significant difference in preserving the quality of your worktops. Additionally, understanding the specific care requirements of your worktop material and following manufacturer recommendations is crucial.
Deciding between DIY maintenance of kitchen worktop and professional help depends on the nature of the work and your own skills and preferences. While DIY can be cost-effective for minor repairs and cleaning, complex renovations and major installations often benefit from professional expertise.
In the end, your kitchen worktops play a central role in your kitchen’s aesthetics and functionality. By investing time and effort in their care and maintenance of kitchen worktop, you can enjoy their beauty and durability for many years to come, creating a welcoming and functional space for your culinary adventures.


Sanding
We provide virtually dust-free sanding with our continuous belt machinery with mobile extraction units, giving you a safer environment for your family.
Oiling
This organic finish not only adds beauty to your home but also has exceptional water-repellent characteristics, making it easier to clean and maintain.
Waxing
This natural floor finish offers the softest and most mellow appearance – and leaves your floor able to breath.
Buffing
Using soft buffing machines (and hand-polishing where required) will bring a wonderful sheen to your newly-finished floor.
Repairs
We offer a full assessment of your wooden floors to determine what repairs are needed to provide the perfect working surface for the later stages of sanding, staining and sealing.
Restoration
We offer a comprehensive restoration process designed to address floors that are improperly fitted or damaged over time through wear and tear.
Request a fixed price quote for your wood floor restoration now
Simply enter your postcode below to get started.
Services
Wood Floor Sanding Wood Floor Restoration Wood Floor Scratch Repair Squeaky Wood Floor Repair Parquet Floor Sanding Parquet Floor Restoration Commercial Floor Sanding Church Floor Sanding Community Centre Floor Sanding School Floor Sanding Gap Filling Gap Filling with ResinCopyright © Mr Sander®
Privacy & Cookies Terms & Conditions Complaints Procedure Cancellation Rights Sitemap

Get An Instant Price Estimate Before You Go…
Simply enter the rooms you need sanded and we’ll provide you with a price estimate instantly! Try our price calculator now.
Get a Price Estimate NowLocal Floor Sanding Experts
Over 500 5-Star Reviews
Safe, Dust Free Sanding
Operating Since 1994