London:
Nationwide:
25,000+
Floors Restored
27 Years Experience
Wood Flooring Association Certified
Cost Analysis: Sanding and Oiling Your Kitchen Worktop
Posted on January 19, 2024
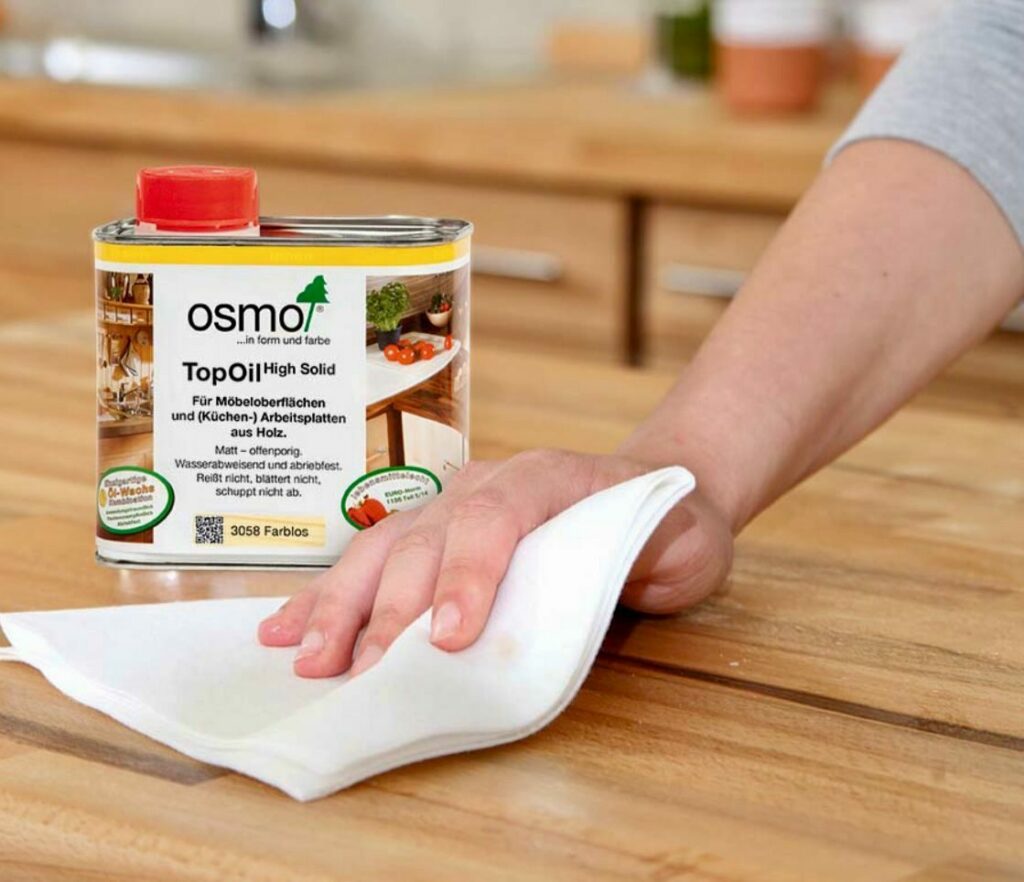
Kitchen Worktop Oiling

Evaluating the Expenses: Sanding and Oiling Your Kitchen Worktop
Your kitchen worktop is not just a functional surface; it’s the heart of your culinary space, a place where you prepare meals, share stories, and create lasting memories. Over time, this essential part of your kitchen can show signs of wear and tear, losing its lustre and beauty. However, before you decide to replace it, there’s a cost-effective solution that can bring it back to life: sanding and oiling.
In this comprehensive guide, we’ll delve into the world of kitchen worktop maintenance, specifically focusing on the cost analysis of sanding and oiling. We’ll explore why sanding and oiling your kitchen worktop is a viable option, the benefits it offers, and the steps you need to take to transform your worn-out worktop into a stunning centrepiece.
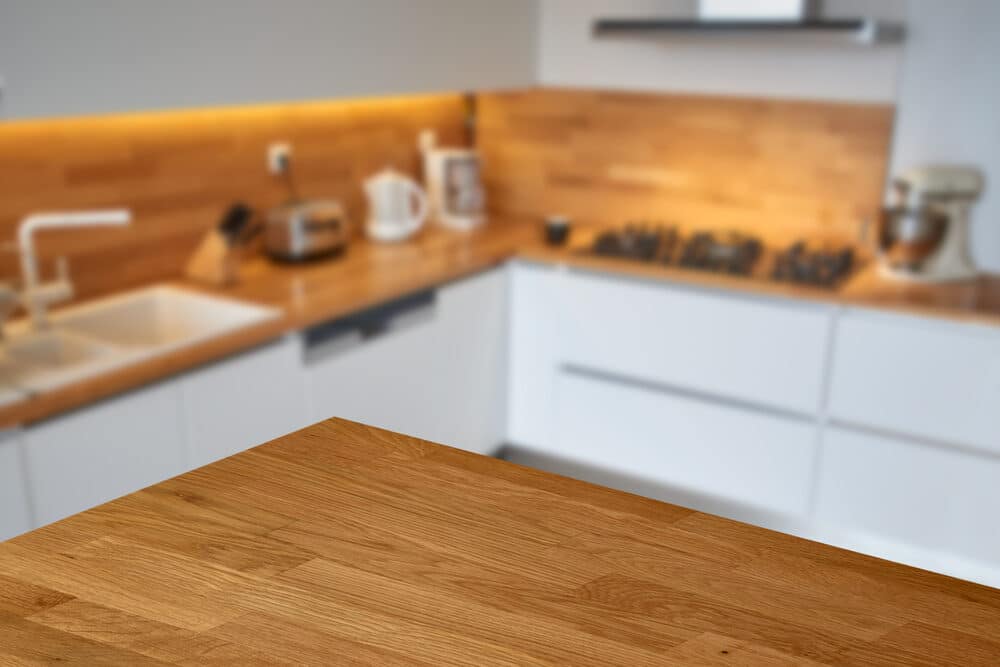
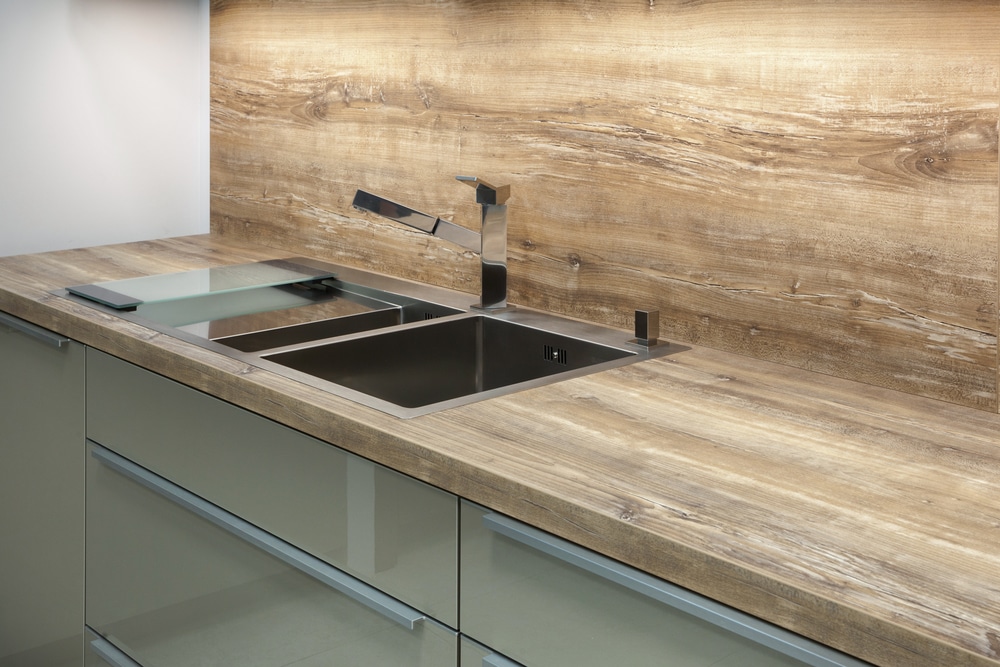
A well-maintained worktop can transform the entire look of your kitchen. We’ll delve into how sanding and oiling can restore its natural beauty, making it a focal point and a source of pride in your home.
In the sections that follow, we’ll provide you with a step-by-step guide on how to sand and oil your kitchen worktop, offer insights into the cost breakdown, and even compare the DIY approach to hiring professionals. We’ll also provide tips on cost savings, long-term maintenance, and a comparative analysis of alternative methods.
So, if you’re looking to revitalise your kitchen worktop while being mindful of your budget and the environment, read on. Our cost analysis will help you make an informed decision and take the first step towards transforming your kitchen into a space that’s both functional and visually appealing.
Benefits of Sanding and Oiling
- Restores Natural Beauty: Sanding and oiling your kitchen worktop can bring back its original lustre and beauty. Over time, worktops can develop scratches, stains, and a dull appearance due to daily wear and tear. Sanding removes surface imperfections, revealing the natural wood grain, while oiling enhances its colour and sheen.
- Enhanced Durability: Sanding helps to smooth out any minor damages on the worktop’s surface, making it more resilient to future wear. Additionally, applying oil creates a protective barrier that repels moisture and prevents the wood from drying out or cracking. This added durability extends the lifespan of your worktop.
- Cost-Effective Solution: Compared to the cost of replacing an entire kitchen worktop, sanding and oiling is a budget-friendly alternative. It allows you to refresh the appearance of your worktop without the expense of purchasing new materials or paying for installation.
- Eco-Friendly Option: Opting for sanding and oiling is an environmentally responsible choice. It reduces waste by preventing the disposal of your old worktop and minimising the need for new resources. By revitalising your existing worktop, you contribute to sustainability efforts.
- Customisation Options: Sanding and oiling offer opportunities for customization. You can choose from various oil finishes, such as matte, satin, or glossy, to achieve the desired look for your worktop. This flexibility allows you to match your kitchen’s aesthetic.
- Quick Turnaround: Sanding and oiling is a relatively quick process compared to installing a new worktop. It typically takes a few days, including drying and curing times, depending on the size of the project. This means minimal disruption to your kitchen routine.
- Maintenance Made Easier: A well-maintained worktop is easier to clean and care for. Oiled worktops are less susceptible to stains, and spills can be wiped away more effortlessly. Regular maintenance, such as re-oiling when needed, can help preserve its beauty for the long term.
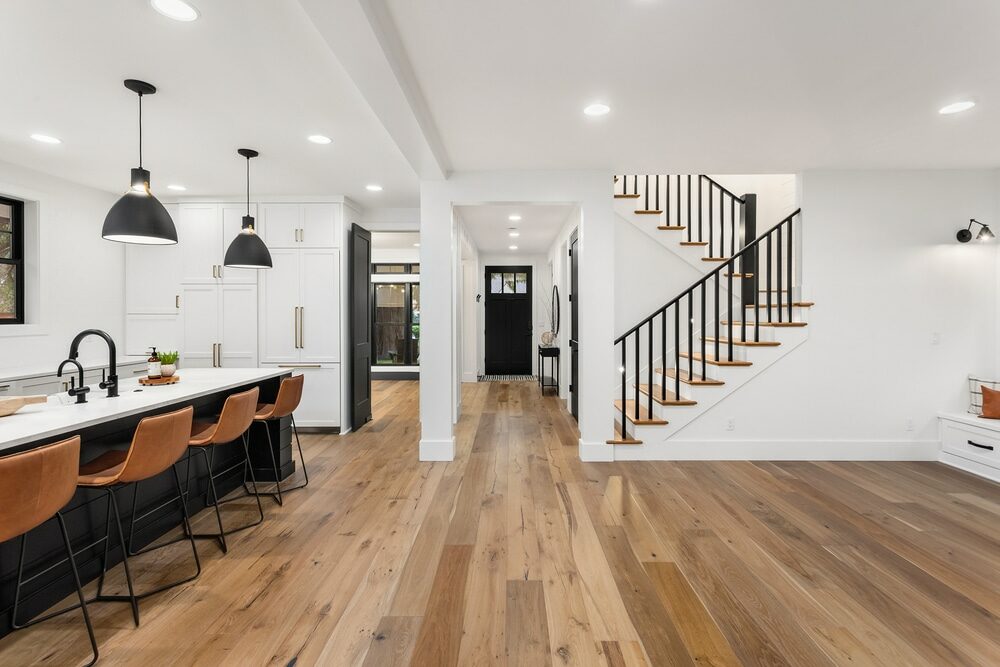
- Adds Value to Your Home: If you plan to sell your home in the future, a beautifully restored kitchen worktop can enhance its overall appeal to potential buyers. It’s an attractive feature that can positively impact the perceived value of your property.
- Retains the Character of the Wood: Sanding and oiling allow you to retain the unique character and grain patterns of your woodworktop. This personalised touch adds warmth and character to your kitchen space.
- Sustainable Choice: By choosing to refurbish your worktop instead of replacing it, you contribute to sustainable practices. This aligns with the growing awareness of eco-friendly home improvement solutions.
Materials and tools
To sand and oil your kitchen worktop effectively, you’ll need a specific set of materials and tools. Here’s a list of what you’ll require:
Materials:
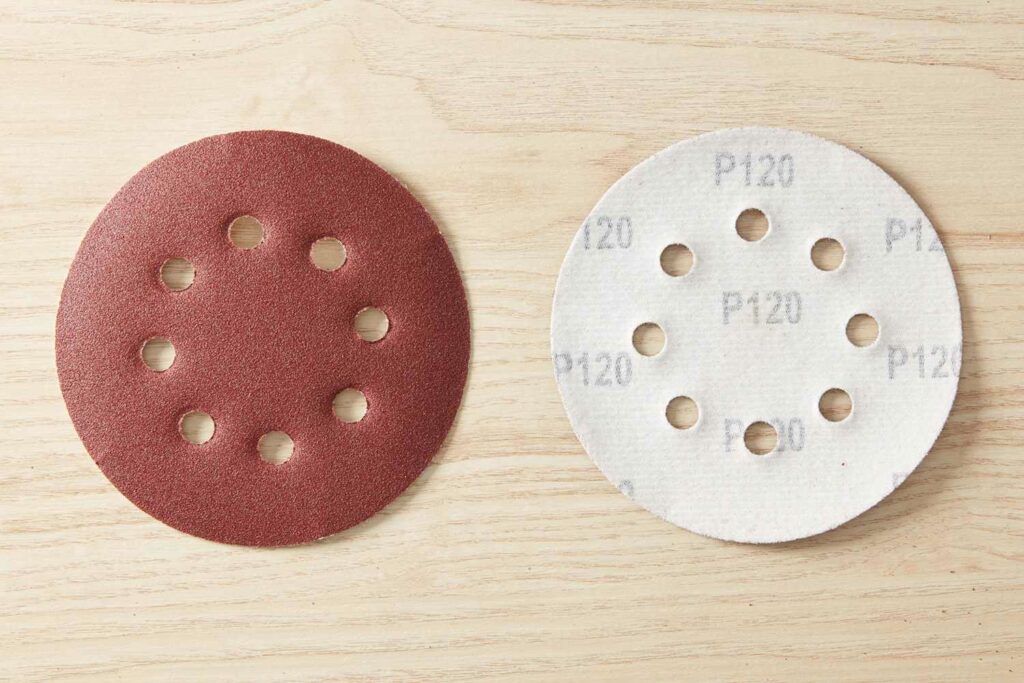
Various grits, typically ranging from coarse (around 80–100) to fine (around 220-320), The exact grits you’ll need depend on the condition of your worktop.
Sandpaper:
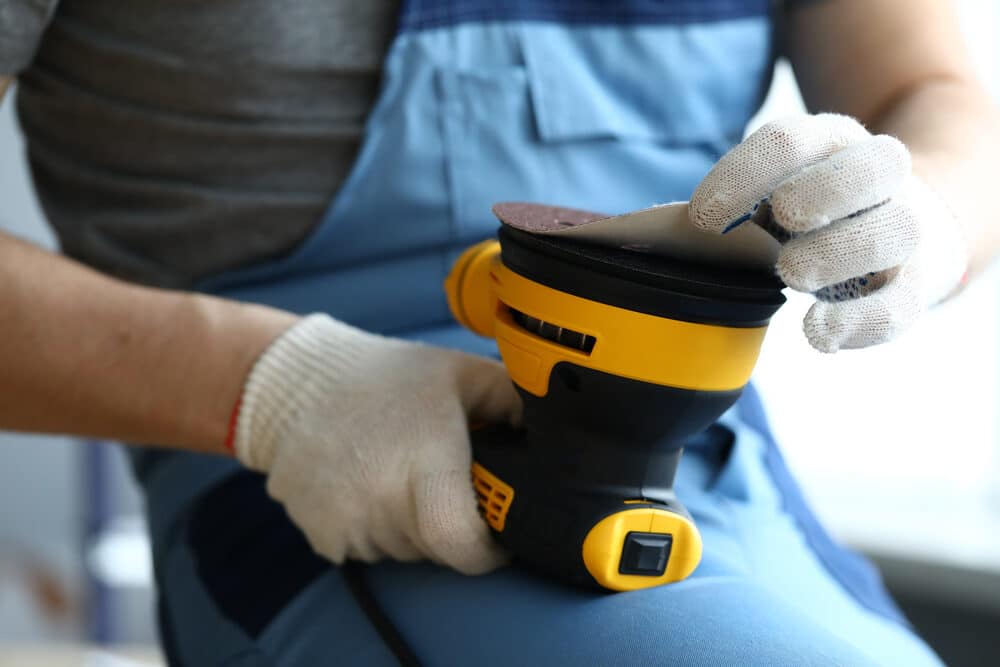
Sanding Block or Orbital Sander:
A sanding block can be used for hand sanding, while an orbital sander can expedite the sanding process for larger surfaces.
Tack Cloth or Microfiber Cloths:
It is used for wiping away dust and debris after sanding and between coats of oil.
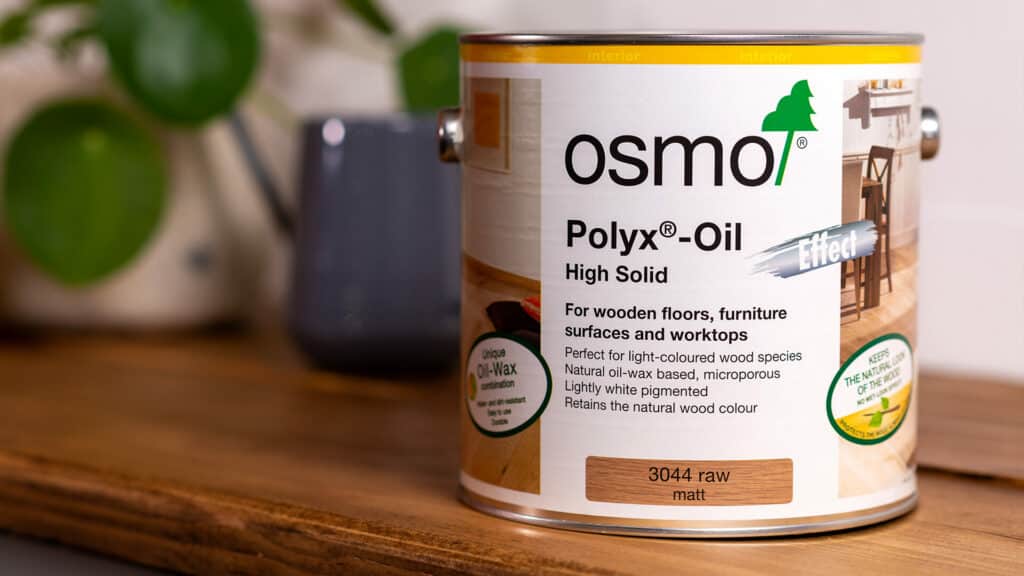
Wood Oil or Finish:
Choose a high-quality wood oil or finish specifically designed for kitchen worktops. Options include mineral oil, tung oil, linseed oil, or dedicated worktop oils.
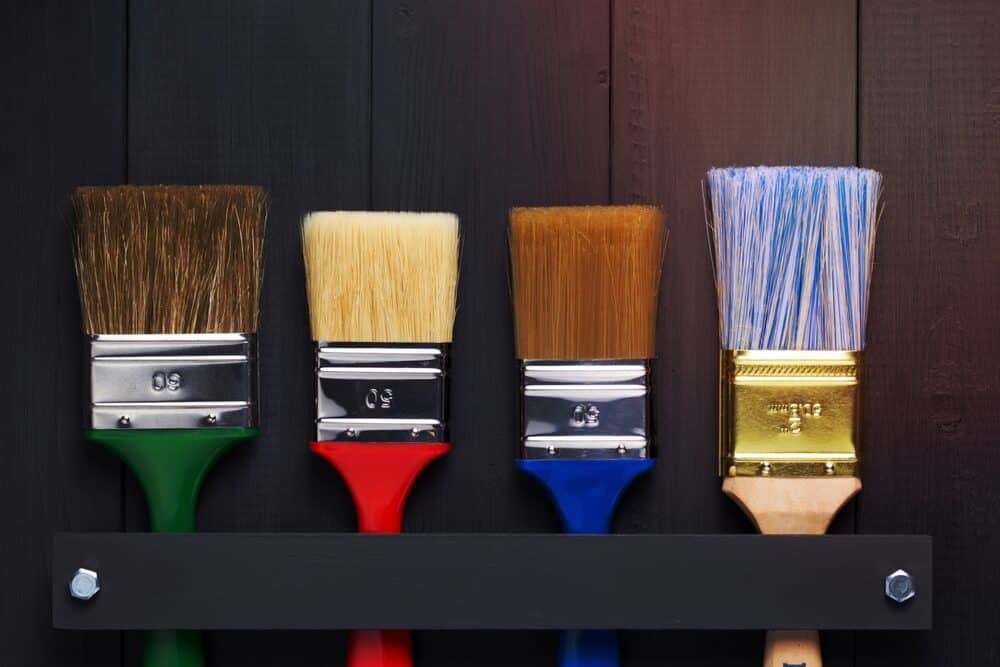
Paintbrush or Foam Applicator:
For applying the oil evenly to the worktop’s surface.
Disposable Gloves:
To protect your hands from contact with the oil and ensure a clean application.
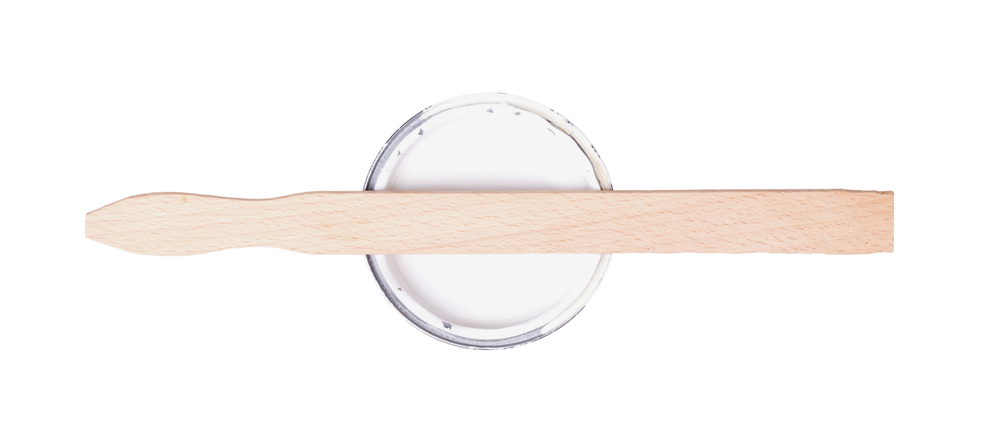
Stir Stick or Mixing Tool:
If the oil needs to be mixed before application,.
Tools:
Safety Gear:
- Safety goggles or glasses to protect your eyes from dust and debris.
- Dust mask or respirator to prevent inhaling fine dust particles.
- Ear protection if you’re using power sanding tools.

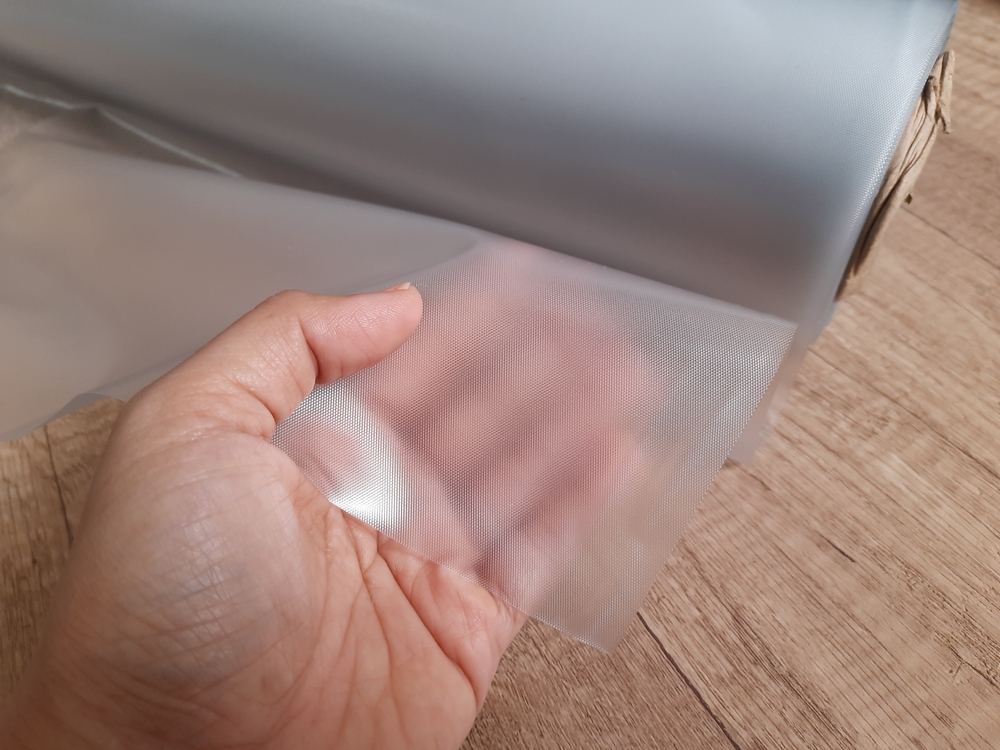
Drop Cloth or Plastic Sheeting:
To protect the surrounding area from dust and oil spills.
Worktable or sawhorses:
If you need to remove the worktop for sanding and oiling, you’ll require a stable surface to work on.
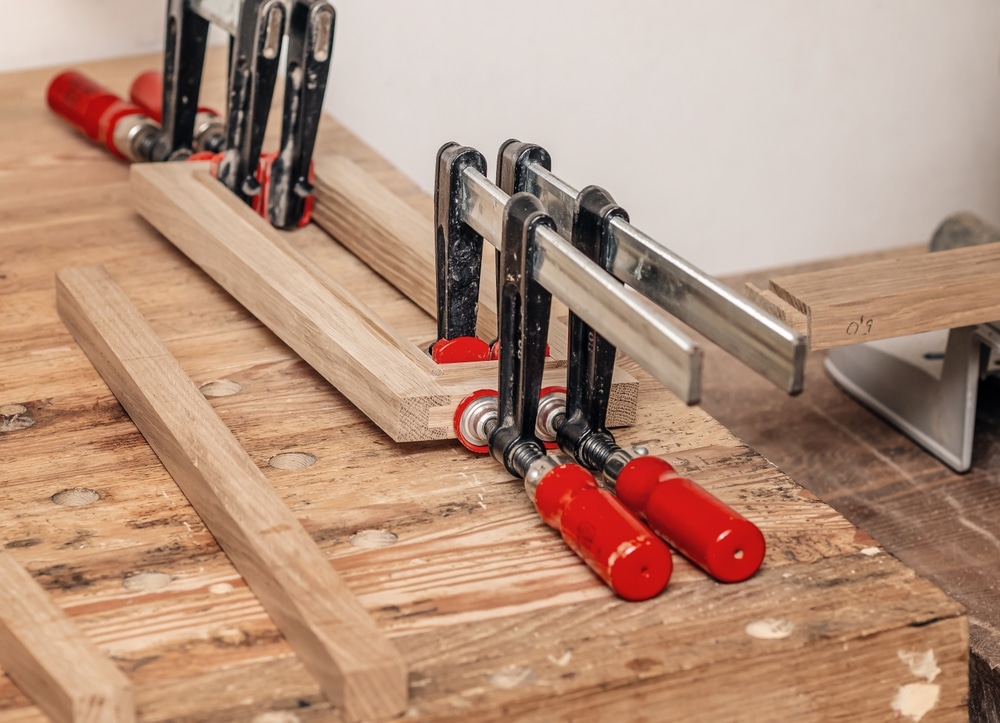
Clamps (if necessary):
To secure the worktop during sanding or oiling, especially if it’s been removed from the kitchen.
Sanding attachment (if using an orbital sander):
Ensure you have the appropriate sanding attachment for your orbital sander.
Sanding Dust Collection System (optional):
If you want to minimise dust in your workspace, consider using a dust collection system or a shop vacuum with a fine dust filter.
Lint-Free Cloths or Rags:
For wiping away excess oil and achieving a smooth finish.
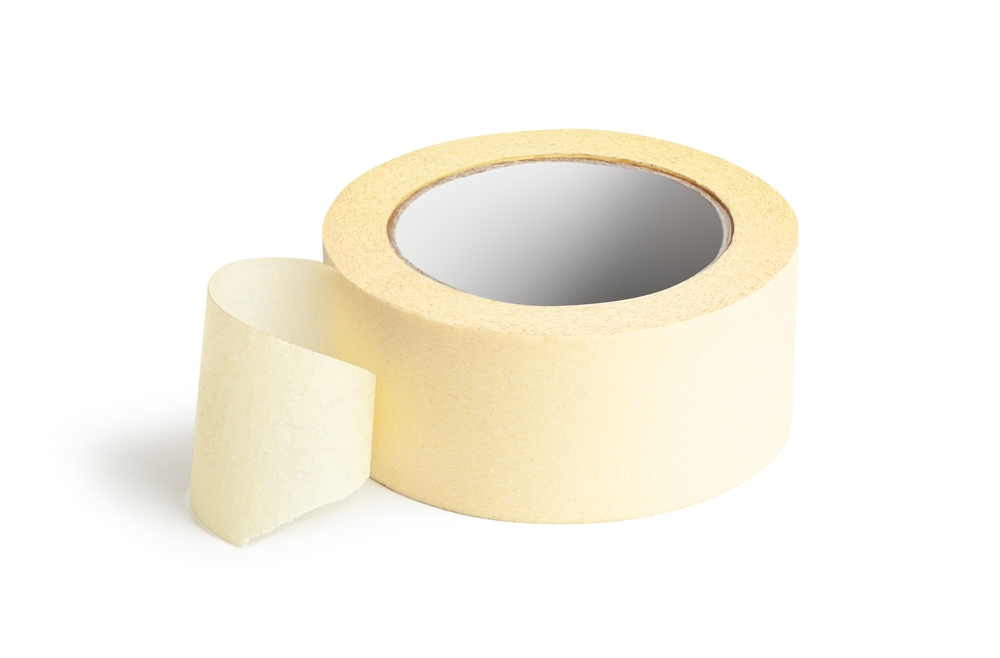
Masking tape (if necessary):
To protect adjacent surfaces or areas that should not come into contact with the oil.
Utility Knife:
To trim or remove any masking tape or protective plastic.
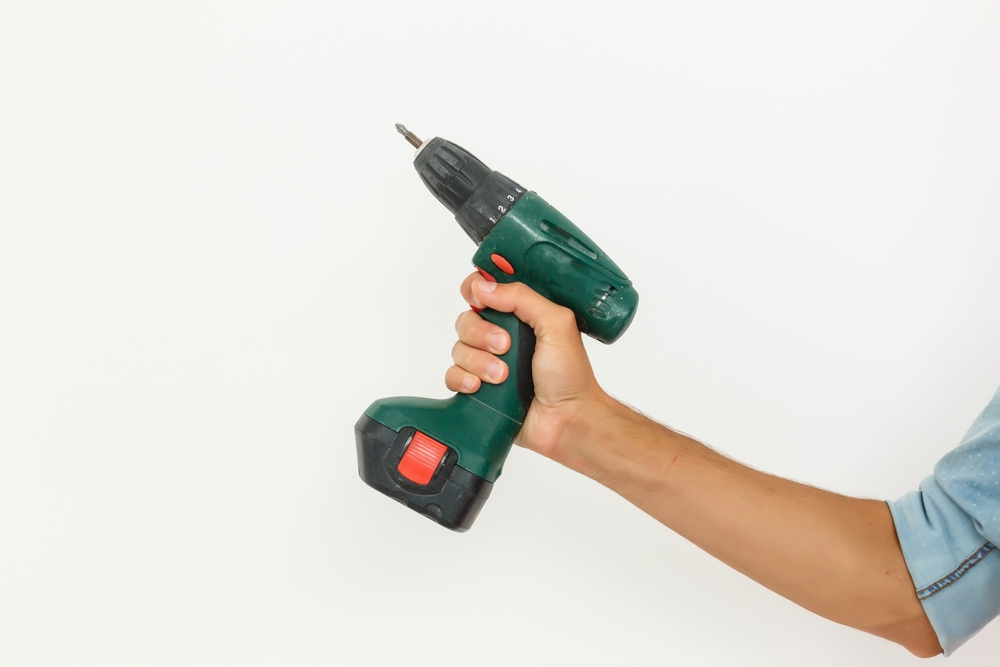
Screwdriver or appropriate tools (if removing the worktop):
If you need to detach the worktop from cabinets or support structures,.
Step-by-Step Kitchen Worktop Sanding and Oiling Guide
Step 1: Gather Your Materials and Tools
Before you begin, make sure you have all the necessary materials and tools listed in the previous section. Ensure your workspace is well-ventilated and that you’re wearing the appropriate safety gear.

Step 2: Prepare the Work Area
- Remove any items from your kitchen worktop and clear the surrounding area. Cover cabinets, appliances, and the floor with drop cloths or plastic sheeting to protect them from dust and oil spills.
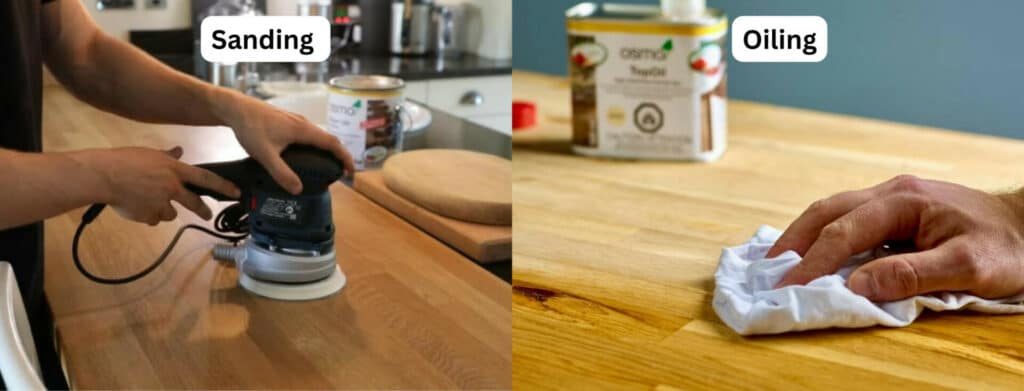
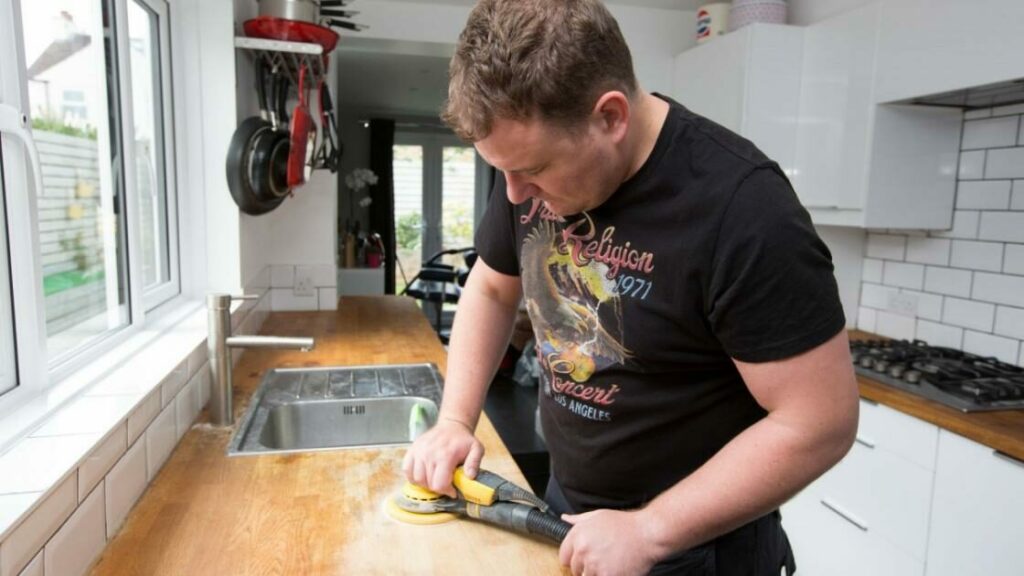
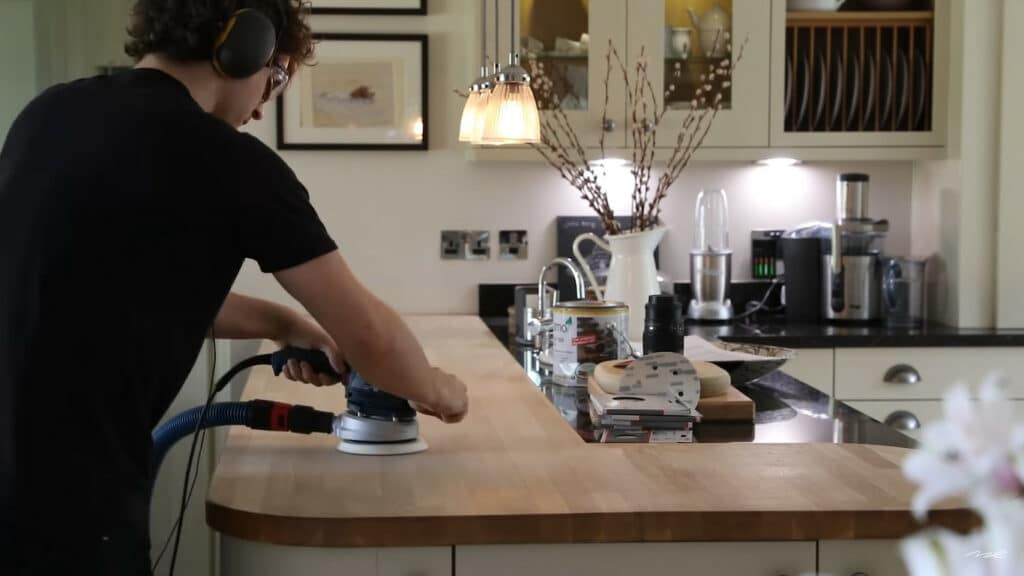
Step 3: Sanding
- Assess the Condition: Examine the worktop to determine the level of sanding required. Start with a coarser grit sandpaper (around 80–100) for deep scratches or stains, and progress to finer grits (220–320) for a smoother finish.
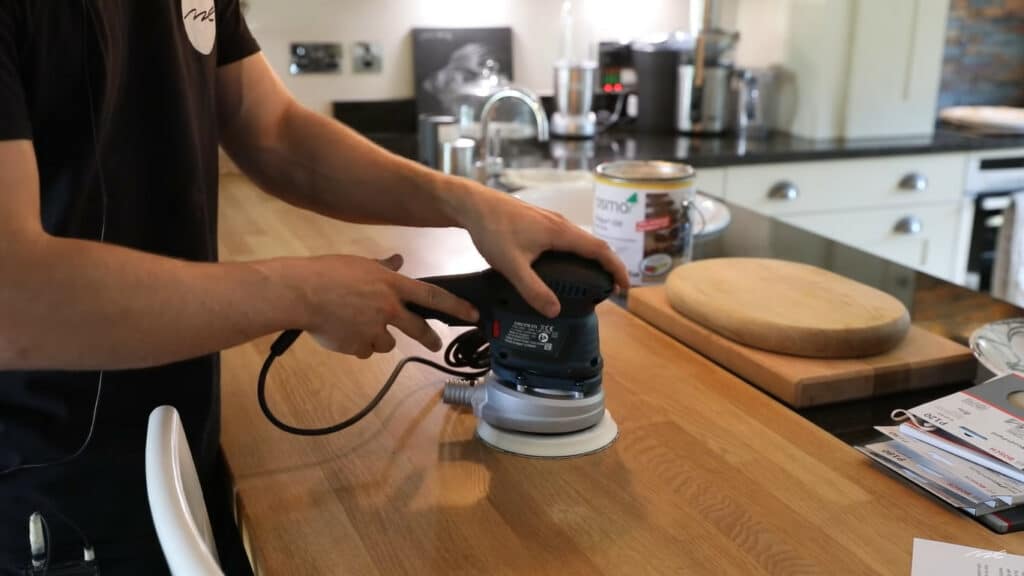
- Sand the Surface: If using a sanding block, wrap the sandpaper around it. If using an orbital sander, attach the appropriate sanding pad. Sand the worktop’s surface evenly, moving with the grain of the wood. Pay extra attention to any damaged or uneven areas.
- Remove Dust: Between grits, wipe away dust and debris with a tack cloth or a clean, dry microfiber cloth. Ensure the surface is clean before moving on to the next grit.
- Progressively Finer Grits: Repeat the sanding process with progressively finer grits until you achieve the desired smoothness and remove all imperfections.
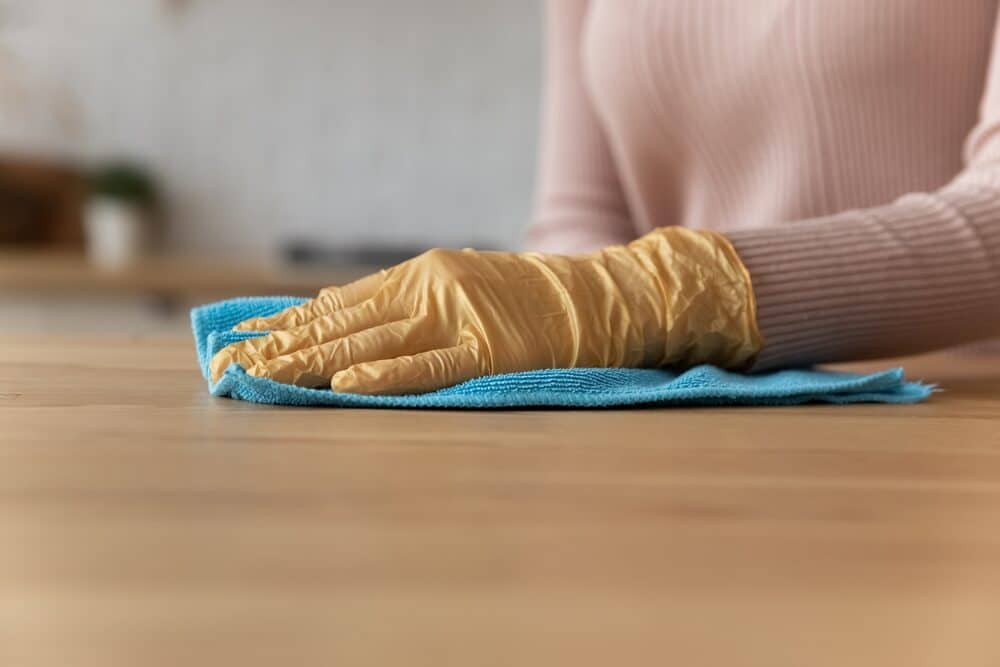
Step 4: Clean and prepare for oiling
- Remove All Dust: Thoroughly clean the worktop, ensuring there’s no sanding dust remaining. Use a tack cloth or a damp, lint-free cloth to wipe the surface clean.
- Allow the Surface to Dry Completely: Ensure the worktop is completely dry before proceeding to the next step.
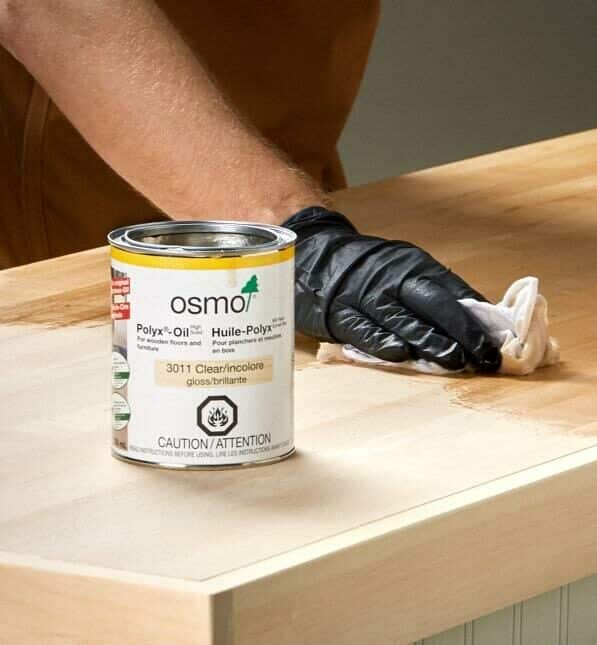
Step 5: Applying the Oil
- Stir the Oil: If your chosen oil requires stirring or mixing, do so according to the manufacturer’s instructions.
- Apply the Oil: Use a clean, dry paintbrush or a foam applicator to evenly apply a thin layer of wood oil to the worktop’s surface. Start from one end and work your way to the other, ensuring complete coverage.
- Wait for Absorption: Allow the oil to soak into the wood for the recommended time specified in the product instructions. This typically ranges from 15 minutes to several hours, depending on the type of oil used.
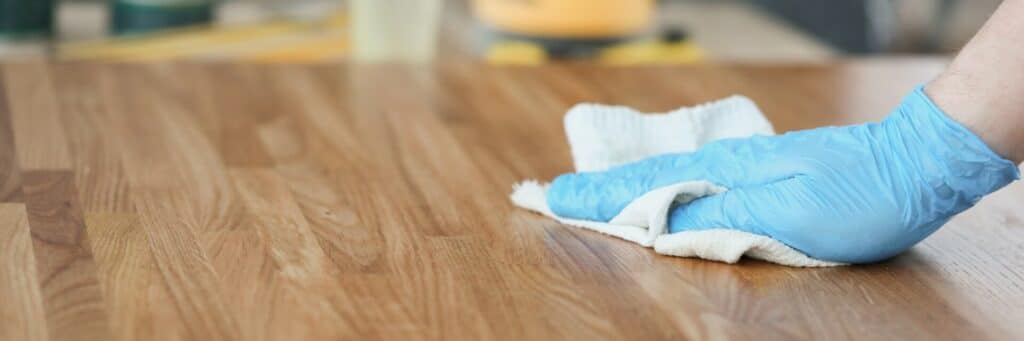
- Wipe Off Excess Oil: Using a clean, lint-free cloth or rag, gently wipe off any excess oil from the surface. Be thorough, but avoid leaving any puddles or streaks.
Step 6: drying and curing
- Allow to Dry: Let the oiled worktop dry for the recommended drying time, typically 24-48 hours. Keep the area well-ventilated during this period.
- Repeat if necessary: Depending on the oil used and the desired level of protection, you may need to apply additional coats of oil. Follow the manufacturer’s instructions for applying subsequent coats and drying times.
Step 7: Final Touches
- Once the worktop is completely dry and cured, you can reattach it to the cabinets or support structures if it was removed. Remove any protective coverings from surrounding surfaces and appliances.
Step 8: Regular Maintenance
- To maintain the beauty and durability of your kitchen worktop, periodically inspect it for signs of wear and reapply oil as needed. Follow the manufacturer’s guidelines for routine maintenance.
Cost Breakdown
A cost breakdown for sanding and oiling your kitchen worktop will vary depending on several factors, including the size of your worktop, the condition it’s in, the type of materials you use, and whether you choose to do the work yourself or hire professionals. Here’s a general cost breakdown to help you estimate the expenses involved:

Materials:
- Sandpaper: The cost of sandpaper can vary based on the quality and quantity you need. Expect to spend between £10 and £30 for a variety of sandpaper grits.
- Sanding Block or Orbital Sander: If you don’t already own one, an orbital sander can range from £30 to £100 or more, depending on the brand and features.
- Tack Cloth or Microfiber Cloths: A pack of tack cloths or microfiber cloths can cost around £5 to £10.
- Wood Oil or Finish: The cost of wood oil or finish varies depending on the type and brand. A quart of high-quality wood oil can range from £10 to £30 or more.
- Paintbrush or Foam Applicator: Budget around £5 to £10 for a suitable applicator.
- Disposable Gloves: A pack of disposable gloves typically costs between £5 and £10.
- Stir Stick or Mixing Tool: If required, this is usually an inexpensive item, around £2 to £5.
Tools and safety gear:
- Safety Gear: Safety goggles, a dust mask, and ear protection, if necessary, can cost around £10 to £20 in total.
- Drop Cloth or Plastic Sheeting: Depending on the size of your workspace, expect to spend £10 to £20 for drop cloths or plastic sheeting.
- Worktable or Sawhorses: If you need to remove the worktop, you may need to purchase or rent sawhorses, which can cost around £20 to £50.
- Clamps (if necessary): Clamps, if needed, can range from £10 to £30 or more.
- Sanding Dust Collection System (optional): The cost of a dust collection system or shop vacuum with a fine dust filter varies widely, but a basic unit may start at £50 and go up from there.
- Lint-Free Cloths or Rags: Budget around £5 to £10 for a pack of lint-free cloths or rags.
- Masking Tape (if necessary): The cost of masking tape is relatively low, around £3 to £5.
- Utility Knife: If you don’t already have one, a utility knife can cost £5 to £10.
Labour costs (if hiring professionals):
If you choose to hire professionals to sand and oil your kitchen worktop, labour costs will depend on your location, the size of the project, and the rates charged by the service provider. On average, professional services for sanding and oiling a worktop can range from £200 to £500 or more, excluding materials.
Total Cost:
To estimate your total cost accurately, add up the expenses for materials, tools, safety gear, and any professional labour charges, if applicable. Keep in mind that the cost will vary based on the specifics of your project and your location.

DIY vs. professional services
Choosing between a DIY approach and professional services for sanding and oiling your kitchen worktop depends on several factors, including your skills, available time, budget, and the condition of your worktop. Here’s a comparison of the two options to help you make an informed decision:
DIY (Do-It-Yourself):
Advantages:
- Cost Savings: DIY is generally more cost-effective as you won’t incur labour charges. You’ll only need to purchase materials and tools.
- Flexibility: You can work at your own pace and schedule, allowing you to fit the project into your free time.
- Learning Opportunity: Sanding and oiling your worktop yourself can be a valuable learning experience, and you’ll gain a sense of accomplishment.
- Customisation: You have full control over the process, from selecting the materials to the finishing touches, allowing for customisation to match your preferences.
Considerations:
- Skill and Experience: Sanding and oiling require some level of skill and experience to achieve professional-looking results. If you’re not confident in your abilities, there’s a risk of making mistakes.
- Time-Consuming: DIY projects can be time-consuming, particularly if you’re not familiar with the process. You’ll need to set aside enough time for sanding, drying, and oiling.
- Initial Investment: While DIY can be cost-effective, there is an initial investment in purchasing tools and materials.
- Potential for Errors: Mistakes made during the DIY process can result in an uneven finish or damage to the worktop, which may be costly to rectify.
Professional Services:
Advantages:
- Expertise: Professional service providers have the experience and expertise to deliver high-quality results. They are skilled in handling various worktop materials and can ensure a flawless finish.
- Time-efficient: Professionals can complete the project more quickly and efficiently than most DIYers. They have the tools and knowledge to expedite the process.
- Guaranteed Results: Reputable professionals often provide warranties or guarantees for their work, giving you peace of mind regarding the quality of the job.
- Less Hassle: Hiring professionals means you don’t have to worry about purchasing materials, tools, or dealing with cleanup. They take care of everything.
Considerations:
- Cost: Professional services come with labour charges, which can significantly increase the overall cost compared to a DIY project.
- Scheduling: You may need to align your schedule with the availability of the service provider, which can be less flexible than DIY.
- Research and Selection: Finding a reputable professional or company may require some research and vetting to ensure they meet your expectations.

Maintenance and longevity
Maintenance and longevity are key considerations when it comes to keeping your kitchen worktop in top condition after sanding and oiling. Proper maintenance can significantly extend the lifespan of your worktop and preserve its beauty. Here are some maintenance tips to ensure longevity:
Regular Cleaning:
- Wipe down your worktop regularly with a damp, lint-free cloth to remove dust, crumbs, and spills. Avoid abrasive scrubbers that can scratch the surface.
Avoid excessive moisture:
- Be cautious about allowing standing water or excessive moisture to sit on the worktop for extended periods of time. Prolonged exposure to moisture can lead to warping or discoloration.
Use cutting boards and trivets:
- Use cutting boards when chopping or slicing to protect the worktop from knife marks. Use trivets or hot pads to shield the surface from hot cookware to prevent scorching or heat damage.
Reapply oil as needed:
- Monitor the condition of your worktop’s finish. When it starts to look dry or loses its sheen, reapply wood oil according to the manufacturer’s recommendations. This helps maintain the protective barrier and enhances the wood’s appearance.
Repair minor damage promptly:
- Address minor scratches or dings promptly by lightly sanding the affected area and reapplying oil. This prevents small issues from turning into more extensive damage.
Avoid harmful chemicals:
- Refrain from using harsh or abrasive cleaning chemicals on the worktop, as they can strip away the protective oil finish. Stick to mild, non-abrasive cleaning solutions.
Handle with Care:
- Be mindful of how you handle heavy objects on the worktop. Avoid dropping or dragging heavy items, as this can dent or damage the wood.
Regular Inspections:
- Periodically inspect the worktop for signs of wear, such as deep scratches, stains, or areas where the oil has worn thin. Address these issues promptly to prevent further damage.
Prevent Sunlight Exposure:
- If your worktop is near a window, consider using window treatments to block direct sunlight. Prolonged exposure to sunlight can cause the wood to fade and age prematurely.
Maintenance Schedule:
- Establish a regular maintenance schedule that includes cleaning, inspection, and re-oiling as needed. How often you’ll need to reapply oil depends on the type of wood and the amount of wear and tear your worktop receives.
Follow the manufacturer’s guidelines.
- Always follow the manufacturer’s guidelines and recommendations for the specific wood oil or finish you’ve chosen. Different products may have varying maintenance requirements.
Choosing the Right Option:
- Sanding and Oiling: Ideal for worktops in decent condition with minor wear and tear. It’s cost-effective, eco-friendly, and provides a fresh look without the need for extensive renovations. DIY enthusiasts can take advantage of this option.
- Refinishing: best suited for worktops with more significant damage or if you want to dramatically change the worktop’s appearance. Professional refinishing can deliver excellent results.
- Worktop Replacement: Appropriate when the existing worktop is beyond repair or if you’re undergoing a complete kitchen renovation and desire a different look or materials.
Ultimately, your decision should align with your budget, the current state of your worktop, your long-term goals, and your willingness to invest time, effort, and resources into the project. Each option has its merits, so choose the one that best fits your specific needs and circumstances.
Conclusion
In summary, the process of sanding and oiling your kitchen worktop offers a practical and cost-effective means of reviving and maintaining this vital component of your culinary space. Through the journey of this guide, we’ve uncovered the numerous advantages of this method, from restoring the worktop’s natural allure to extending its lifespan. The cost-effectiveness, coupled with its environmentally friendly nature, makes it a sustainable choice that aligns with modern conservation values.
Equipped with the right materials and tools, our step-by-step guide empowers you to embark on a DIY endeavour that can transform your orkspace. The process may require some skill and patience, but the satisfaction of witnessing your worktop regain its former glory is immensely rewarding. With diligence and attention to detail, you can achieve professional-looking results in the comfort of your own home.
For those who prefer to leave the task to experts, the comparison between DIY and professional services provides valuable insights. While hiring professionals can save you time and ensure a flawless outcome, it comes with a higher cost. Your decision should be influenced by your budget, the condition of your worktop, and your comfort level with DIY projects.
Lastly, the maintenance and longevity tips offered here serve as a roadmap for preserving your worktop’s beauty for years to come. Regular care and attention will enable your worktop to withstand the rigours of daily kitchen use while maintaining its innate charm. Whether you choose to sand and oil your kitchen worktop yourself or enlist the help of professionals, the end result will be a space that reflects your commitment to both aesthetics and sustainability.

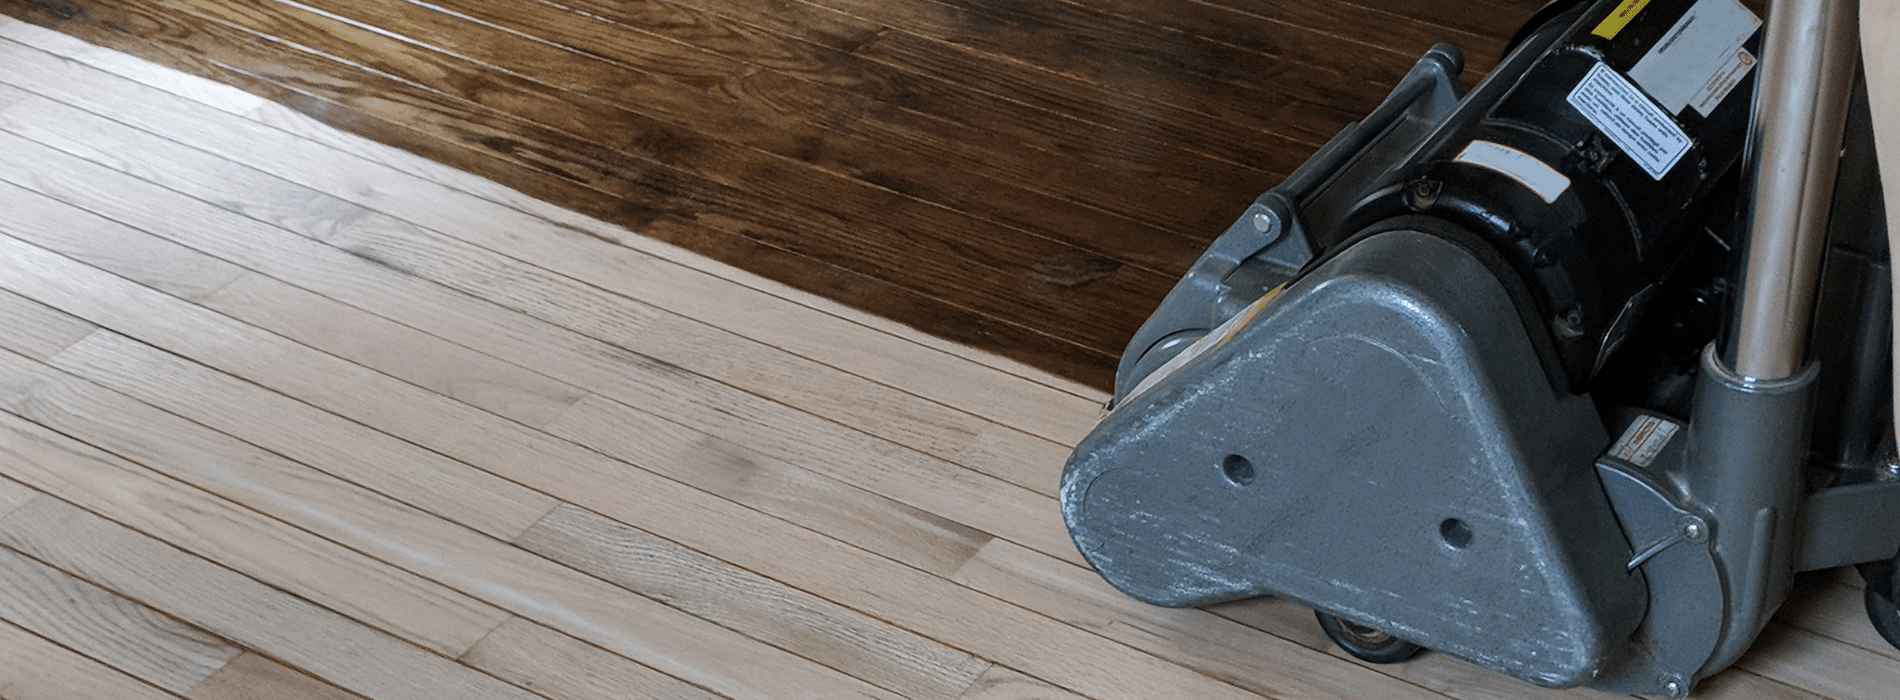
Sanding
We provide virtually dust-free sanding with our continuous belt machinery with mobile extraction units, giving you a safer environment for your family.
Oiling
This organic finish not only adds beauty to your home but also has exceptional water-repellent characteristics, making it easier to clean and maintain.
Waxing
This natural floor finish offers the softest and most mellow appearance – and leaves your floor able to breath.
Buffing
Using soft buffing machines (and hand-polishing where required) will bring a wonderful sheen to your newly-finished floor.
Repairs
We offer a full assessment of your wooden floors to determine what repairs are needed to provide the perfect working surface for the later stages of sanding, staining and sealing.
Restoration
We offer a comprehensive restoration process designed to address floors that are improperly fitted or damaged over time through wear and tear.
Request a fixed price quote for your wood floor restoration now
Simply enter your postcode below to get started.
Services
Wood Floor Sanding Wood Floor Restoration Wood Floor Scratch Repair Squeaky Wood Floor Repair Parquet Floor Sanding Parquet Floor Restoration Commercial Floor Sanding Church Floor Sanding Community Centre Floor Sanding School Floor Sanding Gap Filling Gap Filling with ResinCopyright © Mr Sander®
Privacy & Cookies Terms & Conditions Complaints Procedure Cancellation Rights Sitemap

Get An Instant Price Estimate Before You Go…
Simply enter the rooms you need sanded and we’ll provide you with a price estimate instantly! Try our price calculator now.
Get a Price Estimate NowLocal Floor Sanding Experts
Over 500 5-Star Reviews
Safe, Dust Free Sanding
Operating Since 1994