London:
Nationwide:
25,000+
Floors Restored
27 Years Experience
Wood Flooring Association Certified
The Most Effective Drum Sanding Techniques for Removing Scratches
Posted on August 24, 2023
Drum sanding
Mastering Drum Sanding: Erase Scratches and Elevate Woodworking
Ah, the heart and soul of the woodworking realm: the art of sanding. Few tasks in carpentry possess the same meditative quality. Yet, despite its seeming simplicity, mastering this task is no trifling matter. Especially when it comes to the precision of drum sanding. Allow me to elucidate the ins and outs, the dos and don’ts, and the secrets of rendering wood smooth and pristine.

Understanding the nature of wood and scratches
Before plunging headlong into the heart of the matter, it’s paramount to understand the nature of wood and the scratches we’re attempting to erase. Every scratch tells a story, whether from careless handling, previous failed endeavours, or simple wear and tear. Identifying the depth and nature of these scratches is half the battle.

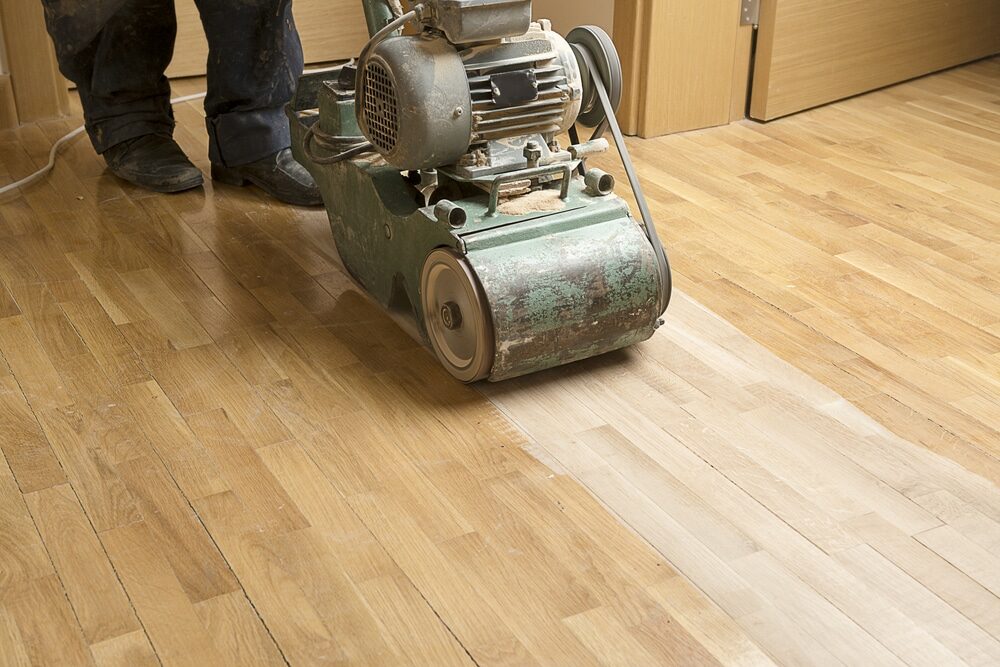
The Drum Sander: A Brief Overture
The drum sander, to those unacquainted, may appear to be a brute-force tool. In reality, it’s a delicate instrument, blending strength with finesse, capable of elevating woodworking to a form of high art.
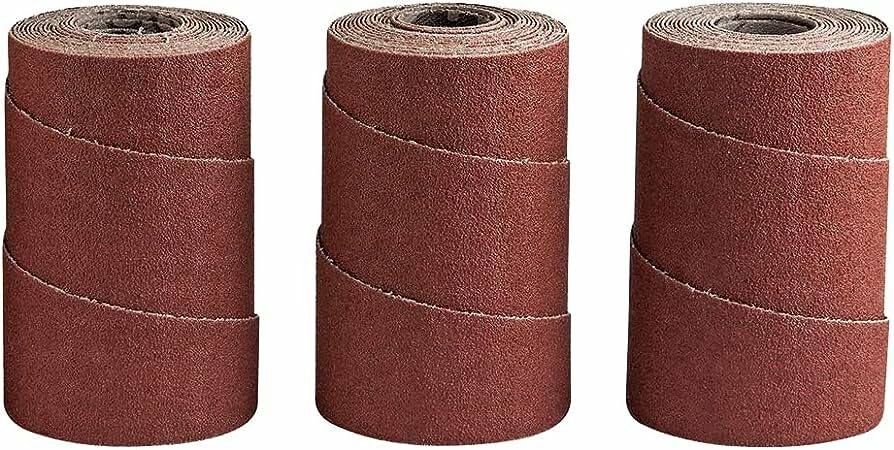
1. Choosing the Right Grit:
Your first step in the world of drum sanding is choosing the grit of your sandpaper. A coarser grit (think 60–80) is your go-to for those deeper, more obstinate scratches. However, be warned: a hasty or overzealous hand may well introduce new marks. For finer scratches, a grit in the 120–150 range proves most efficacious.
2. Perfecting the Motion:
Drum sanding isn’t merely about power but also motion. A steady, even pass ensures uniformity and prevents any unwelcome divots. Remember, it’s akin to a waltz; grace and rhythm take precedence over speed.
3. Avoid pressing too hard.
The drum sander, despite its gentle hum, is a beast of a tool. Allow it to do the heavy lifting. Applying excessive force is not only tiring but can also further mar your precious wood. Let the weight of the machine guide you.
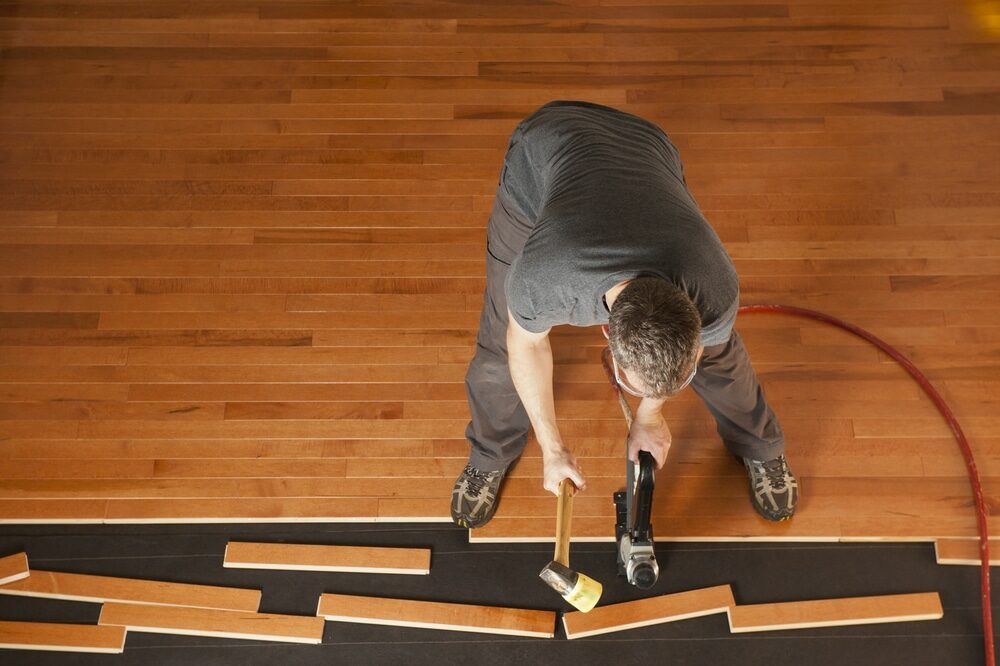
4. Grain Direction: Sanding Alongside Nature
Always sand in the direction of the grain. It’s the natural pattern, the very life force of the wood. Working against it is not only ineffective but also borders on sacrilege. It exacerbates scratches and can spell disaster for your project.
5. Incremental Steps: The Gradual Climb to Perfection
Don’t leap from a coarse grit to an exceedingly fine one. Transition gradually. After treating your wood with, say, an 80-grit, proceed to a 100 or 120. These incremental steps are the very essence of craftsmanship.
6. Keeping Your Sandpaper Clean:
A clogged sander is as effective as a blunt knife in a gourmet kitchen. Frequently inspect and clean your sandpaper. It ensures efficiency and prolongs the life of your tool.

7. Final Touches: The Hand Sanding Finale
Once the drum sander has played its part and the bulk of the scratches are mere memories, a final touch with hand sanding using a finer grit brings out the wood’s inherent charm. This seemingly trivial step seals your endeavor with a stamp of excellence.
Common Pitfalls and How to Avoid Them:
- Oversanding: Often, in our quest for perfection, we tend to overdo things. Sanding beyond the requisite level wastes your efforts and can weaken the wood.
- Skipping Grits: Each grit has its own role to play. Jumping from a coarse to an ultra-fine grit can leave behind minute scratches that tarnish the final outcome.
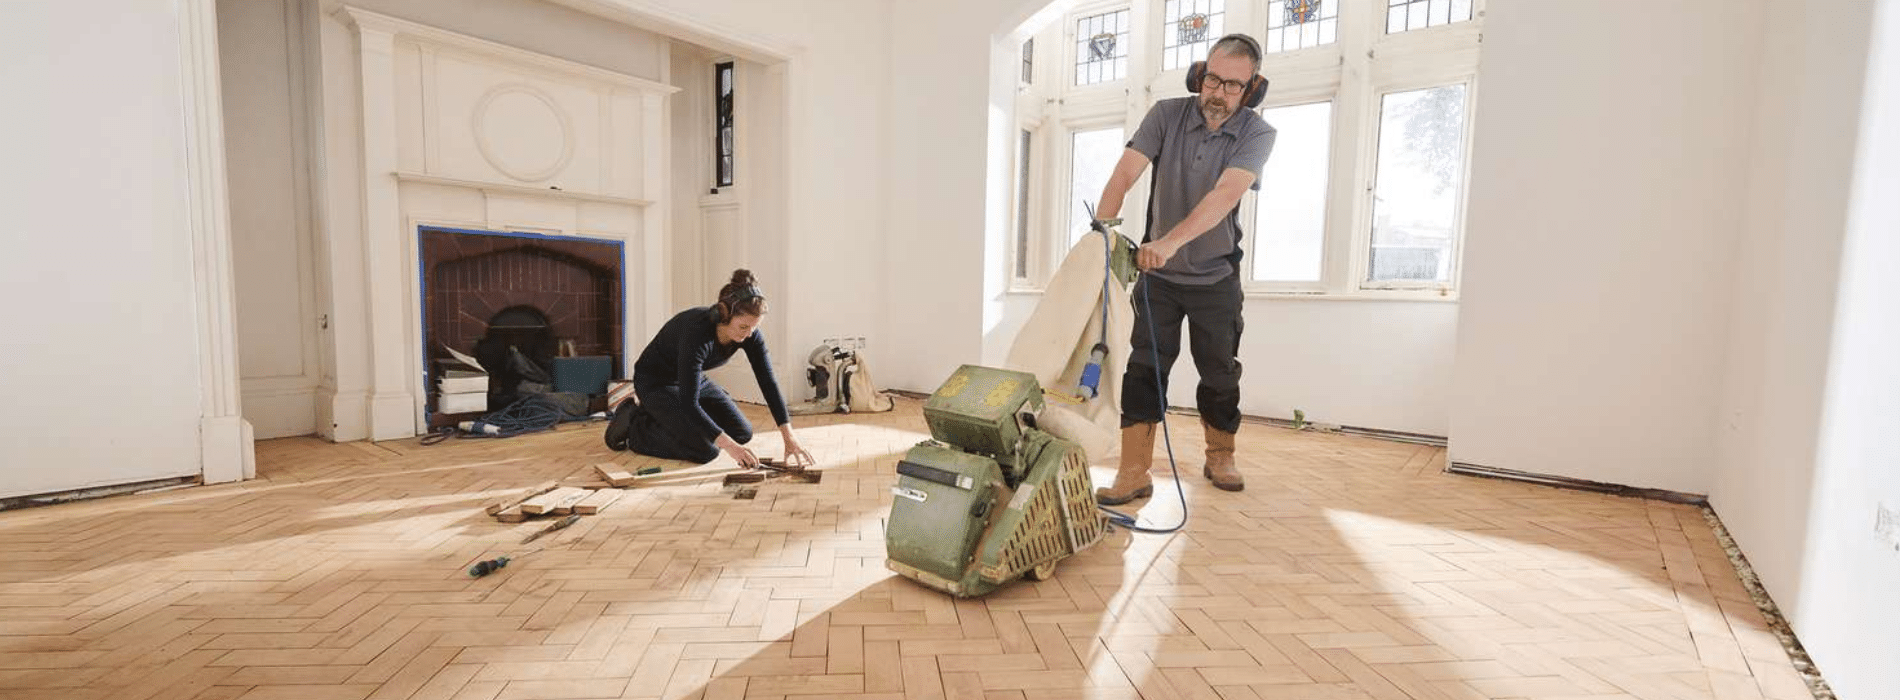
- Ignoring Dust Collection: Sawdust isn’t merely an annoyance; it’s hazardous. Effective dust collection is a must, both for your health and to ensure a clear view of your work.
The Drum Sander: Beyond the Basics
Now that we’ve traversed the introductory elements of drum sanding, it’s time to delve deeper into this art form, uncovering the nuances and subtleties that can elevate your woodwork from mere craft to sheer artistry.
The Dance of Drum Speed and Feed Rate:
Every woodworker, be it an amateur or a master, should revere the tandem of drum speed and feed rate.
- Drum Speed: This determines how swiftly the sandpaper revolves around the drum. A higher speed is excellent for swift stock removal, but a gentle touch is needed to ensure no burns or marks.
- Feed Rate: This dictates how quickly the wood is passed under the drum. A slower feed rate combined with a high drum speed can result in a smoother finish, but be wary of burnishing or burning the wood.
Balancing these two elements is akin to tuning a musical instrument. One must harmonise the pair, adjusting as per the wood’s demand, ensuring a melodious outcome.
The Wonders of Double Sanding:
Double sanding is the equivalent of dotting one’s ‘i’s and crossing one’s ‘t’s. After your primary sanding, consider using a slightly finer grit and going over your workpiece again. This refines the surface, readying it for finishes or further enhancements.
Moistening: Raising the Grain
A seasoned woodworker’s secret lies in the simple act of moistening the wood. This causes the wood fibres to swell, raising the grain. Once dry, a quick, light sanding can shave off these raised fibres, resulting in a remarkably smooth surface. It ensures your finish doesn’t raise the grain unexpectedly, leaving behind a bumpy texture.
Reflections and Raking Light:
Scratches and imperfections can be cunning, hiding from a casual gaze. By employing raking light—light that shines across the wood’s surface rather than directly upon it—one can spot these mischievous blemishes. This technique, borrowed from the world of painters, offers a fresh perspective, revealing the truths and flaws of your wood surface.
Beyond Wood: Working with Veneers and Laminates
While drum sanders are treasured in solid wood endeavours, they’re equally proficient with veneers and laminates. The rule of thumb here is a gentle hand and finer grits. Veneers, being thin, can be sanded through if one isn’t careful. Always sand with the grain and avoid excessive pressure.

In Conclusion:
To the layman, sanding may appear to be a mere preparatory step, a prelude to the grand concert of woodworking. However, those well-versed in the art know it for what it truly is: an intricate ballet where every step and every motion dictates the final outcome. In skilled hands, the drum sander is not just a tool but an instrument, breathing life into wood and making it sing and dance, free from the blemishes of time.
Remember, as in life, pursuing perfection in woodworking is not about brute force. It’s about understanding, patience, and, above all, love for the craft. Happy sanding, dear reader.
Some Useful Links:
- Stairs Sanding & Refinishing
- Floor Sanding Services
- School Floor Sanding
- Wood Floor Restorations
- Wood Floor Repairs
- Wood Floor Polishing
More from our Blog:
The Safety Precautions to Take When Using a Drum Sander for Floors
How to Achieve a Smooth and Even Finish with a Drum Sander
How to Choose the Right Abrasive Grit for Drum Sanding Floors
The Benefits of Using a Professional Drum Sander for Floor Sanding
How to Handle Drum Sanding of Softwood Floors
The Cost of Professional Drum Sanding Services for Wooden Floors
Tips for Effective Drum Sanding of Narrow and Hard-to-Reach Areas
The Differences Between Drum Sanding and Belt Sanding


Sanding
We provide virtually dust-free sanding with our continuous belt machinery with mobile extraction units, giving you a safer environment for your family.
Oiling
This organic finish not only adds beauty to your home but also has exceptional water-repellent characteristics, making it easier to clean and maintain.
Waxing
This natural floor finish offers the softest and most mellow appearance – and leaves your floor able to breath.
Buffing
Using soft buffing machines (and hand-polishing where required) will bring a wonderful sheen to your newly-finished floor.
Repairs
We offer a full assessment of your wooden floors to determine what repairs are needed to provide the perfect working surface for the later stages of sanding, staining and sealing.
Restoration
We offer a comprehensive restoration process designed to address floors that are improperly fitted or damaged over time through wear and tear.
Request a fixed price quote for your wood floor restoration now
Simply enter your postcode below to get started.
Services
Wood Floor Sanding Wood Floor Restoration Wood Floor Scratch Repair Squeaky Wood Floor Repair Parquet Floor Sanding Parquet Floor Restoration Commercial Floor Sanding Church Floor Sanding Community Centre Floor Sanding School Floor Sanding Gap Filling Gap Filling with ResinCopyright © Mr Sander®
Privacy & Cookies Terms & Conditions Complaints Procedure Cancellation Rights Sitemap

Get An Instant Price Estimate Before You Go…
Simply enter the rooms you need sanded and we’ll provide you with a price estimate instantly! Try our price calculator now.
Get a Price Estimate NowLocal Floor Sanding Experts
Over 500 5-Star Reviews
Safe, Dust Free Sanding
Operating Since 1994