London:
Nationwide:
25,000+
Floors Restored
27 Years Experience
Wood Flooring Association Certified
The Importance of Proper Hand Sanding for a Professional Finish
Posted on January 11, 2024
Floor sanding techniques
Mastering Hand Sanding for a Flawless Professional Finish
In the nuanced world of woodworking and craftsmanship, the final finish of a piece can unequivocally be the difference between the mundane and the magnificent. Among the arsenal of techniques at the disposal of a skilled craftsman, Hand sanding stands as a testament to his dedication to perfection. This seemingly simple process is, in fact, an art form in itself, demanding patience, precision, and a deep understanding of the material at hand.
Often overshadowed by the rapidity and efficiency of power tools, hand sanding harkens back to a time when meticulous attention to detail was the hallmark of a true artisan. In this article, we explore the importance of proper hand sanding and how it contributes to achieving a professional finish that resonates with quality and craftsmanship. From the selection of the right abrasive to the application of time-honoured techniques, we’ll uncover the secrets to transforming a mere piece of wood into a work of art.
In this exploration of hand sanding, we delve into not just the ‘how’ but also the ‘why’ behind this essential technique. Hand sanding isn’t merely about abrasion or smoothing; it is about understanding the character of the wood, respecting its grain, and gently coaxing out its best qualities. This process, often overshadowed by the speed and efficiency of modern machinery, is where the true soul of craftsmanship lies. It demands a connection between the artisan and the material, a connection that is often lost in the whirl of a power sander.
Moreover, hand-sanding offers a level of control unmatched by any machine. It allows craftsmen to feel the surface, to understand the subtle nuances of the wood, and to make micro-adjustments that can make all the difference in the final product. This manual process paves the way for finishes that are not just seen but felt—finishes that invite touch and admiration. In the following sections, we will explore the techniques, tools, and tips needed to master this art, ensuring that your woodworking projects are not just made but meticulously crafted. So, let us embark on this journey, armed with knowledge and a newfound respect for this fundamental skill.
Understanding the Basics of Hand Sanding
The practice of hand sanding is much more than an act of smoothing surfaces; it is the foundation upon which a quality finish is built. To truly master this craft, one must first understand its basic principles, tools, and applications.
The Role of Hand Sanding in Finishing
At its core, hand-sanding is about control and subtlety. It allows for an unmatched level of precision that machine sanding can seldom offer. This meticulous process ensures not only the removal of imperfections but also the preparation of the surface for further treatment, such as staining or varnishing. It’s the bridge between the raw material and the final product, ensuring that every subsequent step is built on a flawless base.
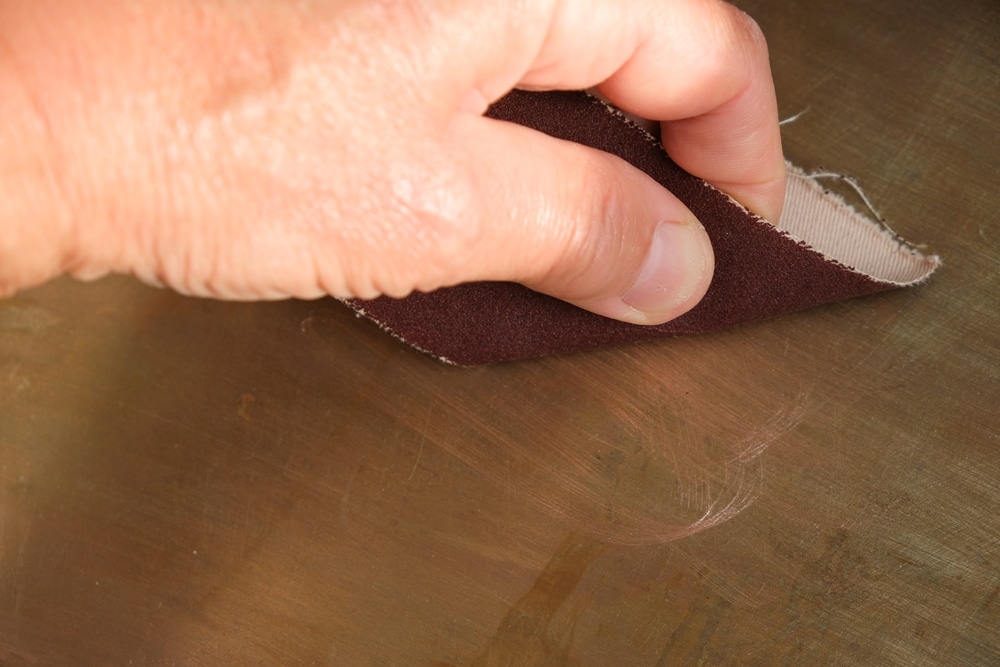
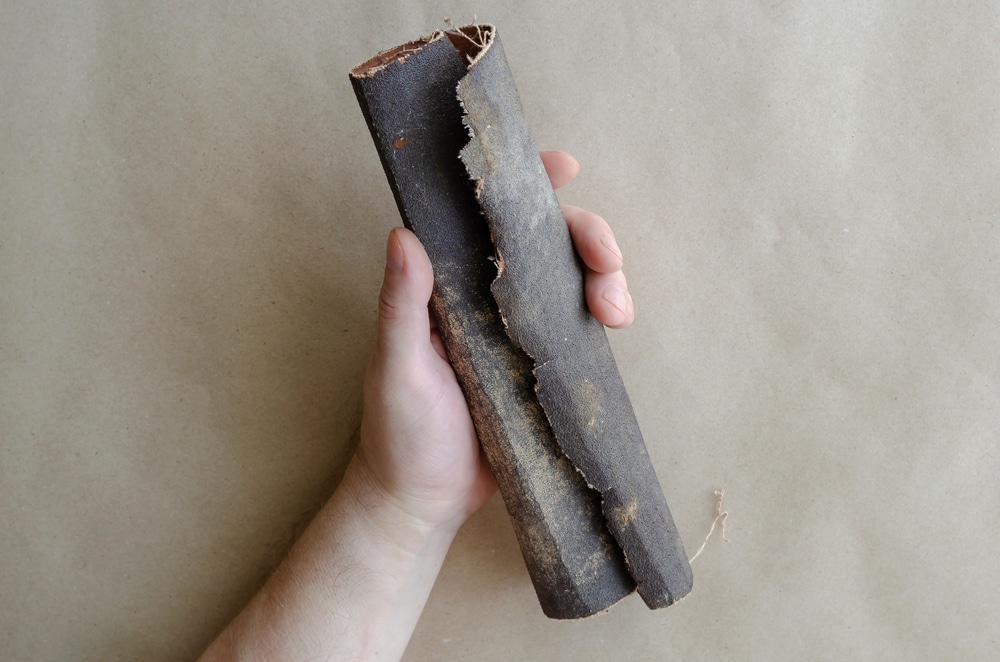
Selecting the Right Sandpaper
One of the crucial decisions in hand sanding is choosing the appropriate sandpaper. Sandpapers come in various grits, each serving a different stage of the sanding process. Coarser grits (lower numbers like 60–80) are used for initial surface levelling and removing larger imperfections. Medium grits (100–150) are best for smoothing the surface further and preparing it for finishing. Finer grits (180 and above) are used for final touches, creating a surface that is smooth to the touch and eye.
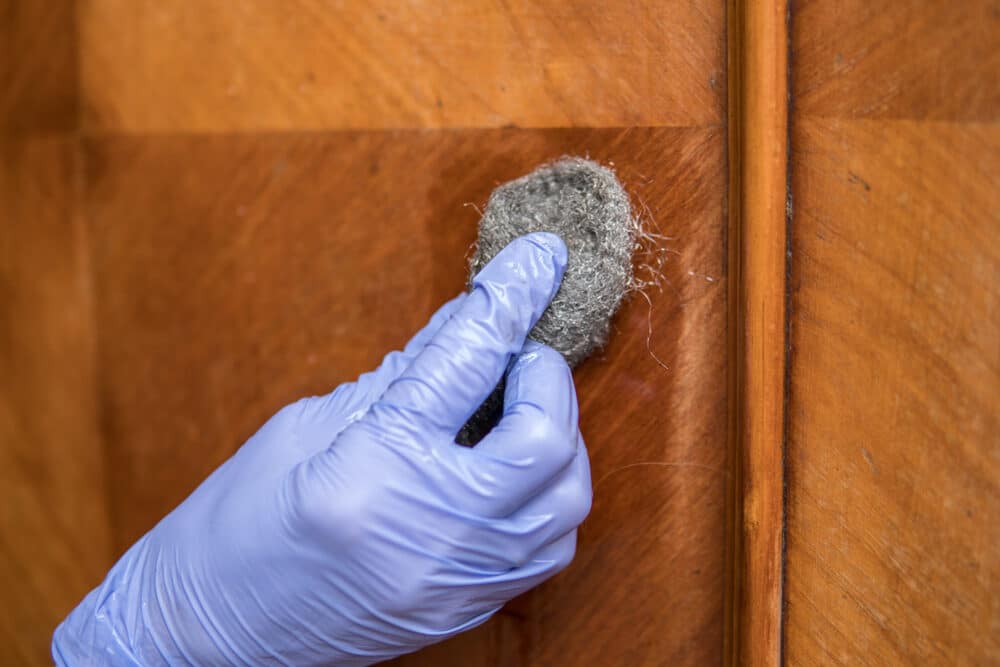
The type of abrasive material on the sandpaper also plays a vital role. Materials like aluminium oxide or silicon carbide are common and effective for woodworking. Additionally, the backing material of the sandpaper (paper, cloth, etc.) affects its flexibility and durability.
Understanding these basics sets the stage for the actual process of hand sanding, where technique and skill come to the forefront. It’s here that the true artistry of the craftsperson shines, as they transform the raw, coarse surface into a smooth and inviting canvas, ready for the next step in the creation process.

The Techniques of Hand Sanding
Mastering the techniques of hand sanding is crucial for achieving a professional finish. It involves more than just moving sandpaper over a surface; it requires a thoughtful approach and refined technique to ensure the best results.
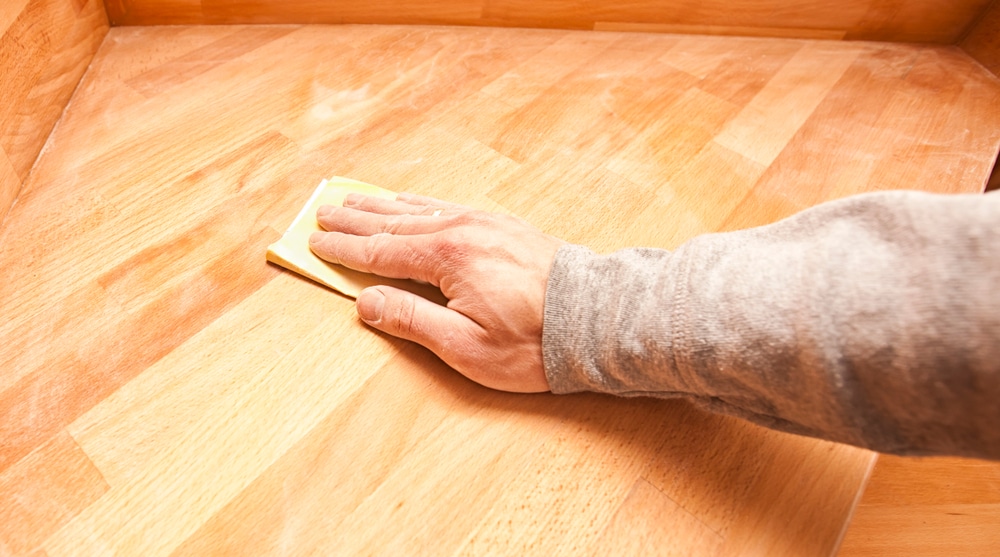
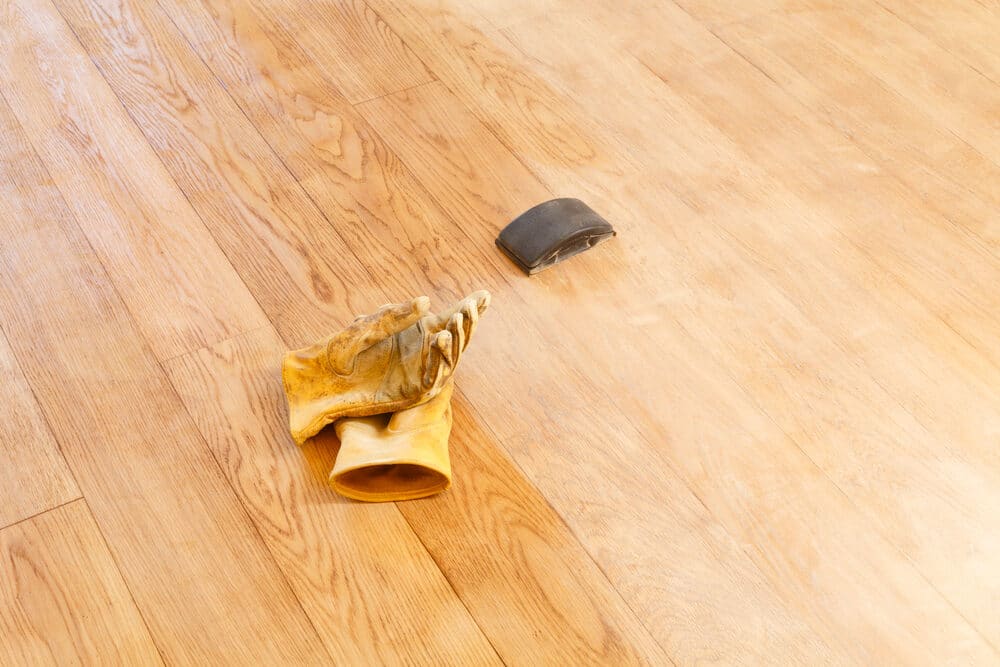
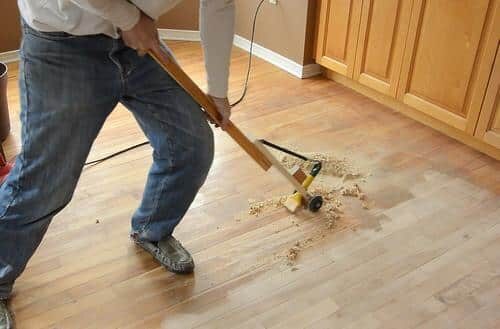
Preparing the Surface
The first step is always to prepare the surface. This involves cleaning off any dirt, grease, or old finish that might interfere with the sanding process. A thorough wipe-down with a tack cloth or a slightly dampened rag can be beneficial. If you’re dealing with a previously finished or painted surface, you might need to use a stripper or scraper to remove these layers before you start sanding.
The Art of Sanding: Techniques and Patterns
Once the surface is ready, the actual sanding begins. Here are some key techniques:
Start with a Coarser Grit:
Begin with a lower-grit sandpaper to remove the major imperfections and smooth out uneven areas. This stage requires the most material removal.
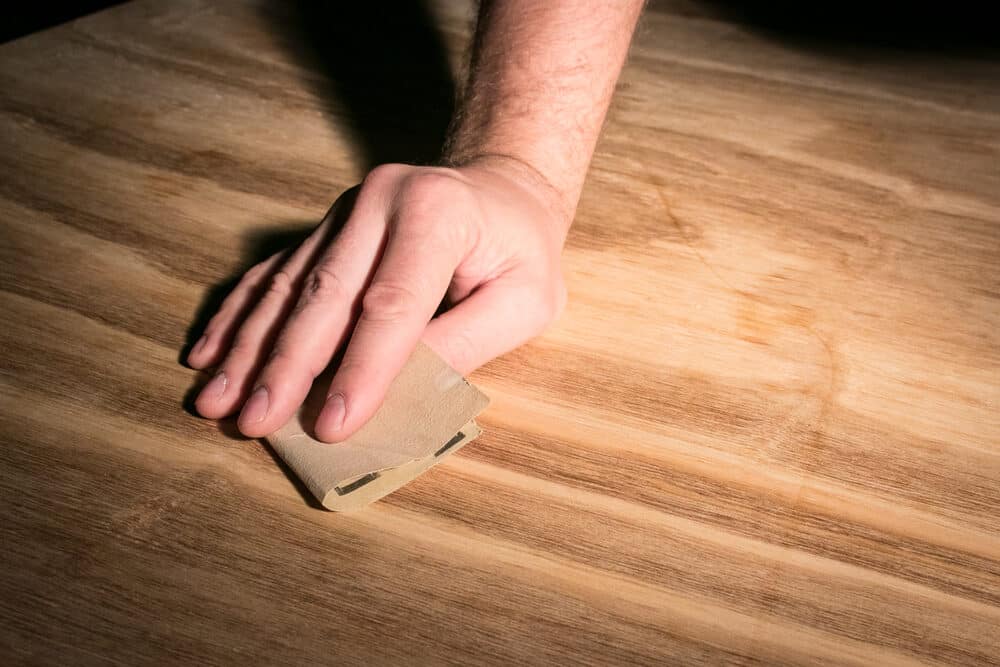
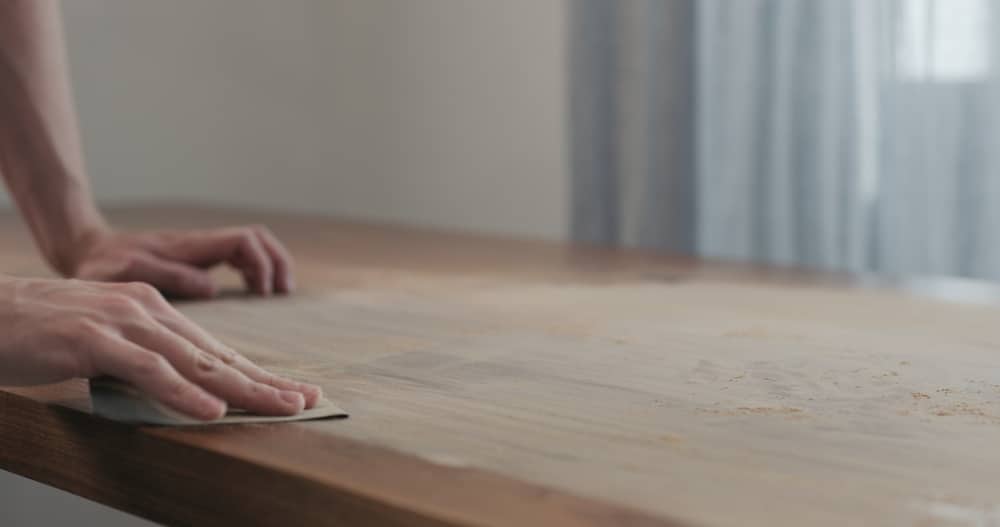
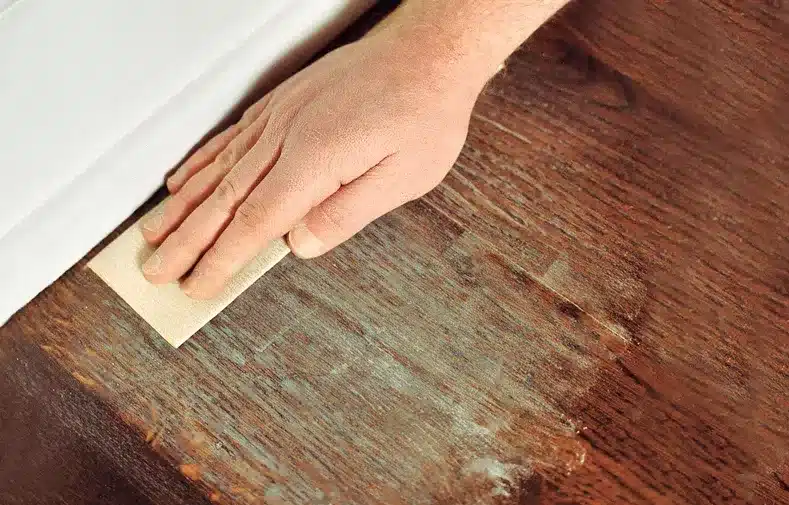
Sand Along the Grain:
Always sand in the direction of the wood grain, not against it. Sanding across or against the grain can create scratches and damage the wood’s natural pattern.
Use the Right Pressure:
Apply even pressure as you sand. Too much pressure can gouge the wood, while too little might be ineffective. The key is to find a balance, letting the sandpaper do the work without excessive force.
Change Grits Gradually:
Progress through finer grits of sandpaper as you continue. Each successive grit should remove the scratches from the previous one. Jumping too quickly to a very fine grit can leave deeper scratches behind.
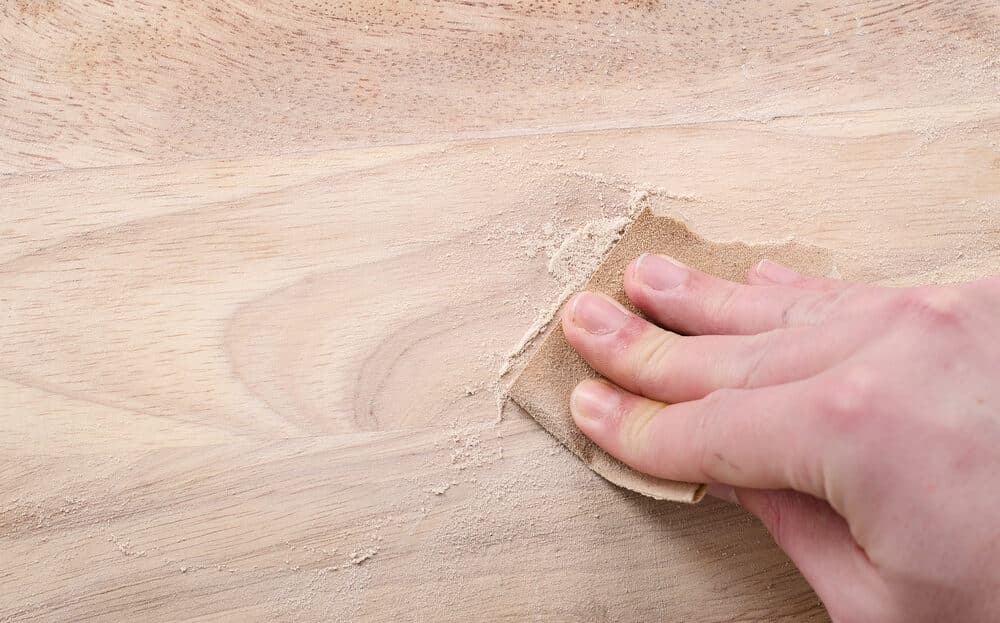
Check Your Progress:
Regularly wipe the surface with a clean cloth to remove sawdust and check your progress. Look for any scratches or imperfections that need more attention.
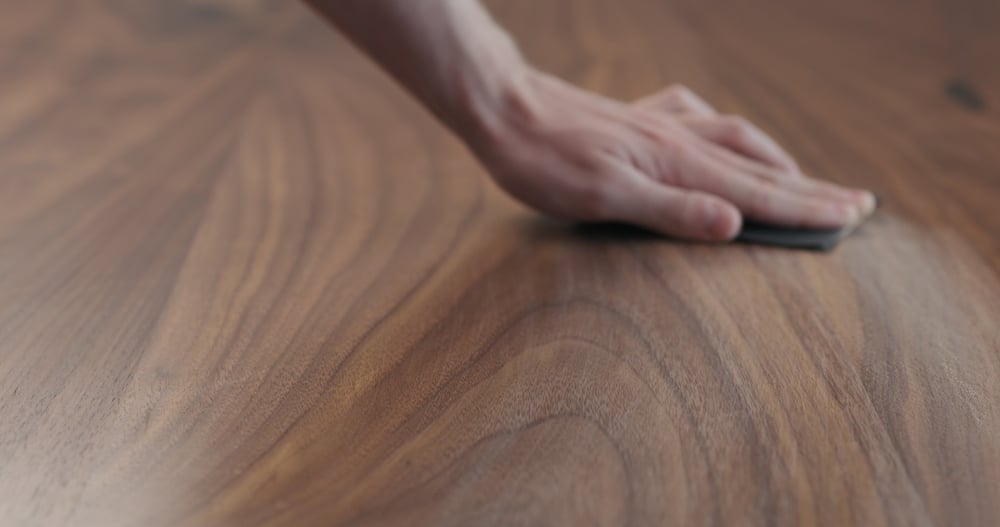
Finish with a Very Fine Grit:
For the smoothest finish, conclude with a very fine-grit sandpaper. This final pass should be gentle and thorough, ensuring a surface ready for finishing touches like staining or sealing.
Tips for Achieving a Professional Finish
Achieving a professional Wood floor finish through hand sanding is a blend of technique, patience, and attention to detail. Here are some valuable tips to help ensure your work reflects the highest standards of craftsmanship:
Pressure and Motion
- Even Pressure: Apply consistent pressure while sanding. Uneven pressure can lead to an irregular surface or unwanted indentations.
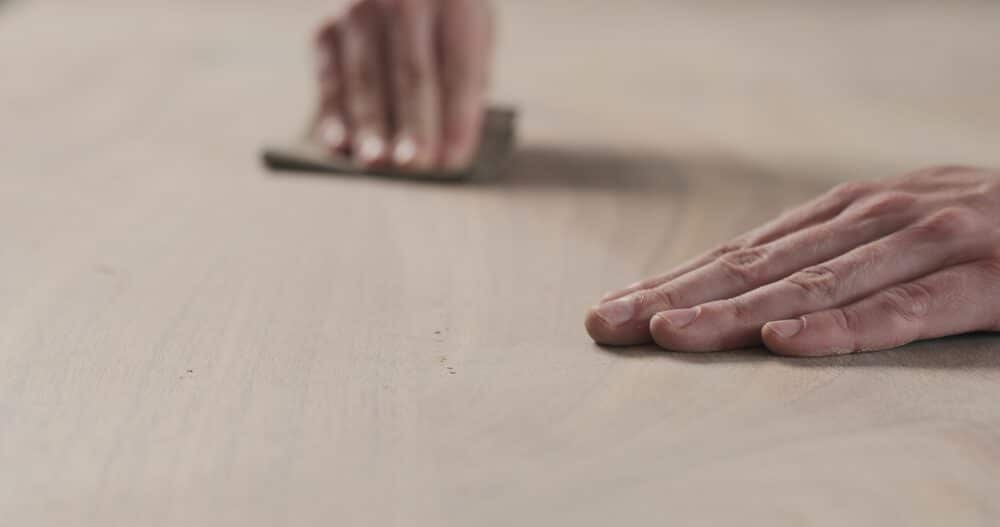
- Steady Motion: Use smooth, long strokes in the direction of the grain. Short, erratic movements can create scratches and uneven surfaces.
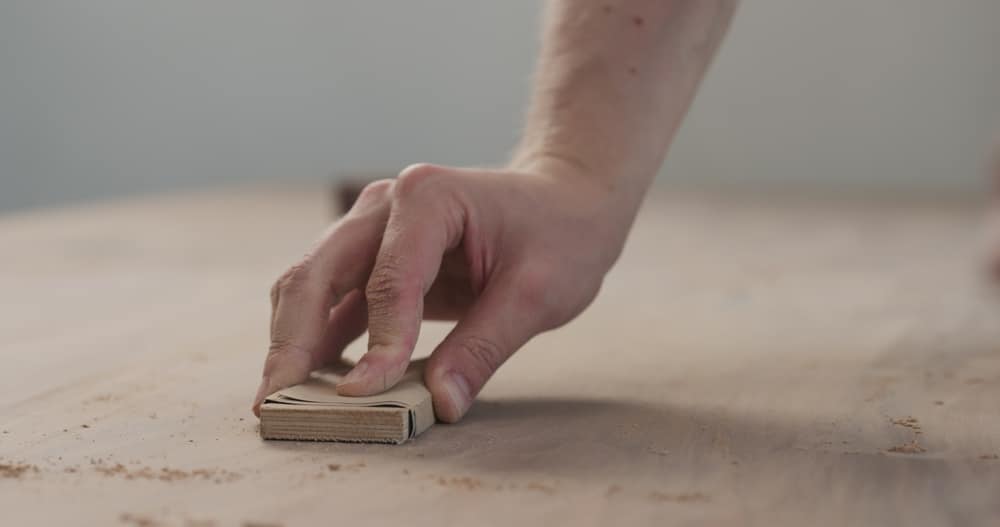
- Use a Sanding Block: For flat surfaces, a sanding block can help distribute pressure evenly. It also prevents rounding over edges and helps achieve a uniformly sanded surface.
- Sanding in Stages
- Gradual Progression: Move through sandpaper grits progressively, starting from coarser to finer grades. This step-by-step approach ensures that each grit’s scratches are smoothed out by the next finer grit.
- Inspect Regularly: Frequently stop and inspect the work. Use a bright light to check for scratches, dents, or uneven areas that need more attention.
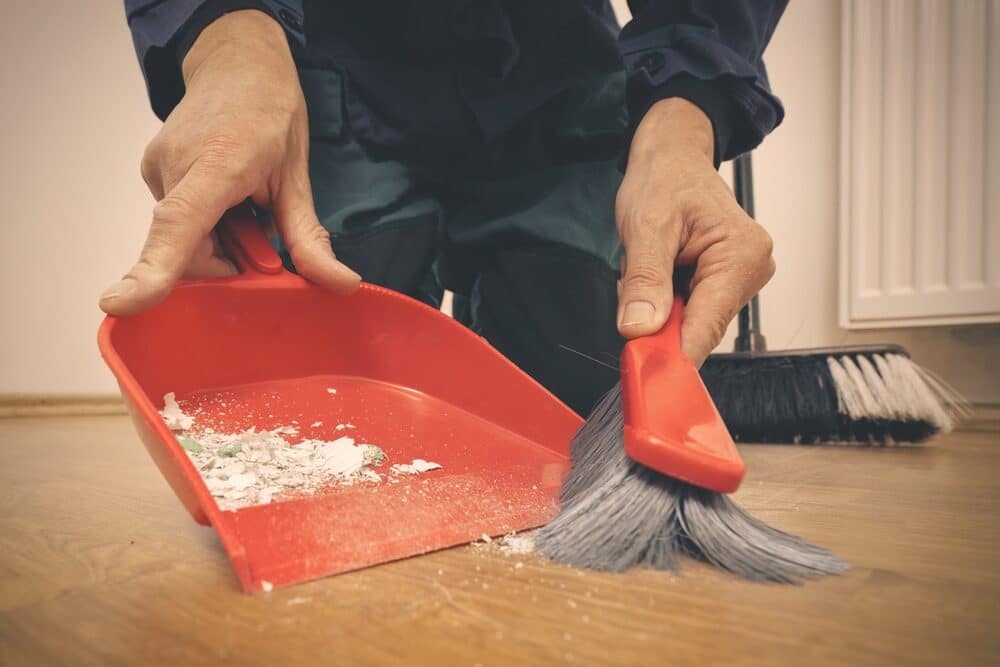
- Clean Between Grits: Remove all dust from the surface before moving to the next finer grit. Leftover particles can cause scratches.
The Common Mistakes to Avoid
- Over-sanding: Avoid over-sanding, which can weaken the structure of the wood or remove too much material, especially around edges and corners.
- Ignoring the Grain: Always sand with the grain. Sanding against the grain can create visible scratches and damage the wood’s natural pattern.
The Final Touches: Cleaning and Polishing
- Thorough Cleaning: After the final sanding, clean the wood thoroughly with a tack cloth to remove all dust.
- Consider a Sealer: Depending on the project, you might apply a sealer before the final finish. This step can enhance the wood grain and provide a better base for varnishes or paints.
- Final Inspection: Conduct a final inspection before applying any finish. Any missed imperfections might become very noticeable once a finish is applied.
The Common Mistakes to Avoid
When it comes to hand sanding, certain common mistakes can hinder achieving a professional finish. Being aware of these pitfalls is crucial for any craftsman aiming for excellence.
Skipping Grits:
A frequent error is jumping from a very coarse grit directly to a very fine grit, bypassing the intermediary stages. This can leave deep scratches on the coarser grit that the finer grit cannot adequately smooth out.
Over-sanding:
Especially pertinent in areas with intricate details or edges, over-sanding can erode the character of the piece and weaken its structure. It’s crucial to sand just enough to achieve smoothness without compromising the integrity of the wood.
Ignoring the grain:
Sanding against the grain of the wood is a common mistake. This approach can leave noticeable scratches and damage the natural pattern of the wood, detracting from its final appearance.
Uneven Sanding:
Applying uneven pressure or using inconsistent strokes can lead to an irregular surface. It’s important to use steady, even strokes and regularly check the surface to ensure uniformity.
Not Cleaning Between Grits:
Failing to remove all dust and residue before switching to a finer grit can embed coarse particles into the wood. This can scratch the surface and undermine the smoothness you’re working to achieve.
Neglecting to Check Progress:
Not regularly checking your progress under good lighting can result in missed spots or overworked areas. Frequent inspections are key to a consistent and thorough finish.

Rushing the Process:
Hand sanding is a time-consuming process that cannot be rushed. Patience is essential to achieving the desired outcome. Rushing through the process often leads to subpar finishes and the need for rework.
Using Worn-Out Sandpaper:
Continuing to use sandpaper that has lost its abrasiveness not only makes the process inefficient but can also damage the wood. It’s important to replace sandpaper as soon as it becomes ineffective.
The Final Touches: Cleaning and Polishing
After meticulous sanding, the final touches of Wood floor cleaning and polishing are crucial to highlighting the true beauty of your work. These steps ensure that your project not only looks professional but also feels exquisite to the touch.
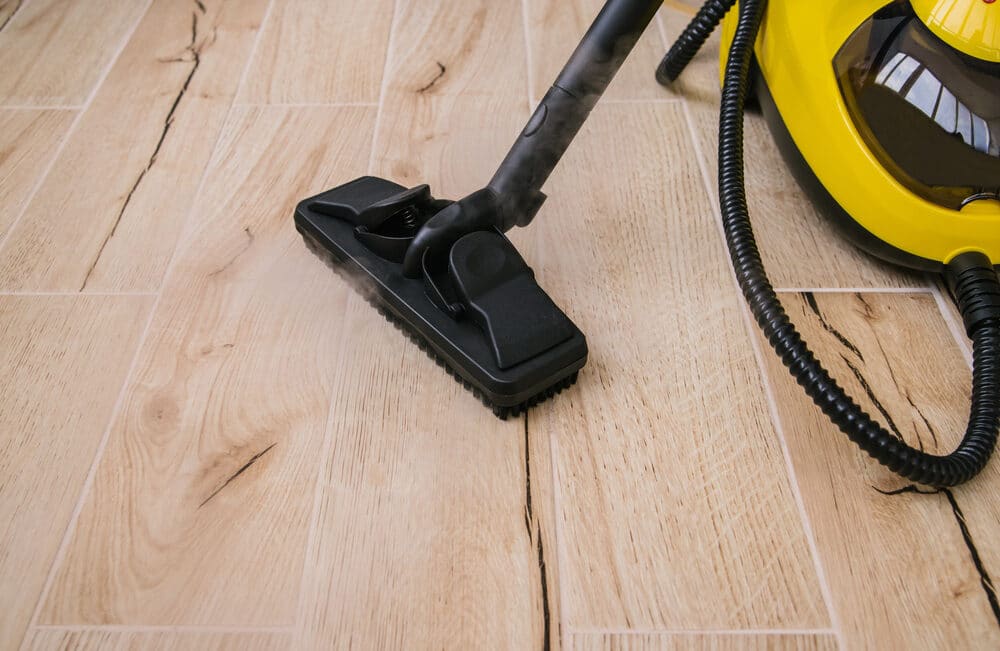
Thorough Cleaning
- Dust Removal: Use a tack cloth or a soft, lint-free cloth to remove all the sanding dust from the surface. Ensure you get into all the nooks and crannies where dust can accumulate.
- Vacuuming: If available, use a soft brush attachment on a vacuum to gently remove dust from more intricate areas or designs.
- Damp Cloth: Wiping the wood with a slightly damp cloth can also help pick up any remaining dust. However, be careful not to use too much water, as it can raise the grain of the wood.
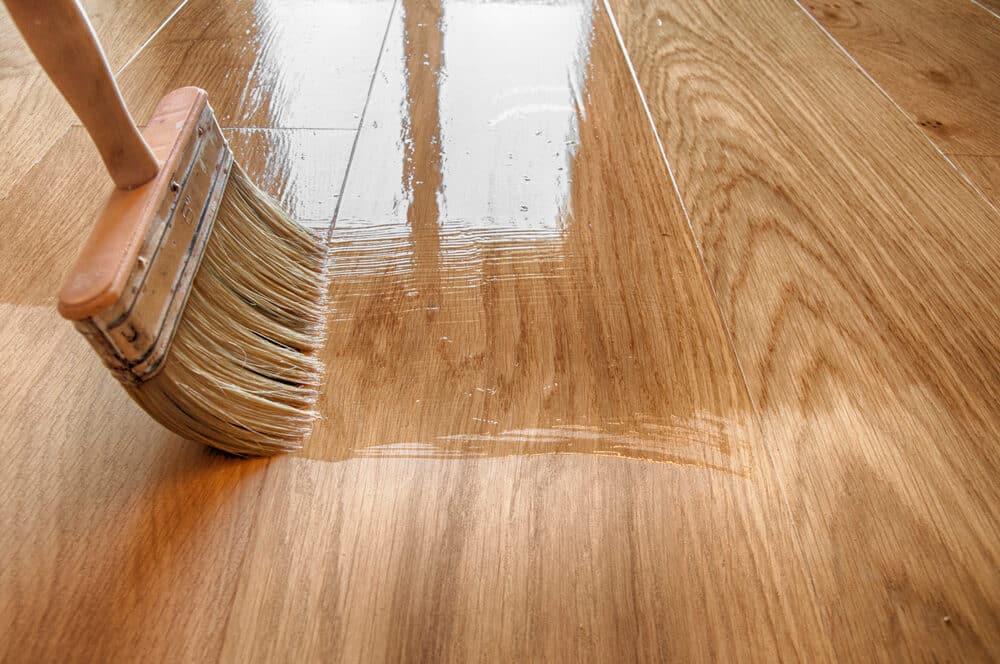
Applying the Finish
- Choice of Finish: Select a finish that complements the wood and the purpose of the piece. Options include oils, varnishes, lacquers, or waxes, each offering different levels of protection and aesthetic appeal.
- Test on Scrap Wood: Before applying the finish to your project, test it on a scrap piece of the same wood. This practice helps you understand how the finish will look and how it reacts with the wood.
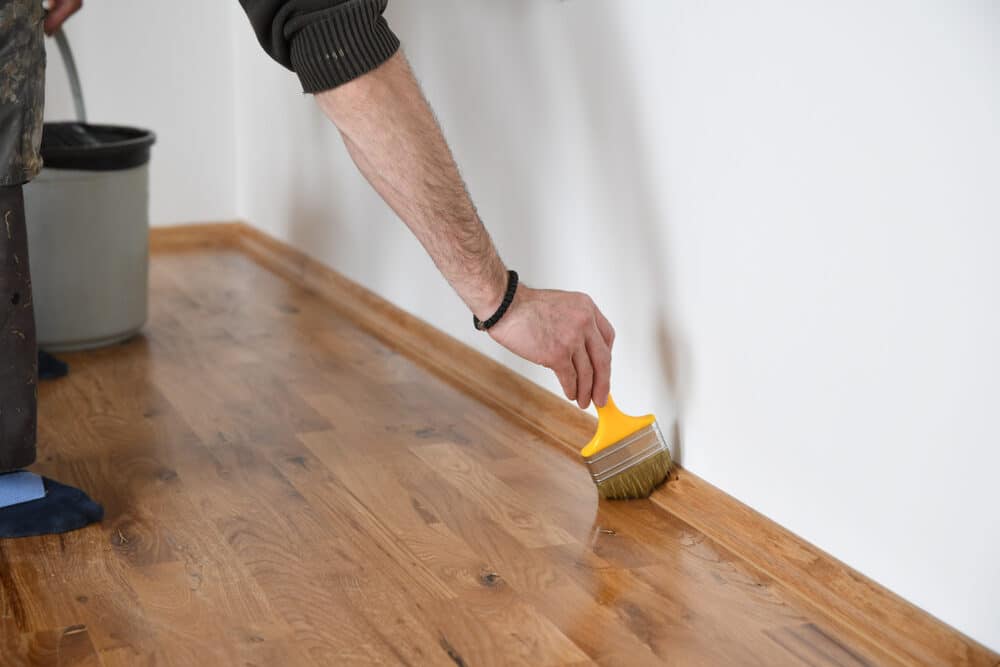
- Even Application: Apply the finish evenly, following the manufacturer’s instructions. Use a brush, rag, or sprayer, depending on the type of finish and the complexity of the piece.
Polishing for a Professional Look
- Let the Finish Cure: Before polishing, make sure the finish has completely cured. Refer to the product’s guidelines for drying times.
- Fine Steel Wool or Polish: For a satin or semi-gloss sheen, lightly buff the surface with fine steel wool. For a high-gloss finish, use a polishing compound.
- Wax for Protection: Applying a coat of quality paste wax can add an extra layer of protection and enhance the sheen. Buff it to a gentle glow with a soft cloth.
Conclusion
In the realm of woodworking and fine craftsmanship, the significance of proper hand sanding cannot be overstated. It is a fundamental skill that bridges the gap between a rough piece of wood and a stunning finished product. This article has explored the various facets of hand sanding, from understanding its basics to mastering the techniques, and finally, executing the final touches of cleaning and polishing.
Hand sanding, while time-consuming and often requiring a great deal of patience, rewards the craftsman with a level of finish and detail unattainable by machines alone. It is a testament to the craftsperson’s dedication to excellence, a visible mark of the care and attention invested in the piece. The process, which may seem mundane to the untrained eye, is in fact a meticulous dance of skill and precision, where each stroke of the sandpaper brings the wood closer to its final, splendid form.
As we have seen, avoiding common mistakes and following the tips for a professional finish can elevate a simple piece of woodwork into a masterpiece. The final touches of cleaning and polishing not only enhance the beauty of the piece but also protect and preserve the craftsmanship for the future.
In conclusion, hand sanding is much more than a mere step in the woodworking process; it is an art form in itself. It embodies the spirit of craftsmanship, where quality, patience, and attention to detail reign supreme. For anyone aspiring to achieve a professional finish on their woodworking projects, mastering the art of hand sanding is not just recommended; it is essential. It is these skills that transform the ordinary into the extraordinary, leaving a lasting impression of quality and craftsmanship that stands the test of time.


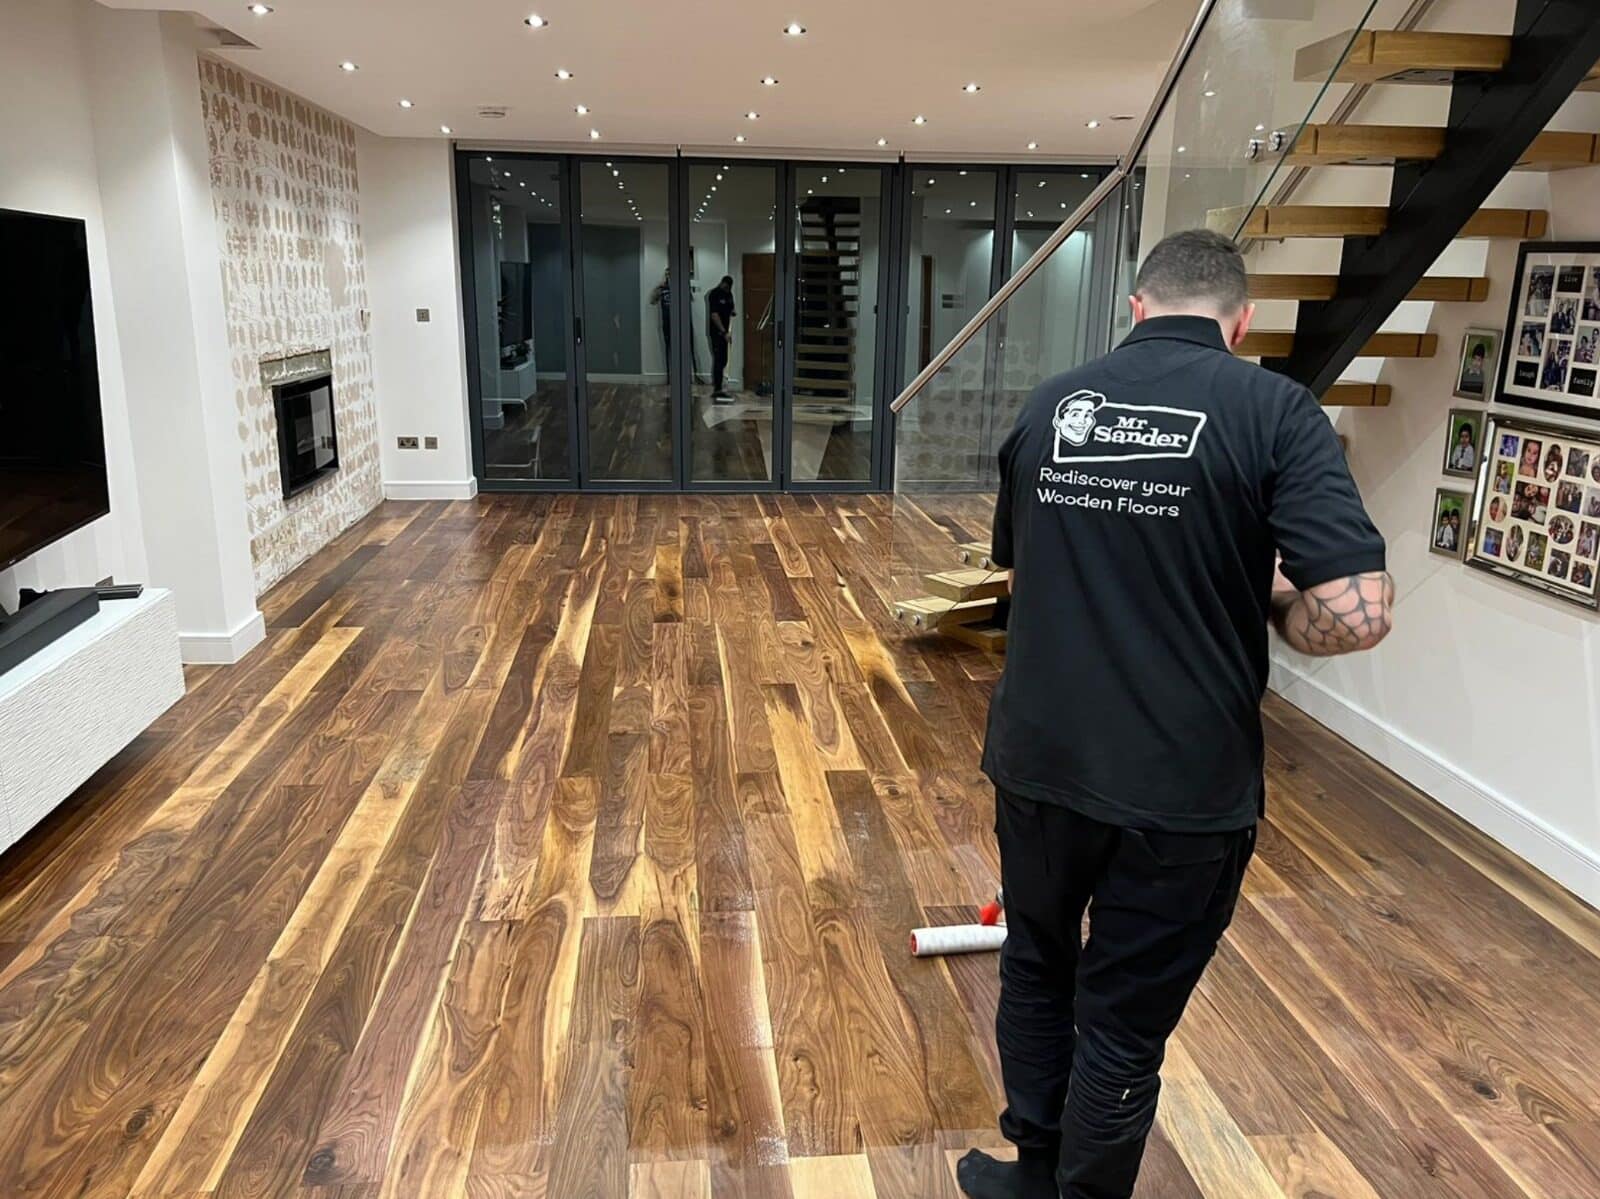
Sanding
We provide virtually dust-free sanding with our continuous belt machinery with mobile extraction units, giving you a safer environment for your family.
Oiling
This organic finish not only adds beauty to your home but also has exceptional water-repellent characteristics, making it easier to clean and maintain.
Waxing
This natural floor finish offers the softest and most mellow appearance – and leaves your floor able to breath.
Buffing
Using soft buffing machines (and hand-polishing where required) will bring a wonderful sheen to your newly-finished floor.
Repairs
We offer a full assessment of your wooden floors to determine what repairs are needed to provide the perfect working surface for the later stages of sanding, staining and sealing.
Restoration
We offer a comprehensive restoration process designed to address floors that are improperly fitted or damaged over time through wear and tear.
Request a fixed price quote for your wood floor restoration now
Simply enter your postcode below to get started.
Services
Wood Floor Sanding Wood Floor Restoration Wood Floor Scratch Repair Squeaky Wood Floor Repair Parquet Floor Sanding Parquet Floor Restoration Commercial Floor Sanding Church Floor Sanding Community Centre Floor Sanding School Floor Sanding Gap Filling Gap Filling with ResinCopyright © Mr Sander®
Privacy & Cookies Terms & Conditions Complaints Procedure Cancellation Rights Sitemap

Get An Instant Price Estimate Before You Go…
Simply enter the rooms you need sanded and we’ll provide you with a price estimate instantly! Try our price calculator now.
Get a Price Estimate NowLocal Floor Sanding Experts
Over 500 5-Star Reviews
Safe, Dust Free Sanding
Operating Since 1994