London:
Nationwide:
25,000+
Floors Restored
27 Years Experience
Wood Flooring Association Certified
The Basics of Hand Sanding Floors
Posted on January 8, 2024
Floor sanding techniques
The Art of Hand Sanding Wooden Floors: A Comprehensive Guide
Hand-sanding floors is a task that exemplifies the quintessence of craftsmanship, marrying the rigour of technique with a touch of artistry. It is not merely about scraping away the old to make way for the new; it is a transformative process that respects and revitalises the inherent character of wooden floors.
In this era where machine-driven convenience often overshadows traditional methods, hand-sanding floors stands out as a testament to the virtues of personal touch and painstaking attention to detail. This guide is crafted for those who appreciate the value of doing things the old-fashioned way, ensuring that the charm and character of your wooden floors are not just preserved but enhanced.
The journey of hand-sanding a floor is akin to uncovering a story hidden beneath layers of time and wear. Each stroke of the sandpaper removes a small part of the past, gradually revealing the rich, unspoiled beauty of the wood. It’s a process that demands patience, a steady hand, and an understanding of the material you are working with.
Moreover, hand sanding offers a level of control and precision that machines cannot match. It allows you to feel the grain of the wood, to understand its nuances, and to work in harmony with its natural patterns. This intimate interaction with the material ensures a finish that is not just visually appealing but also deeply personal.
Throughout this guide, we will walk you through the essentials of hand-sanding floors. From selecting the right tools and materials to mastering the techniques, we aim to equip you with the knowledge and confidence to embark on this rewarding endeavour. Whether you’re a seasoned DIY enthusiast or a beginner eager to learn, this journey through the basics of hand-sanding floors promises to be as enlightening as it is enjoyable.
So, let us roll up our sleeves and delve into the world of hand sanding, where every sweep of the sandpaper is a step towards reviving the soul of your wooden floors.
Essential tools and materials
Embarking on the task of hand-sanding your floors requires a collection of tools and materials that are crucial for achieving a professional and satisfying finish. Here, we detail the necessary items, each serving a distinct purpose in your sanding journey.
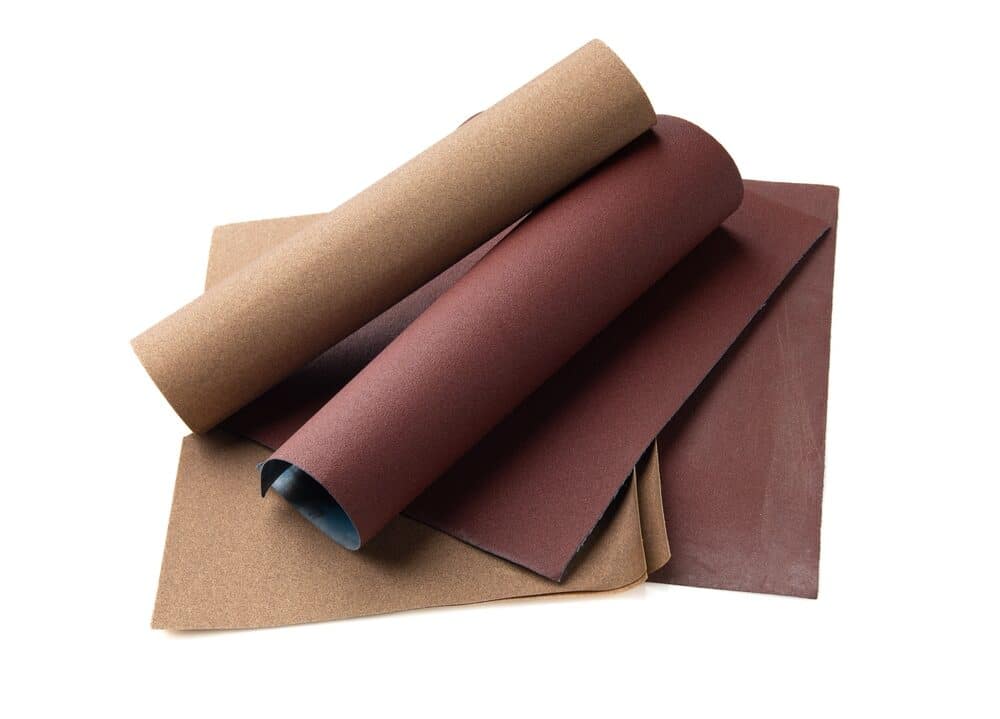
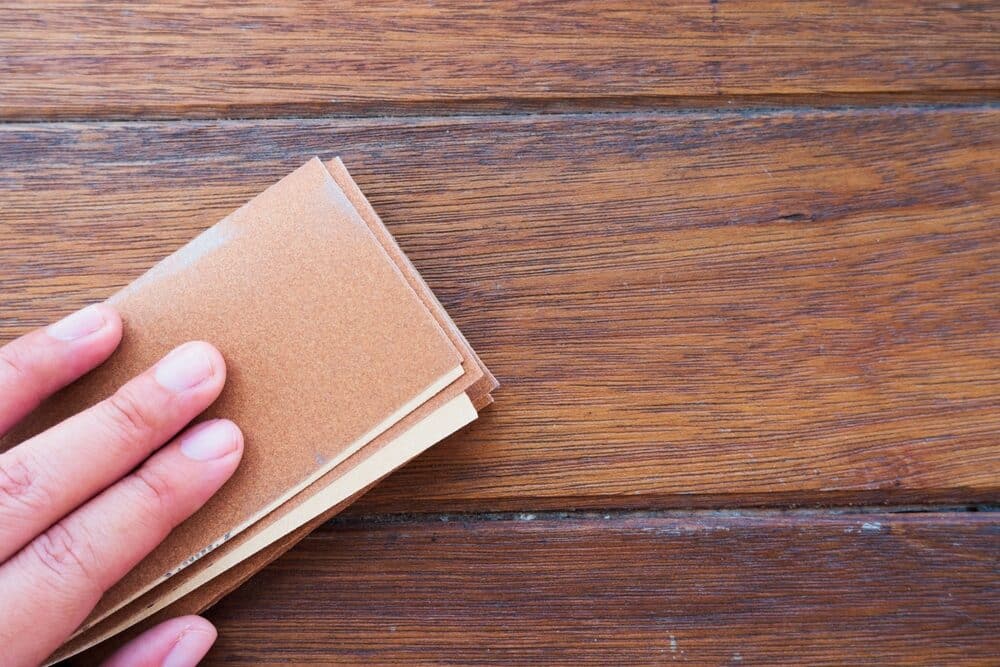
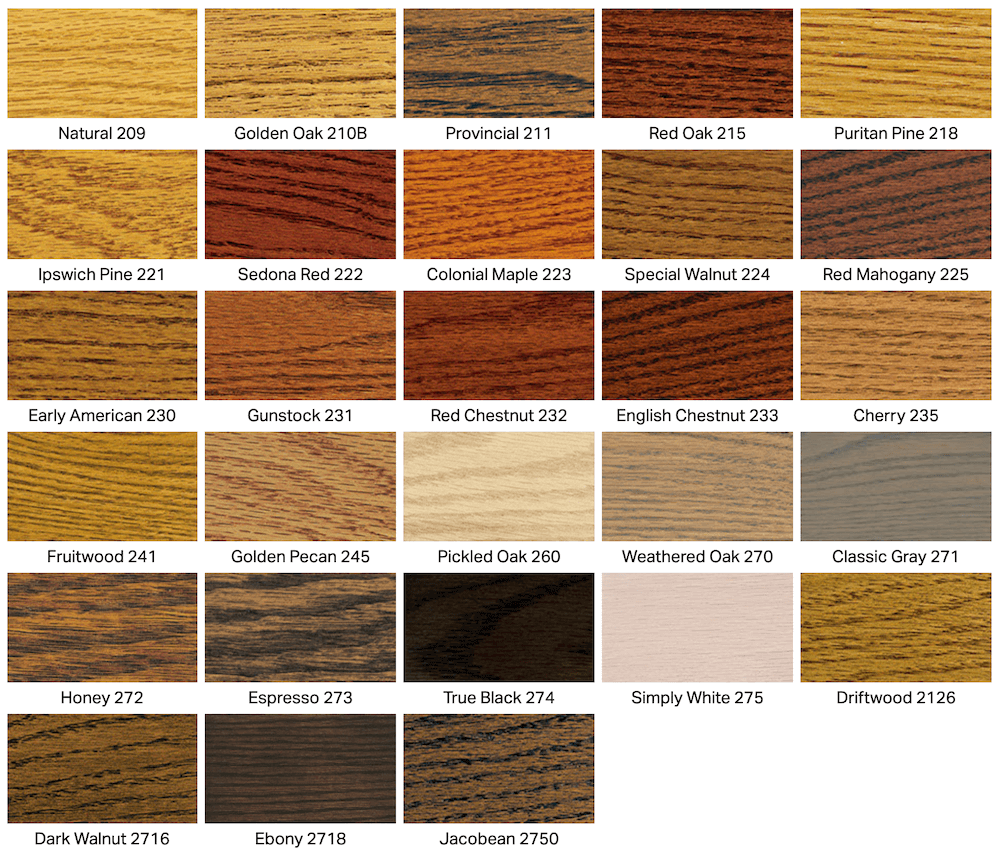
Sandpaper
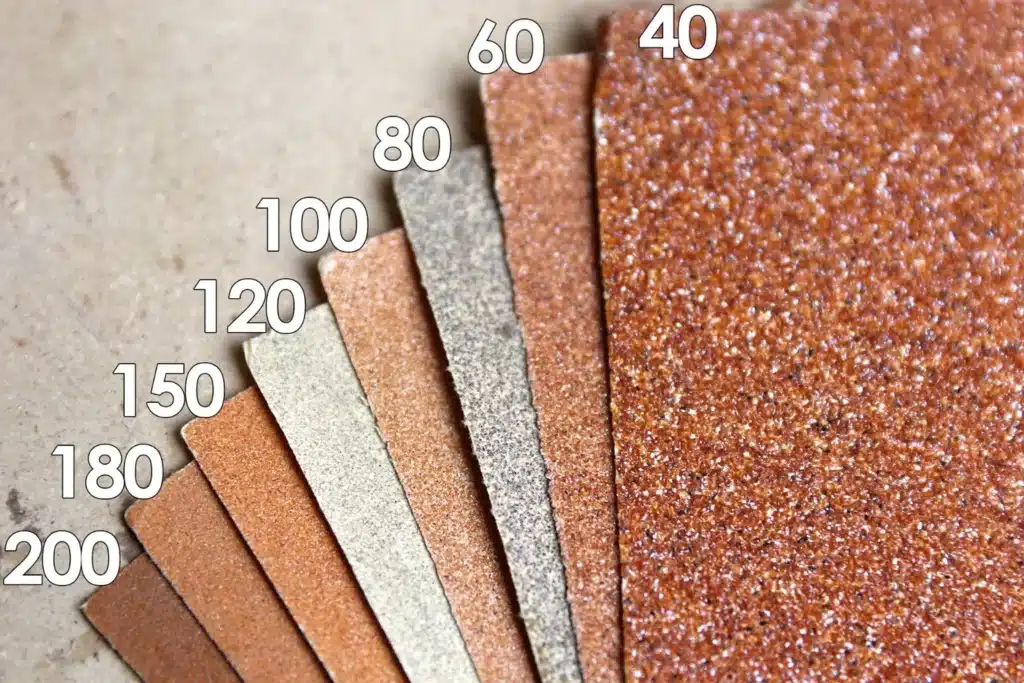
The cornerstone of hand sanding, sandpaper comes in various grits. You’ll need a range, starting from coarse (around 40–60 grit) for initial sanding, moving to medium (80–100 grit) for smoothing out, and finishing with fine (120–150 grit) for a polished surface. Quality is paramount; opt for durable, long-lasting sandpaper that won’t crumble under pressure.
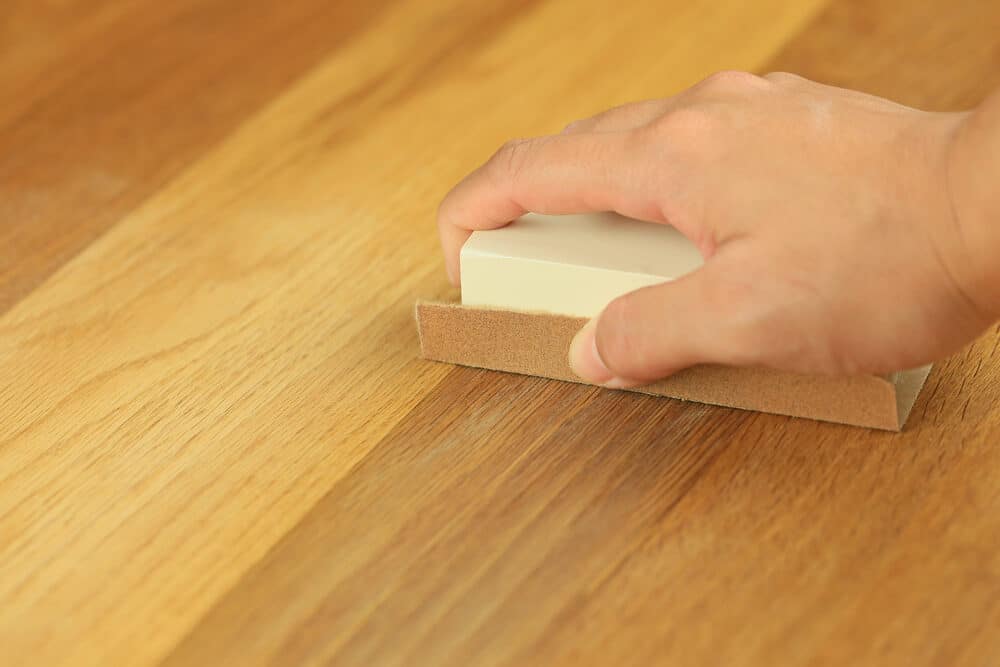
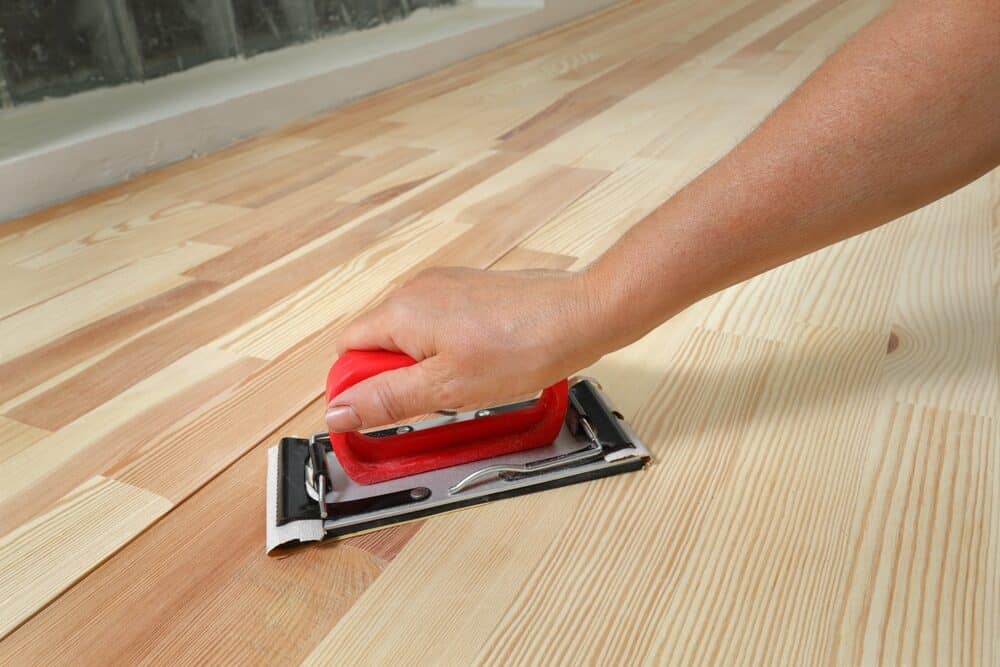
Sanding Block
A sanding block, preferably one that fits comfortably in your hand, is essential. It distributes pressure evenly, making your sanding more effective and reducing strain on your hands.
Safety Gear
Never underestimate the importance of safety. Dust masks and safety goggles are non-negotiable to protect against wood dust, which can be harmful if inhaled or allowed into the eyes.

Dust Sheets
Protect your furniture and floors in other rooms by using dust sheets. These will catch the majority of the wood dust created during sanding.
Vacuum Cleaner and Tack Cloth
Post-sanding, a thorough clean-up is crucial. A good vacuum cleaner will help remove the bulk of the dust, while a tack cloth can be used for picking up finer particles, ensuring a clean surface for varnishing or painting.
Edge Scraper
For those hard-to-reach edges and corners where a sanding block can’t effectively manoeuvre, an edge scraper is invaluable. It allows for precision work and ensures a uniformly sanded floor.
Knee pads or cushions
Hand sanding is laborious and can be tough on the knees. Investing in a good pair of knee pads or using a cushion can make the process more comfortable.

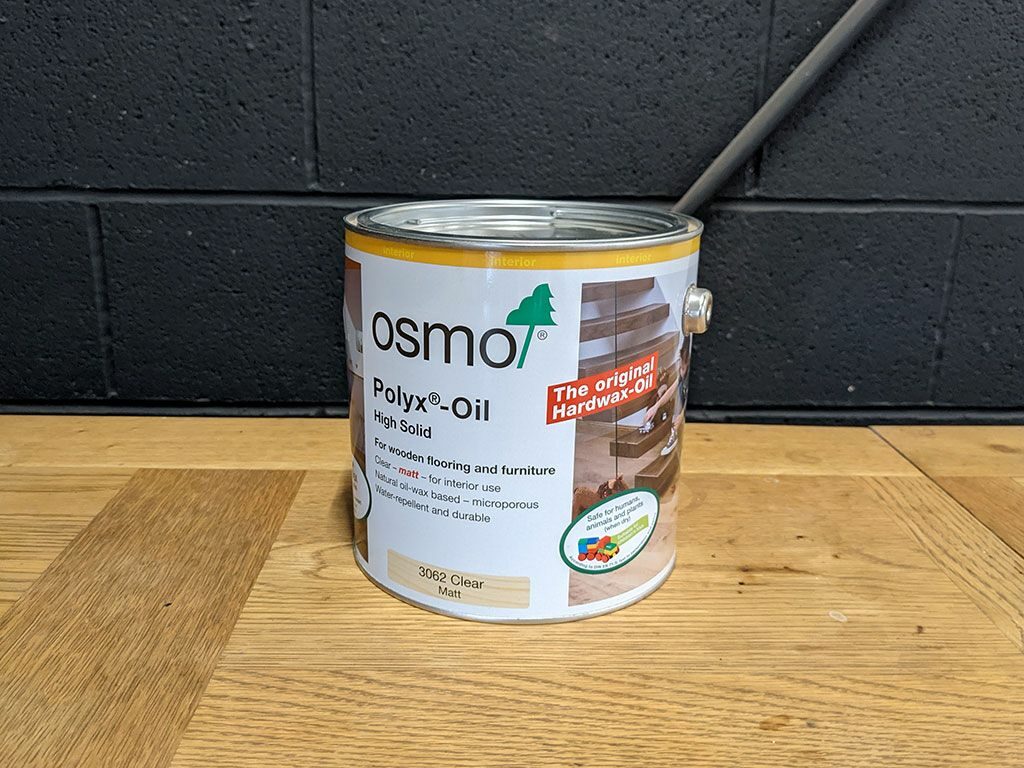
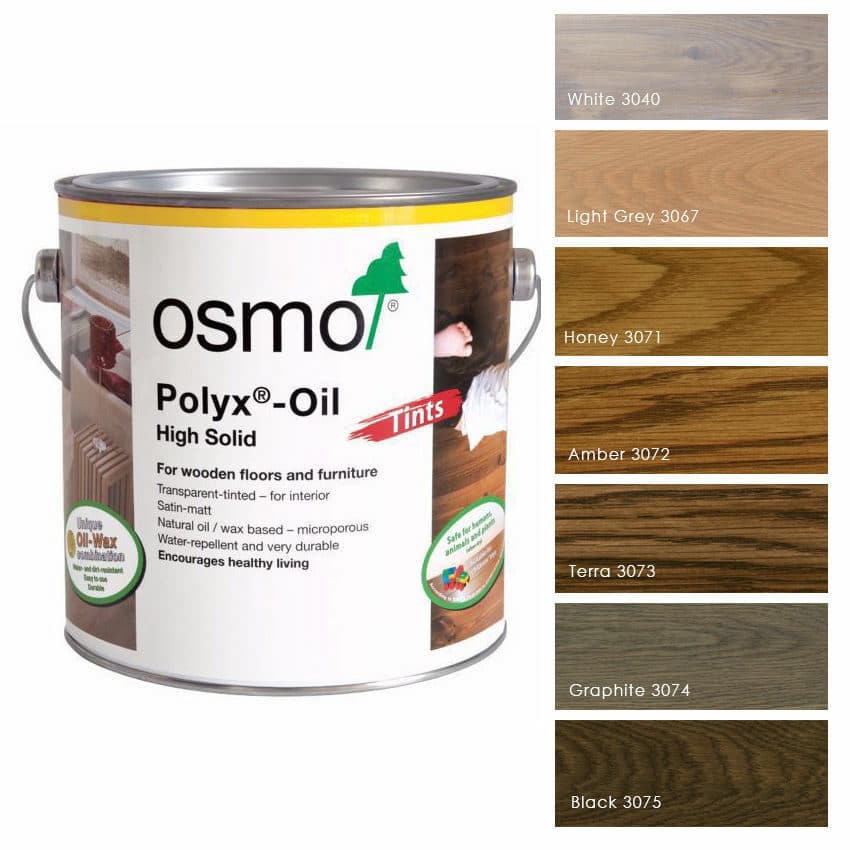
Varnish or Wood Oil (Optional)
After sanding, you may wish to treat the wood. A good-quality varnish or wood oil can protect the floor and enhance its natural beauty.
With these tools and materials at your disposal, you’re well-equipped to begin the journey of transforming your wooden floors. The right tools not only make the task more manageable but also ensure a finish that you can take pride in.
Preparing the Floor
Before the sanding process commences, proper preparation of the floor is paramount. This preparatory phase is crucial as it sets the stage for an efficient and effective sanding experience. Here are the steps to ensure your floor is ready for sanding:
Clearing the room
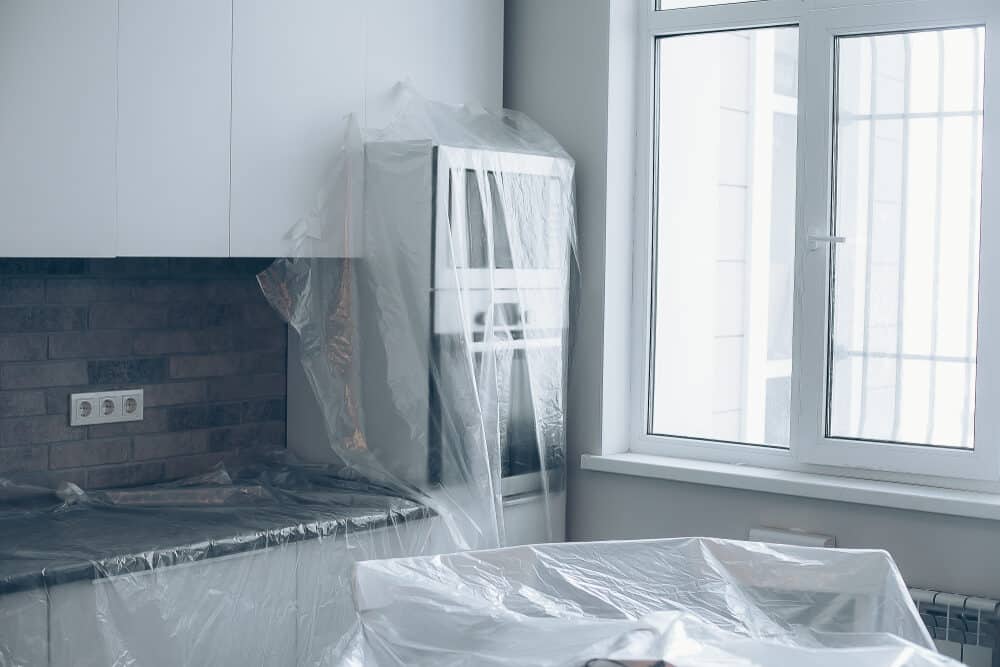
Begin by removing all furniture, rugs, and any other items from the room. It’s essential to have a clear, unobstructed area to work in. This not only makes the process easier but also protects your furnishings from dust and damage.
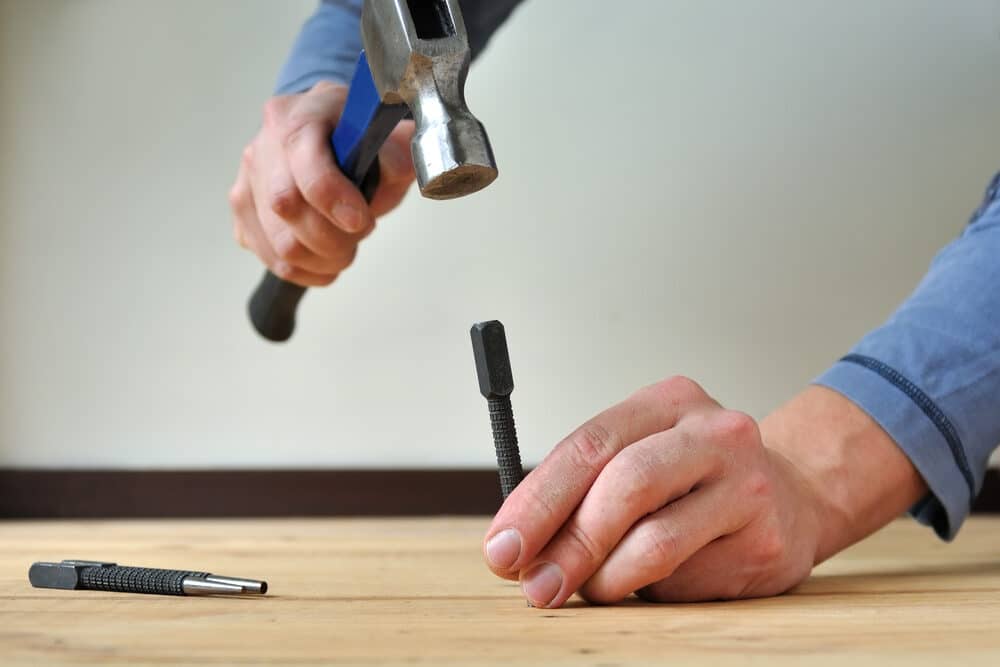
Checking for nails and protrusions
Inspect the floor thoroughly for any protruding nails, staples, or other sharp objects. These can not only tear your sandpaper but also pose a safety hazard. Use a hammer to nail down any protrusions flush with the floor’s surface.
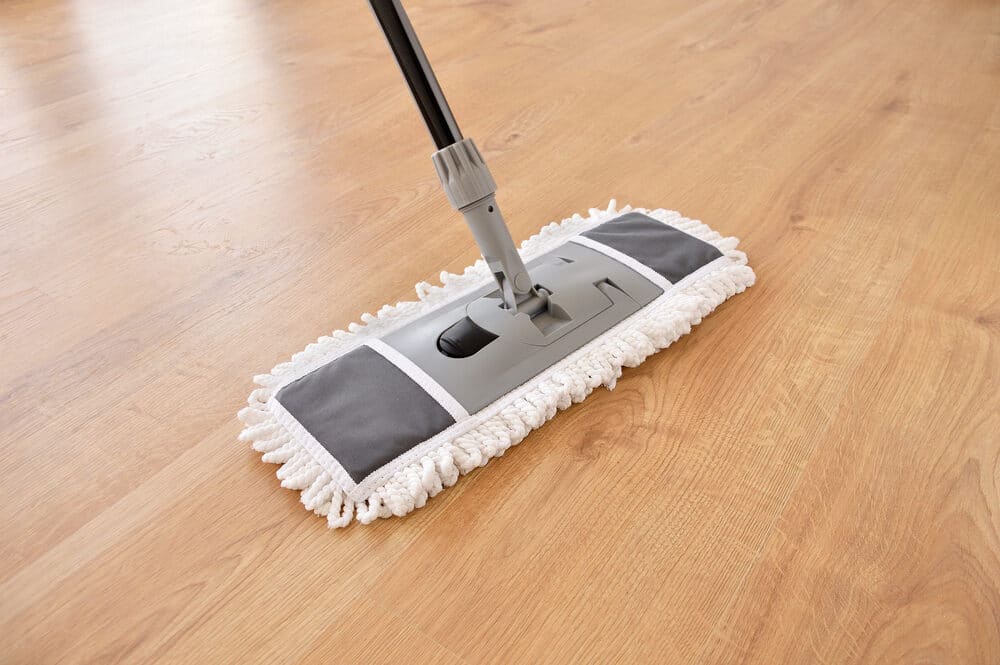
Cleaning the floor
Sweep or vacuum the floor to remove dust, dirt, and debris. A clean surface is easier to sand and reduces the risk of scratching the wood with loose particles. For a more thorough clean, a damp mop can be used, but ensure the floor is completely dry before starting to sand.
Repairing Damages
Examine the floor for any damage, such as deep scratches, dents, or warped boards. Small imperfections can often be sanded out, but more significant damage may require the boards to be repaired or replaced.
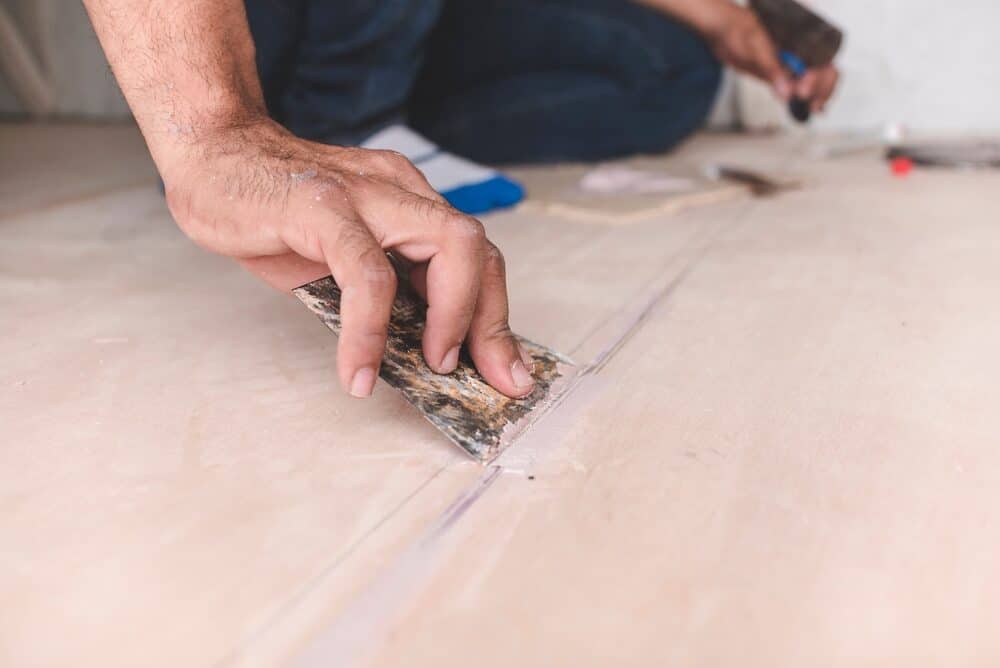
Filling Gaps
If there are gaps between floorboards, consider filling them. Gaps can interfere with the uniformity of the sanding process and affect the final result. Use a suitable wood filler, ensuring it matches the colour and type of your flooring.
Ventilation
Ensure good ventilation in the room. Sanding can produce a significant amount of dust, so opening windows or using fans can help to keep the air clear and reduce dust buildup.
Protecting yourself and the environment
Finally, remember to don your safety gear—a dust mask and goggles. Also, consider sealing off the room from the rest of the house using plastic sheeting to prevent dust from spreading.
Properly preparing your floor is a critical step in the sanding process. It not only makes the task smoother and more efficient but also contributes significantly to the quality of the finish. With these preparatory steps completed, you are now ready to embark on the rewarding task of hand-sanding your floors.
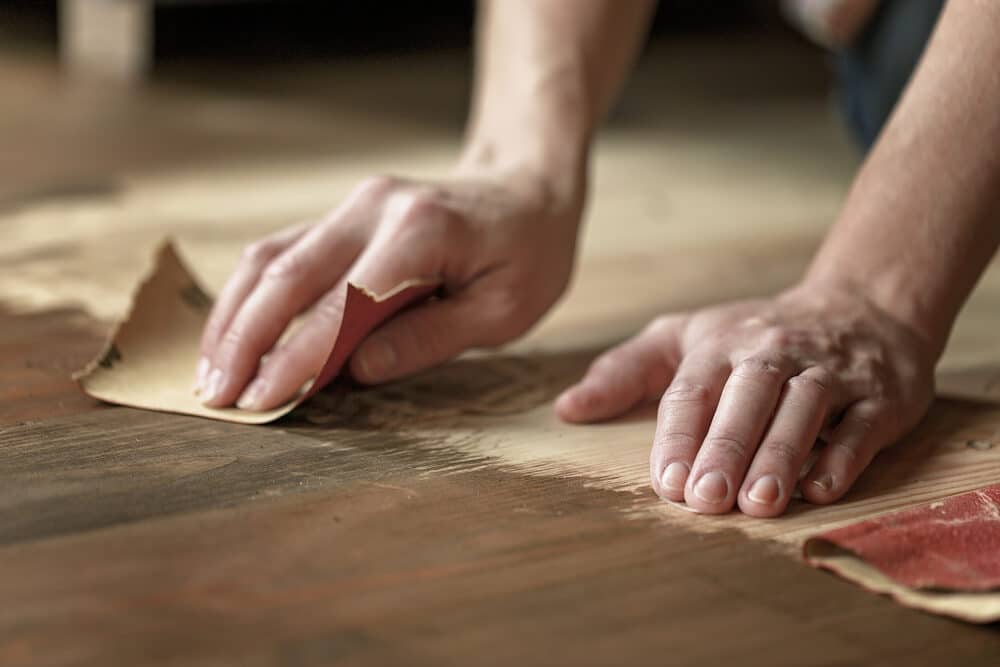
The sanding process
With the floor prepared, you are now ready to begin the central task of hand sanding. This stage requires patience and a methodical approach to ensure an even and smooth finish. Here’s how to proceed:
1. Choosing the Right Grit
Start with a coarse-grit sandpaper (40–60 grit) to remove the old finish and smooth out any rough areas. Once the major imperfections are addressed, switch to a medium grit (80–100 grit) for further smoothing. Finish with a fine grit (120–150 grit) to achieve a polished surface. Remember, the goal is to progress gradually, allowing each grit to refine the work of the previous one.
2. Techniques for Effective Sanding
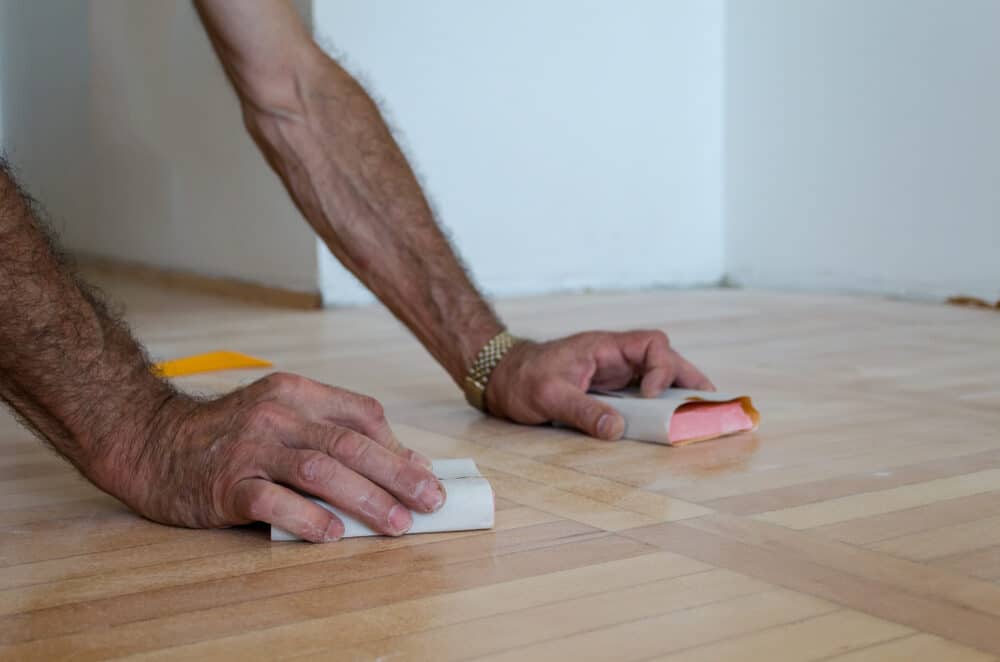
- Direction of Sanding: Always sand in the direction of the wood grain. Sanding across or against the grain can create scratches that are difficult to remove.
- Even Pressure: Use a sanding block and apply even pressure as you sand. This ensures a uniform finish and prevents gouging the wood.
- Overlapping Strokes: Overlap your strokes to avoid missing any spots. Consistency is key to achieving an even finish.
- Regularly Change Sandpaper: Sandpaper wears out, so change it regularly to maintain effectiveness. Clogged or dull sandpaper won’t do the job properly and can damage the wood.
- Corner and Edge Work: Use an edge scraper or smaller pieces of sandpaper for corners and edges where the block can’t reach.
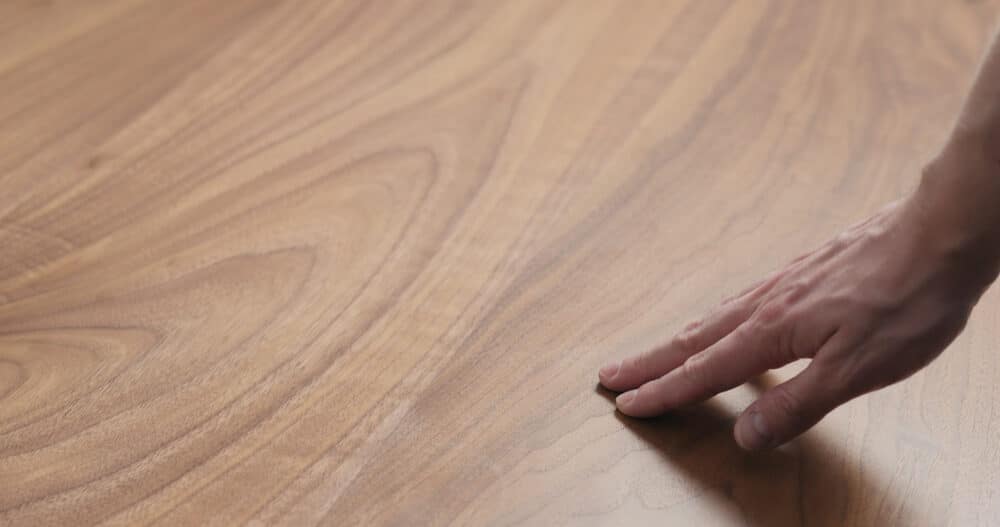
- Inspect as You Go: Frequently check your progress. Run your hand over the surface to feel for unevenness or rough spots, and inspect the floor from different angles for a comprehensive view.
3. Safety and cleanliness
- Dust Management: Regularly vacuum or sweep up the accumulated dust. This not only keeps your working environment clean but also allows you to see your progress more clearly.
- Maintain Ventilation: Keep the room well-ventilated throughout the process to manage dust and maintain air quality.
4. Patience is key
The process of hand sanding is undeniably labour-intensive and time-consuming, but it is also immensely rewarding. The meticulous care you invest in this stage will be evident in the finished quality of your floor.
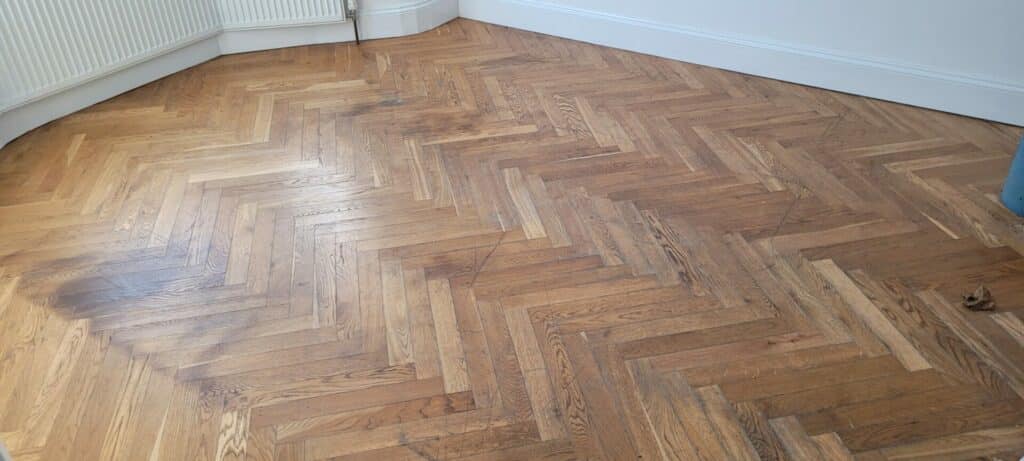
Hand-sanding a floor is more than just a physical task; it is a form of artistry that brings out the hidden beauty of the wood. With each pass of the sandpaper, you’re not just smoothing the surface; you’re also revealing the character and history embedded in the wood grains.
By following these steps and techniques, you will transform your wooden floor into a masterpiece of craftsmanship, a testament to the time-honoured skill of hand sanding.
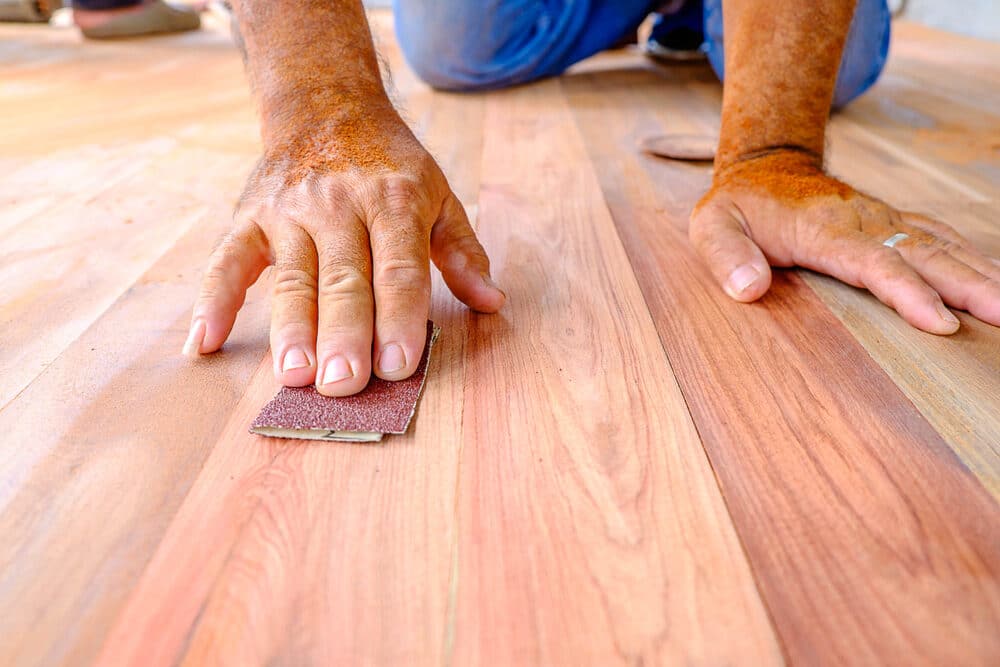
Dealing with problem areas
In the process of hand-sanding floors, you’ll inevitably encounter problem areas that demand special attention. These could be deep scratches, stains, dents, or areas of uneven wear. Addressing these effectively is key to achieving a uniformly smooth and aesthetically pleasing finish. Here’s how to tackle these challenges:
Identifying problem areas
- Scrutiny is key. Inspect the floor closely, looking for any irregularities like deep scratches, dents, or water stains.
- Lighting: Use good lighting to highlight imperfections. Different angles of light can reveal issues that might otherwise be missed.
Deep Scratches and Dents
- Sandpaper Selection: For deep scratches and dents, start with coarser-grit sandpaper. This helps to level out the area more quickly.
- Gradual Progression: After the initial sanding with coarse grit, gradually move to finer grits to smooth out the area.
- Localised Treatment: Focus on these areas, but blend your sanding into the surrounding wood to avoid creating a noticeable patch.
Stains and discolorations
- Sanding Depth: Some stains might require more extensive sanding to remove. Be prepared to sand down the unstained wood.
- Chemical Treatments: In cases where sanding alone doesn’t remove the stain, consider using a wood bleach or similar product, but always test it in an inconspicuous area first.
Uneven Wear
- Level Sanding: Areas with uneven wear might need more attention. Ensure you sand these areas evenly to bring them level with the rest of the floor.
- Consistent Checks: Frequently check the evenness of these areas with a straight edge or by eye to avoid over-sanding.
Special Attention to Edges and Corners
- Hand Detailing: Use hand-held sanding tools, like an edge scraper, for precision in tight spaces where a sanding block can’t reach.
Final Inspection
- Thorough Check: After addressing problem areas, conduct a final inspection of the entire floor. Feel the surface with your hands and look across it from various angles to ensure a uniform finish.
Patience and Perseverance
- Time Investment: Dealing with problem areas can be time-consuming. Patience and careful work are essential to achieving the best result.
Seeking professional advice
- Expert Consultation: If you encounter a problem area that seems beyond your ability to fix, don’t hesitate to seek advice from a professional. Sometimes, particularly with historic or very delicate floors, professional intervention may be the best course of action.

Addressing problem areas effectively is crucial in the process of hand-sanding your floors. With the right approach and techniques, these challenges can be transformed into triumphs, contributing to the overall beauty and longevity of your wooden floors.
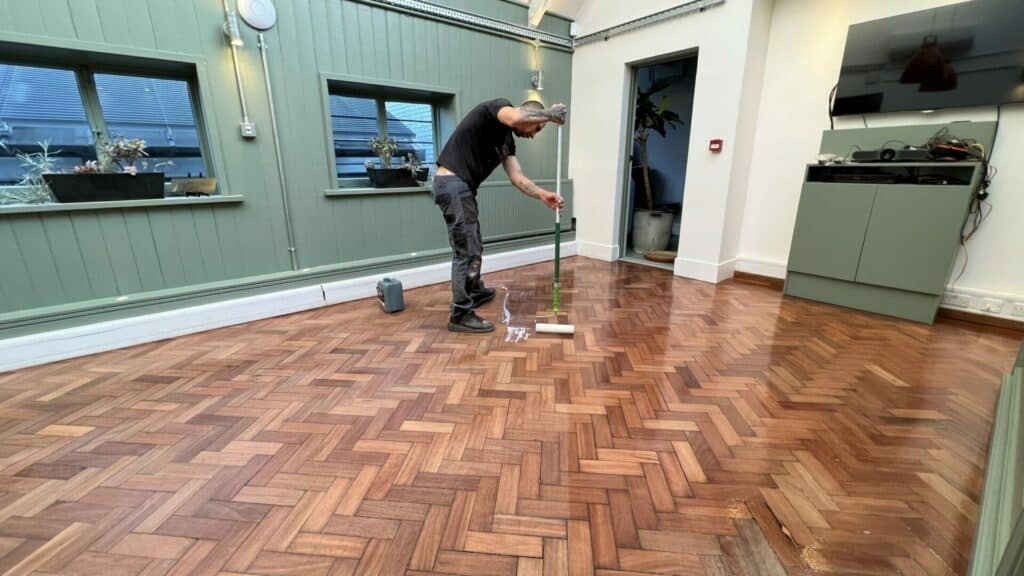
Finishing Touches
After the meticulous process of sanding, the final touches are what elevate the floor from merely sanded to beautifully finished. This stage is about enhancing and protecting the wood, ensuring that your hard work pays off with a lasting, aesthetically pleasing result. Here’s how to apply these finishing touches:
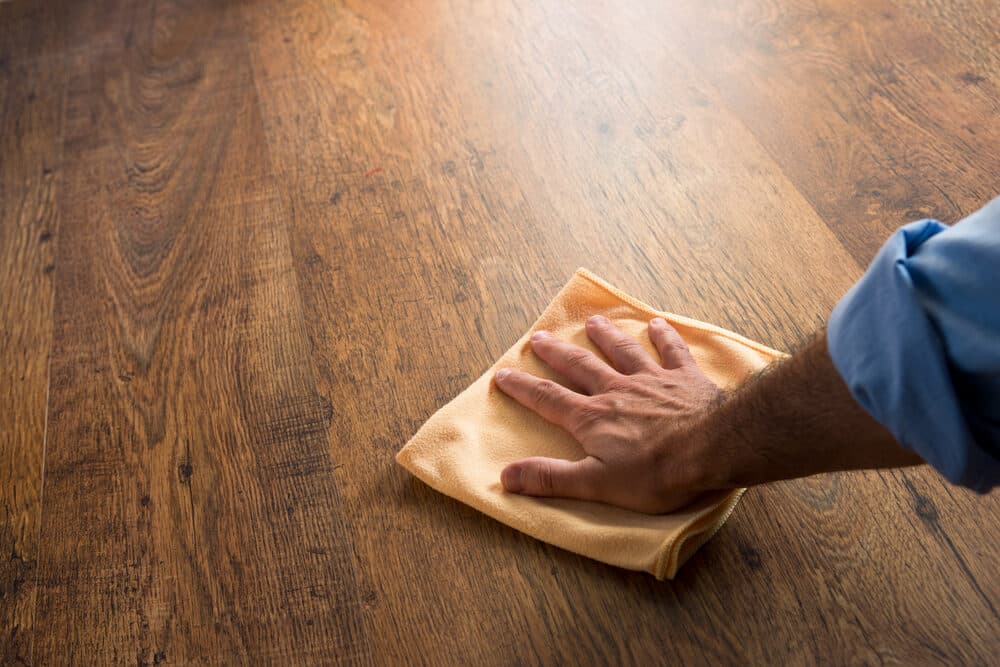
Vacuuming and cleaning
- Thorough Vacuuming: Use a vacuum cleaner to remove all the dust from the floor, paying special attention to crevices and corners.
- Tack Cloth: After vacuuming, go over the floor with a tack cloth to pick up any remaining fine dust particles.
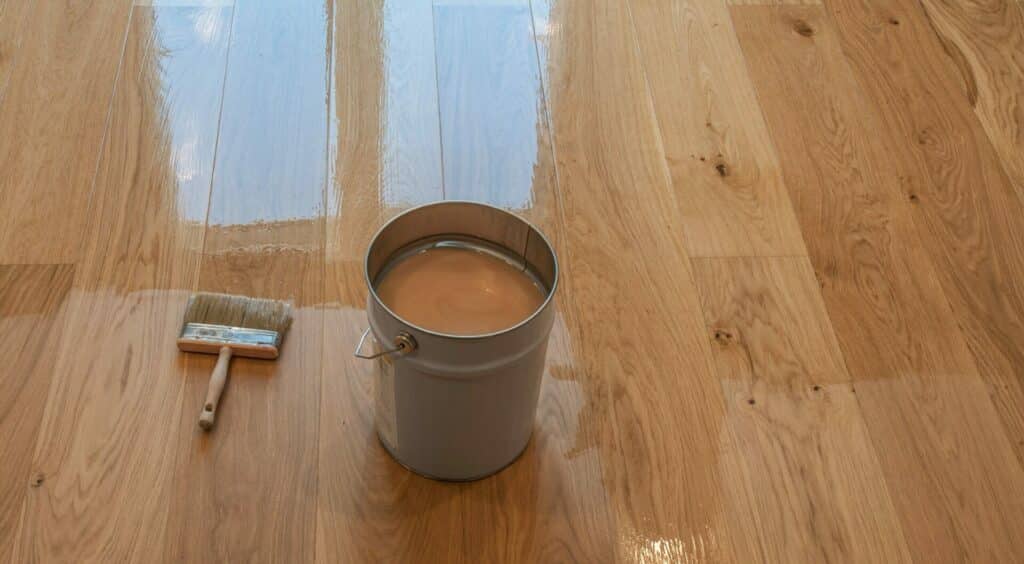
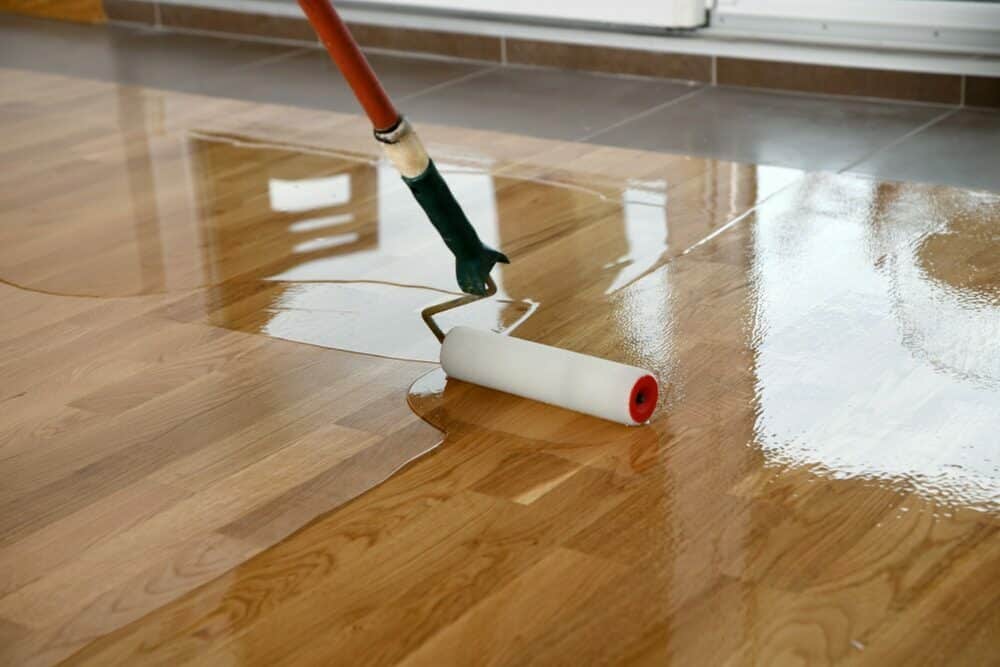
Choosing a Finish
- Types of Finishes: You have several options, including varnish, wood oil, or wax. Each has its benefits and aesthetic appeal. Varnish offers durability, oil penetrates deep into the wood, enhancing its grain, and wax provides a natural, soft sheen.
- Testing: Test the finish on a small, inconspicuous area first to ensure it gives the desired effect and does not react adversely to the wood.
Applying the Finish
- Even Application: Apply your chosen finish evenly, following the manufacturer’s instructions. Use a brush or roller suitable for the type of finish you are using.
- Working Along the Grain: Always apply the finish in the direction of the wood grain for a smooth, natural look.
- Layering: Depending on the product, you may need to apply multiple layers. Allow sufficient drying time between layers, as recommended.
Sanding Between Coats
- Fine Sanding: If applying multiple layers of finish, lightly sand the floor between coats with very fine sandpaper (220 grit or higher). This ensures better adhesion to the next coat and removes any imperfections or dust nibs.
Final Coat
- Quality Check: Before the final coat, inspect the floor closely. Ensure it’s clean and smooth.
- Final Layer: Apply the final coat smoothly and evenly. This layer is crucial, as it will be the most visible.
Drying and Curing Time
- Allow Adequate Drying: Follow the drying times specified for your chosen finish. Avoid walking on the floor until it’s fully dry.
- Curing: Remember, while the finish may be dry to the touch within hours, it can take days or even weeks to fully cure. During this time, it’s important to treat the floor gently.
Reinstalling Furniture
- Careful Replacement: Once the floor is dry and cured, you can replace the furniture. Be gentle to avoid scratching the new surface.
Maintenance Tips
The elegance and charm of a freshly sanded and finished floor can endure for years with the right care and maintenance. Here are some essential tips to help you preserve the beauty and longevity of your hand-sanded floors:
Regular Cleaning
- Gentle Vacuuming and Sweeping: Regularly vacuum or sweep the floor to remove dirt and grit that can scratch the wood.
- Damp Mopping: Use a slightly damp mop for cleaning. Avoid excessive water, as it can damage the wood.
Immediate Spill Clean-Up
- Prompt Action: Clean spills immediately to prevent water stains or damage to the finish.
- Soft Cloth Use: Use a soft, absorbent cloth for spill clean-up, dabbing gently rather than rubbing.
Avoid harmful chemicals
- Gentle Cleaning Products: Use cleaning products specifically designed for wood floors. Avoid harsh chemicals that can strip the finish or damage the wood.
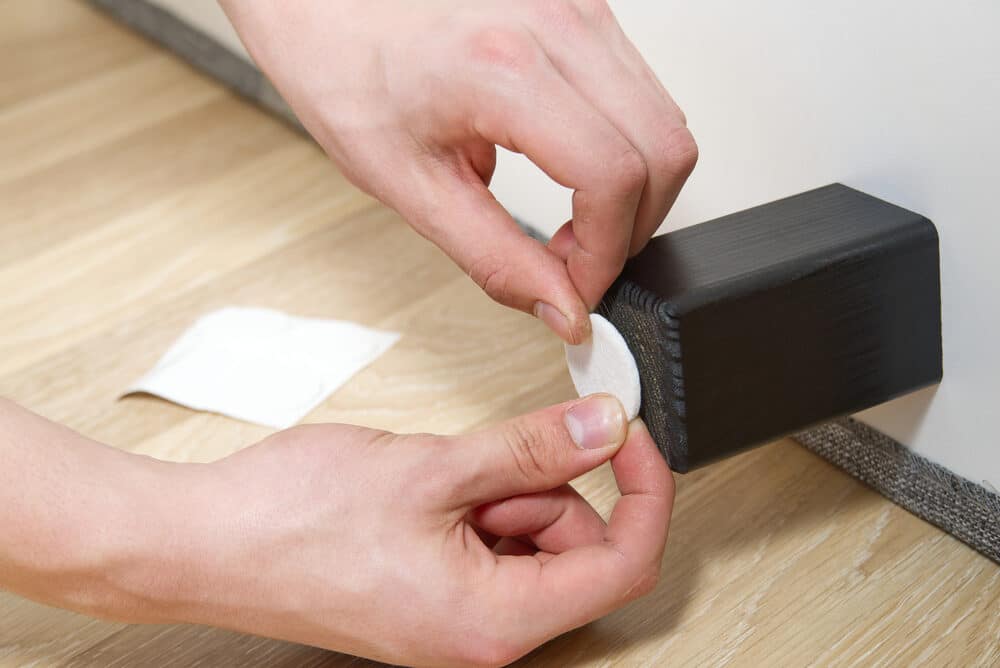
Furniture Care
- Felt Pads: Place felt pads under furniture legs to prevent scratches when moving furniture.
- Lift Rather Than Drag: Always lift furniture when moving it, rather than dragging it across the floor.
Rugs and mats
- Strategic Placement: Use rugs or mats in high-traffic areas to reduce wear. Ensure they are made of breathable material to prevent moisture trapping.
- Regular Cleaning: Keep these rugs and mats clean to avoid dirt transferring onto the wood floor.
Controlling humidity and sunlight
- Humidity Levels: Maintain a consistent humidity level in your home to prevent the wood from swelling or shrinking.
- Sun Exposure: Use curtains or blinds to protect the floor from direct sunlight, which can cause fading or discoloration over time.
Regular Inspection
- Periodic Checks: Regularly inspect the floor for signs of wear or damage. Addressing issues early can prevent more significant problems later.
Refinishing Touch-Ups
- Surface Refreshing: If the finish looks dull or has minor scratches, a top-up coat of finish can rejuvenate the floor.
- Professional Advice: For major issues, consult a professional for advice or refinishing services.
Shoe Considerations
- Soft Soles: Encourage household members and guests to wear soft-soled shoes or go barefoot. High heels and hard soles can cause dents and scratches.
Pet Care
- Nail Trimming: Regularly trim your pet’s nails to prevent scratches on the wood floor.

By following these maintenance tips, your hand-sanded floors will continue to be a source of warmth and beauty in your home. Remember, a little care goes a long way in preserving the elegance and character of your wooden floors.
Conclusion
The journey of hand-sanding your floors is steeped in tradition, imbued with the pride of craftsmanship, and a testament to the enduring beauty of natural wood. This guide has walked you through each step, from preparation to the sanding process, addressing problem areas, applying finishing touches, and maintaining the beauty of your floors.
Hand sanding is not just a physical task; it is an art form that requires patience, attention to detail, and a deep appreciation for the material at hand. The process may be time-consuming and laborious, but the result is a deeply rewarding, personal connection to your space. You’ve not only rejuvenated your floors but also preserved a piece of history, adding your chapter to the story of your home.
The beauty of a hand-sanded floor lies not just in its appearance but also in the knowledge that every mark, every smooth area, and every imperfection was addressed with care and consideration by your own hands. It’s a testament to the adage that the best things in life are those we work hard for.
As you walk on your newly sanded floors, feel the smooth grain beneath your feet, the even texture, and the warm glow of the wood. Remember the effort that went into every square inch. This is not just a floor; it’s a reflection of your dedication and a space that will be cherished for many years to come.
In conclusion, hand-sanding your floors is more than just a home improvement project; it’s a journey of transformation, not just for your floors but perhaps, in a small way, for you as well. May your floors continue to be a source of pride and a testament to the enduring beauty that can be achieved with time, effort, and a touch of craftsmanship.


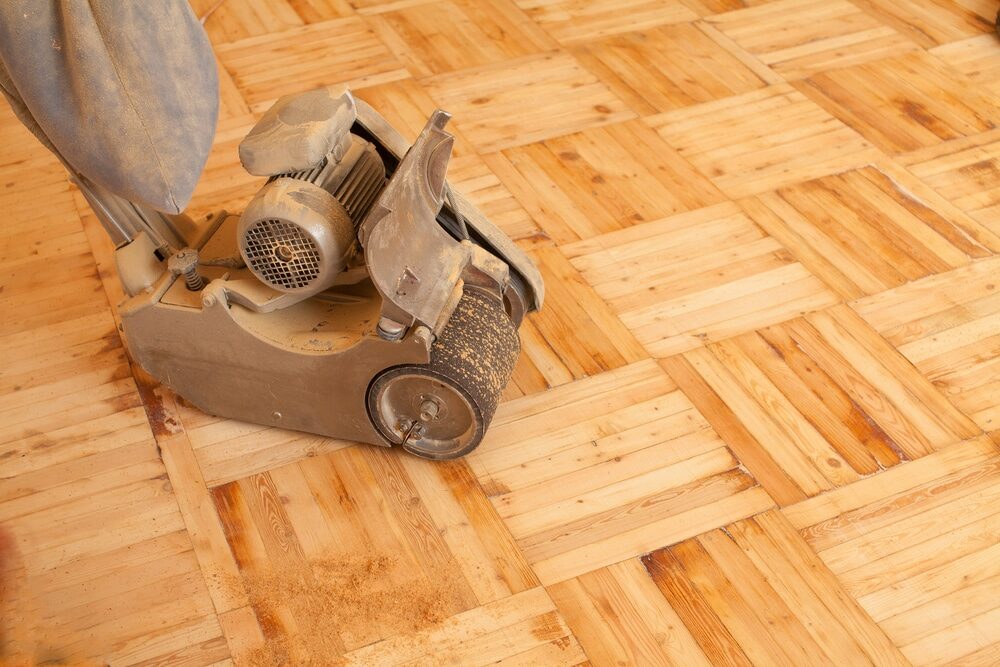
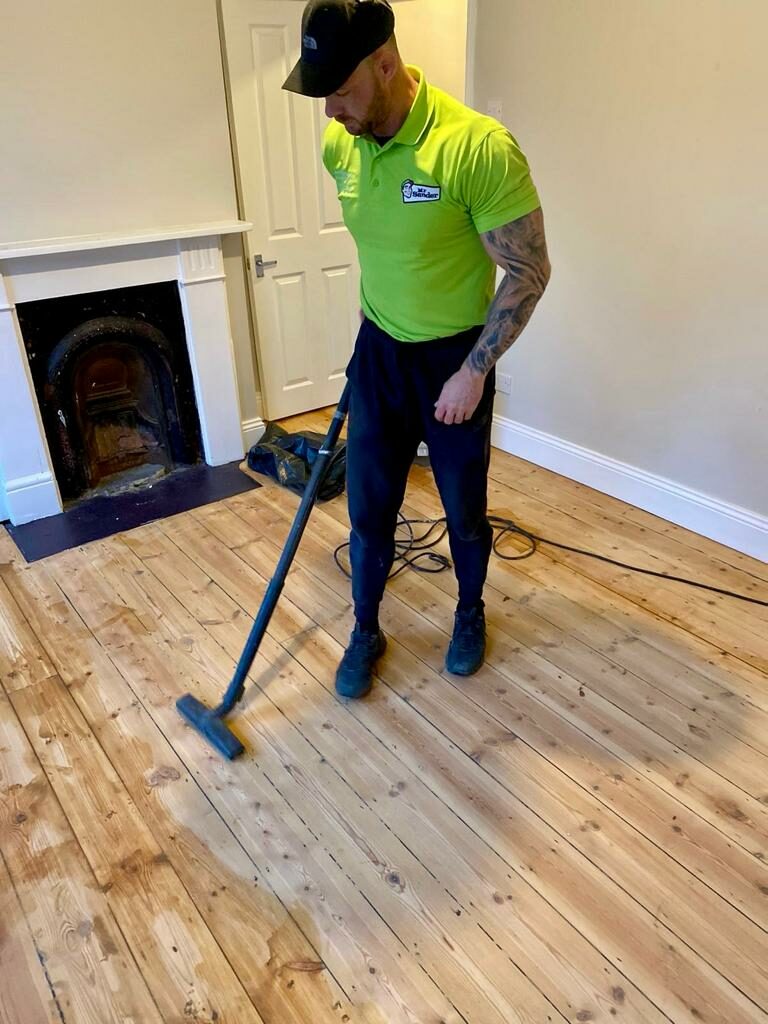
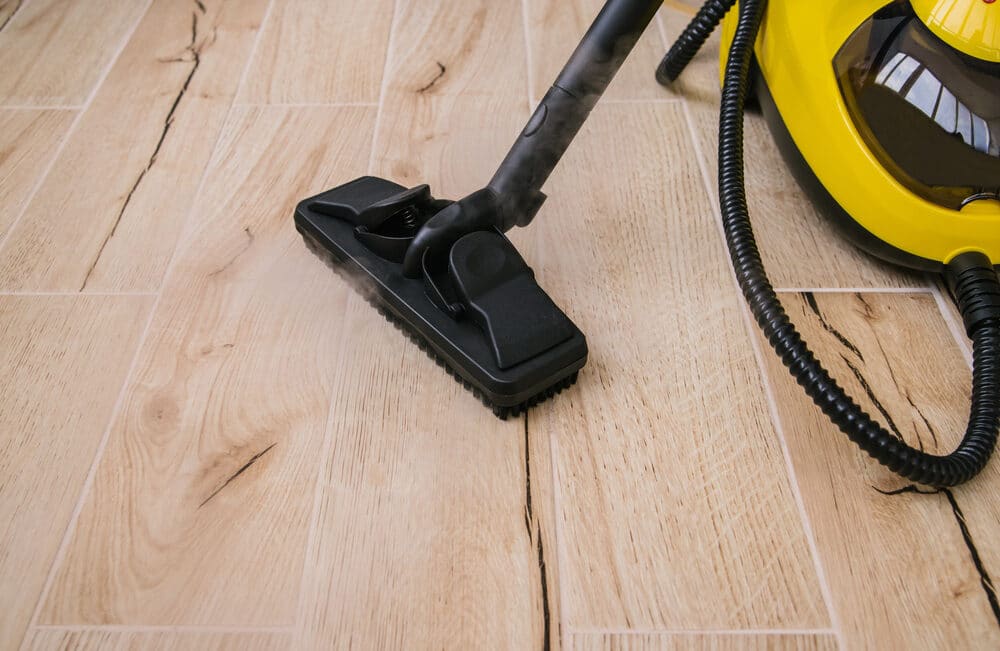
Sanding
We provide virtually dust-free sanding with our continuous belt machinery with mobile extraction units, giving you a safer environment for your family.
Oiling
This organic finish not only adds beauty to your home but also has exceptional water-repellent characteristics, making it easier to clean and maintain.
Waxing
This natural floor finish offers the softest and most mellow appearance – and leaves your floor able to breath.
Buffing
Using soft buffing machines (and hand-polishing where required) will bring a wonderful sheen to your newly-finished floor.
Repairs
We offer a full assessment of your wooden floors to determine what repairs are needed to provide the perfect working surface for the later stages of sanding, staining and sealing.
Restoration
We offer a comprehensive restoration process designed to address floors that are improperly fitted or damaged over time through wear and tear.
Request a fixed price quote for your wood floor restoration now
Simply enter your postcode below to get started.
Services
Wood Floor Sanding Wood Floor Restoration Wood Floor Scratch Repair Squeaky Wood Floor Repair Parquet Floor Sanding Parquet Floor Restoration Commercial Floor Sanding Church Floor Sanding Community Centre Floor Sanding School Floor Sanding Gap Filling Gap Filling with ResinCopyright © Mr Sander®
Privacy & Cookies Terms & Conditions Complaints Procedure Cancellation Rights Sitemap

Get An Instant Price Estimate Before You Go…
Simply enter the rooms you need sanded and we’ll provide you with a price estimate instantly! Try our price calculator now.
Get a Price Estimate NowLocal Floor Sanding Experts
Over 500 5-Star Reviews
Safe, Dust Free Sanding
Operating Since 1994