London:
Nationwide:
25,000+
Floors Restored
27 Years Experience
Wood Flooring Association Certified
How to Achieve a Smooth and Even Finish with a Drum Sander
Posted on August 24, 2023
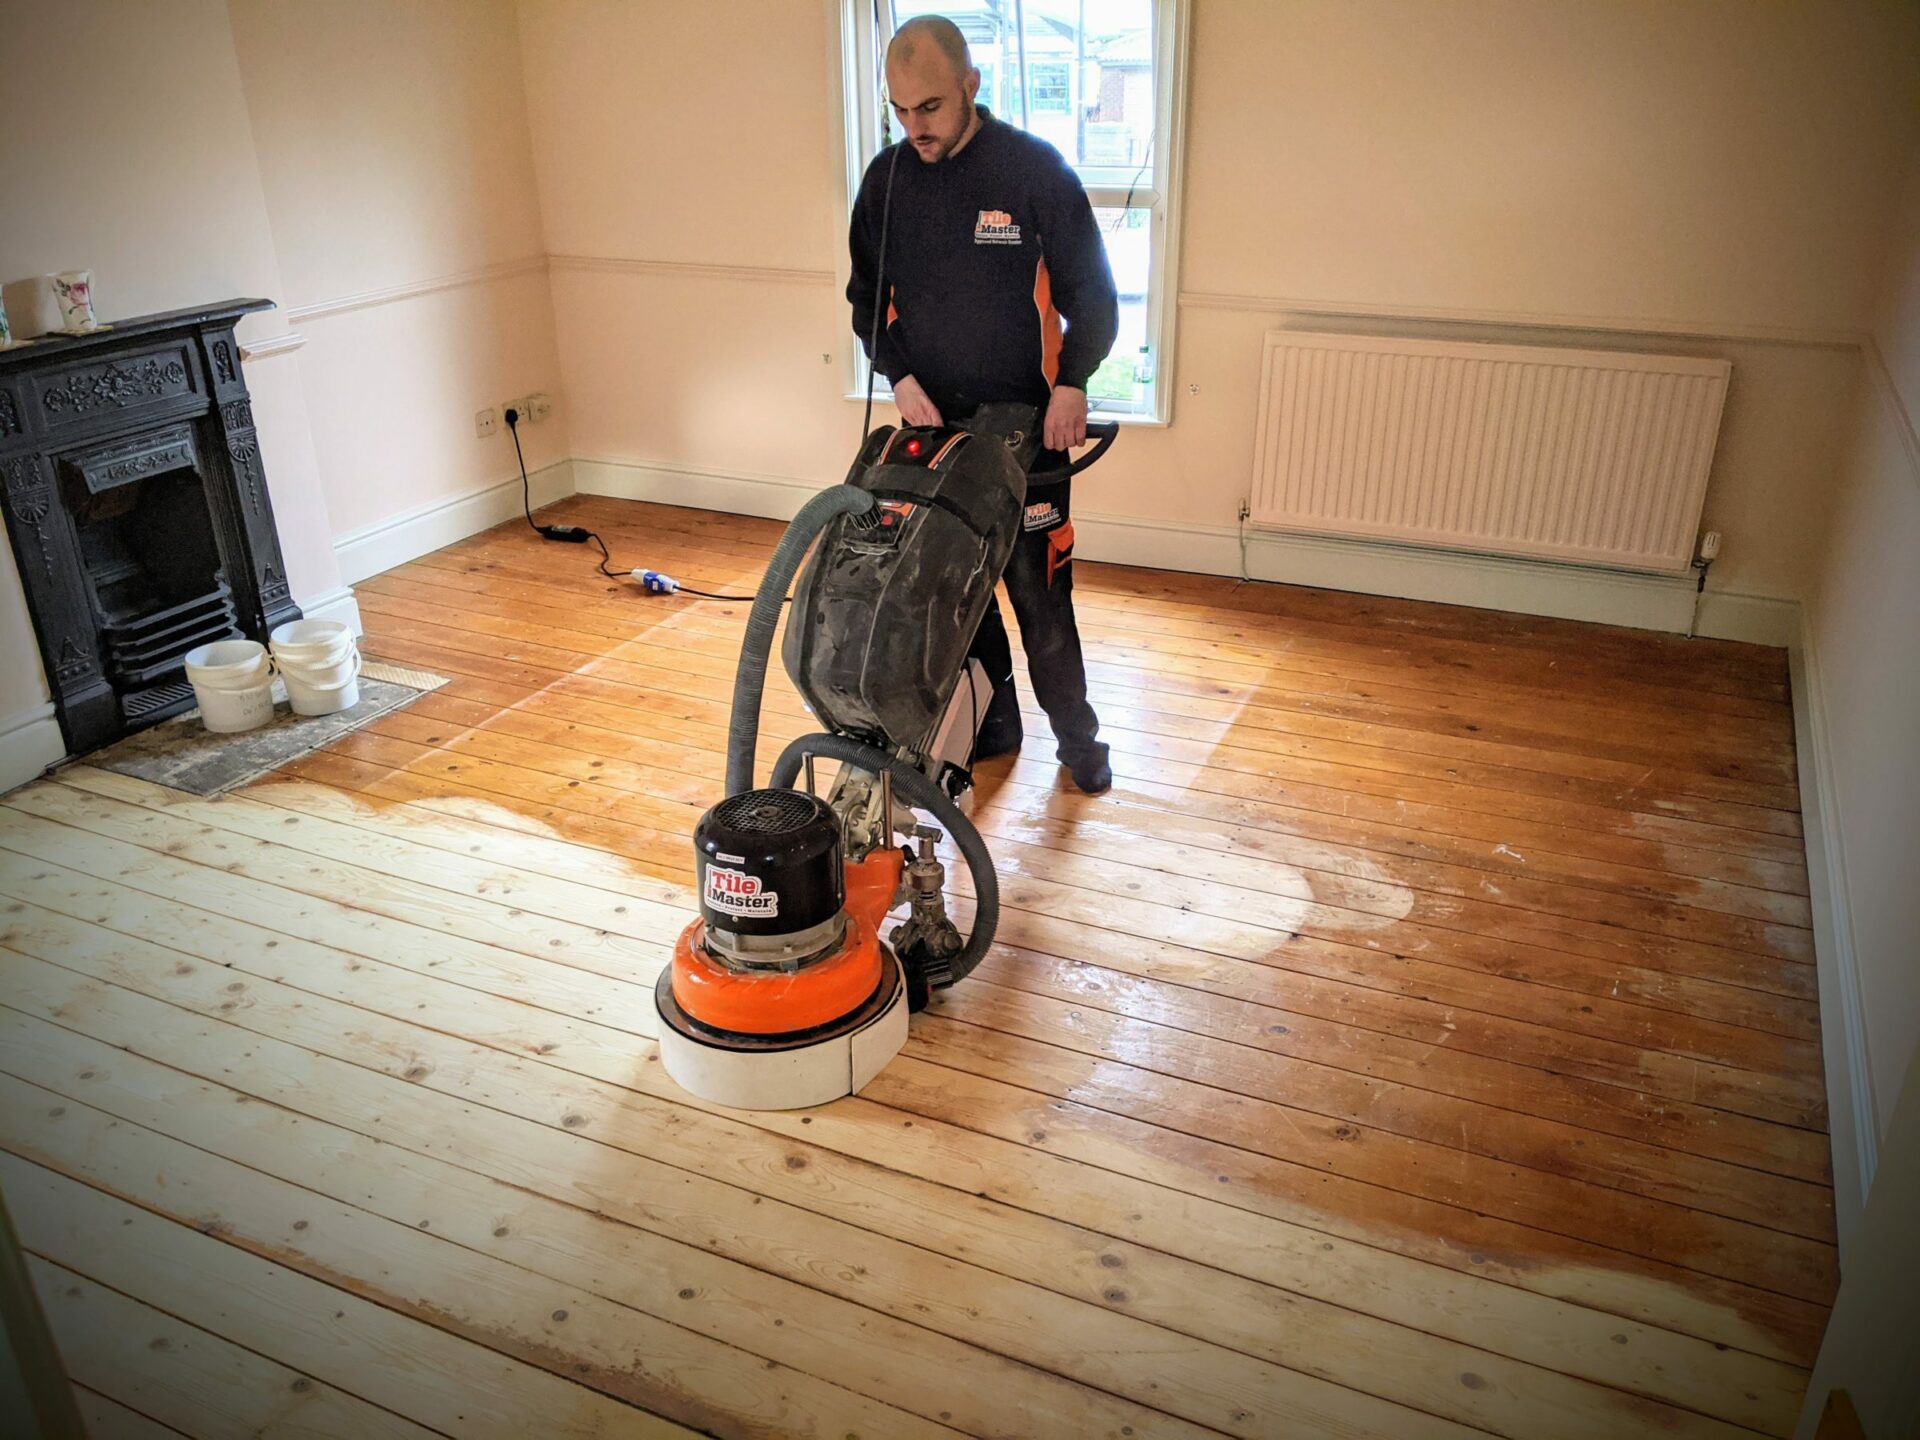
Drum sanding
Mastering the Drum Sander: Achieving Woodworking Elegance
Woodworking is much like painting; both rely heavily on the canvas they’re presented with. Just as an artist primps and preens her canvas for that first dash of color, an artisan, too, must ensure his piece of timber is perfectly smooth and ready to be transformed. Enter the drum sander. Like an elegant brush, the drum sander is an essential tool for those seeking perfection in their woodworking endeavors. Whether you’re a seasoned craftsman or a budding enthusiast, understanding the delicate art of using a drum sander can make all the difference between mediocrity and actual excellence.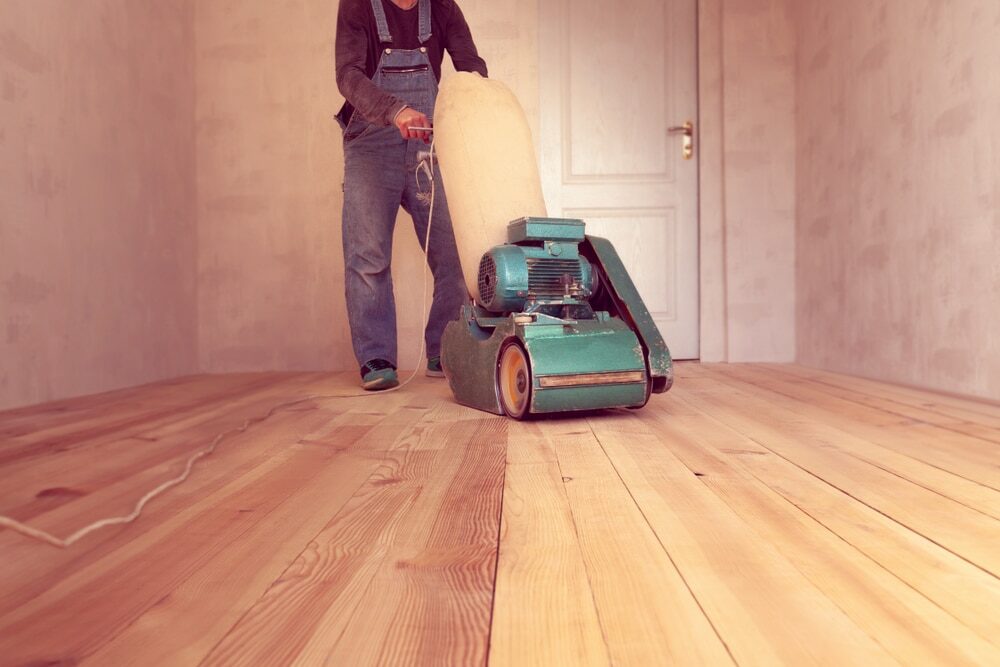
An Introduction to the Drum Sander
For the uninitiated, a drum sander is a stationary machine that sports a spinning cylinder (or drum) wrapped with sandpaper. When timber is fed through, it gently shaves off any rough or uneven surfaces, resulting in a flawlessly smooth piece. The very essence of its design, akin to British sophistication, seeks to impart an even finish that is as lovely to touch as it is to behold.The Underlying Philosophy of Sanding
To the casual observer, the act of sanding might appear tediously repetitive. Yet, for the true connoisseur of woodworking, it is a meditative practice akin to the British pastime of tending a rose garden. Each swipe of the sander, like the meticulous pruning of a rosebush, is a step towards aesthetic perfection.Venturing Beyond the Basics
- Feed Direction: Always be conscious of the feed direction. Like driving on the charming British roads, you must respect the rules. Feeding the wood against the rotation could result in kickback or damage to your precious piece of timber.
- Sanding Patterns: Do not be robotic in your movements. Dance with the wood, varying your patterns. This ensures a more uniform texture, much like a Victorian gown’s intricate patterns of lace.
- Depth of Cut: Being overly ambitious with the depth of cut can be your undoing. It’s not a race. Remember, the British Empire wasn’t built in a day! Gradual passes will ensure a more consistent finish and prolong the life of your sandpaper.
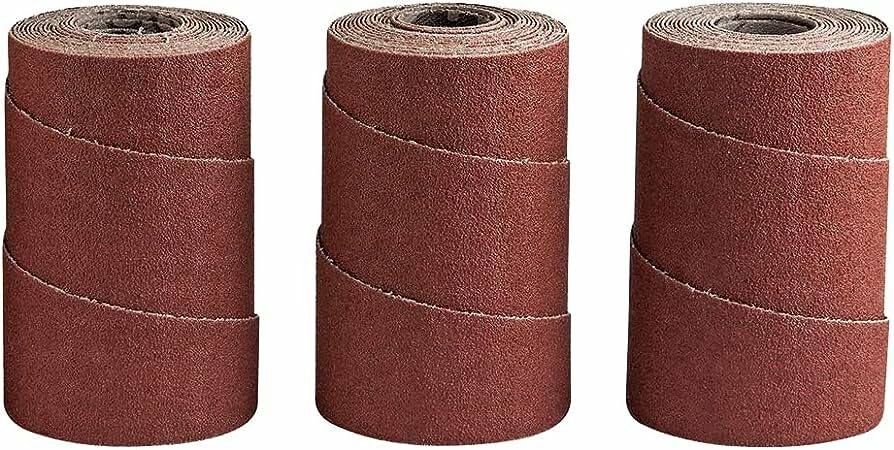
Step 1: The Selection Process
Much like picking the finest tea for an afternoon gathering, the sandpaper you choose for your drum sander is pivotal.- Grit: Begin with a coarser grit, perhaps 60 or 80, to remove the more pronounced irregularities. As you progress, switch to a finer grit, say 120 or 220, to achieve that velvety-smooth finish.
- Type: Aluminium oxide or zirconia alumina are often the choices du jour. The former is long-lasting, while the latter is more durable and suited for more vigorous sanding tasks.
The Symphony of Grits
Understanding sandpaper grits is akin to appreciating a symphony. There’s a progression, a flow, and an eventual climax.- Starting Note: Your initial coarse grit is the opening act, setting the stage and removing the most blatant imperfections.
- Crescendo: Medium grits, such as 120 or 150, act as the bridge. They eliminate the scratches left by the opening act and prepare the wood for the final note.
- Culmination: Fine grits, such as 220, are the grand finale, giving that silky-smooth finish and leaving your timber as refined as a gentleman’s top hat.
Step 2: Setting the Stage
In the world of drum sanding, haste makes waste. Before you commence:- Ensure your workspace is well-lit. Think of a sunny conservatory in the English countryside.
- Adjust the drum sander’s height. The goal is to shave off a minimal amount with each pass.
- Remember to wear safety gear. Elegant craftsmanship needn’t come at the cost of one’s well-being.
Step 3: The Dance Begins
- Start your machine, allowing it to reach its full speed, like letting a car purr before embarking on a journey.
- Feed the timber in the direction of the sanding drum’s rotation. Push at a steady pace, ensuring you’re neither rushing nor dawdling. Like a waltz, it’s about finding the right tempo.
- Check your progress after each pass. Repeat as necessary, adjusting the height and grit as you go.
Step 4: Maintenance: The Butler of Your Woodworking Domain
- Clean your sandpaper regularly. A buildup of sawdust can reduce efficiency and even mar your timber.
- Replace worn-out sandpaper. A blunt tool is a craftsman’s nemesis.
- Regularly inspect your drum sander for any signs of wear or damage. Much as caring for their prized rose bushes, tend to your tools with reverence and diligence.
Step 5: The Finishing Touches
After achieving that desired smoothness:- Wipe down your timber with a tack cloth to remove any lingering sawdust.
- For an added touch of brilliance, consider using fine-grade hand sandpaper or steel wool for an even more refined finish.
A Note on Dust Management
Wood dust is the bane of a craftsman’s existence. But fret not, for this nemesis can be tamed with a bit of British ingenuity.- Extraction Systems: Invest in a sound dust extraction system. This will not only keep your workspace cleaner but also prolong the life of your sandpaper and ensure a better finish.
- Personal Protection: Don a dust mask. After all, what good is your craftsmanship if you’re coughing like a chimney?
Concluding Thoughts
Woodworking, like life, is about patience, precision, and passion. With every piece you craft, you’re not just shaping wood; you’re narrating a story, echoing tales of ancient oaks, whispering winds, and the timeless dance of man with nature. So, the next time you stand before your drum sander, remember that you’re not merely sanding; you’re sculpting dreams, honing legacies, and etching memories. Embrace the process, and let every timber piece be a testament to your dedication, finesse, and love for the craft.Some Useful Links:
- Stairs Sanding & Refinishing
- Floor Sanding Services
- School Floor Sanding
- Wood Floor Restorations
- Wood Floor Repairs
- Wood Floor Polishing
More from our Blog:
The Environmental Impact of Drum Sanding Wooden Floors How to Choose the Right Abrasive Grit for Drum Sanding Floors The Benefits of Using a Professional Drum Sander for Floor Sanding How to Handle Drum Sanding of Softwood Floors The Cost of Professional Drum Sanding Services for Wooden Floors Tips for Effective Drum Sanding of Narrow and Hard-to-Reach Areas The Differences Between Drum Sanding and Belt Sanding

Sanding
We provide virtually dust-free sanding with our continuous belt machinery with mobile extraction units, giving you a safer environment for your family.
Oiling
This organic finish not only adds beauty to your home but also has exceptional water-repellent characteristics, making it easier to clean and maintain.
Waxing
This natural floor finish offers the softest and most mellow appearance – and leaves your floor able to breath.
Buffing
Using soft buffing machines (and hand-polishing where required) will bring a wonderful sheen to your newly-finished floor.
Repairs
We offer a full assessment of your wooden floors to determine what repairs are needed to provide the perfect working surface for the later stages of sanding, staining and sealing.
Restoration
We offer a comprehensive restoration process designed to address floors that are improperly fitted or damaged over time through wear and tear.
Request a fixed price quote for your wood floor restoration now
Simply enter your postcode below to get started.
Services
Wood Floor Sanding Wood Floor Restoration Wood Floor Scratch Repair Squeaky Wood Floor Repair Parquet Floor Sanding Parquet Floor Restoration Commercial Floor Sanding Church Floor Sanding Community Centre Floor Sanding School Floor Sanding Gap Filling Gap Filling with ResinCopyright © Mr Sander®
Privacy & Cookies Terms & Conditions Complaints Procedure Cancellation Rights Sitemap

Get An Instant Price Estimate Before You Go…
Simply enter the rooms you need sanded and we’ll provide you with a price estimate instantly! Try our price calculator now.
Get a Price Estimate NowLocal Floor Sanding Experts
Over 500 5-Star Reviews
Safe, Dust Free Sanding
Operating Since 1994