London:
Nationwide:
25,000+
Floors Restored
27 Years Experience
Wood Flooring Association Certified
Hand Sanding Techniques for Hard-to-Reach Areas
Posted on January 20, 2024
Floor sanding techniques

Expert Hand Sanding Techniques for Hard-to-Reach Areas in Woodworking
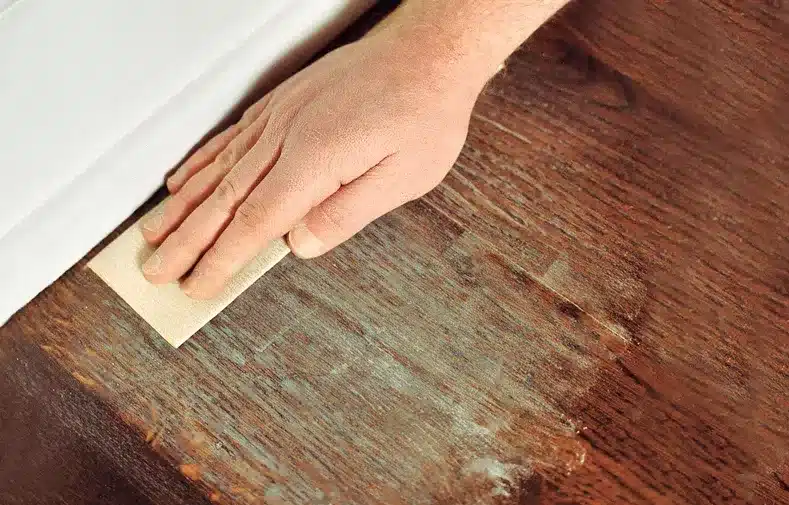
In the nuanced craft of woodworking, achieving perfection in every nook and cranny of a piece is what distinguishes a true artisan. Hand sanding, particularly in hard-to-reach areas, is a critical aspect of this meticulous process. This task, often seen as daunting and intricate, requires not just skill and patience but also a deep understanding of the tools and techniques involved.
The challenge of sanding tight spaces, be it in ornate furniture, detailed joinery, or intricate wood carvings, is a test of a craftsman’s finesse and attention to detail. In these confined areas, every stroke of the sandpaper counts, and the margin for error is minimal. It is here that the craftsmanship shines through, transforming a good piece into a great one.
In this article, we delve into the art of hand sanding techniques for hard-to-reach areas, offering guidance and insight into the tools and methods that make this delicate task achievable. From selecting the right sandpaper to mastering the technique for corners and contours, we will navigate through the intricacies of this essential woodworking skill. Join us as we explore how to tackle these challenges head-on, ensuring that your work not only meets but surpasses professional standards.
Moreover, this exploration will also address the often-overlooked aspect of hand sanding – the ability to preserve the integrity and aesthetic of the wood while reaching those elusive spots. It’s not just about removing material or smoothing a surface; it’s about enhancing the natural beauty of the wood, bringing out the depth and richness of its grain, and ensuring that every inch of the piece receives the same level of care and finish. As we delve deeper, we will uncover the subtle nuances of this skill, and how it contributes to the overall harmony and quality of the finished work. This guide is designed not just to equip you with practical techniques, but to instill an appreciation for the art of hand sanding in hard-to-reach areas, an art that elevates woodworking from a mere craft to a form of expressive artistry.
Understanding the Challenges of Hand Sanding in Tight Spaces
Hand sanding in confined spaces presents unique challenges that require not only skill but also a deep understanding of the task at hand. These challenges are often the make-or-break factor in achieving a flawless finish in woodworking projects.
The Nature of Hard-to-Reach Areas
Hard-to-reach areas in woodworking typically include tight corners, narrow crevices, intricate carvings, and curved or contoured surfaces. These areas are challenging due to their limited accessibility and the difficulty in applying even pressure during sanding. Achieving consistency in these spots is crucial, as any oversight can lead to an uneven finish that detracts from the overall quality of the piece.
Importance of Precision in Confined Spaces
Precision in hand sanding within these tight spaces is paramount. The goal is to remove just enough material to smooth the surface without altering the intended design or detail of the woodwork. This precision requires a delicate balance – too little pressure and the area remains rough and unfinished; too much, and you risk damaging the intricate details or changing the shape of the piece. Additionally, these areas often require a different approach compared to more accessible surfaces, demanding a blend of finesse and controlled technique.

Tools of the Trade: Selecting the Right Equipment
Having the right tools is crucial for effective hand sanding, especially in hard-to-reach areas. The choice of equipment can greatly influence the ease of the task and the quality of the final finish.
Types of Sanding Tools for Tight Spaces
When it comes to sanding in confined spaces, traditional sanding blocks and sheets may not always be the most effective. Instead, consider tools like:
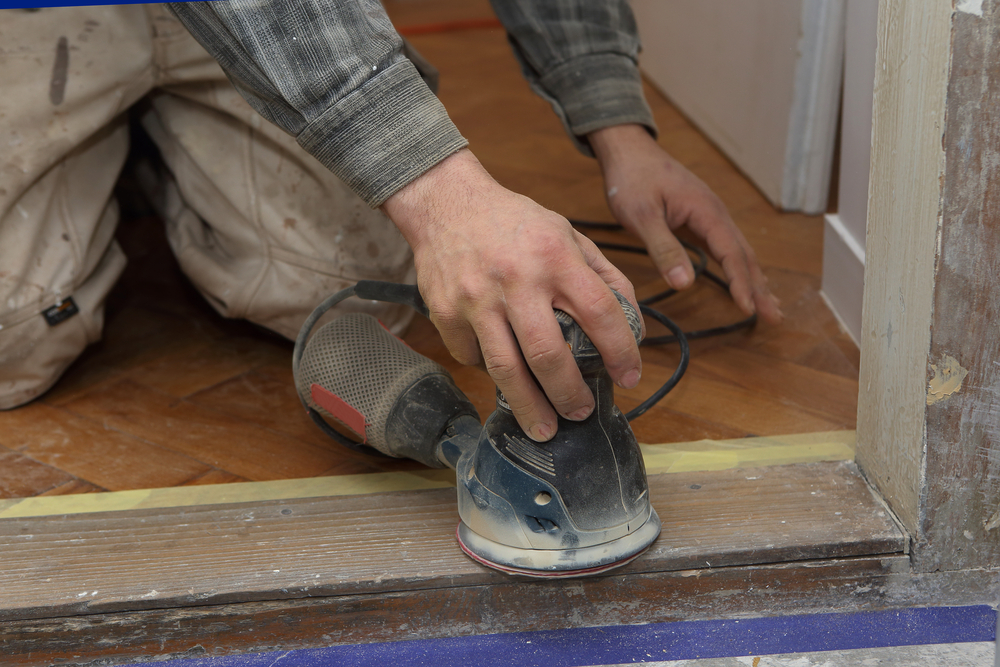
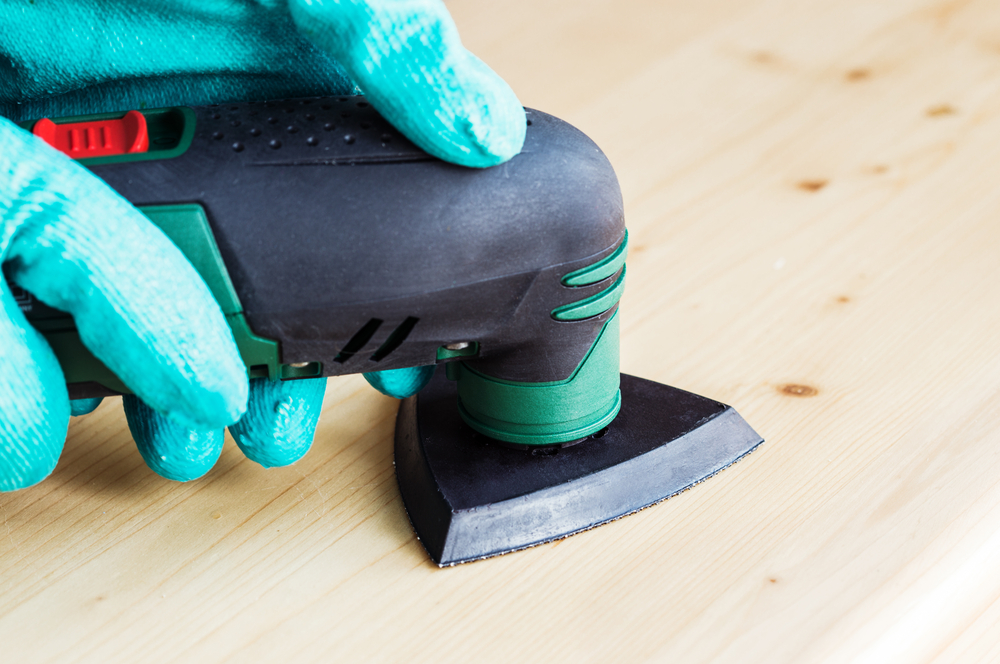
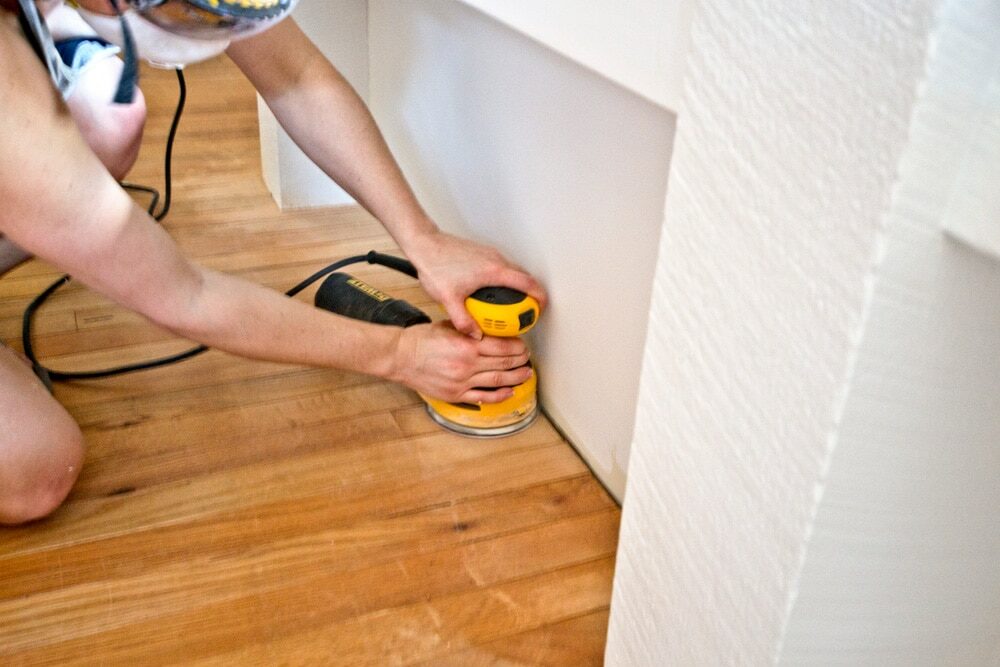
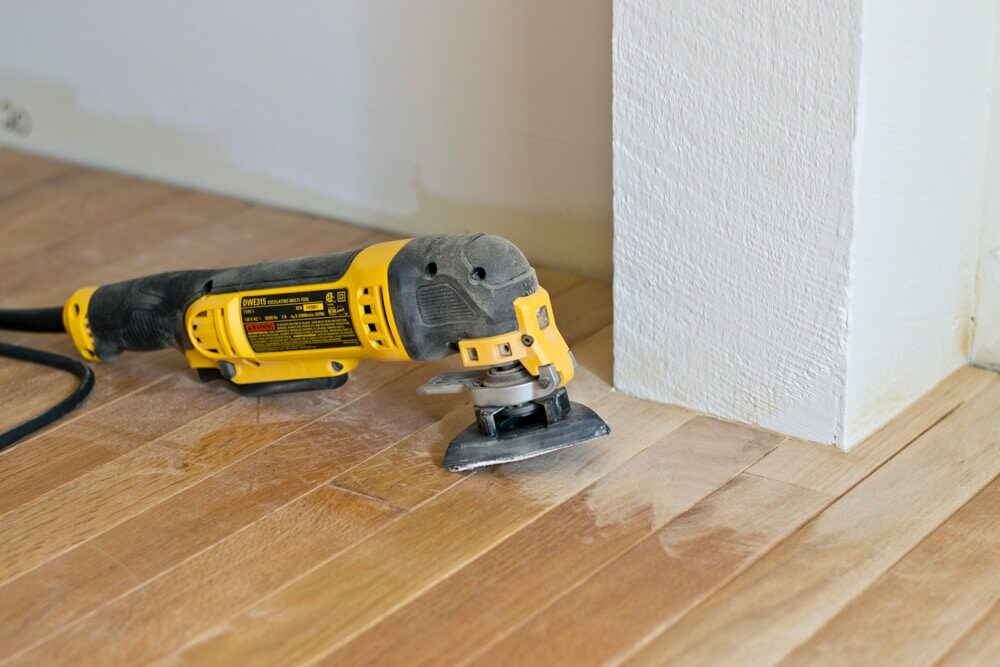
- Detail Sanding Tools: These are smaller and often come in various shapes (triangular, teardrop, etc.) to fit into corners and tight spaces.
- Flexible Sanding Pads: These pads can be bent or twisted to conform to curved or irregular surfaces, allowing for an even application of pressure.
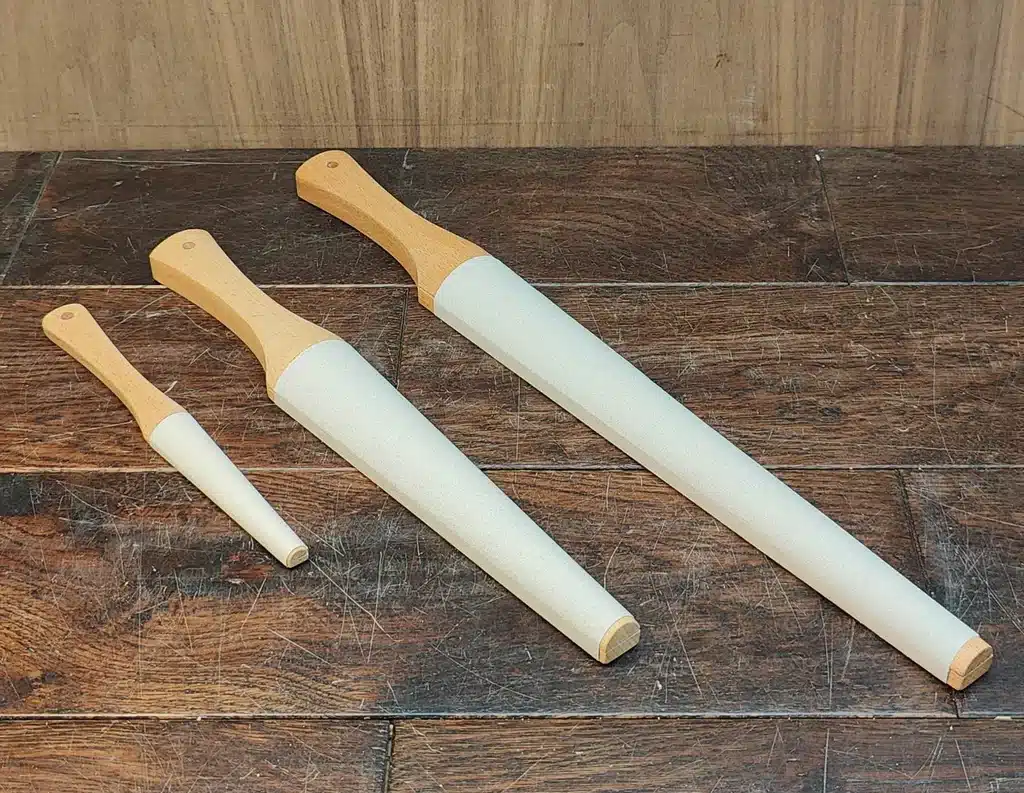
- Narrow Sanding Sticks: Ideal for crevices and narrow recesses, these sticks can be wrapped with sandpaper and used to reach into very tight spots.

Sandpaper Selection for Precision Work
Choosing the right sandpaper is just as important as selecting the tool. Considerations include:
- Grit Size: Use finer grits for finishing touches and coarser grits for shaping or removing material. In tight spaces, starting with a medium grit and gradually moving to finer grits often works best.
- Abrasive Material: For hardwoods, stronger abrasives like aluminum oxide or silicon carbide are preferable. For softer woods, gentler abrasives might be more appropriate to avoid excessive material removal.
- Cut-to-Size Sandpaper: Having the ability to cut sandpaper to the exact size needed for your tool can be extremely helpful, especially for irregularly shaped tools or spaces.

Equipped with the right tools and sandpaper, hand sanding in tight, hard-to-reach areas becomes a more manageable and precise task. These tools not only make the process more efficient but also help ensure a uniform and professional finish, showcasing the true skill of a craftsman. In the following sections, we will delve into the specific techniques that utilize these tools to their fullest potential.
Techniques for Sanding Difficult Areas
Sanding difficult, hard-to-reach areas requires a strategic approach and specific techniques to ensure an even and smooth finish. These techniques vary depending on the type of area being sanded and the nature of the woodworking project.
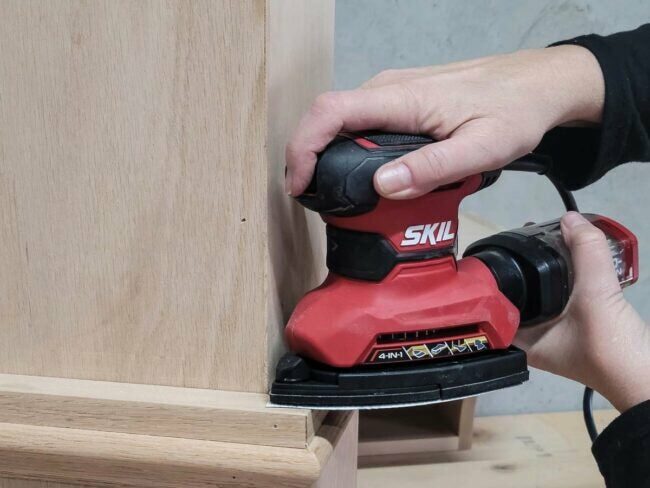
Strategy for Corners and Edges
Corners and edges can be particularly challenging due to their angular nature. The key here is to avoid over-sanding which can round off sharp edges or alter the precise angles of the corners. Using detail sanding tools or folded sandpaper can provide better control. Sand in a motion that follows the angle of the corner or edge, applying even and gentle pressure to maintain the integrity of the shape.
Dealing with Curved and Contoured Surfaces
Curved and contoured surfaces require a different approach. Flexible sanding pads or foam-backed sandpapers are ideal as they can conform to the shape of the surface. When sanding curves:
- Follow the Curve: Move the sanding tool in a motion that matches the curve of the wood. This helps in maintaining the original shape and contour.
- Even Pressure: Apply consistent pressure to avoid creating flat spots or dips in the curve.
- Gradual Grit Progression: Start with a coarser grit to shape and smooth the curve, then progressively move to finer grits for a polished finish.
In addition to these techniques, patience and a light touch are crucial. Frequently check your progress and make sure you are not altering the intended design of the woodwork. Remember, the goal is to enhance the natural beauty of the wood, not to compromise its structural or aesthetic integrity.
Tips for Effective and Safe Hand Sanding
Effective and safe hand sanding, particularly in hard-to-reach areas, requires a blend of technique, awareness, and precaution. Here are some tips to ensure that your hand sanding is not only proficient but also safe for both the project and yourself.
Maintaining Control in Tight Spots
- Firm Grip: Ensure a firm and comfortable grip on your sanding tool. This improves control and helps in applying even pressure.
- Gentle Motions: Use small, gentle motions to avoid aggressive sanding which can damage the wood, especially in delicate areas.
- Regular Inspection: Frequently stop and examine your work. This helps in identifying any issues early on, such as uneven sanding or missed spots.
Safety Measures during Hand Sanding
- Dust Protection: Wood dust can be harmful, especially in enclosed spaces. Wear a dust mask or respirator to protect your lungs.
- Eye Protection: Safety goggles or glasses are essential to protect your eyes from wood dust or debris.
- Proper Lighting: Good lighting is crucial for safety and effectiveness. It helps in accurately seeing the work area and avoiding mistakes.
- Hand Protection: Consider wearing gloves to protect your hands, especially when working on rough surfaces or with splinter-prone woods.

Ergonomics and Comfort
- Comfortable Posoning: Ensure that you are in a comfortable position when sanding. Awkward positions can lead to strain and ineffective sanding.
- Breaks and Rest: Regular breaks are important to prevent fatigue. Tiredness can lead to mistakes and accidents.
- Use of Extensions: For haitird-to-reach areas, consider using tool extensions to avoid overreaching or straining.
Finishing Touches: Polishing and Cleaning
After the meticulous process of hand sanding, especially in those challenging, hard-to-reach areas, the finishing touches of polishing and cleaning are what bring out the true beauty and quality of your work. These final steps are crucial in showcasing the craftsmanship and effort invested in the project.
Polishing for a Seamless Finish
- Choosing the Right Polish: Select a polish that complements the type of wood and the desired sheen. For instance, oil-based polishes are excellent for enhancing the wood’s natural grain, while wax-based polishes offer a more subtle, matte finish.
- Applying Polish: Use a soft, clean cloth or a fine brush to apply the polish. For intricate areas, cotton swabs or small brushes can be more effective. Apply in a circular motion, ensuring an even coat.
- Buffing: After allowing the polish to dry according to the manufacturer’s instructions, buff the surface gently with a clean, soft cloth. This helps in achieving an even sheen and smooth feel.

Cleaning for Clarity
- Dust Removal: Post-sanding cleaning is vital. Use a tack cloth or a soft brush to remove all residual dust from the sanded areas, especially the hard-to-reach spots.
- Final Inspection: Examine the piece under good lighting to ensure that all areas are clean and free of dust. Missed spots can compromise the final appearance.
- Touch-ups: If you notice any areas that need a bit more sanding or polishing, now is the time to do it. It’s better to correct any imperfections before the piece is considered complete.

These finishing touches not only enhance the visual appeal of your project but also protect the wood, ensuring that your work remains beautiful and durable for years to come. A well-polished and cleaned piece reflects the skill and dedication of the woodworker, turning a simple object into a testament to the art of woodworking.

Conclusion
In the realm of woodworking, the mastery of hand sanding, especially in hard-to-reach areas, is a skill that distinguishes a true artisan. This comprehensive journey through the various aspects of hand sanding has highlighted its significance in achieving a professional and polished finish. From understanding the unique challenges presented by tight spaces to selecting the appropriate tools, and from mastering precise techniques to applying the final touches of polish and cleaning, each step is integral to the process.
The art of hand sanding in difficult areas is not merely about removing material or smoothing surfaces; it’s about the respect for the medium, the attention to detail, and the patience to do justice to the beauty inherent in the wood. It’s these painstaking efforts in the nooks and crannies, the corners and curves, that elevate a piece from being merely functional to a work of art.
As we conclude, remember that the true essence of craftsmanship lies in the details. The techniques and tips shared here are more than just guidelines; they are stepping stones to refining your craft. Whether you are a seasoned woodworker or a beginner, embracing these practices in hand sanding will not only enhance the quality of your work but also bring a sense of fulfillment and pride in your creations. In woodworking, as in all forms of art, the journey is as important as the destination, and hand sanding is a testament to this journey – a blend of skill, patience, and reverence for the craft.


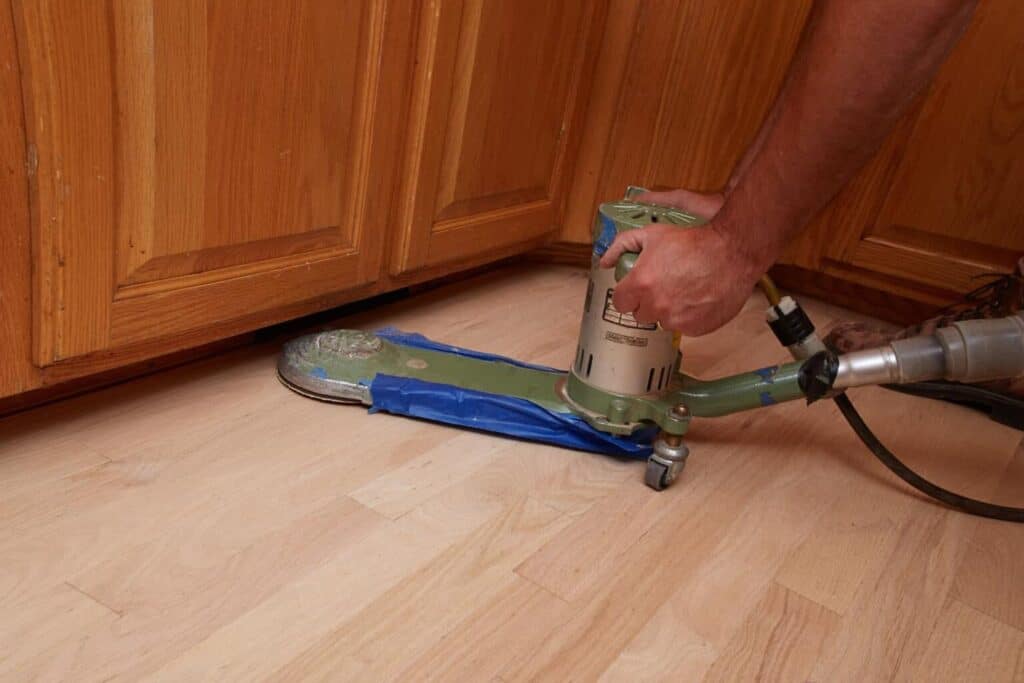
Sanding
We provide virtually dust-free sanding with our continuous belt machinery with mobile extraction units, giving you a safer environment for your family.
Oiling
This organic finish not only adds beauty to your home but also has exceptional water-repellent characteristics, making it easier to clean and maintain.
Waxing
This natural floor finish offers the softest and most mellow appearance – and leaves your floor able to breath.
Buffing
Using soft buffing machines (and hand-polishing where required) will bring a wonderful sheen to your newly-finished floor.
Repairs
We offer a full assessment of your wooden floors to determine what repairs are needed to provide the perfect working surface for the later stages of sanding, staining and sealing.
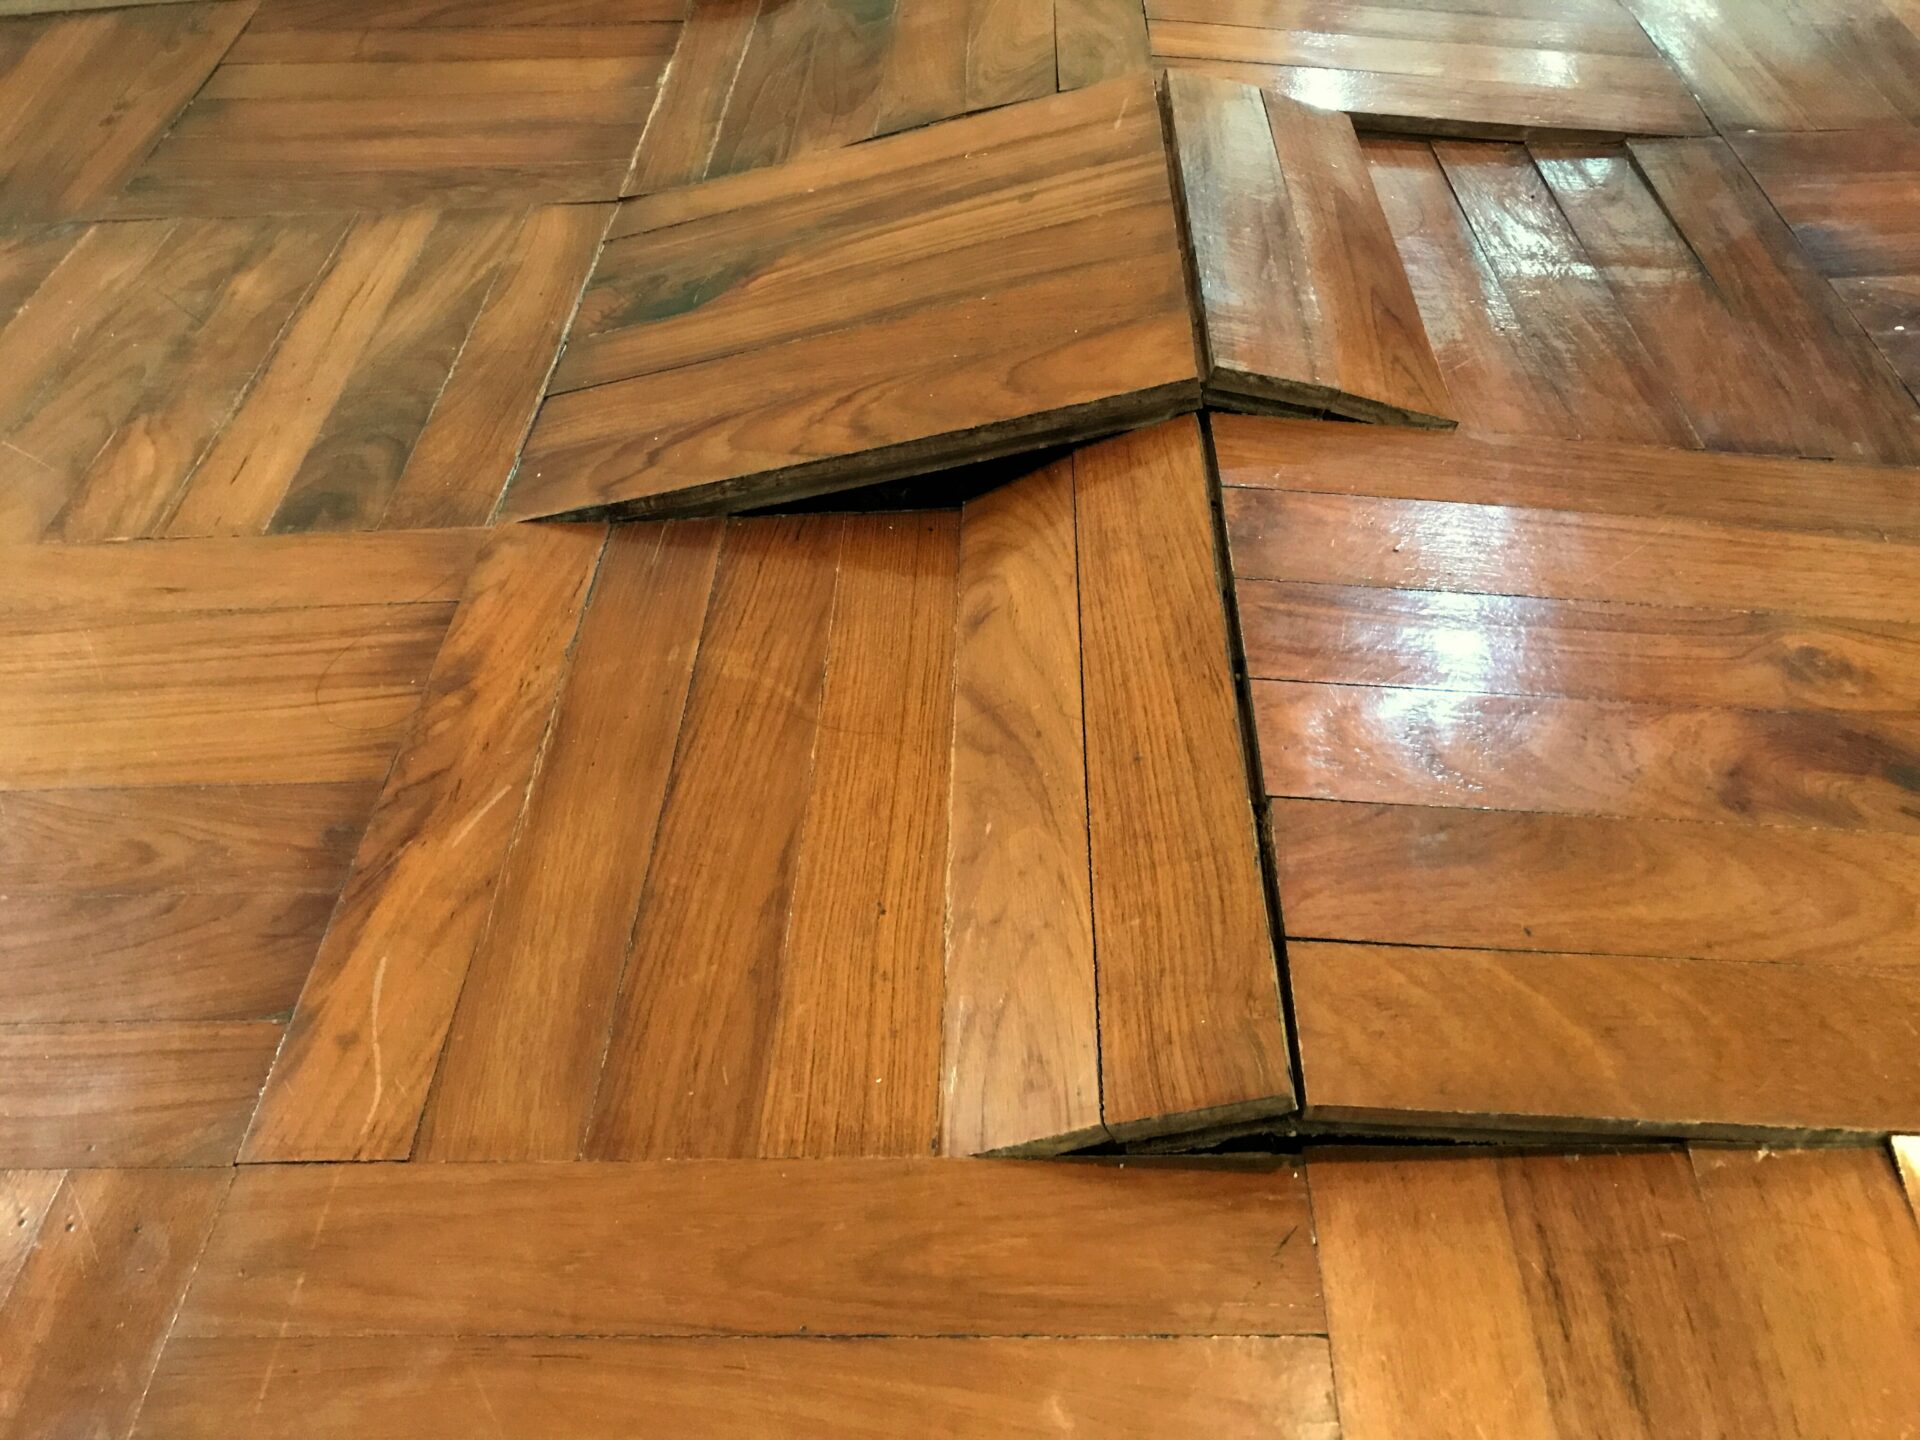
Restoration
We offer a comprehensive restoration process designed to address floors that are improperly fitted or damaged over time through wear and tear.
Request a fixed price quote for your wood floor restoration now
Simply enter your postcode below to get started.
Services
Wood Floor Sanding Wood Floor Restoration Wood Floor Scratch Repair Squeaky Wood Floor Repair Parquet Floor Sanding Parquet Floor Restoration Commercial Floor Sanding Church Floor Sanding Community Centre Floor Sanding School Floor Sanding Gap Filling Gap Filling with ResinCopyright © Mr Sander®
Privacy & Cookies Terms & Conditions Complaints Procedure Cancellation Rights Sitemap

Get An Instant Price Estimate Before You Go…
Simply enter the rooms you need sanded and we’ll provide you with a price estimate instantly! Try our price calculator now.
Get a Price Estimate NowLocal Floor Sanding Experts
Over 500 5-Star Reviews
Safe, Dust Free Sanding
Operating Since 1994