London:
Nationwide:
25,000+
Floors Restored
27 Years Experience
Wood Flooring Association Certified
Hand Sanding for Refinishing Old Wood Floors
Posted on January 10, 2024
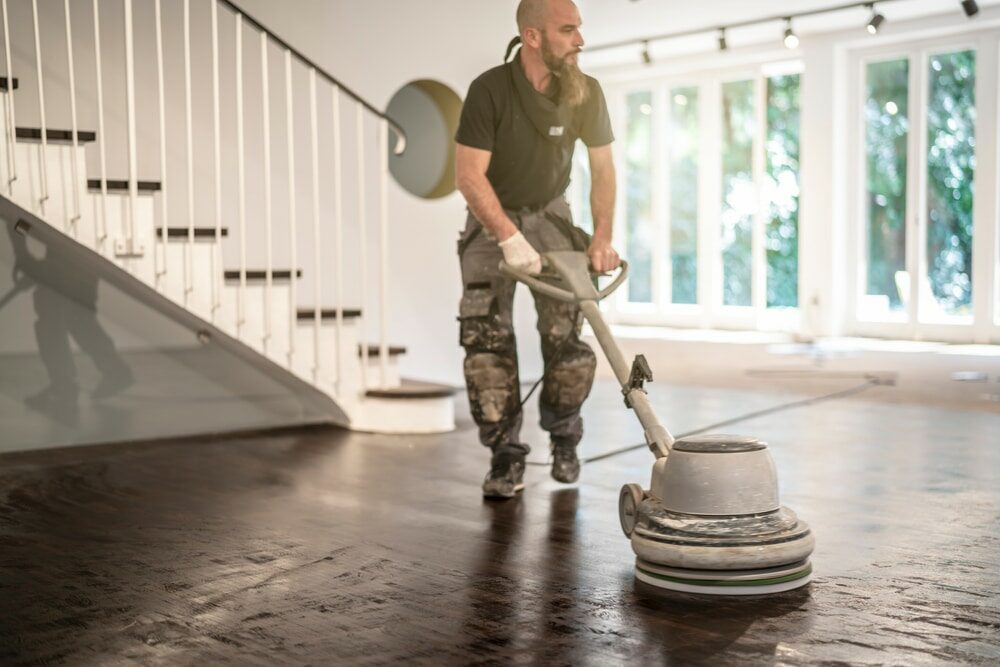
Floor sanding techniques
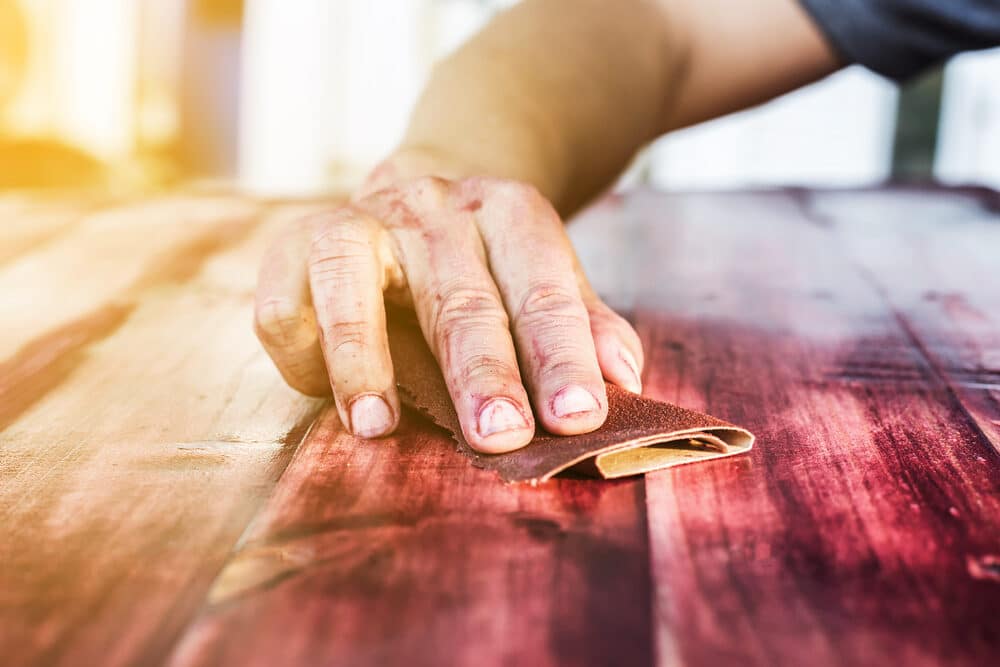
Restoring Old Wood Floors with Hand Sanding
Refinishing old wood floors is akin to uncovering a hidden treasure, revealing the timeless beauty and character of your home’s history. These aged wooden surfaces hold stories of countless footsteps and memories, waiting to be revitalized. While modern sanding machines offer convenience, there’s something deeply satisfying and authentic about the process of hand-sanding.
In this comprehensive guide, we will delve into the art of hand sanding for refinishing old wood floors. With a touch of British elegance and the precision of a craftsman, we’ll take you through each step of this transformative journey, ensuring your floors radiate a renewed sense of grandeur and charm. So, let’s begin our journey of restoration and rediscovery.
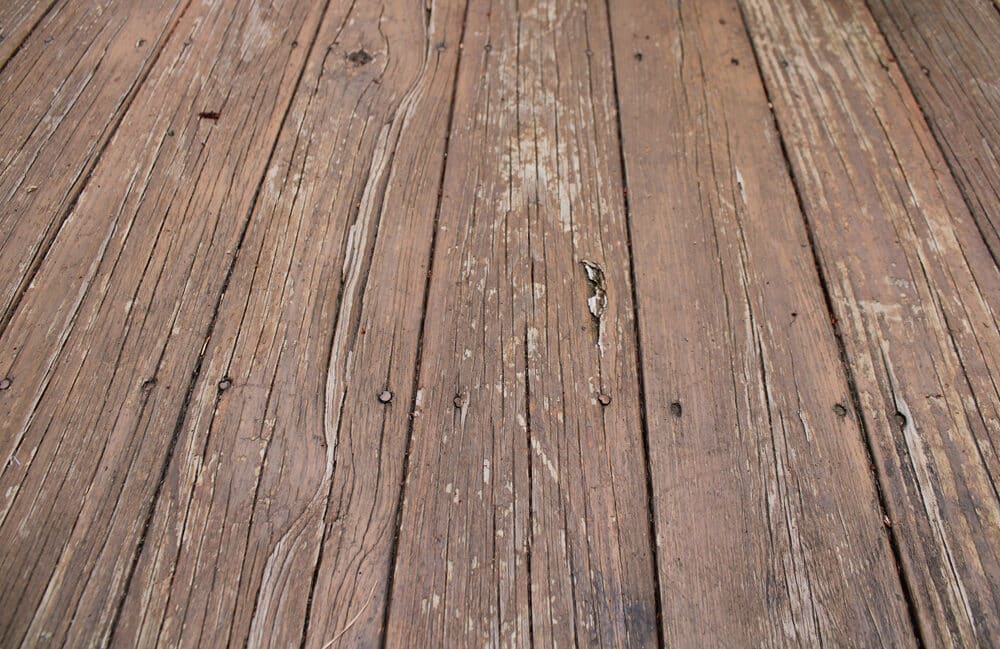
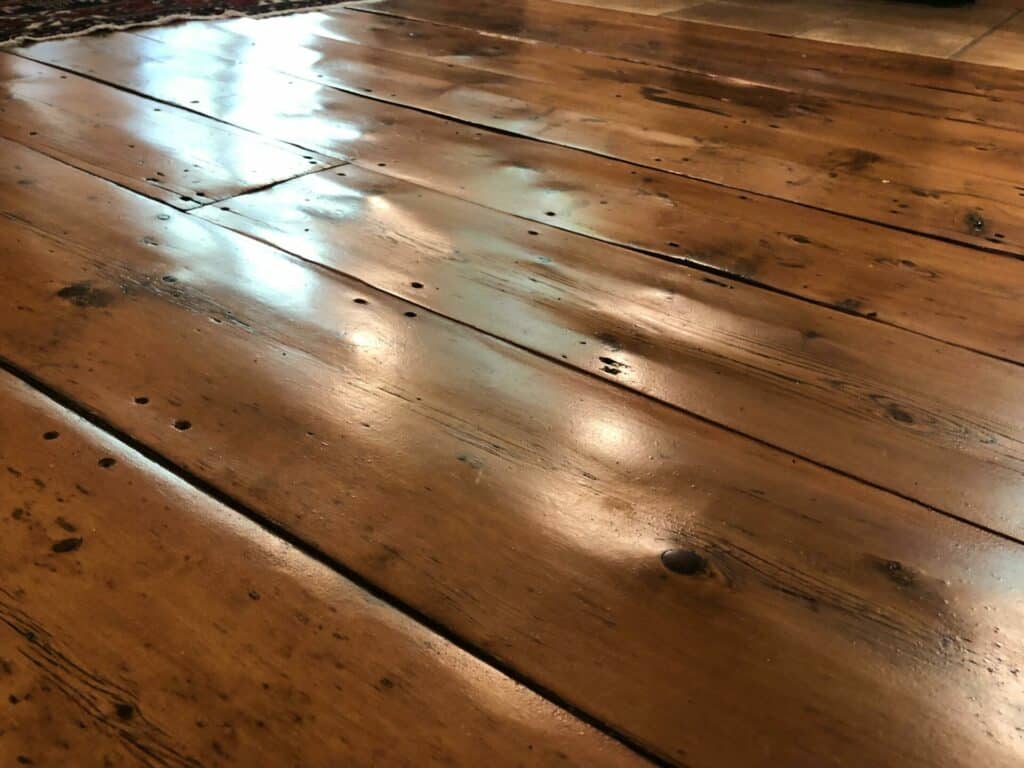
The allure of old wood floors lies in their unique character and the richness of the wood’s patina, which only time can bestow. These floors have witnessed the passage of generations and have a story to tell in every creak and groove. However, the years can take their toll, leaving these once-glorious surfaces worn and weathered. Fortunately, with patience and the right techniques, you can restore them to their former glory.
Hand sanding, as a method of refinishing, offers a personal connection to the process, allowing you to feel the wood beneath your fingertips and uncover its hidden beauty. As we embark on this journey together, we’ll explore the tools and materials you’ll need, delve into the intricate details of the sanding technique, and provide expert advice on addressing imperfections and adding those final finishing touches. By the end of this guide, you’ll possess the knowledge and confidence to breathe new life into your old wood floors, preserving their timeless allure for years to come. Let’s embark on this rewarding endeavour and rediscover the beauty of your home, one sanding stroke at a time.
Tools and Materials
In the world of refinishing, having the right tools and materials at your disposal is akin to an artist having a well-stocked palette of colours. To transform your old wood floors into works of art, let’s explore the essential tools and materials you’ll need:
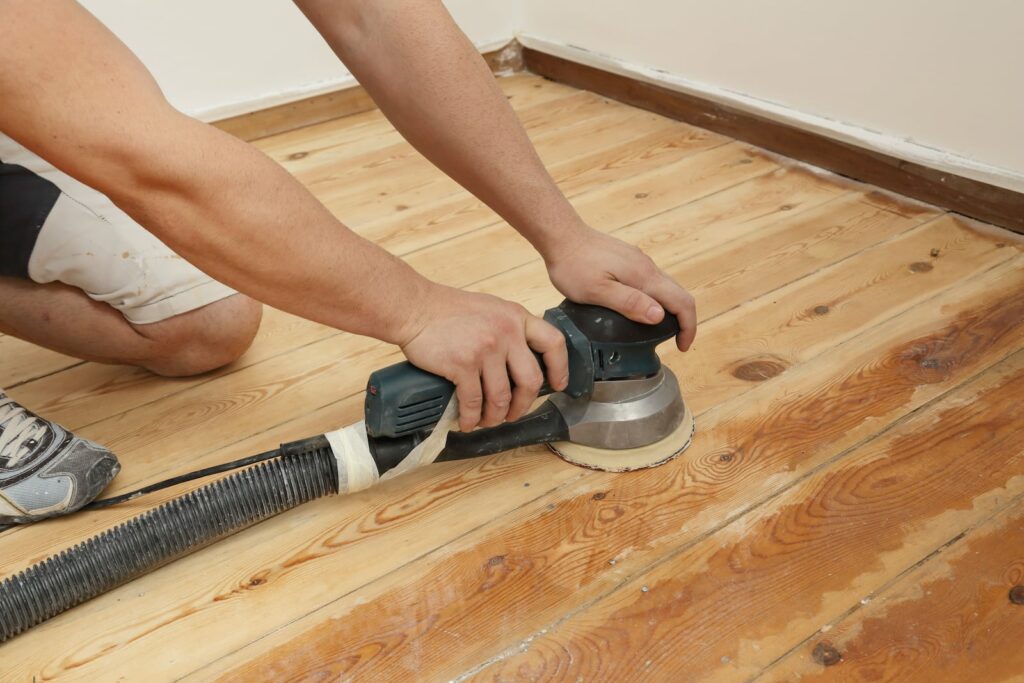
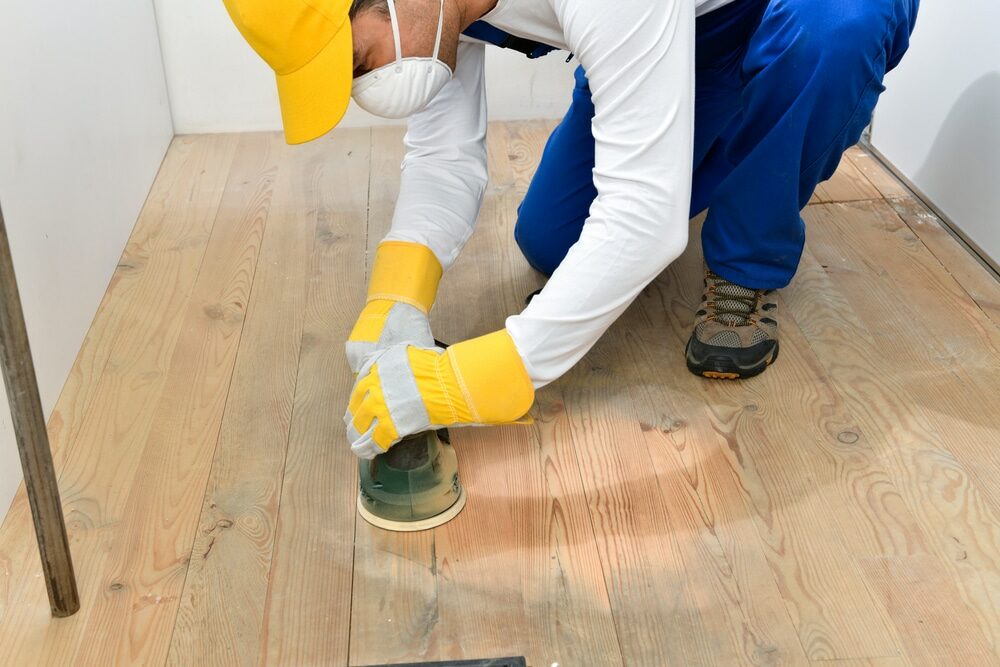
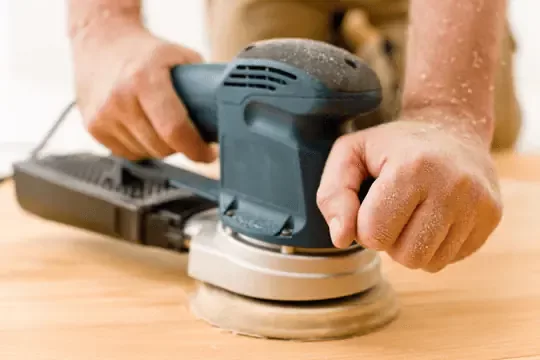
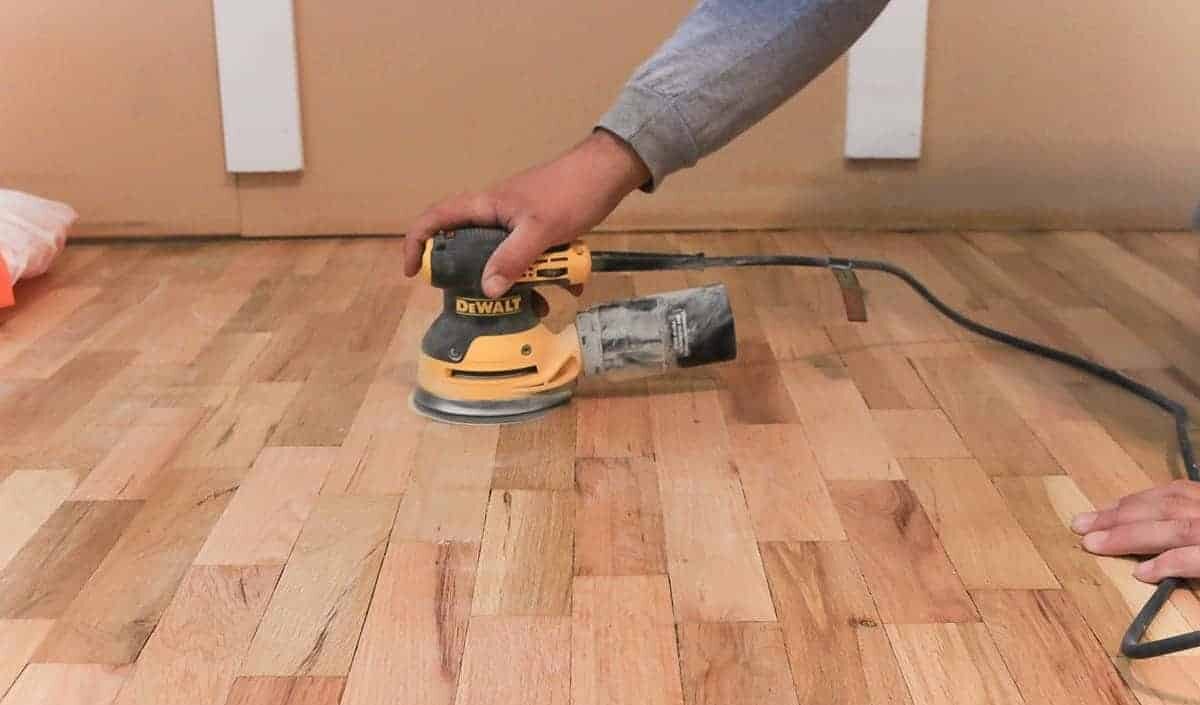
1. Handheld Orbital Sander
The cornerstone of your refinishing project, a handheld orbital sander, is the tool that will help you strip away old finishes and reveal the hidden beauty of your wood floors. Ensure you choose a high-quality sander with variable speed settings for better control.
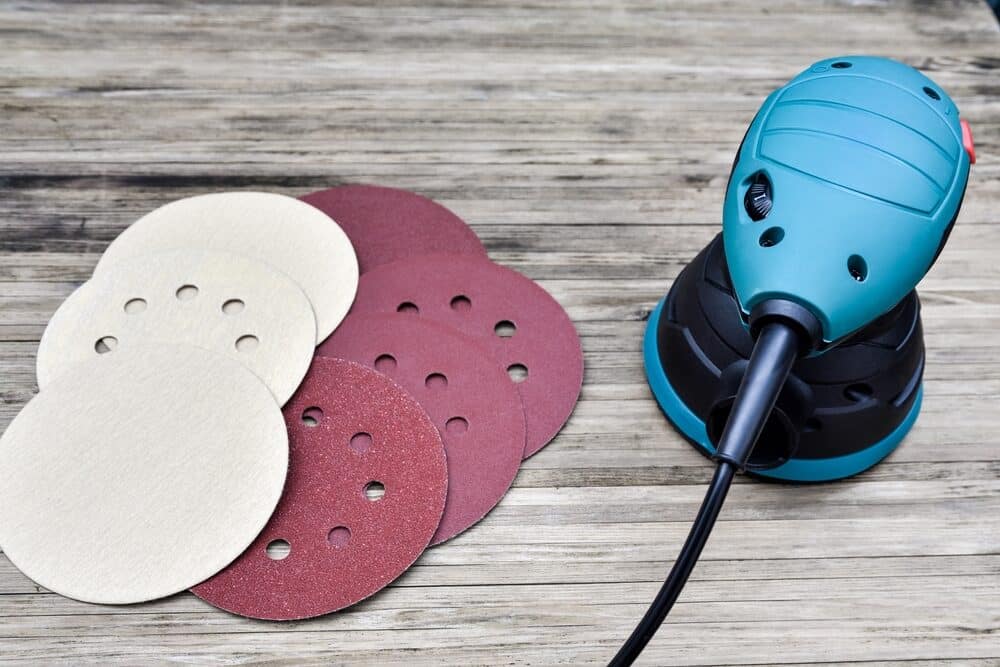
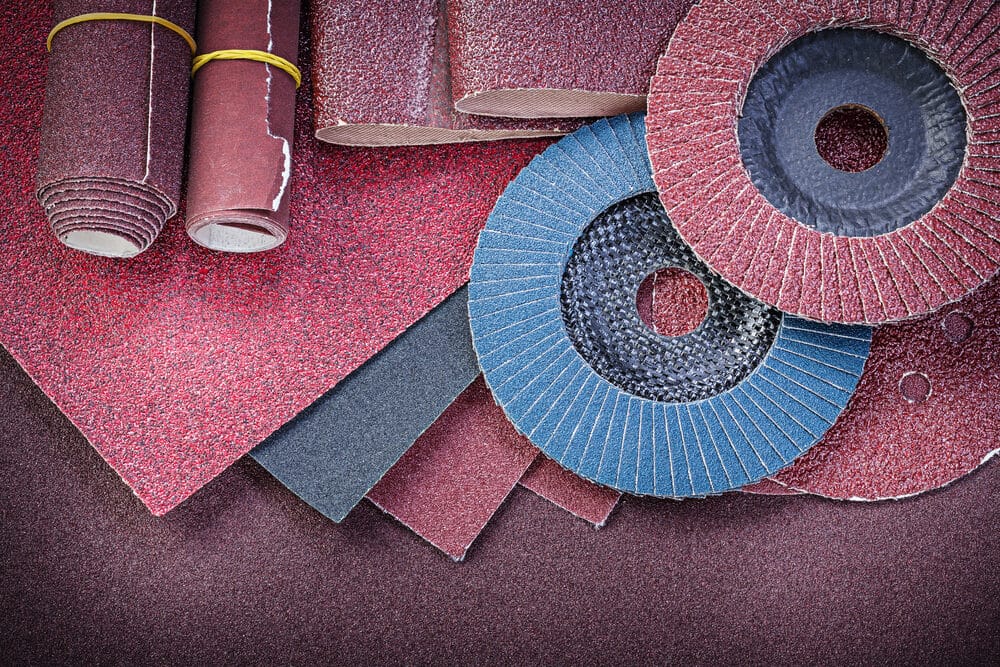
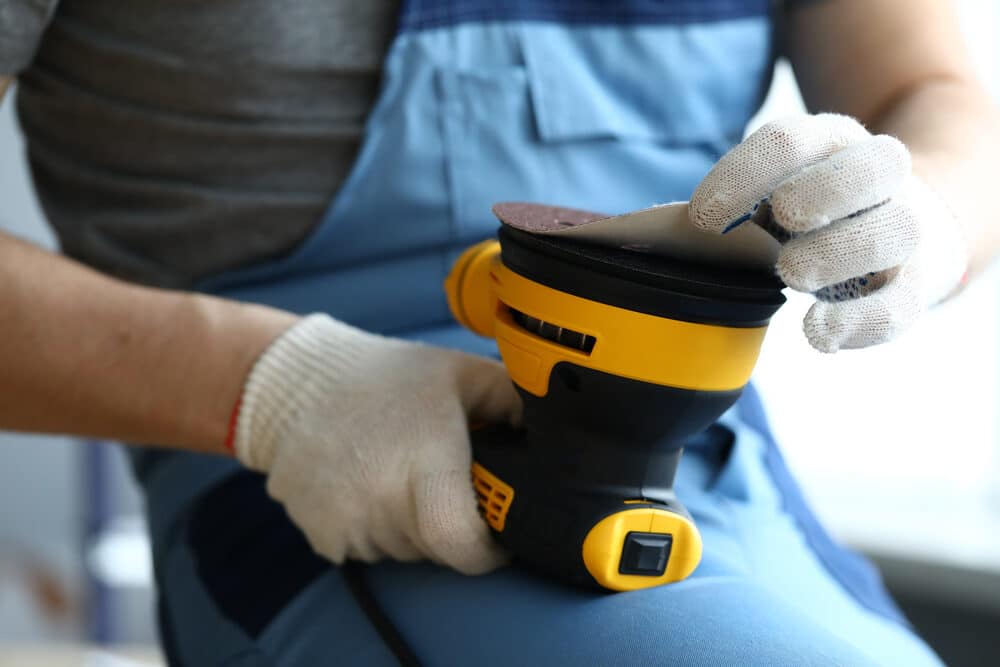
2. Sandpaper of Varying Grits
Select sandpaper in different grits to accommodate the various stages of refinishing. Begin with coarse grits, such as 60 or 80, to remove existing finishes and imperfections. Progress to finer grits like 120 for a smoother, polished finish.
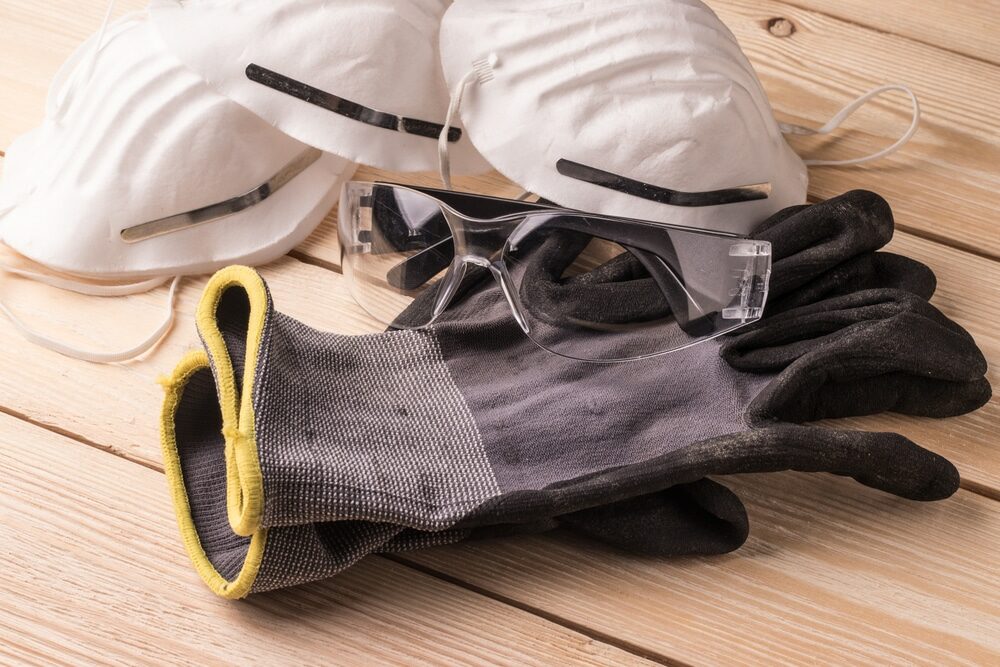
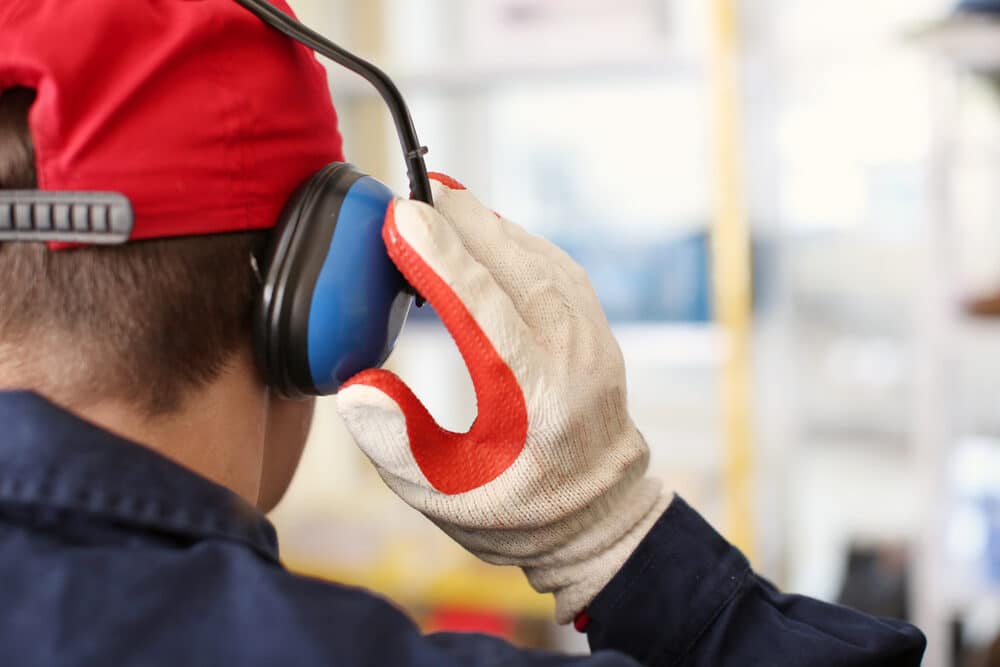
3. Safety Gear
Prioritise safety with the following gear:
- Dust Mask: Protect your lungs from fine wood dust.
- Safety Goggles: Shield your eyes from flying debris.
- Ear Protection: Guard against the noise generated by the sander.
4. Surface Protection
To safeguard your surroundings, acquire:
- Plastic sheeting or drop cloths: Cover furniture and adjacent areas.
- Painter’s Tape: Use it to secure plastic sheeting and create clean edges.
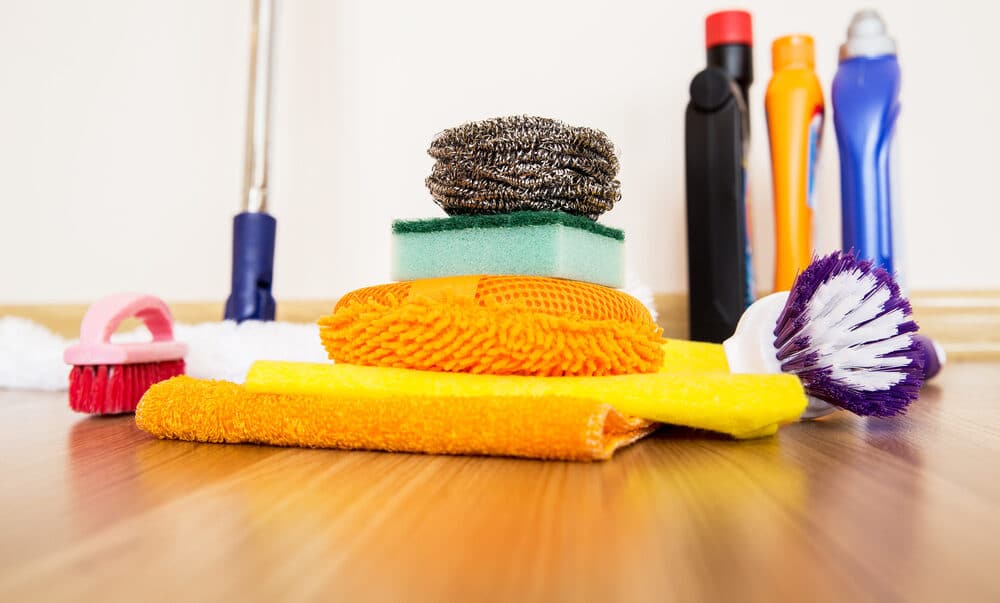
5. Cleaning Supplies
Keep your workspace tidy with:
- Vacuum Cleaner: To promptly remove wood dust and debris.
- Rags or brushes are handy for quick clean-ups during the project.
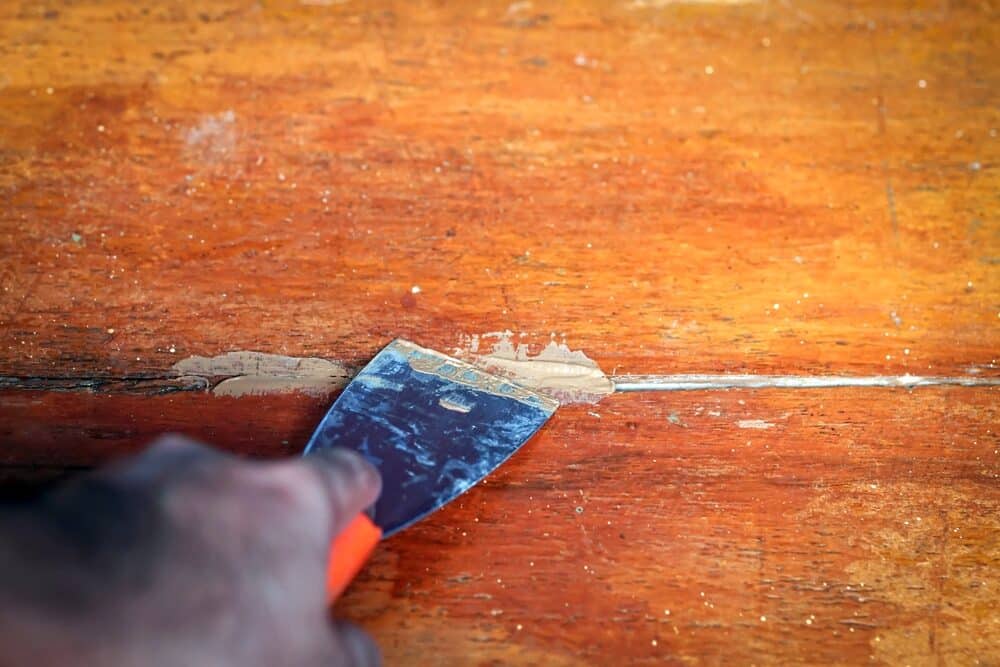
6. Wood Filler and Putty Knife
For addressing imperfections and gaps in your wood floor, you’ll require:
- Wood Filler: To fill in cracks, holes, and gaps.
- Putty Knife: For smooth and precise application of wood filler.
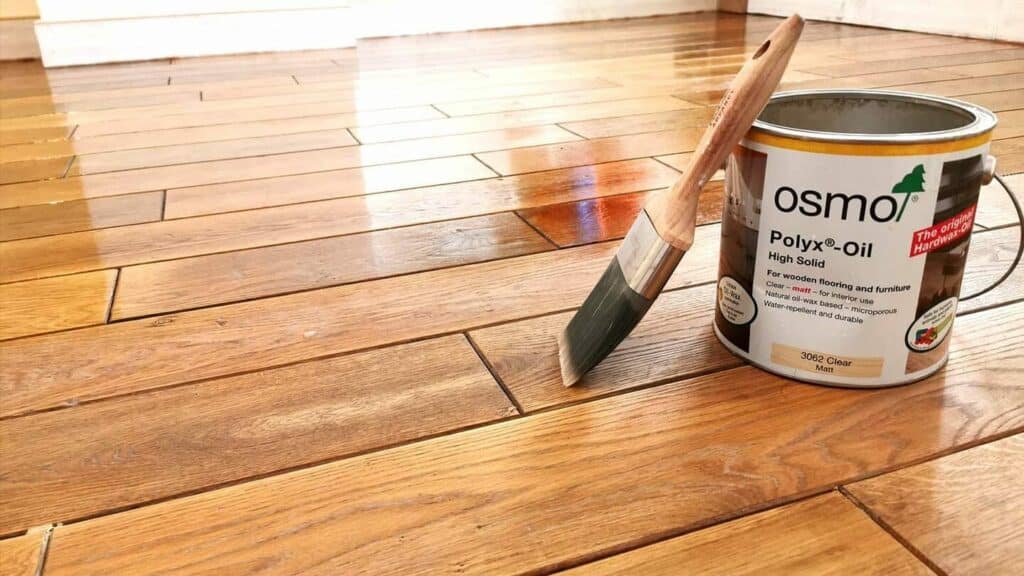
7. Floor Finish
Choose a high-quality floor finish based on your preferences. Common options include polyurethane for durability or tung oil for a natural, matte finish.
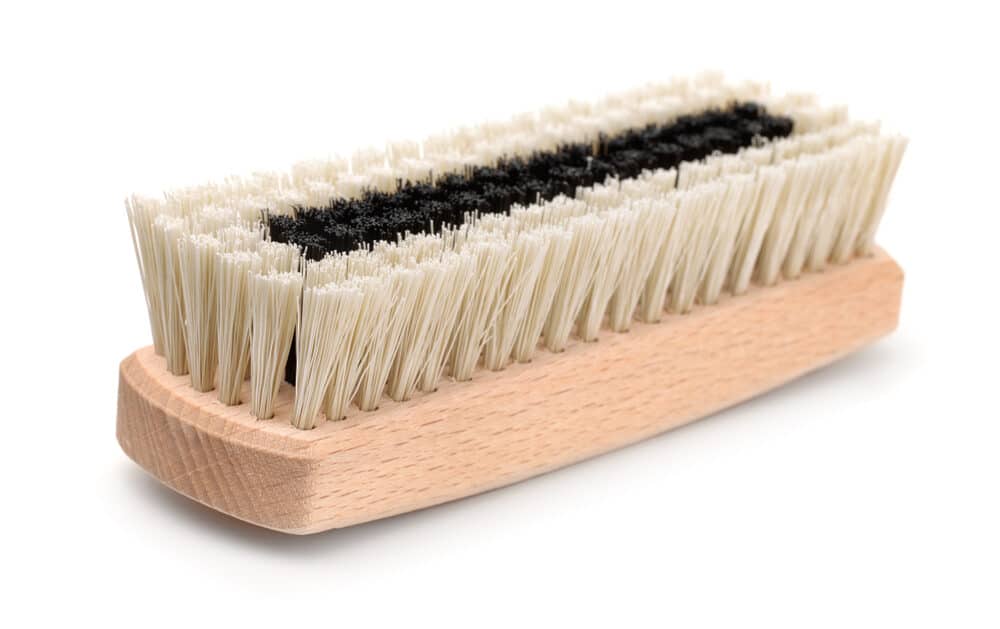
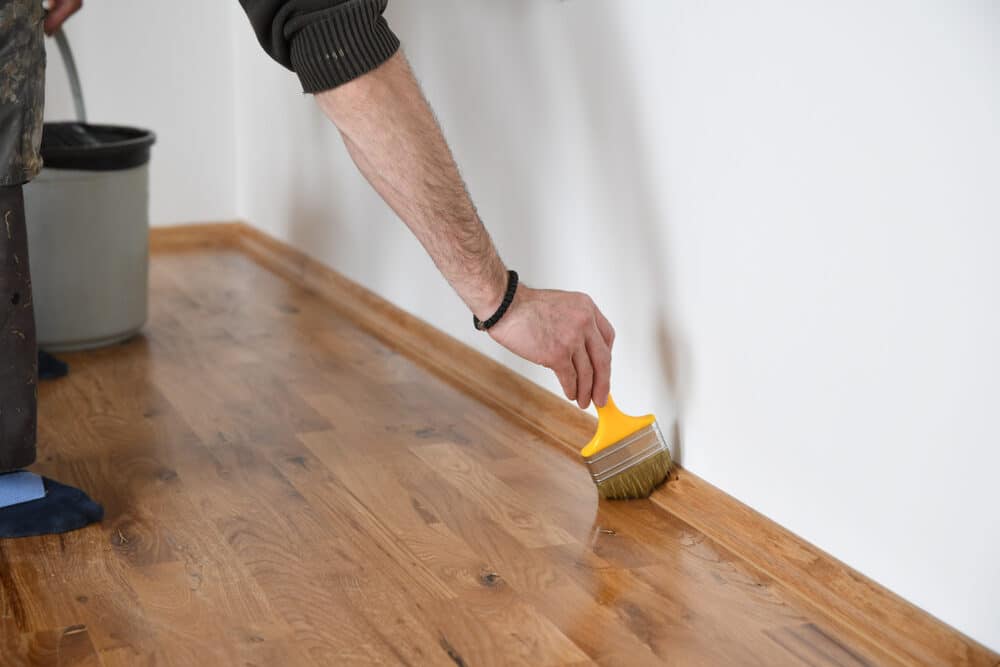
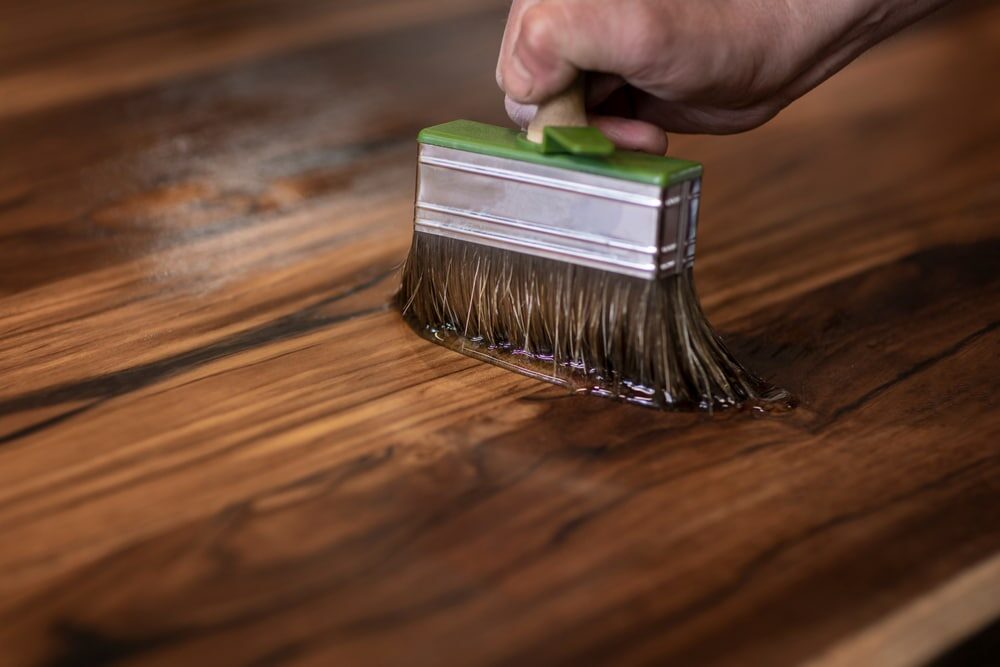
8. Applicator Pad or Brush
An applicator pad or brush will help you evenly apply the chosen finish to your wood floors, ensuring a professional-looking result.
Preparation
Before you begin the intricate process of hand-sanding and refinishing your old wood floors, meticulous preparation is key to ensuring a successful and rewarding project. Here’s how to get your workspace and wood floors ready for their transformation:
1. Clear the Space
Start by removing all furniture and objects from the room where you intend to refinish the floors. This will create ample space for you to work and prevent any accidental damage to your belongings during the process.
2. Protect adjacent areas
Lay down plastic sheeting or drop cloths to cover any adjacent areas, doorways, and openings. Use painter’s tape to secure the edges of the protective material, ensuring a clean and dust-free environment outside of your work area.

3. Safety First
Before you begin sanding, it’s crucial to prioritise safety. Wear a dust mask to protect your respiratory system from fine wood dust, safety goggles to shield your eyes from flying debris, and ear protection to reduce the noise generated by the sander.
4. Ventilation
Proper ventilation is essential to disperse dust and fumes. Open windows and doors, and consider using fans to create a flow of fresh air throughout the workspace. A well-ventilated area will also help the finish on your wood floors dry more effectively.
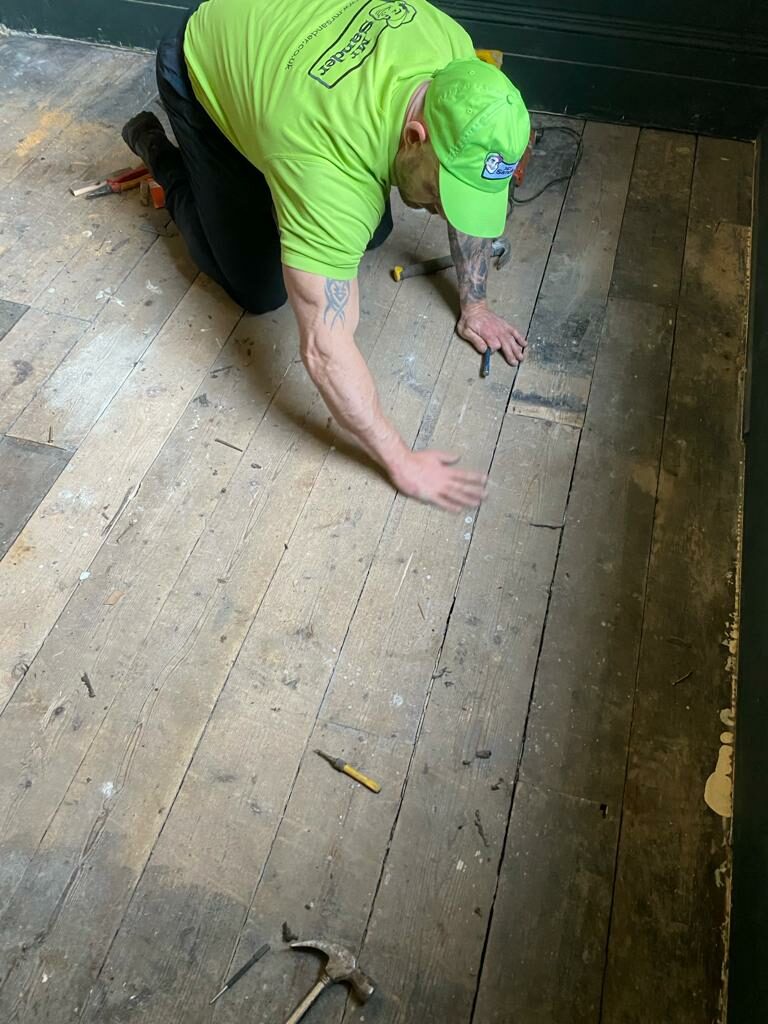
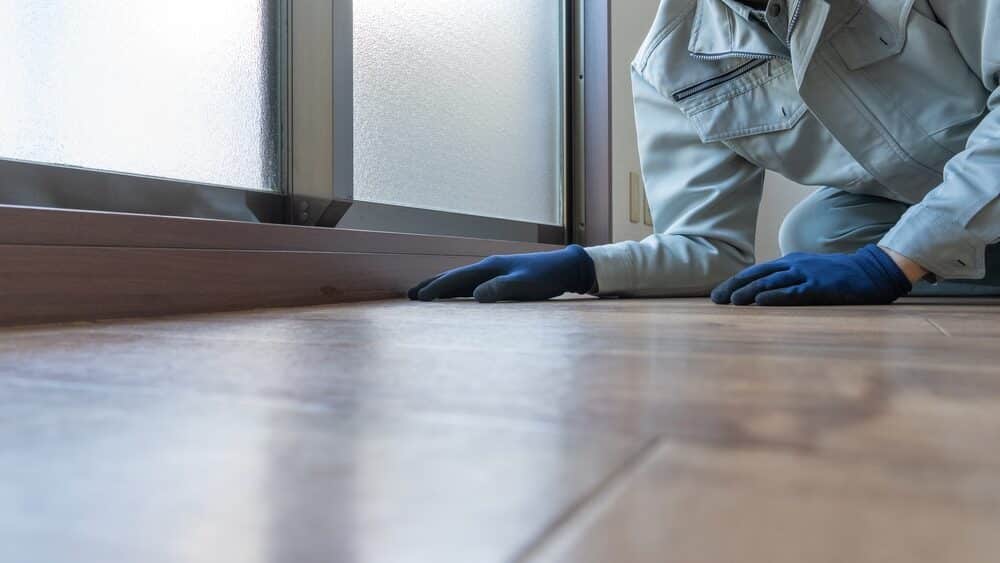
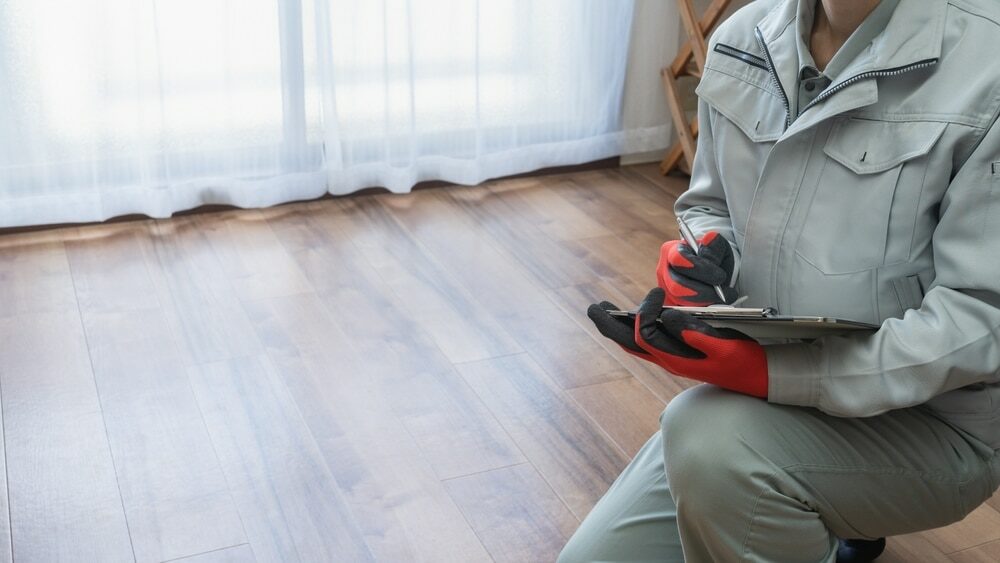
5. Inspect and Repair
Examine your wood floors carefully for any nails, staples, or loose boards. Secure loose boards, and if necessary, replace any damaged sections. Address any cracks, holes, or gaps in the wood using wood filler and a putty knife. Allow the filler to dry completely before proceeding.
6. Sanding Area Preparation
Set up your handheld orbital sander with the appropriate grit sandpaper (start with a coarser grit, such as 60 or 80, for initial sanding). Ensure the sander is in good working condition and properly attached to a power source.
Sanding Technique
Now that your workspace and wood floors are meticulously prepared, it’s time to dive into the heart of the refinishing process—the art of hand sanding. This step requires patience, precision, and a deep appreciation for the wood’s natural beauty. Here’s a detailed guide to mastering the sanding technique for your old wood floors:
1. Start with Coarse Grit
Begin your sanding journey with coarse-grit sandpaper, typically 60 or 80 grit. Attach it securely to your handheld orbital sander. Remember, the goal at this stage is to remove existing finishes, imperfections, and surface scratches. Move the sander in the direction of the wood grain, working methodically across the entire floor. Avoid lingering in one spot to prevent over-sanding.
2. Keep a Steady Pace
Maintain a consistent and steady pace as you sand, ensuring even pressure on the sander. Overworking an area can result in uneven surfaces, so take your time and let the sander do the work. Be prepared to change the sandpaper as it becomes worn or clogged with wood dust.
3. Gradually Transition to Finer Grits
As the old finishes and blemishes are removed, transition to finer-grit sandpapers, such as 120-grit. Continue the sanding process, gradually smoothing the surface. Ensure each pass overlaps slightly with the previous one to achieve a uniform result. The wood should begin to feel smoother to the touch as you progress.
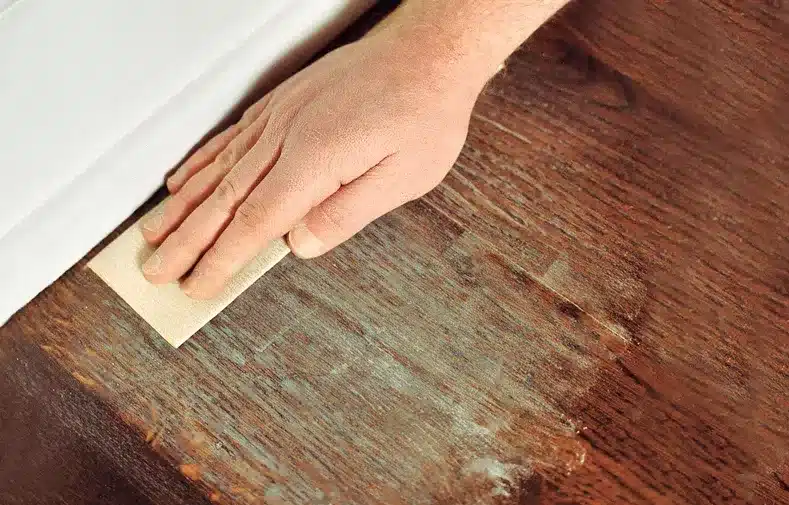
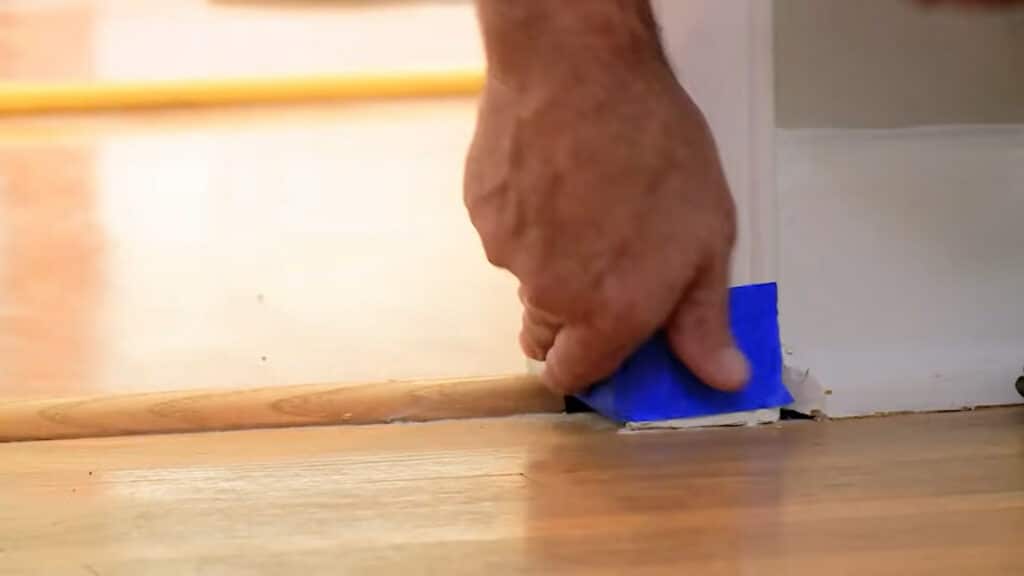
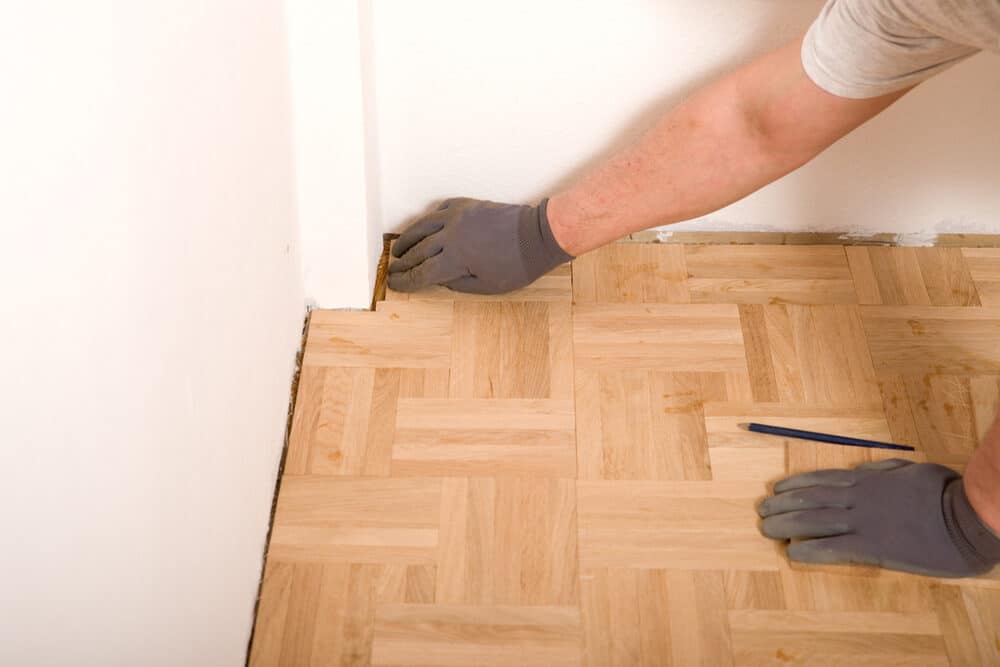
4. Hand Sanding for Edges and Corners
For areas where your orbital sander cannot reach, such as edges and corners, resort to hand sanding. Fold the sandpaper into smaller sections, and use your hand or a sanding block to carefully work on these intricate areas. Exercise patience and finesse to achieve a consistent finish.
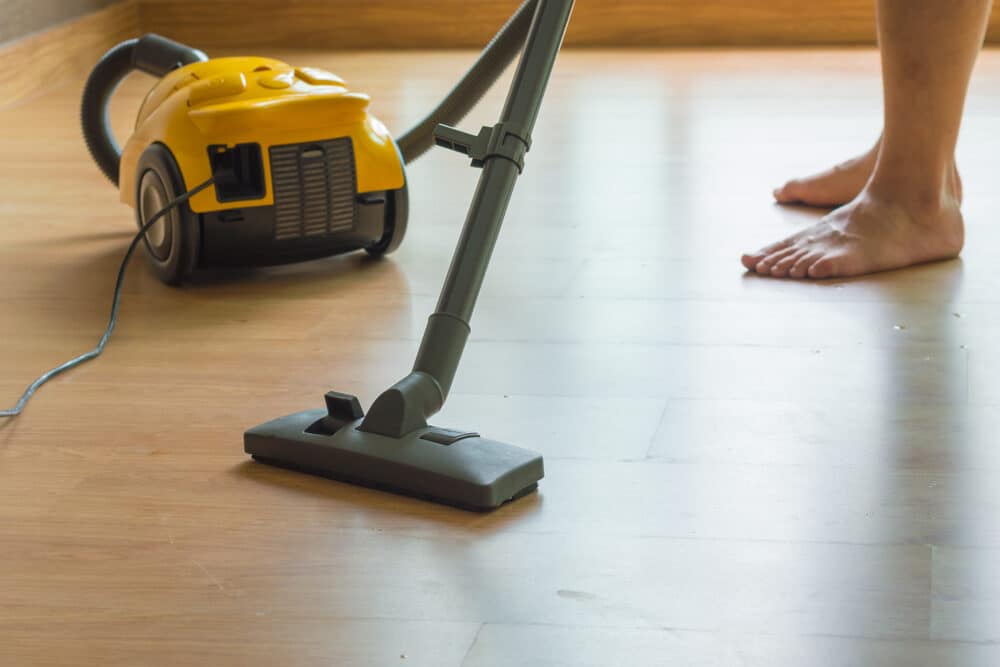
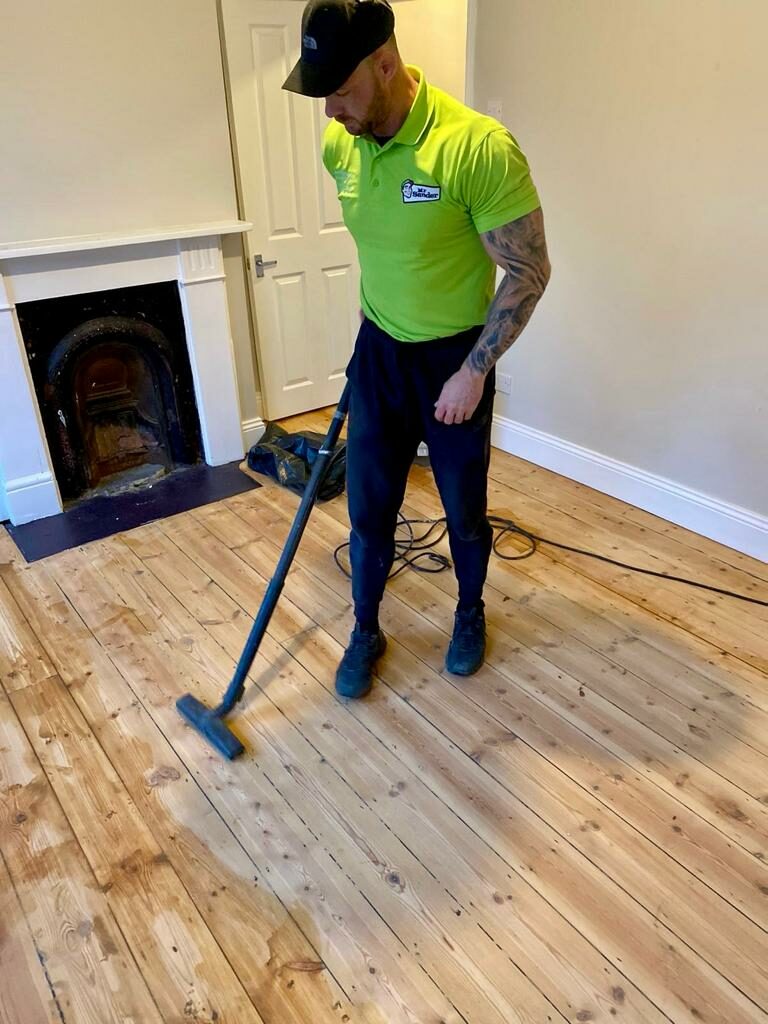
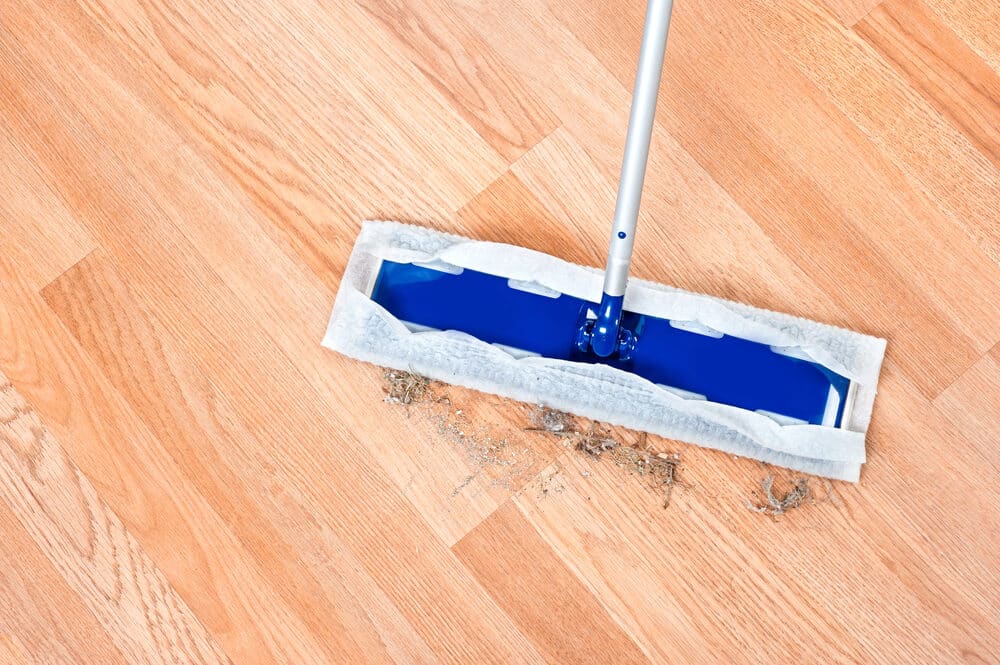
5. Frequent Cleanup
Regularly pause to clean up the accumulated wood dust with a vacuum cleaner or a brush. A clean surface allows for better visibility of your progress and prevents the sander from becoming less effective due to clogging.
6. Final Inspection
Once you’ve achieved a uniformly sanded surface, it’s time for a final inspection. Run your hand across the wood to detect any remaining imperfections or rough spots. Address any last-minute touch-ups with hand sanding if necessary.
Dealing with Imperfections
As you progress in your journey of refinishing old wood floors through hand sanding, it’s essential to address any imperfections that may have accumulated over time. These imperfections, such as cracks, gaps, or knots, can be beautifully integrated into the character of the wood with some careful attention. Here’s how to deal with imperfections effectively:
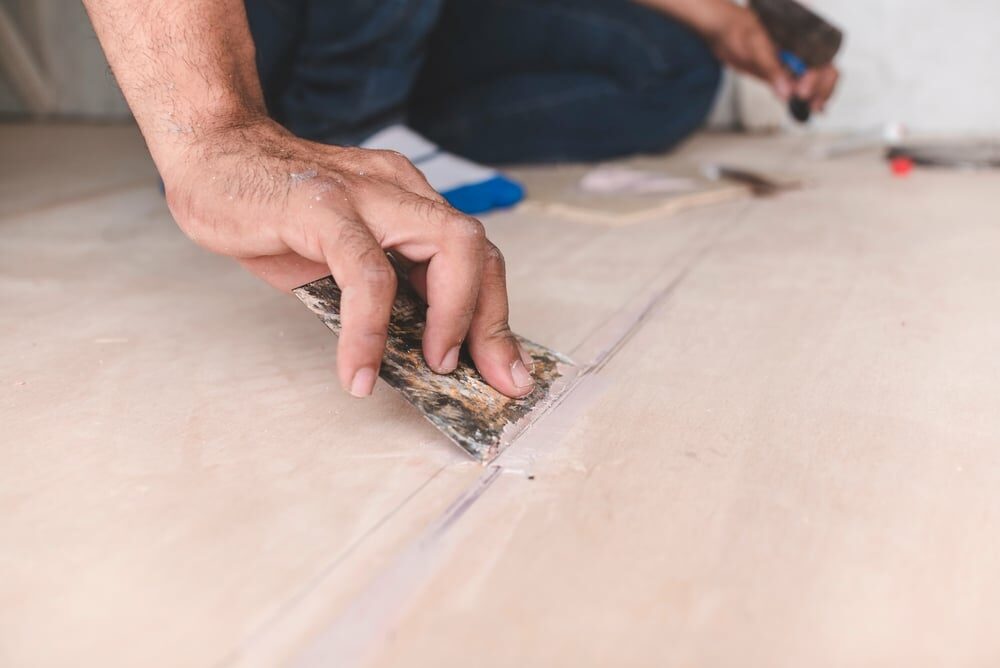
1. Filling Gaps and Cracks
Before applying your chosen finish, use a wood filler and putty knife to fill any gaps, cracks, or holes in the wood. Ensure the filler matches the colour of your wood to create a seamless appearance. Apply the filler generously, and then scrape off the excess with the putty knife, leaving a smooth surface. Allow the filler to dry completely.
2. Knots and Blemishes
If your wood floor has knots or blemishes, embrace them as part of the wood’s character. Sand them gently to smooth any sharp edges or splinters while retaining their unique features. Knots can add a rustic charm to the finished floor.
3. Feathering Edges
When addressing imperfections, feather the edges of the filled areas to ensure a seamless transition between the filled spots and the surrounding wood. This will prevent noticeable bumps or irregularities.
4. Final Sanding
After addressing imperfections, perform a final sanding pass with a fine-grit sandpaper (120-grit or higher). This step will help blend the filled areas with the rest of the wood surface, ensuring a consistent and smooth finish.
5. Dust Removal
Clean the surface once more to remove any dust or debris resulting from the imperfection-handling process. A clean surface is essential for an even and flawless application of the finish.
6 Inspect and Touch-Up
Conduct a thorough inspection of the entire wood floor, paying close attention to the areas where imperfections were addressed. Touch up any remaining irregularities or rough spots with hand sanding and fine-grit sandpaper.
Finishing Touches
Congratulations on making it this far in your journey of refinishing old wood floors through hand sanding. Now that the groundwork is laid and imperfections have been addressed, it’s time to apply the finishing touches that will truly bring your wood floors back to life. Here’s how to achieve a stunning and durable finish:
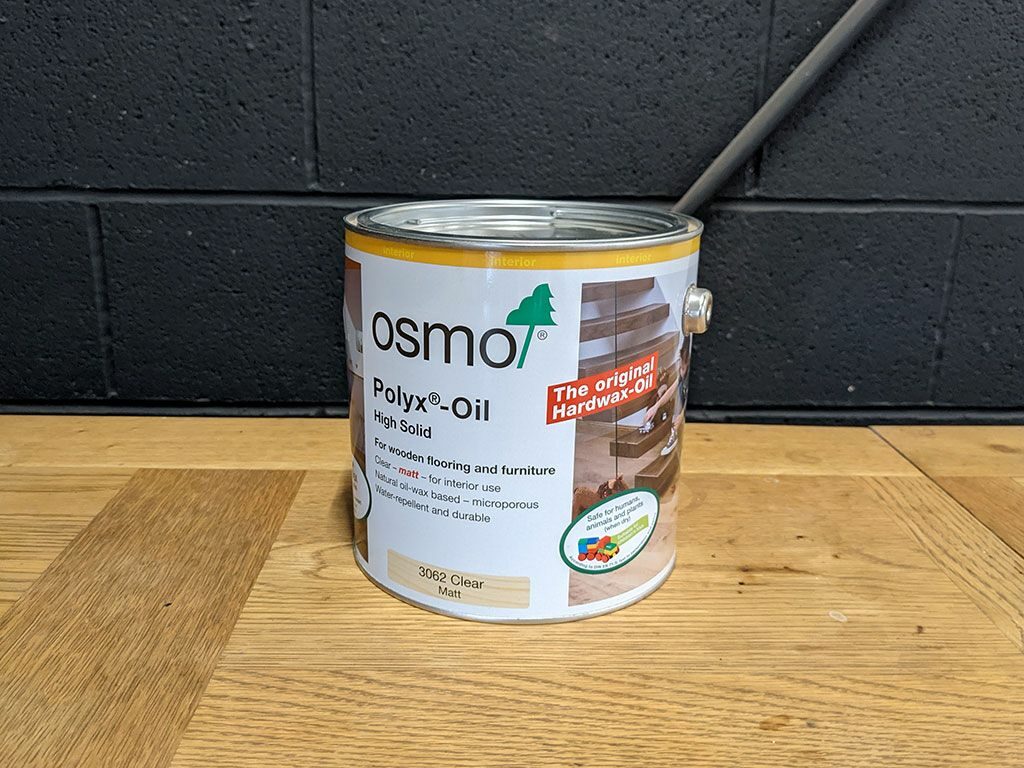
1. Choose the Right Finish
Select a finish that aligns with your desired look and the practical needs of the space. Common options include:
- Polyurethane: Provides durability and a glossy appearance.
- Tung Oil: Offers a natural and matte finish.
- Water-Based Finish: A more environmentally friendly option with low odour.
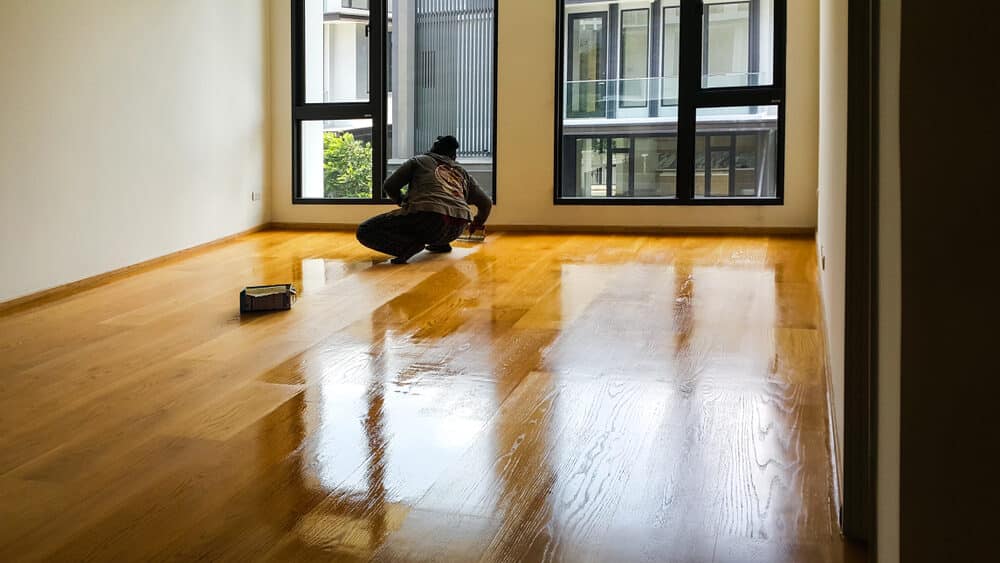
2. Apply the Finish
Using an applicator pad or brush, apply the chosen finish to the wood floor. Start at the farthest corner of the room and work your way towards the exit, ensuring you don’t trap yourself in a corner. Apply a thin and even coat, following the wood grain, to maintain a natural look.
3. Multiple Coats
For optimal results, apply multiple coats of finish, allowing each coat to dry according to the manufacturer’s instructions. Between coats, lightly sand the surface with a fine-grit sandpaper to achieve a smooth and even finish. This process enhances the depth and durability of the final result.
4. Drying Time
Ensure the space remains well-ventilated during the drying process. Depending on the chosen finish, drying times may vary. Be patient and resist the temptation to rush this crucial step, as it ensures the finish cures properly.
5. Final Inspection
After the final coat has dried, perform a meticulous inspection of your wood floors. Look for any inconsistencies or imperfections in the finish. Address any issues with light hand sanding and touch-up applications of finish as needed.
Conclusion
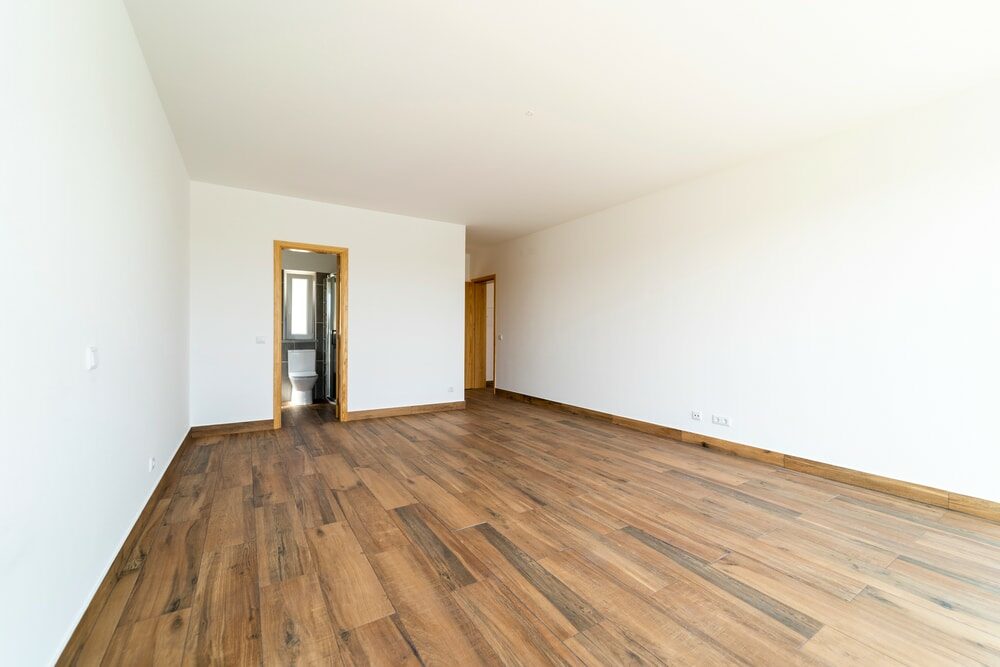
As we conclude our journey of hand sanding to refinish old wood floors, you stand on the precipice of a remarkable transformation. Your dedication, patience, and attention to detail have breathed new life into these ageing wood surfaces, unveiling their innate beauty and history.
Refinishing old wood floors is not merely a restoration process; it’s a labour of love and an homage to the craftsmanship of bygone eras. Through the careful selection of tools and materials, meticulous preparation, and the artful sanding technique, you have uncovered the true character of your wood floors. Imperfections, once seen as flaws, have been embraced as unique features that add depth and charm to your living space.
The finishing touches have sealed the deal, protecting and enhancing the wood’s natural beauty. The choice of finish, the application process, and the dedication to multiple coats ensure a durable and captivating result that will endure the test of time.
With each step, you have not only transformed your home but also connected with the heritage and soul of your living space. These old wood floors now tell a story of their own, reflecting the elegance and grace of the past while blending seamlessly into the present.
So, as you walk across your newly refinished wood floors, let each step remind you of the journey you’ve undertaken—a journey that has preserved the beauty of the past and added a touch of timeless elegance to your home. Embrace the warmth, character, and sophistication that only hand-sanded, refinished wood floors can offer. Your living space has been forever changed, and you are now the steward of a piece of history, beautifully restored for generations to come.

Sanding
We provide virtually dust-free sanding with our continuous belt machinery with mobile extraction units, giving you a safer environment for your family.
Oiling
This organic finish not only adds beauty to your home but also has exceptional water-repellent characteristics, making it easier to clean and maintain.
Waxing
This natural floor finish offers the softest and most mellow appearance – and leaves your floor able to breath.
Buffing
Using soft buffing machines (and hand-polishing where required) will bring a wonderful sheen to your newly-finished floor.
Repairs
We offer a full assessment of your wooden floors to determine what repairs are needed to provide the perfect working surface for the later stages of sanding, staining and sealing.
Restoration
We offer a comprehensive restoration process designed to address floors that are improperly fitted or damaged over time through wear and tear.
Request a fixed price quote for your wood floor restoration now
Simply enter your postcode below to get started.
Services
Wood Floor Sanding Wood Floor Restoration Wood Floor Scratch Repair Squeaky Wood Floor Repair Parquet Floor Sanding Parquet Floor Restoration Commercial Floor Sanding Church Floor Sanding Community Centre Floor Sanding School Floor Sanding Gap Filling Gap Filling with ResinCopyright © Mr Sander®
Privacy & Cookies Terms & Conditions Complaints Procedure Cancellation Rights Sitemap

Get An Instant Price Estimate Before You Go…
Simply enter the rooms you need sanded and we’ll provide you with a price estimate instantly! Try our price calculator now.
Get a Price Estimate NowLocal Floor Sanding Experts
Over 500 5-Star Reviews
Safe, Dust Free Sanding
Operating Since 1994