London:
Nationwide:
25,000+
Floors Restored
27 Years Experience
Wood Flooring Association Certified
Choosing the Right Sandpaper for Hand Sanding
Posted on January 10, 2024
Floor sanding techniques
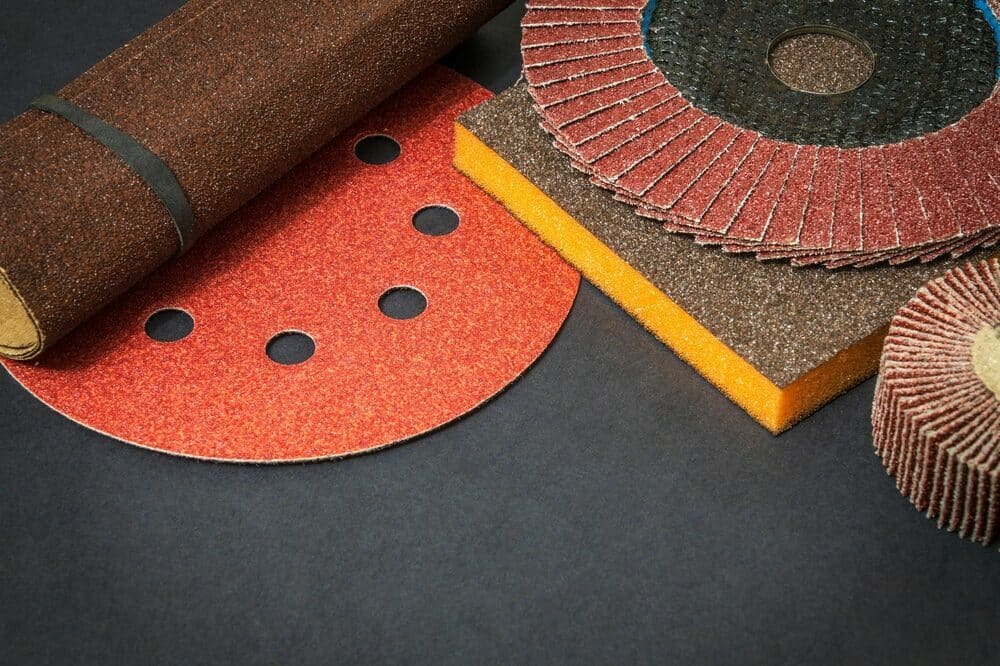
Mastering the Art of Hand Sanding: Your Guide to Choosing the Right Sandpaper and Techniques
In the world of craftsmanship and DIY projects, the process of hand sanding is a venerable art form. It is the method by which raw materials are transformed into polished works of art and the gateway to a professional finish that leaves no room for imperfections. However, the journey from rough and rugged surfaces to smooth and flawless ones begins with a crucial decision: choosing the right sandpaper.
In this comprehensive guide, we embark on a journey through the intricate world of sandpaper, following in the footsteps of discerning craftsmen and artisans. Whether you are a passionate woodworker, a meticulous metalworker, or a dedicated DIY enthusiast, the choice of sandpaper is pivotal to the success of your project.
In the spirit of quality and precision, we will navigate through the different facets of sandpaper selection. From the varying grits that determine the coarseness of your abrasive material to the backing materials that provide support and structure, we will unravel the secrets behind achieving a flawless finish. We will also explore the characteristics of different abrasive materials and their suitability for various tasks.
By the end of this journey, you will possess the knowledge and insight needed to make informed decisions when selecting sandpaper for hand sanding. With each stroke of your hand, you will be one step closer to achieving the perfection that every craftsman aspires to attain. So, let us embark on this voyage together as we unveil the art of choosing the right sandpaper for hand sanding.
The Importance of Choosing the Right Sandpaper
Choosing the right sandpaper is akin to selecting the perfect tool for a specific task. It is a decision that carries a profound impact on the outcome of your hand-sanding project. The significance of this choice cannot be overstated, and here’s why:
1. Quality of Finish:
The quality of the finish on your project hinges directly on the type of sandpaper you use. The right sandpaper ensures that every surface is impeccably smooth, with no visible imperfections. It’s the difference between a surface that appears flawless and one that is marred by scratches, gouges, or unevenness.
2. Efficiency and Speed:
Using the appropriate sandpaper grit and type significantly improves the efficiency of your hand sanding. Coarse grits work swiftly to remove material, while finer grits refine the surface. Choosing wrongly can lead to excessive effort, wasted time, and frustration.
3. Tool Longevity:
Sandpaper isn’t the only thing that experiences wear and tear during the sanding process; your hand sanding tools do too. The right sandpaper minimizes wear on your tools, ensuring they last longer and perform optimally throughout your project.
4. Material Preservation:
Different materials require different sandpapers. Selecting the wrong abrasive material or grit can cause unnecessary damage to your workpiece. Choosing the right sandpaper safeguards the integrity of your materials.
5. Ergonomics and Comfort:
Hand sanding can be physically demanding, and using the correct sandpaper can make the process more comfortable. The right choice allows for smoother strokes and reduces strain on your hand and arm.
6. Cost Efficiency:
Investing in the right sandpaper from the outset can save you money in the long run. You won’t need to buy multiple types of sandpaper if you select the one that suits your project best, reducing unnecessary expenditure.

In essence, the right sandpaper is your compass in the world of hand sanding, guiding you towards a path of precision, efficiency, and excellence. As we delve deeper into the intricacies of sandpaper selection, you’ll gain a comprehensive understanding of how to harness this indispensable tool to achieve outstanding results in your craft.
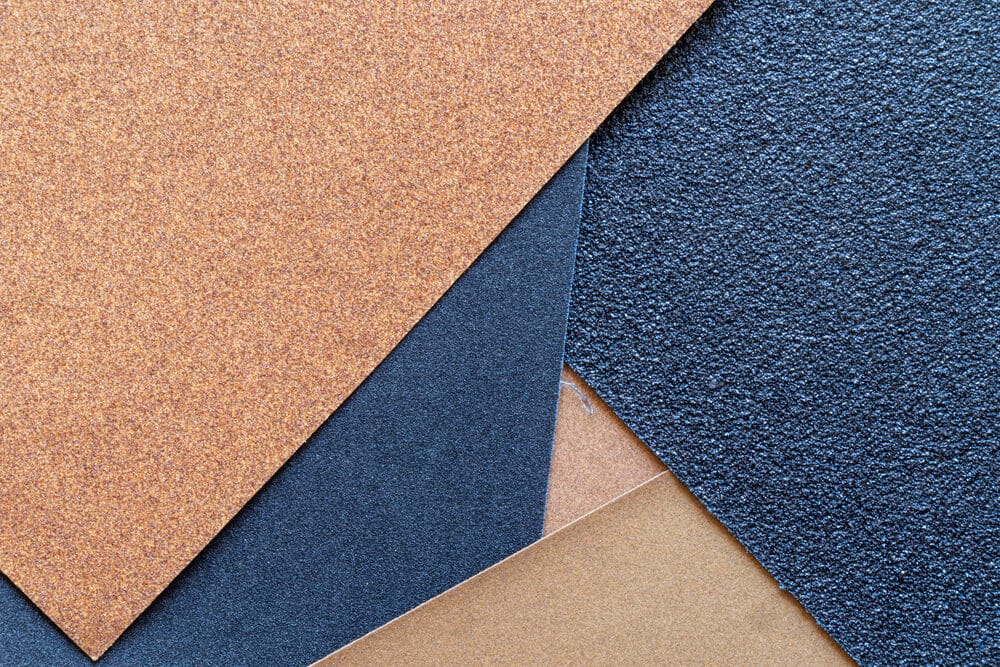
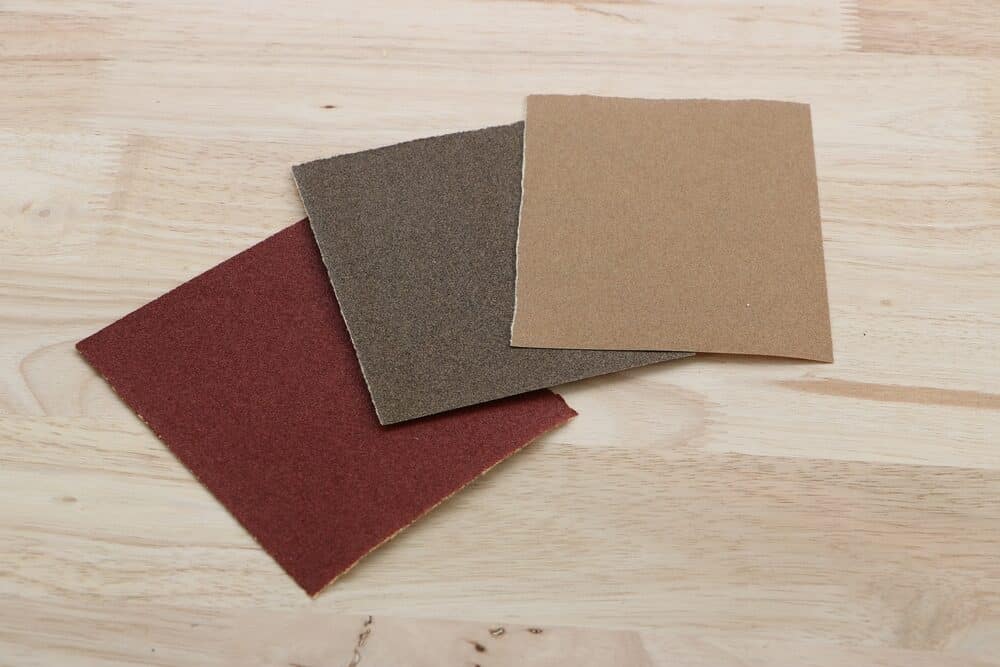
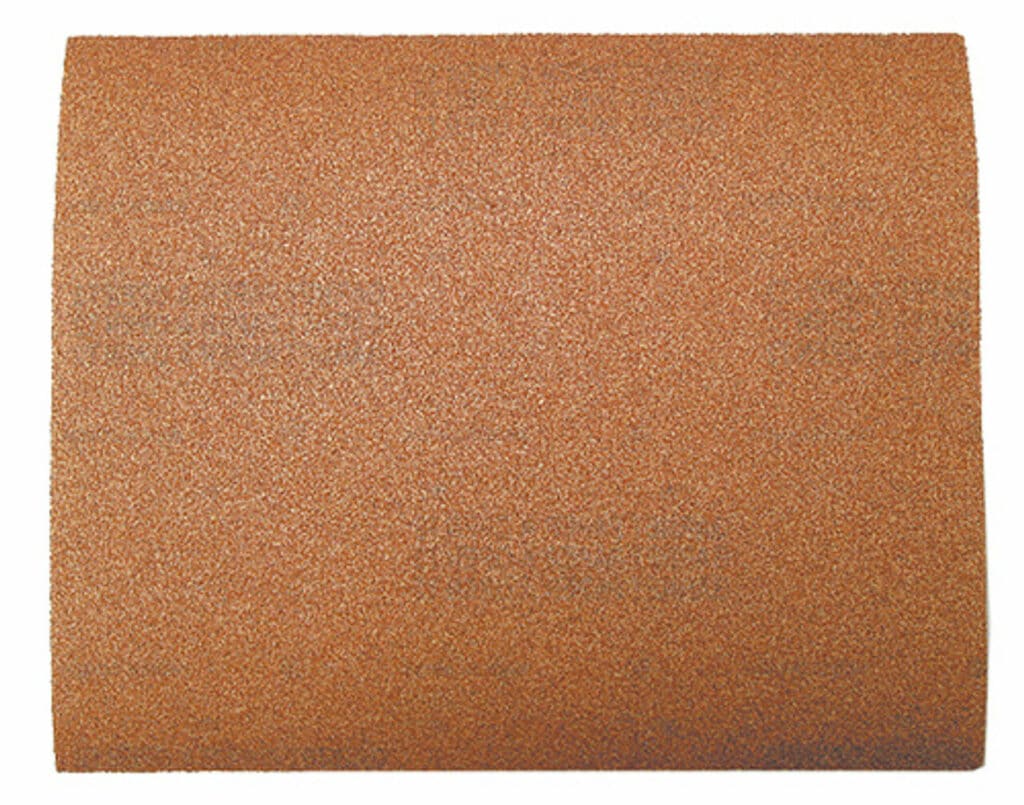
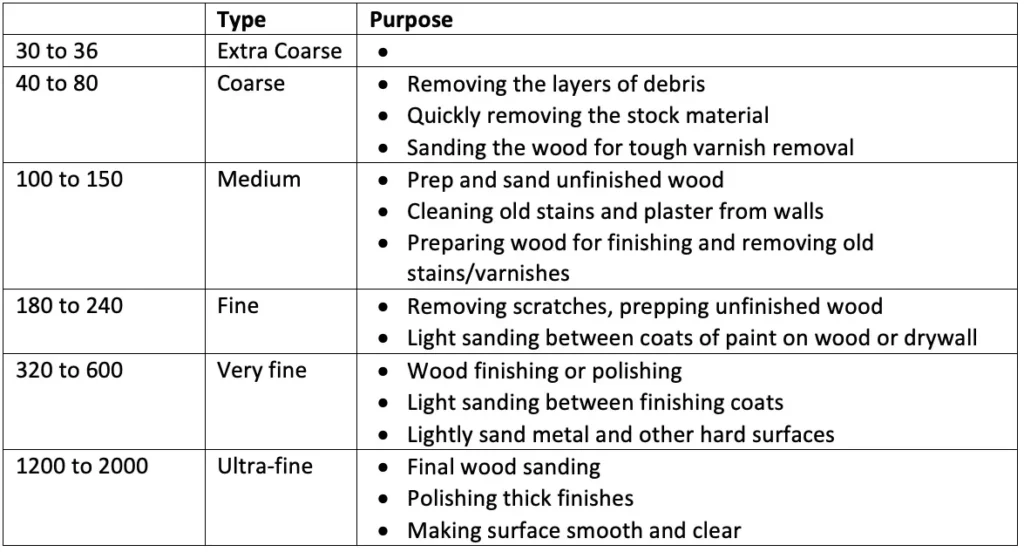
Types of Sandpaper Grits
In the world of sandpaper, the concept of grit is paramount. Grit refers to the coarseness or fineness of the abrasive particles on the sandpaper’s surface. The choice of grit determines how aggressively the sandpaper will remove material and how smooth the final surface will be. Here, we delve into the three primary categories of sandpaper grits:
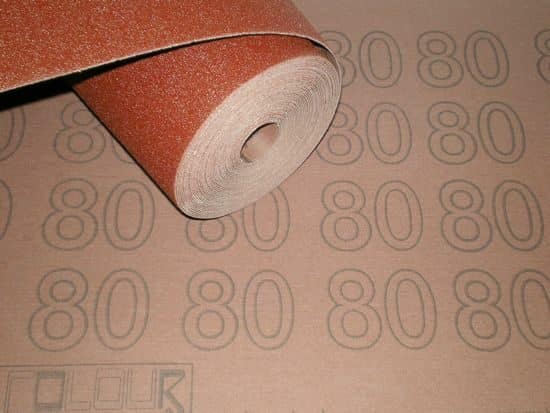
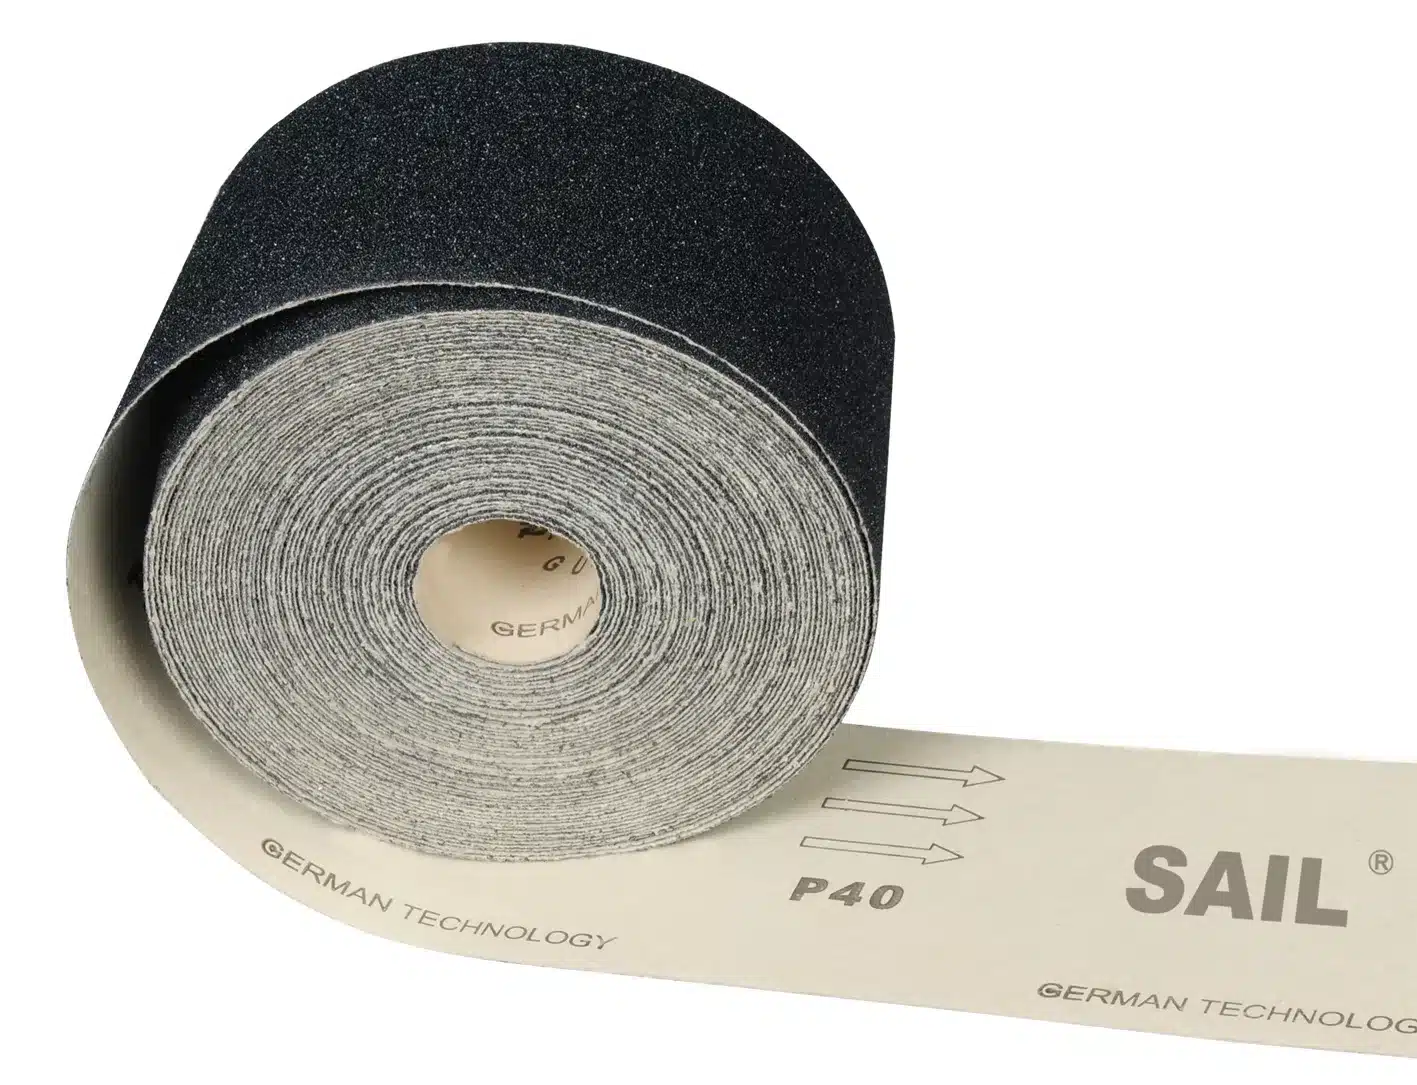
1. Coarse Grits:
Coarse-grit sandpaper is your go-to choice when you need to remove a significant amount of material quickly. This type of sandpaper typically ranges from 40 to 80 grit. It’s ideal for tasks such as:
- Stripping paint or varnish from wooden surfaces.
- Removing heavy rust and corrosion from metal.
- Shaping or smoothing rough edges and uneven surfaces.
- Preparing surfaces for finer sanding.
Coarse-grit sandpaper leaves behind noticeable scratches, so it’s usually a starting point in the sanding process, followed by finer grits to achieve a smooth finish.
2. Medium Grits:
Medium-grit sandpaper falls within the range of 100 to 150 grit. It strikes a balance between material removal and surface smoothing. You’d typically use medium-grit sandpaper for tasks like:
- Smoothing out rough wood surfaces after using coarse grits.
- Removing scratches and imperfections from wooden furniture.
- Preparing surfaces for painting or refinishing.
- Smoothing metal surfaces before applying a finish.
Medium-grit sandpaper leaves fewer visible scratches than coarse grit, making it a crucial intermediary step in the sanding process.
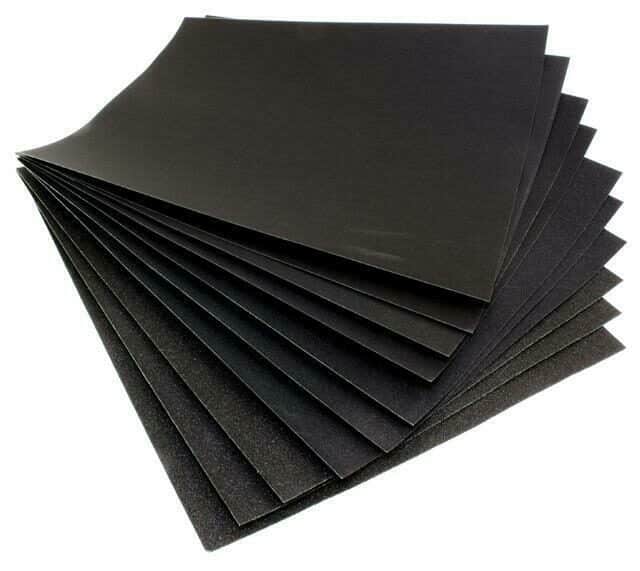
3. Fine Grits:
Fine-grit sandpaper encompasses the range from 180 to 600 grit and beyond. This is the sandpaper of choice when you aim to achieve a smooth, polished finish. Fine-grit sandpaper is suitable for tasks such as:
- Smoothing out wooden surfaces to a silky texture.
- Preparing surfaces for staining or applying a clear finish.
- Final sanding before painting or varnishing.
- Polishing metal to a high shine.
Fine-grit sandpaper removes minimal material, focusing on refining the surface and eliminating visible scratches left by coarser grits. It’s the last step in achieving a professional finish.
Understanding the nuances of these sandpaper grits is essential, as it empowers you to select the right tool for the job. Whether you’re sculpting wood, restoring antique furniture, or crafting metalwork, having the appropriate grit at your fingertips ensures that your hand-sanding project progresses with precision and finesse. As we move forward, we will explore how to match these grits with specific tasks to achieve the best possible results.
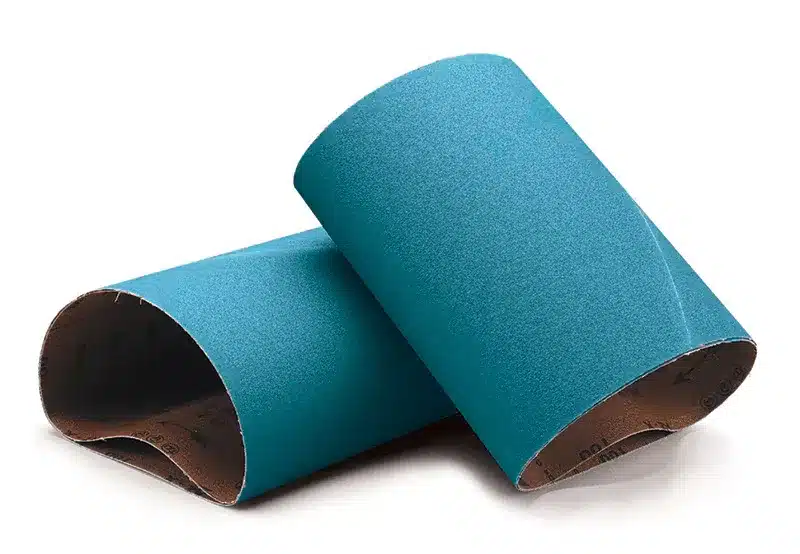
Sandpaper Backing Materials
While the grit of sandpaper determines its abrasive characteristics, the backing material provides structure and support to the abrasive surface. Choosing the right backing material is crucial for achieving efficiency, durability, and consistency in your hand sanding project. Here, we explore the three primary sandpaper backing materials:
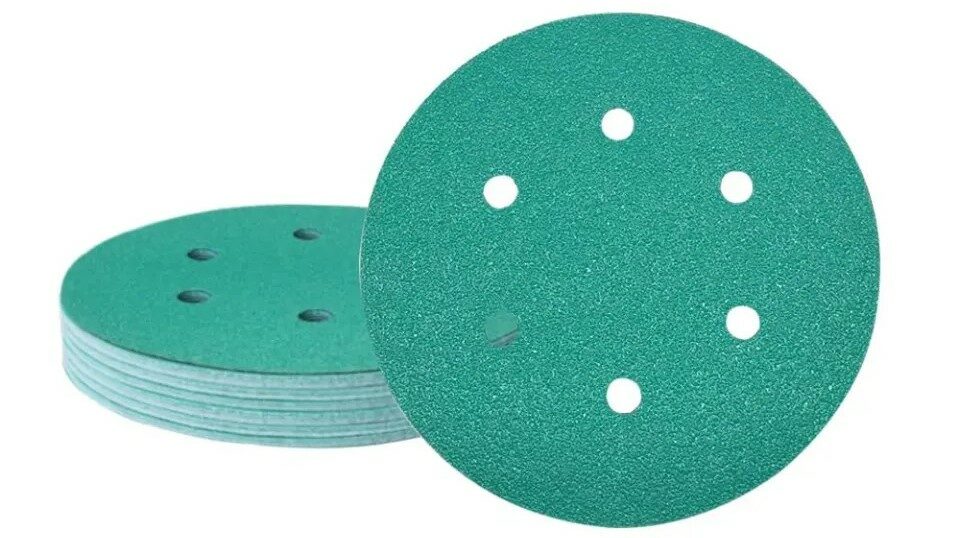
1. Paper Backing:
Paper-backed sandpaper is the most common and versatile type. It comes in various weights, with heavier paper being more durable. Paper-backed sandpaper is suitable for a wide range of applications, including:
- Woodworking projects.
- Preparing surfaces for painting or finishing.
- Sanding drywall and plaster.
- Fine finishing on metal surfaces.
The paper backing provides flexibility, making it easy to conform to curved or contoured surfaces. It’s available in both sheet and roll forms, making it accessible for various hand-sanding tasks.
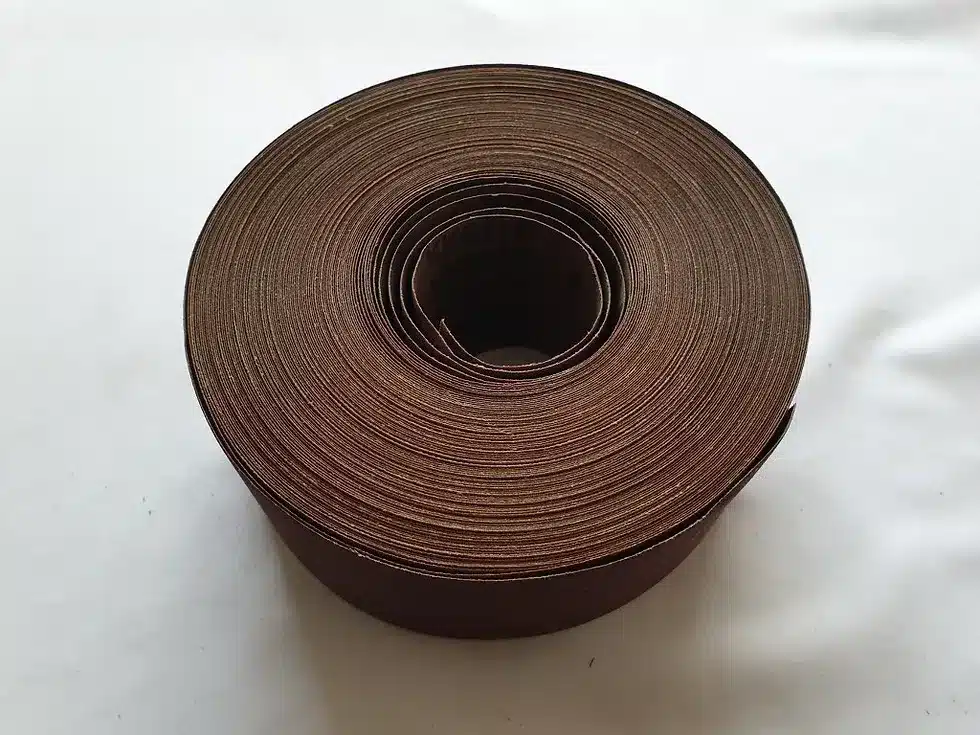
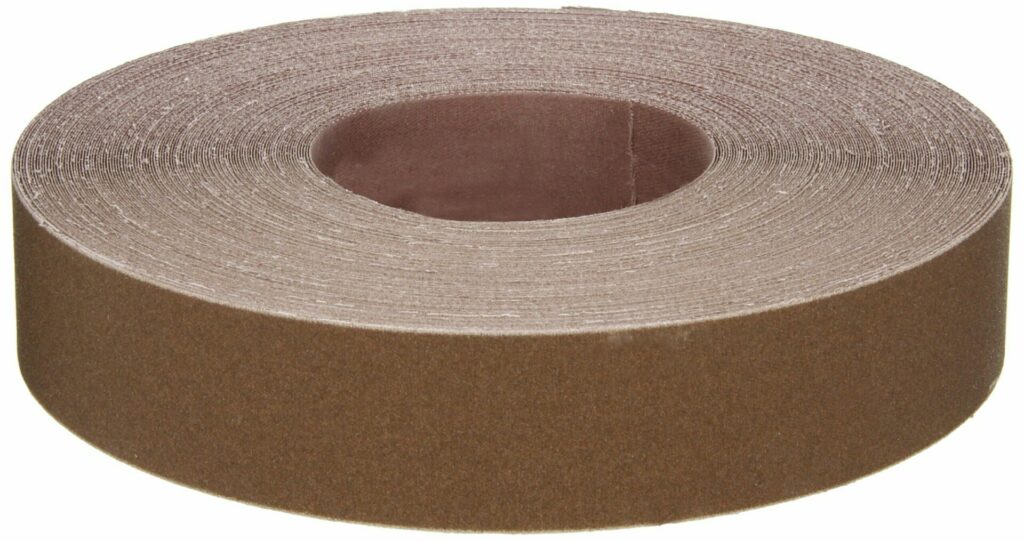
2. Cloth Backing:
Cloth-backed sandpaper is known for its exceptional durability and tear resistance. It is commonly used in applications where the sandpaper undergoes heavy wear. Tasks that benefit from cloth-backed sandpaper include:
- Metal polishing and finishing.
- Automotive bodywork and paint preparation.
- Sanding hardens surfaces like steel or alloys.
- Heavy-duty sanding on wood.
The cloth backing provides stability, allowing for aggressive sanding without the risk of tearing. It’s particularly useful for professional and industrial settings.
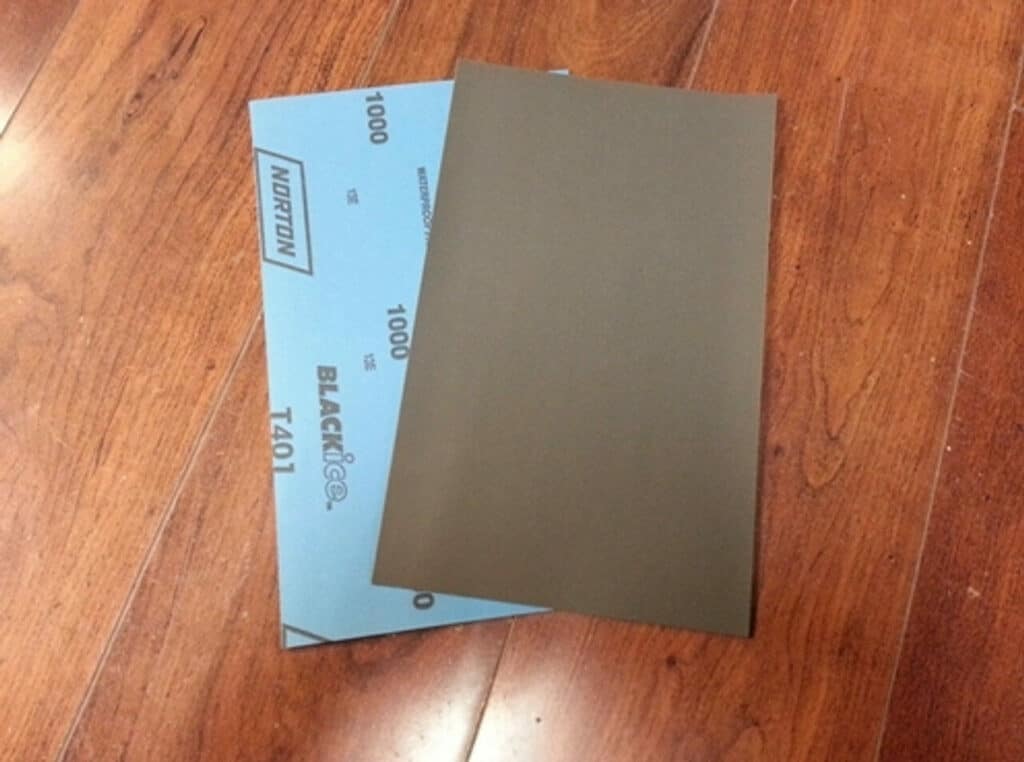
3. Film Backing:
Film-backed sandpaper is a relatively new innovation in the sanding world. It features a thin, flexible plastic film as the backing material. Film-backed sandpaper excels in precision and finish-oriented tasks, including:
- Fine finishing on wood, plastic, or metal.
- Automotive and aerospace finishing.
- Wet sanding is recommended for clear coats and high-gloss surfaces.
- Delicate polishing and detail work.
The film backing is exceptionally tear-resistant and waterproof, making it ideal for wet sanding applications. It offers an ultra-smooth surface for achieving a flawless finish.
The choice of backing material depends on the specific requirements of your hand-sanding project. Paper backing is versatile and widely used; cloth backing offers durability for heavy-duty tasks; and film backing provides precision and finesse. Understanding the strengths and weaknesses of each backing material allows you to tailor your sandpaper selection to match the demands of your project.
Understanding Abrasive Materials
In the world of sandpaper, the abrasive material is the heart and soul of the tool. Different abrasive materials exhibit unique characteristics that make them suitable for specific applications. Understanding these materials is essential for selecting the right sandpaper for your hand sanding project. Here, we explore four common abrasive materials:
1. Aluminium Oxide:
Aluminium oxide is one of the most widely used abrasive materials. It is known for its versatility and durability. Aluminium oxide sandpaper is suitable for a range of tasks, including:
- Wood sanding, both hardwood and softwood.
- Metal sanding, especially ferrous metals.
- Removing paint, rust, and corrosion.
- Smoothing and shaping surfaces.
Aluminium oxide abrasive is tough and long-lasting, making it a popular choice for general-purpose sanding needs.

2. Silicon Carbide:
Silicon carbide is another abrasive material known for its versatility and suitability for various tasks. It is particularly effective for sanding harder materials and wet sanding applications. Silicon-carbide sandpaper is used for:
- Smoothing and finishing hardwoods.
- Polishing and sanding metals like stainless steel.
- Wet sanding clear coats and automotive finishes.
- Sharpening tools and knives.
Silicon carbide is a hard and sharp abrasive that excels at providing a smooth finish, making it ideal for fine work.
3. Garnet:
Garnet is a natural abrasive material that is commonly used in woodworking applications. It is less aggressive than aluminium oxide or silicon carbide, making it suitable for delicate tasks such as:
- Sanding wood veneer.
- Preparing surfaces for staining.
- Fine sanding between coats of finish.
- Detail work and final finishing on wood.
Garnet abrasive is less likely to scratch the surface deeply, which is important when working on softer woods.
4. Zirconia Alumina:
Zirconia alumina is a high-performance abrasive material known for its aggressive cutting action and longevity. It is often used in heavy-duty applications where rapid material removal is required. Zirconia alumina sandpaper is used for:
- Grinding and shaping metal, particularly stainless steel and alloys.
- Coarse sanding and levelling uneven surfaces.
- Deburring and edge work.
- Heavy stock removal on wood.
Zirconia alumina offers exceptional durability and is an excellent choice when efficiency and longevity are paramount.
Each of these abrasive materials has its own unique strengths and weaknesses. Selecting the right abrasive material is crucial for achieving the desired results in your hand sanding project. By matching the abrasive material to the task at hand, you can ensure that your work progresses smoothly and efficiently.
Choosing the Right Sandpaper for the Job
Now that we have explored the intricacies of sandpaper grits, backing materials, and abrasive materials, it’s time to put this knowledge to practical use. Selecting the right sandpaper for your hand-sanding project is a critical step towards achieving the desired results. Let’s delve into how to make informed choices based on the type of work you’re undertaking:
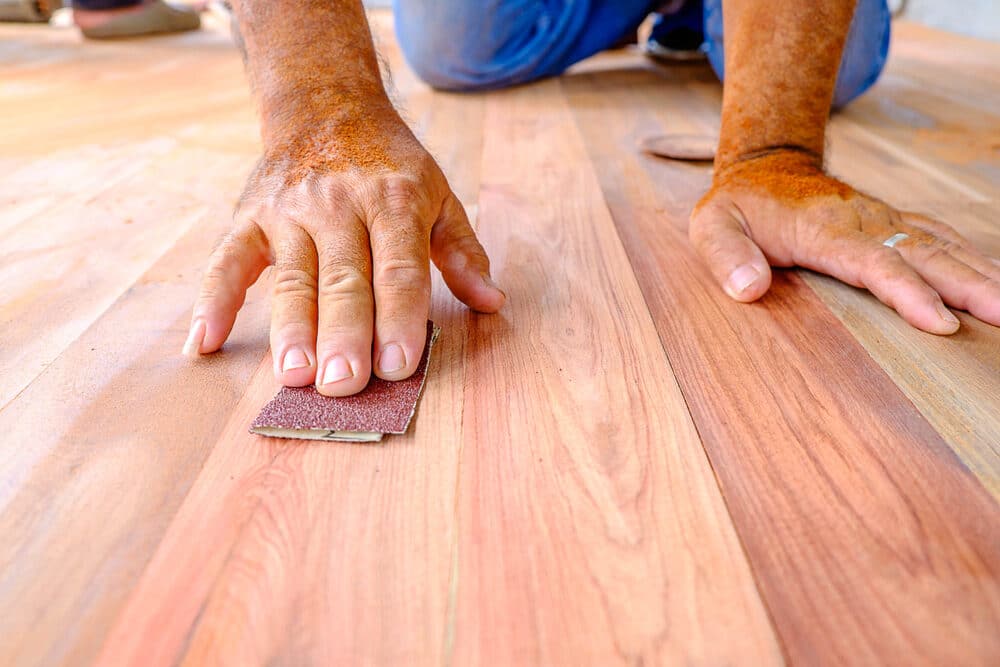
1. Woodworking:
Woodworking projects often demand precision and finesse. When working with wood, consider the following sandpaper selections:
- Coarse Grits (40–80): Use these for initial stock removal, shaping, and levelling of rough wood surfaces.
- Medium Grits (100–150): Transition to medium grits for refining the surface, removing imperfections, and preparing the wood for finishing.
- Fine Grits (180–220 and above): Finish your woodworking projects with fine grit sandpaper to achieve a silky-smooth surface, ideal for staining or applying clear finishes.
Selecting the right backing material depends on the specific task and the wood you are working with. For fine woodworking, paper-backed or film-backed sandpaper is often preferred for its ability to provide a smooth finish without the risk of over-removal.
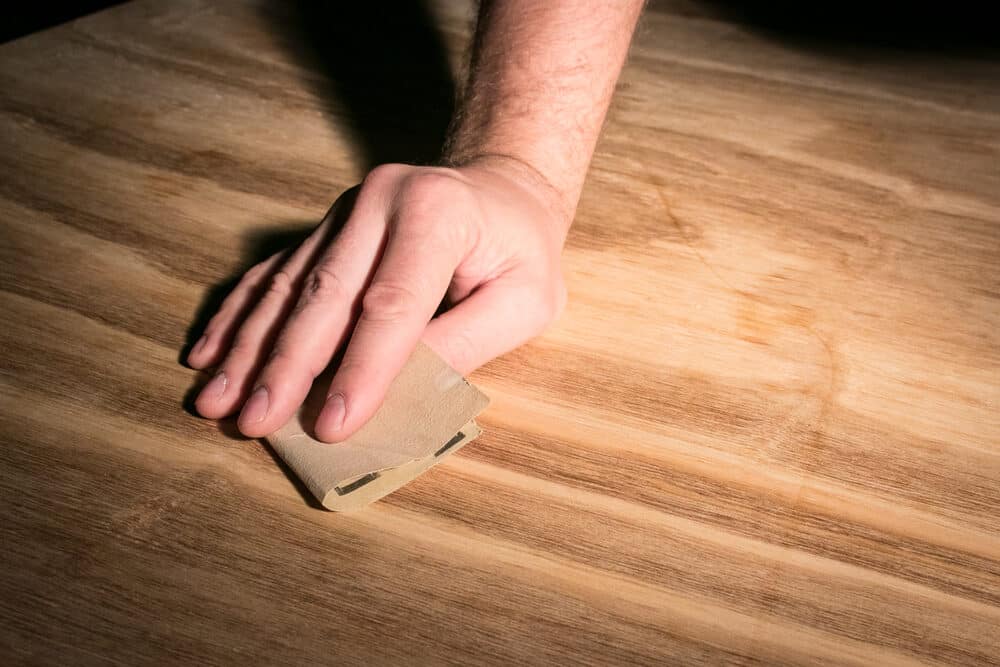
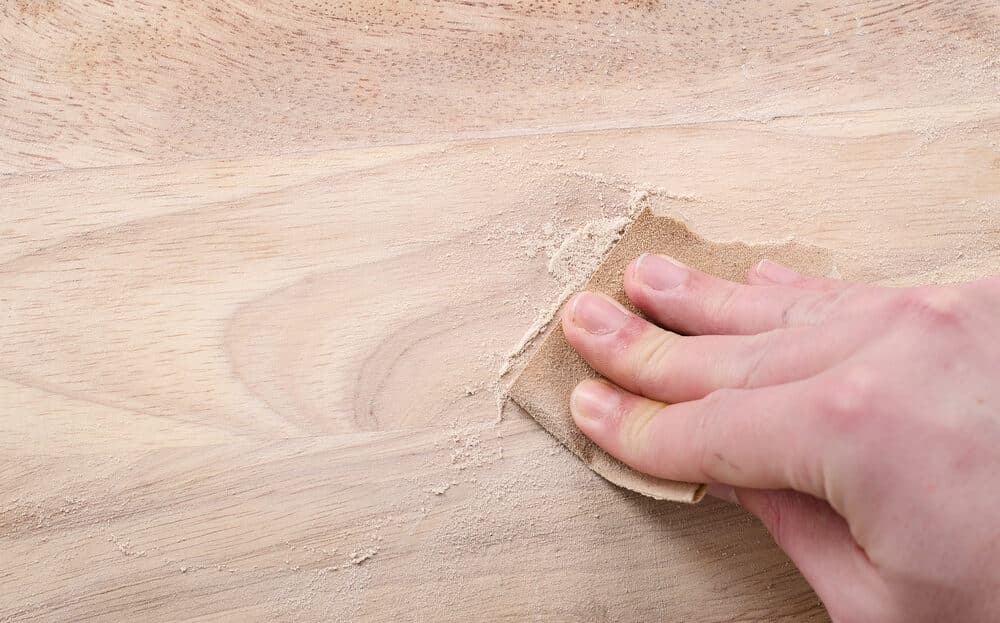
Tips for Effective Hand Sanding
Hand sanding, although a fundamental skill, can be a nuanced and sometimes challenging process. To achieve the best results and make your hand-sanding efforts more efficient, consider these essential tips:
1. Choose the Right Sandpaper:
- Select the appropriate sandpaper grit, backing material, and abrasive material based on your project’s requirements, as discussed in previous sections. This ensures you have the right tool for the job.
2. Work in a Well-Ventilated Area:
- Sanding can generate dust and particles that may be harmful to your health. Whenever possible, work in a well-ventilated space or wear a dust mask to protect yourself from inhaling dust.
3. Keep Your Sandpaper Clean:
- Dust buildup on sandpaper can reduce its effectiveness. Periodically clean your sandpaper by tapping or brushing off excess dust or using a sanding belt cleaner for more stubborn residue.

4. Maintain consistent pressure:
- Apply even pressure to the sandpaper while sanding. Avoid pressing too hard, which may cause uneven results, and conversely, don’t sand too lightly, as it may take longer to achieve your desired finish.
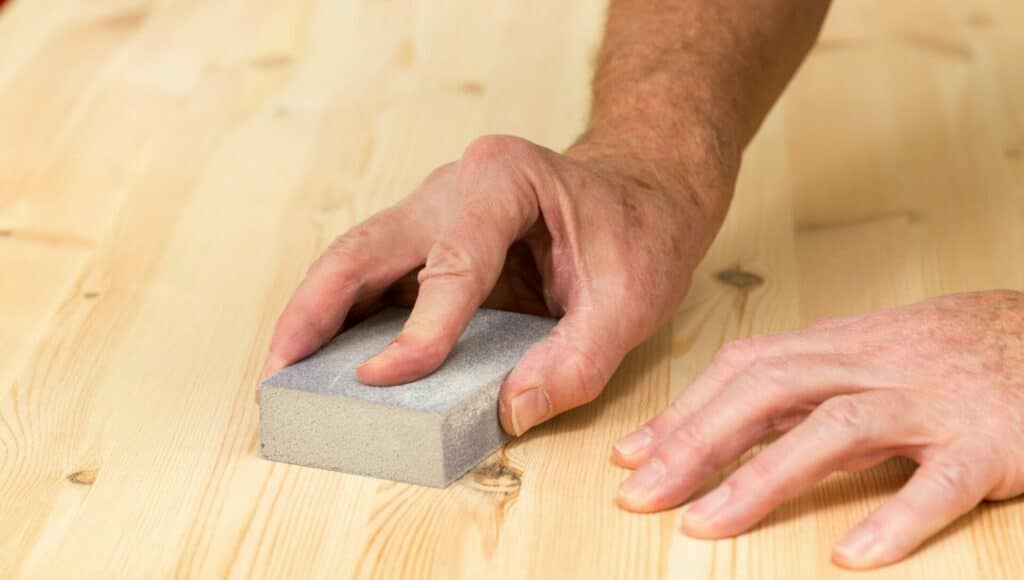
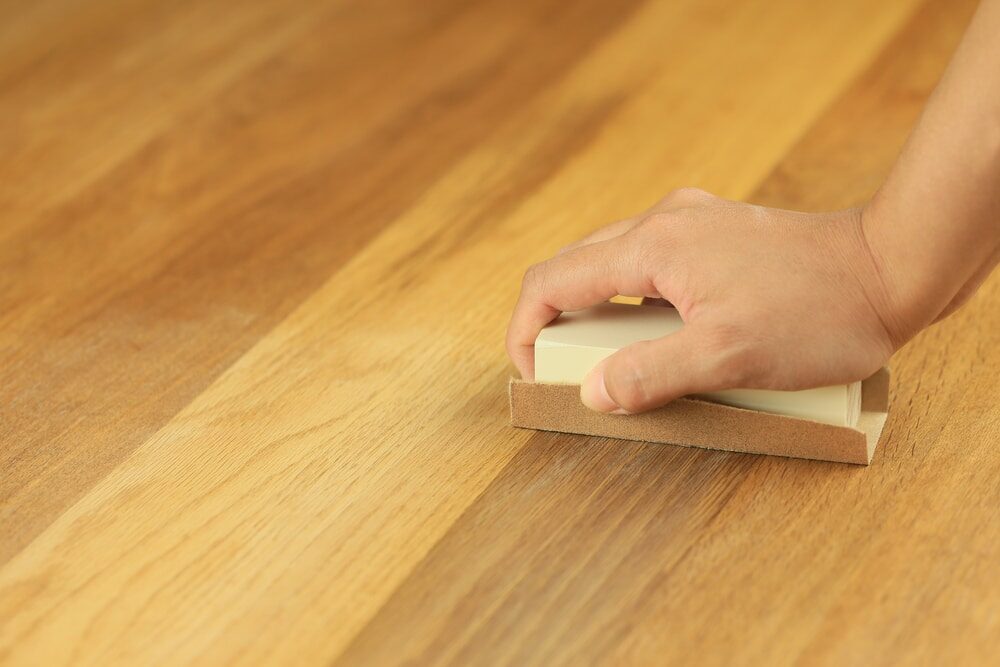
5. Use a Sanding Block or Pad:
- When possible, use a sanding block or pad to back up your sandpaper. This helps distribute pressure evenly and prevents over-sanding in certain areas, leading to a more consistent finish.
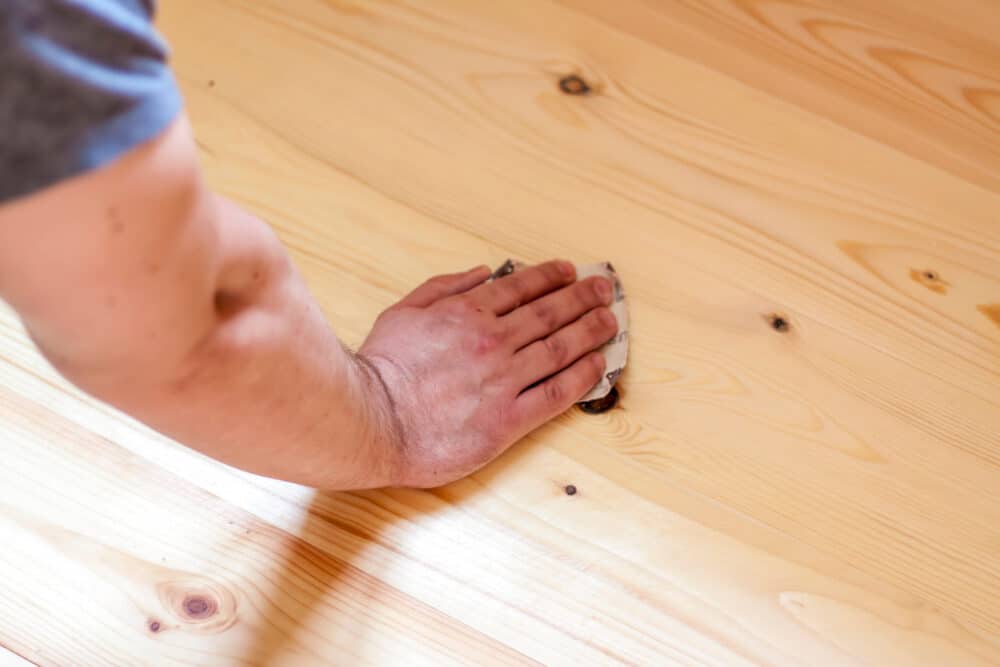
6. Sand with the Grain:
- When sanding wood, always sand with the grain, not against it. Sanding against the grain can leave unsightly scratches that are difficult to remove.
7. Change sandpaper regularly:
- As sandpaper wears out, it becomes less effective. Change your sandpaper when you notice a decrease in performance or it becomes clogged with debris.
8. Be Patient and Gradual:
- Avoid rushing through the sanding process. Gradually progress from coarse to finer grits to achieve a smooth finish. Rushing can lead to mistakes and an uneven surface.
9. Test Your Work:
- Periodically stop and check your work by running your hand over the sanded surface. This tactile feedback helps you identify areas that need more attention or those that are already adequately sanded.
10. Use proper lighting:
- Adequate lighting is essential for spotting imperfections and ensuring even sanding. Position your work in a way that allows you to see the surface clearly from different angles.
11. Stay Organised:
- Keep your sandpaper and tools well organised to minimise downtime and frustration during your project. A clutter-free workspace allows you to focus on your sanding tasks.
12. Finish with a Fine Grit:
- Always finish your hand sanding with fine-grit sandpaper to achieve a smooth and professional-looking surface. This is especially important for woodworking and finishing applications.
Conclusion:
In the realm of craftsmanship and DIY projects, the art of hand-sanding stands as a testament to precision and dedication. As we draw this comprehensive guide to a close, it is our hope that you have gained valuable insights into the world of sandpaper, from understanding the nuances of grits to selecting the ideal backing material and abrasive material for your specific needs.
The importance of choosing the right sandpaper cannot be overstated. It influences the quality of your finish, the efficiency of your work, and the longevity of your tools. It plays a pivotal role in preserving the integrity of your materials and ensuring that your projects stand as testaments to your skill and craftsmanship.
Remember, for woodworking, metalworking, automotive projects, or DIY home improvements, there is a perfect sandpaper for every task. Coarse grits for material removal, medium grits for refining surfaces, and fine grits for achieving that impeccable finish. Coupled with the right backing material and abrasive material, your hand sanding endeavours are set up for success.
As you embark on your hand-sanding journey, consider the tips we’ve provided for a more effective and efficient process. From working in well-ventilated spaces to maintaining consistent pressure and using the right sanding block, these techniques will help you achieve professional results with every stroke.
In closing, hand sanding is more than just a technique; it’s an art form. It’s the mark of a dedicated craftsman who understands that excellence lies in the details. Armed with the knowledge and tips shared in this guide, you are well-prepared to take your hand-sanding skills to new heights. Embrace the challenge, enjoy the process, and revel in the satisfaction of transforming raw materials into polished masterpieces, one stroke at a time.


Sanding
We provide virtually dust-free sanding with our continuous belt machinery with mobile extraction units, giving you a safer environment for your family.
Oiling
This organic finish not only adds beauty to your home but also has exceptional water-repellent characteristics, making it easier to clean and maintain.
Waxing
This natural floor finish offers the softest and most mellow appearance – and leaves your floor able to breath.
Buffing
Using soft buffing machines (and hand-polishing where required) will bring a wonderful sheen to your newly-finished floor.
Repairs
We offer a full assessment of your wooden floors to determine what repairs are needed to provide the perfect working surface for the later stages of sanding, staining and sealing.
Restoration
We offer a comprehensive restoration process designed to address floors that are improperly fitted or damaged over time through wear and tear.
Request a fixed price quote for your wood floor restoration now
Simply enter your postcode below to get started.
Services
Wood Floor Sanding Wood Floor Restoration Wood Floor Scratch Repair Squeaky Wood Floor Repair Parquet Floor Sanding Parquet Floor Restoration Commercial Floor Sanding Church Floor Sanding Community Centre Floor Sanding School Floor Sanding Gap Filling Gap Filling with ResinCopyright © Mr Sander®
Privacy & Cookies Terms & Conditions Complaints Procedure Cancellation Rights Sitemap

Get An Instant Price Estimate Before You Go…
Simply enter the rooms you need sanded and we’ll provide you with a price estimate instantly! Try our price calculator now.
Get a Price Estimate NowLocal Floor Sanding Experts
Over 500 5-Star Reviews
Safe, Dust Free Sanding
Operating Since 1994