London:
Nationwide:
25,000+
Floors Restored
27 Years Experience
Wood Flooring Association Certified
Weather Woes: What Happens if it Rains After Sanding Your Deck?
Posted on January 19, 2024
Deck Sanding
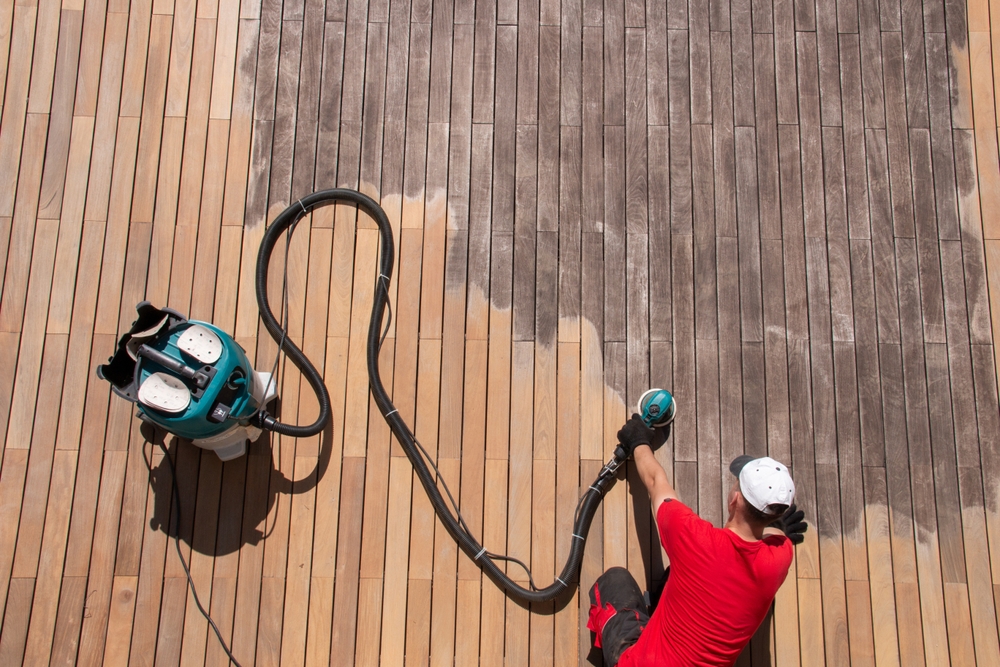
Rain-Related Challenges: What Happens if Rain Interrupts Your Deck Sanding?
A beautifully maintained deck is a true asset to any home, providing a versatile outdoor space for relaxation and entertainment. Over time, however, the wear and tear from exposure to the elements can take its toll, leaving your once-pristine deck looking weathered and worn. To combat this, many homeowners turn to deck sanding as a means of rejuvenating their outdoor space, restoring its natural beauty, and extending its lifespan.
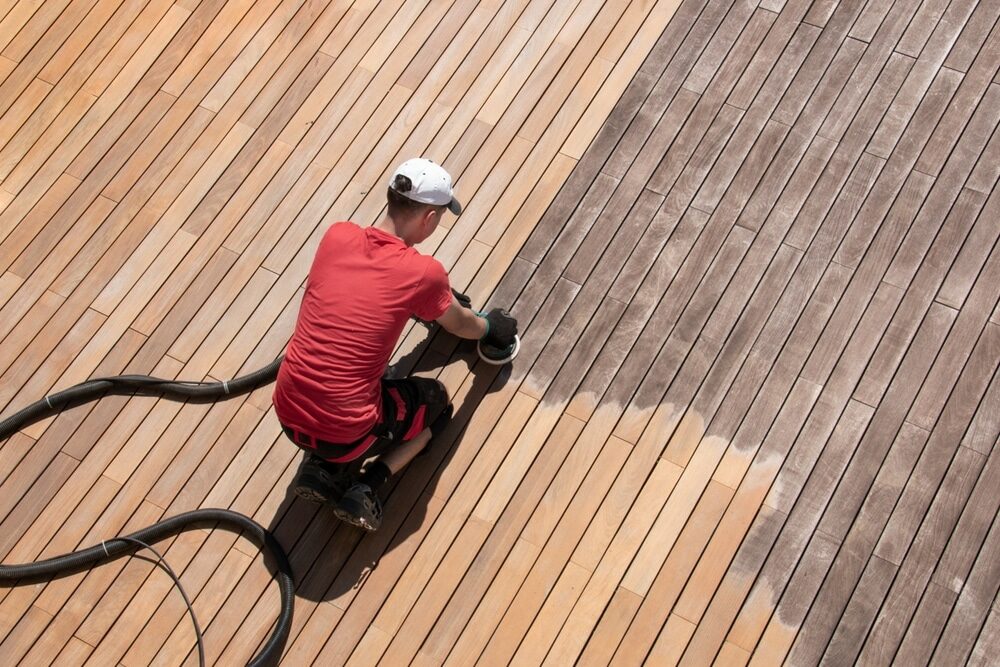
Deck sanding is a labor-intensive but essential process, aimed at stripping away old finishes, stains, and damaged wood fibers to create a smooth and uniform surface. It’s a crucial step in preparing your deck for a fresh finish, whether it be staining, painting, or sealing. However, one often-overlooked factor in this process is the weather, specifically, what happens if it rains after sanding your deck?
In this blog post, we’ll explore the intricate relationship between deck sanding and weather conditions, shedding light on the potential pitfalls and problems that can arise when rain unexpectedly interrupts your deck renovation project. We’ll also discuss practical steps you can take to mitigate the risks and ensure your deck emerges from the process looking better than ever. So, let’s dive into the world of deck maintenance and weather woes, and discover how to navigate them successfully.
The Deck Sanding Process
Deck sanding is a multi-step process that serves as the foundation for any deck refinishing or maintenance project. Understanding the intricacies of this process is essential for achieving a successful and long-lasting outcome. Here’s a breakdown of the key steps involved:
1. Assessment and Preparation:
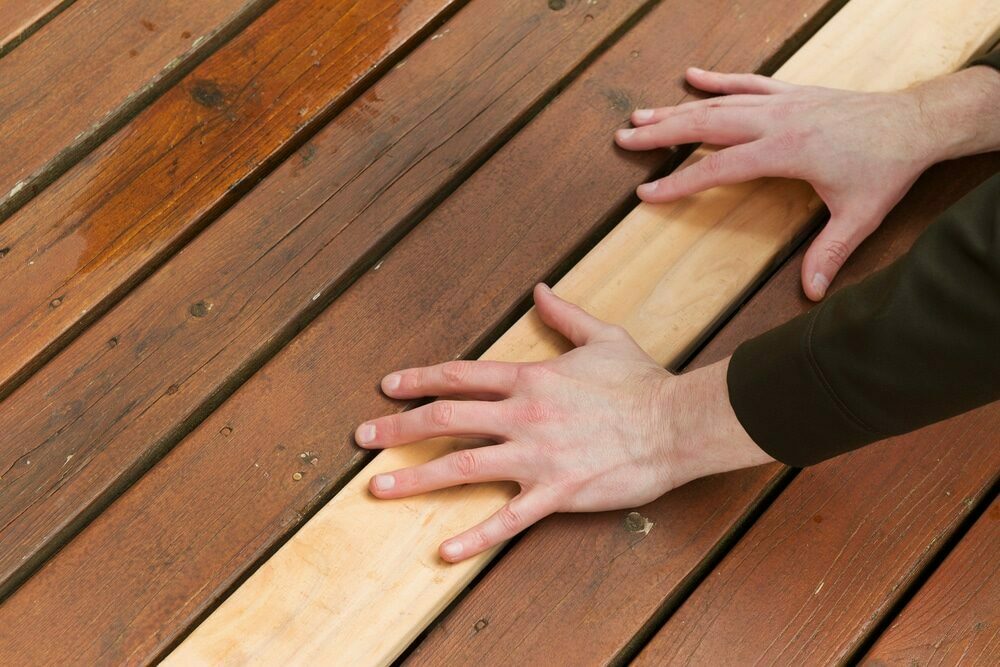
- Before you even start sanding, assess the condition of your deck. Look for areas of damage, rot, or loose boards that may require repair.
- Clear the deck of any furniture, plants, or obstacles that could hinder the sanding process.
2. Safety Gear:
- Safety first! Equip yourself with the necessary safety gear, including goggles, a dust mask, and ear protection. Deck sanding can generate a significant amount of dust and noise.

3. Choose the Right Equipment:
- Select the appropriate sanding equipment for your deck. This typically includes a belt sander, random orbital sander, or floor sander, depending on the size and condition of your deck.

4. Start with Coarse Grit:
- Begin sanding with a coarse-grit sandpaper (around 40-60 grit) to remove old finishes, paint, and stains. This rough grit is effective in stripping away surface imperfections.
5. Sanding Direction:
- Always sand in the direction of the wood grain to prevent scratches and uneven surfaces. Take your time and apply even pressure.
6. Progress to Finer Grits:
- Gradually switch to finer grit sandpaper (80-120 grit) as you progress. This step smooths out the wood surface and removes any remaining imperfections.
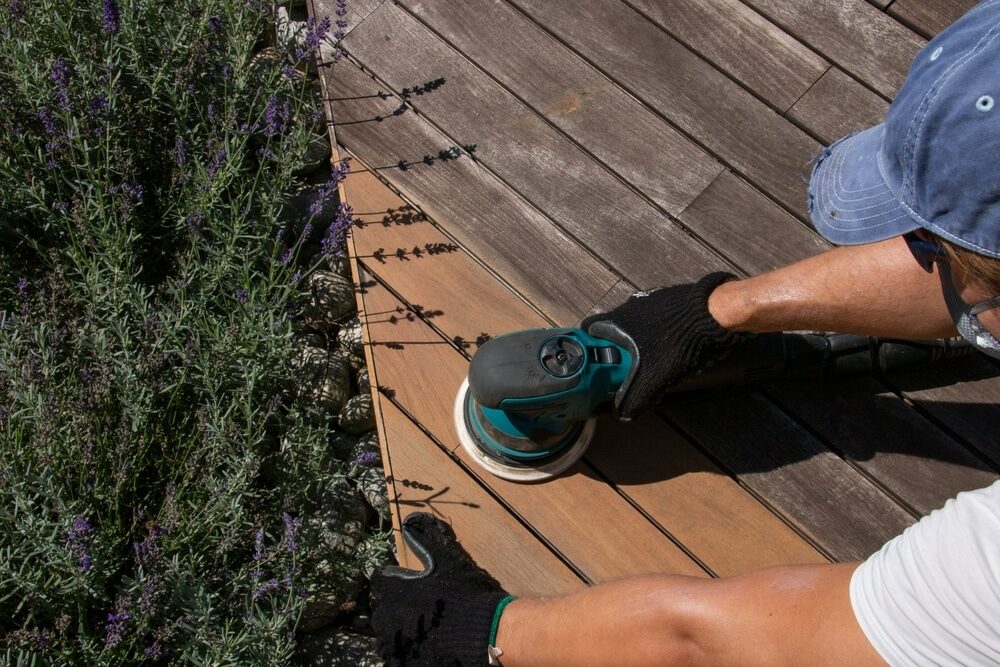
7. Edge Sanding:
- Pay close attention to the edges and corners of your deck, as these areas can be challenging to sand. You may need a smaller hand-held sander for precision.
8. Inspect for Smoothness:
- Periodically stop and inspect the deck surface for smoothness. Ensure that all old finish, stains, and blemishes have been removed.
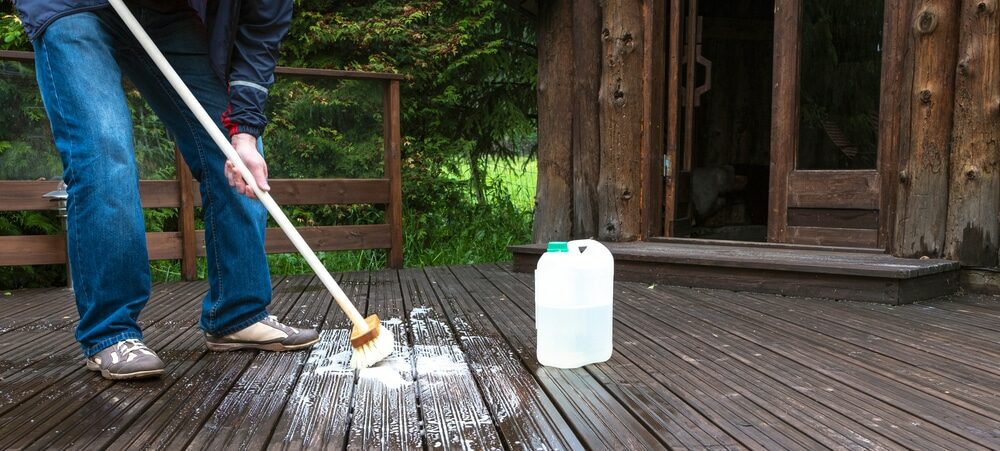
9. Clean the Surface:
- After sanding, thoroughly clean the deck to remove all dust and debris. A leaf blower or vacuum can be helpful in this step.
10. Drying Time:
- Allow the deck to dry completely before moving on to the next phase of your project. This can take anywhere from a few hours to a day, depending on weather conditions.
11. Final Inspection:
- Before applying a new finish, inspect the deck once more to ensure it’s perfectly smooth and ready for the next step.

By following these steps meticulously, you’ll create a solid foundation for your deck refinishing project. However, what happens if the weather takes an unexpected turn during this process? We’ll delve into the implications of rain after sanding your deck in the next section.
Weather Forecast Matters
When it comes to deck sanding, one of the most critical factors to consider is the weather. Your local climate conditions can significantly impact the success of your project, and it’s essential to pay close attention to the weather forecast before you even think about starting the sanding process. Here’s why the weather forecast matters:

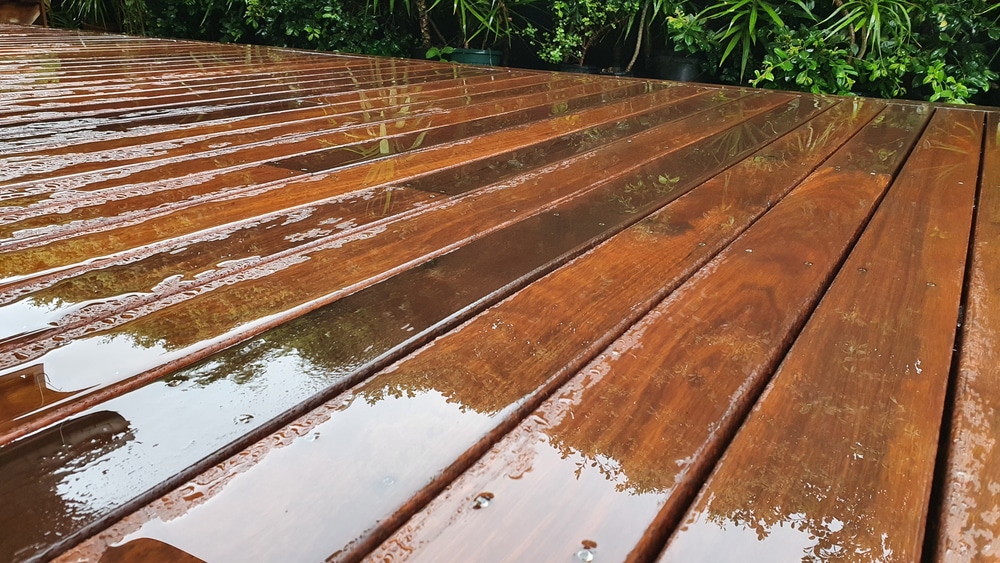
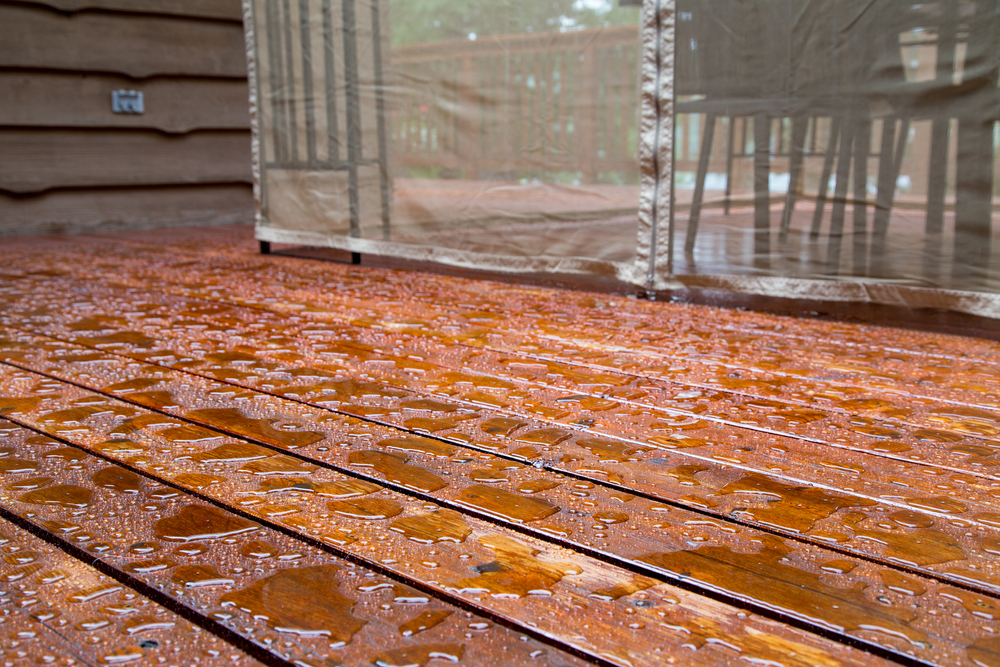
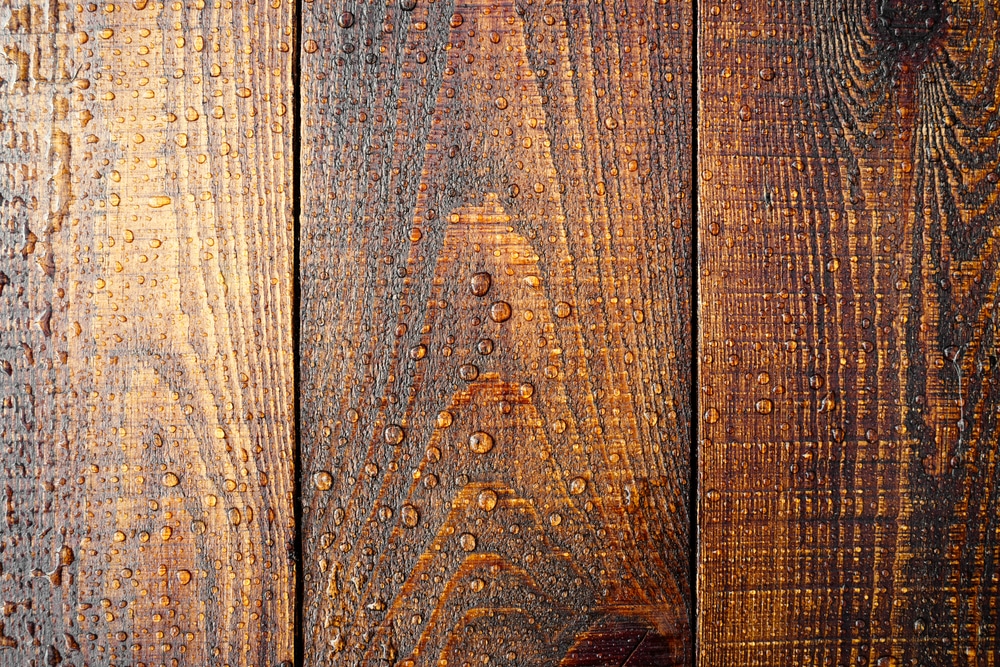
1. Rain and Moisture Sensitivity:
- Wood is highly sensitive to moisture. Rain, dew, or even high humidity can adversely affect the quality of your deck sanding job.
- Excessive moisture can cause the wood fibers to swell, making it difficult for the sandpaper to smooth the surface effectively.
2. Ideal Weather Conditions:
- The ideal weather conditions for deck sanding typically include a dry and moderately warm day with low humidity.
- Avoid sanding on extremely hot days, as the sun can cause the wood to become too hot, making it challenging to work with.

3. Checking the Forecast:
- Before you start sanding, check the weather forecast for your area. Look for not only the chance of rain but also the expected humidity levels.
- Plan your sanding project on days when rain is unlikely in the forecast, and humidity is within an acceptable range.
4. Scheduling Flexibility:
- Understand that weather forecasts are not always 100% accurate. Be prepared to adjust your sanding schedule if unexpected weather changes occur.
5. Moisture Content:
- To ensure the wood is in optimal condition for sanding, it’s recommended that you check the moisture content of the deck boards. Moisture meters can help you determine if the wood is within the acceptable range.
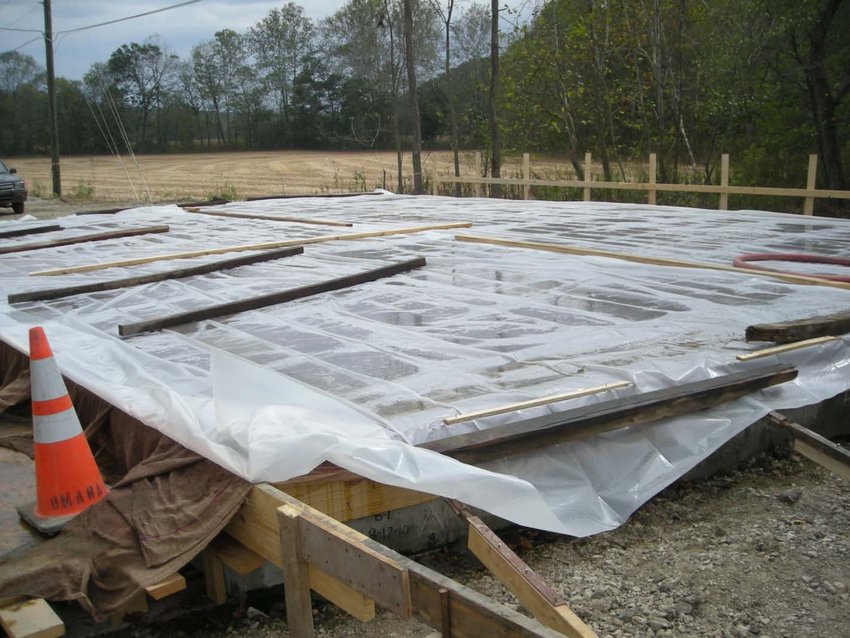
6. Covering Strategies:
- If you have no choice but to sand on a day with a slight chance of rain, have a plan for covering the deck quickly if rain begins unexpectedly.
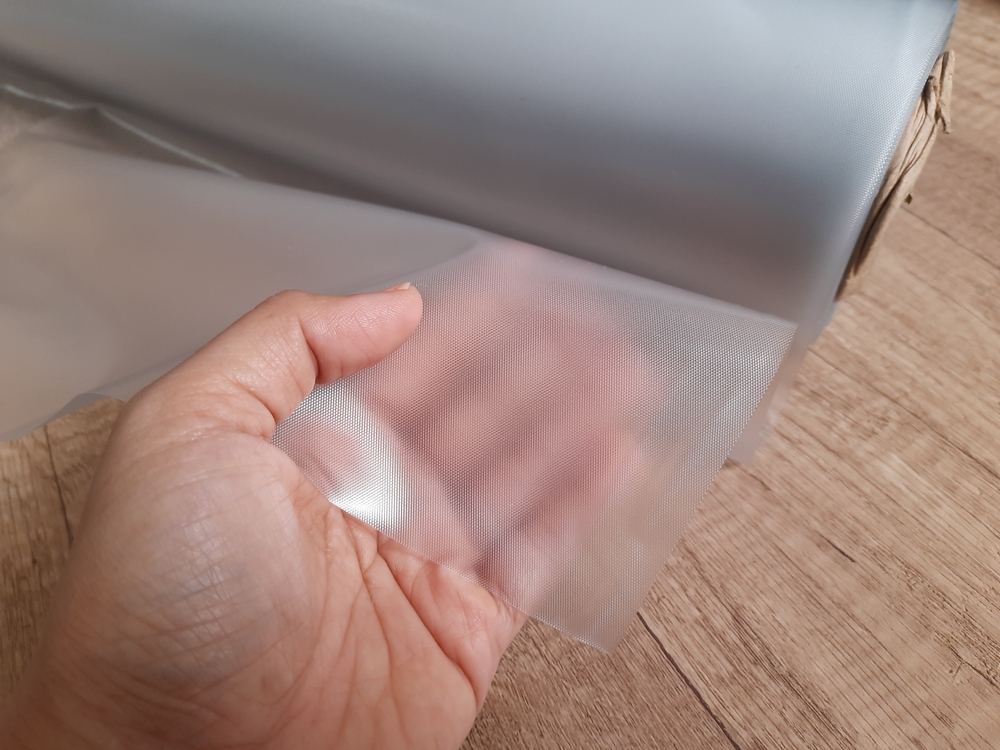
- Tarpaulins or plastic sheets can be used to protect the sanded surface from moisture.
7. Drying Time:
- After sanding, allow the deck to dry completely before proceeding with the finishing steps. This may require additional time if rain or high humidity delays the drying process.
8. Plan Ahead:
- Ideally, plan your deck sanding project during a season with stable, dry weather to minimize the risk of weather-related issues.
By prioritizing the weather forecast and choosing the right conditions for your deck sanding project, you can greatly enhance the chances of achieving a smooth, flawless finish that will stand the test of time. In the next section, we’ll explore the potential implications of rain after you’ve started the sanding process.
Mitigating Risks
Mitigating the risks associated with rain after deck sanding is crucial to ensure the success of your project and the longevity of your deck’s appearance and structural integrity. Here are practical steps you can take to reduce these risks:

1. Monitor the Weather Forecast:
Continuously check the weather forecast leading up to your sanding day. If there’s even a slight chance of rain, consider postponing the project to a more favorable day.
2. Select the Right Day:
Choose a day with a clear and dry weather forecast for your deck sanding project. Avoid sanding during periods of high humidity or unpredictable weather.
3. Have Covering Materials Ready:
Prepare ahead by having tarpaulins, plastic sheets, or other covering materials on hand. If rain unexpectedly begins, quickly cover the sanded area to protect it from moisture.
4. Protect the Deck’s Edges:
Pay extra attention to the edges and corners of the deck, as these areas are more vulnerable to moisture penetration. Cover them first if rain threatens.
5. Work in Sections:
If your deck is large, consider sanding your deck and finishing it in smaller sections. This way, you can focus on protecting one area while working on another, reducing the risk of rain damage.
6. Reschedule if Necessary:
Don’t hesitate to reschedule your project if rain appears imminent. It’s better to delay the work than to rush through it or risk damage from unexpected precipitation.
7. Properly Cover Exposed Wood:
Ensure that all exposed wood surfaces are adequately covered before you stop working for the day. Use tarps or plastic sheets to protect the sanded deck until the next working session.
8. Allow for Adequate Drying Time:
After an unexpected rain shower, give the deck ample time to dry completely before proceeding. Rushing the process can lead to issues with your finish.
9. Inspect for Damage:
After the deck has dried, inspect it for any signs of water damage, staining, or discoloration. Address any issues promptly before moving forward.
10. Consider Weather-Resistant Finishes:
To add an extra layer of protection to your deck, consider using weather-resistant finishes or sealers that can better withstand moisture.

Drying and Recoating
After successfully mitigating the risks of rain during the deck sanding process, it’s time to move forward with the crucial steps of drying and recoating. This phase is essential for achieving a beautiful, long-lasting finish for your deck. Here’s how to proceed:
1. Ensure Thorough Drying:
Before you even think about recoating, allow your sanded deck to dry completely. The wood should return to its natural moisture content, which can take anywhere from a day to several days, depending on weather conditions.
2. Inspect for Moisture:
Use a moisture meter to verify that the wood’s moisture content is within the acceptable range for your specific finish. This step is critical to prevent issues like blistering or peeling.
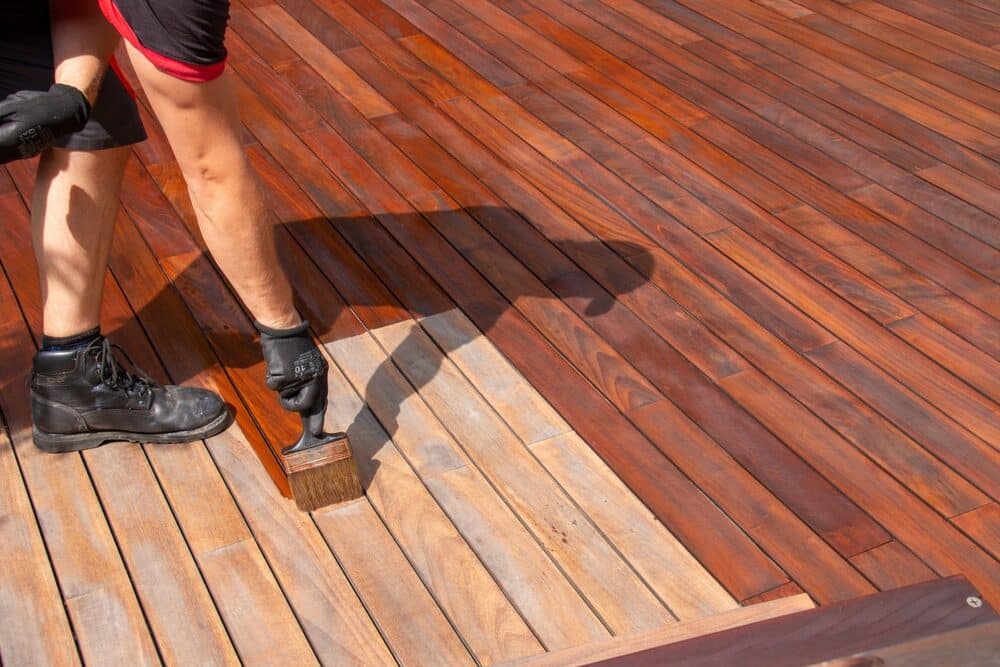
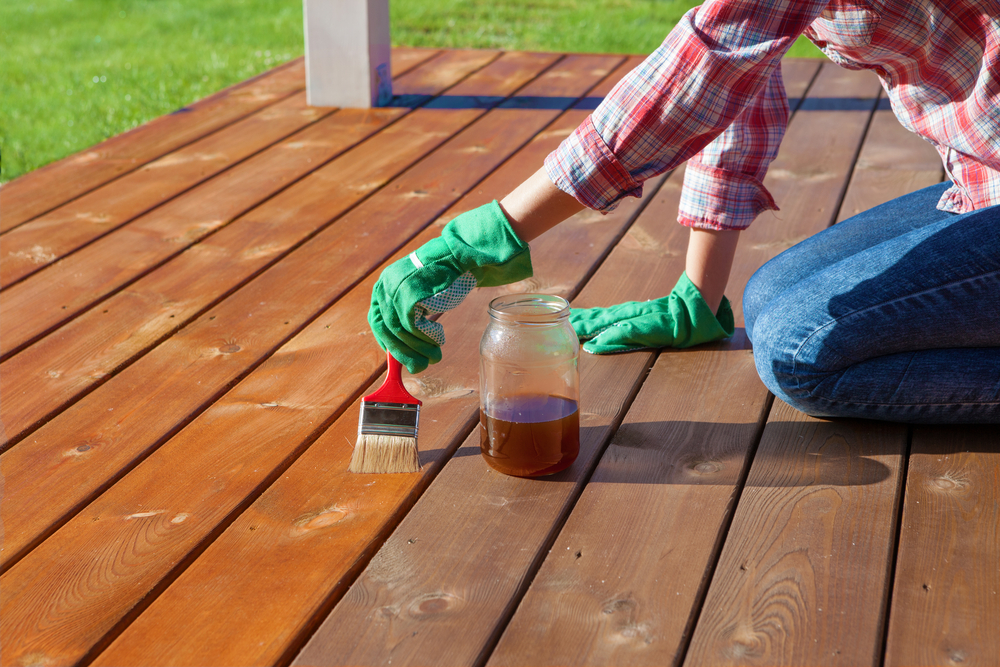
3. Choose the Right Finish:
Select the appropriate finish for your deck, whether it’s a stain, paint, or clear sealer. Consider the aesthetic you desire and the level of protection needed for your climate.

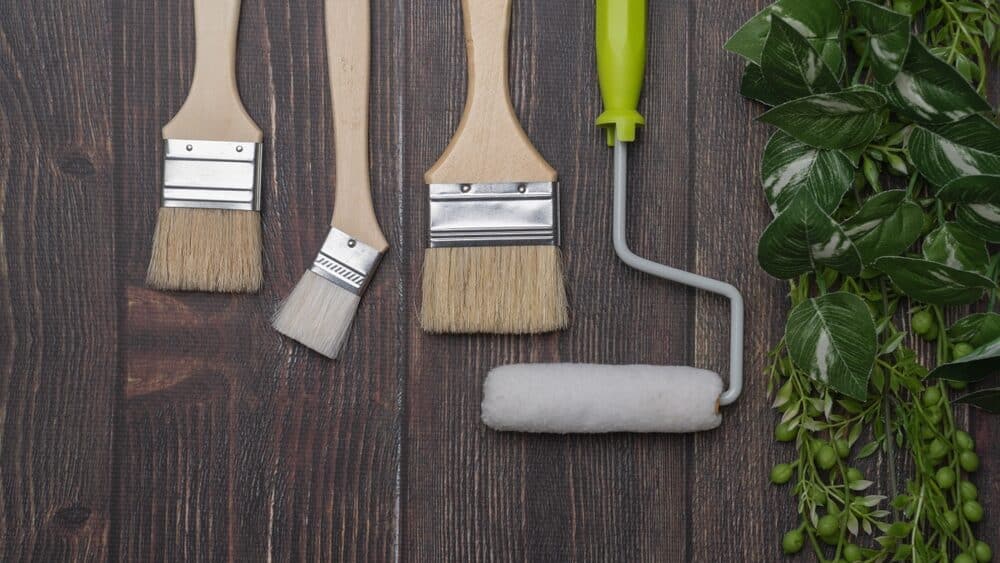
4. Prepare Your Tools:
Gather all the necessary tools and materials for applying the finish, including brushes, rollers, sprayers, and trays. Make sure they are clean and in good condition.
5. Protect Surrounding Areas:
Cover nearby plants, furniture, and any surfaces you don’t want to accidentally stain or paint. Use drop cloths or plastic sheeting to protect these areas.
6. Follow Manufacturer’s Instructions:
Read and follow the manufacturer’s instructions on the finish product carefully. Pay attention to recommended drying times and application techniques.
7. Apply Finish Evenly:
Begin applying the finish in a consistent and even manner. Work in the direction of the wood grain to achieve a smooth, professional-looking result.
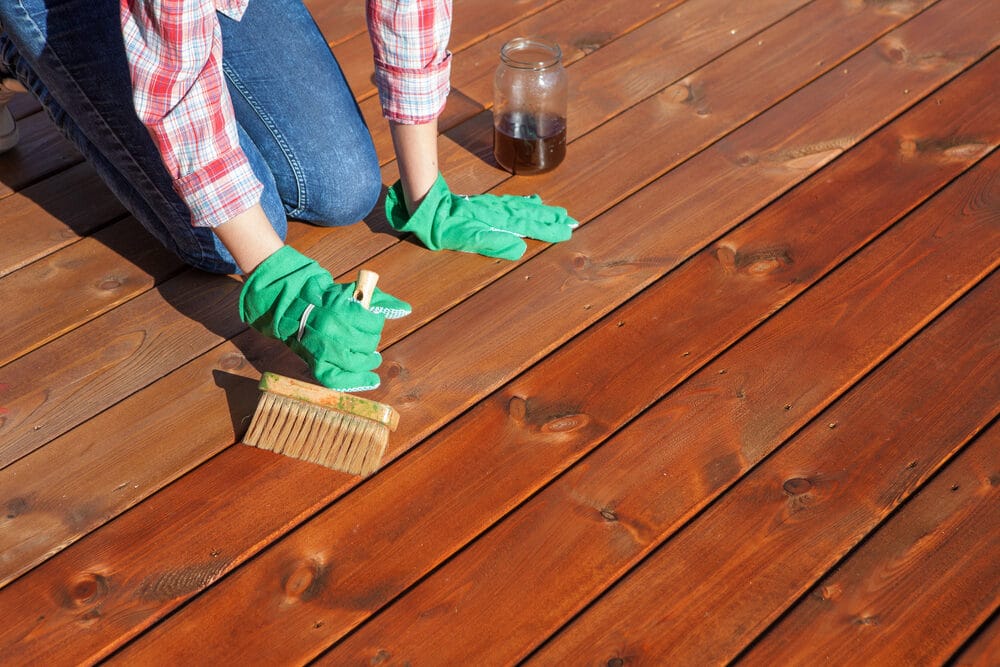
8. Work in Sections:
To maintain a wet edge and avoid lap marks, work in manageable sections of the deck. Start at one end and work your way towards an exit point.
9. Apply Multiple Coats:
Depending on the product and your desired level of protection, you may need to apply multiple coats of finish. Allow each coat to dry according to the manufacturer’s instructions before applying the next.
10. Allow for Adequate Drying Time:
Be patient and allow the finish to dry thoroughly between coats and before any foot traffic. Rushing this step can lead to uneven finishes and costly touch-ups.
11. Final Inspection:
Once the finish has dried, conduct a final inspection to ensure an even, consistent appearance. Address any imperfections or areas that may require touch-ups.
12. Regular Maintenance:
After your deck is refinished, commit to regular maintenance to extend its lifespan. Periodic cleaning and recoating as needed will help protect your investment.
By following these steps and paying close attention to detail, you can achieve a beautifully finished deck that not only enhances your outdoor space but also stands up to the elements for years to come. Remember that proper drying and recoating are essential to maintain the aesthetic and structural integrity of your deck.
Conclusion
In the world of home improvement and outdoor living, few projects are as rewarding as refinishing your deck. Through the meticulous process of sanding and refinishing, you can breathe new life into your outdoor space, creating a welcoming haven for relaxation, entertainment, and enjoyment. However, as we’ve explored in this guide, the journey to a beautifully restored deck is not without its challenges and considerations.
From the initial assessment of your deck’s condition to the final strokes of finish application, every step plays a crucial role in achieving a long-lasting and visually stunning result. The weather, in particular, emerges as a formidable factor, capable of both facilitating and hindering your efforts. Therefore, paying close attention to the weather forecast and taking necessary precautions is paramount to success.
Remember, the implications of rain after sanding your deck can range from moisture-related issues to staining, discoloration, and extended project timelines. Nevertheless, with careful planning, preparedness, and an understanding of the risks involved, you can minimize these challenges and navigate them effectively.
As you progress through the sanding your deck process and embark on the journey of refinishing, remember the importance of patience and attention to detail. Each step, from selecting the right grit sandpaper to choosing the appropriate finish, contributes to the overall outcome. Additionally, regular maintenance should become a part of your routine to safeguard your investment and keep your deck looking its best.
In the end, the efforts you put into sanding and refinishing your deck will be rewarded with a space that not only enhances your home’s curb appeal but also provides a platform for creating lasting memories with family and friends. So, roll up your sleeves, embrace the challenges, and let your deck renovation project become a testament to your dedication to maintaining the beauty and functionality of your outdoor living space.


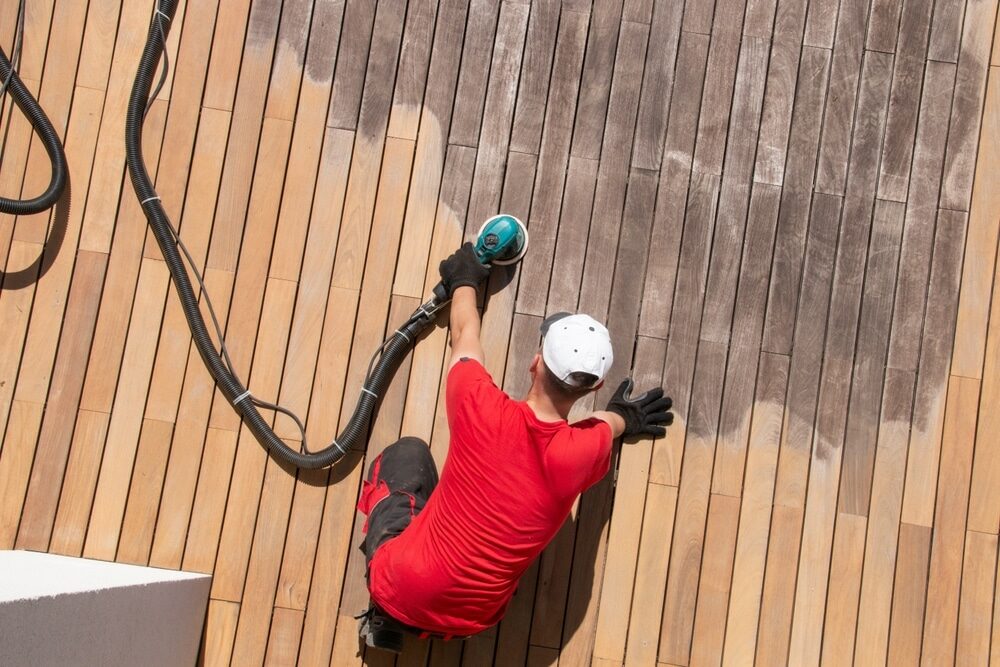
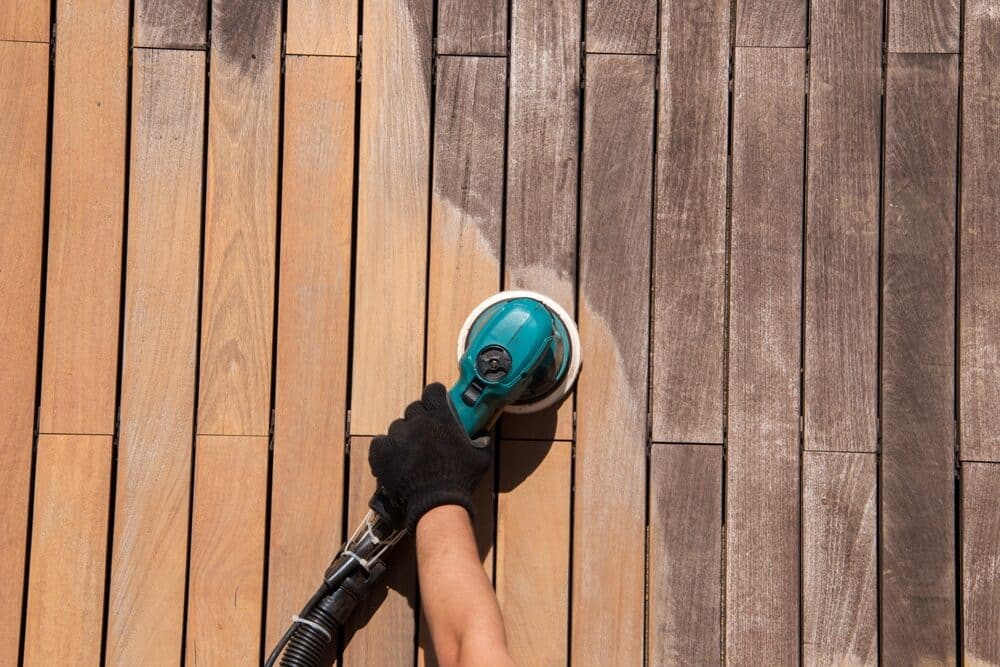
Sanding
We provide virtually dust-free sanding with our continuous belt machinery with mobile extraction units, giving you a safer environment for your family.
Oiling
This organic finish not only adds beauty to your home but also has exceptional water-repellent characteristics, making it easier to clean and maintain.
Waxing
This natural floor finish offers the softest and most mellow appearance – and leaves your floor able to breath.
Buffing
Using soft buffing machines (and hand-polishing where required) will bring a wonderful sheen to your newly-finished floor.
Repairs
We offer a full assessment of your wooden floors to determine what repairs are needed to provide the perfect working surface for the later stages of sanding, staining and sealing.
Restoration
We offer a comprehensive restoration process designed to address floors that are improperly fitted or damaged over time through wear and tear.
Request a fixed price quote for your wood floor restoration now
Simply enter your postcode below to get started.
Services
Wood Floor Sanding Wood Floor Restoration Wood Floor Scratch Repair Squeaky Wood Floor Repair Parquet Floor Sanding Parquet Floor Restoration Commercial Floor Sanding Church Floor Sanding Community Centre Floor Sanding School Floor Sanding Gap Filling Gap Filling with ResinCopyright © Mr Sander®
Privacy & Cookies Terms & Conditions Complaints Procedure Cancellation Rights Sitemap

Get An Instant Price Estimate Before You Go…
Simply enter the rooms you need sanded and we’ll provide you with a price estimate instantly! Try our price calculator now.
Get a Price Estimate NowLocal Floor Sanding Experts
Over 500 5-Star Reviews
Safe, Dust Free Sanding
Operating Since 1994