London:
Nationwide:
25,000+
Floors Restored
27 Years Experience
Wood Flooring Association Certified
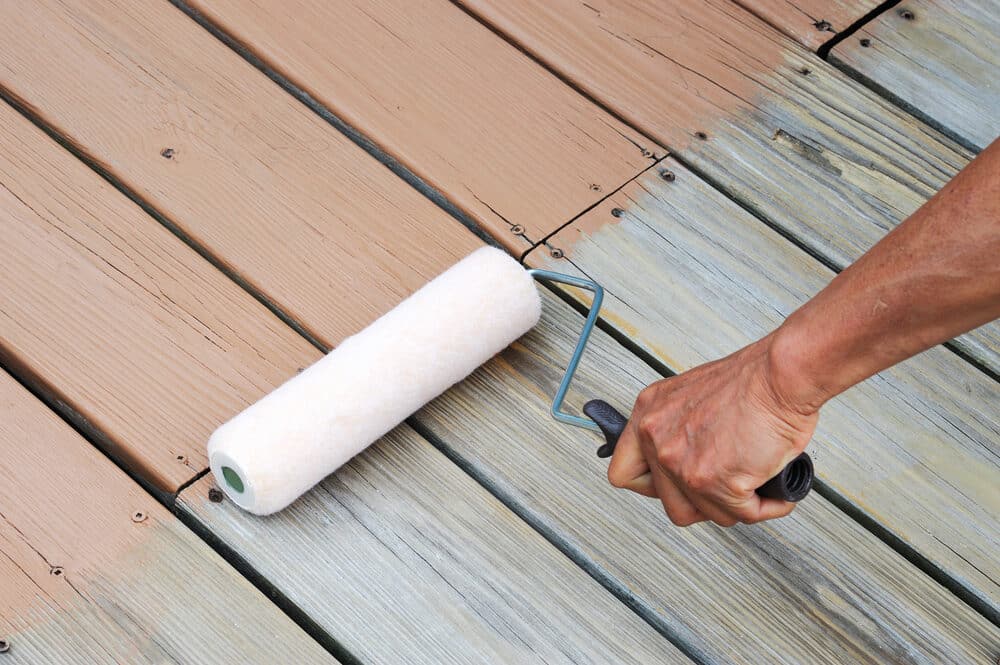
How to Sand a Large Deck: Tips and Tricks
Posted on January 4, 2024
Deck Sanding
Sanding a Spacious Deck: Expert Tips and Techniques
Your deck, a cherished outdoor retreat where you savour the warm sun, host gatherings with friends and family, or simply unwind after a long day, deserves the utmost care and attention. However, as the seasons come and go, your once-pristine deck may start to show signs of wear and tear. Splinters, rough patches, and a weathered appearance can detract from its beauty and safety.
That’s where the art of deck sanding comes into play. Sanding isn’t just about enhancing the aesthetics of your deck; it’s a crucial step in preserving its longevity. By meticulously sanding your deck, you not only bring back its natural charm but also ensure a smoother, safer surface for countless moments of enjoyment.
In this comprehensive guide, we’ll take you through the process of sanding your deck, sharing a wealth of tips and tricks acquired through years of experience. Whether you’re a seasoned DIY enthusiast looking to refresh your outdoor space or a newcomer to the world of deck maintenance, our step-by-step instructions and expert insights will empower you to embark on this transformative journey.
Before you pick up your sanding tools and get started, let’s delve into why deck sanding is essential and introduce you to the tools and materials that will be your companions on this rewarding adventure. Prepare to rediscover the beauty and potential of your outdoor oasis as we guide you through “How to Sand a Large Deck: Tips and Tricks.”

Preparing your deck for sanding
Before you dive into the Large Deck sanding process, it’s essential to prepare your deck properly. Adequate preparation sets the stage for a successful sanding project and ensures that you achieve the best results. Here are the key steps to get your deck ready for sanding:
1. Clearing the deck
- Start by removing all furniture, potted plants, and any other items from the deck. A clear workspace will make the sanding process safer and more efficient.
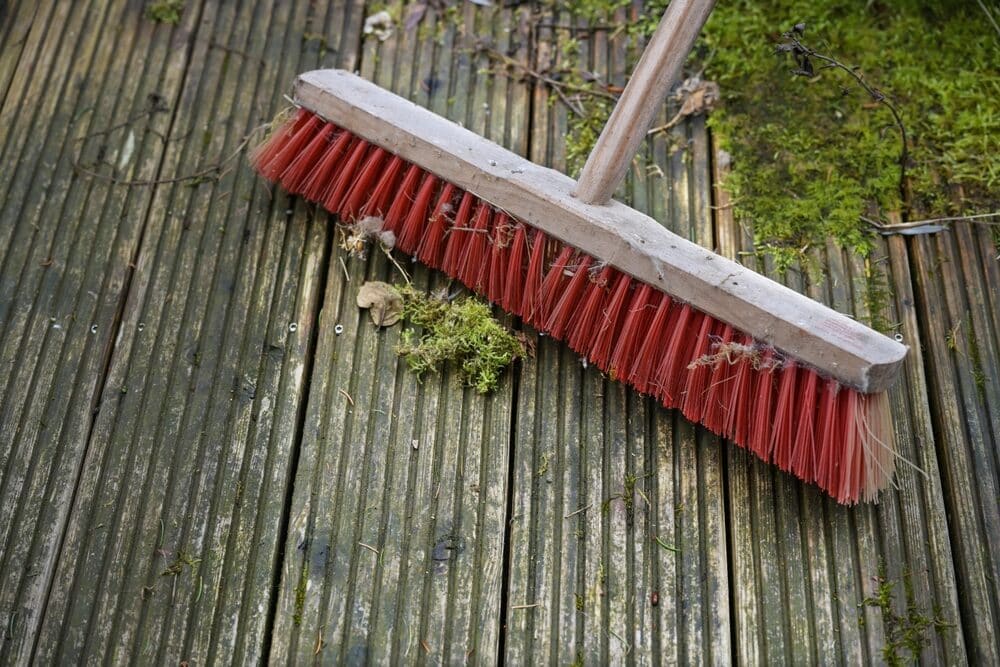
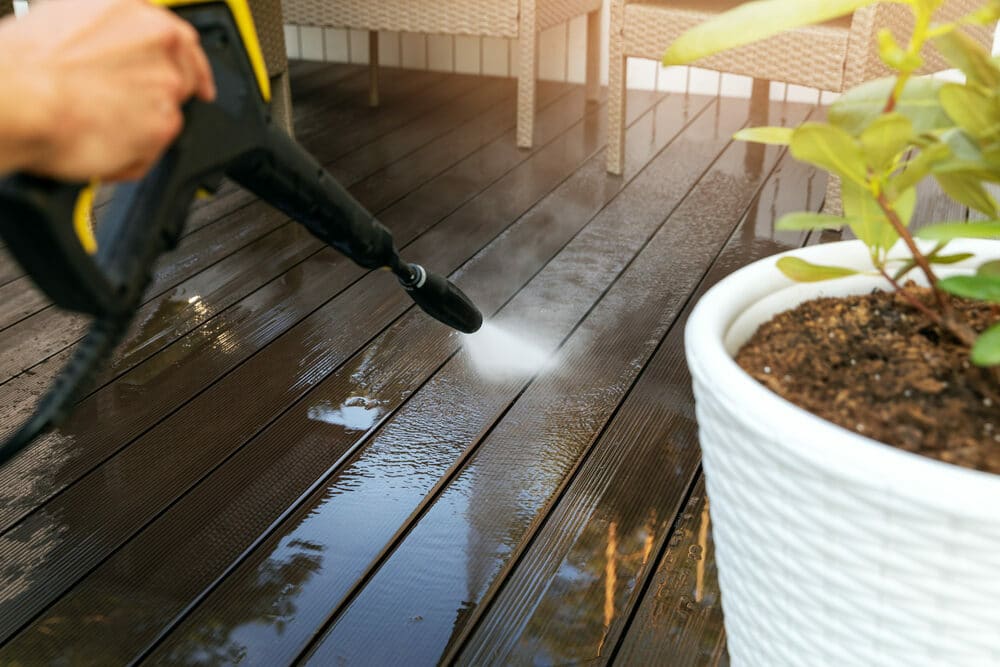
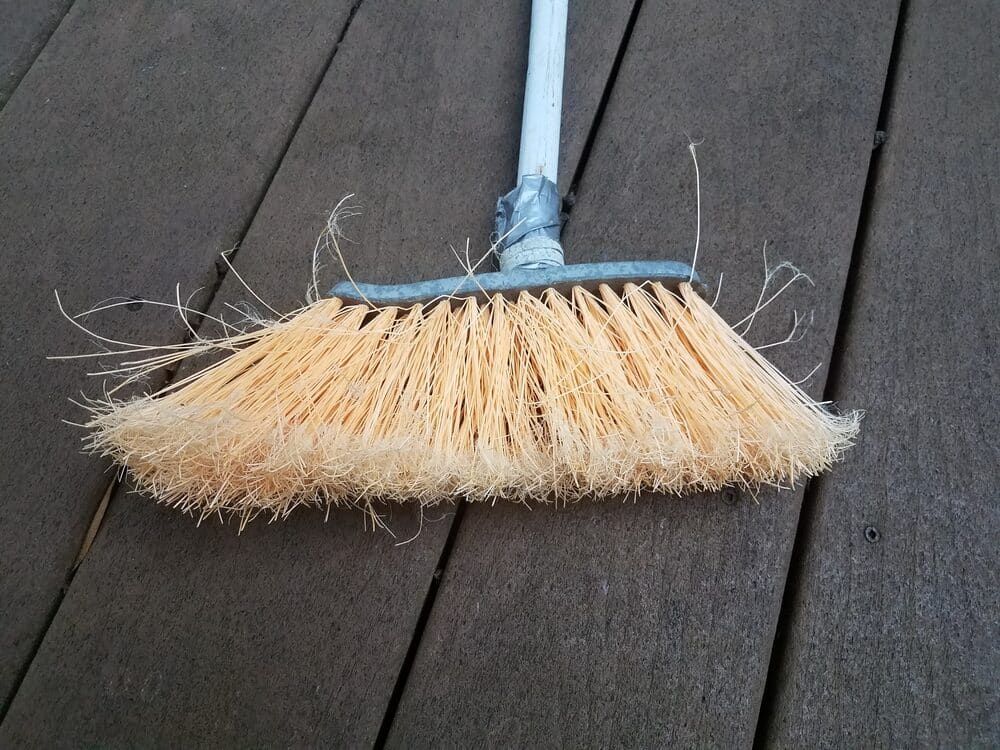
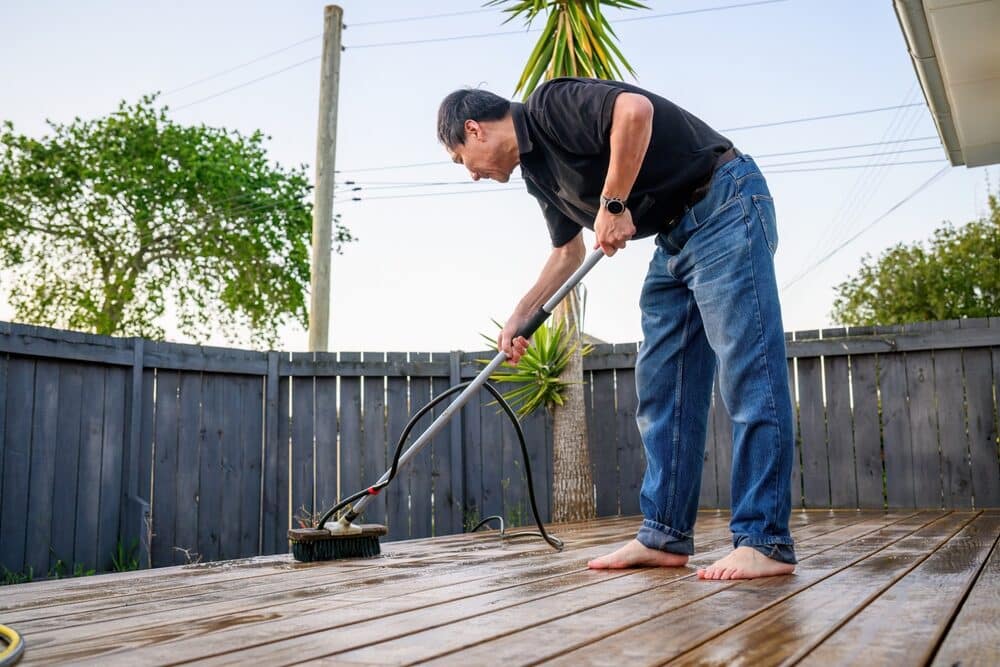
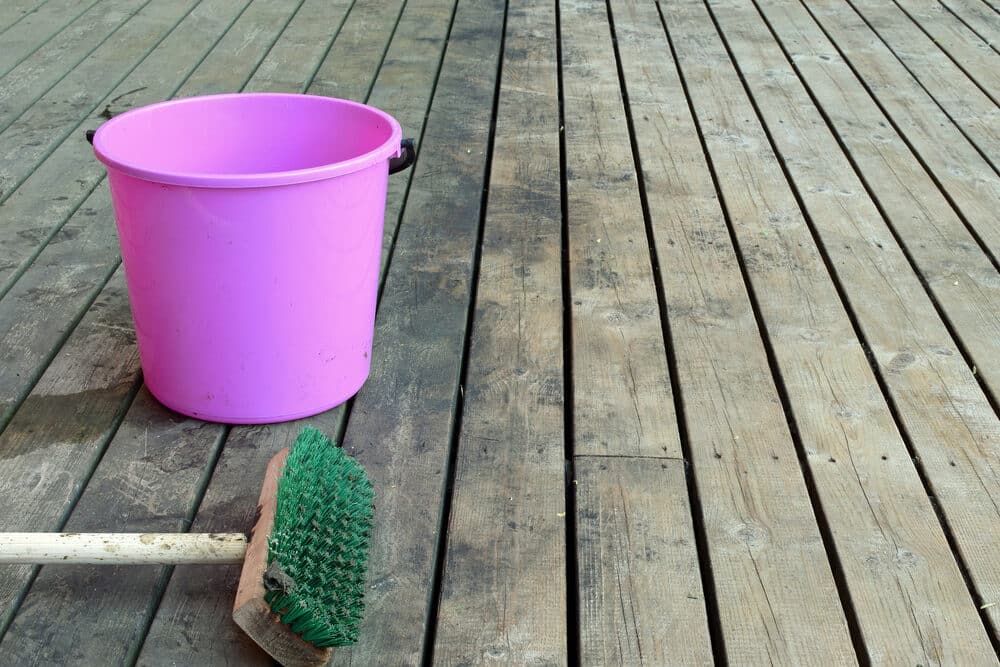
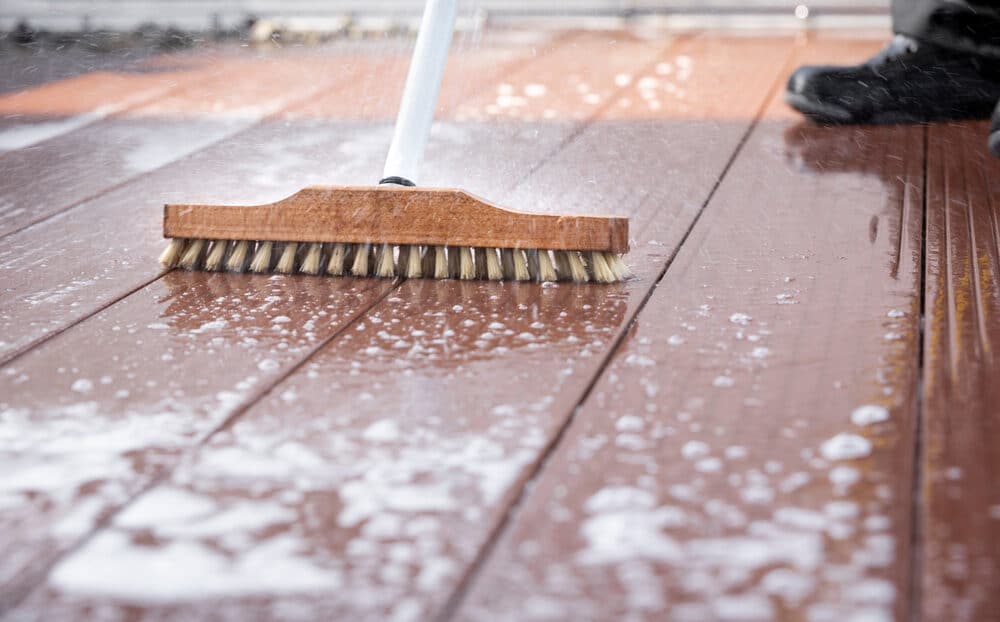
2. Sweep or Power Wash
- Sweep the deck thoroughly to remove loose dirt, leaves, and debris. Alternatively, you can use a power washer to clean the surface more effectively. Pay special attention to corners and crevices.
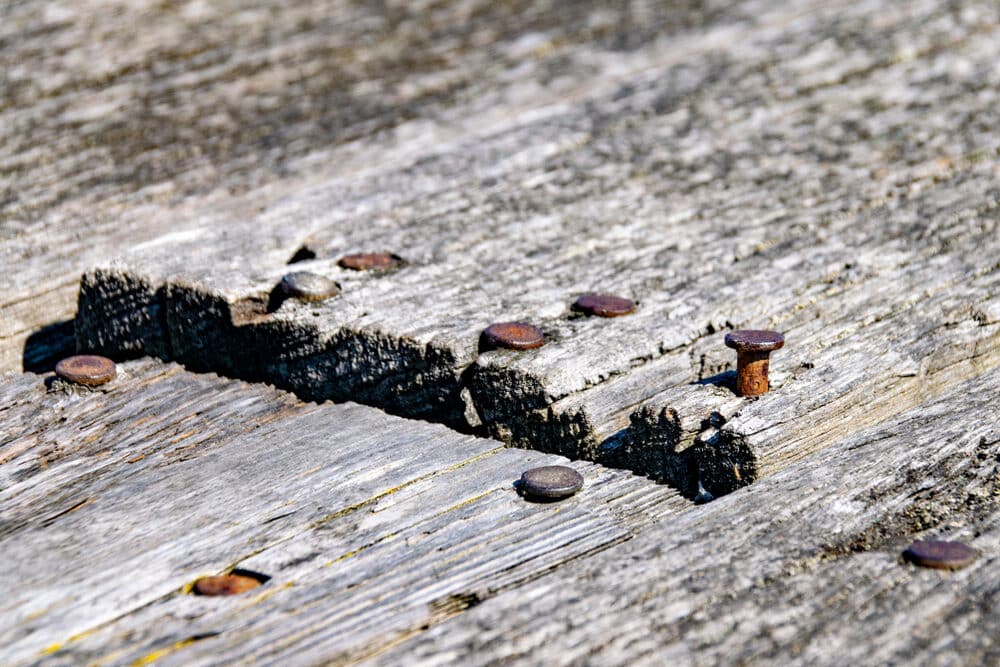
3. Inspect for damage
- Carefully examine your deck for any signs of damage. Look for loose or popped nails, damaged boards, and any splinters that need attention. Make a list of repairs that need to be addressed before sanding.
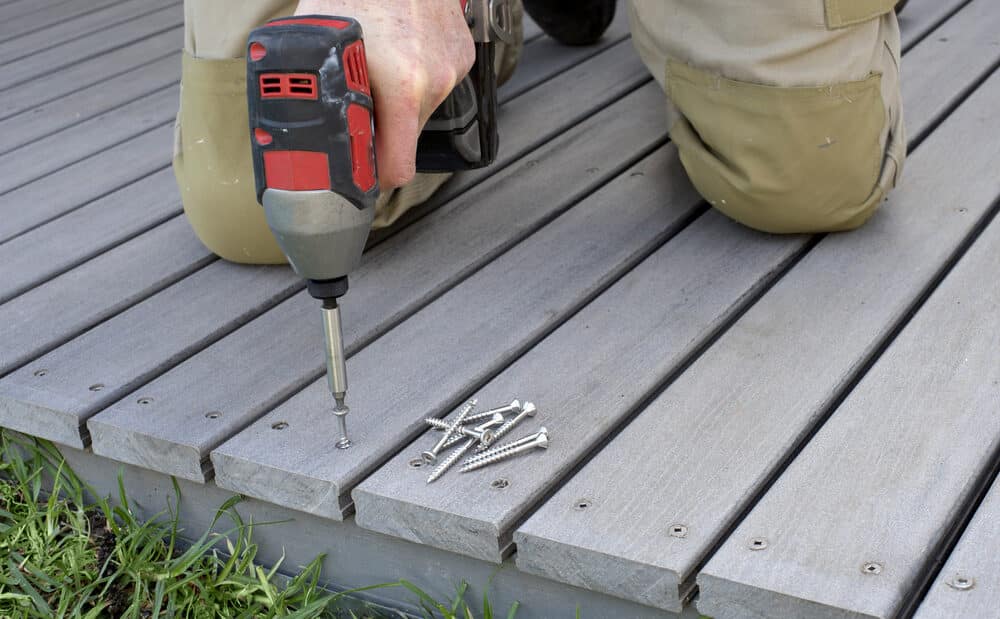
4. Replace or tighten fasteners
- Replace any damaged boards, and tighten loose screws or nails. Ensuring that your deck is structurally sound is crucial for both safety and the longevity of your project.
5. Safety Gear
- Before you start sanding, ensure you have the appropriate safety gear, including safety glasses or goggles, ear protection, and a dust mask. Deck sanding can be dusty, and protection is key.

6. Cover nearby plants and structures
- If you have plants or structures adjacent to your deck, consider covering them with plastic sheeting or drop cloths to protect them from dust and debris generated during sanding.
7. Plan for Waste Disposal
- Think ahead about how you’ll dispose of the sanding dust and debris. You may need to bag it for disposal or find a suitable way to collect it, especially if you’re sanding in an environmentally sensitive area.
Choosing the Right Sandpaper
Selecting the appropriate sandpaper is crucial to achieving the desired results when sanding your deck. The choice of sandpaper depends on the condition of your deck and the level of sanding required. Here’s a guide to help you choose the right sandpaper for your project:
1. Grit Types and Sizes
- Sandpaper comes in various grit sizes, typically ranging from coarse to fine. The grit size determines how aggressive the sandpaper is. Coarser grits (lower numbers, like 40 or 60) remove material faster but leave a rougher surface. Finer grits (higher numbers, like 120 or 220), provide a smoother finish but remove material more slowly.
- Start with a coarse-grit sandpaper (40–60 grit) if your deck has significant damage, rough patches, or old coatings that need to be removed.
- Transition to medium grit (80–100) to refine the surface and remove any remaining imperfections.
- Finish with fine-grit (120–220) sandpaper to achieve a smooth, ready-to-finish surface.
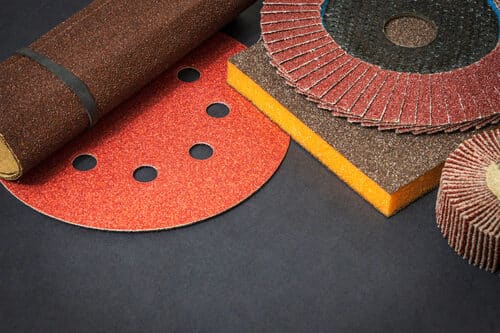
2. Sandpaper Options
- There are various types of sandpaper, including:
- Aluminium oxide: A common choice for wood surfaces, it is durable and suitable for both hand and machine sanding.
- Silicon Carbide: Ideal for harder materials like metal or concrete but less commonly used on wooden decks.
- Garnet: Provides a smooth finish and is often preferred for final sanding on wood surfaces.
- Zirconia Alumina: Known for its durability, it’s a good choice for heavy-duty sanding tasks.

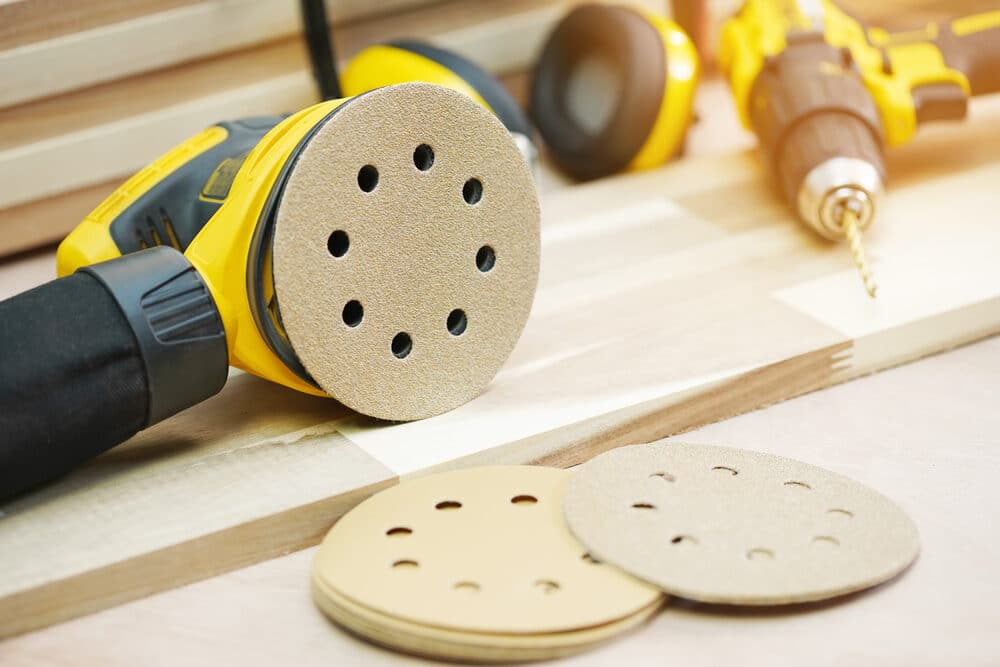
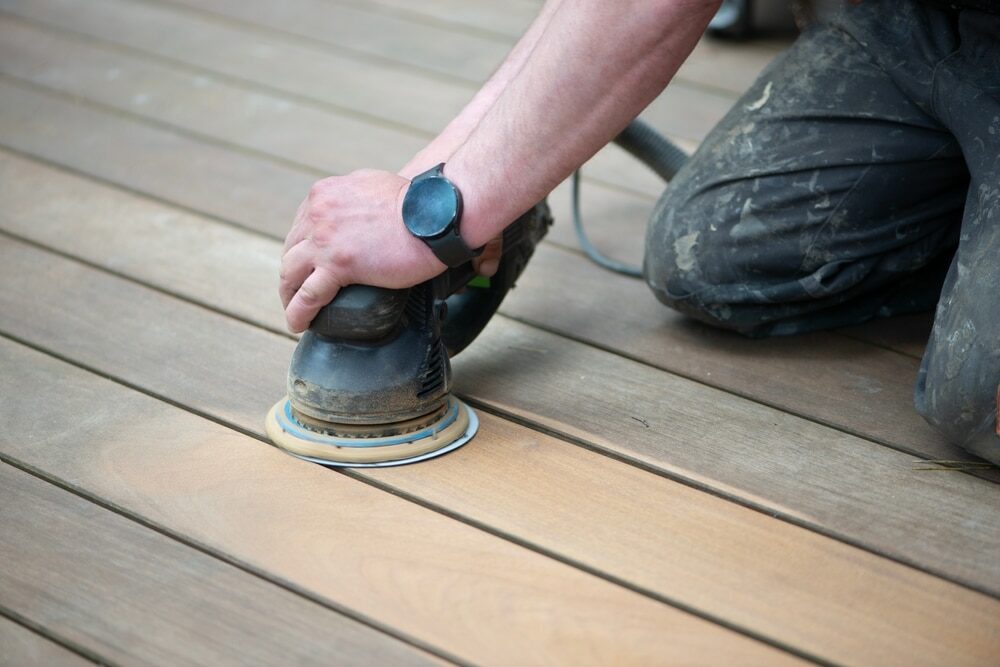
3. Hand vs. machine sanding
- Consider whether you’ll be sanding your deck by hand or using a power sander. Hand sanding allows for better control but can be physically demanding, while power sanders are more efficient for large decks but require skill to use effectively.
- Choose sandpaper designed for your specific sanding tool if you’re using a power sander.
4. Quantity Needed
- Estimate the amount of sandpaper you’ll require based on the size of your deck and the extent of sanding needed. It’s better to have extra sandpaper on hand than to run out in the middle of your project.
5. Experiment on a Small Area
- If you’re unsure about the grit size to start with, test a small, inconspicuous area of your deck to see how it responds before committing to a particular grit.

Safety Precautions
Ensuring your safety during the deck-sanding process is paramount. Deck sanding can generate dust and noise and involve potentially dangerous equipment, so taking appropriate safety precautions is essential. Here are some safety measures to keep in mind:
1. Protective Gear
- Wear safety glasses or goggles to shield your eyes from flying debris.
- Use ear protection, such as earplugs or earmuffs, to safeguard your hearing from the noise generated by sanding equipment.
- Put on a dust mask or respirator to prevent inhaling harmful dust particles. This is especially crucial when sanding older decks, as they may contain lead paint or other hazardous materials.
2. Appropriate Clothing
- Wear long sleeves, long pants, and closed-toe shoes to protect your skin from splinters, dust, and potential injury.
3. Respirable Dust Control
- Use dust collection systems or vacuums equipped with HEPA filters to minimise dust in the air. This not only enhances safety but also maintains air quality.

4. Ventilation
- Work in a well-ventilated area, or consider setting up fans to help disperse dust and improve air circulation.
5. Stability and Balance
- When using power sanders, maintain proper balance and footing to prevent slips or falls. Make sure the sander is stable and secure in your grip.
6. Electrical Safety
- If you’re using electric sanders, ensure that all cords and outlets are in good condition to prevent electrical accidents.
- Be mindful of the location of power cords to avoid tripping hazards.
7. Stay Hydrated
- Deck sanding can be physically demanding, so stay hydrated by drinking water regularly to avoid fatigue or dehydration.

8. Keep children and pets away
- Exclude children and pets from the work area to prevent accidents or exposure to potentially harmful dust and chemicals.
9. Follow the manufacturer’s instructions
- If you’re using power sanding equipment, carefully read and follow the manufacturer’s guidelines and safety instructions.
10. First Aid Kit
- Have a first aid kit on hand with basic supplies like bandages, antiseptic wipes, and tweezers for immediate treatment of minor injuries.
11. Emergency Plan
- Familiarise yourself with the location of fire extinguishers and know how to use them. Have a phone or communication device nearby in case of emergencies.
12. Dispose of Waste Safely
- Properly dispose of sand, dust, and debris in accordance with local regulations. Do not burn or release hazardous materials into the environment.
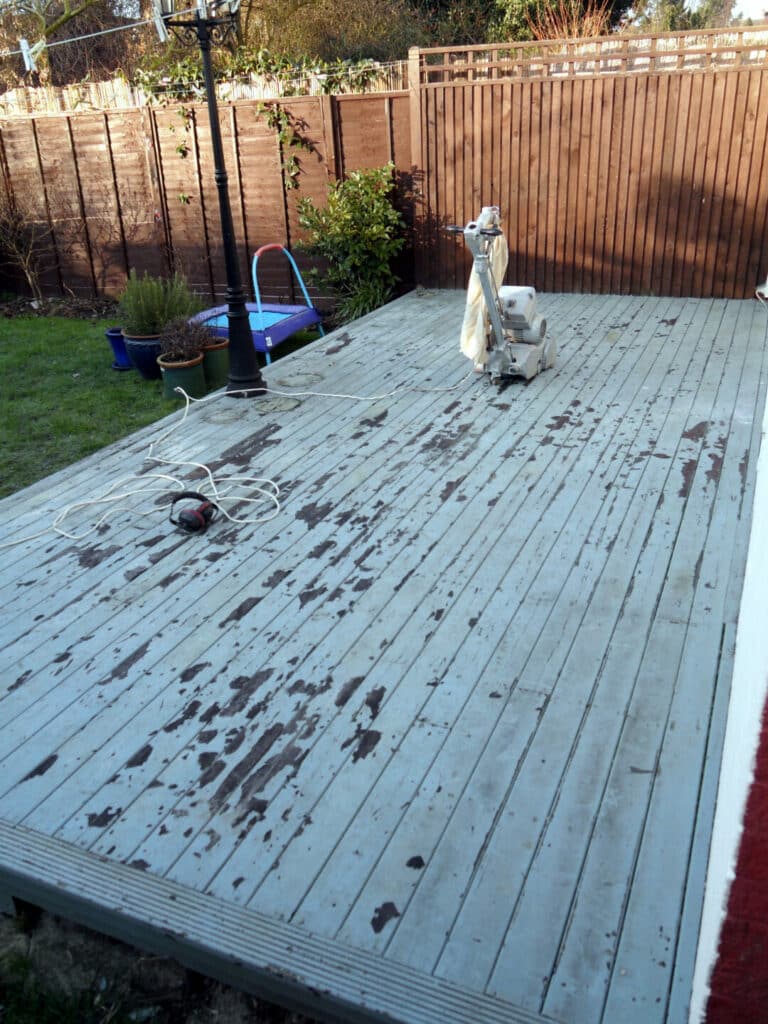
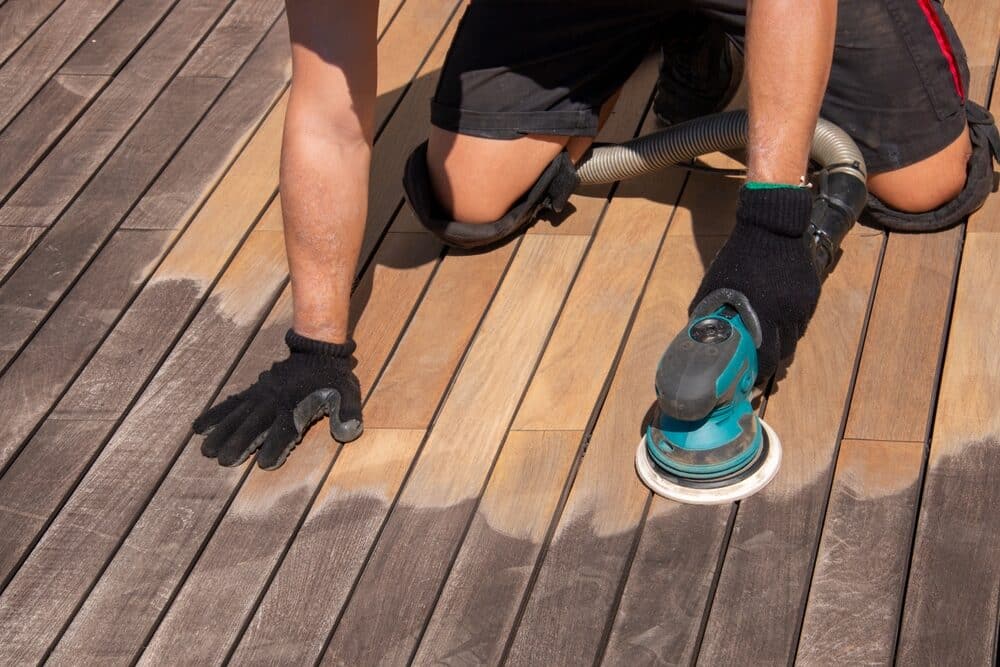
Sanding Techniques
Achieving a smoothly sanded deck requires the right techniques to ensure an even and consistent finish. Here’s a step-by-step guide on how to sand your deck effectively:
1. Proper sanding motion
- Whether you’re using a handheld sander or a larger floor sander, move the tool in the direction of the wood grain. Sanding against the grain can result in uneven and unsightly patterns.
- Overlap each pass by about one-third to ensure a uniform surface. This helps prevent streaks and ensures that you don’t miss any areas.
2. Pressure Control
- Apply even pressure when sanding to avoid creating gouges or uneven surfaces. Let the weight of the sander do most of the work, and avoid pressing down too hard.
- For hand sanding, use a light touch and consistent pressure to maintain an even finish.
3. Change the sandpaper grit gradually
- Start with a coarse-grit sandpaper (40–60) to remove any stubborn coatings or rough patches. Once the surface is more even, transition to a medium grit (80–100) to refine the surface, and finish with a fine grit (120–220) for a smooth finish.
- Change the sandpaper as needed, keeping it sharp, for optimal results. Dull sandpaper can leave scratches.

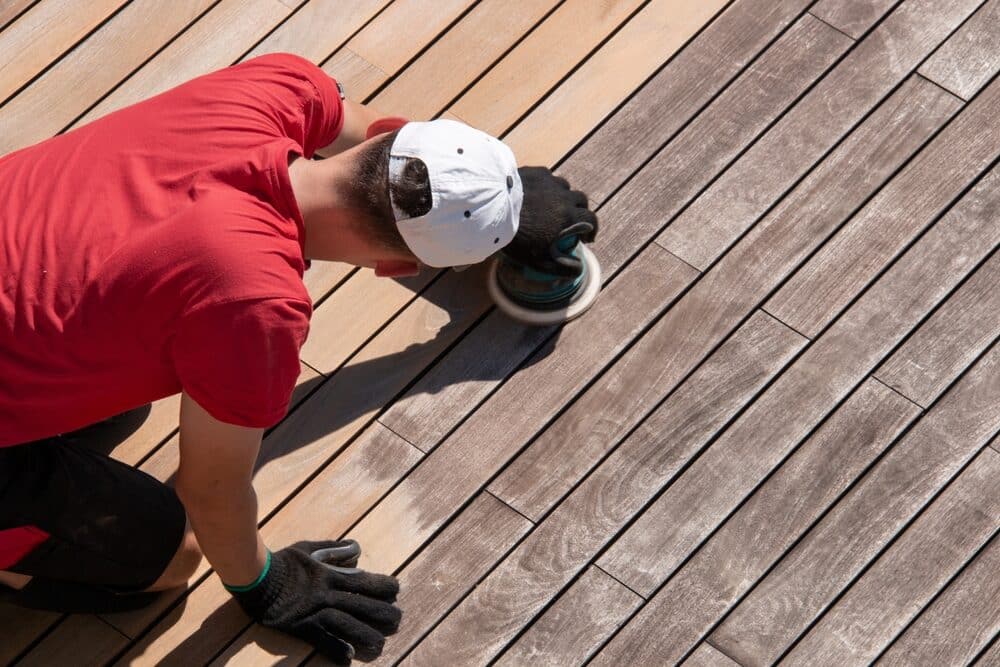
4. Maintain a Consistent Speed
- When using a power sander, maintain a steady, consistent speed as you move across the deck. This prevents uneven sanding and overworking certain areas.
5. Address tough spots carefully
- Pay special attention to areas with heavy damage or stubborn coatings. You may need to spend more time on these spots or use a smaller hand sander for precision.
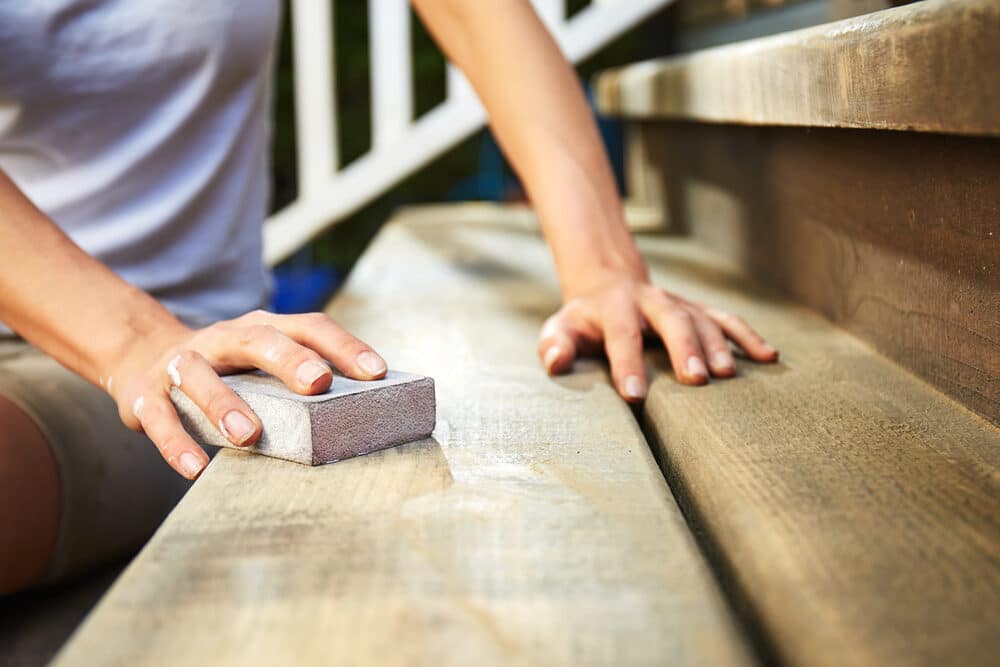
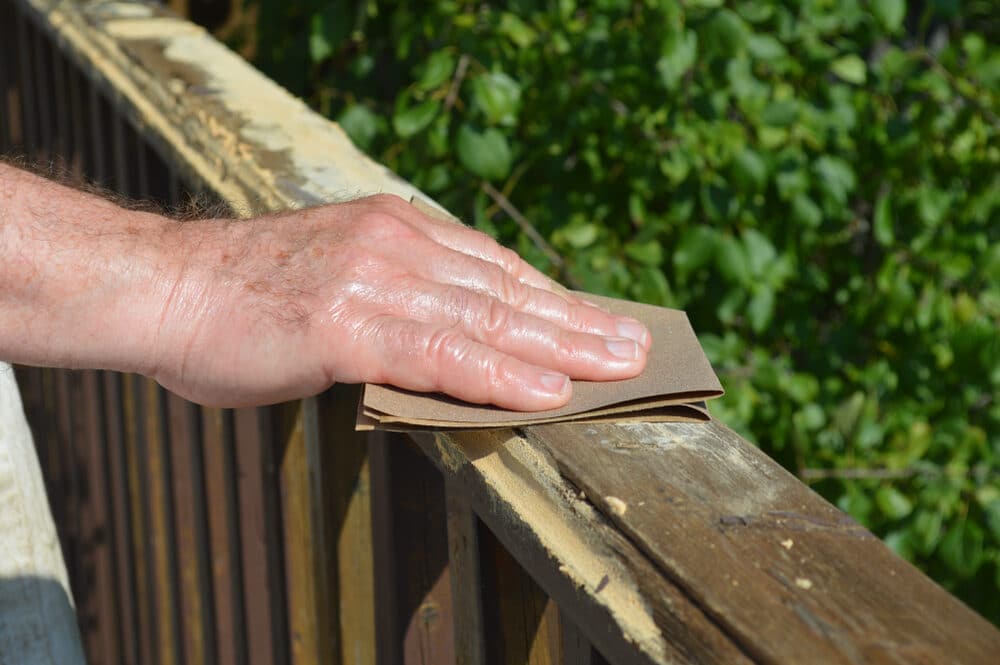
6. Sanding Railings and Edges
- For railings and edges, hand sanding is often the best approach. Use a sanding block or a folded piece of sandpaper to reach these tight and intricate areas.
7. Frequent Inspections
- Periodically stop and inspect your work. Check for any missed spots or areas that may need additional attention. Address these issues promptly to maintain consistency.
8. Clean the surface regularly
- As you sand, dust and debris will accumulate on the surface. Use a broom or a vacuum with a dust collection system to keep the work area clean. A clean surface allows for better visibility and prevents scratches from debris.
9. Work in sections
- When sanding your deck, divide it into manageable sections. This approach ensures that you maintain a consistent sanding pattern and helps prevent fatigue.
10. Final Inspection
- After completing the sanding process, conduct a final inspection to ensure the entire deck has a uniformly smooth and clean surface.
Deck Sanding Step-by-Step
Now that you’ve prepared your deck and learned the essential sanding techniques, let’s walk through the step-by-step process of sanding your large deck effectively:
Step 1: Safety first
- Begin by putting on all necessary safety gear: safety glasses or goggles, ear protection, and a dust mask or respirator.
Step 2: Choose Your Starting Point
- Select a starting point on your deck, ideally at the edge or in a corner. This will be your reference point for the entire sanding process.
Step 3: Begin with Coarse Grit
- If your deck has a previous finish or rough patches, start with coarse-grit sandpaper (40–60 grit) on your sander.
- Sand in the direction of the wood grain, using the proper sanding motion and maintaining consistent pressure. Overlap each pass by one-third.
Step 4: Continue Sanding
- Work your way systematically across the deck, sanding each section completely before moving on. Take your time and be thorough, ensuring you cover all areas evenly.
Step 5: Transition to Medium Grit
- Once the entire deck has been sanded with the coarse grit and the surface is more even, switch to a medium-grit sandpaper (80–100 grit).
- Sand the entire deck again, using the same technique as before. This step refines the surface and removes any remaining imperfections.
Step 6: Finish with Fine Grit
- Finally, switch to a fine-grit sandpaper (120–220 grit) to achieve a smooth, ready-to-finish surface.
- Sand the entire deck once more, ensuring that you maintain a consistent motion and pressure throughout.
Step 7: Sand Edges and Railings
- For railings, tight corners, and edges that the sander couldn’t reach, use hand sanding with a sanding block or folded sandpaper.
- Take your time with these areas to ensure a uniform finish.
Step 8: Frequent inspections
- Periodically stop and inspect your work. Check for any missed spots, rough patches, or areas that may need additional attention. Address these issues promptly.
Step 9: Clean the Surface
- Use a broom or vacuum with a dust collection system to remove dust and debris from the deck surface. This will help you see any remaining imperfections.
Step 10: Final Inspection
- After completing the sanding process and ensuring a uniformly smooth and clean surface, conduct a final inspection of your deck. This step is crucial before moving on to staining and sealing.
Cleaning Up After Sanding
After completing the sanding process for your deck, it’s essential to clean up thoroughly to remove dust and debris, ensuring a clean surface for finishing and sealing. Here’s how to clean up effectively:
1. Collect dust and debris
- Use a broom, dustpan, or leaf blower to gather loose dust and debris from the deck’s surface. Sweep in the direction of the wood grain to avoid pushing debris into gaps or crevices.
2. Vacuum and Dust Collection
- For a more thorough clean and to minimise airborne dust, use a vacuum with a dust collection system or a shop vacuum equipped with a fine dust filter. This is especially useful for large decks.
3. Clean Between Boards
- Use a putty knife or a narrow brush to clean between deck boards, removing any dust or debris that may have accumulated there.
4. Inspect and touch up
- After cleaning, inspect the deck surface for any missed spots, rough patches, or areas that may need additional sanding or cleaning. Address any issues promptly.
5. Dispose of Sanding Waste
- Properly dispose of the collected sanding dust and debris. Do not simply release it into the environment, as it may contain harmful particles.
- Bag the waste securely and dispose of it according to local regulations. Some areas may have specific guidelines for disposing of sand waste.
6. Clean Your Equipment
- If you used power sanding equipment, take the time to clean it thoroughly, removing any dust buildup. Regular maintenance ensures that your tools continue to function optimally.

7. Wipe down railings and edges
- Use a damp cloth or sponge to wipe down railings, posts, and any other vertical surfaces that may have accumulated dust during the sanding process.
8. Prepare for finishing
- Once the deck is clean and free of dust, it’s ready for the finishing steps, which typically include staining and sealing. Make sure the deck is completely dry before proceeding.
9. Dispose of Materials Safely
- Dispose of used sandpaper, used rags, and any other materials responsibly. Some materials may need to be disposed of as hazardous waste, so check local regulations.
10. Store unused materials
- If you have unused sandpaper, sealers, or other materials, store them properly for future use. Ensure that they are tightly sealed and stored in a cool, dry place.
Deck Inspection
After sanding your deck and cleaning up, it’s essential to conduct a thorough inspection to ensure that the surface is smooth, even, and ready for finishing. Here’s how to perform a deck inspection:
1. Check for smoothness
- Run your hand over the entire deck surface to feel for any rough spots, splinters, or imperfections. Pay close attention to areas where the sanding process may not have been as effective.
2. Inspect corners and edges
- Examine the corners, edges, and railing posts for any rough or uneven areas that may need further attention. Use your fingers to feel for inconsistencies.
3. Look for missed spots
- Visually inspect the entire deck to identify any missed spots or sections that may still have old finishes, rough patches, or damage. Mark these areas for touch-up sanding.
4. Check for raised nails or screws
- Ensure that all nails and screws are flush with the deck surface. If you find any that are not seated properly, use a hammer or screwdriver to address them.
5. Address remaining issues
- For any areas that require additional sanding, touch up the surface using the appropriate sandpaper grit. Sand until the problem is resolved and the surface is smooth.
6. Clean the surface again
- After addressing any issues, clean the deck surface once more to remove any dust or debris generated during the inspection and touch-up process.
7. Verify evenness and consistency
- Step back and visually assess the entire deck to ensure that it appears even and consistent. The goal is to have a uniformly smooth surface without visible imperfections.
8. Prepare for finishing
- Once you’re satisfied with the condition of the deck surface, it’s ready for the final steps of finishing and sealing. Ensure that the deck is completely dry before proceeding with these steps.
9. Inspect railings and vertical surfaces
- Don’t forget to inspect the railings, posts, and any other vertical surfaces that may not have received as much attention during the sanding process. Ensure they are smooth and ready for finishing as well.
10. Document any repairs
- If you made any significant repairs during the sanding and inspection process, document them. This record can be valuable for future maintenance and reference.

Staining and Sealing Your Deck
After sanding, cleaning, and inspecting your deck, the next crucial step is staining and sealing. This process enhances the deck’s appearance, protects it from the elements, and extends its lifespan. Here’s how to stain and seal your deck effectively:
Materials and tools you’ll need:
- Deck stain (oil-based or water-based)
- Deck sealer or clear finish (if not included in the stain)
- Paint tray, roller, or paintbrush
- Paint sprayer (optional)
- Stir stick
- Drop cloths or plastic sheeting
- Painter’s tape
- Paintbrush or pad applicator for railings and edges
- Extension pole (for roller or sprayer)
- Rags or brushes for cleaning up spills
- Safety gear (goggles, gloves, and appropriate clothing)
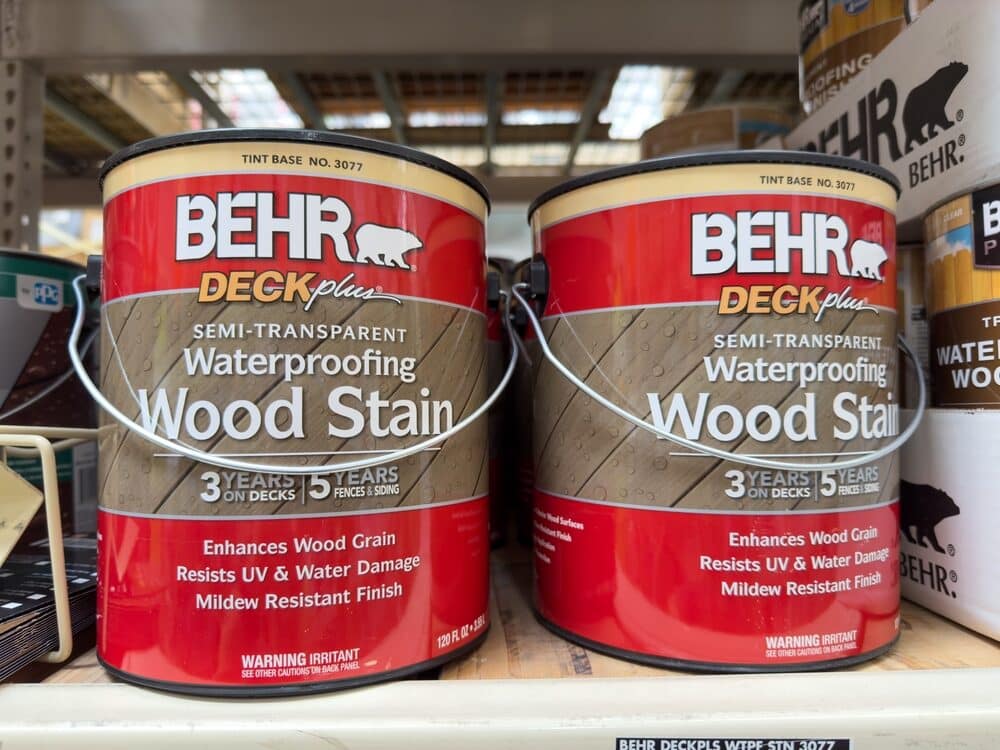
Step 1: Choose the Right Stain and Sealer
- Select a deck stain that suits your aesthetic preferences and the climate in your area. Consider whether you want a transparent, semi-transparent, or solid colour stain.
- Ensure that your stain provides UV protection and is suitable for exterior wood surfaces.
- Some stains include a sealer, while others require a separate sealer or clear finish. Read product labels for guidance.
Step 2: Prepare the deck
- Ensure the deck is clean and dry after the inspection process. Remove any remaining dust, debris, or dirt.
- Use painter’s tape to protect adjacent structures, such as the house siding, and cover plants, railings, and any areas you want to keep stain-free with drop cloths or plastic sheeting.
Step 3: Stir the stain
- Stir the deck stain thoroughly to mix any settled pigments or solids. Follow the manufacturer’s instructions for proper mixing.
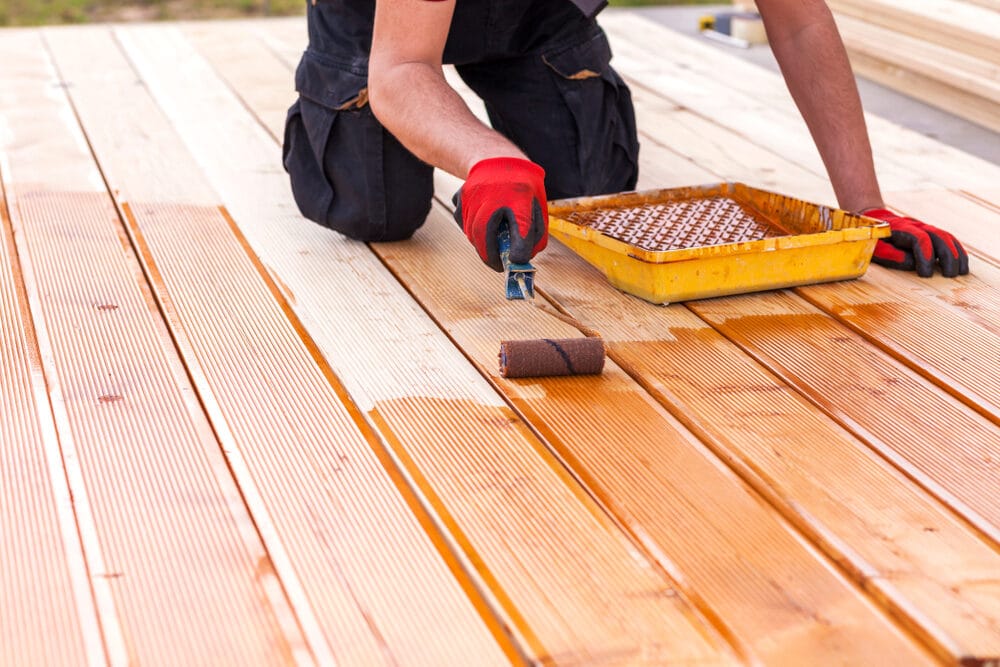
Step 4: Apply the stain
- Start by applying the stain to the deck boards using a roller, paintbrush, or paint sprayer. Work in manageable sections, typically 2-3 boards wide, to maintain a wet edge.
- Apply the stain in the direction of the wood grain, using long, even strokes to ensure an even coat.
- Pay special attention to the end grain of boards, as these areas tend to absorb more stain. Apply additional coats if needed.
- Be careful not to overapply the stain, as excess stain can lead to peeling or flaking.

Step 5: Stain Railings and Edges
- Use a paintbrush, pad applicator, or small roller to stain railings, posts, and any edges that the roller or sprayer couldn’t reach.
- Ensure even coverage, and be mindful of drips and runs.
Step 6: Allow Drying Time
- Follow the manufacturer’s instructions for drying times between coats and before applying the sealer.
- Typically, you’ll need to wait at least 24 hours before sealing the deck.
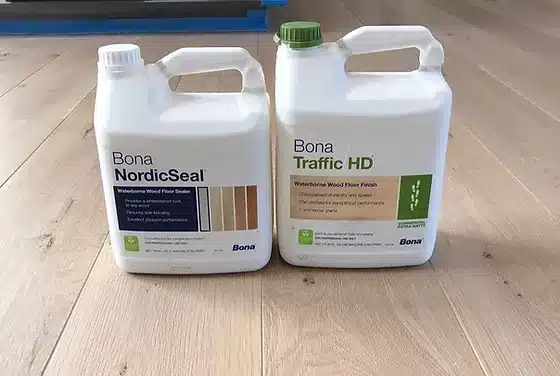
Step 7: Apply the sealer (if separate)
- If your stain doesn’t include a sealer, apply a clear deck sealer or finish to protect the stain and enhance its longevity.
- Use the same application tools and techniques as you did for the stain.
Step 8: Final Inspection
- After allowing sufficient drying time, conduct a final inspection to ensure that the stain and sealer have been applied evenly and have a uniform appearance.
Step 9: Clean Up
- Clean your brushes, rollers, and other tools according to the manufacturer’s instructions. Dispose of any used rags or brushes responsibly.
- Remove painter’s tape and drop cloths carefully.
Step 10: Enjoy Your Newly Finished Deck
- Once the stain and sealer have dried completely, your deck is ready for enjoyment. Reinstall furniture and decor to create a welcoming outdoor space.
Regular maintenance, including re-staining and sealing as needed, will help protect your deck and keep it looking beautiful for years to come.

Maintenance Tips for Your Deck
Maintaining your newly sanded, stained, and sealed deck is essential to preserving its beauty and longevity. Here are some valuable maintenance tips to keep your deck in top condition:
1. Regular Cleaning
- Clean your deck regularly to remove dirt, debris, leaves, and other materials. Use a broom, leaf blower, or hose with a spray attachment to keep it clean.
- Consider using a deck brush with a mild detergent or a specialised deck cleaner for a more thorough cleaning. Scrub away mould, mildew, and stubborn stains as needed.
2. Inspect for damage
- Periodically inspect your deck for signs of wear and damage, such as loose boards, protruding nails or screws, and splinters. Address any issues promptly to prevent further damage.
3. Reapply stain and sealer
- Stains and sealers gradually wear away due to exposure to the elements. Keep an eye on the condition of your deck’s finish.
- Depending on the product used and your climate, you may need to reapply stain and sealer every 1–3 years. Follow the manufacturer’s recommendations for reapplication.
4. Protect wood from moisture
- Ensure that your deck is properly pitched away from your house to prevent water from pooling. Proper drainage can help extend the life of your deck.
- Avoid placing potted plants directly on the deck, as they can trap moisture and promote rot. Use saucers or elevated planters.
5. Trim Vegetation
- Trim nearby trees and bushes to prevent branches and leaves from touching the deck. This can reduce the risk of mould, mildew, and debris buildup.
6. Regularly tighten fasteners
- Check screws and nails periodically to ensure they are tight. Loose fasteners can cause boards to warp and become unstable.
7. Remove snow and ice
- In cold climates, promptly remove snow and ice from your deck to prevent moisture damage and reduce the risk of slips and falls.
8. Protect Against UV Rays
- Consider using outdoor rugs or furniture pads to protect your deck from the sun’s UV rays, which can cause fading and discoloration over time.
9. Inspect for pest infestations
- Check for signs of pest infestations, such as termites or carpenter ants. If you suspect an issue, consult a pest control professional for guidance.
10. Annual Spring and Fall Maintenance
- Perform a more thorough inspection and maintenance routine in the spring and fall. This can include reapplying stain and sealer, tightening fasteners, and addressing any winter-related damage.
11. Keep Gutters Clean
- Ensure that your home’s gutters and downspouts are functioning correctly to prevent water from overflowing onto the deck, which can cause water damage.
12. Store outdoor furniture and grills properly
- During the offseason, store outdoor furniture, grills, and other items in a dry, covered area to protect them and your deck from unnecessary wear and tear.
Conclusion
Congratulations! You’ve successfully learned how to transform your outdoor space by sanding your deck, staining, and sealing your large deck. With the right tools, techniques, and a bit of dedication, you’ve embarked on a journey that will not only enhance the beauty of your deck but also extend its lifespan.
By following these steps and tips, you’ve not only enhanced your deck’s aesthetics but also its durability, making it a welcoming outdoor haven for relaxation, gatherings, and countless enjoyable moments. Remember that proper maintenance is key to preserving your investment, so continue to care for your deck with regular cleaning, inspections, and reapplication of stain and sealer as needed.
Thank you for joining us on this journey of deck transformation. We hope your newly sanded, stained, and sealed deck becomes a cherished space where you create lasting memories with family and friends for years to come. Enjoy your outdoor oasis!


Sanding
We provide virtually dust-free sanding with our continuous belt machinery with mobile extraction units, giving you a safer environment for your family.
Oiling
This organic finish not only adds beauty to your home but also has exceptional water-repellent characteristics, making it easier to clean and maintain.
Waxing
This natural floor finish offers the softest and most mellow appearance – and leaves your floor able to breath.
Buffing
Using soft buffing machines (and hand-polishing where required) will bring a wonderful sheen to your newly-finished floor.
Repairs
We offer a full assessment of your wooden floors to determine what repairs are needed to provide the perfect working surface for the later stages of sanding, staining and sealing.
Restoration
We offer a comprehensive restoration process designed to address floors that are improperly fitted or damaged over time through wear and tear.
Request a fixed price quote for your wood floor restoration now
Simply enter your postcode below to get started.
Services
Wood Floor Sanding Wood Floor Restoration Wood Floor Scratch Repair Squeaky Wood Floor Repair Parquet Floor Sanding Parquet Floor Restoration Commercial Floor Sanding Church Floor Sanding Community Centre Floor Sanding School Floor Sanding Gap Filling Gap Filling with ResinCopyright © Mr Sander®
Privacy & Cookies Terms & Conditions Complaints Procedure Cancellation Rights Sitemap

Get An Instant Price Estimate Before You Go…
Simply enter the rooms you need sanded and we’ll provide you with a price estimate instantly! Try our price calculator now.
Get a Price Estimate NowLocal Floor Sanding Experts
Over 500 5-Star Reviews
Safe, Dust Free Sanding
Operating Since 1994