London:
Nationwide:
25,000+
Floors Restored
27 Years Experience
Wood Flooring Association Certified
Choosing the Right Sandpaper Grit for Deck Sanding
Posted on January 16, 2024
Deck Sanding
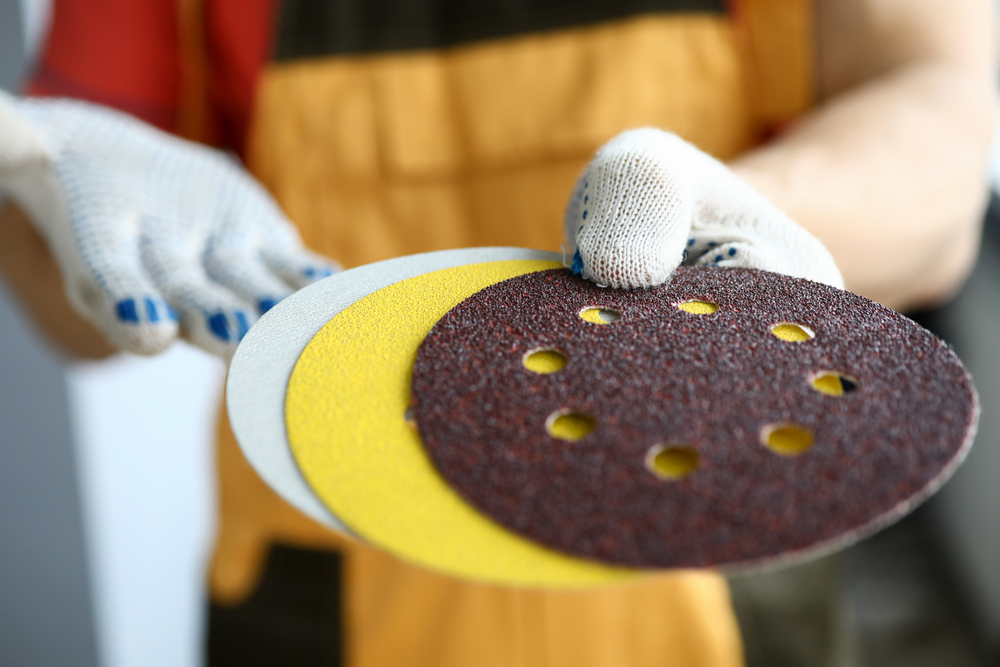
Selecting the Proper Sandpaper Grit for Deck Sanding: A Complete Guide
When it comes to giving your deck a fresh lease on life, deck sanding is an essential step in the process. Whether you’re looking to restore your deck its natural beauty, prepare it for a fresh coat of finish, or simply maintain its appearance, choosing the right sandpaper grit is the cornerstone of a successful deck sanding project.
Decks are outdoor havens where we unwind, entertain, and create lasting memories. Over time, they can be exposed to the elements, foot traffic, and wear and tear, which can leave them weathered, rough, and in need of some TLC. But before you start reviving your deck, it’s crucial to understand the ins and outs of sandpaper grit to ensure you achieve the desired results efficiently and effectively.
In this comprehensive guide, we’ll walk you through the world of sandpaper grit, helping you navigate the choices and make informed decisions for your deck sanding project. Whether you’re a seasoned DIY enthusiast or a first-time deck renovator, you’ll find valuable insights, tips, and techniques to bring your outdoor space back to life. So, let’s dive in and discover the secrets to choosing the right sandpaper grit for deck sanding. Your deck’s transformation begins here.
Understanding Sandpaper Grit
Before you embark on your deck sanding journey, it’s essential to have a solid grasp of what sandpaper grit is and how it plays a pivotal role in achieving your desired results. Sandpaper grit refers to the coarseness or fineness of the abrasive particles embedded on the paper’s surface. It determines how aggressively the sandpaper will remove material and the type of finish it will leave behind. Let’s delve deeper into this crucial aspect of sanding:
What Is Sandpaper Grit?
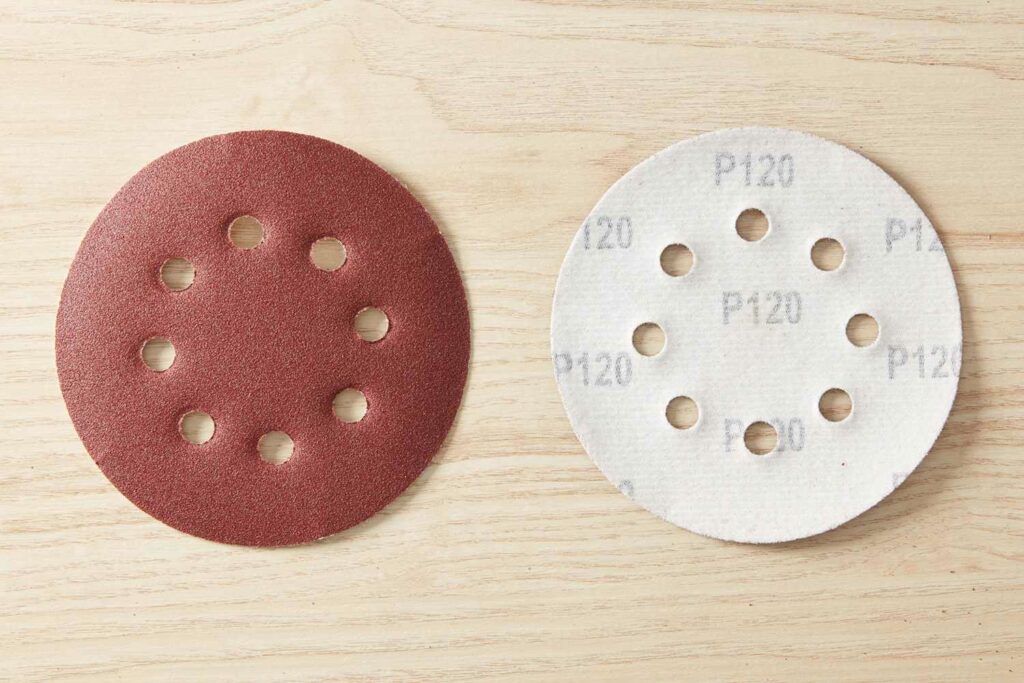
- Sandpaper grit is typically represented by a number, which indicates the size of the abrasive particles on the paper’s surface. The lower the number, the coarser the grit, while higher numbers represent finer grit.
- Grit numbers are standardised, making it easier for you to select the right sandpaper for your specific needs.
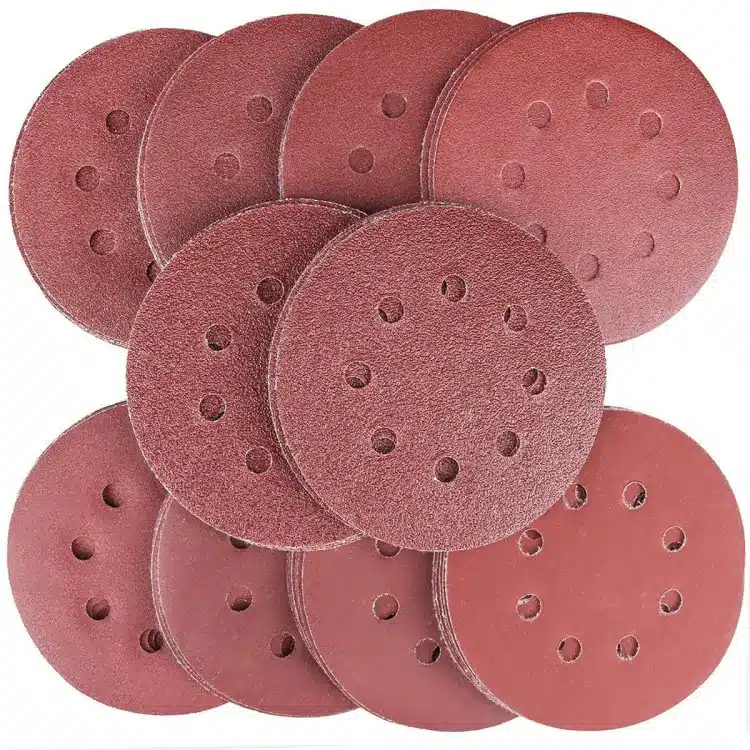
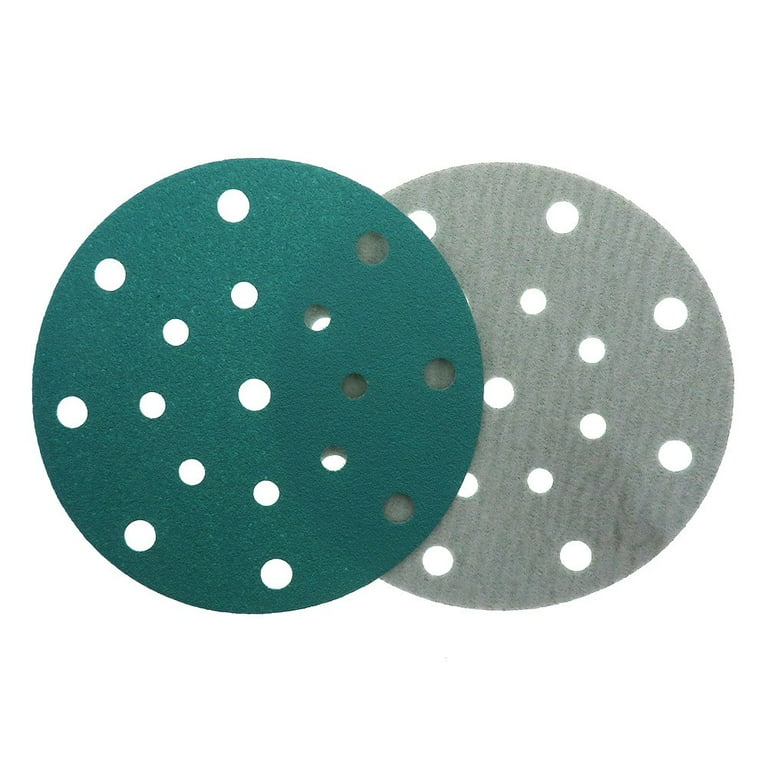
Different Types of Sandpaper:
- Sandpaper comes in various types, including aluminium oxide, silicon carbide, and garnet, each with its own unique properties.
- Aluminium oxide is the most commonly used type for deck sanding due to its versatility and durability.
Understanding these basics is crucial when choosing sandpaper for your deck sanding project. The right grit size will depend on factors such as your deck’s material, condition, and your overall project goals. Let’s explore these factors in more detail in the next section.
Factors to consider
Selecting the right sandpaper grit for your deck sanding project isn’t a one-size-fits-all decision. Several crucial factors come into play, each influencing your choice of grit. Let’s take a closer look at these factors to ensure you make an informed decision:
1. Deck Material
- The type of wood or material your deck is made of plays a significant role in grit selection.
- Hardwoods like oak or mahogany may require a different grit compared to softwoods like pine or cedar.
- Composite decking materials may have specific recommendations from the manufacturer.
2. Deck Condition
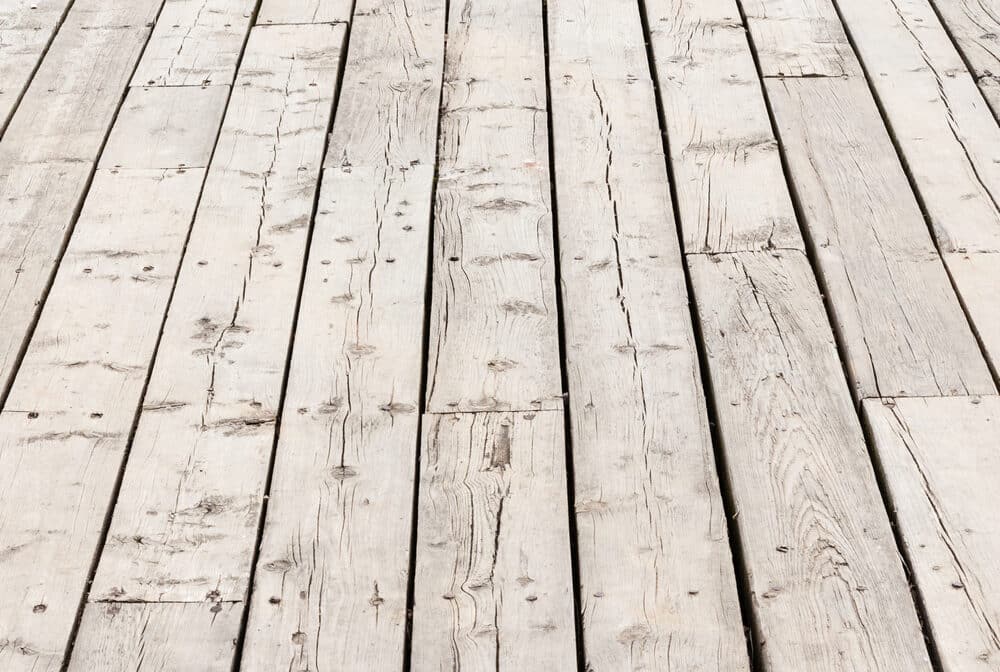
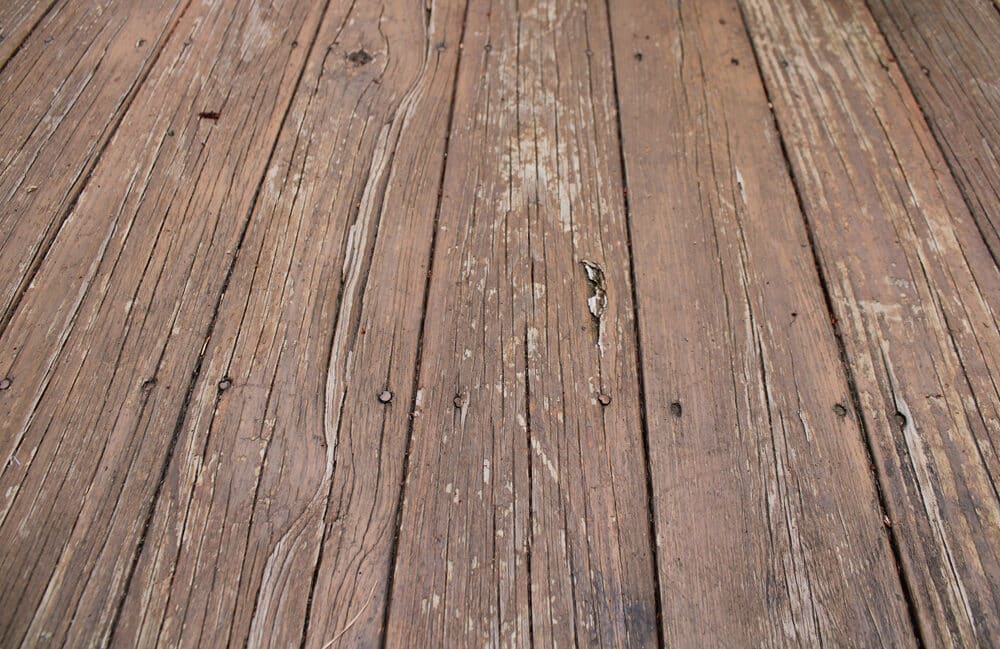
- The current state of your deck matters. Is it severely weathered, with rough surfaces and deep gouges, or just in need of a light refresh?
- Heavy damage or weathering may necessitate starting with a coarser grit, while a well-maintained deck may require a finer grit for a smooth finish.
3. Project Goals
- What do you aim to achieve with your deck-sanding project?
- If you’re preparing the surface for a new finish or stain, you’ll want to follow a different sanding regimen compared to a full restoration.
4. Personal Skill and Comfort Level
- Consider your experience level with sanding and the equipment you’ll be using.
- Coarser grits are more aggressive and may require more skill to avoid over-sanding, while finer grits are more forgiving but may take longer to achieve results.
5. Time and patience
- Finer grits produce smoother results but require more time and patience.
- Coarser grits work faster but may leave a rougher surface that requires additional sanding with finer grits.

By taking these factors into account, you’ll be better equipped to make an informed decision when it comes to choosing the right sandpaper grit for your deck sanding project. In the following sections, we’ll explore common grit sizes and provide guidance on selecting the appropriate grit for different stages of your deck renovation.
Common Grit Sizes
Sandpaper comes in a wide range of grit sizes, each designed for specific tasks and applications. Understanding these common grit sizes is essential for choosing the right sandpaper for your deck sanding project. Here’s an overview of the grit sizes you’re likely to encounter:
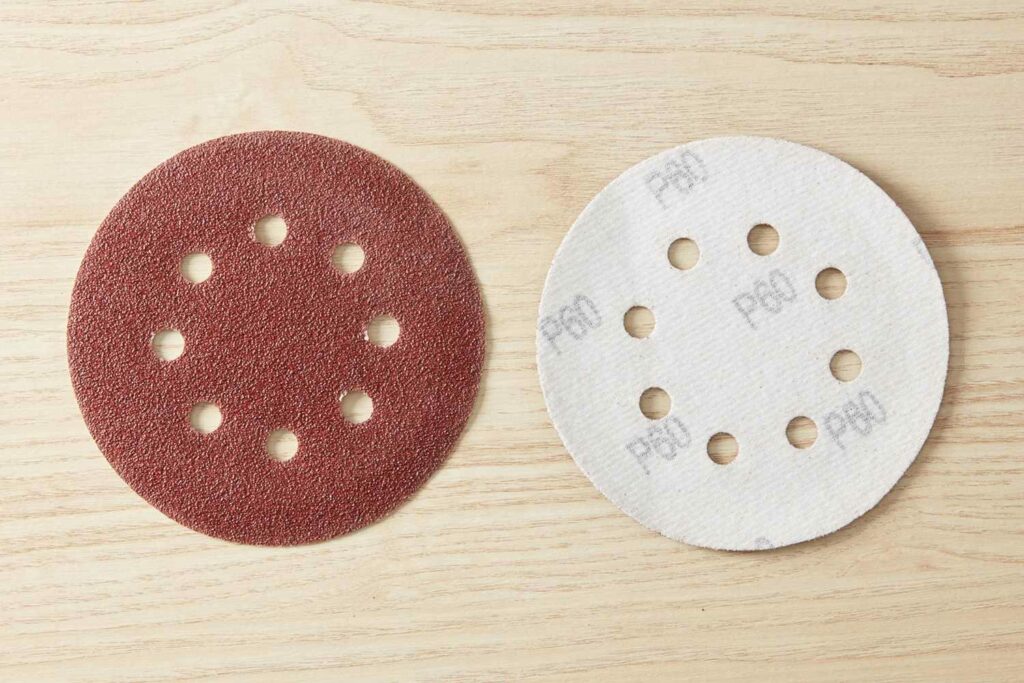
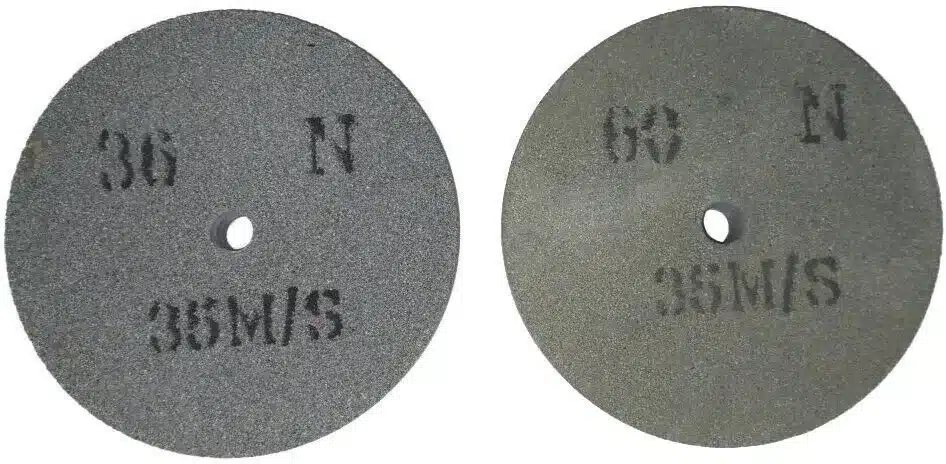
1. Coarse Grits (36–60)
- Grits in the range of 36 to 60 are considered coarse.
- These grits are highly abrasive and are suitable for heavy material removal.
- Use coarse grits when dealing with severely weathered or damaged decks or when you need to remove old finishes quickly.
2. Medium Grits (80–120)
- Medium grits, typically ranging from 80 to 120, strike a balance between material removal and surface smoothing.
- They are ideal for intermediate sanding steps, such as removing scratches left by coarser grits or preparing the deck for a new finish.
3. Fine Grits (150–240)
- Grits in the range of 150 to 240 are considered fine and are used for finishing and smoothing surfaces.
- These grits are perfect for achieving a smooth, even deck surface and preparing it for staining or sealing.
4. Extra Fine Grits (320+)
- Extra-fine grits, typically above 320, are used for final finishing and achieving a polished appearance.
- They are excellent for removing fine imperfections and creating a velvety-smooth deck surface.
Selecting the appropriate grit size depends on the condition of your deck and your project goals. For instance, if your deck is in relatively good shape and you plan to apply a new finish, you may start with a medium grit (e.g., 80) and progress to a fine grit (e.g., 150) for a smooth surface. However, if your deck is heavily weathered and requires significant material removal, you might begin with a coarse grit (e.g., 36) before transitioning to a medium grit.
Selecting the Right Grit for Your Deck
Now that you have a good understanding of sandpaper grit and the factors to consider, let’s delve into the practical aspect of choosing the right grit for your deck sanding project. The appropriate grit size will depend on the specific stage of your project and your overall goals.

1. Initial Sanding
- If your deck is in rough shape with deep stains, old finishes, or extensive weathering, start with a coarse grit, typically in the range of 36 to 60.
- Coarse grits will quickly remove surface imperfections and damaged layers, providing a fresh canvas for further sanding.
2. Between Coats
- If you’re sanding between coats of finish or stain to achieve a smooth and even surface, opt for a medium grit, such as 80 to 120.
- Medium grits are effective at removing minor imperfections and levelling the surface for a new finish.
3. Final Finish
- For the final sanding pass to achieve a beautifully smooth and polished deck surface, switch to a fine grit, typically in the range of 150 to 240.
- Fine grits will remove any remaining fine scratches and leave your deck ready for staining, sealing, or painting.
Remember that it’s often necessary to progress through different grit sizes gradually. Start with the coarsest grit needed to accomplish your initial goal, and then move to finer grits as you progress through the sanding process. This gradual approach ensures that you achieve the best results without over-sanding or damaging the wood.
Additionally, keep in mind that some projects may require an extra-fine grit (above 320) for an exceptionally smooth and refined finish, such as when working on high-end furniture or decks with high aesthetic standards.
Always pay attention to the manufacturer’s recommendations on the sandpaper packaging, and experiment with different grits on a small, inconspicuous area of your deck to determine the best approach for your specific project. By selecting the right grit at each stage, you’ll be well on your way to transforming your deck into a stunning outdoor space.
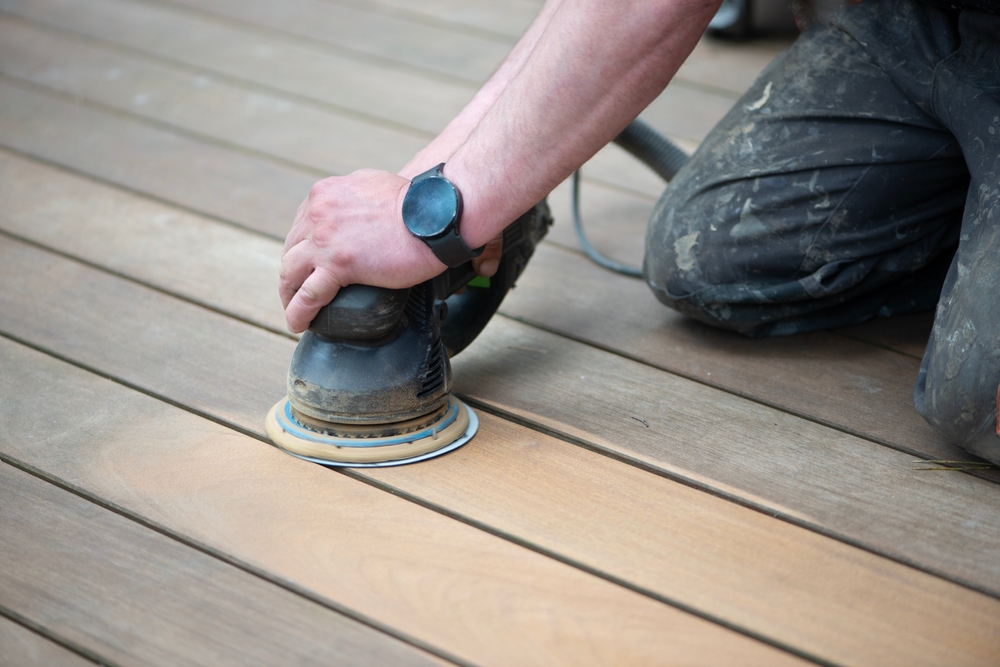
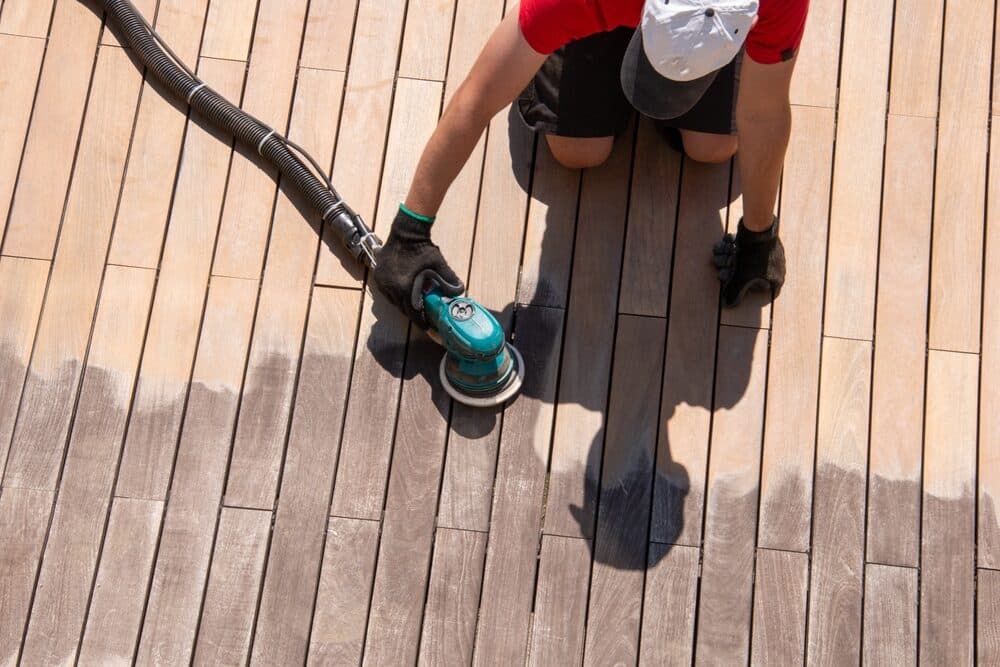
Step-by-Step Deck Sanding Guide
A well-executed deck sanding project can transform the look and feel of your outdoor space. Follow these steps to achieve a beautifully sanded deck that’s ready for staining, sealing, or painting:
Step 1: Safety first
Before you start sanding, ensure your safety.
- Put on safety glasses, a dust mask or respirator, and hearing protection if using noisy power sanders.
- Make sure your work area is well-ventilated.
- Check for any protruding nails or screws on the deck’s surface and secure or remove them to avoid accidents.

Step 2: Prepare the deck
Prepare your deck for sanding.
- Remove all furniture, plants, and obstacles from the deck to create a clear workspace.
- Inspect the deck for any loose or raised deck boards. Secure or replace them to ensure a stable surface.
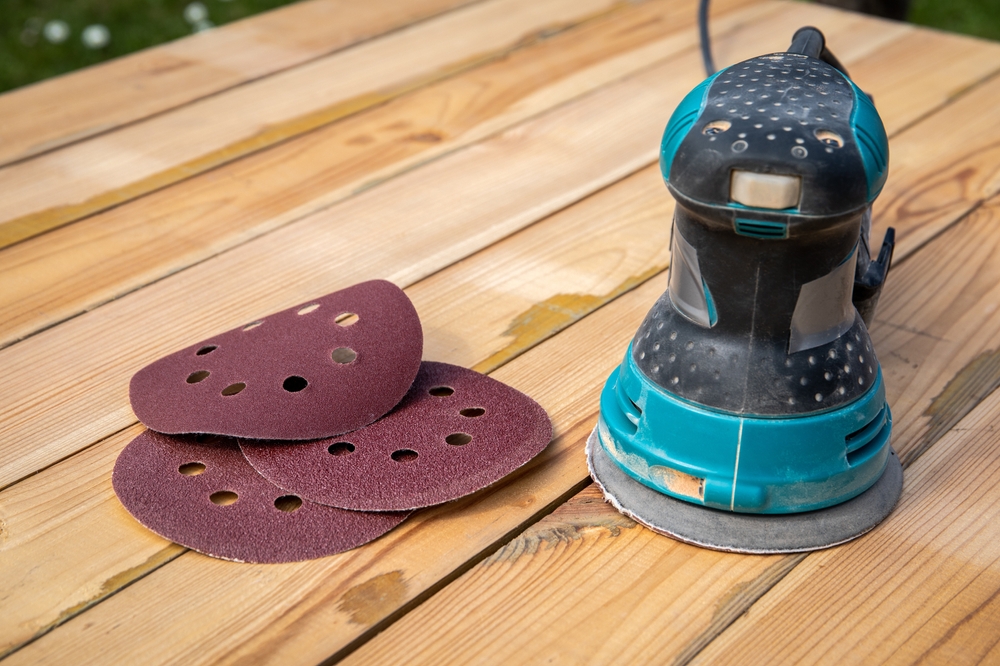
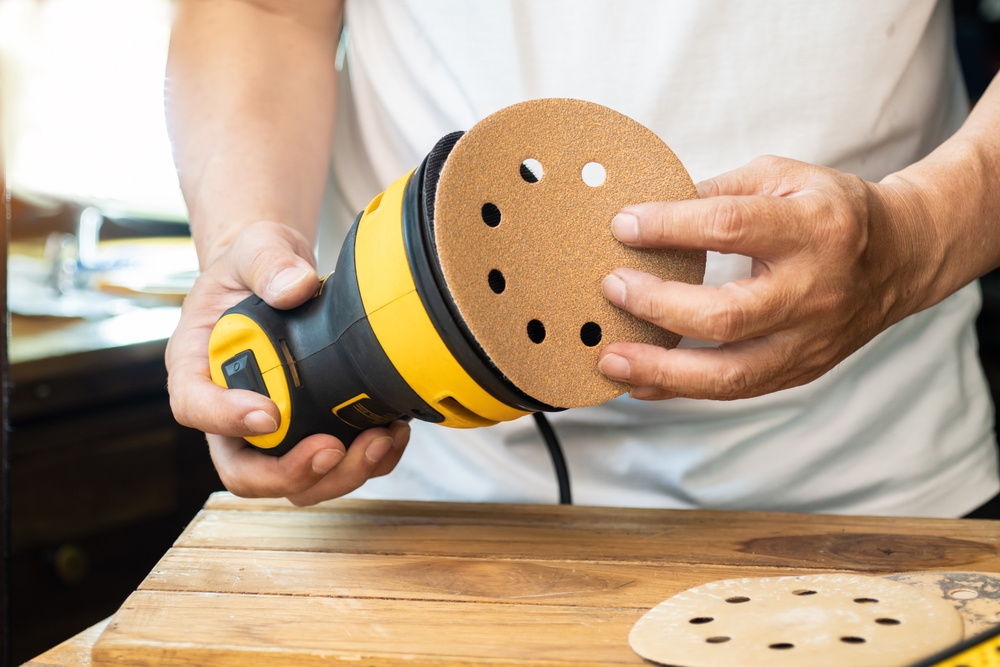
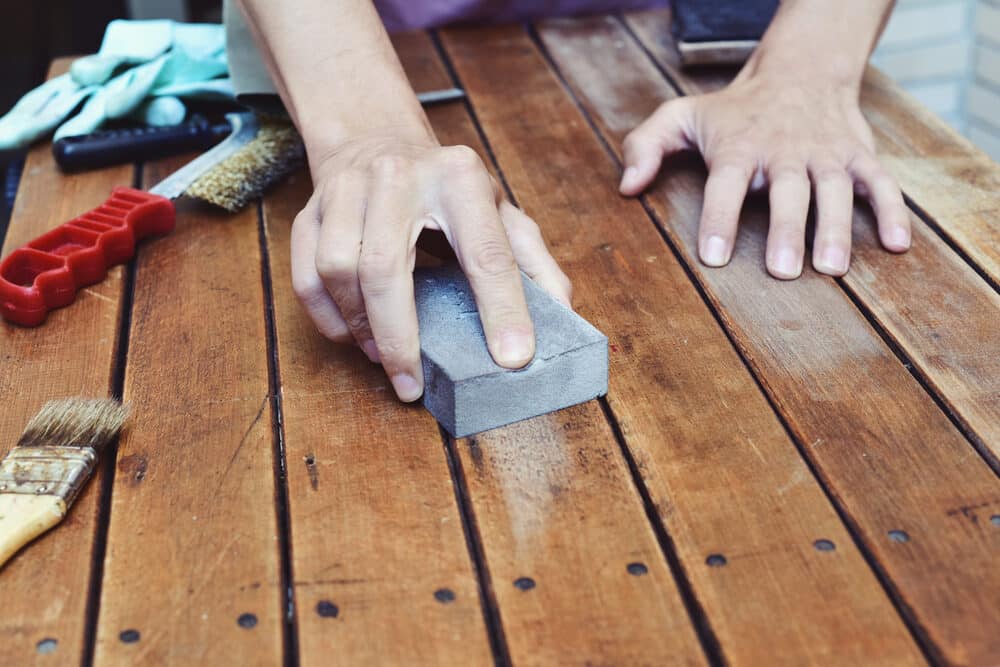
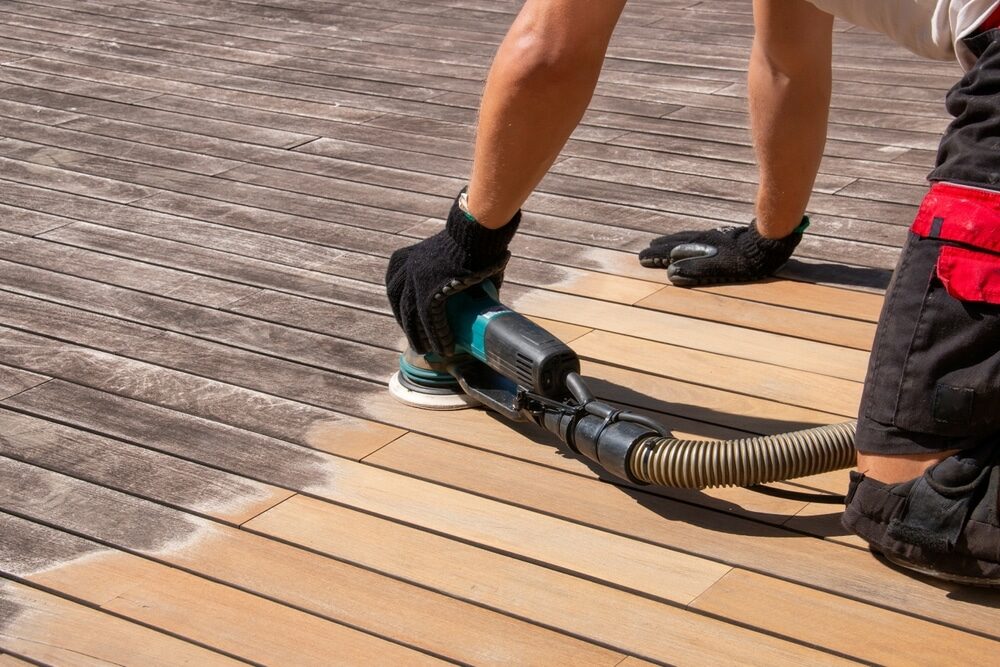
Step 3: Gather Your Materials
Gather the necessary materials and tools.
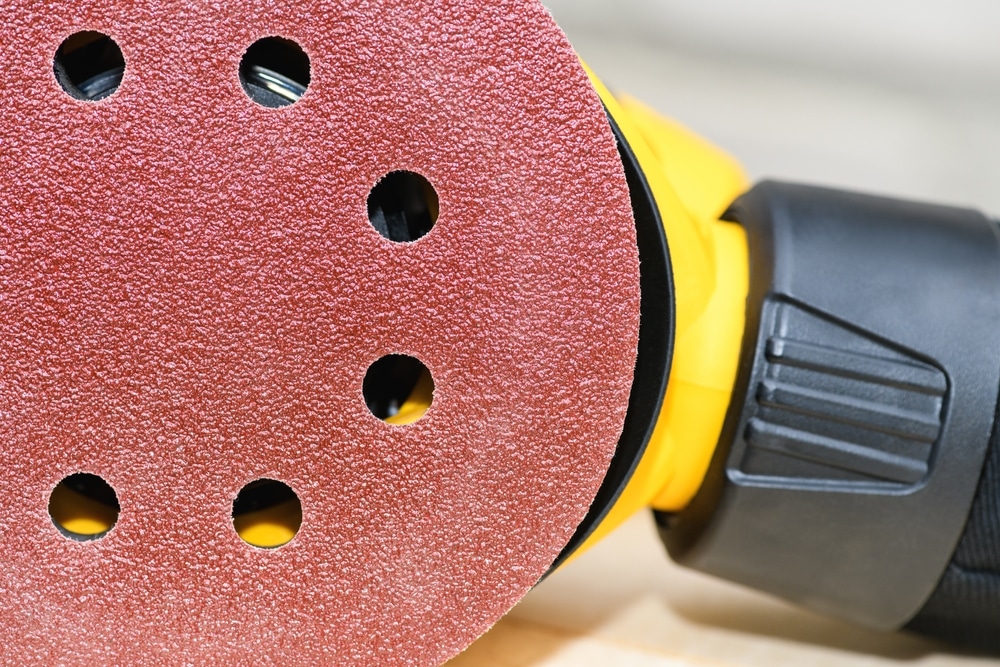
- Sandpaper or sanding discs in appropriate grits (as discussed in previous sections).
- A sanding block or hand sander for edges and corners.
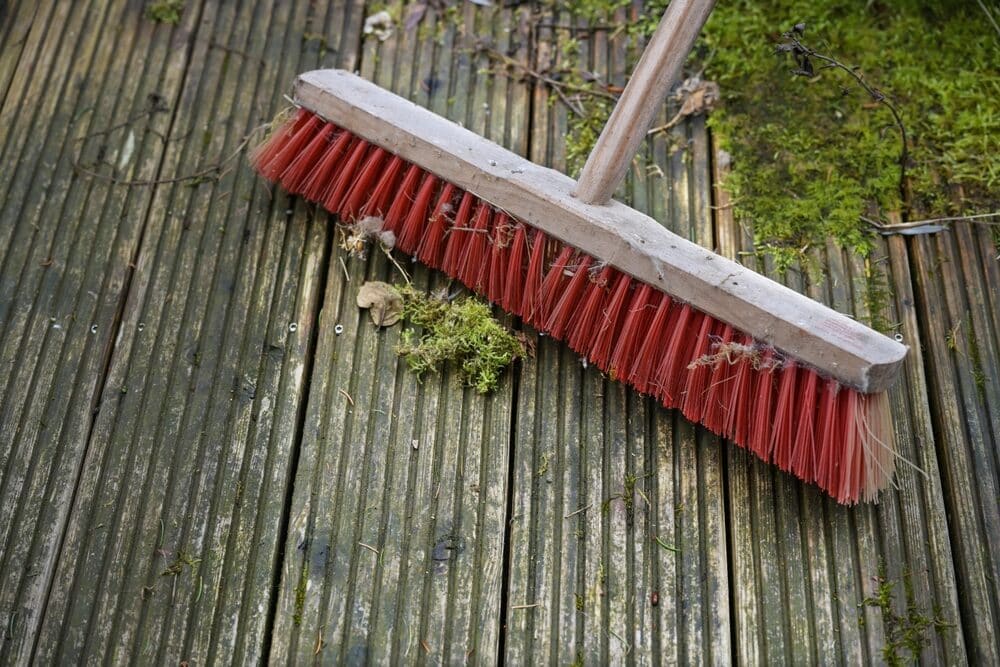
- Power sander (optional but helpful for larger decks).
- broom or leaf blower to remove loose debris.

Step 4: Test the Grit
Before diving in, perform a test sanding in an inconspicuous area of the deck.
- Use the selected grit to sand a small section and evaluate the results.
- Ensure the grit is effective for your deck’s condition and wood type.
- Adjust your grit choice if needed based on the test.
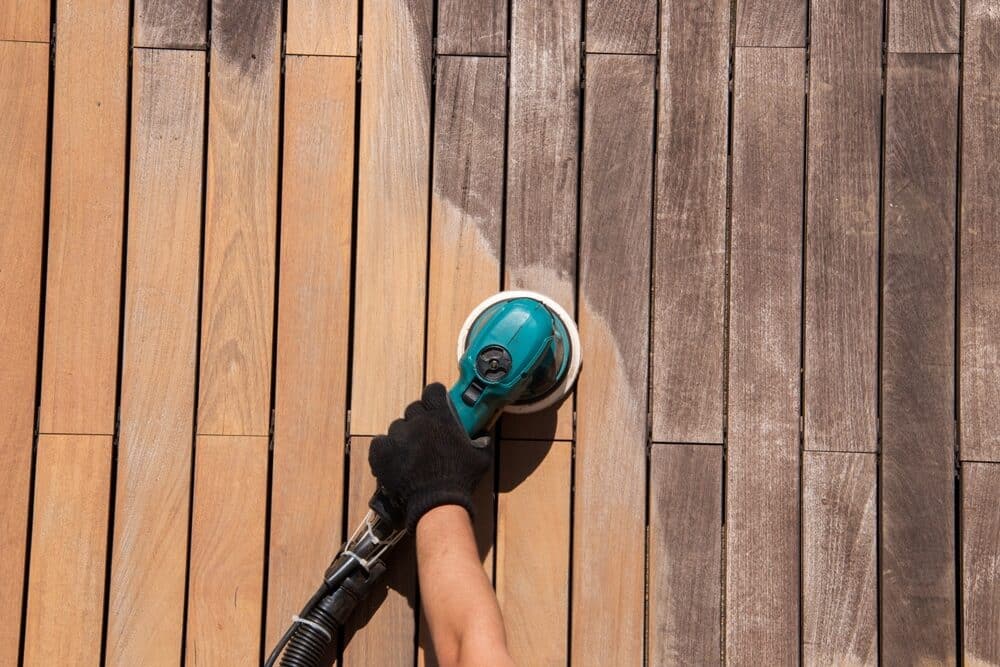
Step 5: Sand Along the Grain
Begin sanding, always following the direction of the wood grain.
- Use long, even strokes, overlapping each pass slightly, for consistent results.
- Avoid sanding against the grain, as this can cause scratches and uneven surfaces.

Step 6: Start with Coarse Grit
If your deck is in rough shape, start with a coarse grit (e.g., 36 to 60):
- Focus on removing surface imperfections, old finishes, and deep stains.
- Continue sanding until you’ve achieved a relatively even surface.
Step 7: Transition to Medium Grit
Switch to a medium grit (e.g., 80 to 120) for the next sanding pass:
- This step helps remove scratches from the coarse grit and prepares the deck for a new finish.
- Sand until the deck surface feels smooth and uniform.
Step 8: Finish with Fine Grit
For the final pass, use a fine grit (e.g., 150 to 240) for a polished appearance.
- This step removes any remaining fine imperfections and leaves the deck surface ready for staining or sealing.
- Sand until you achieve the desired level of smoothness.
Step 9: Edge Sanding
Don’t forget to sand the edges and corners of your deck.
- Use a hand sander or sandpaper wrapped around a block for precise control.
- Ensure these areas match the smoothness of the main deck surface.

Step 10: Remove Dust
Regularly clean the sanding dust from the deck surface.
- Use a vacuum or a tack cloth to remove dust before progressing to finer grits or applying a finish.
Step 11: Apply and Finish
After sanding, apply your chosen finish, stain, sealer, or paint promptly.
- Follow the manufacturer’s instructions for the product you’re using.
- Allow sufficient drying time before using the deck.

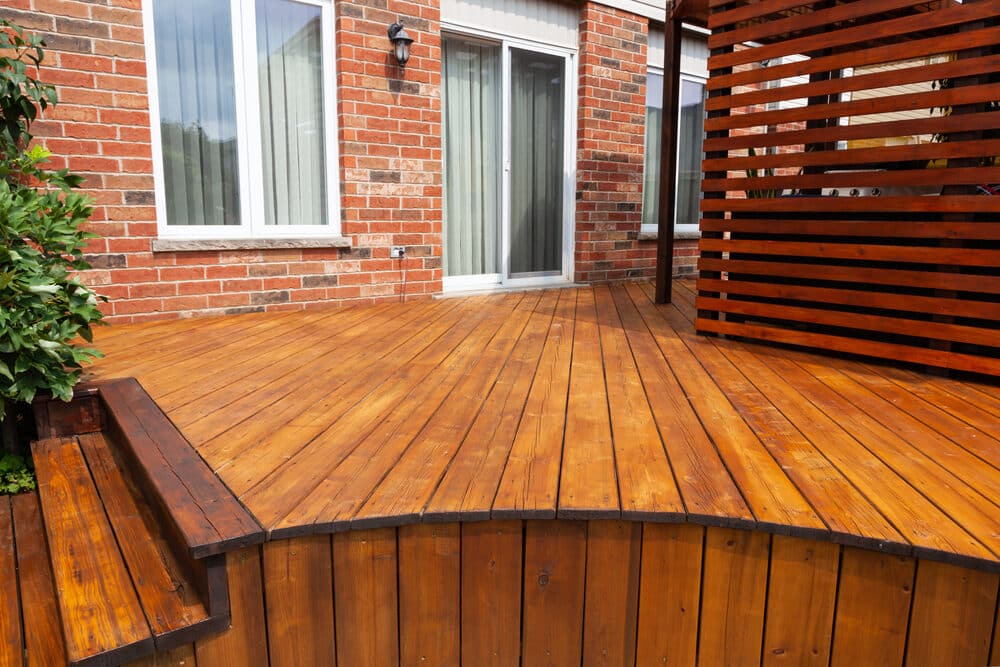
Conclusion
Congratulations! You’ve reached the end of our comprehensive guide on choosing the right sandpaper grit for deck sanding. We’ve explored the essential aspects of this important task, from understanding sandpaper grit to selecting the appropriate grit for various stages of your project. Armed with this knowledge, you’re well-equipped to transform your deck into a stunning outdoor oasis.
Remember that the key to a successful deck sanding project lies in careful planning, attention to detail, and the right choice of sandpaper grit. By considering factors such as your deck’s material, condition, and project goals, you can make informed decisions that lead to outstanding results.
Throughout your deck sanding journey, prioritise safety, maintain your equipment, and follow the best practices we’ve provided. With each pass of the sandpaper, you’re not only rejuvenating your deck’s appearance but also extending its lifespan and enhancing its durability.
Whether you’re a seasoned DIY enthusiast or embarking on your first deck renovation, take your time and enjoy the process. Deck sanding is a transformative endeavour that can breathe new life into your outdoor space and provide a beautiful backdrop for countless moments of relaxation and enjoyment.
So, roll up your sleeves, gather your materials, and let your deck shine once again. With the right sandpaper grit and a touch of patience, your deck will be a source of pride and a comfortable retreat for years to come. Happy sanding!

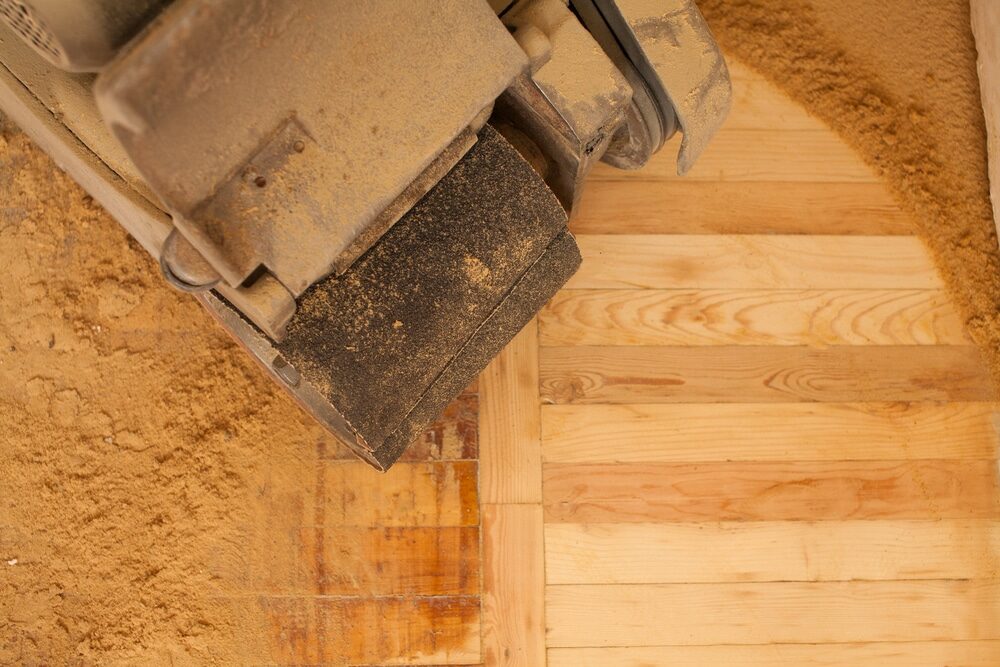
Sanding
We provide virtually dust-free sanding with our continuous belt machinery with mobile extraction units, giving you a safer environment for your family.
Oiling
This organic finish not only adds beauty to your home but also has exceptional water-repellent characteristics, making it easier to clean and maintain.
Waxing
This natural floor finish offers the softest and most mellow appearance – and leaves your floor able to breath.
Buffing
Using soft buffing machines (and hand-polishing where required) will bring a wonderful sheen to your newly-finished floor.
Repairs
We offer a full assessment of your wooden floors to determine what repairs are needed to provide the perfect working surface for the later stages of sanding, staining and sealing.
Restoration
We offer a comprehensive restoration process designed to address floors that are improperly fitted or damaged over time through wear and tear.
Request a fixed price quote for your wood floor restoration now
Simply enter your postcode below to get started.
Services
Wood Floor Sanding Wood Floor Restoration Wood Floor Scratch Repair Squeaky Wood Floor Repair Parquet Floor Sanding Parquet Floor Restoration Commercial Floor Sanding Church Floor Sanding Community Centre Floor Sanding School Floor Sanding Gap Filling Gap Filling with ResinCopyright © Mr Sander®
Privacy & Cookies Terms & Conditions Complaints Procedure Cancellation Rights Sitemap

Get An Instant Price Estimate Before You Go…
Simply enter the rooms you need sanded and we’ll provide you with a price estimate instantly! Try our price calculator now.
Get a Price Estimate NowLocal Floor Sanding Experts
Over 500 5-Star Reviews
Safe, Dust Free Sanding
Operating Since 1994