London:
Nationwide:
25,000+
Floors Restored
27 Years Experience
Wood Flooring Association Certified
Speedy Deck Painting: The Quickest Methods
Posted on January 9, 2024
Deck Maintenance
Speedy Deck Painting: Master the Quickest and Most Effective Methods
Welcome to our comprehensive guide on “Speedy Deck Painting: The Quickest Methods.” Whether you’re a DIY enthusiast looking to give your deck a fresh look over the weekend or a professional painter seeking efficient techniques to streamline your work, this post is tailored for you.
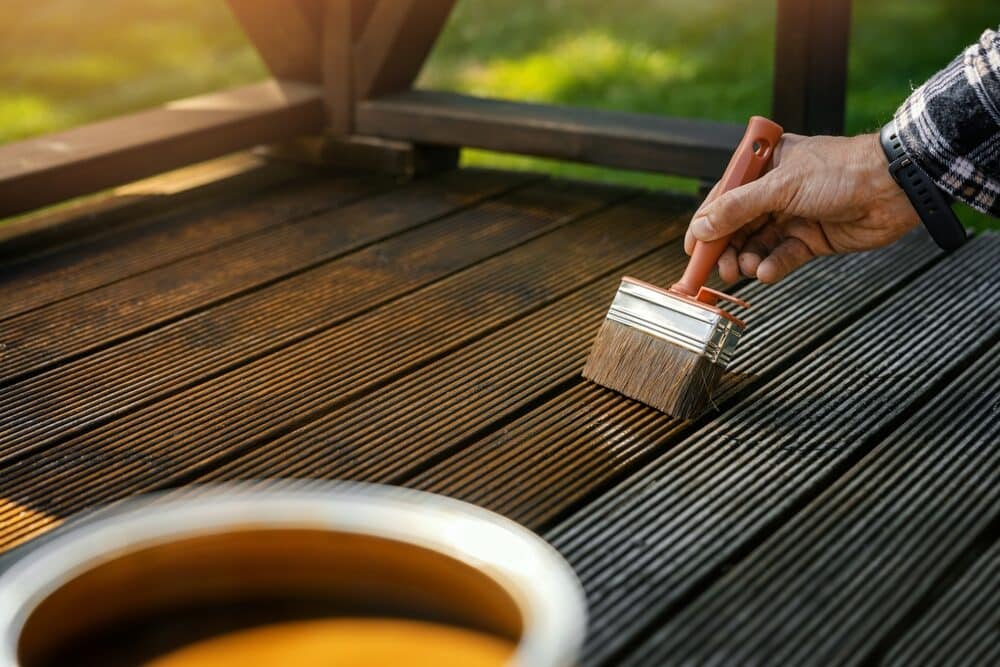
Deck painting can be a time-consuming task, but it doesn’t have to be. With the right approach and tools, you can transform your deck quickly and effectively, ensuring both beauty and longevity. In this guide, we’ll dive into the essentials of rapid deck painting, covering everything from the selection of materials to the application process.
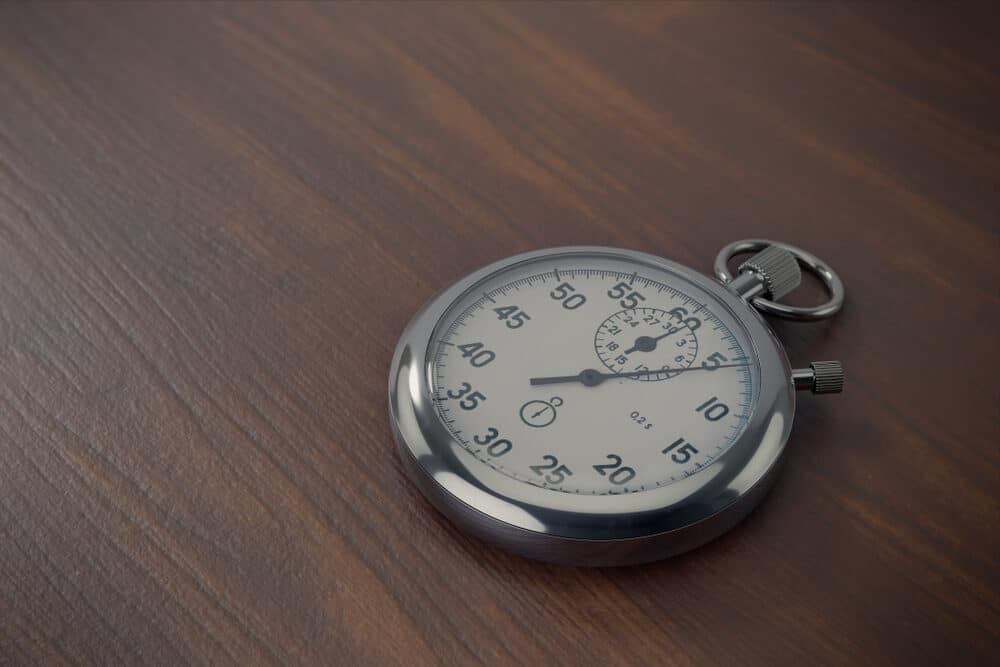
Understanding the importance of time in deck renovation projects is crucial. A deck is not just a part of your home’s exterior; it’s a space for relaxation and entertainment. The quicker you can complete the painting, the sooner you can get back to enjoying your outdoor space. However, speed should never compromise quality. That’s why we’ll balance our focus on efficiency with tips for achieving a durable and visually appealing finish.
In the following sections, we will outline key strategies for preparation, discuss the pros and cons of different painting tools, and share insider tips for saving time without cutting corners. Whether you’re dealing with weathered wood or a previously painted surface, our guide will equip you with the knowledge to tackle your deck painting project with confidence and speed.
Stay tuned as we embark on this journey to a beautifully painted deck in record time!
Preparation for Speed
Preparing your deck for painting is just as important as the painting process itself. Efficient preparation is key to ensuring not only a swift painting job but also a lasting finish. In this section, we’ll explore the critical steps to prepare your deck, ensuring you’re set up for a speedy and successful painting project.
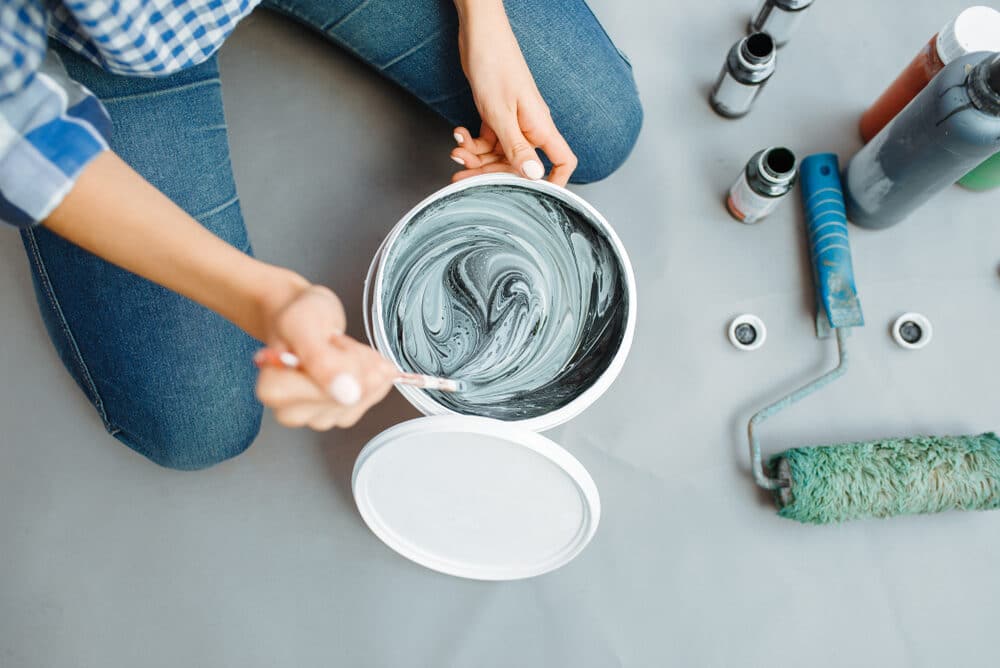
Choosing the Right Paint and Tools
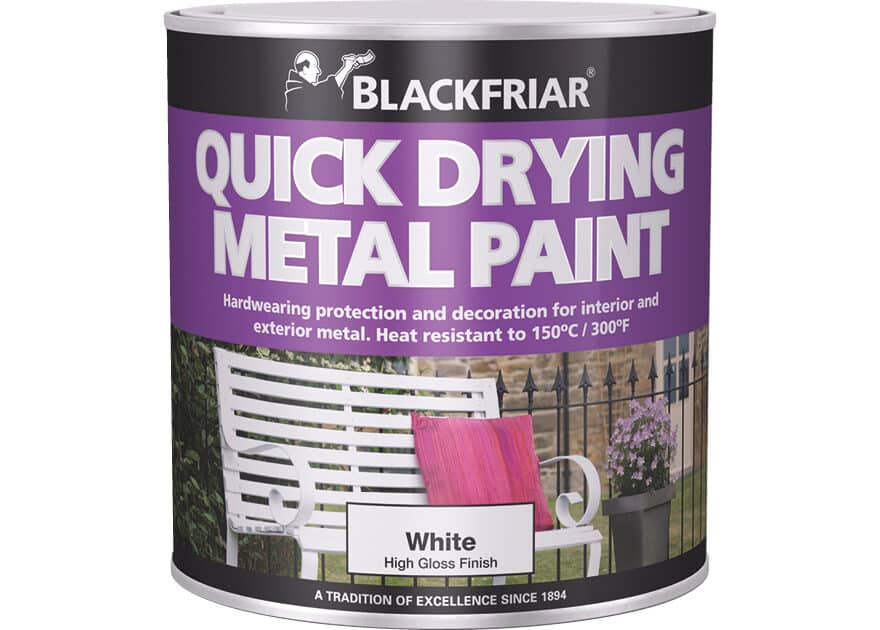
- Selecting the Ideal Paint: Quick-drying and durable paints are essential for a speedy project. Look for paints specifically designed for outdoor use, offering both UV protection and moisture resistance. Water-based acrylics often dry faster than oil-based options, making them a suitable choice for time-sensitive projects.
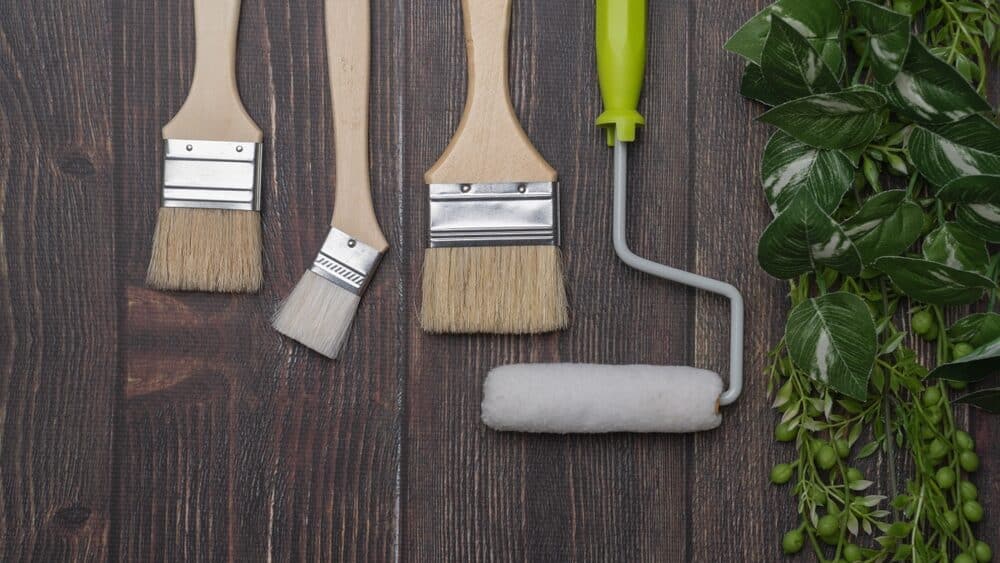
- Essential Tools for Efficiency: Invest in quality brushes, rollers, and sprayers that are designed for speed and efficiency. A paint sprayer, for instance, can significantly cut down on your painting time compared to traditional brushes and rollers. Also, consider tools like paint trays, extension poles, and tape for quicker application and clean-up.

Preparing Your Deck for Painting
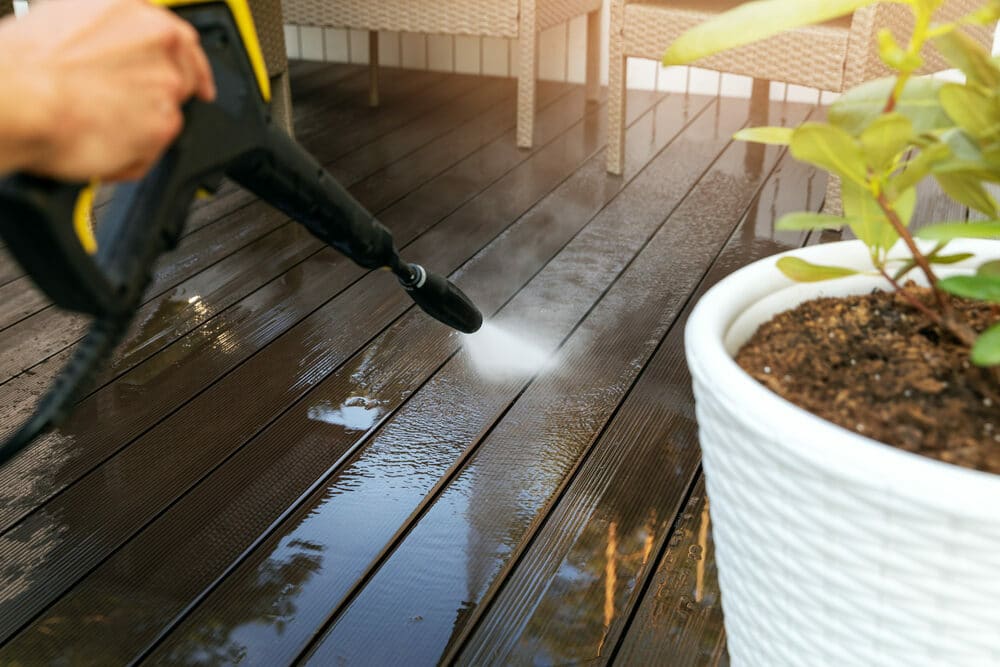
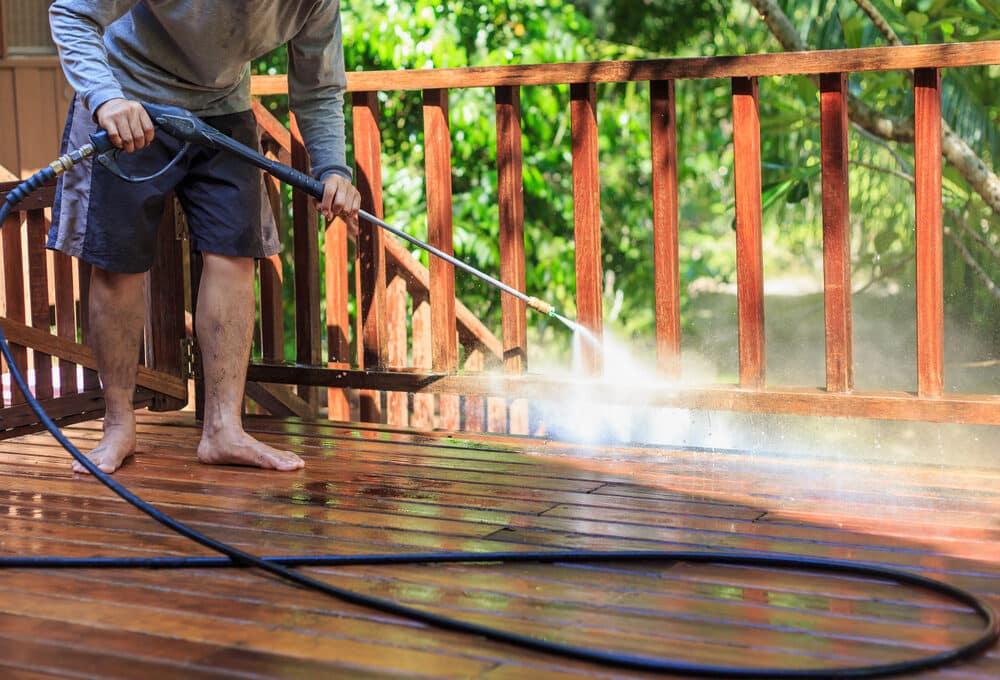
- Cleaning the Surface: A clean deck is vital for paint adherence. Use a pressure washer or a stiff brush with deck cleaner to remove dirt, grime, and old paint flakes. This step is crucial for preventing peeling and ensuring a smooth application.
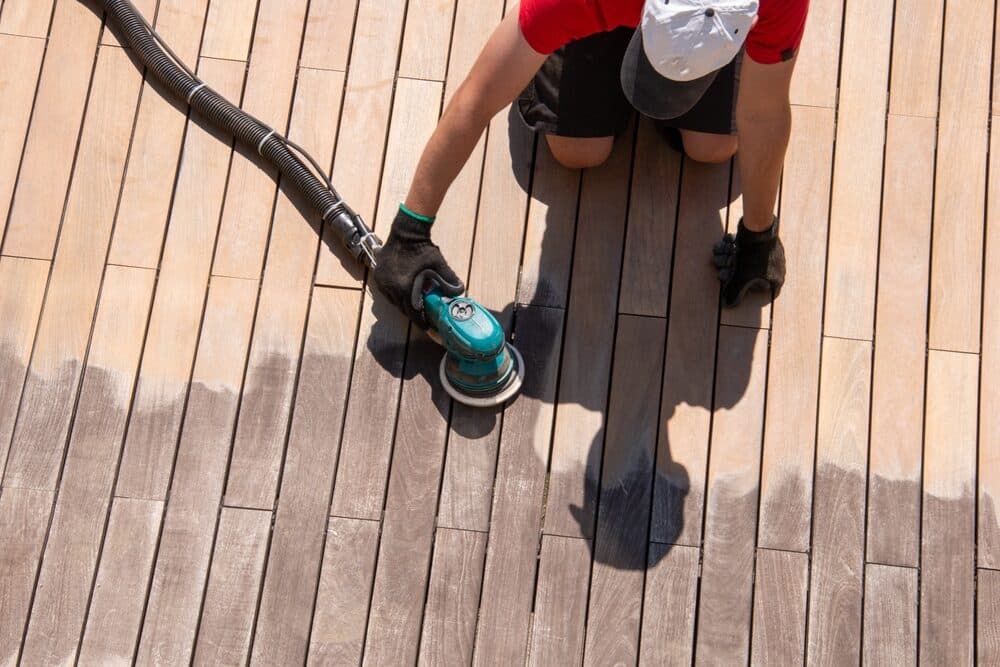
- Repair and Sanding: Inspect your deck for any damaged boards, loose nails, or splinters. Replace or repair these imperfections before painting. Sanding the deck is also important to create a smooth surface for painting. Use a power sander to save time and effort.
- Priming (if necessary): If you’re working with raw wood or a significantly weathered deck, applying a primer can enhance paint adhesion and longevity. Choose a fast-drying primer to maintain the speed of your project.
- Taping and Covering: Protect areas you don’t want to paint, like walls and plants, with painter’s tape and drop cloths. This step might seem time-consuming, but it actually saves time during clean-up.
Efficient painting techniques
Once your deck is thoroughly prepared, it’s time to move on to the actual painting process. Efficient painting is all about the right techniques and tools. Here, we’ll discuss various methods and tips to help you paint your deck quickly without compromising on quality.
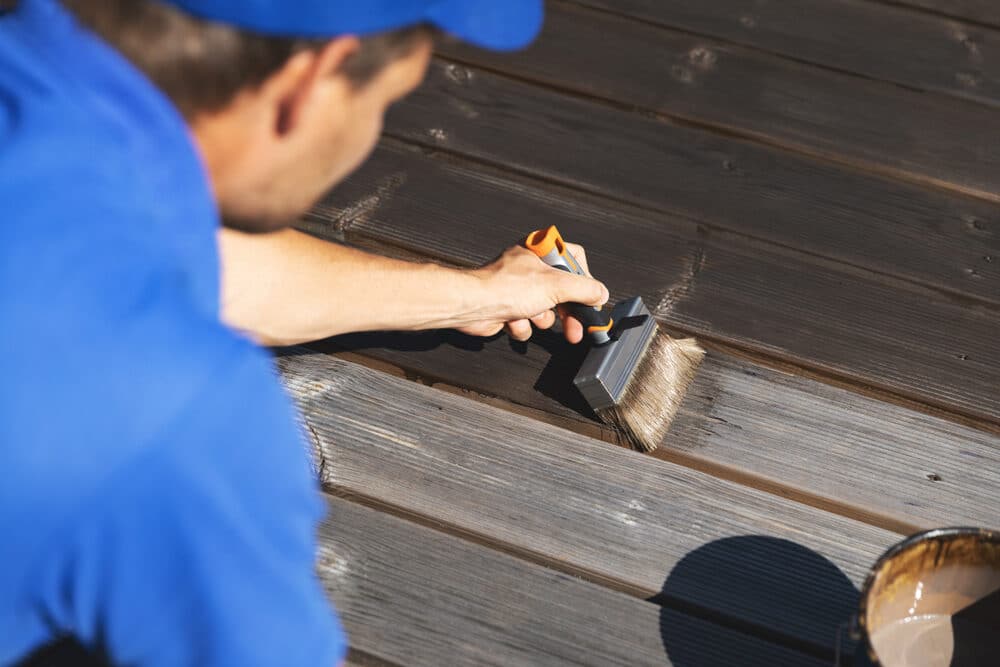
Brush vs. Roller vs. Sprayer: What’s Fastest?
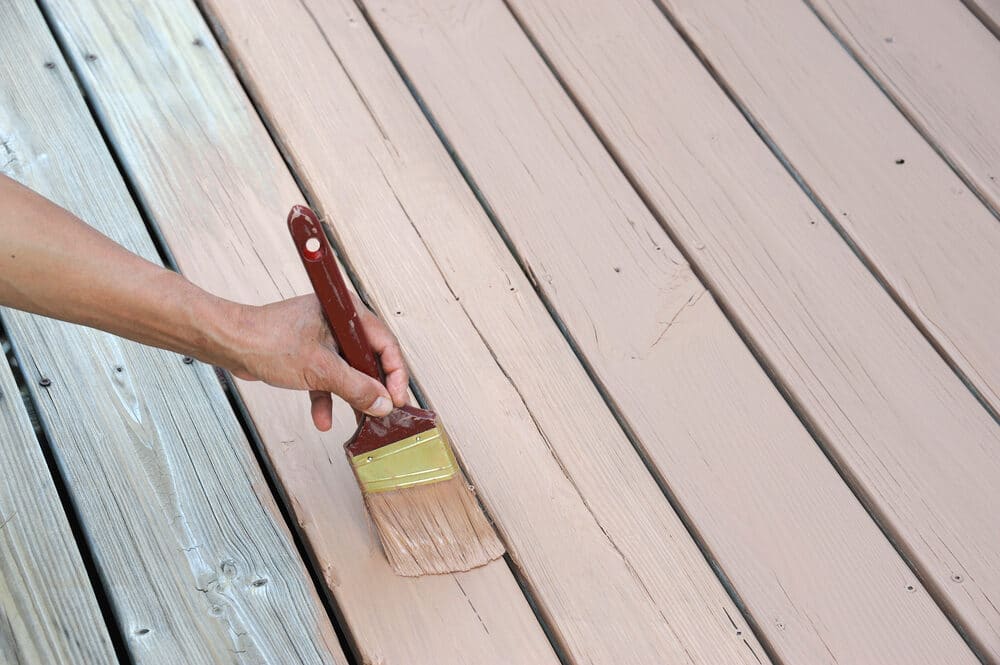
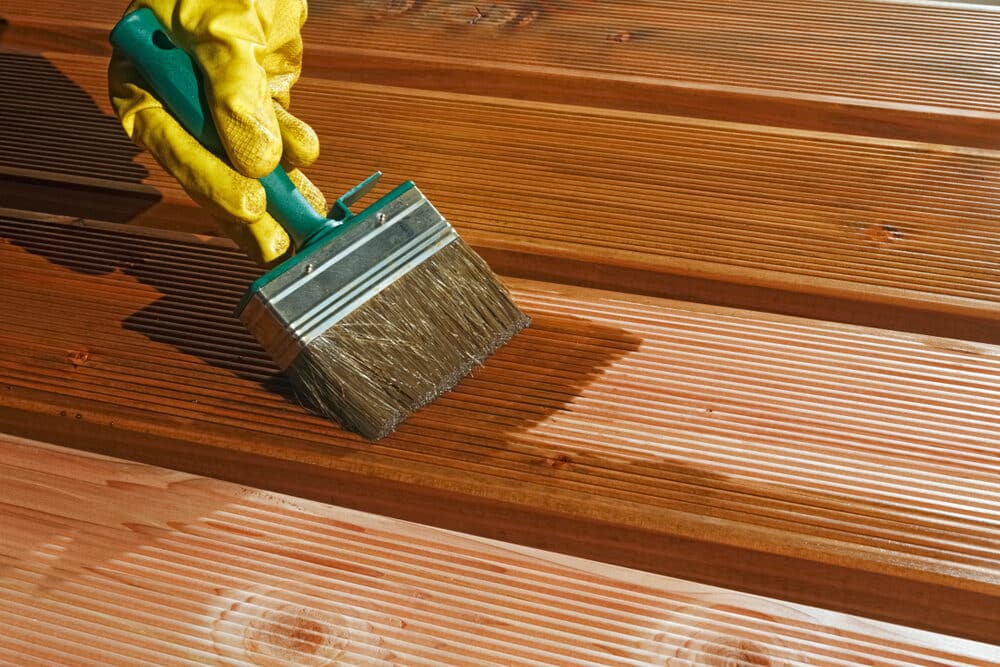
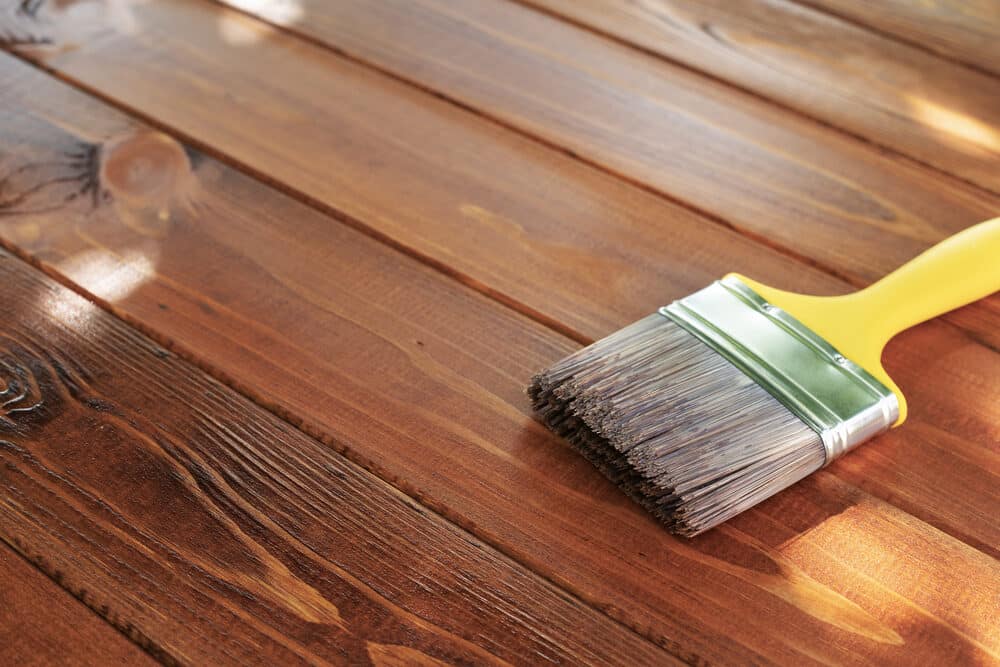
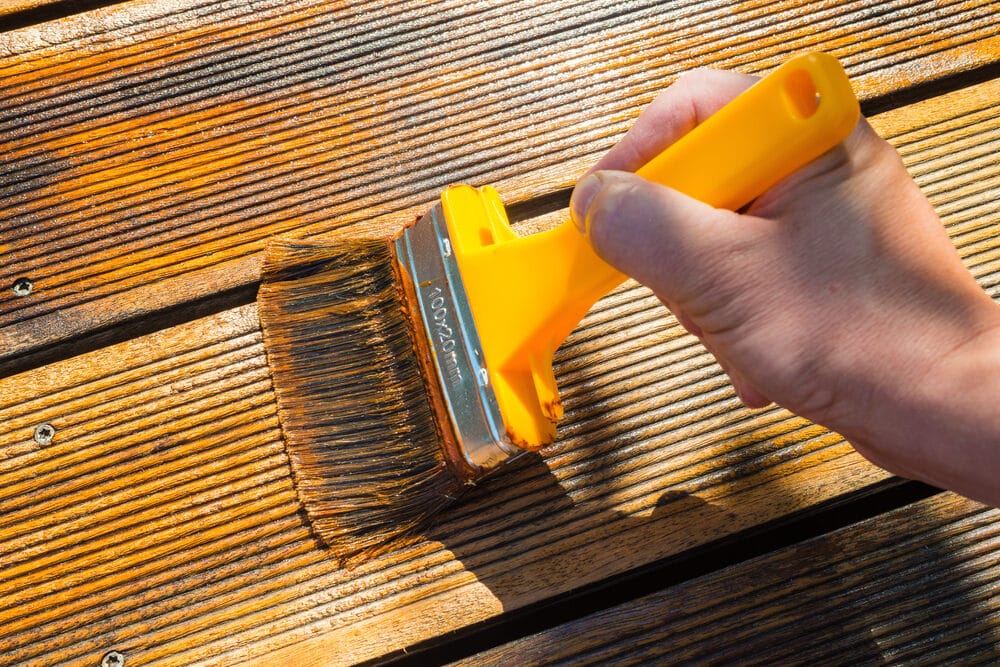
Paint brushes:
Ideal for detailed work and edges, brushes allow for precision but are slower compared to other tools. They are best used for smaller areas and touch-ups.
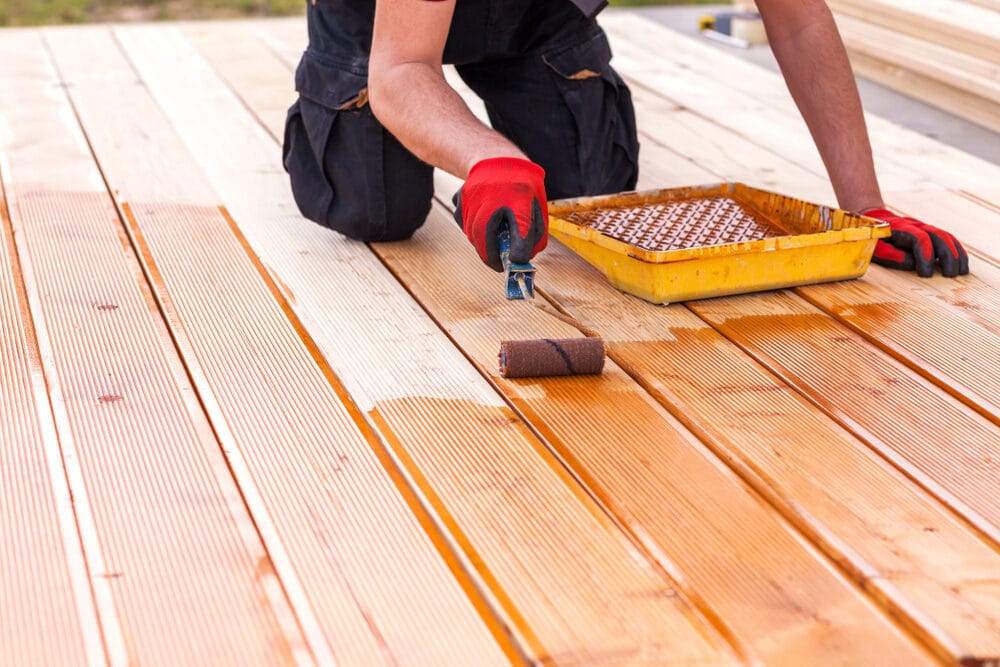
Paint Rollers:
Rollers cover larger areas more quickly than brushes. They are great for the deck’s flat surfaces. Opt for a roller with a long handle to cover more area and reduce the need for bending or kneeling.
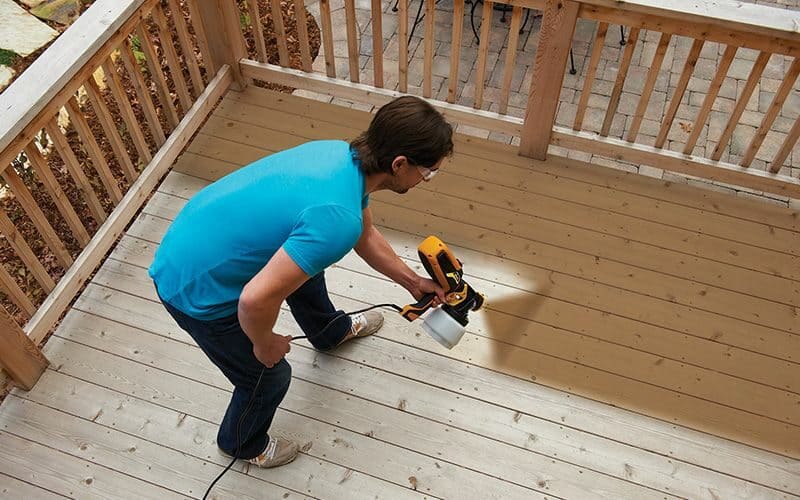
Paint sprayers:
Paint sprayers are the fastest method for painting a deck. Sprayers can cover large areas evenly in a fraction of the time it takes with brushes or rollers. However, they require some skill to operate effectively and can be messy if not handled properly.
Step-by-Step Guide to Quick Painting
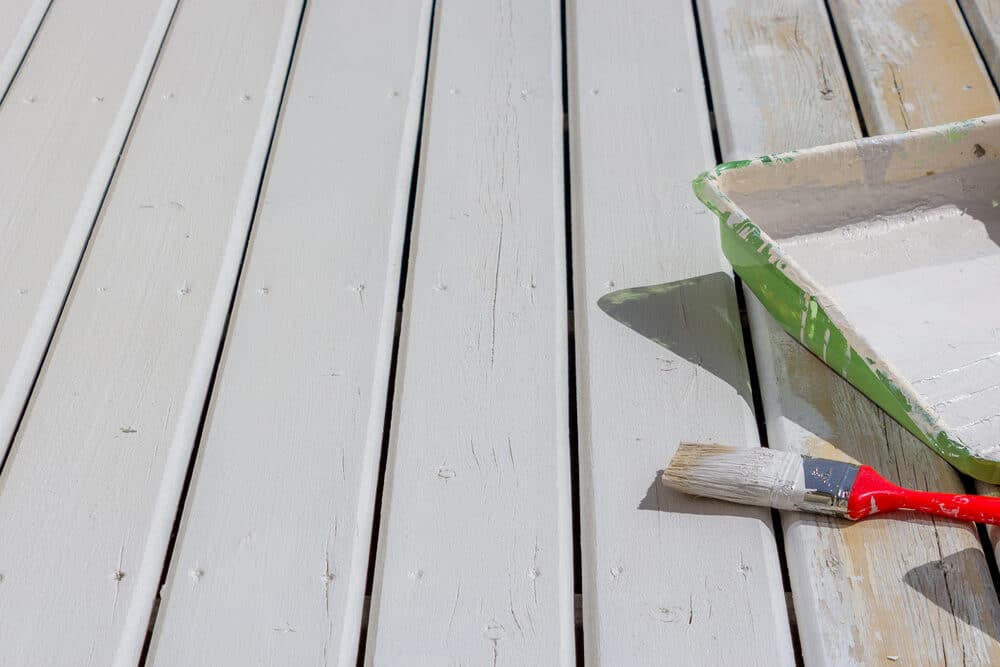
- Start with Edges and Corners: Use a brush to paint edges and corners where rollers and sprayers can’t reach effectively. This “cutting-in” process ensures a neat finish.
- Use a Roller for Flat Surfaces: Once the edges are done, switch to a roller for the main deck surface. Roll in long, even strokes, and avoid overloading the roller with paint to prevent drips.
- Consider a Paint Sprayer for Large Decks: If you have a large area to cover, a paint sprayer can be a time-saver. Practice on a scrap piece of wood to get comfortable with the technique before starting on your deck.
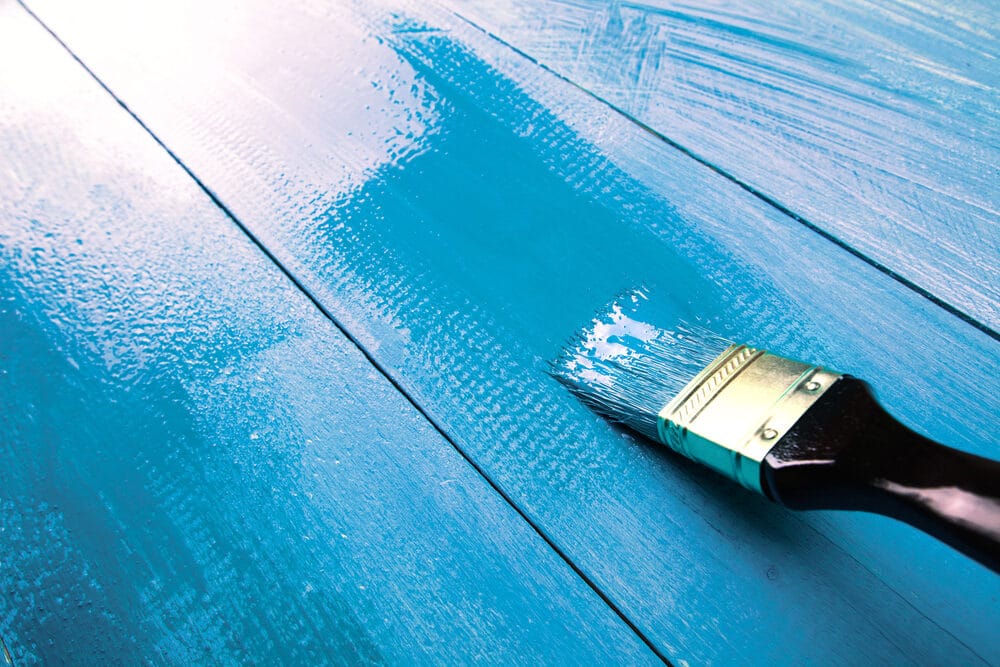
- Apply Multiple Thin Coats: Instead of one thick coat, apply multiple thin coats. Thin coats dry faster and are less prone to drippings and inconsistencies.
- Maintain a Wet Edge: Work in small sections and always maintain a wet edge. This technique prevents lap marks caused by painting over dried paint.
- Efficient Use of Time Between Coats: While waiting for the first coat to dry, clean your tools or work on other small projects. Plan your time so that no moment is wasted.
Time-saving tips and tricks
- Optimal Weather Conditions: Paint on a dry day with moderate temperatures to ensure faster drying times.
- Organise Your Workspace: Keep all tools and paint within easy reach to minimise time spent moving around.
- Enlist Help: If possible, have a team where one person cuts in while the other uses a roller or sprayer. This team approach can significantly speed up the process.

Time-saving tips and tricks
Efficient deck painting isn’t just about the painting itself; it’s also about smart planning and employing strategies that save time without cutting corners. Here are some valuable tips and tricks to help you speed up the deck painting process while ensuring a high-quality finish.
Plan your work strategically
- Create a Workflow Plan: Before you start, plan the sequence of steps. This plan will help you avoid backtracking and unnecessary work. For example, start from the farthest corner of the deck and work your way back to avoid stepping on freshly painted areas.
- Prepare All Materials in Advance: Gather all the tools and materials you need before starting. This preparation prevents interruptions once you begin painting.
Efficient painting techniques
- Paint in Optimal Conditions: Paint on a dry, cloudy day if possible. Too much sun can cause the paint to dry too quickly, leading to lap marks, while humidity can prolong drying times.
- Use Quality Paint: Higher-quality paint often covers better and lasts longer, which means you can potentially apply fewer coats, saving time in the long run.
- Apply Paint Strategically: Apply paint evenly and avoid over-application. Excessive paint takes longer to dry and can result in runs and sags.
Time Management
- Multitasking During Drying Times: Use drying times to clean brushes or prepare for the next coat. This efficient use of time ensures that you’re always making progress.
- Efficient Cleanup: Have a cleanup plan in place. Use liners in paint trays for easy cleanup, and keep a rag or sponge handy for immediate spills or drips.
Utilise labor-saving tools
- Invest in good tools: Good-quality rollers and brushes can make the job faster and more effective. A roller with a long handle, for instance, can save you from bending down too often.
- Consider a Power Washer for Cleaning: If you’re cleaning your deck before painting, using a power washer can significantly speed up the process compared to manual scrubbing.
Avoid common pitfalls
- Don’t paint over dirt or moisture. Ensure the deck is completely dry and clean before painting. Painting over dirt or moisture can lead to peeling and a need for rework.
- Watch Out for Weather Changes: Keep an eye on the weather forecast to avoid rain or extreme temperature changes shortly after painting.

By incorporating these time-saving tips and tricks into your deck painting project, you can significantly reduce the time spent while achieving a durable and professional finish. Remember, efficiency in painting is about smart planning as much as it is about the actual painting technique.
Drying and Re-Coating
Achieving a beautifully painted deck isn’t just about the application of paint; it’s also crucial to manage the drying and re-coating processes effectively. Proper drying and timely re-coating are essential for the longevity and aesthetic appeal of your deck. Here’s how to handle this crucial phase of your deck painting project efficiently:.
Understanding the drying process
- Read the paint instructions: Different paints have varying drying times. Always check the manufacturer’s instructions for the specific drying time required between coats.
- Environmental Factors: Temperature and humidity play a significant role in drying time. Paint dries faster in warm, dry conditions and slower in cool, humid conditions. Plan your painting project around the weather forecast when possible.
- Avoid Rushing the Process: While it’s tempting to re-coat as soon as the paint feels dry to the touch, rushing can lead to a poor finish or longer drying times in the end. Adhere to the recommended drying times for the best results.
Tips for Speeding Up the Drying Process
- Use Fans or a Breeze: If there’s little natural wind, strategically placed fans can help circulate air and speed up drying. However, ensure they’re not blowing dust or debris onto the wet paint.
- Choose Quick-Drying Paints: If speed is a priority, opt for quick-drying paint formulas designed for outdoor use. These can significantly reduce the waiting time between coats.
- Apply Thin, Even Coats: Thinner coats of paint dry faster than thick ones. Ensure your application is even and not overly generous to facilitate quicker drying.
When to Apply the Second Coat
- Check the Tackiness: Before applying a second coat, ensure the first coat is not tacky. If the paint sticks to your finger, it’s not ready for the next layer.
- Adhere to the manufacturer’s guidelines: Follow the drying time guidelines provided by the paint manufacturer. This is usually the best indicator of when it’s safe to apply the next coat.
- Inspect for consistency: Ensure the first coat is uniformly dry. Uneven drying can lead to an uneven final finish.
Final Touches
- Light Sanding (If Necessary): For some paints and finishes, a light sanding between coats can ensure better adhesion and a smoother finish.
- Cleaning Between Coats: Keep the deck free of leaves, dust, and debris between coats. This attention to detail ensures a clean, professional-looking finish.
Maintenance for Longevity
A beautifully painted deck enhances the aesthetic appeal of your outdoor space, but maintaining it is crucial for preserving its beauty and extending its life. Regular maintenance not only keeps your deck looking great but also protects your investment. Here’s how to maintain your deck for longevity after painting.
Routine Cleaning
- Regular Sweeping: Debris like leaves, dirt, and twigs can retain moisture and cause paint to deteriorate. Regular sweeping helps prevent this.
- Gentle Washing: Periodically wash your deck with a mild cleaner to remove dirt and grime. Avoid harsh chemicals that can strip the paint.
- Immediate Stain Removal: Address spills and stains immediately to prevent them from setting in. Use appropriate cleaners based on the type of stain and the paint used.
Periodic inspections and touch-ups
- Inspect for Wear and Tear: Regularly inspect your deck for any signs of peeling, chipping, or fading paint. These areas can be more susceptible to damage.
- Touch-Up as Needed: If you notice small areas where the paint is damaged, touch them up promptly to prevent further deterioration.
- Sealant Application: Depending on the type of paint used, applying a sealant can offer additional protection against weather elements and extend the paint’s life.
Avoiding Common Damages
- Furniture Padding: Use furniture pads under deck chairs and tables to prevent scratches and paint chipping.
- Minimise Water Exposure: Although decks are outdoor structures, try to minimise direct exposure to water, such as from planters or gutters.
- Trim Nearby Plants: Keep plants and bushes trimmed back from the deck to reduce moisture and prevent growth that can damage the paint.
Long-Term Care
- Recoat as Necessary: Depending on the exposure to elements and foot traffic, your deck may need a full recoat every few years to maintain its appearance and protection.
- Weatherproofing Considerations: In areas with extreme weather conditions, consider additional weatherproofing measures, such as using paints or sealants formulated for high moisture or UV exposure.
- Professional Assessment: If you’re unsure about the condition of your deck or the best way to maintain it, don’t hesitate to consult a professional for advice.

Conclusion
As we wrap up our guide on “Speedy Deck Painting: The Quickest Methods,” it’s clear that painting your deck doesn’t have to be a daunting, time-consuming task. With the right preparation, tools, techniques, and maintenance plan, you can efficiently transform and preserve your deck, making it a delightful addition to your home.
We’ve journeyed through every crucial step, from preparing your deck for painting to maintaining it for lasting beauty. By choosing the right materials, employing efficient painting techniques, and understanding the importance of drying and re-coating, you can achieve a professional-looking finish in a fraction of the time. Remember, the key to speedy deck painting lies not only in the act of painting itself but also in thorough preparation and post-painting care.
Whether you’re a DIY enthusiast or a seasoned pro, the strategies and tips shared in this guide are designed to streamline your painting process, ensuring you spend less time working and more time enjoying your beautifully painted deck. Regular maintenance will protect your investment and keep your deck looking great for years to come.
In conclusion, deck painting can be both a fulfilling project and an opportunity to enhance the outdoor living space of your home. With the insights and methods outlined in this guide, you’re now equipped to tackle your deck painting project with confidence, efficiency, and ease. So, grab your paintbrushes, and let’s make your deck the envy of the neighbourhood!

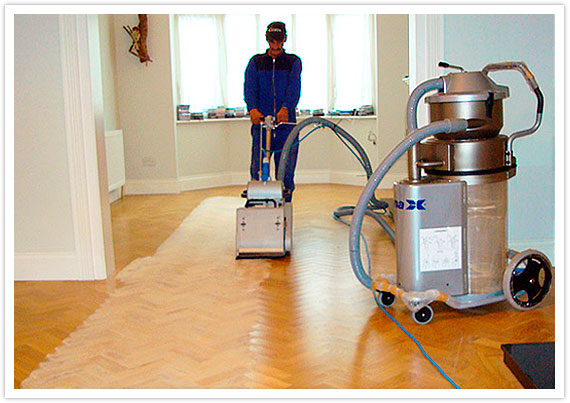

Sanding
We provide virtually dust-free sanding with our continuous belt machinery with mobile extraction units, giving you a safer environment for your family.
Oiling
This organic finish not only adds beauty to your home but also has exceptional water-repellent characteristics, making it easier to clean and maintain.
Waxing
This natural floor finish offers the softest and most mellow appearance – and leaves your floor able to breath.
Buffing
Using soft buffing machines (and hand-polishing where required) will bring a wonderful sheen to your newly-finished floor.
Repairs
We offer a full assessment of your wooden floors to determine what repairs are needed to provide the perfect working surface for the later stages of sanding, staining and sealing.
Restoration
We offer a comprehensive restoration process designed to address floors that are improperly fitted or damaged over time through wear and tear.
Request a fixed price quote for your wood floor restoration now
Simply enter your postcode below to get started.
Services
Wood Floor Sanding Wood Floor Restoration Wood Floor Scratch Repair Squeaky Wood Floor Repair Parquet Floor Sanding Parquet Floor Restoration Commercial Floor Sanding Church Floor Sanding Community Centre Floor Sanding School Floor Sanding Gap Filling Gap Filling with ResinCopyright © Mr Sander®
Privacy & Cookies Terms & Conditions Complaints Procedure Cancellation Rights Sitemap

Get An Instant Price Estimate Before You Go…
Simply enter the rooms you need sanded and we’ll provide you with a price estimate instantly! Try our price calculator now.
Get a Price Estimate NowLocal Floor Sanding Experts
Over 500 5-Star Reviews
Safe, Dust Free Sanding
Operating Since 1994