London:
Nationwide:
DIY Guide: Hardwood Floor Sanding at Home | Renew Your Wooden Floors
Posted on June 10, 2023
Blog
Comprehensive Guide on How to Complete a Hardwood Floor Sanding Project at Home
Revitalizing your home’s hardwood flooring through sanding can be an enriching experience. Not only does it help maintain the structural integrity of your floors, but it also improves their aesthetic appeal. This comprehensive guide will walk you through the step-by-step process of undertaking a hardwood floor sanding project in your home.
Part I: Understanding Hardwood Floor Sanding
What is hardwood floor sanding?
Hardwood floor sanding is a process that involves removing the top surfaces of a wooden floor by abrasively sanding the material with sandpaper. This process helps to eliminate scratches, dents, and stains, and it also prepares your floor for a fresh coat of finish or sealant.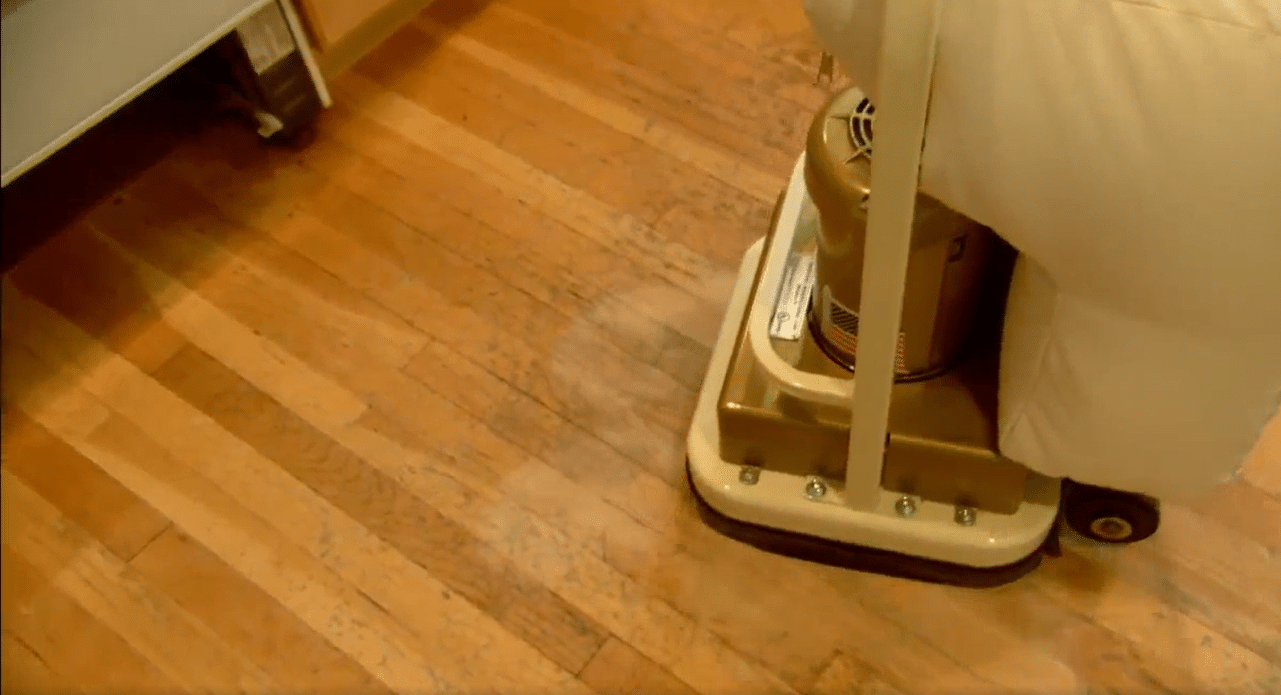
Why undertake a hardwood floor sanding project?
Sanding your hardwood floors can provide several benefits. It restores the original beauty of your wooden floors, increases their durability, and eliminates any unevenness. Additionally, the process removes old coatings, facilitating the application of a new stain or finish.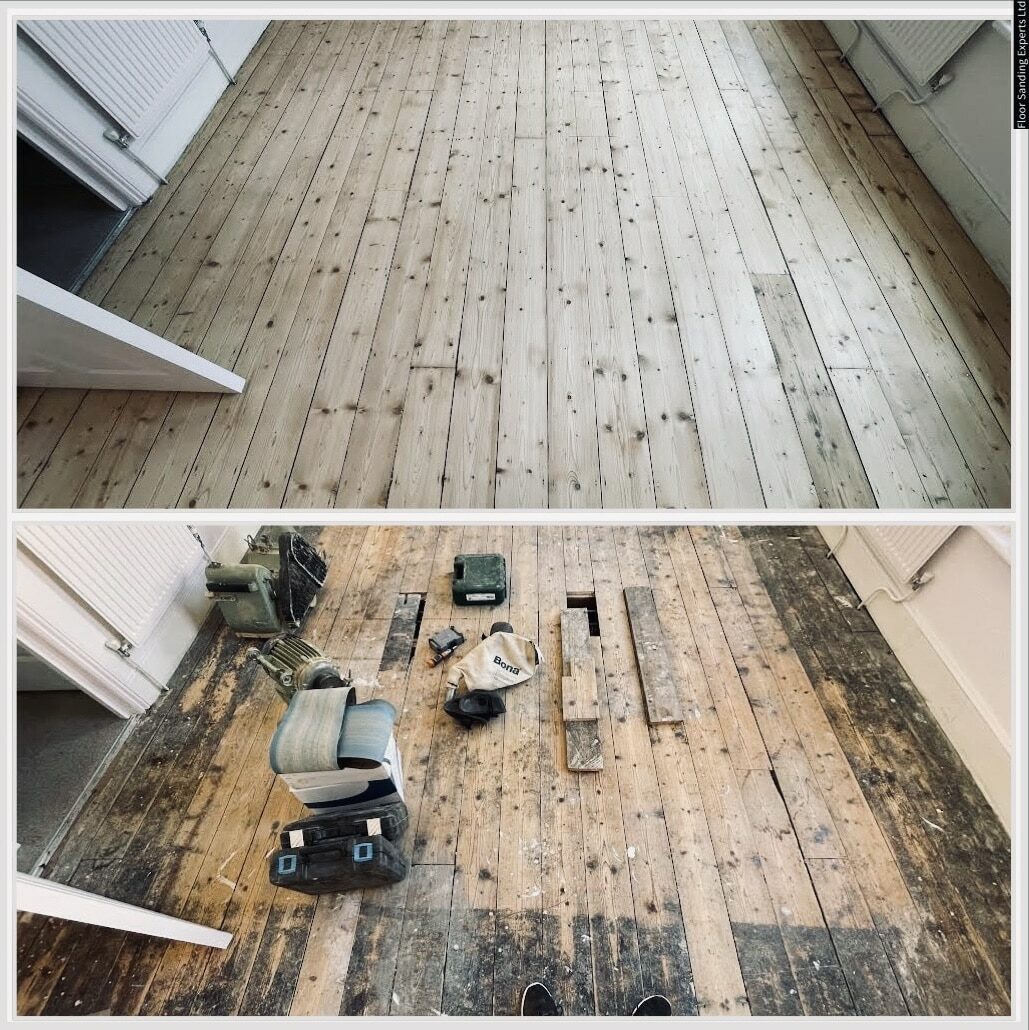
Part II: Planning Your Hardwood Floor Sanding Project
Gather the necessary tools and materials.
You will need the following tools and materials:- Drum or orbital sander
- Sandpaper of Various Grits
- Edge Sander
- Protective gear (mask, goggles, knee pads)
- Vacuum Cleaner
- A sealant or Wood Finish
- Paint brushes or rollers
- Wood Putty
Plan the project.
Consider the room size, the wood’s age and condition, and the time you can dedicate to the project. Depending on these factors, the process might take a few days. It would help if you also planned for any furniture that needs to be moved and for cleaning up dust after the sanding.Part III: The Step-by-Step Guide to Sanding Your Hardwood Floors
Step 1: Preparation
First, clear the room of all furniture, fixtures, and any other movable items. Check for any protruding nails or screws in the flooring and fix them. Apply wood putty to fill any large cracks or holes. Once dry, sand these spots until they’re level with the floor.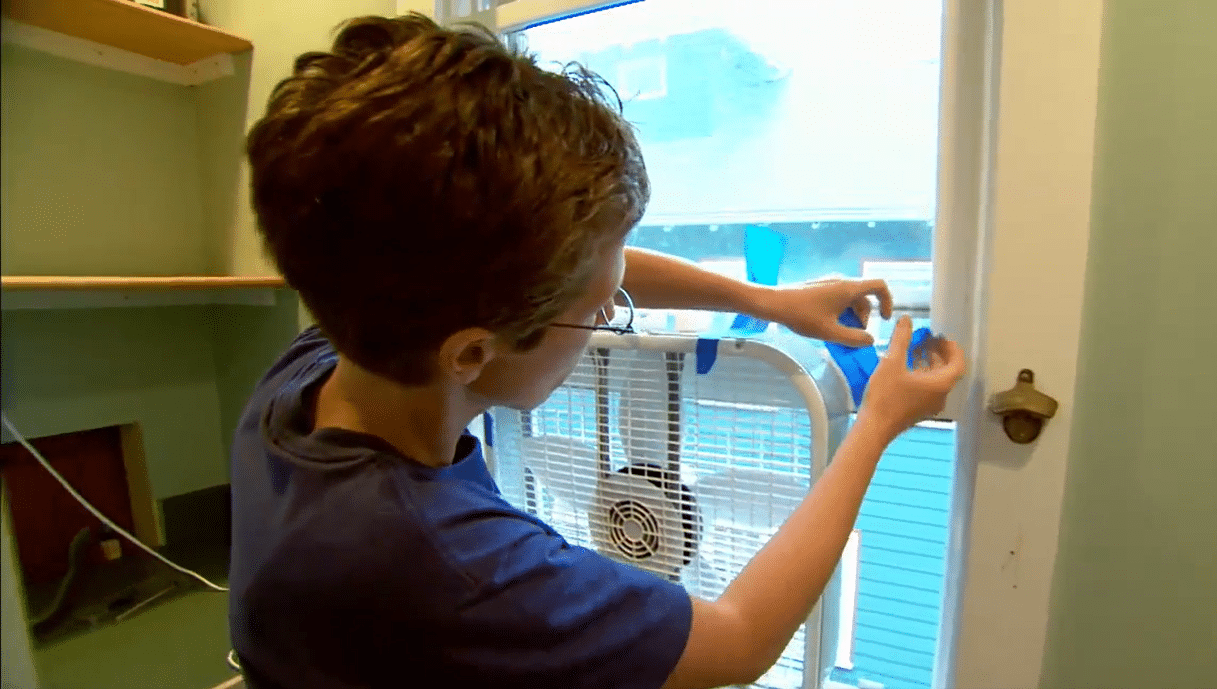
Step 2: Start sanding
Start with coarse-grit sandpaper to deal with any deep scratches or stains. It’s essential to sand along the grain of the wood and not against it. Keep the sander moving to avoid creating dips or gouges on the floor.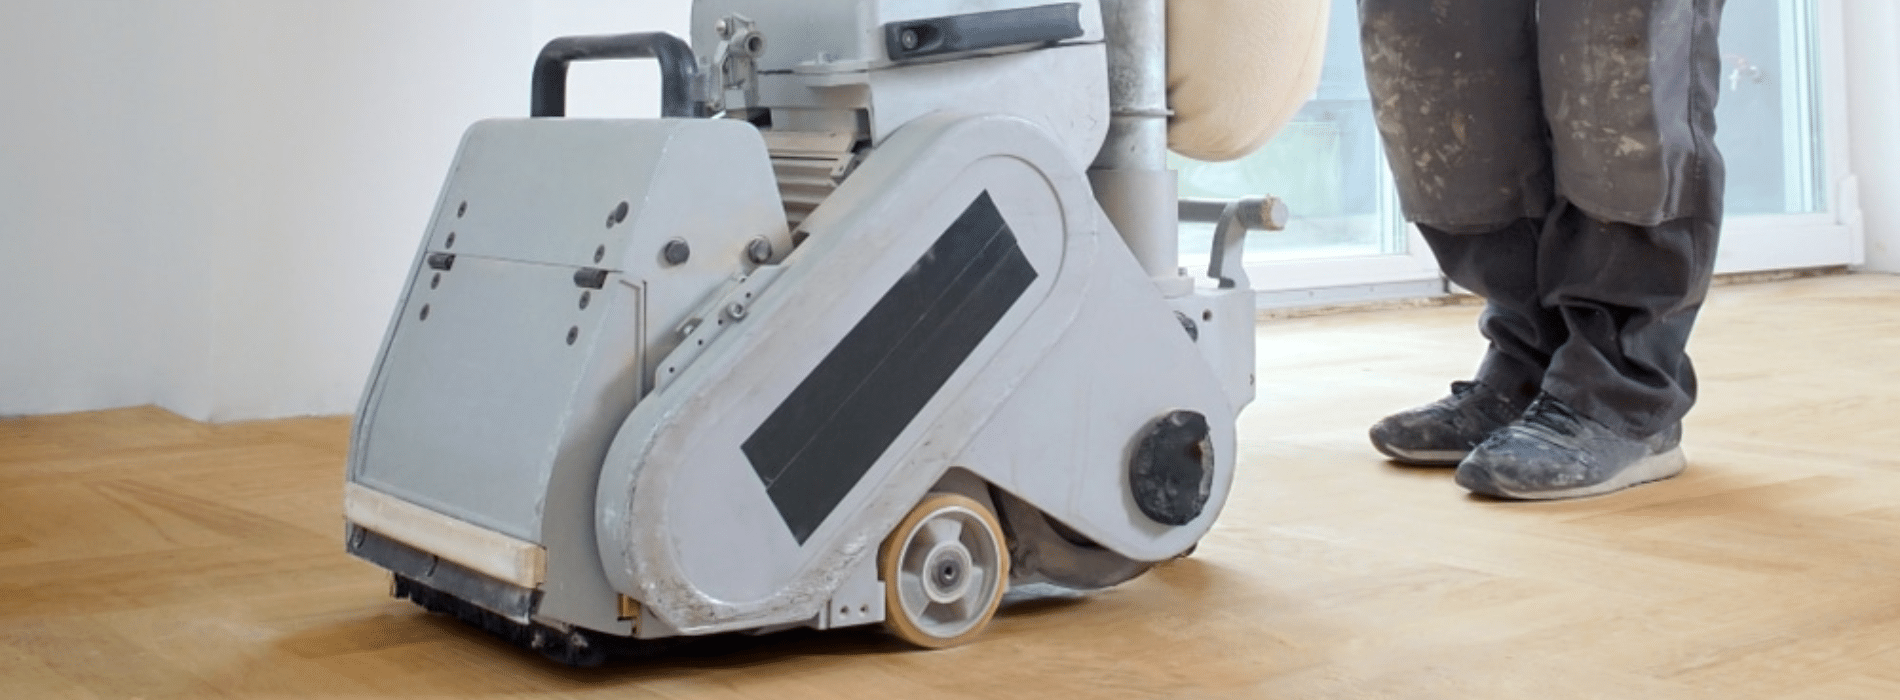
Step 3: Edge Sanding
Use an edge sander for the areas that the main sander can’t reach. Again, ensure you’re sanding with the grain of the wood. Take your time in these areas, as they often need extra attention.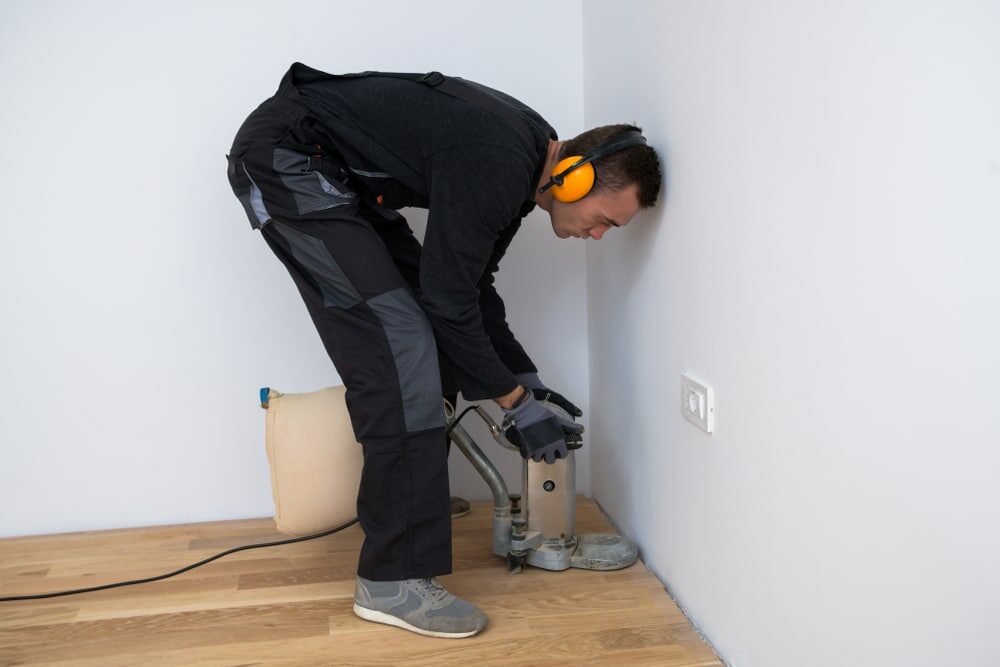
Step 4: Repeat Sanding with Finer Grits
Repeat the process with increasingly finer grits of sandpaper. This gradually smooths the floor surface and prepares it for finishing. Remember to vacuum or sweep between each sanding to remove dust.Step 5: Apply the Finish
Once you’re satisfied with the smoothness, apply your chosen finish or sealant. Use a brush or roller, and make sure to apply it evenly across the surface. Allow ample drying time between coats, as recommended by the manufacturer.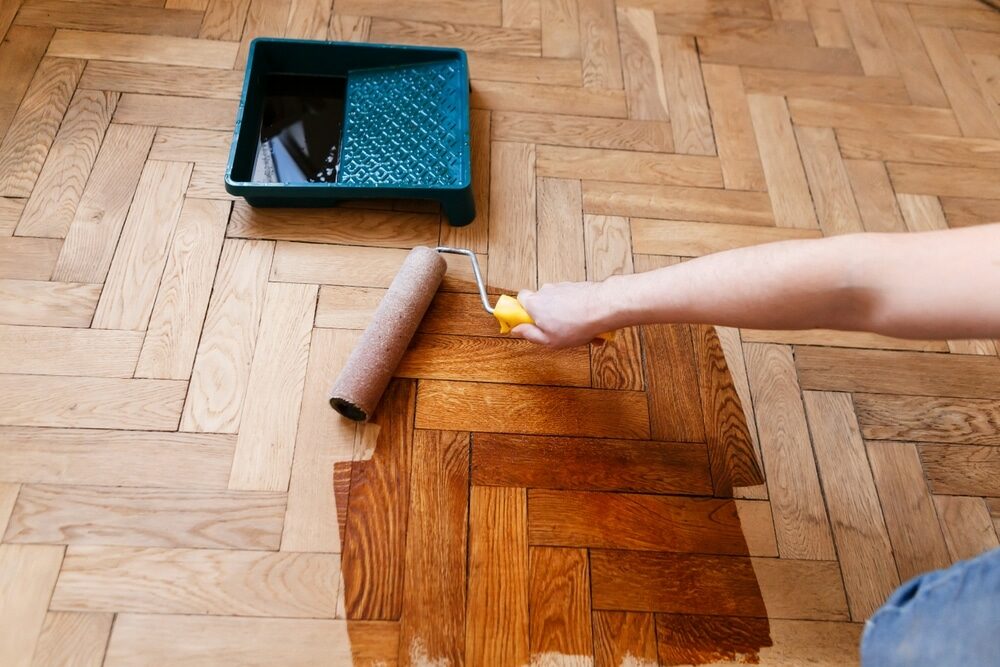
Part IV: Important Tips and Tricks
Safety First
Always wear protective gear. This includes a dust mask, goggles, and possibly ear protection, as sanders can be loud.Sand with the grain
Sanding with the grain of the wood instead of against it will result in a smoother finish and less damage to the wood.Choose the right sander.
Orbital sanders are easier to handle, but drum sanders remove material faster. Choose according to your comfort and the floor’s condition.Take your time.
Don’t rush the process. Each step, from the initial sanding to applying the finish, requires patience and meticulousness for the best results.Part V: Post-Sanding Care for Your Hardwood Floors
After completing your floor sanding project, it’s important to know how to maintain your freshly sanded and sealed hardwood floors.Regular Cleaning
Sweep or vacuum your floors regularly to prevent dust and grit from scratching the surface. Consider using a wood floor cleaning product once a month to remove grime.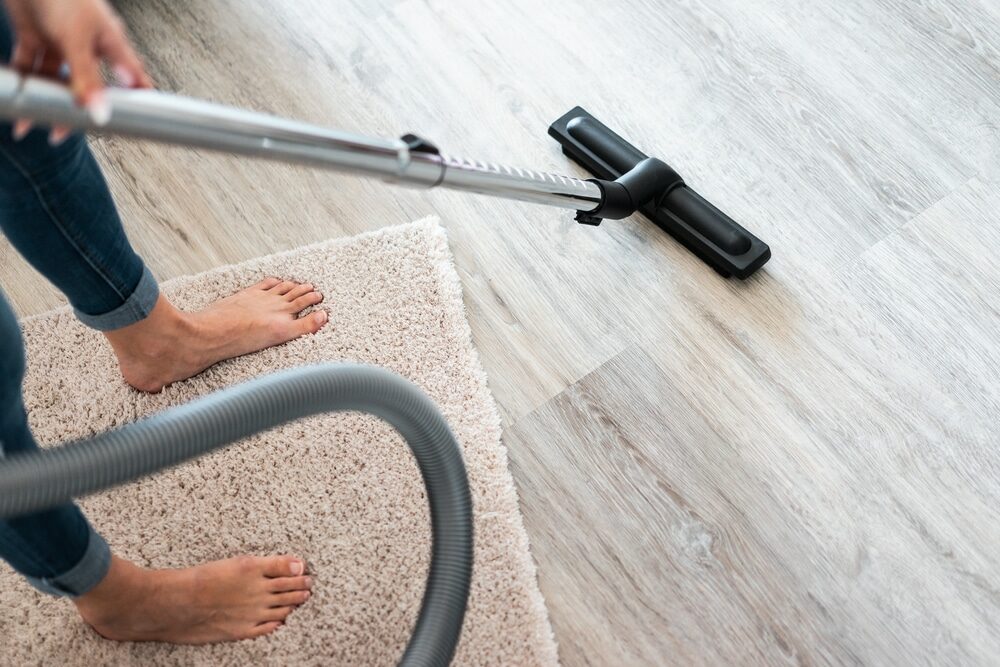
Preventing Scratches
Consider using rugs and mats in high-traffic areas to reduce wear. Also, place felt pads under furniture legs to prevent scratches when moving furniture.Recoating
Depending on the level of foot traffic, your floors might need recoating every 3–5 years. This process involves lightly sanding the surface and applying a new layer of finish, helping to maintain the floor’s beauty and durability.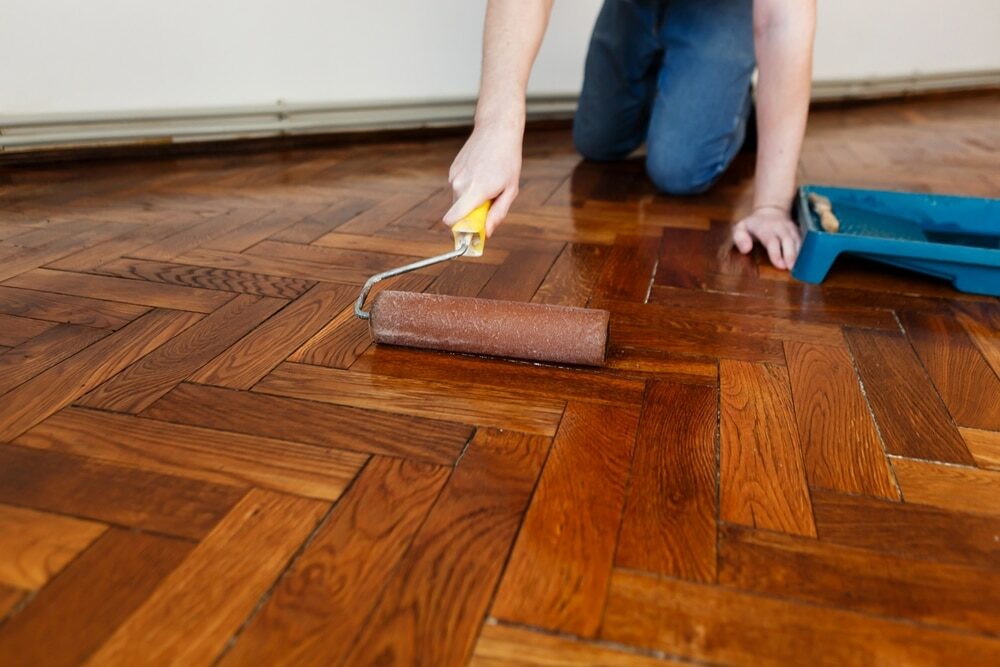
Conclusion
Hardwood floor sanding might seem like a challenging task, but with proper preparation and careful execution, you can restore your floors to their original grandeur. It’s an opportunity to breathe new life into your house and enhance its charm. While this guide offers a comprehensive DIY approach, don’t hesitate to call professionals if the task seems too daunting or if your floors require more extensive repairs. After all, the goal is to ensure your hardwood floors continue to be a source of pride and joy in your home for years to come.Some Useful Links:
- Floor Sanding Services
- School Floor Sanding
- Wood Floor Restorations
- Wood Floor Repairs
- Wood Floor Polishing
More from our Blog:
How to Choose the Best Floor Sanding Machines: An In-depth Guide Revamping Homes with Efficient Wood Floor Sanding Techniques Wood Floor Restoration: Effective Floor Sanding and Refinishing Techniques The Easier Method to Find Dust Free Floor Sanding Equipment Choosing the Right Wood Floor Sanding Manufacturer and Supplier
Sanding
We provide virtually dust-free sanding with our continuous belt machinery with mobile extraction units, giving you a safer environment for your family.
Oiling
This organic finish not only adds beauty to your home but also has exceptional water-repellent characteristics, making it easier to clean and maintain.
Waxing
This natural floor finish offers the softest and most mellow appearance – and leaves your floor able to breath.
Buffing
Using soft buffing machines (and hand-polishing where required) will bring a wonderful sheen to your newly-finished floor.
Repairs
We offer a full assessment of your wooden floors to determine what repairs are needed to provide the perfect working surface for the later stages of sanding, staining and sealing.
Restoration
We offer a comprehensive restoration process designed to address floors that are improperly fitted or damaged over time through wear and tear.
Request a fixed price quote for your wood floor restoration now
Simply enter your postcode below to get started.
Services
Wood Floor Sanding Wood Floor Restoration Wood Floor Scratch Repair Squeaky Wood Floor Repair Parquet Floor Sanding Parquet Floor Restoration Commercial Floor Sanding Church Floor Sanding Community Centre Floor Sanding School Floor Sanding Gap Filling Gap Filling with ResinCopyright © Mr Sander®
Privacy & Cookies Terms & Conditions Complaints Procedure Cancellation Rights Sitemap