London:
Nationwide:
25,000+
Floors Restored
27 Years Experience
Wood Flooring Association Certified
Important advice you need to follow before you start floor restoration project
Posted on April 13, 2023
Articles
Wooden floors are a beautiful and timeless addition to any home. They are durable, easy to clean, and can add warmth and character to any room. However, with age and wear, these floors can lose their shine and may require some TLC to restore them to their former glory. This 6,000-word blog post aims to provide you with important advice to follow before you start a wooden floor restoration project. We will cover key steps such as assessing the condition of your floor, preparing for the project, selecting the right tools and materials, and caring for your restored floor.

Part 1: Assessing the Condition of Your Wooden Floor
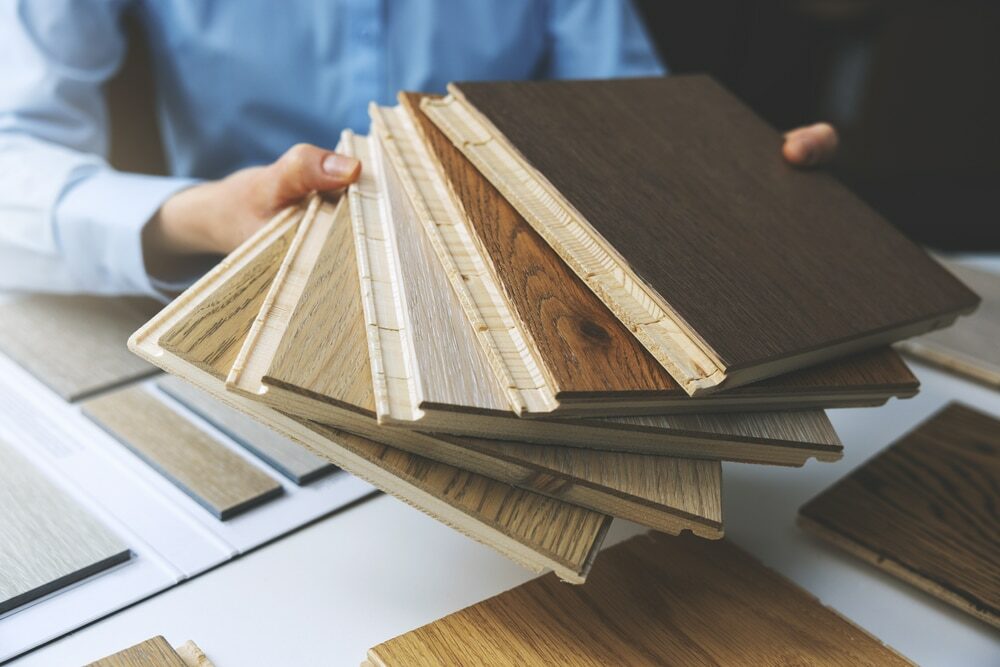
1.1 Understanding the Type of Wood and Finish
Before you begin any wood floor restoration project, it’s crucial to understand the type of wood and finish your floor has. This will help you choose the right tools, materials, and techniques for the job. Common types of wood used for flooring include oak, maple, cherry, and walnut, while finishes can range from oil-based to water-based polyurethane.
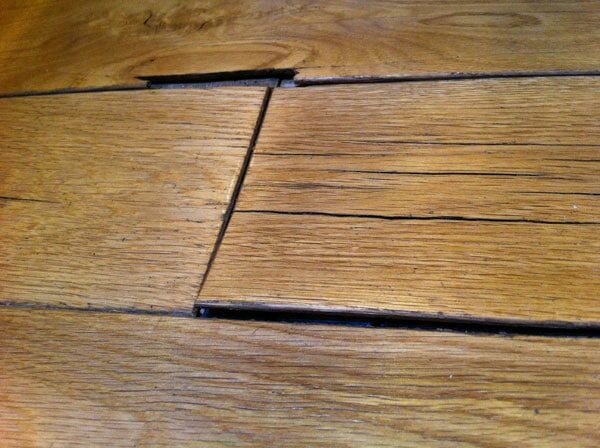
1.2 Evaluating the Damage and Wear
Take a close look at your wooden floor and identify the signs of damage and wear. Common issues include scratches, dents, stains, and fading. Note the severity of these issues, as this will determine the extent of your restoration project. For instance, superficial scratches can be fixed with a simple sanding and refinishing job, while deep gouges may require wood filler or even the replacement of damaged boards.
1.3 Determining the Scope of the Project
Now that you have an idea of the type of wood and finish you’re working with and the extent of the damage, determine the scope of your restoration project. Consider if you need a full sanding and refinishing job or if a simple buff and recoat will suffice. Keep in mind that the more extensive the project, the more time, effort, and resources it will require.
Part 2: Preparing for the Restoration Project
2.1 Setting a Budget and Timeline
Before you begin your restoration project, set a realistic budget and timeline. Consider the cost of materials, tools, and labour (if you’re hiring professionals). Keep in mind that delays can happen, so be prepared to adjust your timeline if necessary.
2.2 Gathering the Necessary Tools and Materials
Depending on the scope of your project, you will need various tools and materials for your wooden floor restoration. These may include:
- Sanding equipment (drum sanders, edgers, sanding pads)
- Wood filler
- Stain or finish
- Paint brushes or rollers
- Vacuum cleaner
- Protective gear (safety glasses, a dust mask, and gloves)
Make a list of everything you’ll need and purchase or rent the necessary items before beginning your project.
2.3 Preparing the Work Area
To ensure a smooth restoration process, take the time to prepare your work area. This includes:
- Removing all furniture, rugs, and décor from the room
- Taking down curtains and blinds to prevent dust from accumulating
- Covering any vents or openings to prevent dust from spreading throughout your home
- Securing any loose floorboards or nails
2.4 Safety Precautions
Wooden floor restoration can be a messy and potentially hazardous process. Take the following safety precautions to protect yourself and your home:
- Wear protective gear such as safety glasses, dust masks, and gloves
- Ensure proper ventilation by opening windows or using fans
- Keep children and pets away from the work area
- Follow the manufacturer’s instructions for any chemicals or products you use
Part 3: Executing the Restoration Process
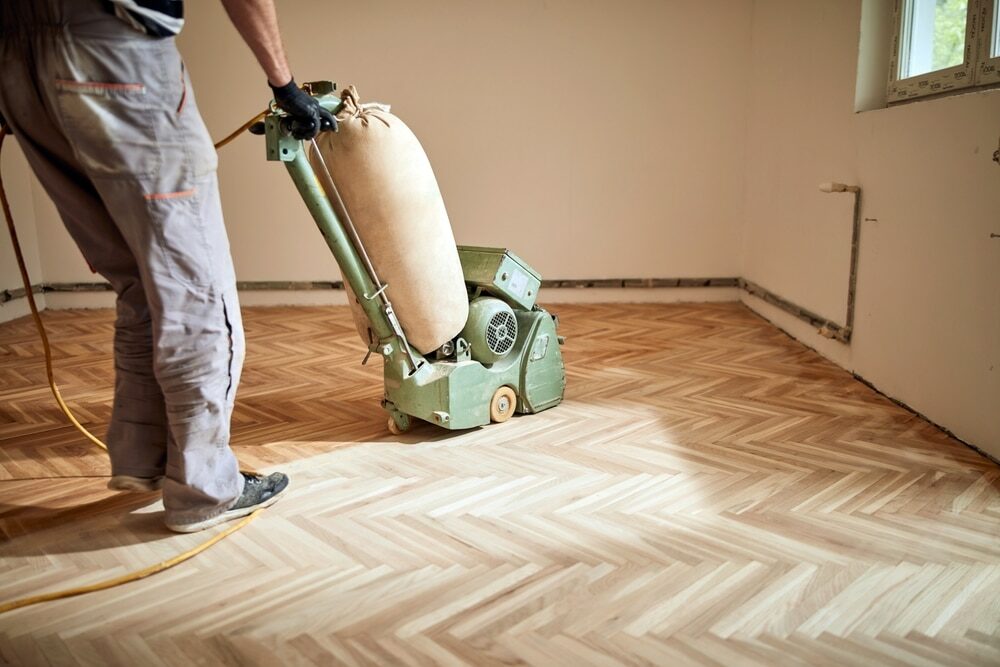
3.1 Sanding the Floor
Sanding is an essential step in the wooden floor restoration process, as it removes the old finish and smooths out any imperfections. Follow these steps for a successful sanding job:
3.1.1 Choose the right sandpaper grit: Start with a lower grit (40–60) to remove the old finish and then progress to higher grits (80–100) to smooth out the surface.
3.1.2 Use the appropriate sanding equipment: a drum sander is ideal for the main areas of the floor, while an edger is necessary for corners and edges.
3.1.3 Sand in the direction of the wood grain: This helps prevent scratches and ensures a smooth finish.
3.1.4 Vacuum between sanding passes: Remove dust and debris after each pass to avoid scratching the floor with leftover particles.
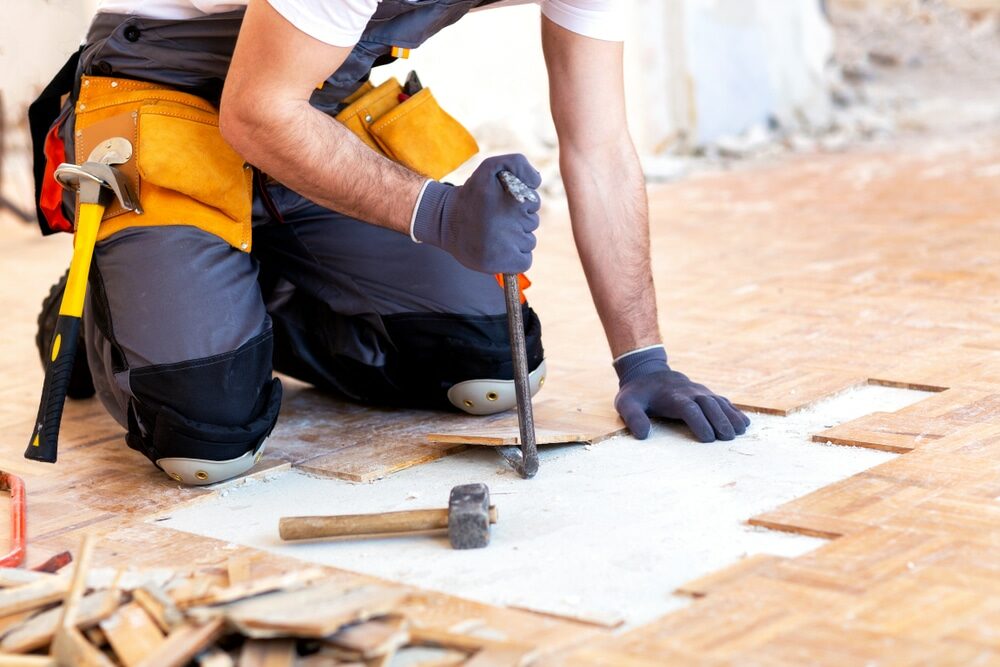
3.2 Repairing Damaged Areas
After sanding, assess the floor for any remaining damage, such as gouges or dents. Repair these areas using wood filler or by replacing the damaged boards. Ensure that the repairs blend seamlessly with the surrounding floor by sanding and staining as needed.
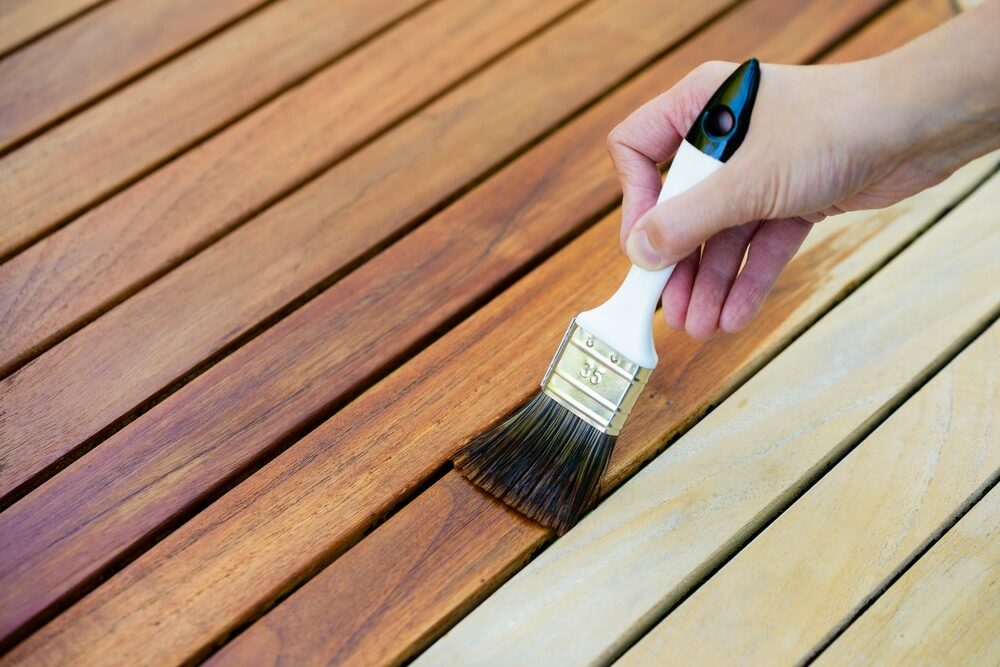
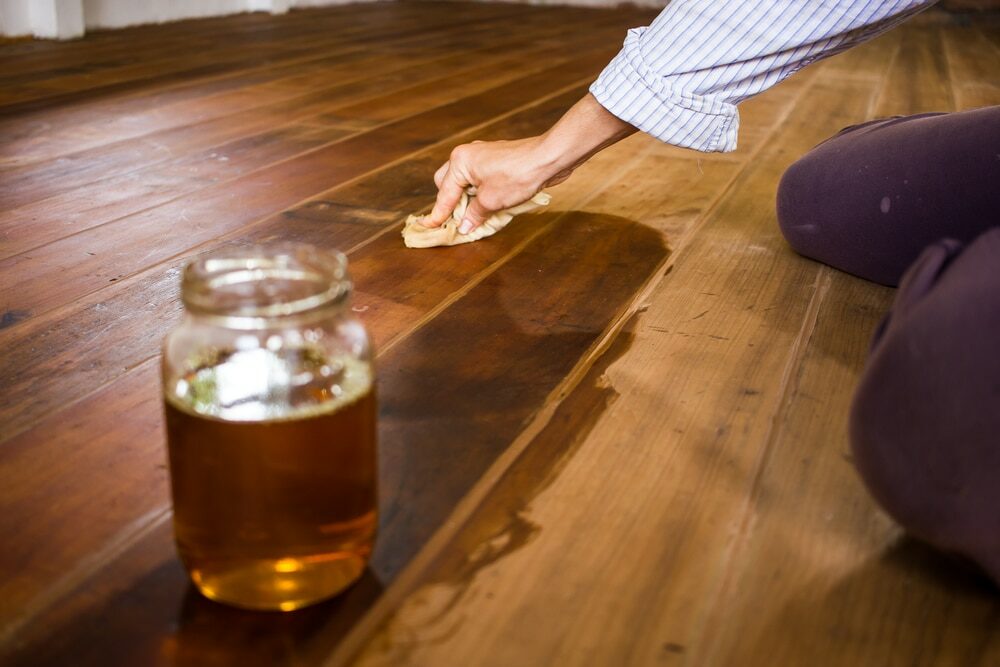
3.3 Staining the Floor (Optional)
If you wish to change the colour of your wooden floor, apply a stain after sanding and repairing any damaged areas. Test the stain on a small, inconspicuous area to ensure it provides the desired colour. Apply the stain using a brush or roller, following the manufacturer’s instructions, and working in the direction of the wood grain.
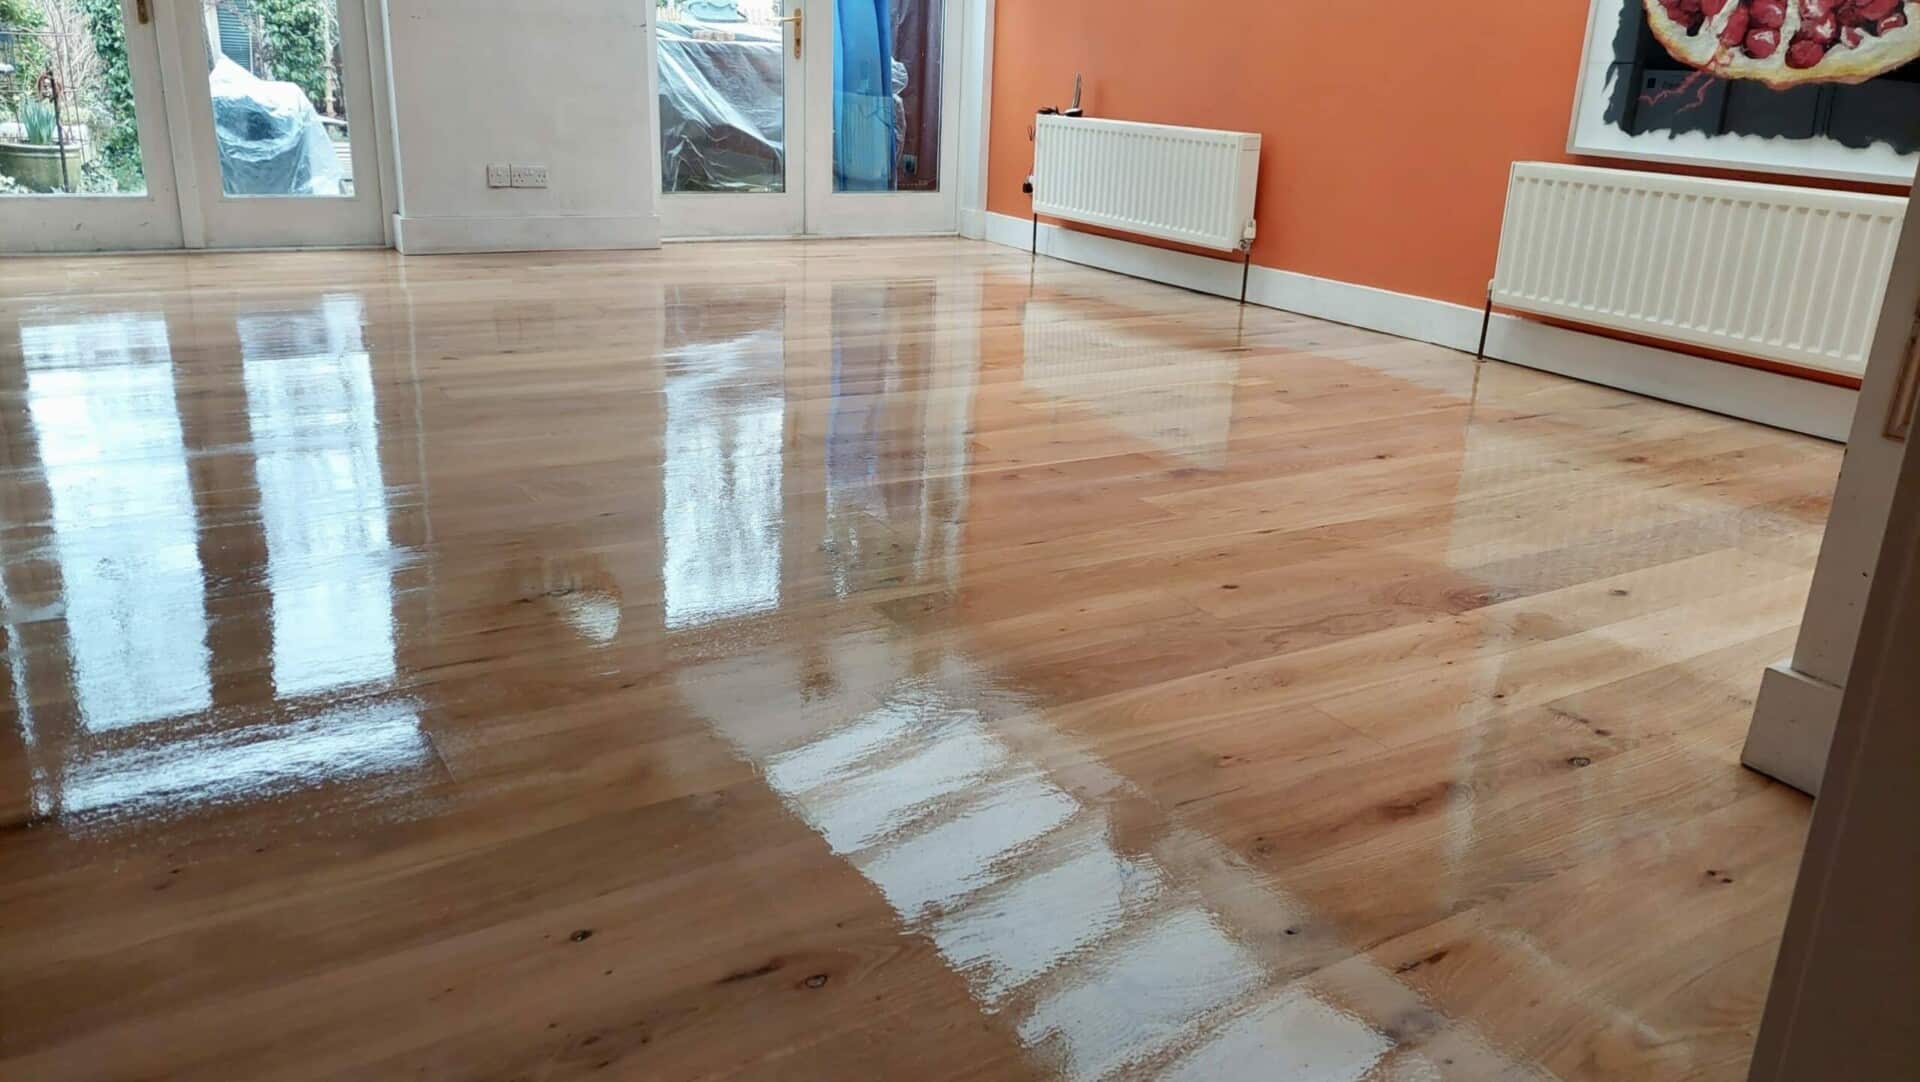
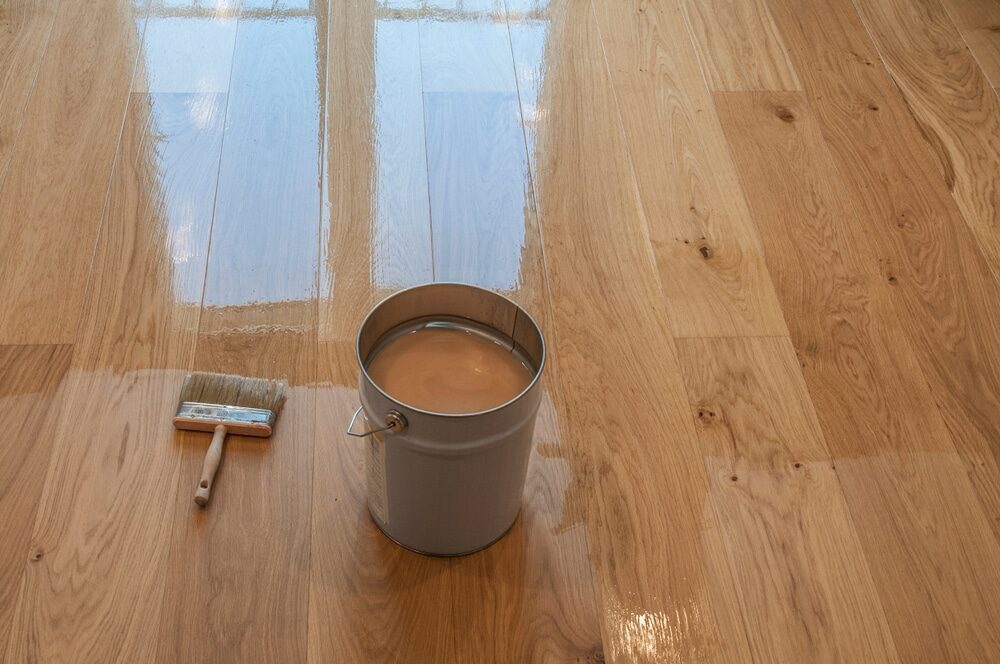
3.4 Applying the Finish
Once your floor is sanded, repaired, and stained (if desired), it’s time to apply the finish. Choose a finish that is compatible with your wood type and the desired level of sheen (matte, satin, semi-gloss, or gloss). Apply the finish in thin, even coats using a brush or roller, allowing each coat to dry according to the manufacturer’s instructions before applying the next one. Typically, two to three coats are necessary for a durable finish.
Part 4: Caring for Your Restored Wooden Floor
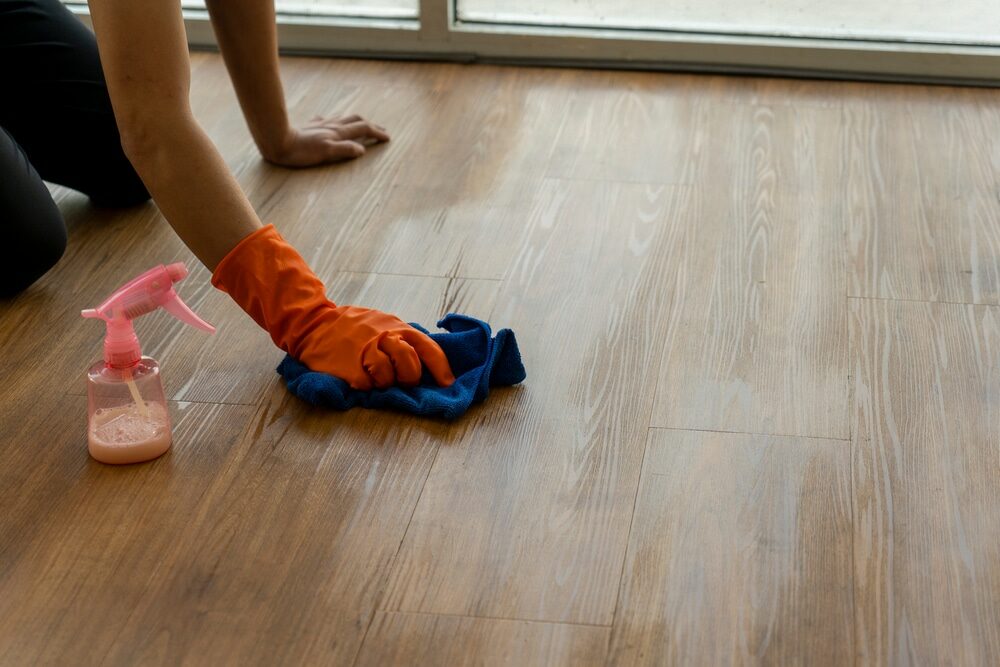
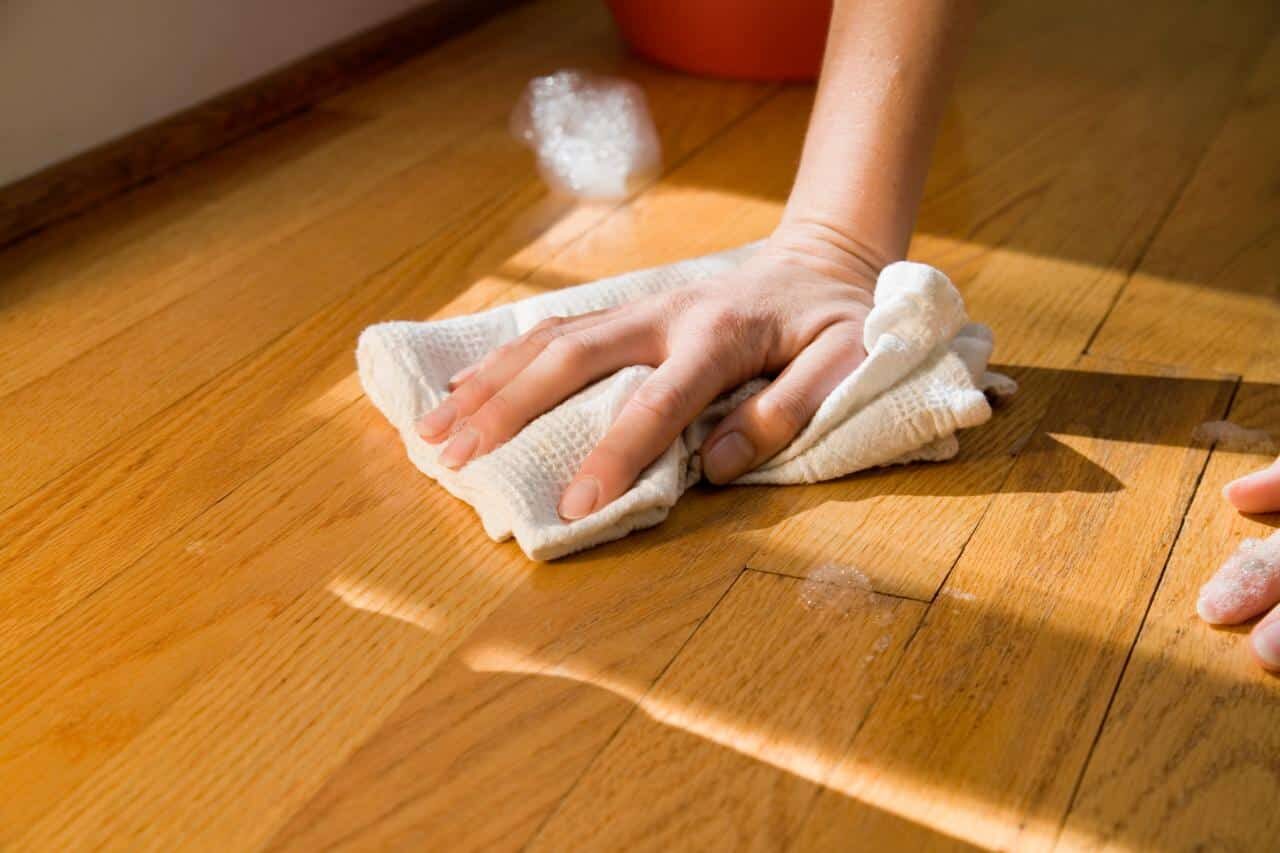
4.1 Routine Cleaning and Maintenance
To keep your restored wooden floor looking beautiful, follow a regular cleaning and maintenance routine. This includes:
- Sweeping or vacuuming regularly to remove dirt and debris
- Cleaning spills immediately helps prevent staining.
- Using a damp (not wet) mop with a gentle cleaning solution designed for wooden floors
- Placing protective pads under furniture legs to prevent scratches
4.2. Preventing Damage
Prevent damage to your restored wooden floor by taking the following precautions:
- Use area rugs or runners in high-traffic areas to reduce wear.
- Trim your pet’s nails to minimise scratches.
- Avoid walking on the floor with high heels or abrasive shoes.
- Use a humidifier or dehumidifier to maintain optimal humidity levels (35–55%).
4.3 Recoating and Refinishing
Over time, even well-cared-for wooden floors may require additional maintenance. A buff and recoat can help restore the shine to a worn finish, while a full sanding and refinishing may be necessary if the floor sustains significant damage or wear.
Some Useful Links:
Conclusion
Restoring a wooden floor is a rewarding project that can breathe new life into your home. By following the advice in this comprehensive guide, you’ll be well-equipped to tackle your wood floor restoration with confidence. Remember to assess the condition of your floor, prepare for the project, select the right tools and materials, and care for your restored floor to ensure its beauty and longevity.
More from our Blog:
Protect Your Restored Wood Floors from Scratches
Polyurethane Cleaner: Unleash a Super Shine on Your Wooden Floor Today
Protect Your Newly Refinished Floors | Felt-Guards for Furniture