London:
Nationwide:
25,000+
Floors Restored
27 Years Experience
Wood Flooring Association Certified
Article – Sanding Wooden Floors Not As Difficult As It Seems
VIEW PRICINGMaster the Art of Sanding Wooden Floors: A Comprehensive DIY Guide
Have you ever looked down at your wooden floors and noticed their once radiant shine has dimmed into a dull, worn surface? Don’t despair; the process of rejuvenating your old wooden floors isn’t as daunting as it may seem. Contrary to popular belief, sanding wooden floors is a DIY project that is straightforward and manageable, requiring only a bit of planning, the right tools, and a touch of elbow grease.
Understanding the Basics
What is Floor Sanding?
Floor sanding is a process that involves removing the top surfaces of a wooden floor by steadily and methodically grinding the surface down with an abrasive material. The process not only brings back the original charm and warmth of your wood flooring, but also improves its longevity and durability.
Why Sand Your Floors?
Sanding your wooden floors is a critical maintenance task. Over time, your floors endure daily wear and tear, which can result in scratches, discolorations, or dents. By sanding the floors, you get rid of these imperfections, revealing the beautiful, untouched wood beneath.
The Right Tools for the Job
Before you begin sanding your floors, it’s essential to ensure you have the right tools at hand.
Essential Tools
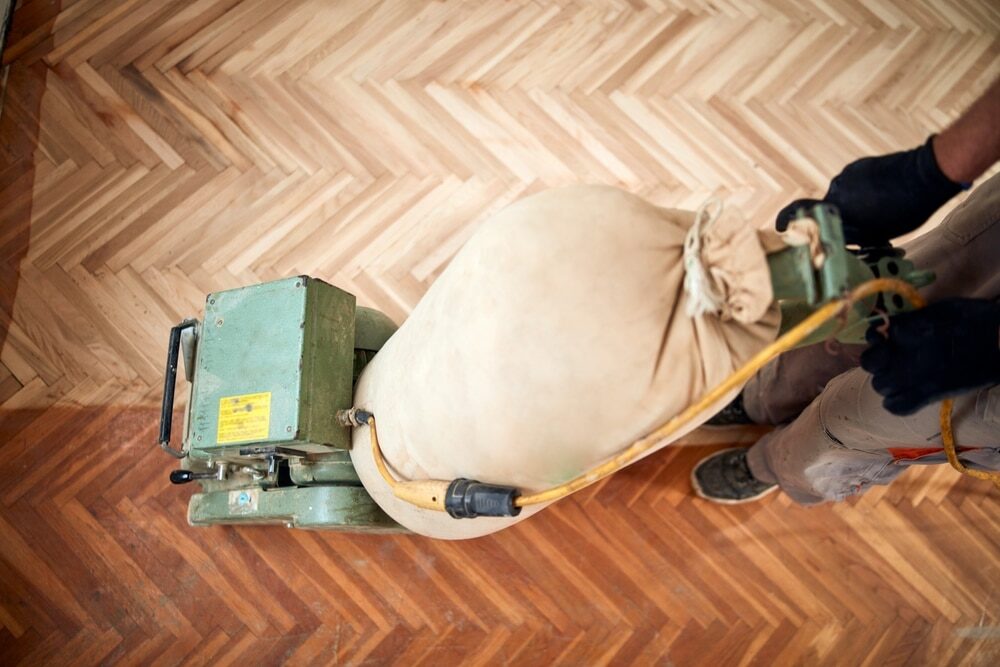
- Drum or Orbital Sander: A drum sander removes wood quickly and is ideal for the main part of the floor, while an orbital sander is perfect for hard-to-reach areas and edges. Rental shops usually have both types.
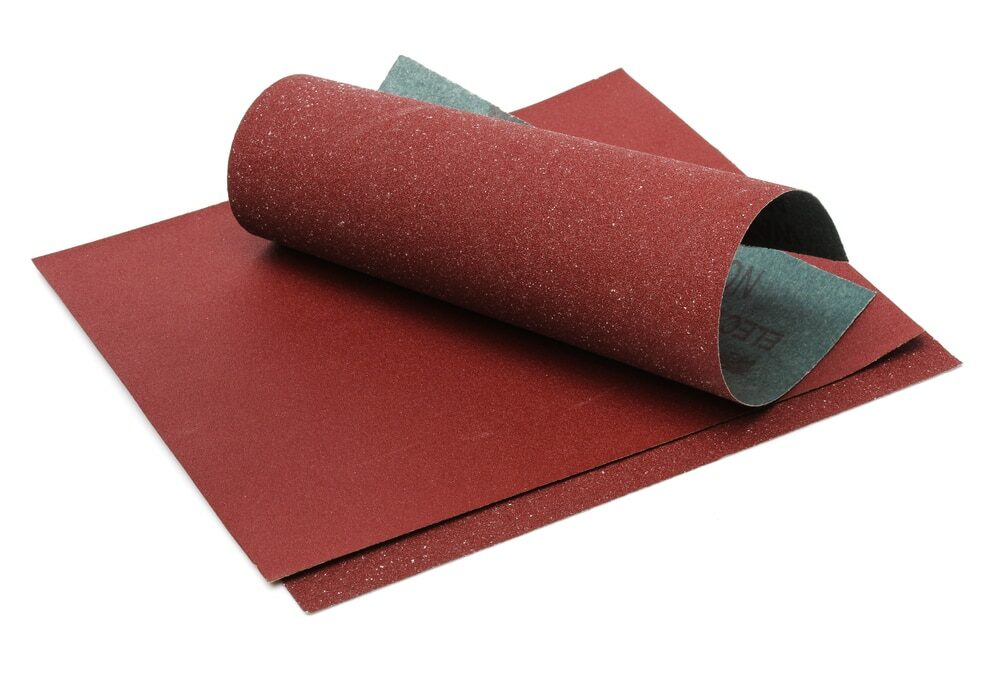
- Sanding Paper: You will need various grit sizes, from coarse (30-40 grit) to fine (100-120 grit).
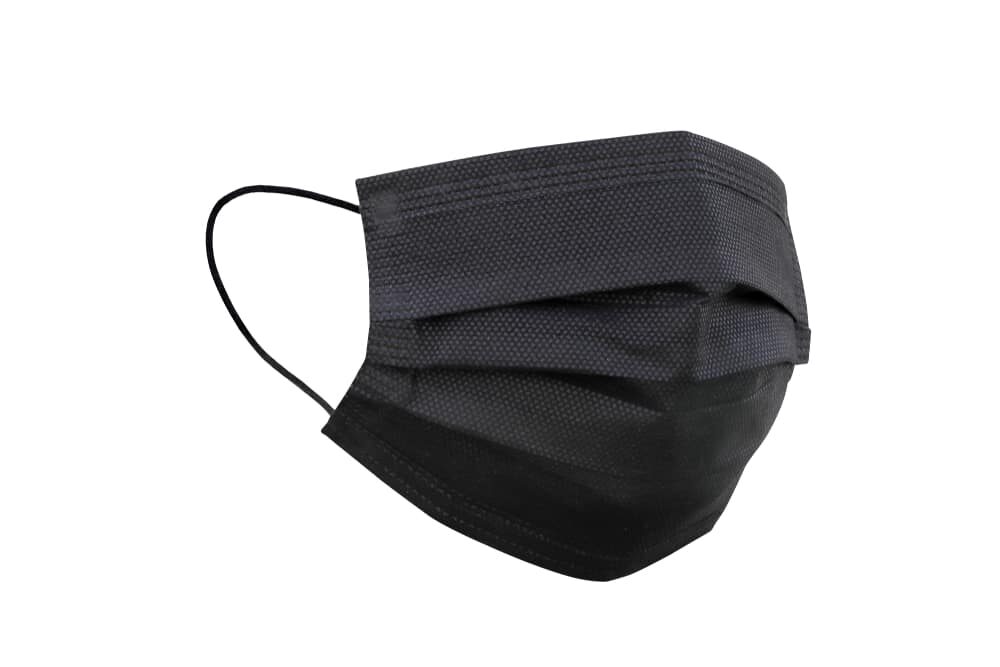
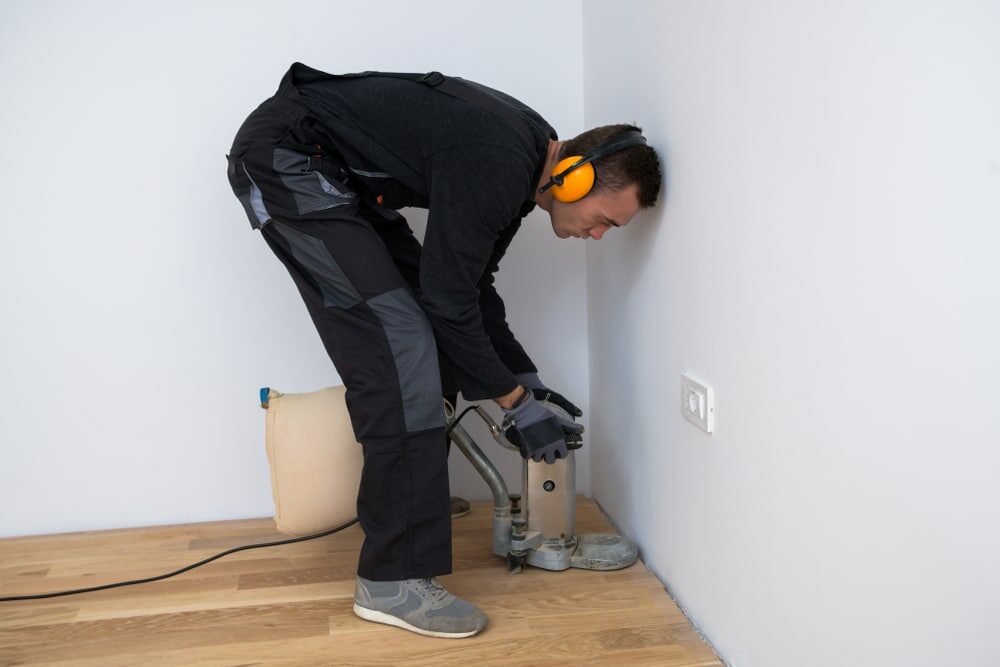
- Safety Gear: Safety glasses, ear protection, and a dust mask are must-haves during this process.
- Vacuum Cleaner: This is for cleaning up the dust post-sanding.

The Step-by-Step Guide to Sanding Your Wooden Floors
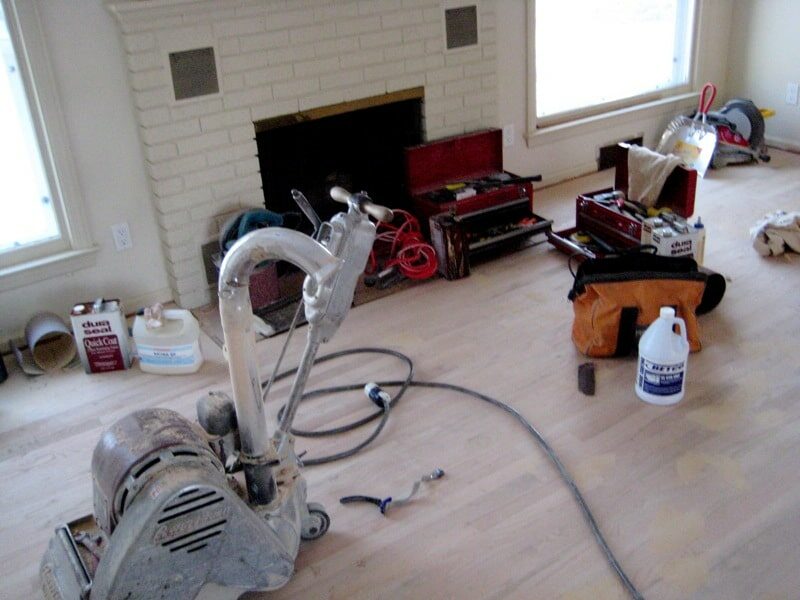
Step 1: Preparation
Remove everything from the room — furniture, rugs, and curtains. Check your floor for protruding nails or staples and hammer them down. Give your floor a good cleaning to remove any dust or debris.
Step 2: Starting With the Edges
Begin by sanding the edges and corners of the room using an orbital sander with a 30-40 grit paper. The edges are often the trickiest part, and starting with them makes the overall process easier.
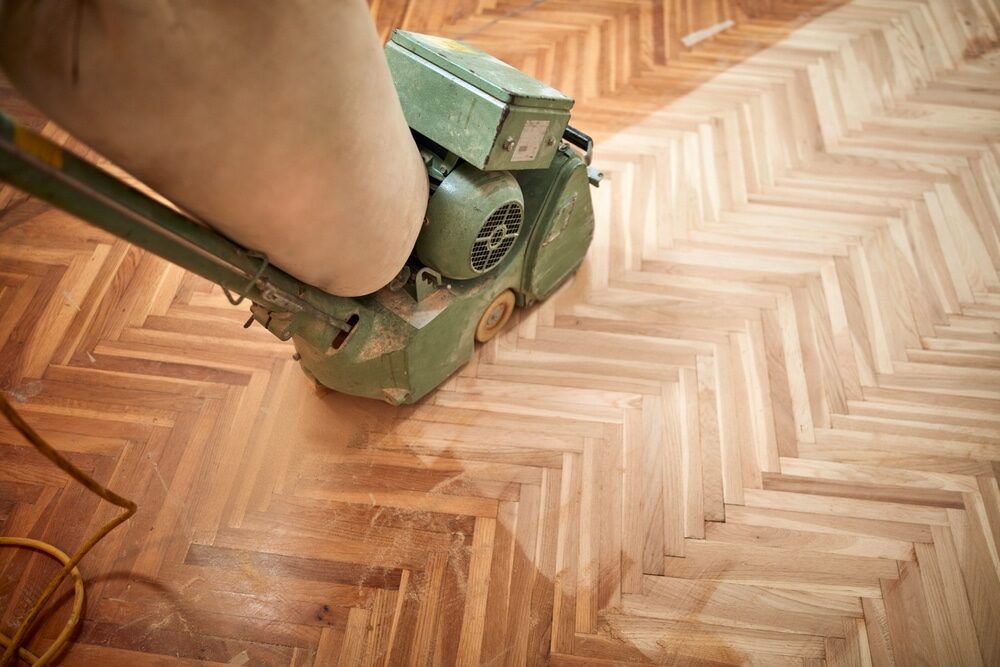
Step 3: Main Floor Sanding
Now it’s time for the main event. Starting at one end of the room, use a drum sander with 40 grit paper and sand diagonally across the floorboards. This helps remove surface irregularities. Make sure to keep the sander moving to avoid creating depressions in the floor.
Step 4: Repeating the Process
Once you’ve finished the first pass, repeat the process with medium (60-80 grit) and then fine (100-120 grit) sandpaper. This ensures you have a smooth and even surface.
Step 5: Clean-up
Thoroughly vacuum the room and wipe the floor down with a damp cloth to remove any remaining dust particles.
Step 6: Finishing Touches
Finally, apply your choice of finish or sealant according to the manufacturer’s instructions, and let it dry.

Conclusion: Floor Sanding Demystified
As this guide has shown, sanding wooden floors doesn’t have to be a herculean task. With a solid plan, the right tools, and a systematic approach, anyone can breathe new life into their wooden floors. Remember, patience is key in this process, and the result is well worth the effort – a beautifully restored wooden floor that will remain stunning for years to come. So, the next time your wooden floors look a little worse for wear, don’t fret; instead, roll up your sleeves and give floor sanding a shot!
Request a fixed price quote for your wood floor restoration now
Simply enter your postcode below to get started.
Services
Wood Floor Sanding Wood Floor Restoration Wood Floor Scratch Repair Squeaky Wood Floor Repair Parquet Floor Sanding Parquet Floor Restoration Commercial Floor Sanding Church Floor Sanding Community Centre Floor Sanding School Floor Sanding Gap Filling Gap Filling with ResinCopyright © Mr Sander®
Privacy & Cookies Terms & Conditions Complaints Procedure Cancellation Rights Sitemap

Get An Instant Price Estimate Before You Go…
Simply enter the rooms you need sanded and we’ll provide you with a price estimate instantly! Try our price calculator now.
Get a Price Estimate NowLocal Floor Sanding Experts
Over 500 5-Star Reviews
Safe, Dust Free Sanding
Operating Since 1994