London:
Nationwide:
25,000+
Floors Restored
27 Years Experience
Wood Flooring Association Certified
How to Avoid Swirl Marks After Hardwood Floor Polishing
VIEW PRICINGHow to Avoid Swirl Marks After Hardwood Floor Polishing
Hardwood floors are a gorgeous addition to any home, but maintaining their shine and beauty requires knowledge and skill. A common challenge many homeowners face after a DIY floor polishing session is the appearance of unsightly swirl marks. However, fear not, because with the correct techniques and a little insider knowledge, you can prevent these annoying blemishes. In this comprehensive guide, we will delve into the causes of swirl marks and provide practical steps on how to avoid them during your hardwood floor polishing endeavours.
Understanding Swirl Marks: Causes and Impact
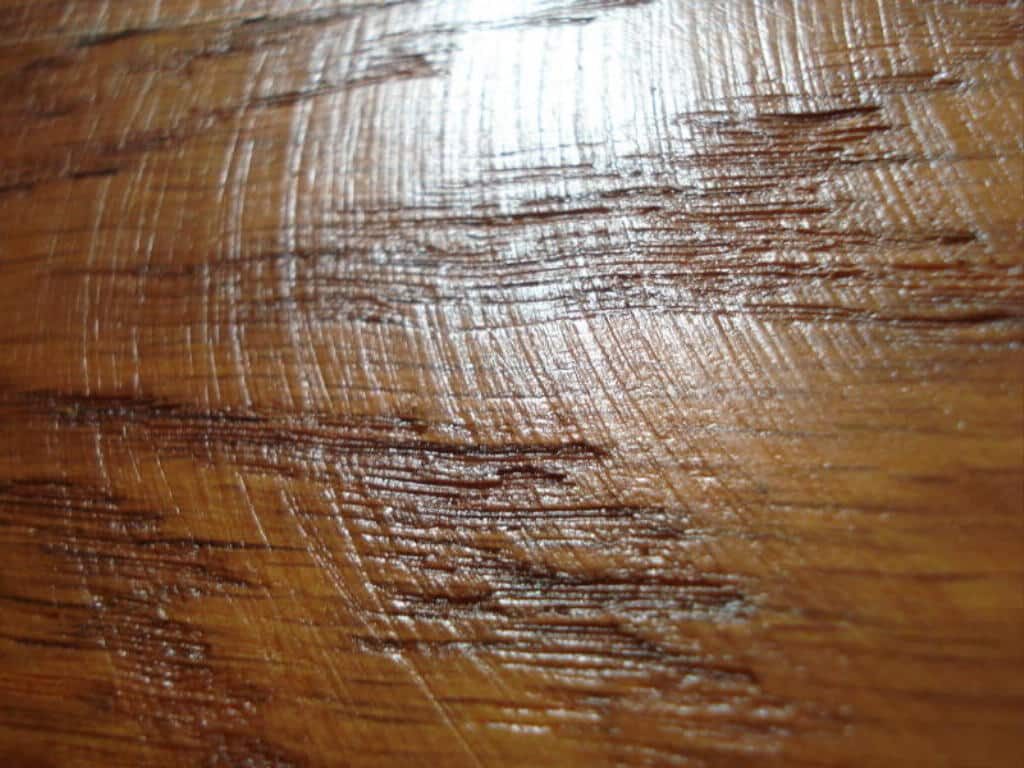
What Are Swirl Marks?
Swirl marks, sometimes referred to as buffer marks, are circular blemishes that appear on the surface of a hardwood floor after it has been sanded or polished with a buffer. These marks are typically caused by improper sanding or polishing techniques or by using incorrect or damaged equipment.
Impact of Swirl Marks
While swirl marks don’t necessarily damage the structure of your hardwood floor, they can detract from its aesthetic appeal, making the surface appear uneven and poorly maintained.
Practical Steps to Avoid Swirl Marks
With the right technique and equipment, you can prevent the formation of swirl marks on your hardwood floor. Here’s a step-by-step guide on how to achieve a flawless finish:
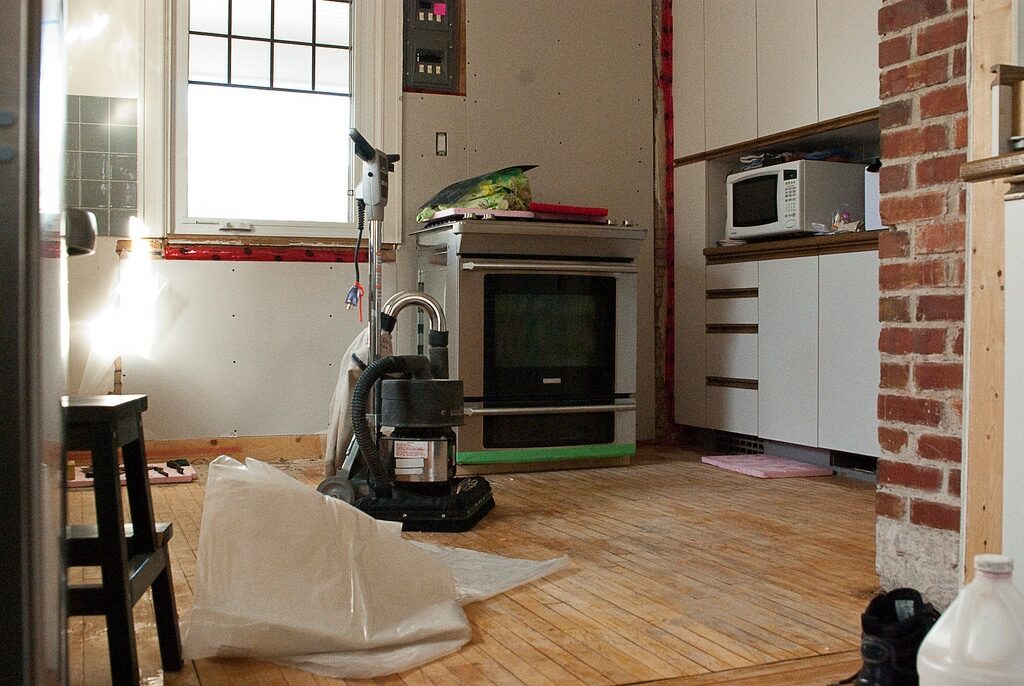
Step 1: Preparing Your Floor
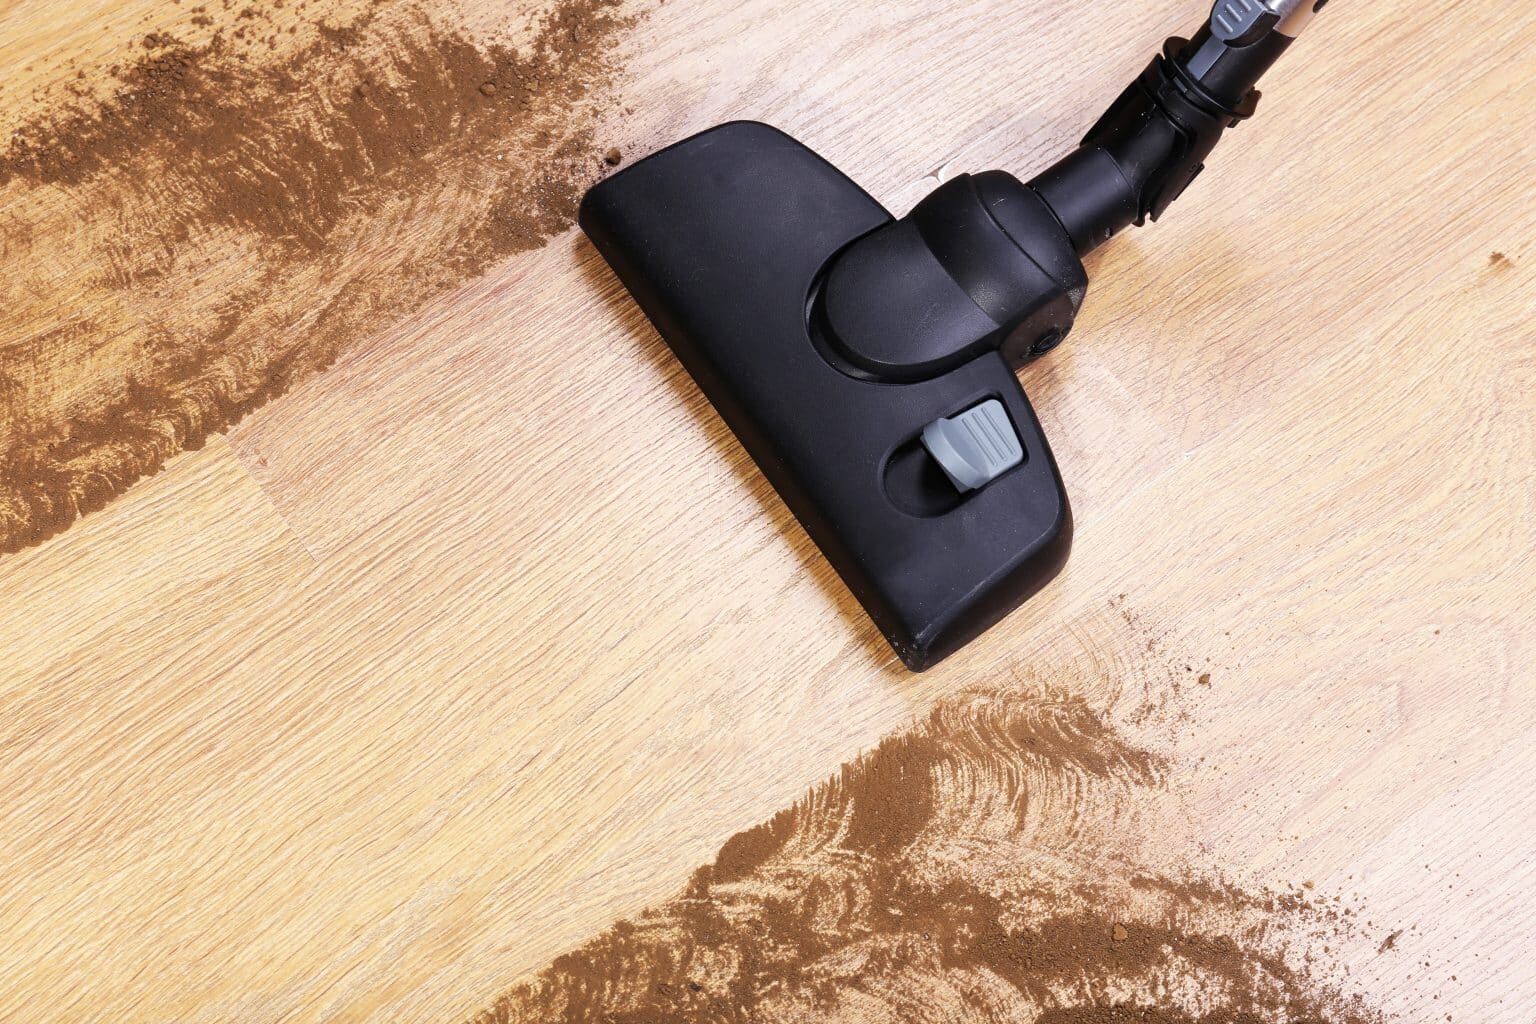
A proper cleaning session before the sanding and polishing process can help prevent swirl marks. Sweep or vacuum the floor to remove dust, dirt, and other small debris that could potentially get trapped under your buffer and cause scratches or swirls.
Step 2: Selecting the Right Equipment and Supplies
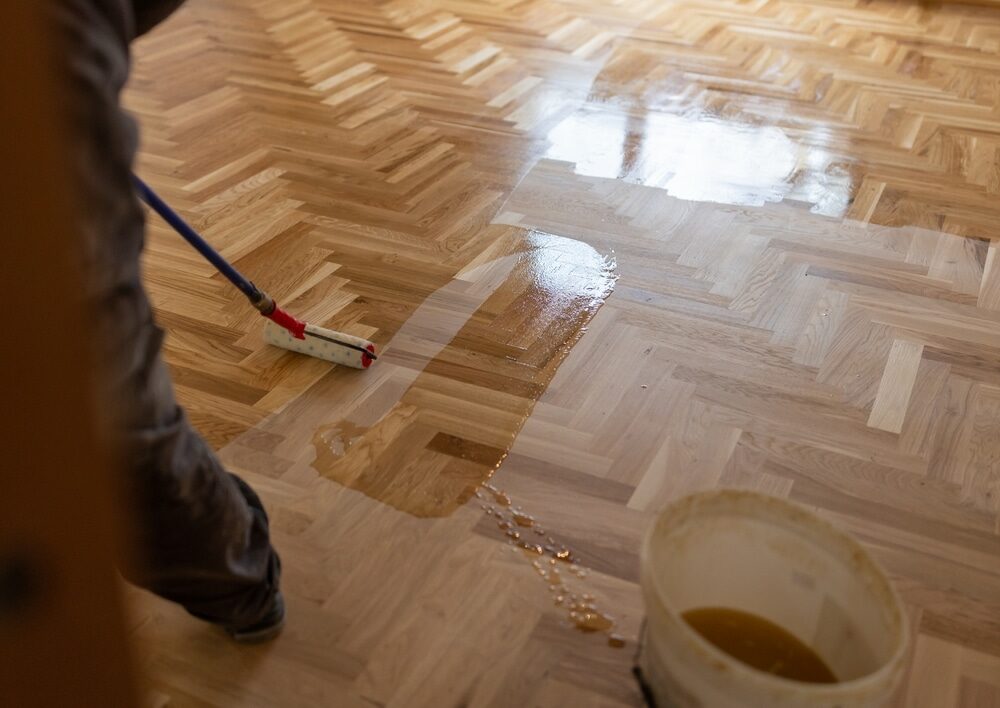
Invest in a high-quality buffer with a soft pad to ensure gentle and even polishing. Likewise, choosing the right type of polishing compound is essential. Opt for a product specifically designed for hardwood floors and follow the manufacturer’s instructions closely.
Step 3: Proper Sanding Technique
Sanding is the precursor to polishing, and how you perform this step can have a significant impact on the final result. Make sure to use the correct grit sequence and do not rush the process. Skipping grits or rushing can leave deeper scratches, leading to swirls when you start to polish.
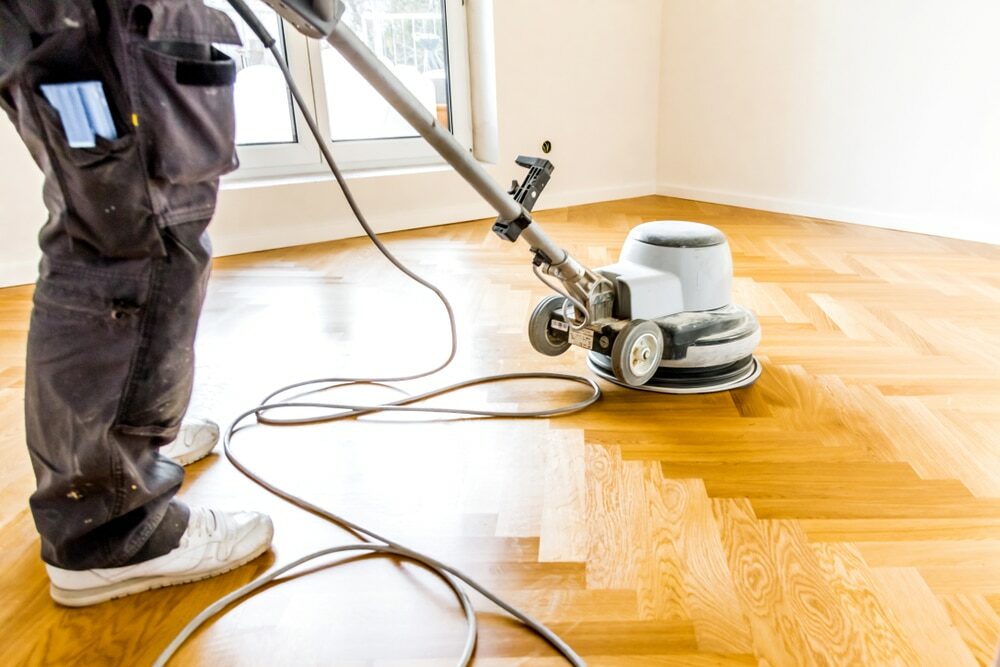
Step 4: Polishing the Hardwood Floor
While polishing, ensure the buffer is moving at all times. Leaving it in one place too long can cause uneven patches and swirls. Moreover, make sure to overlap your passes slightly to ensure no area is missed, and keep the buffer moving smoothly in the direction of the grain.
Step 5: Lighting and Inspection
Good lighting is essential for spotting swirl marks. Use strong, directional light and inspect the floor closely as you work, checking for swirls or missed spots. If you notice any swirl marks, sand the area lightly with fine-grit sandpaper and then polish it again.
Maintaining a Swirl-Free Hardwood Floor
Post-polishing, regular care will help maintain the shine and prevent future swirl marks. Sweep or vacuum the floor regularly to remove abrasive dirt and dust. When cleaning, avoid using harsh chemicals or excessive water, both of which can damage the finish and the wood.
Conclusion: Polishing Hardwood Floors Without Swirl Marks
While achieving a swirl-free polished hardwood floor might seem daunting, with careful preparation, the right equipment, and a meticulous technique, it’s entirely feasible. The trick is to approach the task patiently and thoughtfully, always checking your work as you progress. Remember, hardwood floor polishing isn’t just about maintaining the aesthetic appeal of your floor; it’s also about preserving its quality and extending its lifespan. So, the next time you decide to polish your hardwood floor, keep these tips in mind and say goodbye to pesky swirl marks!
Request a fixed price quote for your wood floor restoration now
Simply enter your postcode below to get started.
Services
Wood Floor Sanding Wood Floor Restoration Wood Floor Scratch Repair Squeaky Wood Floor Repair Parquet Floor Sanding Parquet Floor Restoration Commercial Floor Sanding Church Floor Sanding Community Centre Floor Sanding School Floor Sanding Gap Filling Gap Filling with ResinCopyright © Mr Sander®
Privacy & Cookies Terms & Conditions Complaints Procedure Cancellation Rights Sitemap

Get An Instant Price Estimate Before You Go…
Simply enter the rooms you need sanded and we’ll provide you with a price estimate instantly! Try our price calculator now.
Get a Price Estimate NowLocal Floor Sanding Experts
Over 500 5-Star Reviews
Safe, Dust Free Sanding
Operating Since 1994