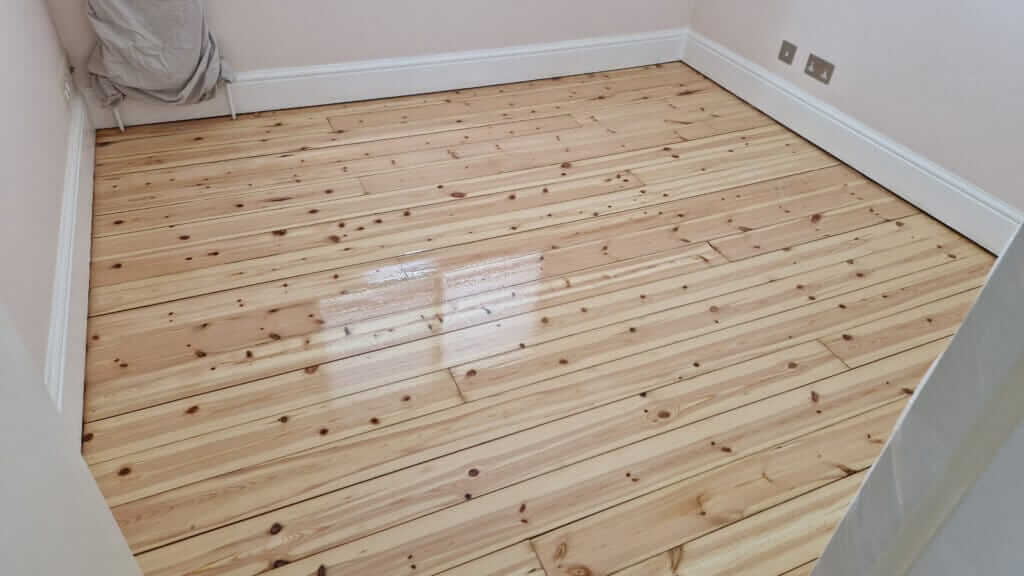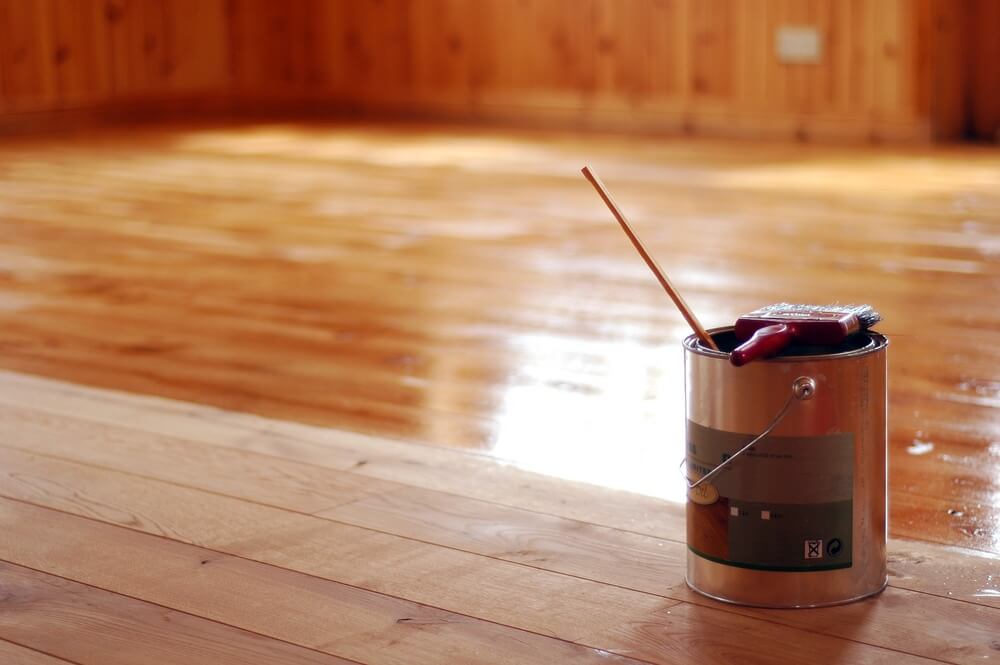
The Ultimate Guide to Wood Floor Waxing: Achieve a Lustrous Shine
Your home is your castle, and every castle deserves to shine. There’s something magical about a wood floor that gleams with a lustrous finish, reflecting the warmth and elegance of your space. It speaks volumes about your attention to detail, your love for beautiful surroundings, and your dedication to maintaining the heart of your home. But achieving that showroom shine isn’t just about aesthetics; it’s about protecting your investment, ensuring longevity, and creating a welcoming environment for family and friends. When your wood floors are well-maintained, they tell a story of care, pride, and a touch of magic that transforms a house into a home.
Waxing wood floors is an art form, a tradition that combines practicality with a dash of passion. It’s not just about slapping on a coat of wax and hoping for the best. No, waxing is a meticulous process that requires understanding, patience, and a bit of elbow grease. But the results? They’re nothing short of spectacular. A properly waxed floor doesn’t just look good; it feels good. There’s a certain satisfaction in seeing your reflection in that polished surface, knowing that you’ve brought out the natural beauty and character of the wood.
In the pages that follow, we’ll guide you through the wonders of waxing, from understanding the different types of wax to mastering the application techniques that ensure a flawless finish. Whether you’re a seasoned DIY enthusiast or a complete novice, this guide will provide you with the knowledge and confidence to maintain a lustrous wood floor shine that will leave your guests in awe. So, let’s embark on this journey together and unlock the secrets to waxing wonders that will keep your floors sparkling for years to come.
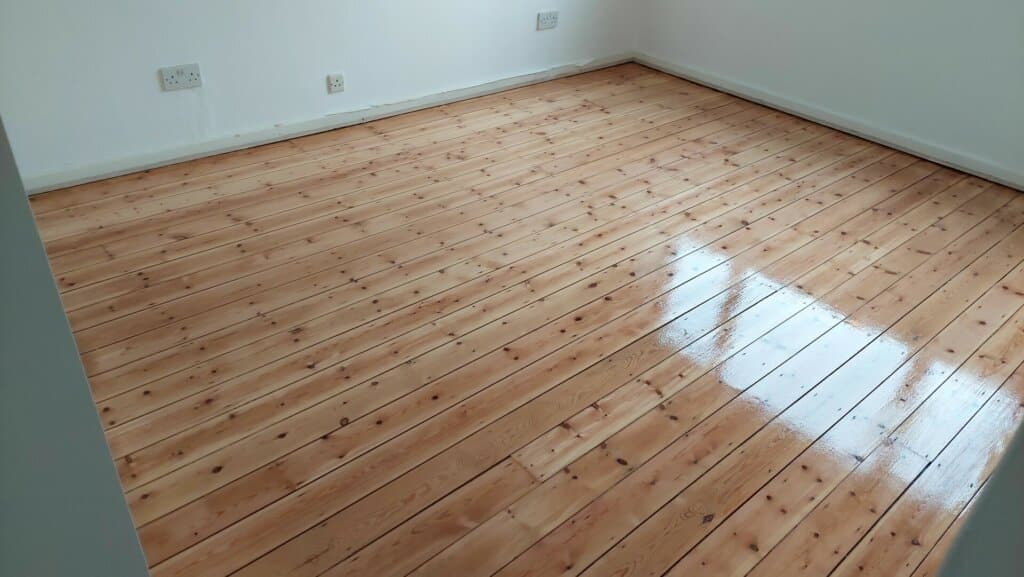
Understanding Wood Floor Waxing
Types of Floor Wax
Not all floor waxes are created equal, and understanding the different types can make all the difference in achieving that perfect shine. There are two main categories: paste wax and liquid wax. Paste wax, with its rich, creamy consistency, offers a deep, enduring shine and a layer of robust protection. It’s the choice for those who seek the utmost in durability and an unparalleled finish. Liquid wax, on the other hand, is easier to apply and quicker to dry. It provides a lovely shine and is ideal for regular upkeep. We believe in choosing the right wax for your specific needs to ensure your floors look their absolute best.
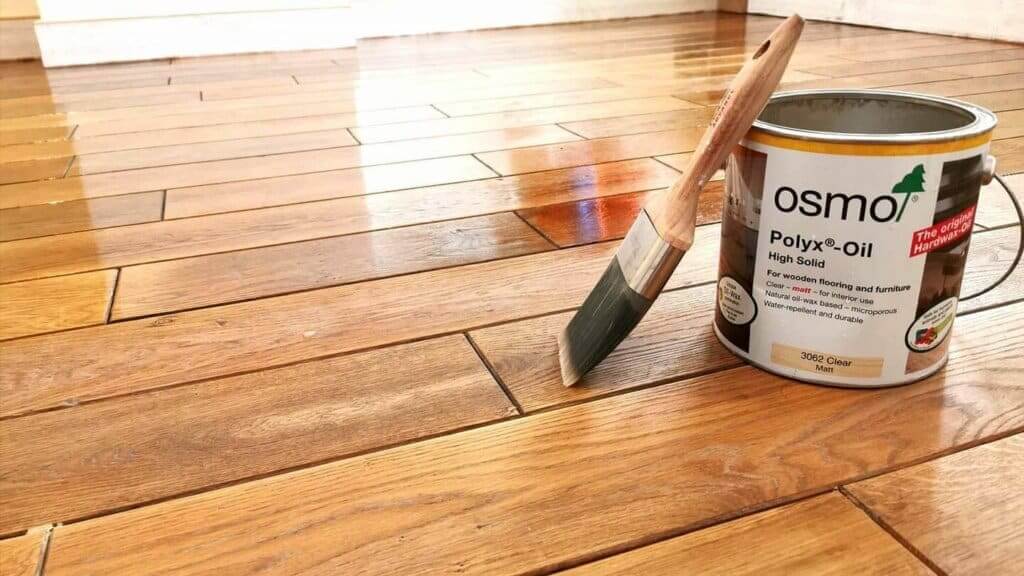
Top 10 Benefits of Waxing Wood Floors
1. Enhanced Aesthetic Appeal Waxing brings out the natural beauty of wood floors, enhancing their colour and grain. The process leaves a warm, inviting sheen that can transform any room, adding a touch of elegance and sophistication.
2. Improved Durability Wax acts as a protective barrier, safeguarding wood floors from scratches, stains, and spills. This added layer of protection helps to prolong the lifespan of your flooring, keeping it looking pristine for years.
3. Easy Maintenance Waxed floors are easier to clean and maintain. Spills and dirt can be quickly wiped away, preventing them from penetrating the wood. Regular waxing reduces the need for extensive cleaning and refinishing, saving you time and effort.
4. Cost-Effective Solution Compared to other floor treatments, waxing is a relatively inexpensive method to maintain and enhance wood floors. It provides long-term benefits without the high costs associated with other protective treatments.
5. Environmentally Friendly Wax is a natural product, often derived from plants and bees. Using wax to maintain your wood floors is an eco-friendly choice, as it avoids the harsh chemicals found in some other floor treatments.
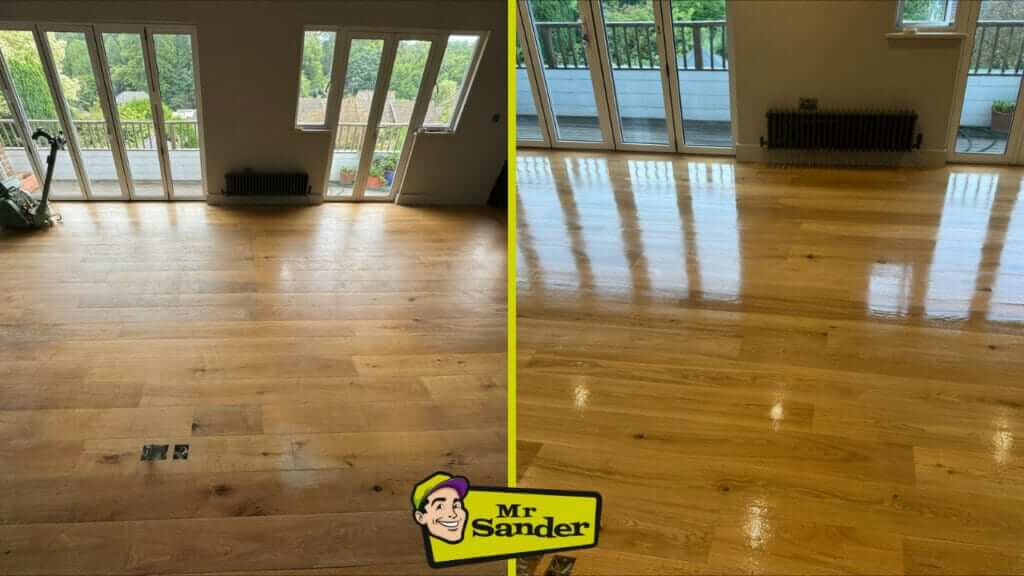
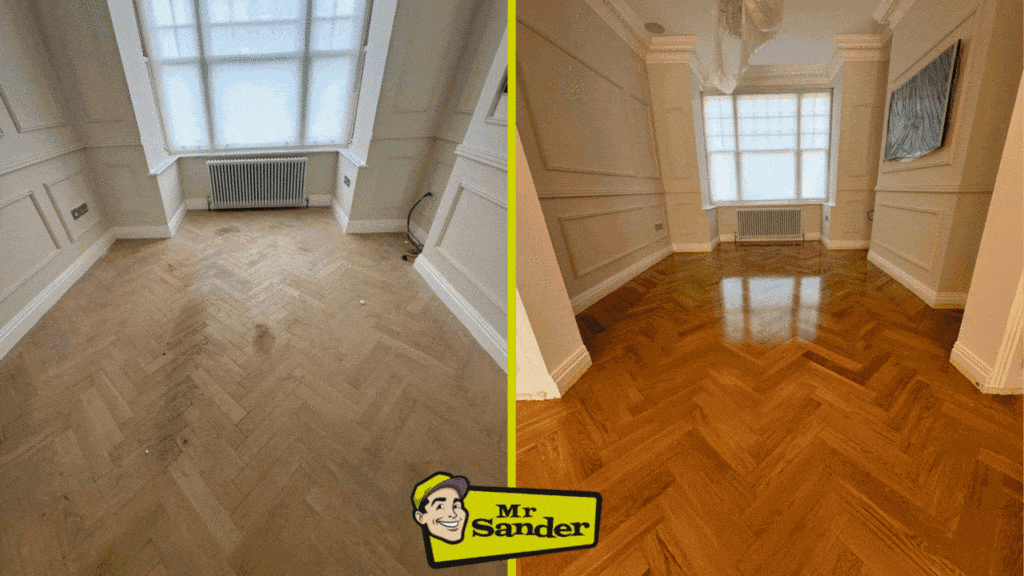
6. Restores Shine and Lustre Over time, wood floors can become dull and worn. Waxing revitalises their appearance, restoring their original shine and lustre. This process can breathe new life into old or tired-looking floors.
7. Customisable Finish Wax offers a range of finish options, from high gloss to matte. This versatility allows you to choose a finish that complements your home’s decor and your personal style preferences.
8. Provides a Non-Slip Surface Waxed floors have a slight tackiness that can help reduce the risk of slipping. This makes them a safer option, especially in households with children or elderly individuals.
9. Enhances Wood’s Natural Qualities Waxing enhances the natural qualities of wood, including its texture and warmth. This treatment accentuates the wood’s character, making your floors a unique and attractive feature in your home.
10. Easy to Reapply Unlike some other floor treatments, wax can be reapplied as needed without requiring a complete refinish. This makes it easy to maintain the look and protection of your floors with minimal disruption to your home.
Common Myths About Floor Waxing
There are many misconceptions about waxing wood floors, and it’s time to set the record straight. One common myth is that waxing is an outdated practice, replaced by modern finishes. While it’s true that there are many options available today, waxing remains a tried-and-true method for achieving a timeless, beautiful finish. Another myth is that waxing is too labor-intensive. While it does require some effort, the results are well worth it, and with the right techniques and tools, the process can be quite manageable. Finally, some believe that waxing can damage their floors. In reality, when done correctly, waxing protects and preserves the wood, enhancing its longevity and appearance.
By understanding the types of wax, appreciating the benefits, and dispelling the myths, you’re well on your way to mastering the art of wood floor waxing. We’re passionate about helping you achieve that perfect shine, and we’re here to guide you every step of the way. So, let’s dive deeper into the world of waxing and discover how you can maintain a lustrous, beautiful floor that will stand the test of time.
Preparation Before Waxing
Assessing Your Floor’s Condition
Before you dive into the waxing process, it’s essential to take a step back and assess the current state of your wood floors. Look for signs of wear and tear, such as scratches, dull spots, or areas where the finish has worn thin. Understanding your floor’s condition will help you determine the level of preparation required and ensure the waxing process delivers the best possible results. A well-prepared floor not only looks better but also holds the wax more effectively, prolonging the shine and protection. We believe that careful assessment is the foundation of a successful waxing job.
Cleaning and Prepping the Surface
Once you’ve assessed your floor, the next step is to clean and prep the surface thoroughly. This is where the magic begins. Start by sweeping or vacuuming to remove loose dirt and debris. Follow this with a damp mop using a gentle wood floor cleaner to lift any stubborn grime. Be sure to avoid soaking the floor; excessive moisture can damage the wood. Allow the floor to dry completely before moving on. If there are any old wax residues or stubborn stains, consider using a wax remover or a gentle sanding to ensure a smooth, clean surface ready to embrace the new wax. Remember, the cleaner your floor, the more radiant the final result will be.

Tools and Materials Needed
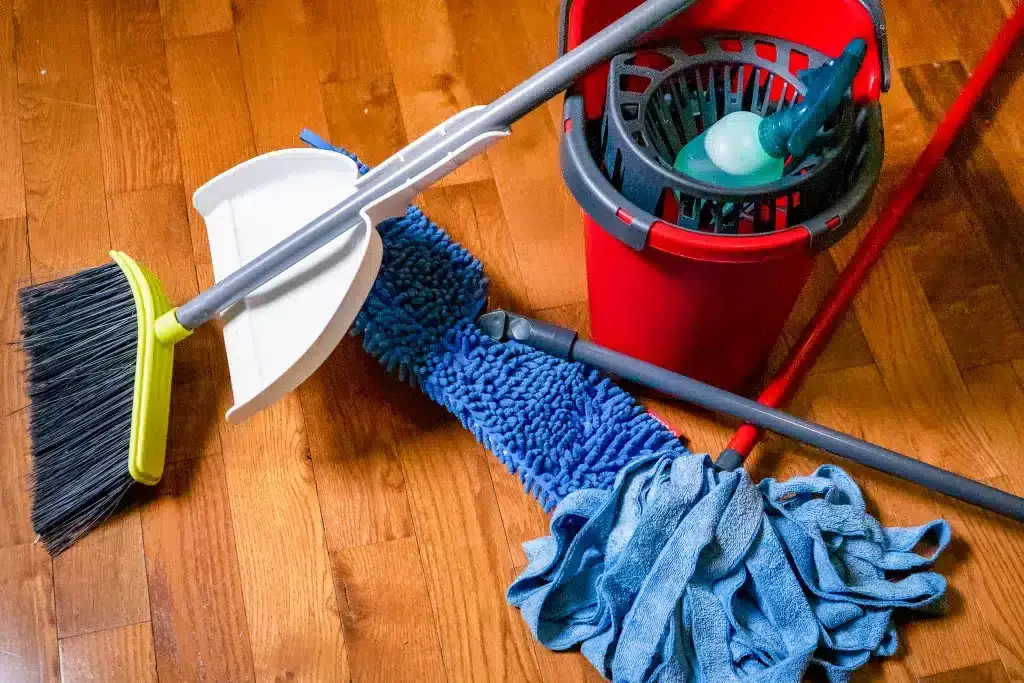
Equipping yourself with the right tools and materials is crucial for a seamless waxing experience. Here’s a checklist to get you started:
- Wax Applicator: Choose between a cloth, sponge, or a specialised applicator pad. Each has its own benefits, but the key is to use one that applies the wax evenly.
- Floor Wax: Select the appropriate wax for your wood floor type – be it paste or liquid, and ensure it’s of high quality.
- Cleaning Supplies: A good broom or vacuum, a mop, and a wood floor cleaner are essential for pre-wax cleaning.
- Protective Gear: Don’t forget gloves to protect your hands and knee pads if you’ll be working on your hands and knees.
- Buffer or Polisher: While not strictly necessary, a floor buffer can make the job of buffing the wax to a high shine much easier and more effective.
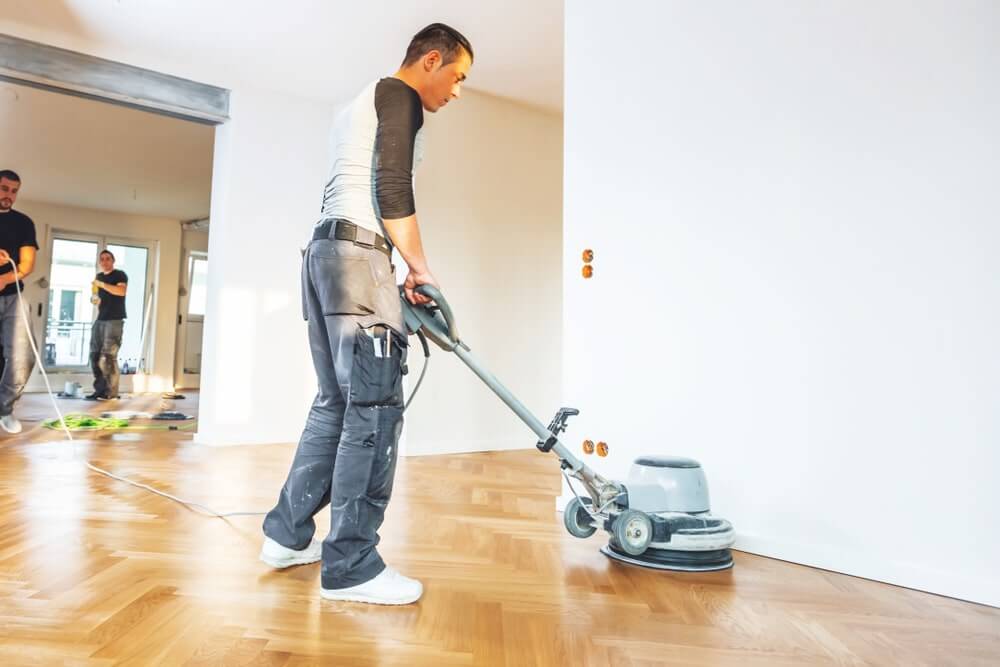
Having these tools and materials on hand before you start will make the waxing process smoother and more enjoyable. We believe that preparation is half the battle won. By investing a little time and effort upfront, you set the stage for a dazzling finish that will make your wood floors the envy of all who see them.
With your floor assessed, cleaned, and your tools at the ready, you’re now perfectly poised to embark on the waxing journey. The preparation phase is about laying the groundwork for a stunning transformation. Remember, every step you take towards careful preparation brings you closer to achieving that lustrous, professional finish you desire. So, let’s roll up our sleeves and get ready to bring out the brilliance in your wood floors!
Waxing Your Wood Floor: Step-by-Step Guide
Selecting the Right Wax
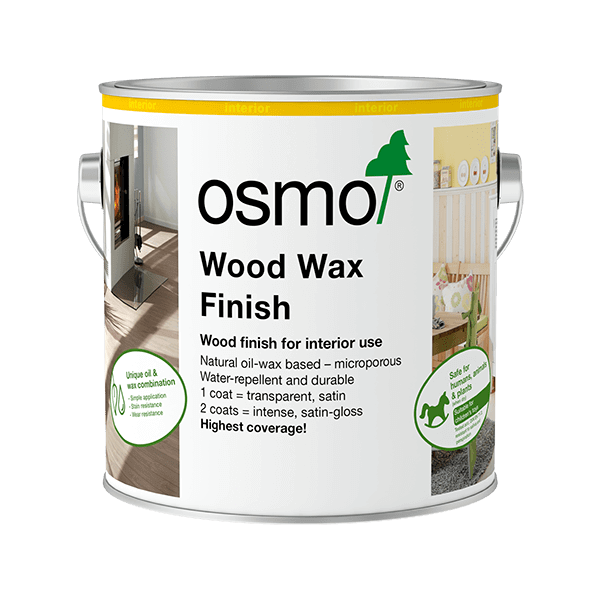
Choosing the right wax is the cornerstone of achieving a brilliant, lasting shine on your wood floors. The market offers various options, but understanding what suits your specific needs is crucial. Paste wax, known for its durability and rich finish, is ideal for high-traffic areas or older floors needing extra love. Liquid wax, while easier to apply, provides a beautiful shine perfect for regular maintenance. When selecting your wax, consider the type of wood, the finish currently on your floor, and the level of protection you desire. We believe in using top-quality products to ensure your floors not only look stunning but are also well-protected.
Application Techniques
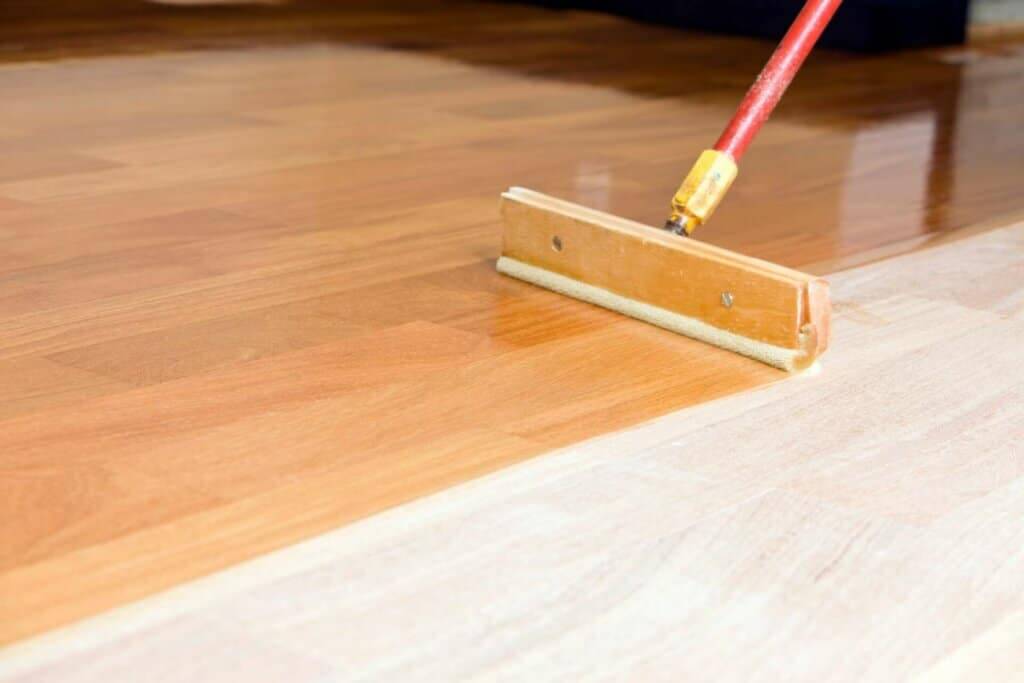
Applying wax to your wood floor is an art that requires patience and precision. Start by testing the wax on a small, inconspicuous area to ensure compatibility and satisfaction with the finish. Once you’re ready, follow these steps:
- Spread Evenly: Apply a thin, even layer of wax using your chosen applicator – whether it’s a cloth, sponge, or applicator pad. Work in small sections, moving in the direction of the wood grain.
- Less is More: Avoid over-applying wax. A little goes a long way and excess wax can lead to a sticky, uneven finish. Thin layers are key to achieving a smooth, polished surface.
- Buff Between Coats: After the first coat has dried, buff the floor with a clean, dry cloth or a mechanical buffer. This helps to smooth the surface and bring out the initial shine.
- Apply Additional Coats: Depending on your floor’s condition and the desired level of shine, you may need to apply additional coats. Repeat the process of applying and buffing until you achieve the perfect finish.

Drying and Buffing
Patience is vital during the drying process. Allow each coat of wax to dry thoroughly before buffing. This can take anywhere from 30 minutes to an hour, depending on the wax type and room conditions. Rushing this step can compromise the finish, leading to a less-than-perfect result. Once dry, buff the floor to a high shine using a clean cloth or a floor polisher. The buffing action not only enhances the gloss but also hardens the wax, providing a durable, protective layer. We believe that the extra time spent on drying and buffing is what sets apart a good finish from a truly spectacular one.
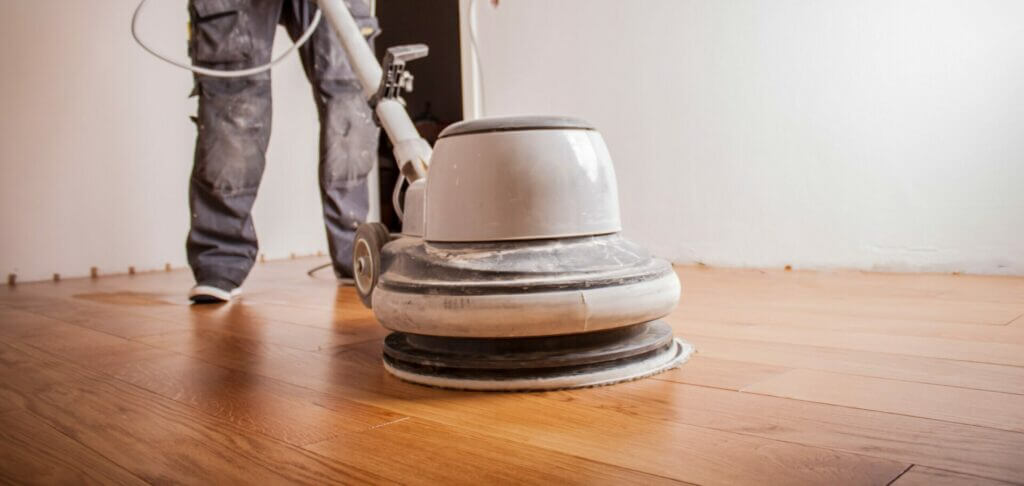
By following these application techniques and taking the time to properly dry and buff your floors, you’ll achieve a shine that’s not only visually stunning but also long-lasting. The effort you put into waxing your wood floors will be evident in the way they gleam and the compliments you receive. Remember, waxing is more than just a maintenance task; it’s a way to infuse your home with warmth, elegance, and a touch of magic. So, let’s get to work and transform your wood floors into a masterpiece of lustrous beauty!
Post-Waxing Care and Maintenance
Regular Cleaning Tips
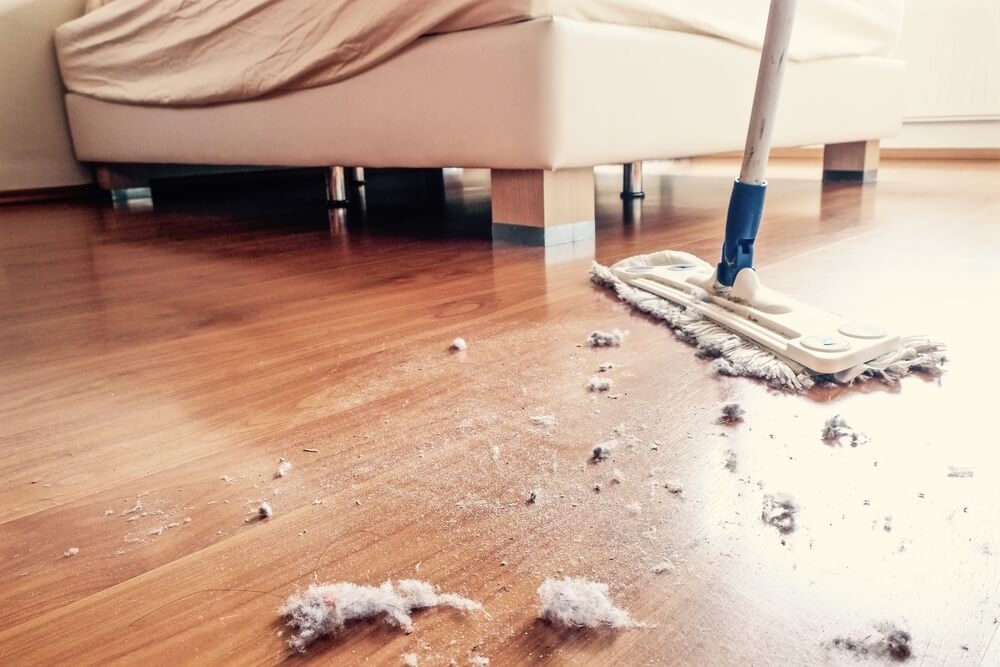
Maintaining the shine and protection provided by your waxing efforts requires regular care, but it doesn’t have to be a chore. A few simple practices will keep your floors looking their best. Begin by sweeping or vacuuming daily to remove dust and debris that can dull the surface. Use a soft-bristle broom or a vacuum with a hardwood floor attachment to prevent scratches. For a deeper clean, use a damp mop with a pH-neutral wood floor cleaner. Avoid using excessive water as it can damage the wax and the wood underneath.
Reapplying Wax
Even with regular care, your floors will eventually need a fresh coat of wax to maintain their lustrous shine and protective layer. The frequency of reapplication depends on the level of foot traffic and the type of wax used. As a general rule, high-traffic areas like hallways and living rooms may need waxing every six months, while less-used areas can go up to a year. When it’s time to reapply, start by thoroughly cleaning the floor to remove any dirt and old wax residue. Apply a new thin coat of wax, following the same meticulous steps you used initially. Remember, a little effort in reapplying wax goes a long way in extending the life and beauty of your wood floors.
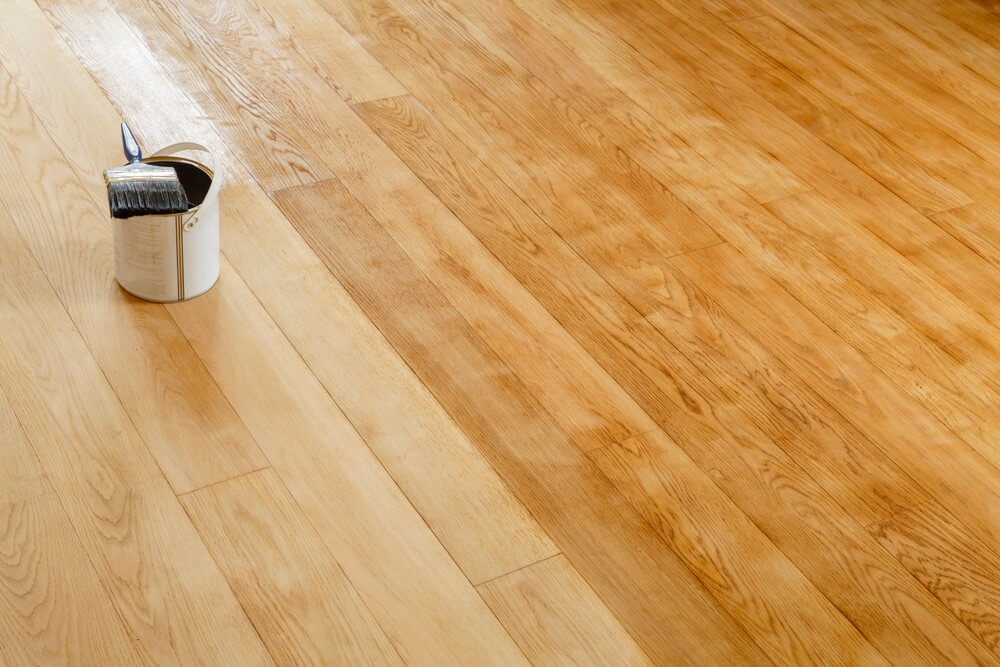
Avoiding Common Mistakes
While waxing your floors, it’s easy to make mistakes that can affect the final outcome. One common error is applying too much wax, which can lead to a sticky, uneven finish. Always apply thin, even layers, and buff thoroughly between coats. Another mistake is neglecting regular maintenance, which can cause the wax to wear unevenly and dull over time. Ensure you keep up with your cleaning routine to avoid this. Additionally, using harsh chemicals or abrasive cleaning tools can damage the wax and the wood. Stick to gentle, pH-neutral cleaners and soft cloths or mops.
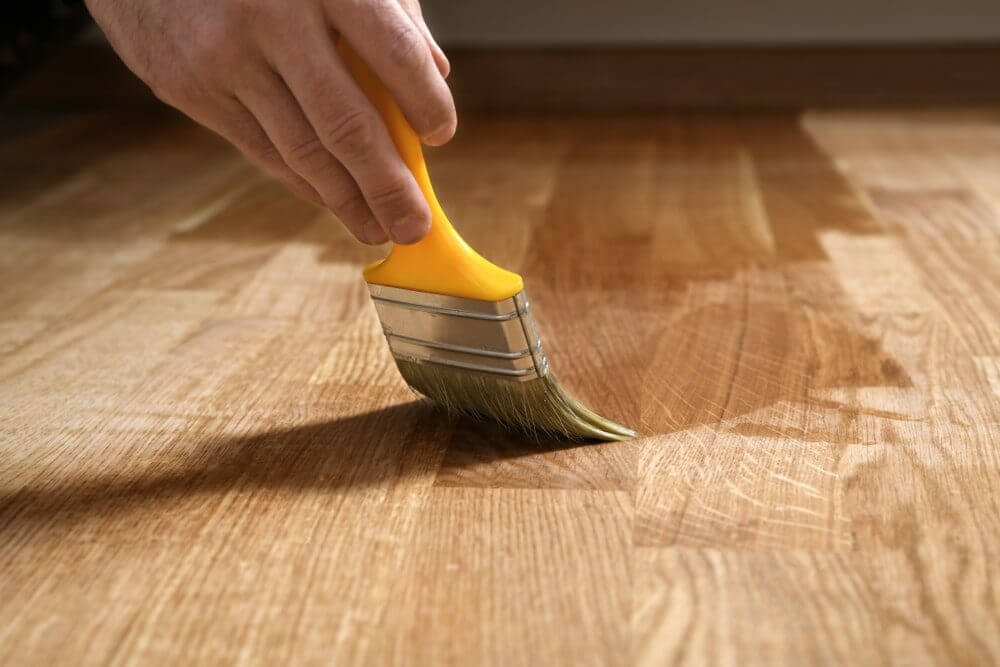
By following these post-waxing care and maintenance tips, you can enjoy the beauty and durability of your wood floors for years to come. Regular cleaning, timely reapplication of wax, and avoiding common mistakes will keep your floors looking their best and feeling smooth underfoot. Remember, your wood floors are an investment in your home’s comfort and style. With a little care and attention, you can preserve their charm and elegance, making your home a warm and inviting space. So, embrace these simple maintenance practices and let your floors continue to shine with the magic of a well-kept home.
Troubleshooting Common Issues
Tackling Wax Build-Up
Even the most meticulously waxed floors can sometimes suffer from build-up, resulting in a dull, cloudy appearance. If you notice that your floor has lost its shine and feels sticky underfoot, it’s time to address the excess wax. Start by applying a wax remover or a mild solvent recommended for wood floors. Work in small sections, using a soft cloth to gently lift the build-up without damaging the wood beneath. Be sure to follow the product instructions carefully. After removing the excess wax, clean the floor thoroughly and allow it to dry completely before applying a fresh, thin coat of wax. We believe that regular maintenance and periodic deep cleaning can prevent build-up, ensuring your floors always look their best.
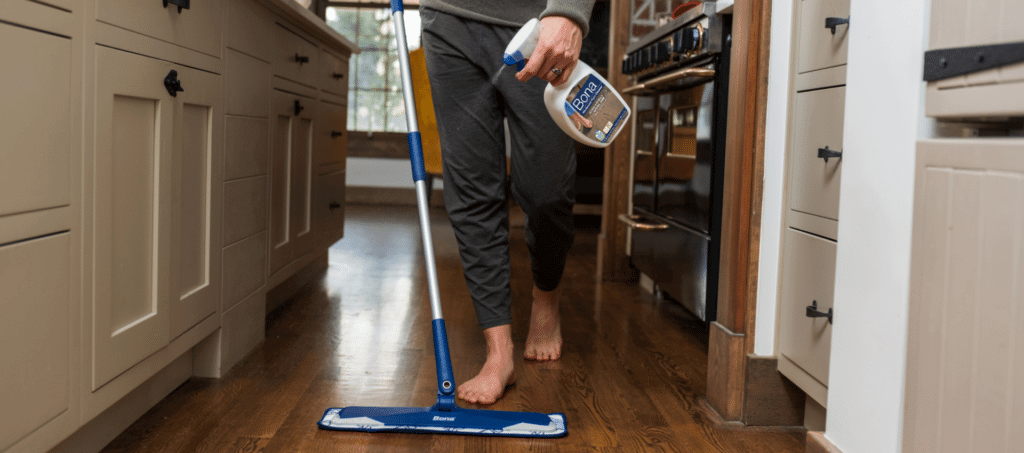
Dealing with Scratches and Scuffs
Scratches and scuffs are inevitable, especially in high-traffic areas. However, they don’t have to ruin the beauty of your floors. For minor scratches, a touch-up stick or a wax crayon in a matching colour can work wonders. Simply fill in the scratch and buff the area gently to blend. For deeper scratches, you might need to sand the area lightly with fine-grit sandpaper, then reapply the wax. Scuffs, on the other hand, can often be removed with a soft cloth and a bit of elbow grease. For stubborn scuffs, try a dab of baking soda on a damp cloth. We believe that addressing scratches and scuffs promptly keeps your floors looking pristine and prolongs their life.
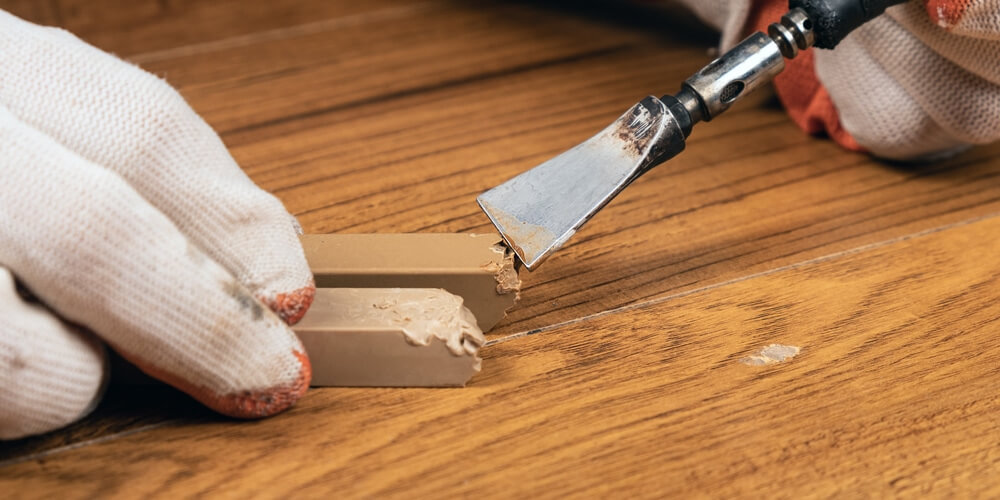
Preventing Discoloration
Discoloration can be a troublesome issue, often caused by prolonged exposure to sunlight, moisture, or improper cleaning products. To prevent this, ensure you use only pH-neutral cleaners specifically designed for wood floors. Place rugs or mats in areas with high sun exposure and rotate them regularly to avoid uneven fading. If you notice discoloured spots, it might be time to strip the old wax and apply a fresh coat. For more severe discoloration, sanding the affected area and reapplying the finish might be necessary. We believe in the power of prevention and timely intervention to maintain the natural beauty of your wood floors.
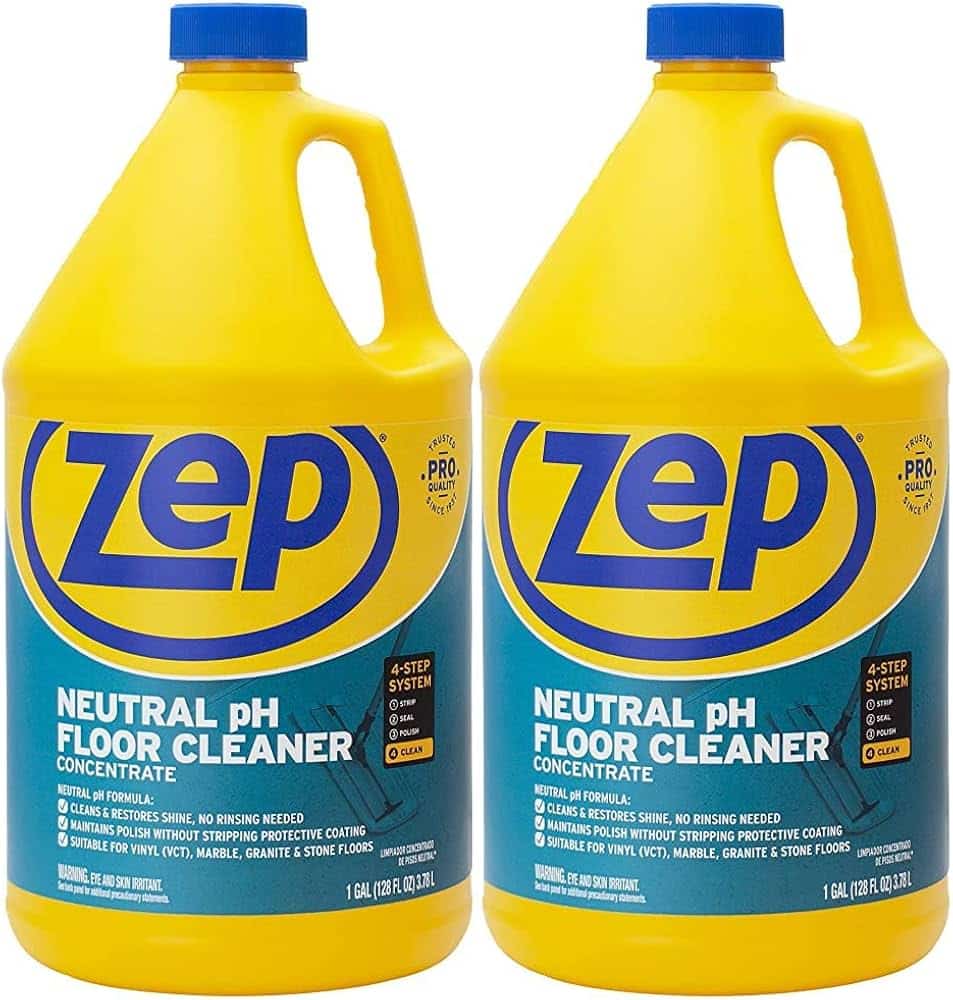
By understanding how to tackle wax build-up, deal with scratches and scuffs, and prevent discoloration, you can keep your wood floors in top condition. Troubleshooting these common issues not only restores the shine and beauty of your floors but also enhances their durability. Remember, your floors are a significant investment in your home’s aesthetic and value. Taking the time to address these problems as they arise will ensure that your floors remain a source of pride and beauty. We’re here to help you every step of the way, ensuring your floors always look their best. So, let’s embrace these troubleshooting tips and keep your wood floors shining brilliantly for years to come!
Eco-Friendly and Alternative Waxing Options
Natural Waxes and Their Benefits
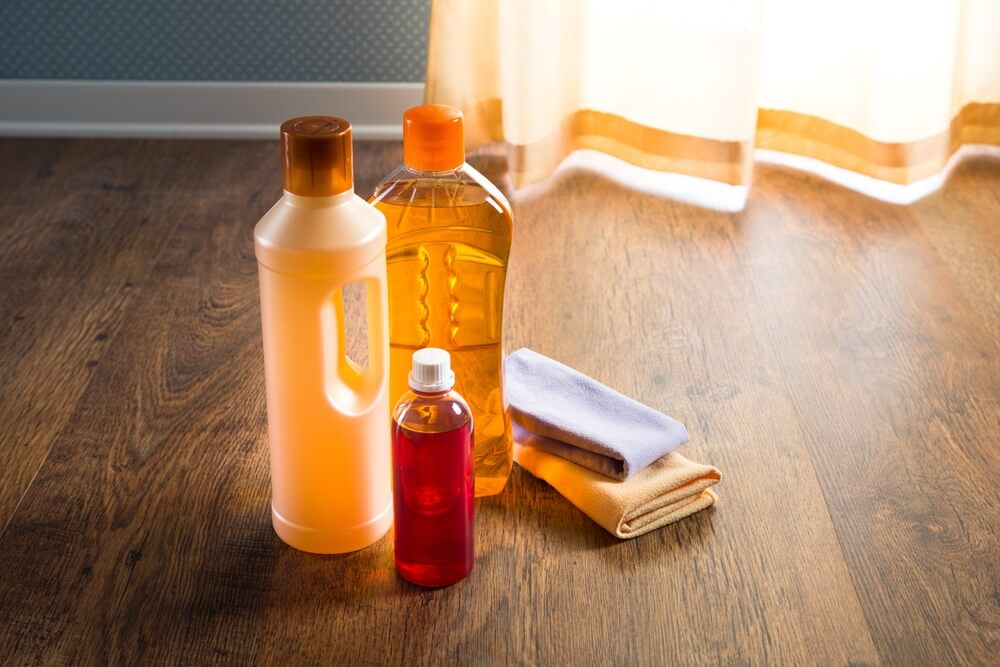
In a world increasingly aware of environmental impact, many homeowners are turning to natural waxes to maintain their wood floors. These eco-friendly options, such as beeswax and carnauba wax, are derived from renewable resources and are free from harsh chemicals. Beeswax, with its rich, creamy texture, nourishes the wood, providing a warm, soft glow that enhances the natural grain. Carnauba wax, known for its hardness and high melting point, offers a durable, glossy finish that protects your floors from wear and tear. We believe in the magic of natural waxes, not only for their beauty but also for their gentle touch on the environment and your home.
DIY Waxing Solutions
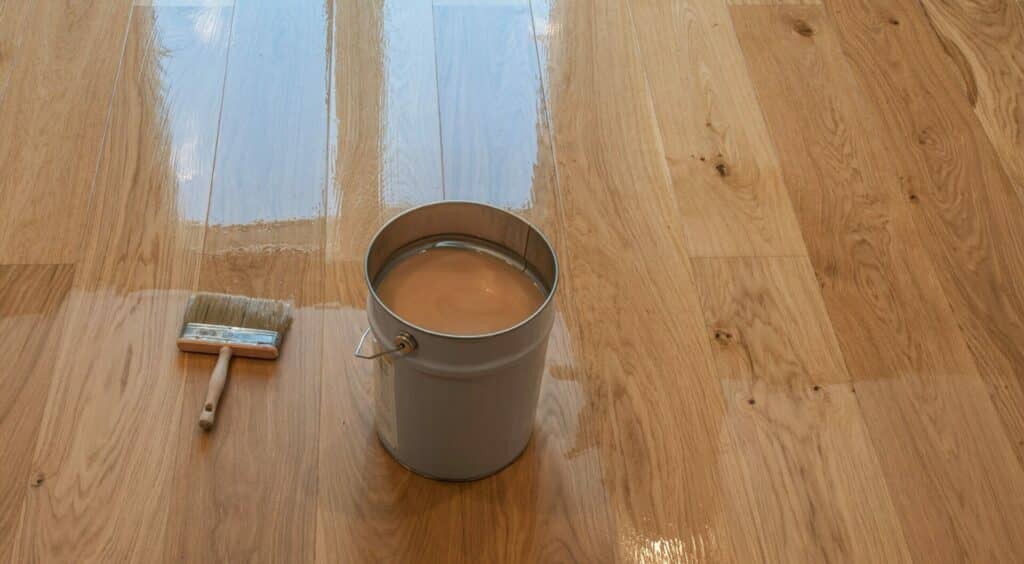
For those who prefer a hands-on approach, DIY waxing solutions can be both satisfying and effective. Creating your own wood floor wax is simpler than you might think and allows you to control exactly what goes into it. A popular recipe combines beeswax, carnauba wax, and a natural oil like coconut or olive oil. Melt the waxes together in a double boiler, then mix in the oil until you achieve a smooth, spreadable consistency. This homemade wax provides a natural, non-toxic alternative that nourishes and protects your floors. We believe that DIY solutions empower you to take control of your floor care, ensuring a safe and healthy environment for your family.
Innovative Eco-Friendly Alternatives
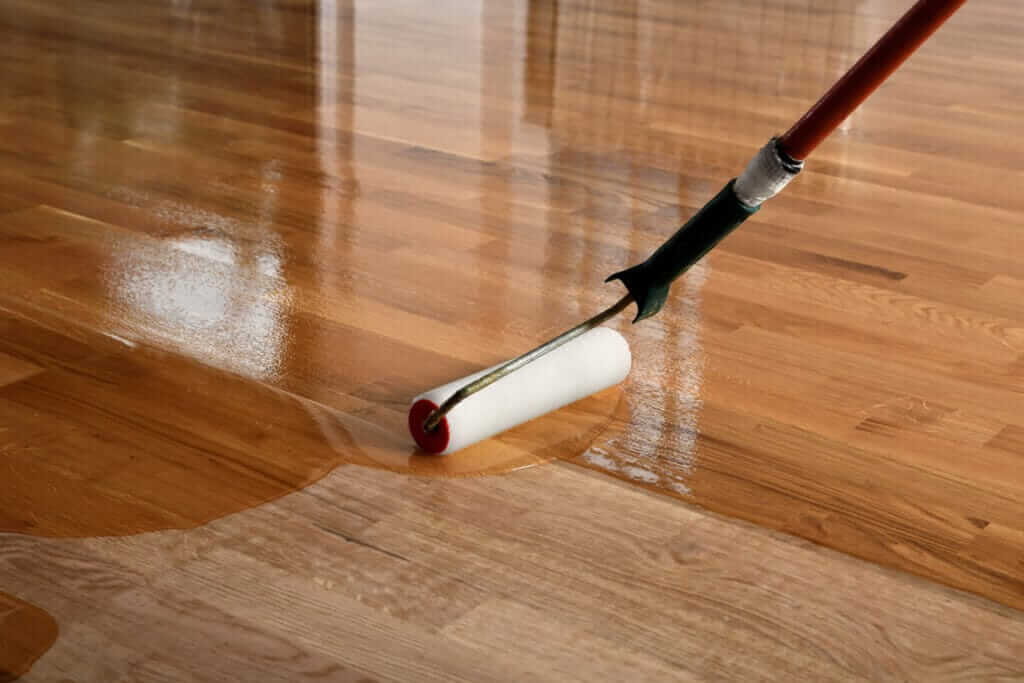
Beyond traditional waxes, there are innovative eco-friendly alternatives emerging in the market. Water-based polyurethane finishes, for example, offer a durable, low-VOC option that provides excellent protection while being kinder to the environment. These finishes dry quickly and produce minimal odour, making them ideal for households with children and pets. Another option is plant-based oils, which penetrate deeply into the wood, enhancing its natural beauty and providing long-lasting protection. We believe in staying ahead of the curve, exploring new and sustainable options that keep your floors looking stunning without compromising on health or environmental responsibility.
Advantages of Eco-Friendly Choices
Choosing eco-friendly waxing options goes beyond just being kind to the planet. These products are often safer for your home, reducing exposure to harmful chemicals that can affect indoor air quality. They also tend to be biodegradable, meaning they break down naturally without leaving a lasting environmental impact. Additionally, natural waxes and finishes can enhance the natural beauty of your wood floors, providing a look and feel that synthetic products often can’t match. We believe that the heart of your home deserves the best care, and eco-friendly options offer a beautiful, sustainable way to maintain your floors.
Embracing eco-friendly and alternative waxing options is a step towards a healthier home and a healthier planet. By choosing natural waxes, DIY solutions, or innovative alternatives, you can achieve stunning, long-lasting results while reducing your environmental footprint. We’re committed to helping you discover and implement these green options, ensuring your floors remain a source of pride and beauty. So, let’s explore the world of eco-friendly waxing together, and create a home that shines with both elegance and conscience.
Expert Tips for Long-Lasting Shine
Professional Maintenance Advice
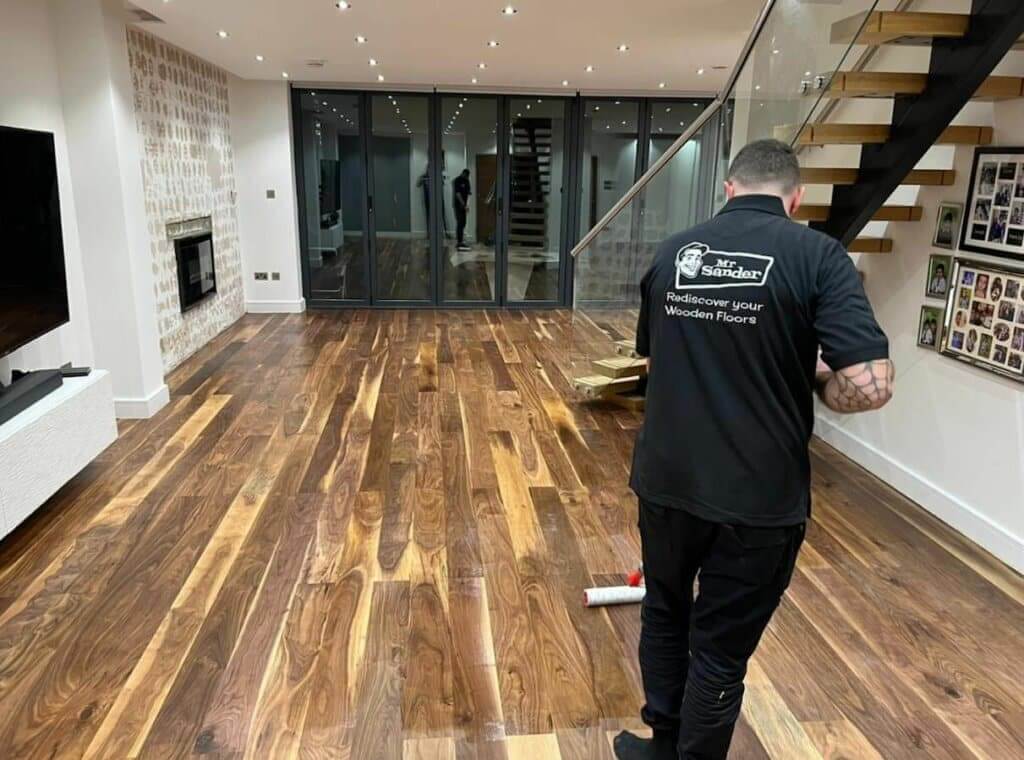
Maintaining the lustrous shine of your wood floors requires more than just regular cleaning and waxing. It’s about adopting a comprehensive maintenance routine that addresses the specific needs of your floors. Professional advice is invaluable in this regard. Regular inspections by flooring experts can identify potential issues early, allowing for timely interventions that prevent minor problems from escalating into major repairs. Professionals can also recommend the best products and techniques tailored to your floor’s unique characteristics. We believe that expert maintenance is an investment in the longevity and beauty of your floors, ensuring they remain a stunning feature of your home for years to come.

Seasonal Care Tips
The changing seasons can have a significant impact on your wood floors. Temperature fluctuations and varying humidity levels can cause the wood to expand and contract, potentially leading to warping or cracking. To mitigate these effects, it’s essential to adjust your floor care routine with the seasons. In winter, use humidifiers to maintain a consistent moisture level, preventing the wood from drying out. In summer, ensure adequate ventilation to avoid excess humidity. Regularly check for any signs of damage and address them promptly. We believe that seasonal care is crucial for preserving the structural integrity and visual appeal of your floors, keeping them in top condition no matter the weather.

Preventative Measures for Prolonged Shine
Prevention is better than cure, and taking proactive steps can significantly extend the shine and life of your wood floors. Place mats at entrances to trap dirt and moisture before it reaches the floor. Use felt pads under furniture legs to prevent scratches and avoid dragging heavy items across the floor. Regularly trim your pets’ nails to minimise scratches. Also, be mindful of high heels and heavy footwear that can dent the wood. By implementing these simple measures, you can protect your floors from common sources of damage, ensuring they stay beautiful and shiny. We believe that a little preventative care goes a long way in maintaining the pristine condition of your floors.
Routine Refreshes for Sustained Brilliance
Even the best-maintained floors can benefit from a routine refresh to sustain their brilliance. Depending on the level of foot traffic, consider giving your floors a light buff and re-wax every six to twelve months. This not only restores the shine but also reinforces the protective layer, keeping your floors resilient against daily wear and tear. For high-traffic areas, a more frequent refresh might be necessary. We recommend setting a schedule for these routine refreshes to keep your floors consistently radiant and protected, showcasing their natural beauty at all times.
Embracing Modern Innovations
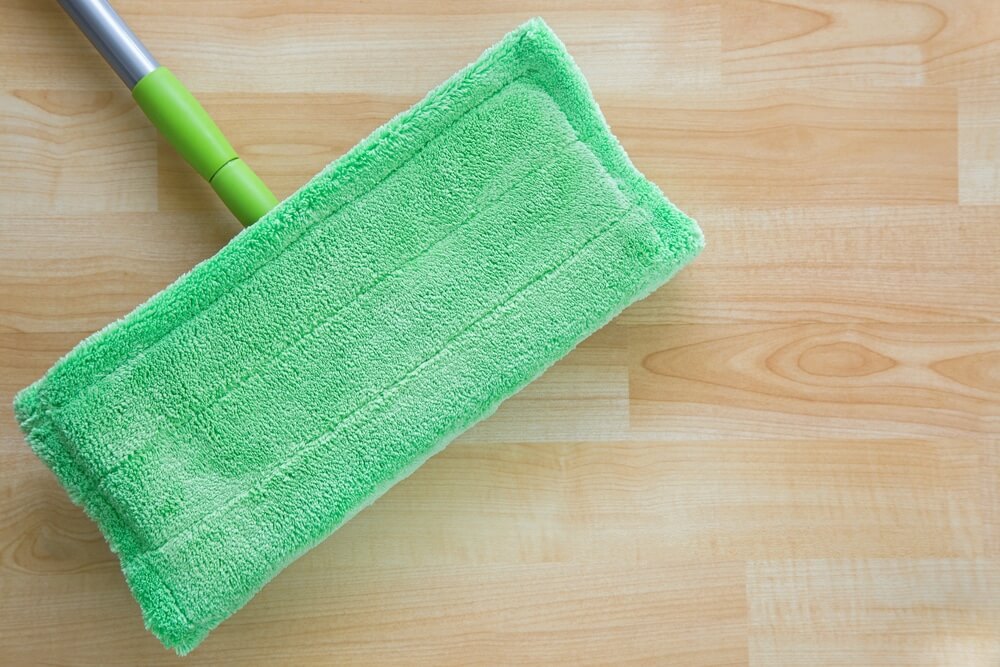
While traditional methods have their charm, embracing modern innovations can also enhance the maintenance of your wood floors. Newer products like microfibre mops and eco-friendly cleaners can make the cleaning process more efficient and effective. Additionally, advanced finishes and sealants offer superior protection and durability, extending the time between waxing sessions. Staying updated with the latest advancements in floor care can provide you with more options and better results. We believe in combining the best of both worlds—honouring tried-and-true techniques while embracing innovative solutions for the best care of your wood floors.
By following these expert tips, you can achieve and maintain a long-lasting shine that keeps your wood floors looking their absolute best. Professional maintenance, seasonal care, preventative measures, routine refreshes, and modern innovations all play a vital role in preserving the beauty and durability of your floors. We’re here to support you every step of the way, offering the expertise and resources needed to keep your floors in pristine condition. So, let’s put these tips into action and ensure your wood floors remain a shining testament to the warmth and elegance of your home!
Conclusion
Maintaining the lustrous shine of your wood floors is a journey that combines knowledge, care, and a touch of dedication. Through this guide, we’ve explored the essential steps from understanding the types of wax to mastering application techniques, and from post-waxing care to troubleshooting common issues. Each step is a vital part of the process, ensuring that your floors not only look stunning but also stand the test of time.
At the heart of maintaining beautiful wood floors lies a commitment to regular care and attention. By incorporating simple practices like routine cleaning, timely reapplication of wax, and addressing scratches and discoloration promptly, you can preserve the elegance and warmth of your floors. Moreover, embracing eco-friendly and alternative waxing options adds an extra layer of sustainability, making your home not just beautiful, but also environmentally responsible.
Expert advice and seasonal care tips further enhance the longevity of your floors. Professional maintenance can identify and address potential issues early, while seasonal adjustments help mitigate the effects of temperature and humidity changes. Preventative measures, such as using mats and felt pads, play a crucial role in protecting your floors from everyday wear and tear, ensuring they remain in pristine condition.
Incorporating modern innovations and staying updated with the latest advancements in floor care can also make a significant difference. New products and techniques offer improved efficiency and results, complementing traditional methods. By combining the best of both worlds, you can achieve a shine that is not only visually appealing but also durable and long-lasting.
We believe that your wood floors are more than just a surface to walk on—they are a reflection of your home’s character and your attention to detail. With the right care and maintenance, you can keep your floors looking as beautiful as the day they were installed, creating a warm, inviting atmosphere that speaks of elegance and pride. So, take these tips to heart and let your floors continue to shine, adding a touch of magic to your home for years to come.